I chose to use the colors in the gorgeous Gilded Autumn specialty designer paper; Early Espresso, Cajun Craze, Vanilla and Mint Macaron. This pretty paper was out of stock but it's back now; get it here while you can!
Details:
The pumpkins are fussy cut from one of the sheets in the Gilded Autumn DSP
The leaves are inked in Cajun Craze and Mint Macaron and stamped off once or more for a lighter hue
the greeting tag is die-cut with the Ornate Frames dies.
The grass image on the bottom is from the Field of Flowers stamp set
When I first saw the Snail Mail designer paper I fell in love! I had absolutely no idea it would be this cute. Have you found that to be true? You see things in a catalog and think they're okay or kind of nice. But then in real life you are amazed?! This is one of those papers!
This was inspired by a similar card I received in a swap from my friend Dawn Olchefske.
I used product from both new Stampin' Up! 2021 catalogs. The designer paper is called Paper Blooms and it's free with a $50 order during our Sale-a-Bration promotion. Click here to see it.
The dragonfly & greeting are from the Dragonfly Garden bundle. It's in the 2021 Spring catalog and you can see it here.
These easel cards are so simple to make! The scored, square piece is adhered to the inside bottom of the main card.
Measurements:
card base 4 1/4" X 11"
easel 4" square. Score at 1/2", 2" and 3 3/4"
Here are a few more I created as gifts for my customers in December. These calendars can be found online at a few different sites. Just google 'mini tear off calendar'.
These are made with designer papers from the Annual Catalog. The left one above features the Artistic Blooms; the right is the Ornate Garden. The greeting is from the Friend Like You stamp set.
The pretty one below is made with the Forever Greenery designer paper. Who wouldn't want one of these at their desk?
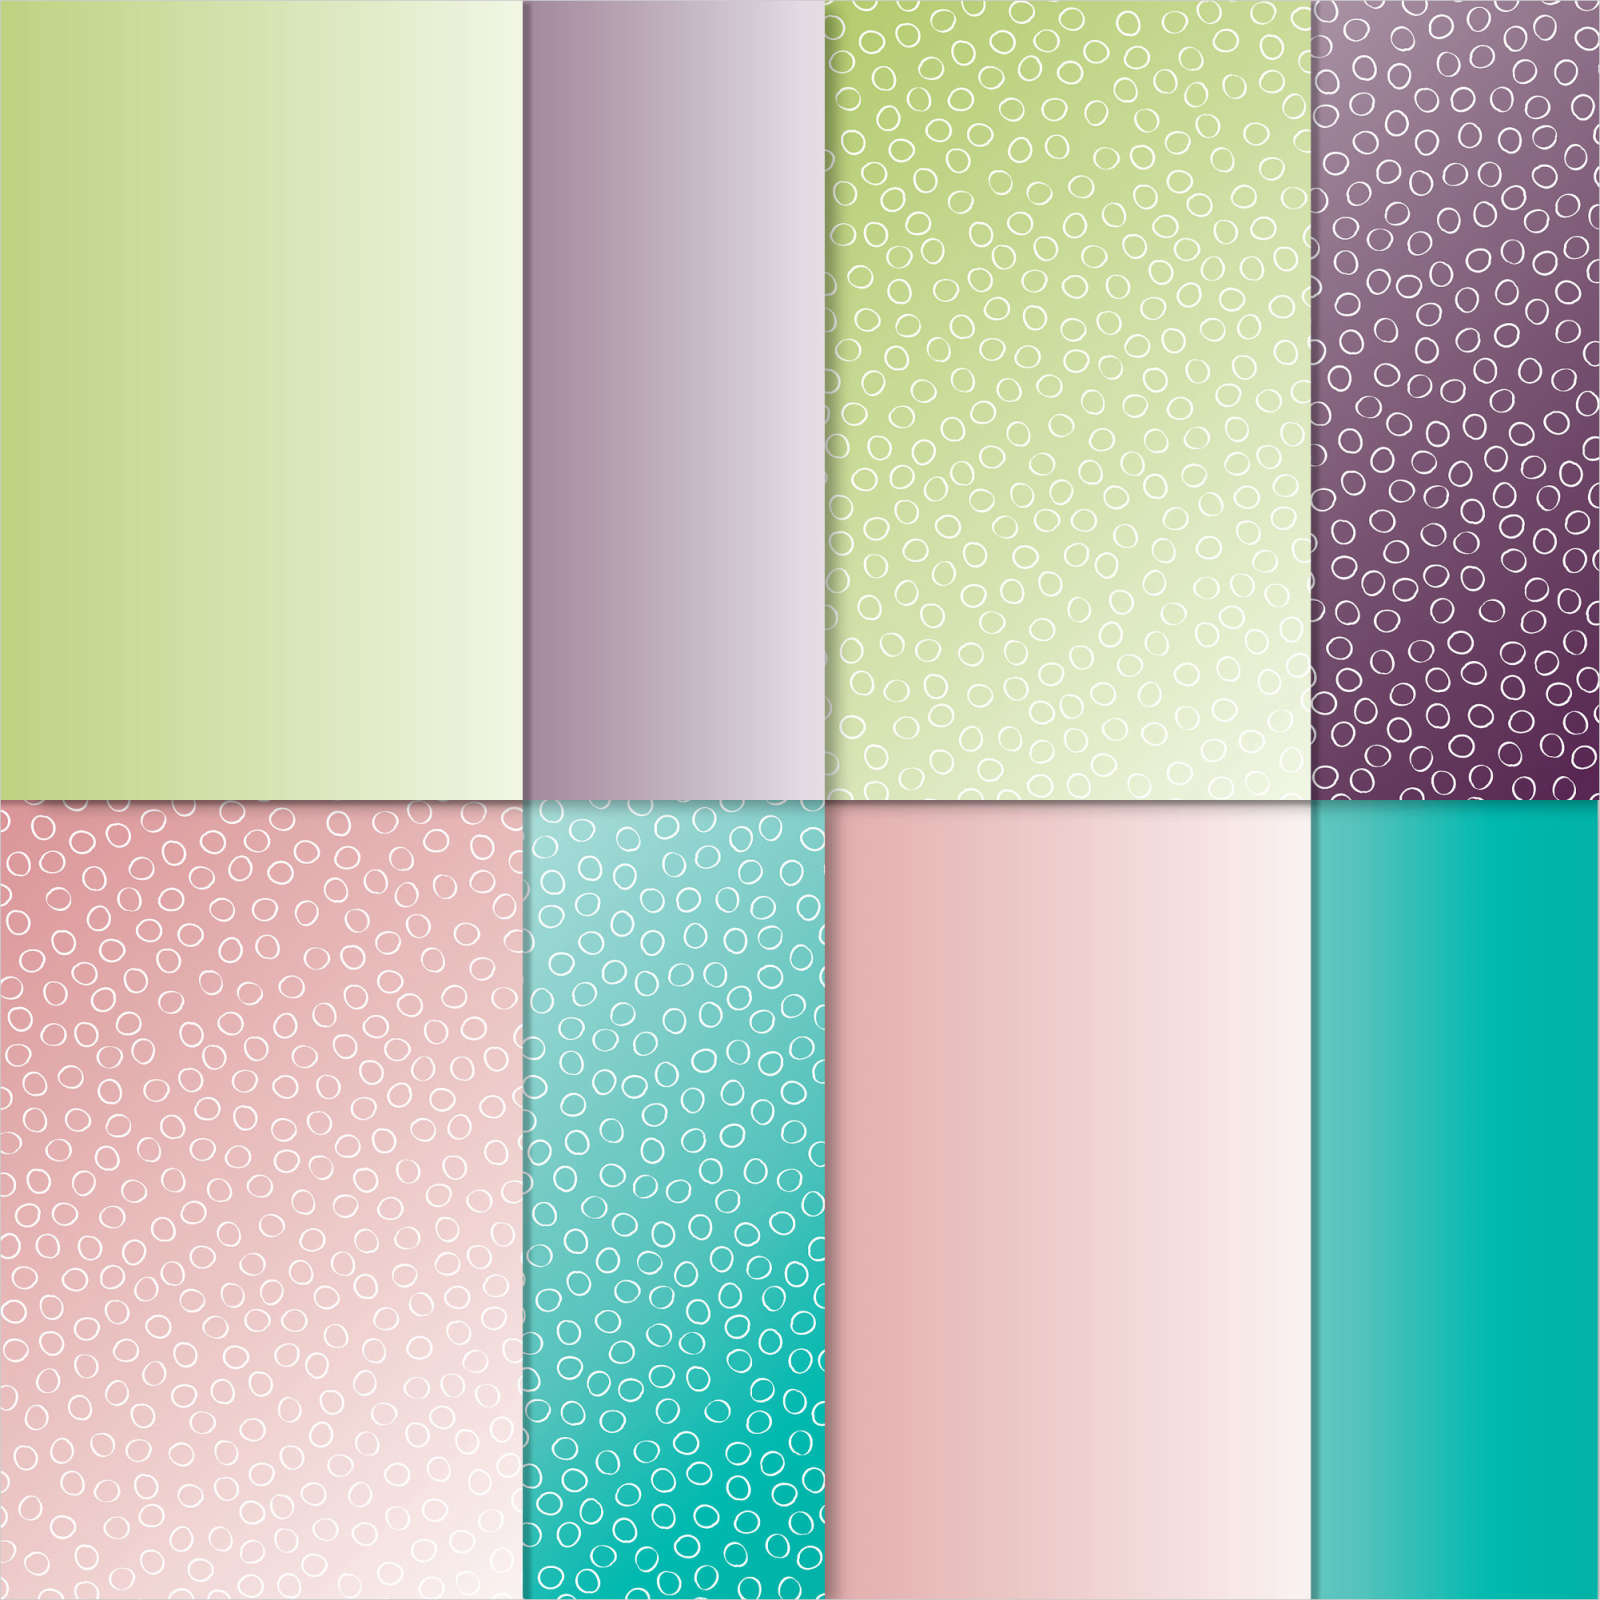
It's a 6 X 6" pack of 48 sheets of Designer Series Paper. There are 2 designs and 4 colors in this pretty pack and it's FREE with any $50 order during Sale-a-Bration!
I created this card with it for a Flowerbug's swap a few weeks ago. The first card features the Bermuda Bay color in the pack.
Of course I chose to use all new products! The pretty stitched outline is from the Stitched with Whimsy dies seen here. I love that they don't actually cut; they just stitch a pretty outline. You can really notice the Ombre since I switched the die when I inserted it back in the window. Watch how in the video.
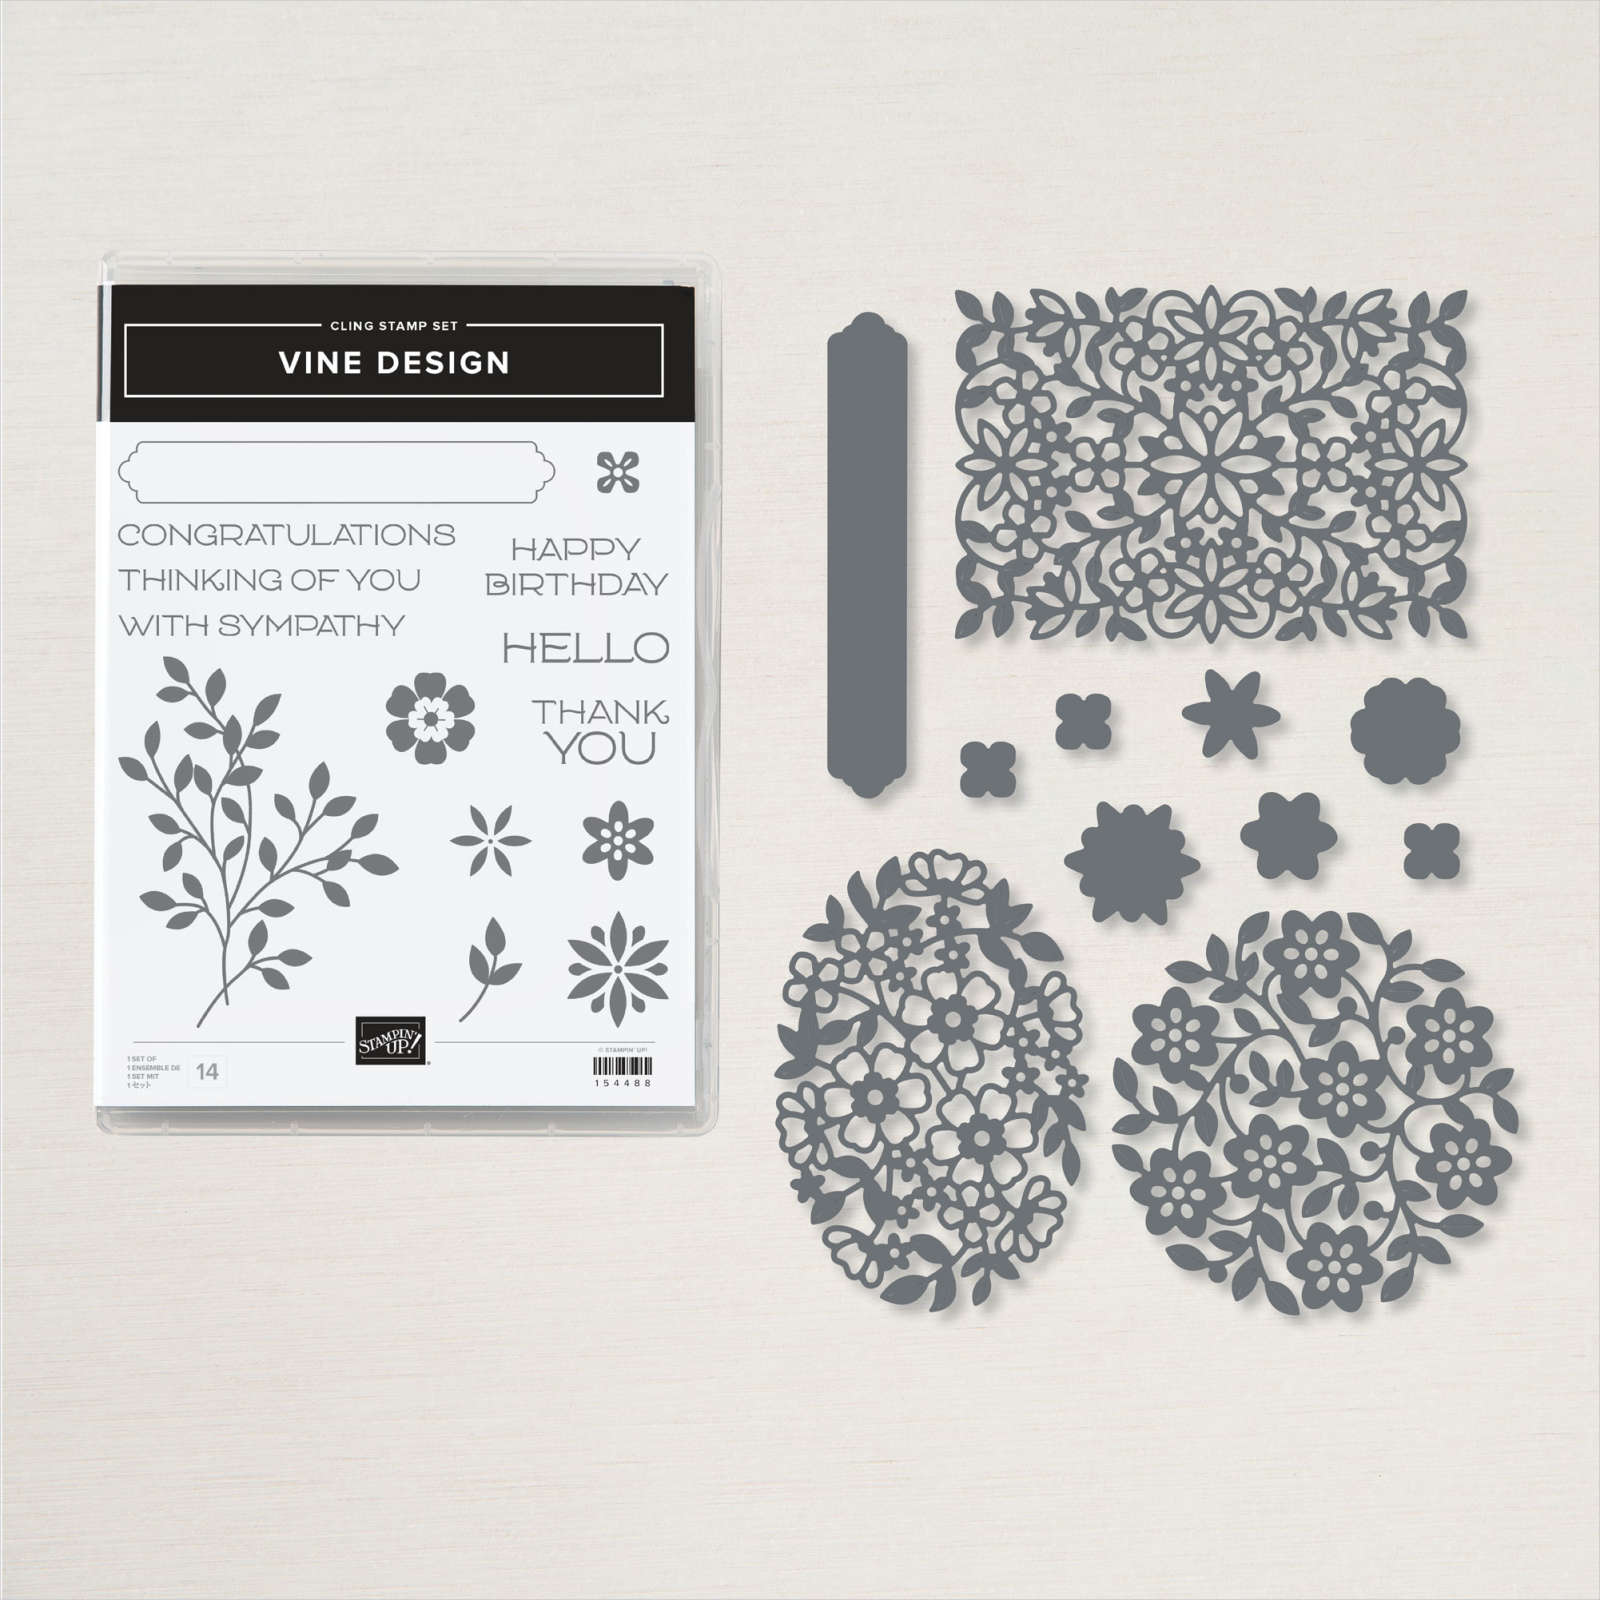
The intricate die is from the Flowering Vines die. It's part of the bundle with the Vine Design stamp set which is where the greeting images are from. See them here.
Notice: LeeAnn Greff, Independent Stampin’ Up! Demonstrator, Manager. The content of this website is my sole responsibility as an independent Stampin’ Up! demonstrator and the use of, and content of, the classes, services, or products offered on this website is not endorsed by Stampin’ Up! Copyright 2025


Leave a Reply