I chose to use the colors in the gorgeous Gilded Autumn specialty designer paper; Early Espresso, Cajun Craze, Vanilla and Mint Macaron. This pretty paper was out of stock but it's back now; get it here while you can!
Details:
The pumpkins are fussy cut from one of the sheets in the Gilded Autumn DSP
The leaves are inked in Cajun Craze and Mint Macaron and stamped off once or more for a lighter hue
the greeting tag is die-cut with the Ornate Frames dies.
The grass image on the bottom is from the Field of Flowers stamp set
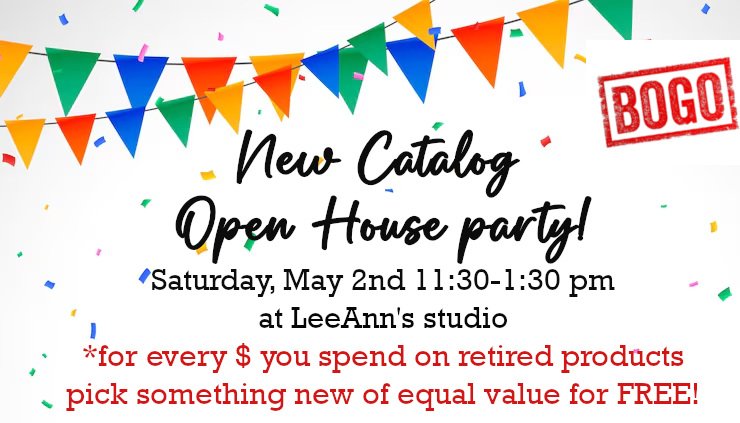
New Catalog Open House & BOGO is Saturday! NEW product shares are up!
I hold an Open House event with each new catalog release by Stampin’ Up! It’s a wonderful time to gather my friends and customers together and to get the new catalog in their hands. They’re always excited about these because I make a BIG DEAL over the event.
I love to show off our new products with displays and samples. I gather door prizes, free cards to give with orders, door prizes and an array of yummy food.
It’s Saturday at my home studio from 11:30 – 1:30 pm and will include a BOGO this time.
It shocks most people when they hear this, but I do not keep any of my Stampin’ Up! products from year to year. I just don’t have time to use it. So I price my retired products and put them in my garage for the sale. For each dollar you spend on my retired products you can pick out NEW items for free! Basically they are getting either one for FREE. It’s a wonderful deal for them and I can clear out my stash to make room for more. Win, win!!
If you’re near me in Minot, ND I hope you’ll come to the event. Even though I hold multiple card clubs each month I have lots of customers I only see a few times a year. It’s so neat to watch my gals gather together & catch up. I love it!
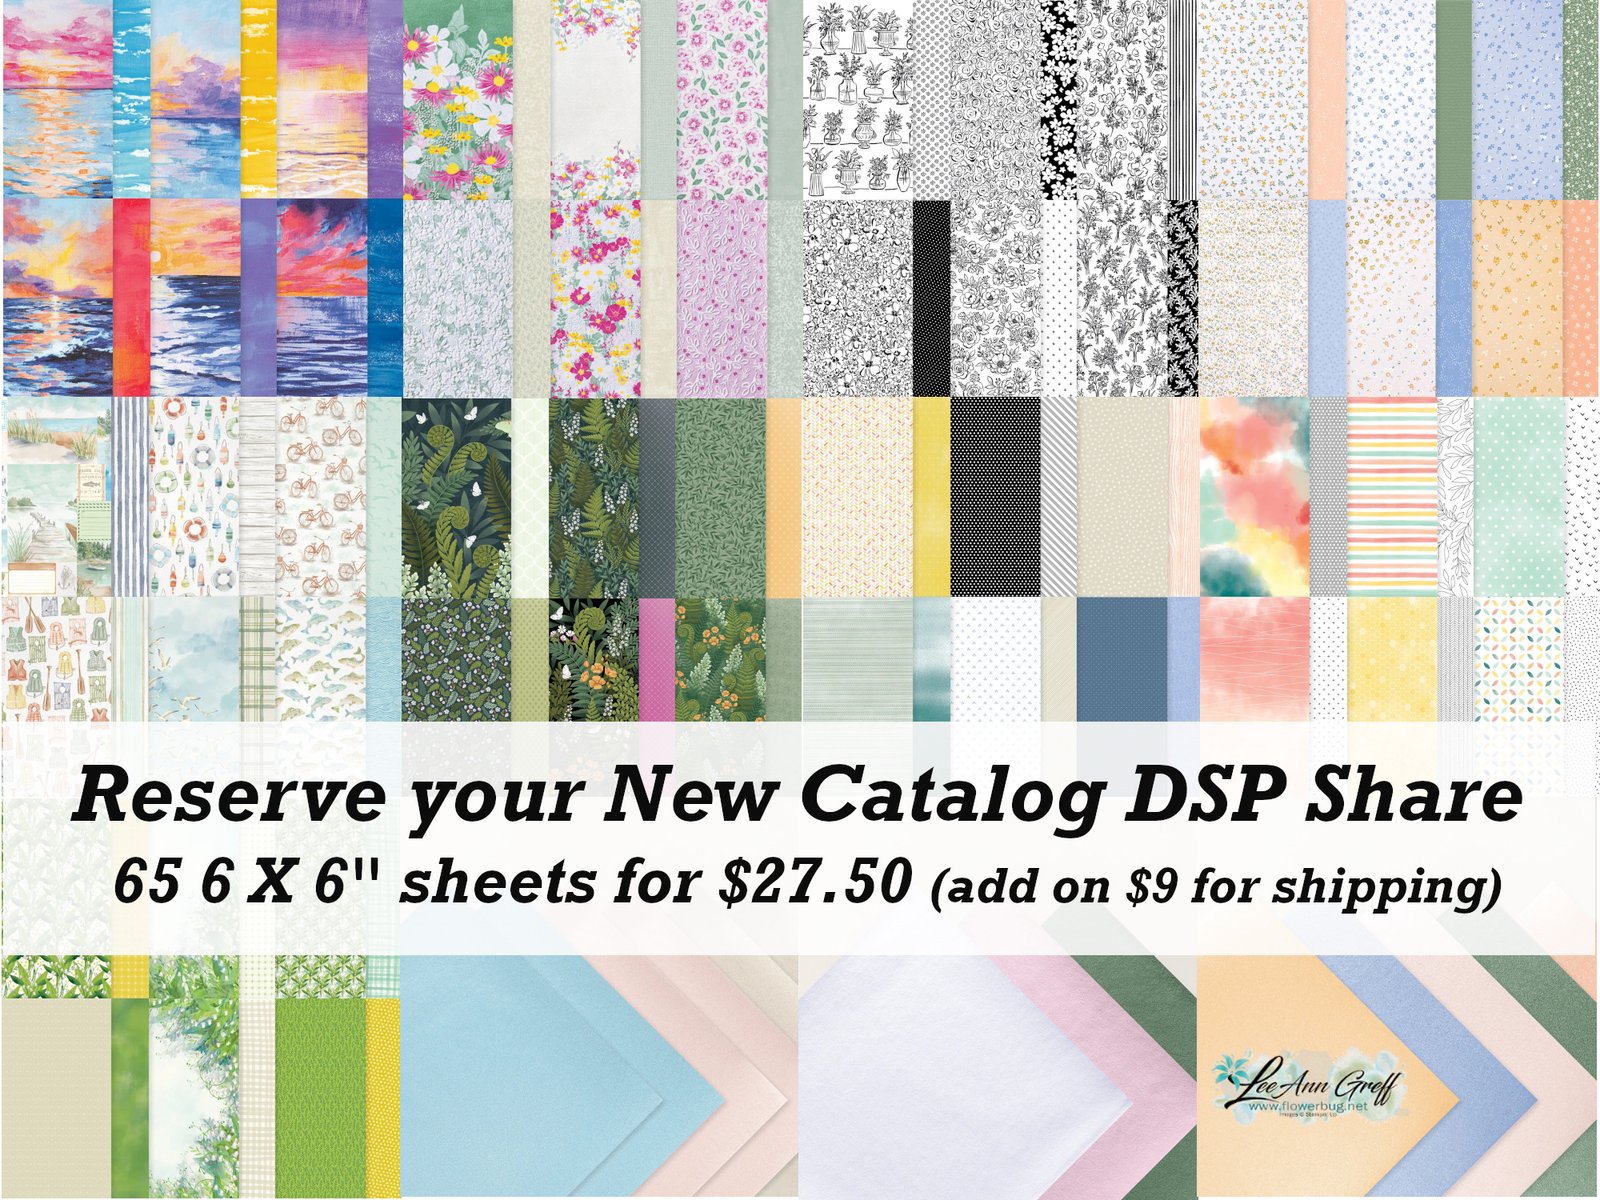
I’m also offering my Designer Paper and Embellishment shares to locals and long distance customers!
I know many who like to get a sampling of everything so they know what they want to order more of. It’s a great way to go. There’s nothing like seeing the new products in person!
– This share includes all NEW papers in the summer catalog; not any Online Exclusives. – The shares will be ordered and filled in order of purchase. It may take up to 2 or more weeks to receive them. – if products become unavailable I may wait to ship the share until all are available. – This share includes a printed list of card stock/paper colors in each designer paper. – it does include 6 specialty papers. It does not include the Luxe White or Everyday Essentials Mix & Match DSP.
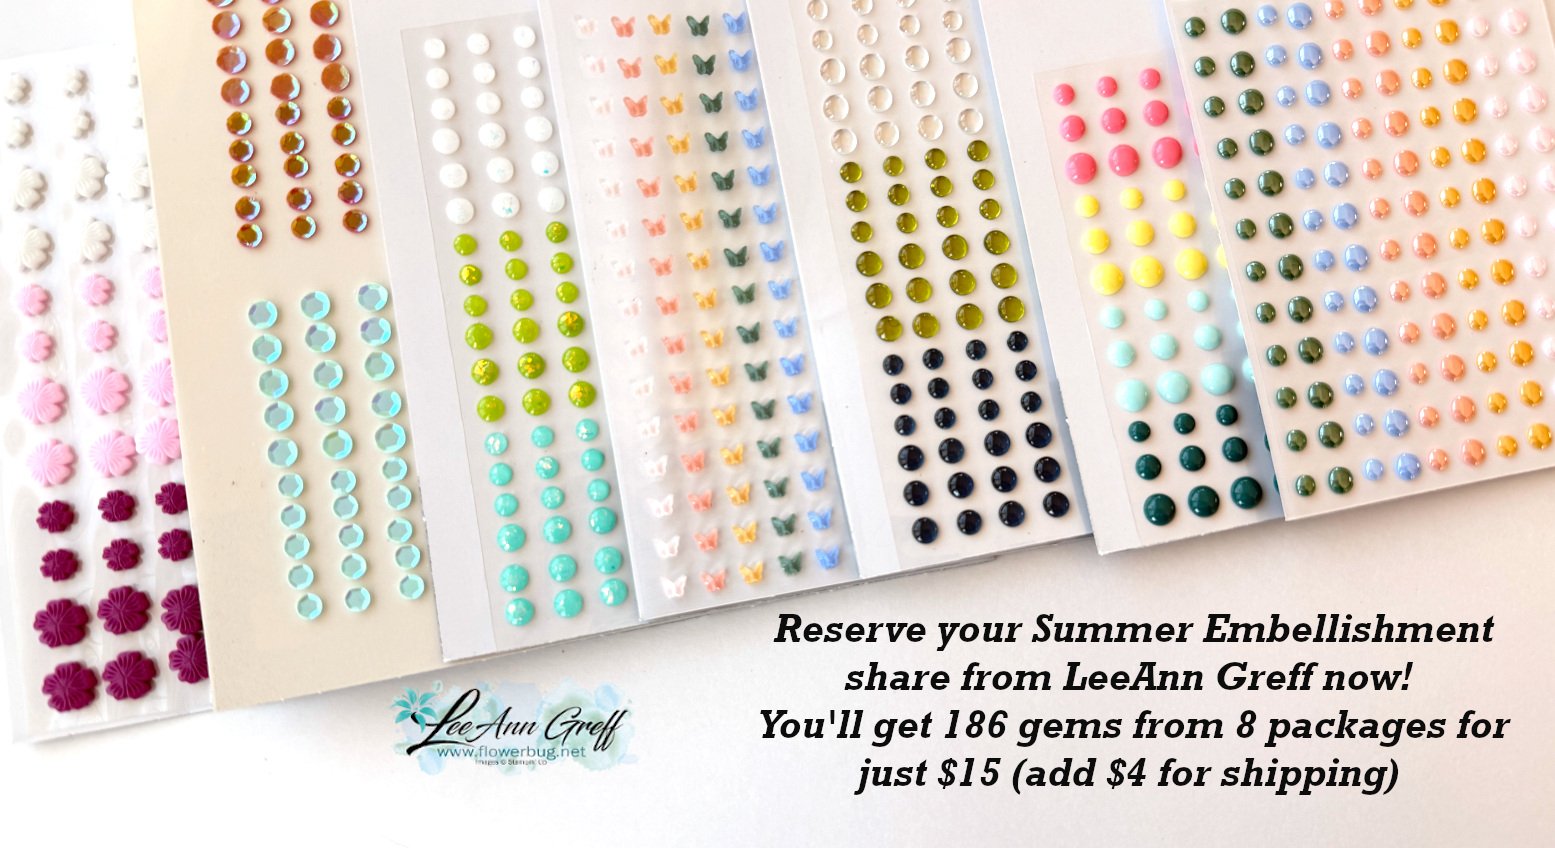
Here are the details on my new Embellishment share:
There are 8 different gems included in this share. You’ll receive a portion of each with a total of 186 different embellishments! All are shown above except the Loose Anchor trinkets. There will be 3 of those included in the share. *You can double this share if you’d like.
The cost is $15 for locals (add $4 for shipping). No additional shipping is needed if you add this on to your DSP share above; I’ll combine shipping.
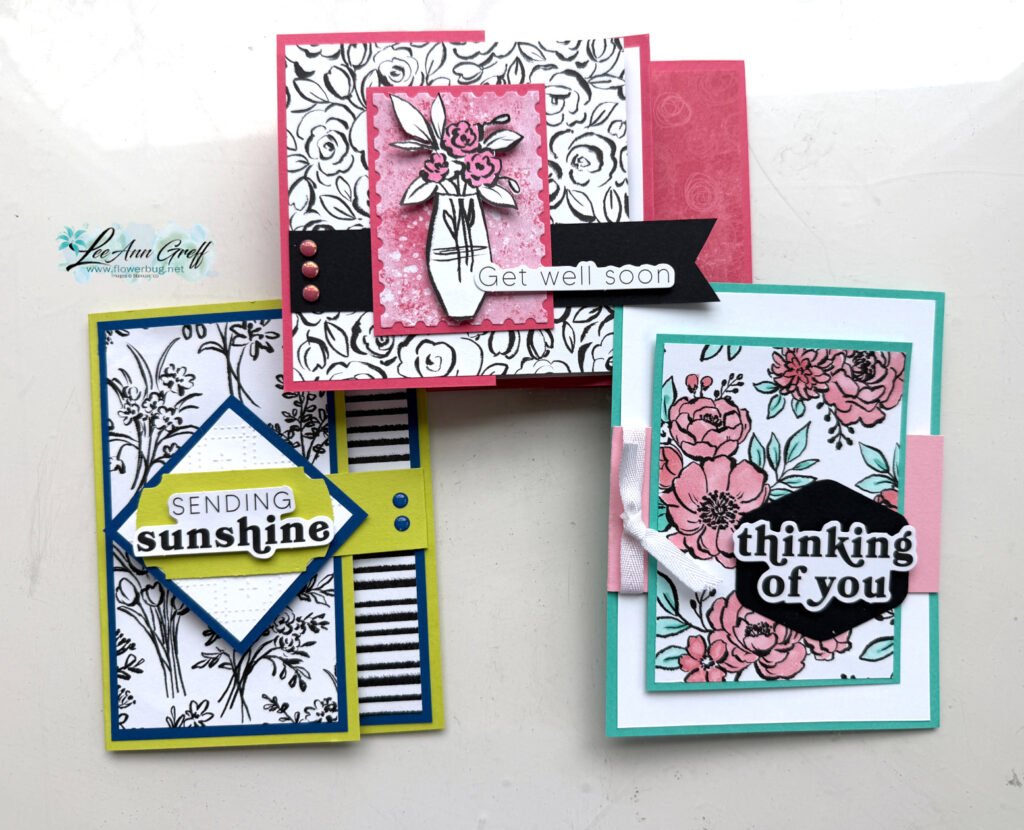
A set of fun fold cards with NEW designer paper! Free project sheet & video too
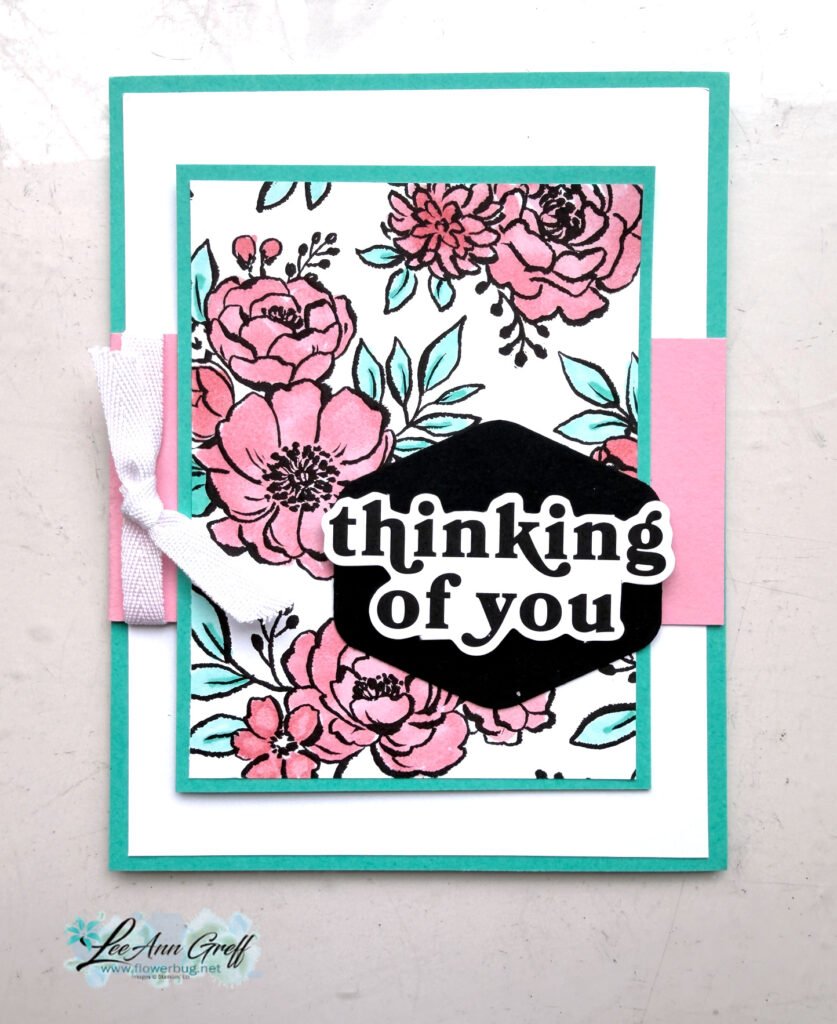
Yesterday I shared one of these fun fold cards and today I’ll share the other two. All feature the brand new Artisan Sketched Garden designer paper. It’s coming out on May 5th in the May-August catalog from Stampin’ Up!
I chose to use two of the retiring 2024-26 In Colors for this one. Summer Splash and Pretty in Pink with Black & White. This Artisan Sketched Garden DSP is all Black & White but I colored the flowers and leaves in with Blends markers. The greeting image is from the Greetings for all Ephemera pack seen here. It’s one of my very favorite greeting packs and it’s carrying over too! The Black punched piece is from the Heartfelt Hexagon punch. Sadly it just retired and is not out of stock.
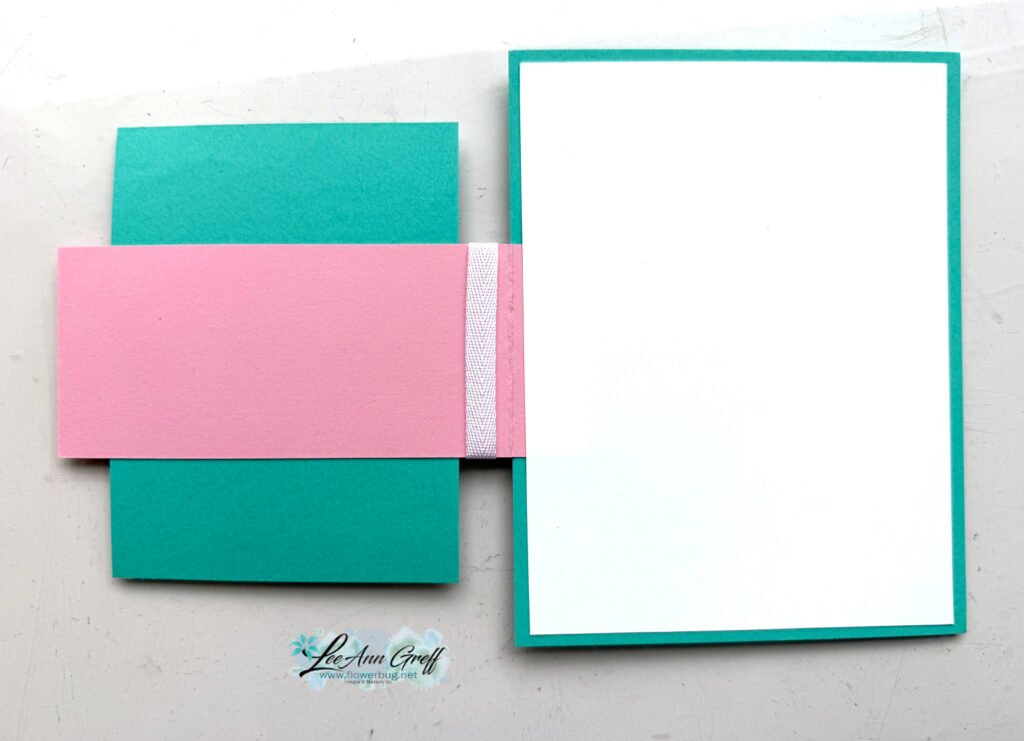
The inside White layer hides the end of the scored Pink flap. It’s a really neat and simple fun fold card. Click here to access the free project sheet.
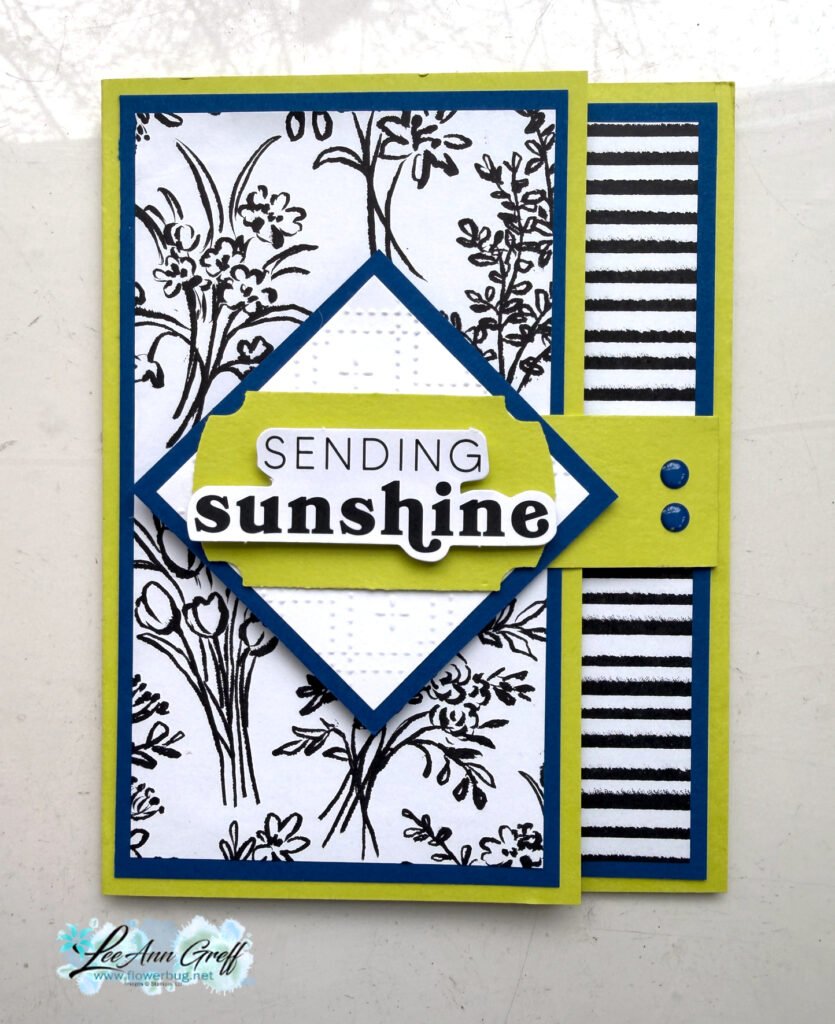
And here is the last card in this trio of fun fold cards featuring the new Artistic Sketched Garden DSP. It’s another side flap card:
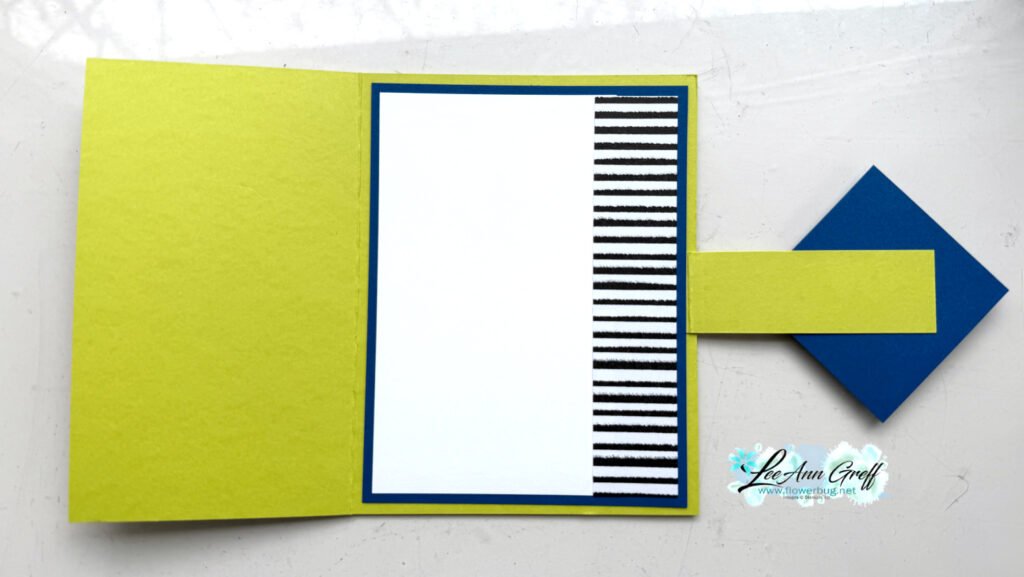
My colors include Lemon Lime Twist, Blueberry Bushel with White. The scored side flap flips to the right and has the diagonal squares with the greetings attached. The greeting is part of the Greetings for All Ephemera pack again; added to the Labeled with Love punched piece. This is retiring now and available here while supplies last.
Artistic Sketched Garden fun fold card with free project sheet & video
I shared this neat accordion card on last week’s video. Most Tuesdays at 11 am CT I post a Live video on my FB page here. Then the following week I share the free project sheet for it here on my blog. Be sure to follow me here by subscribing to my blog on the right side, my YouTube Channel or my FB page. Don’t miss a thing!
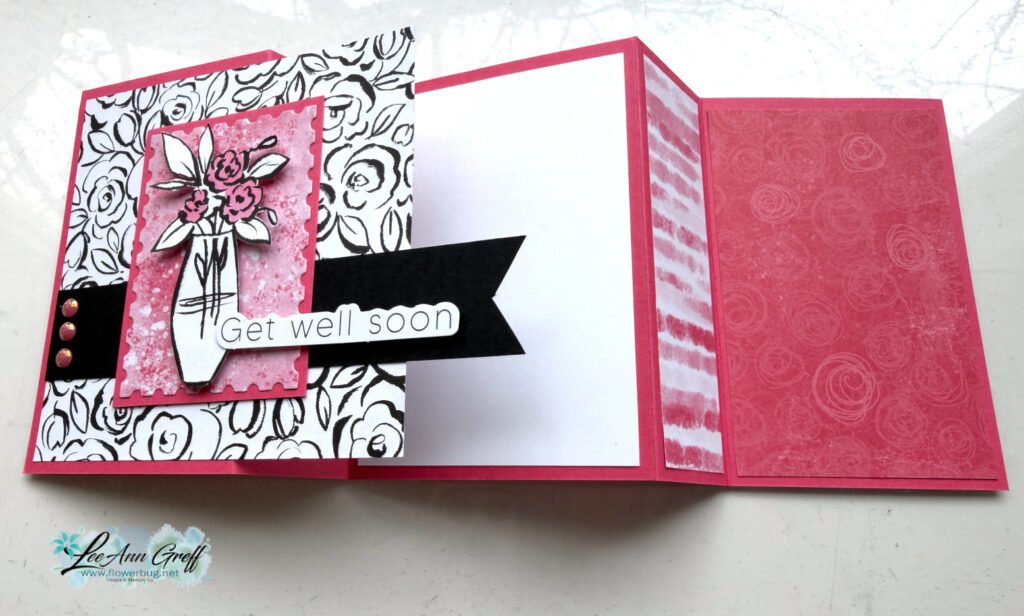
I featured the Artistic Sketched Garden designer paper here; it’s new and will be available in the upcoming 2026 May – August Stampin’ Up! catalog. Each sheet is a black & white combination of florals or prints.
I paired it with Melon Mambo and Black here. The vase of flowers is fussy cut from a sheet of the DSP. I used the Perennial Postage dies to cut a piece of In Color DSP as a background. That simple strip of Black CS really sets of the colors here.
You can’t tell what type of fun fold it is in the photo above. But look at this one:
It’s so cool and gives you plenty of places to add designer paper. Here’s the free project sheet for all three cards. Click here to download or print it.
In the video below you’ll see how I made this card and two more easy fun folds. Please subscribe to my YouTube channel here.
Notice: LeeAnn Greff, Independent Stampin’ Up! Demonstrator, Manager. The content of this website is my sole responsibility as an independent Stampin’ Up! demonstrator and the use of, and content of, the classes, services, or products offered on this website is not endorsed by Stampin’ Up! Copyright 2025


Leave a Reply