I chose to use the colors in the gorgeous Gilded Autumn specialty designer paper; Early Espresso, Cajun Craze, Vanilla and Mint Macaron. This pretty paper was out of stock but it's back now; get it here while you can!
Details:
The pumpkins are fussy cut from one of the sheets in the Gilded Autumn DSP
The leaves are inked in Cajun Craze and Mint Macaron and stamped off once or more for a lighter hue
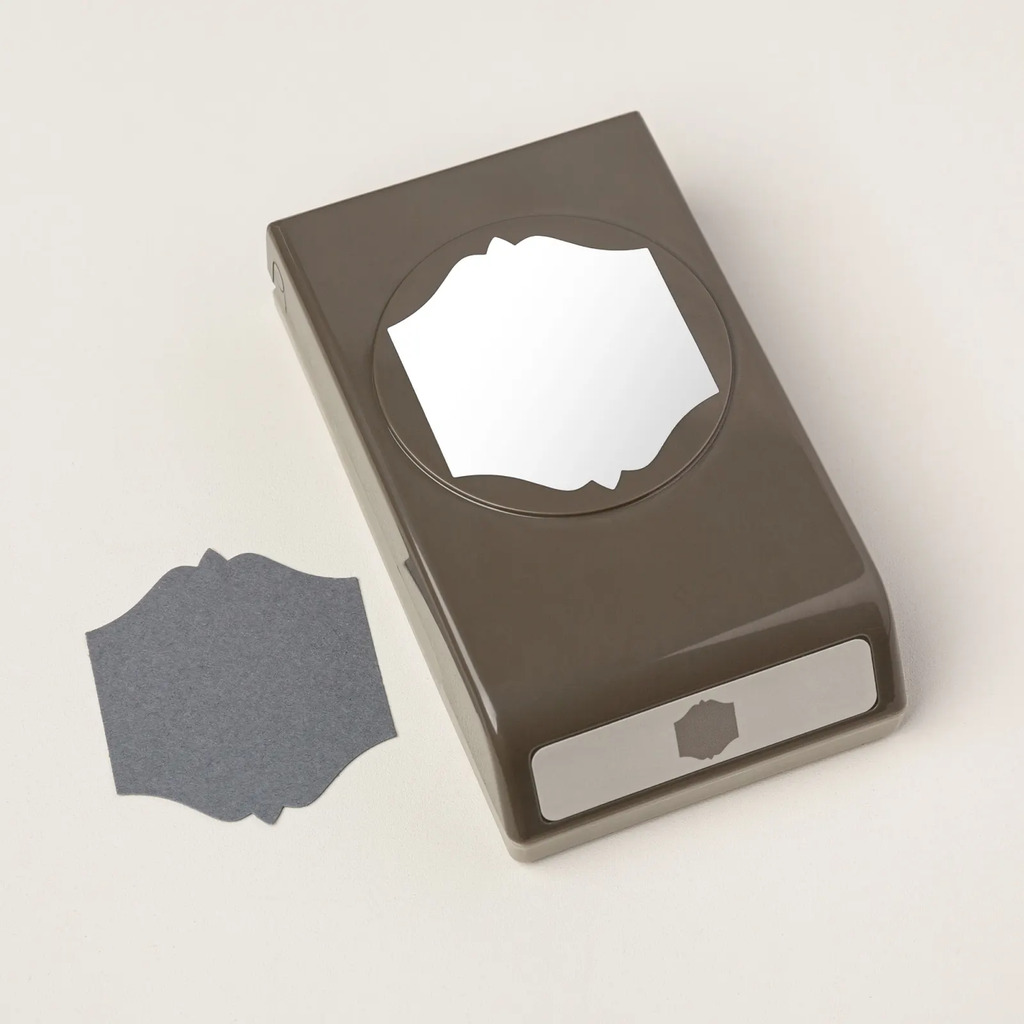
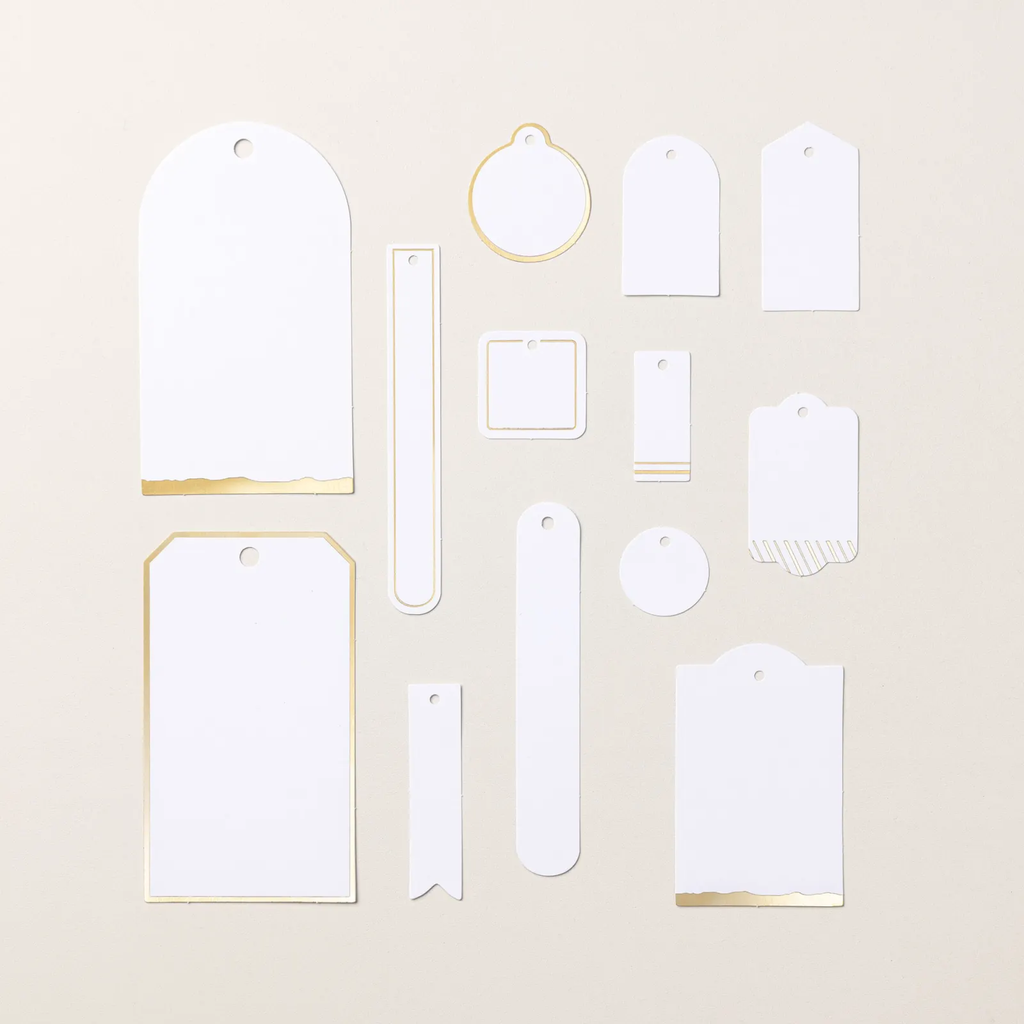
the greeting tag is die-cut with the Ornate Frames dies.
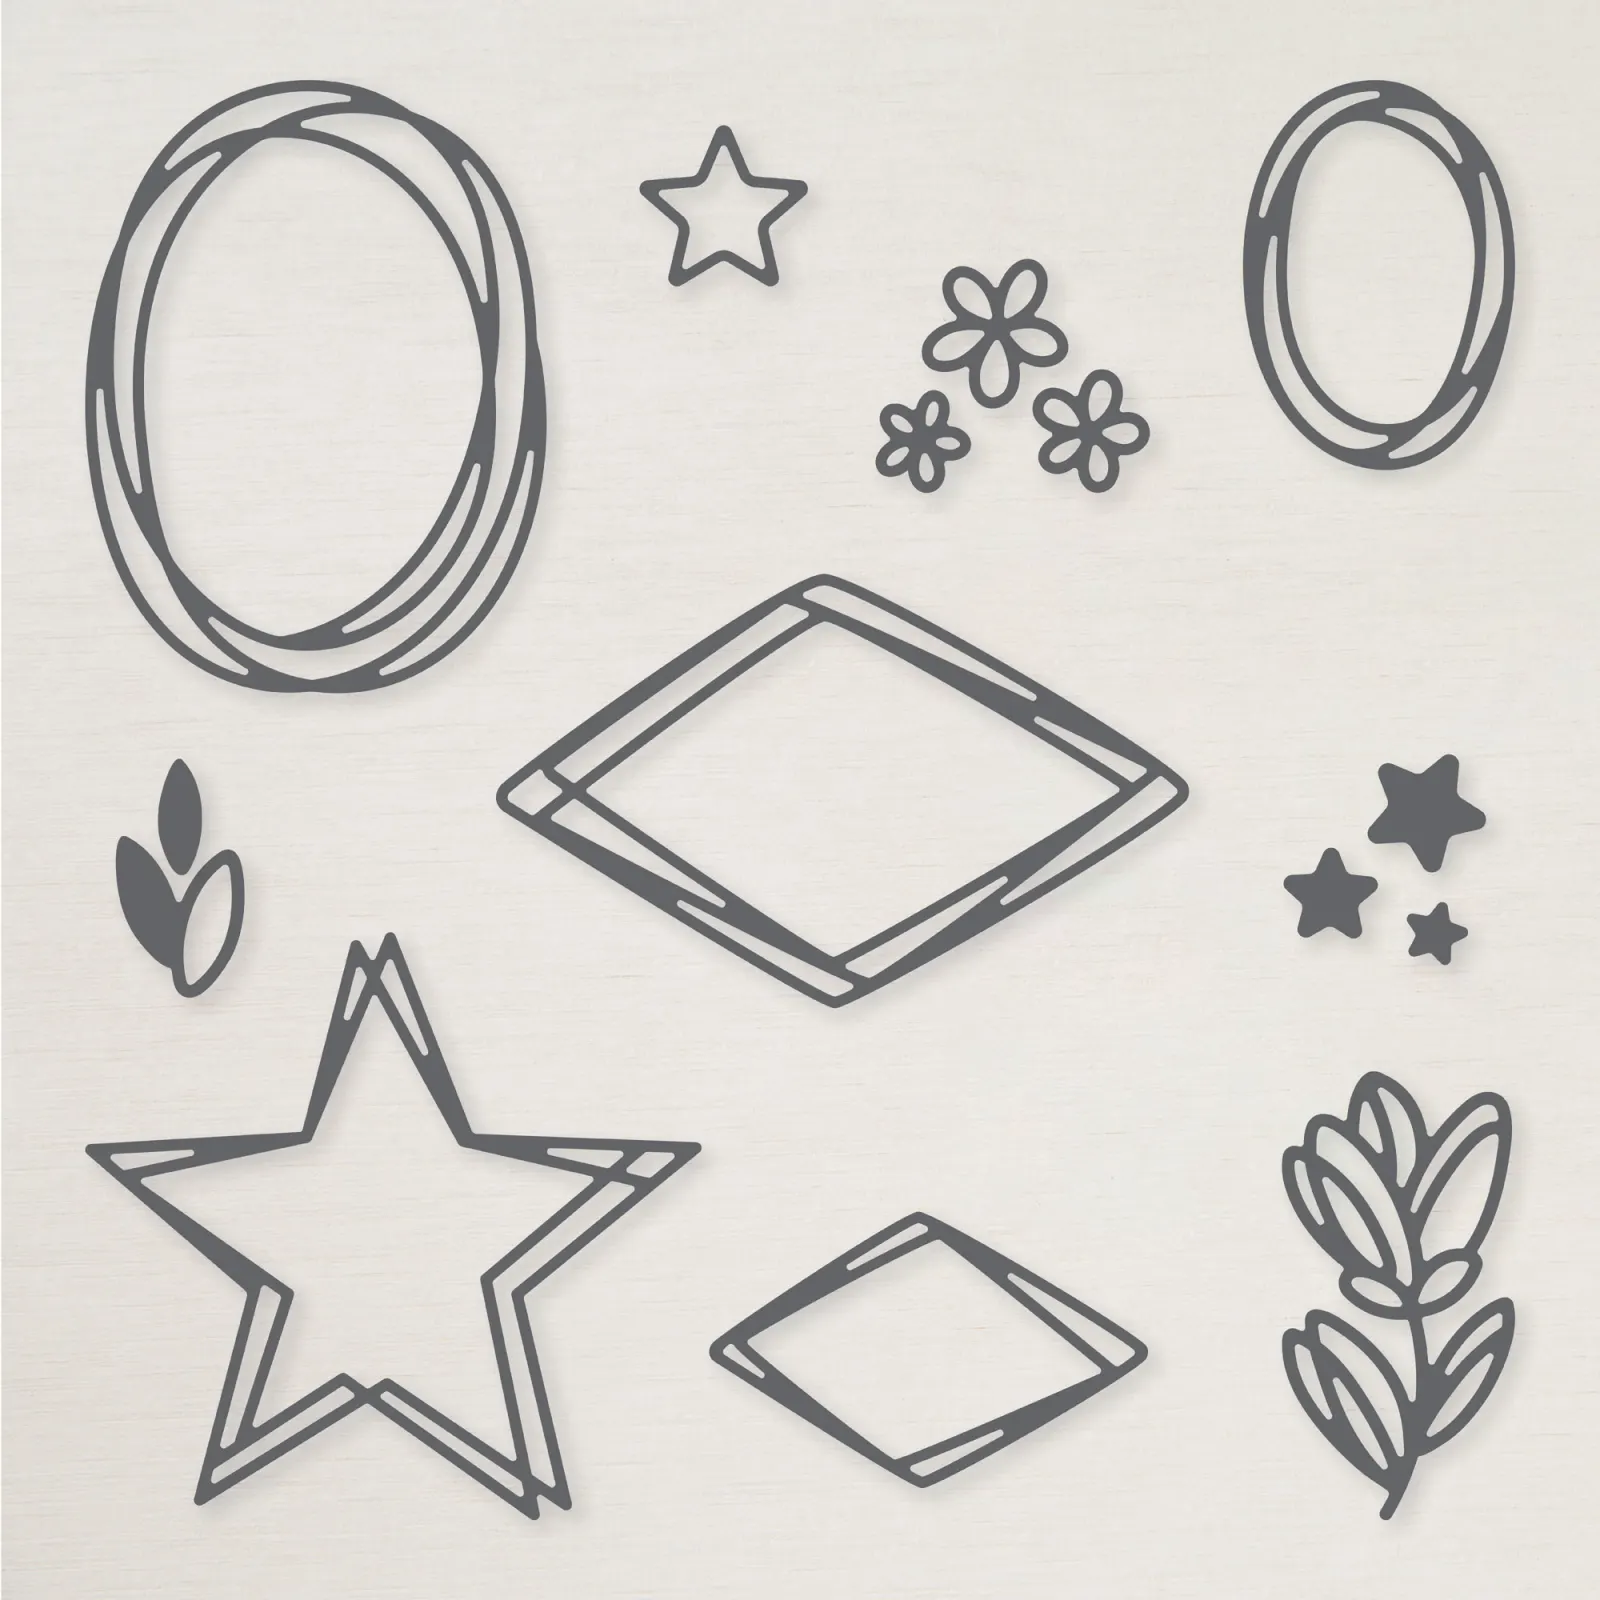
The grass image on the bottom is from the Field of Flowers stamp set
Kit includes one of each item listed below. – Step-by-step instructions – 10 sheets of Designer Series Paper – 8 sheets of Two-Tone Cardstock – 2 sheets of printed stickers and precut images – Photo placeholders
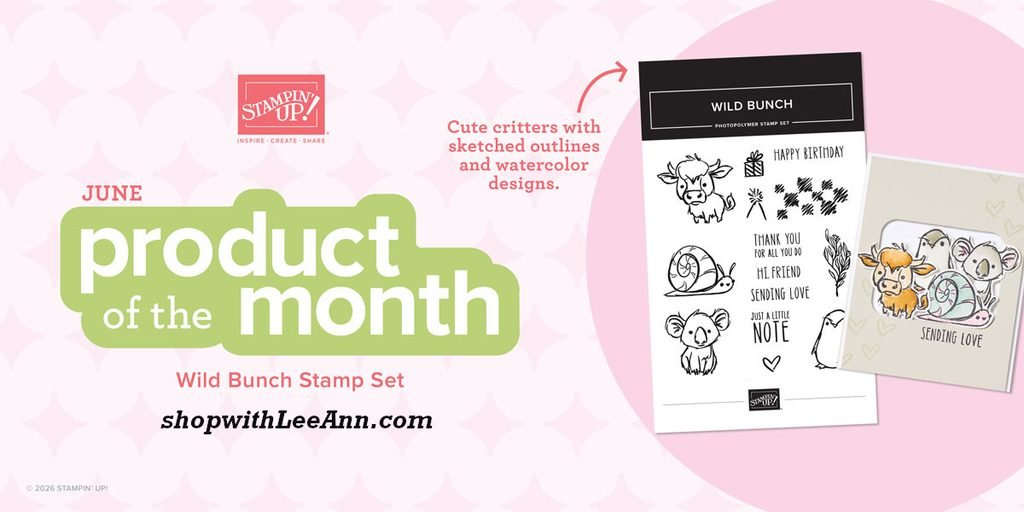
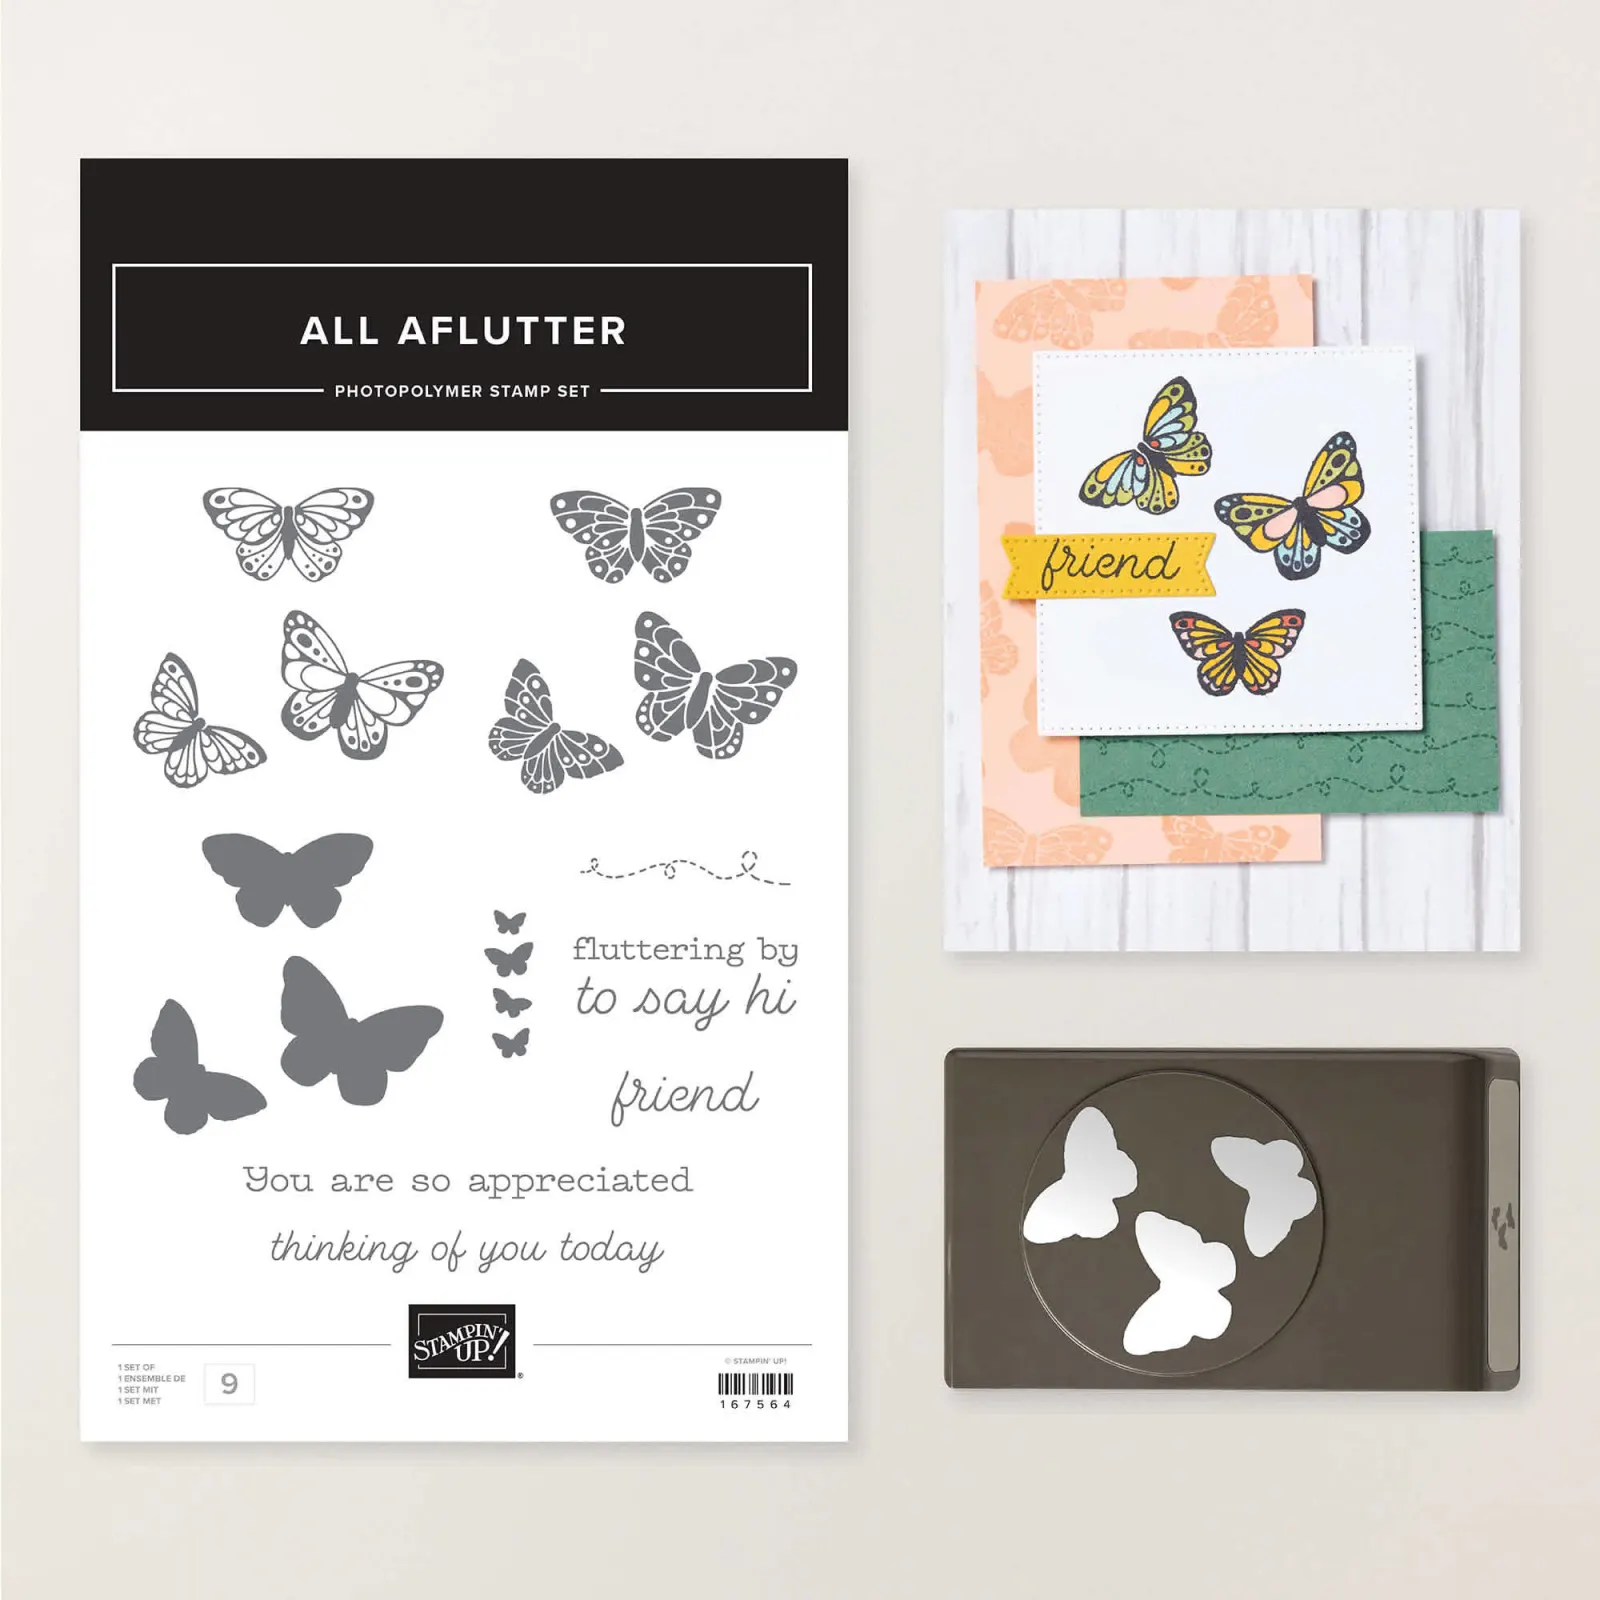
Check out all of the deals on the Last Chance list here. Remember to add on a Product of the Month if your order reaches the $75 point. It’s just $5!
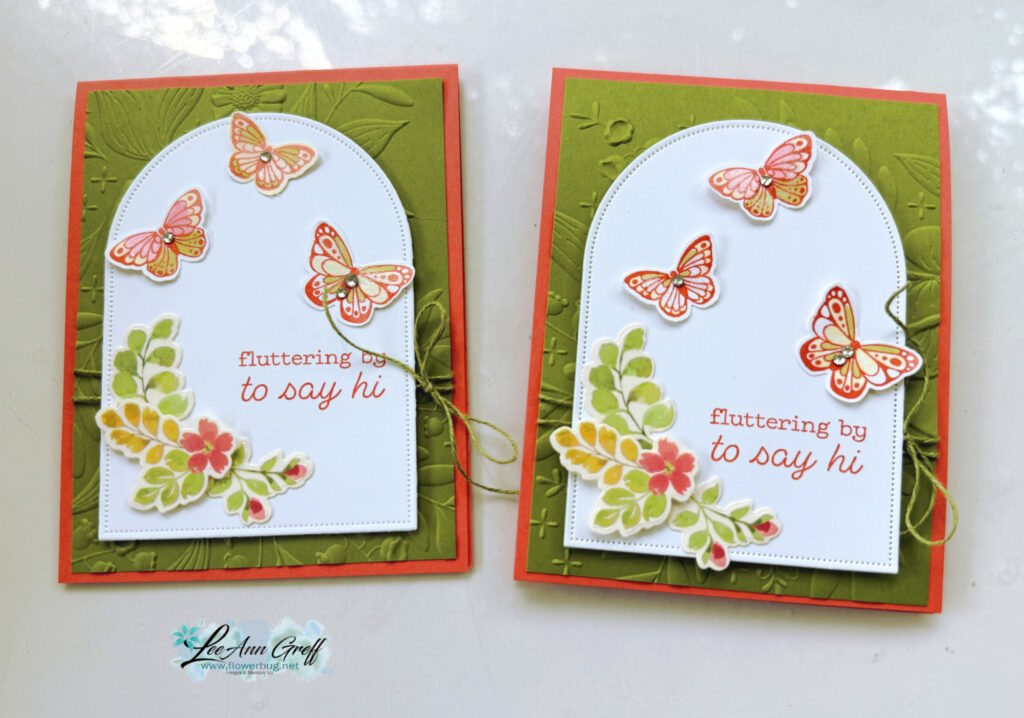
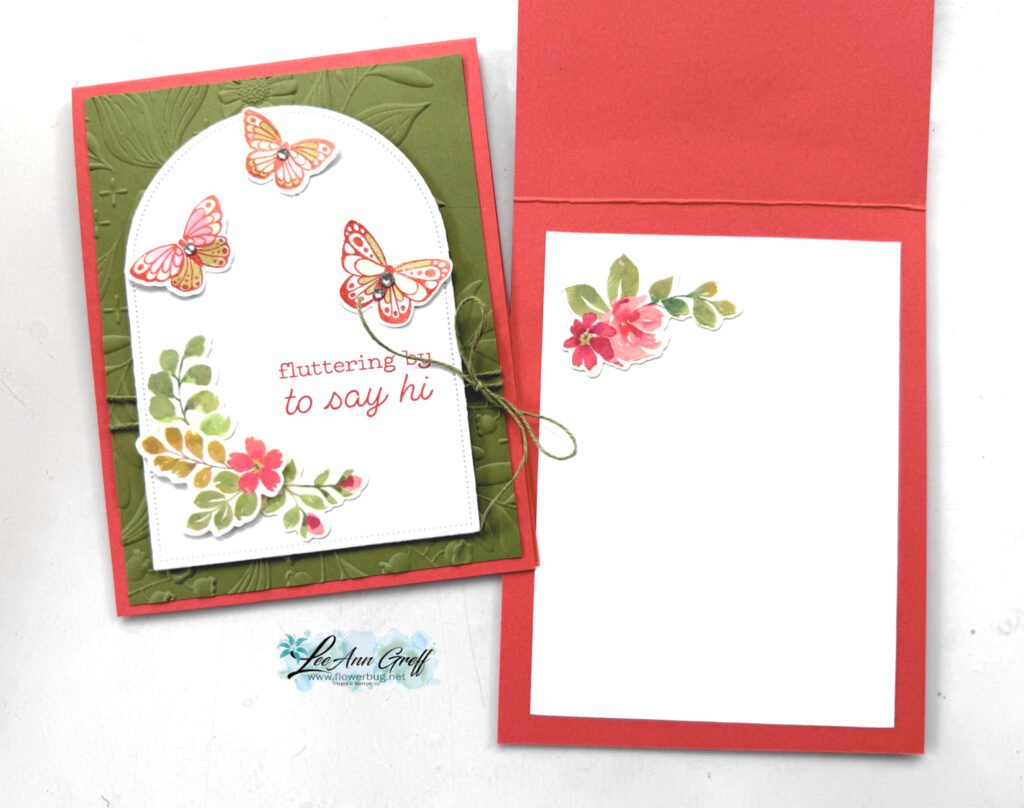
My colors include Calypso Coral, Old Olive and White. The Arches dies used in White here give a wonderful focal point to highlight the butterflies, greeting and flowers from the Washi tape. Unfortunately they are out of stock currently; but see them here and put your email in to get notified when they’re back in stock.
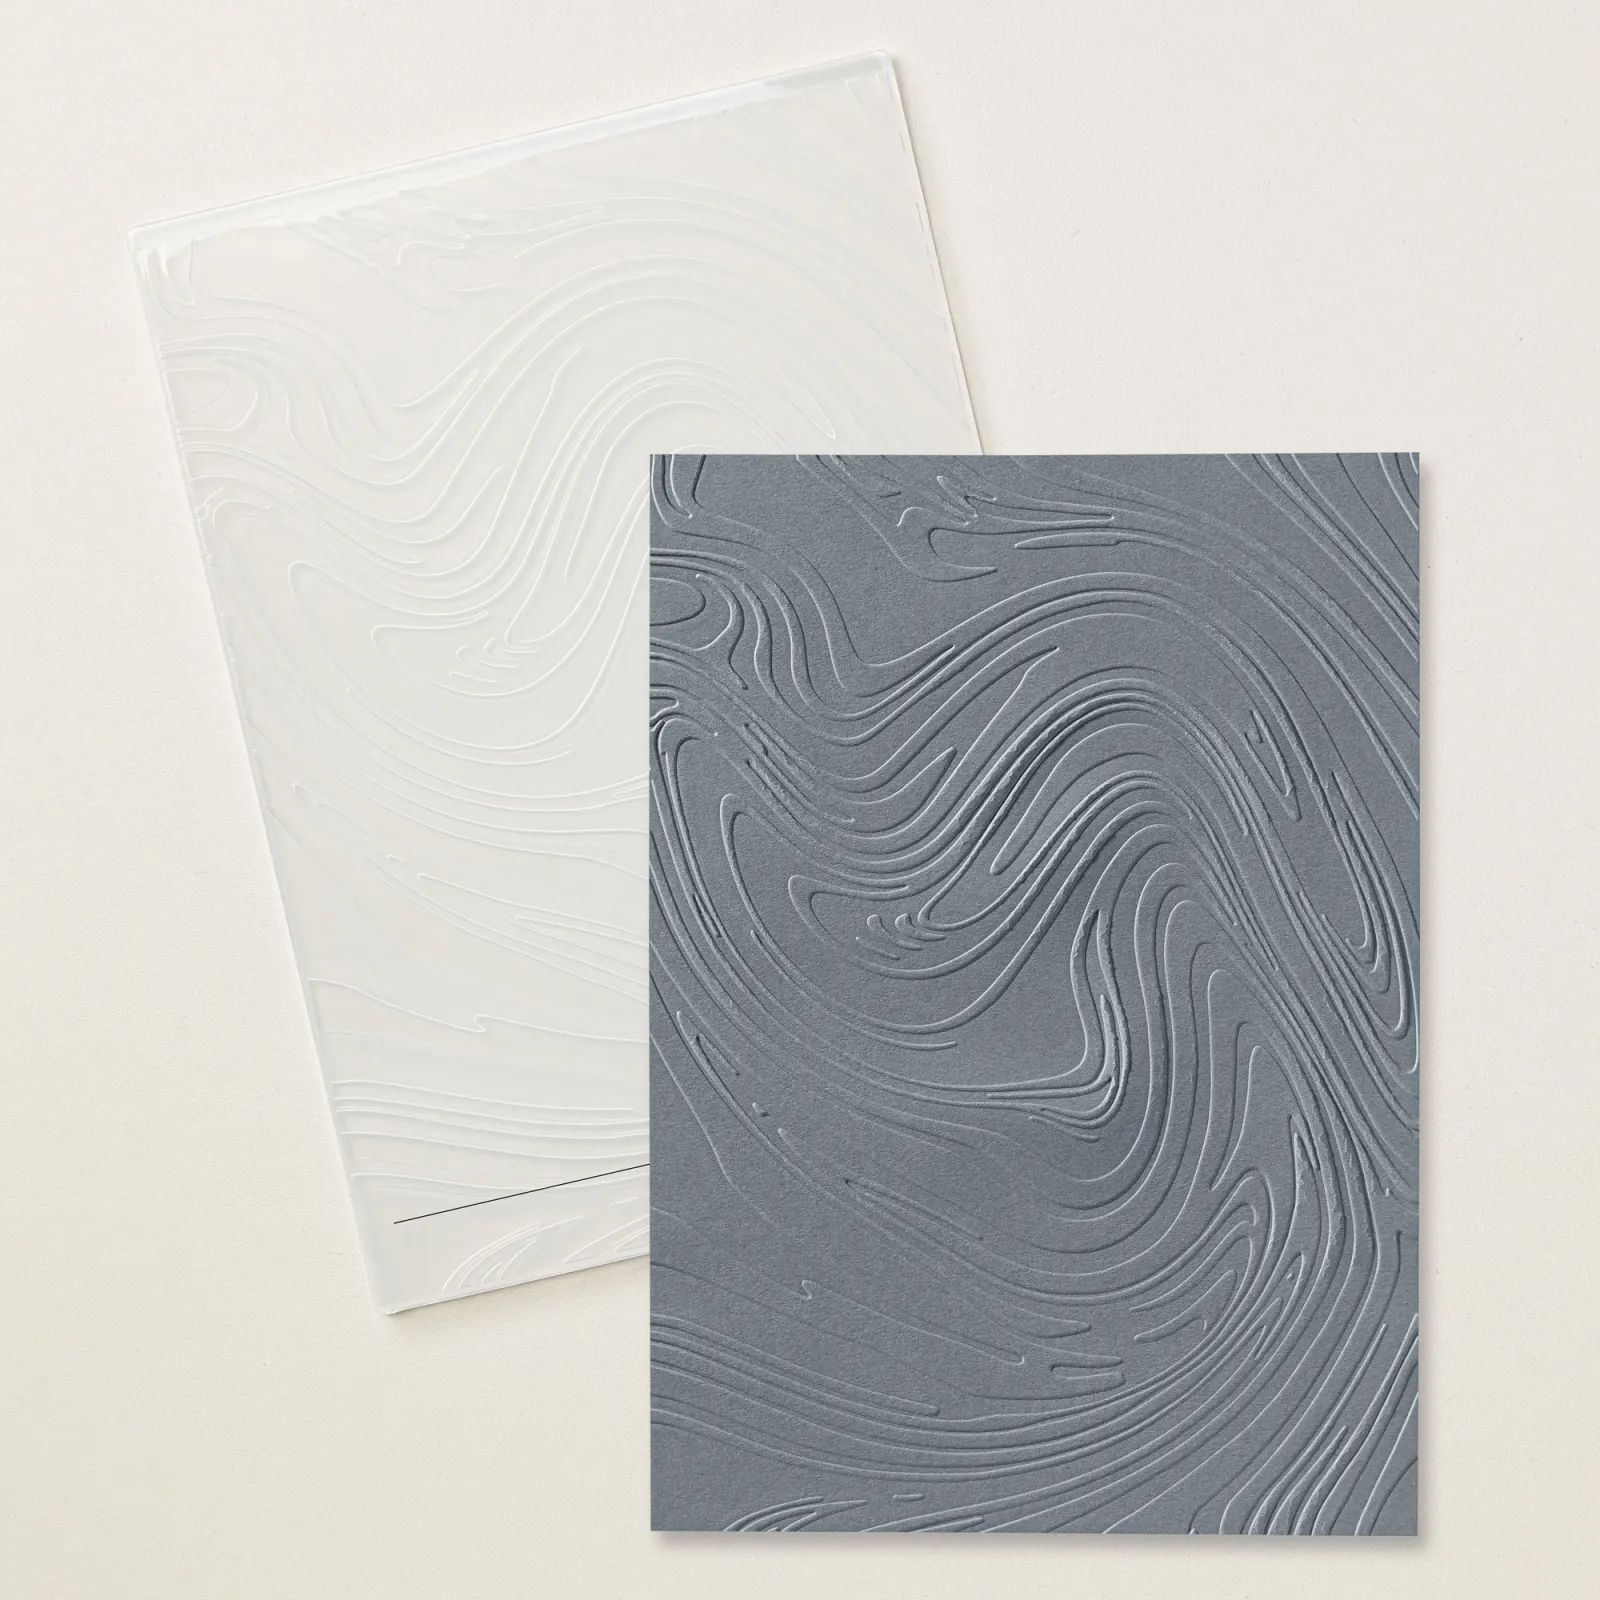
The background texture on the Old Olive layer is the Floral Spray 3D embossing folder.This folder is super popular and out of stock right now. Again, please add your email to be notified when it’s available.
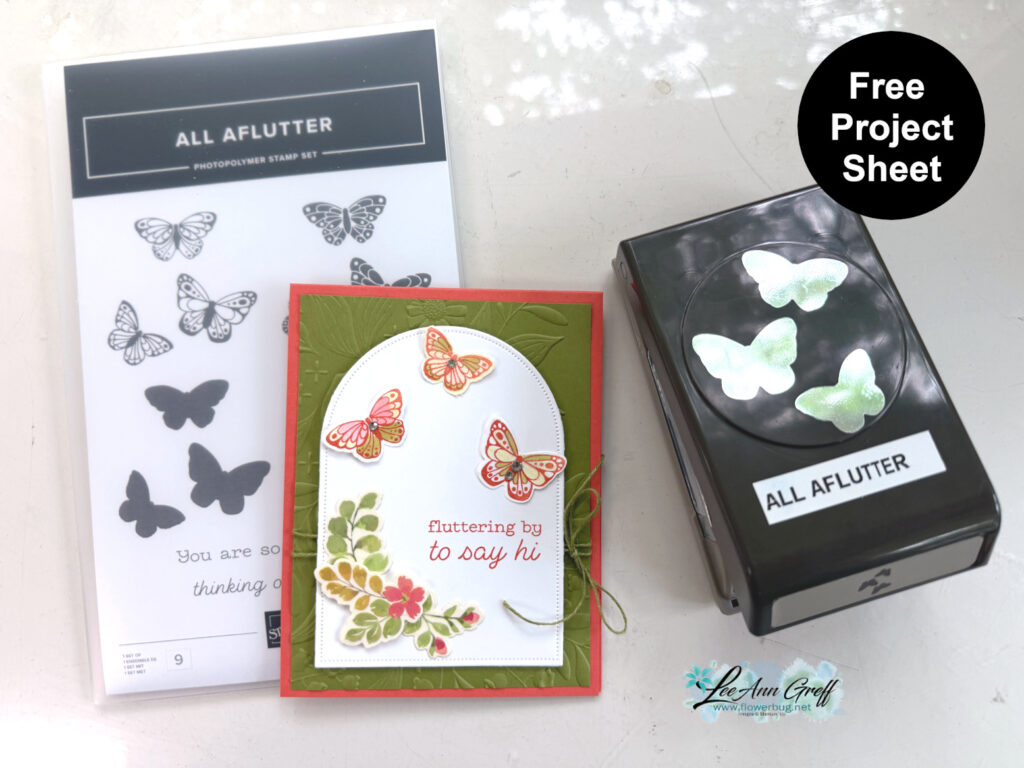
I love the Extraordinary Washi tape with coordinating die. You can cut out lots of colored flowers and leaves with ONE CUT! I save the extras to use them when I need just a little something extra. See the Washi tape here (you get 10 yards!) and the coordinating die-cut here. There’s also a bundle you can get here; it includes both the stamps and die-cut.
It’s simple to use this washi tape! Start by adhering a strip of it to white card stock (vellum or window sheet also works). Then use the die-cut to cut all of the pieces out.
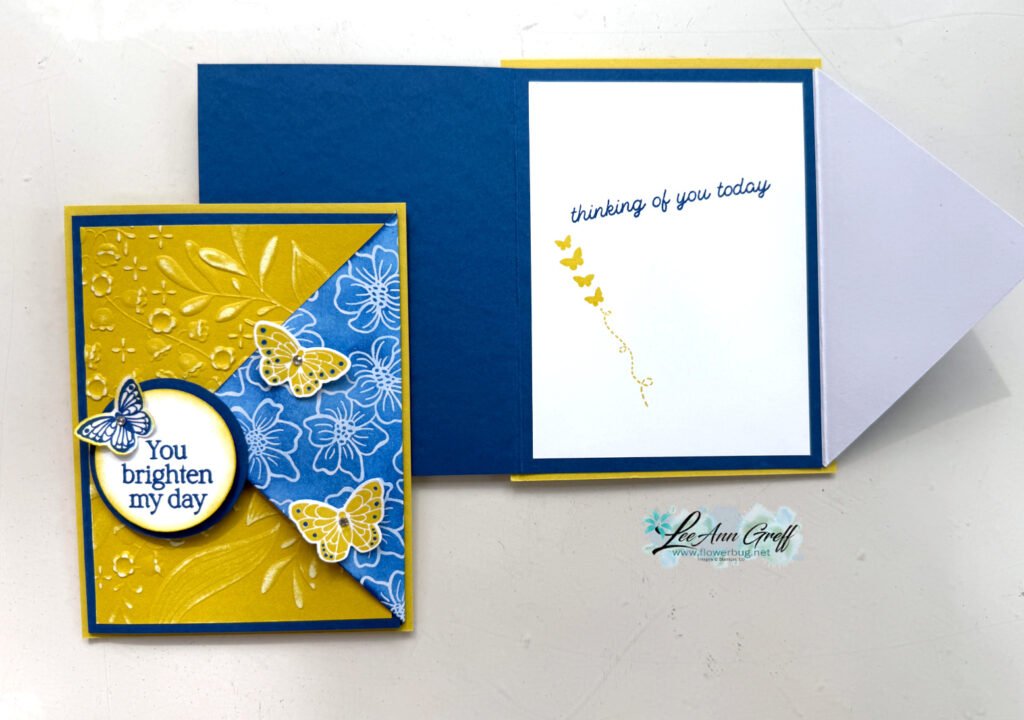
I created a free project sheet for this card.Click here to download it or print it out.
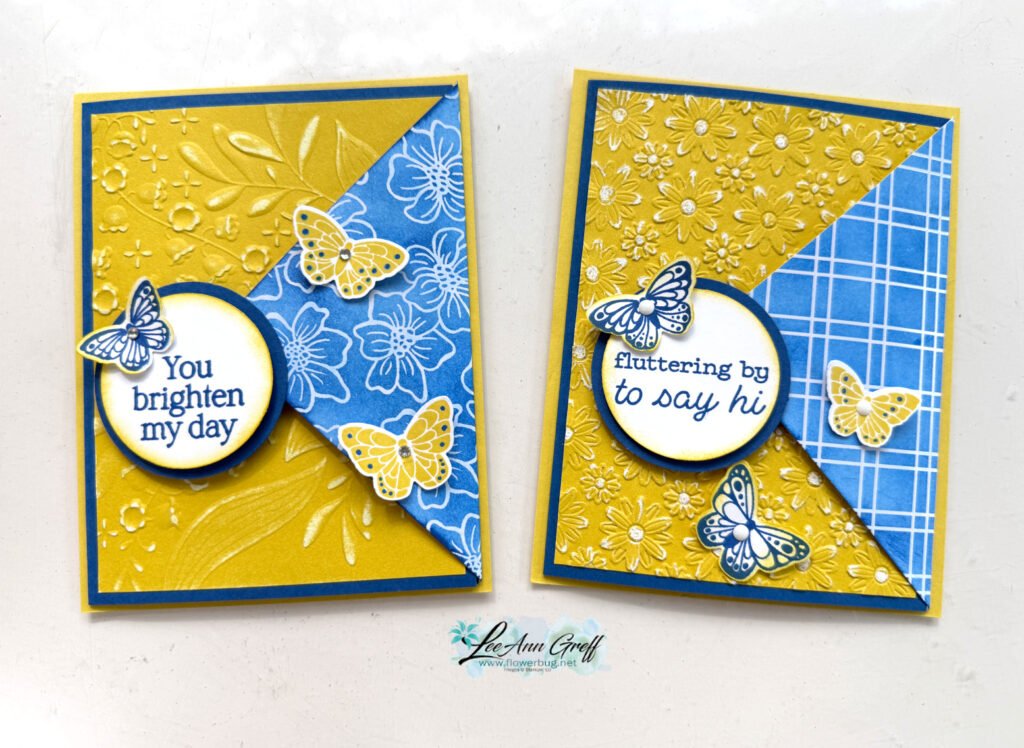
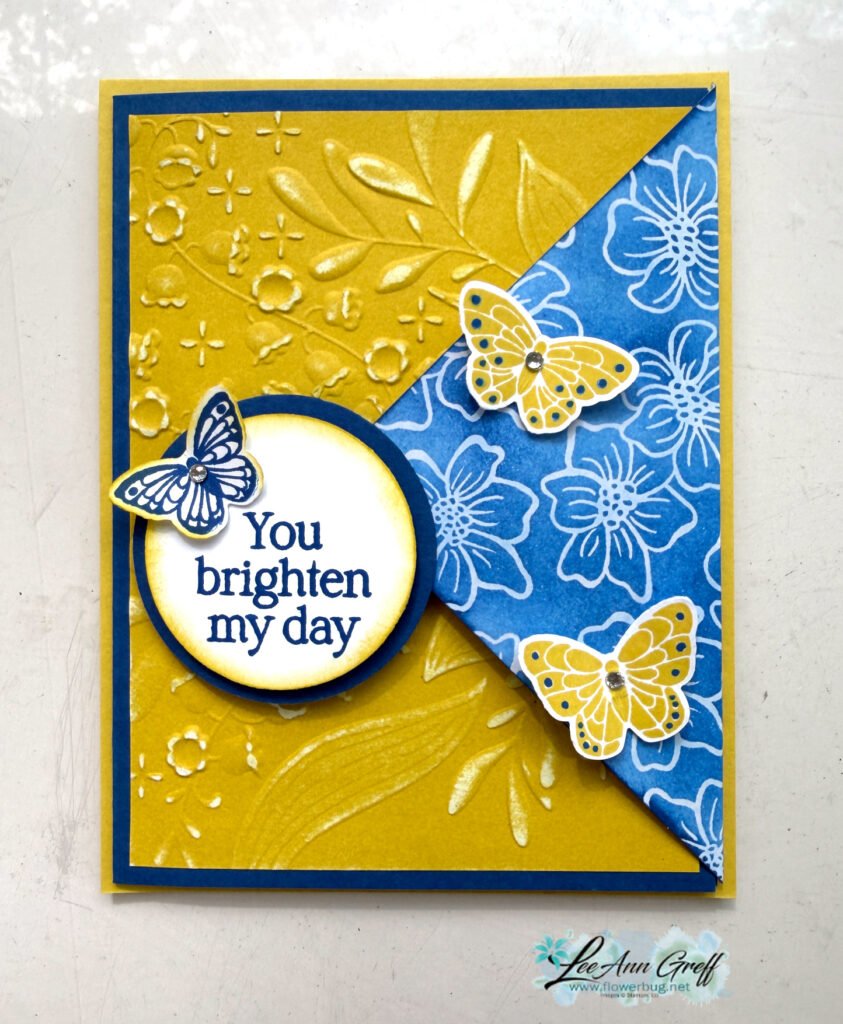
My colors include Darling Duckling, Blueberry Bushel with White. Wonderfully bright for summer! I used quite a few products here so I’ll list them for you.
The Irresistible designer paper is cut into a 3 3/4″ square and scored in the center diagonally. It’s adhered to the back of the Blueberry Bushel card base before that is adhered to the larger Darling Duckling CS.
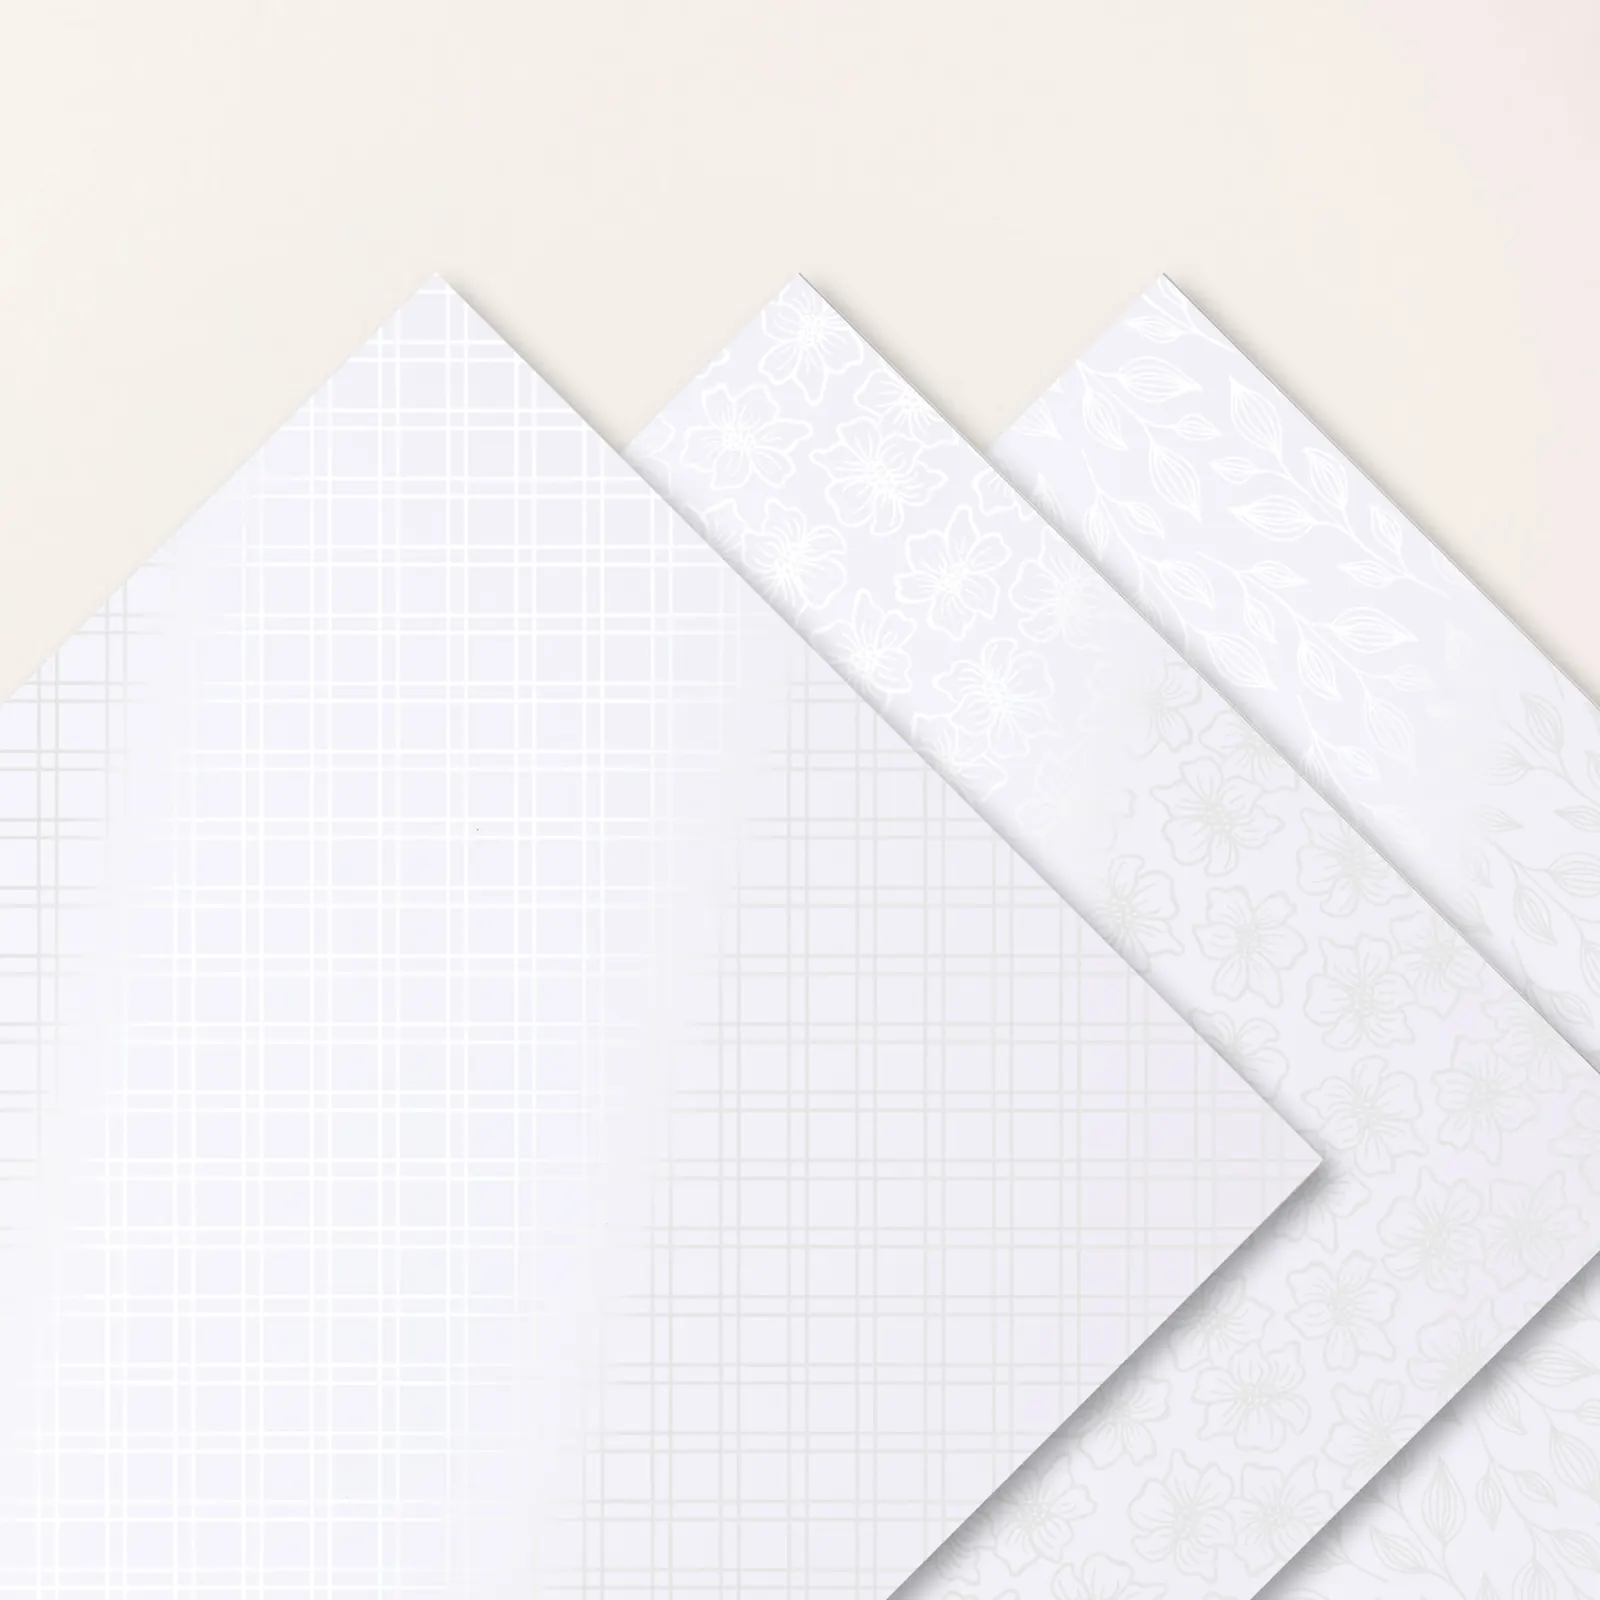
There are three patterns in this specialty Irresistible designer paper you can see here. When you add ink to this specialty paper it reveals the white shiny pattern.
Notice: LeeAnn Greff, Independent Stampin’ Up! Demonstrator, Manager. The content of this website is my sole responsibility as an independent Stampin’ Up! demonstrator and the use of, and content of, the classes, services, or products offered on this website is not endorsed by Stampin’ Up! Copyright 2025


Leave a Reply