/


Latest Post

Explosion ‘Wow’ cards with step by step video tutorial and template.


We made explosion cards on Facebook Live Monday night.  I host a free class called Stamp with Me Live on the last Monday evening of each month on my FB page here.  Be sure to follow me there.

I always upload the video on my NEW YouTube Channel afterwards so even if you're not on Facebook you can watch it later.  

I chose to use the Favored Flowers designer paper – it's a free Sale-a-Bration choice right now; while supplies last.  You can earn it free with any $50 order from Stampin' Up!.  See it here.  
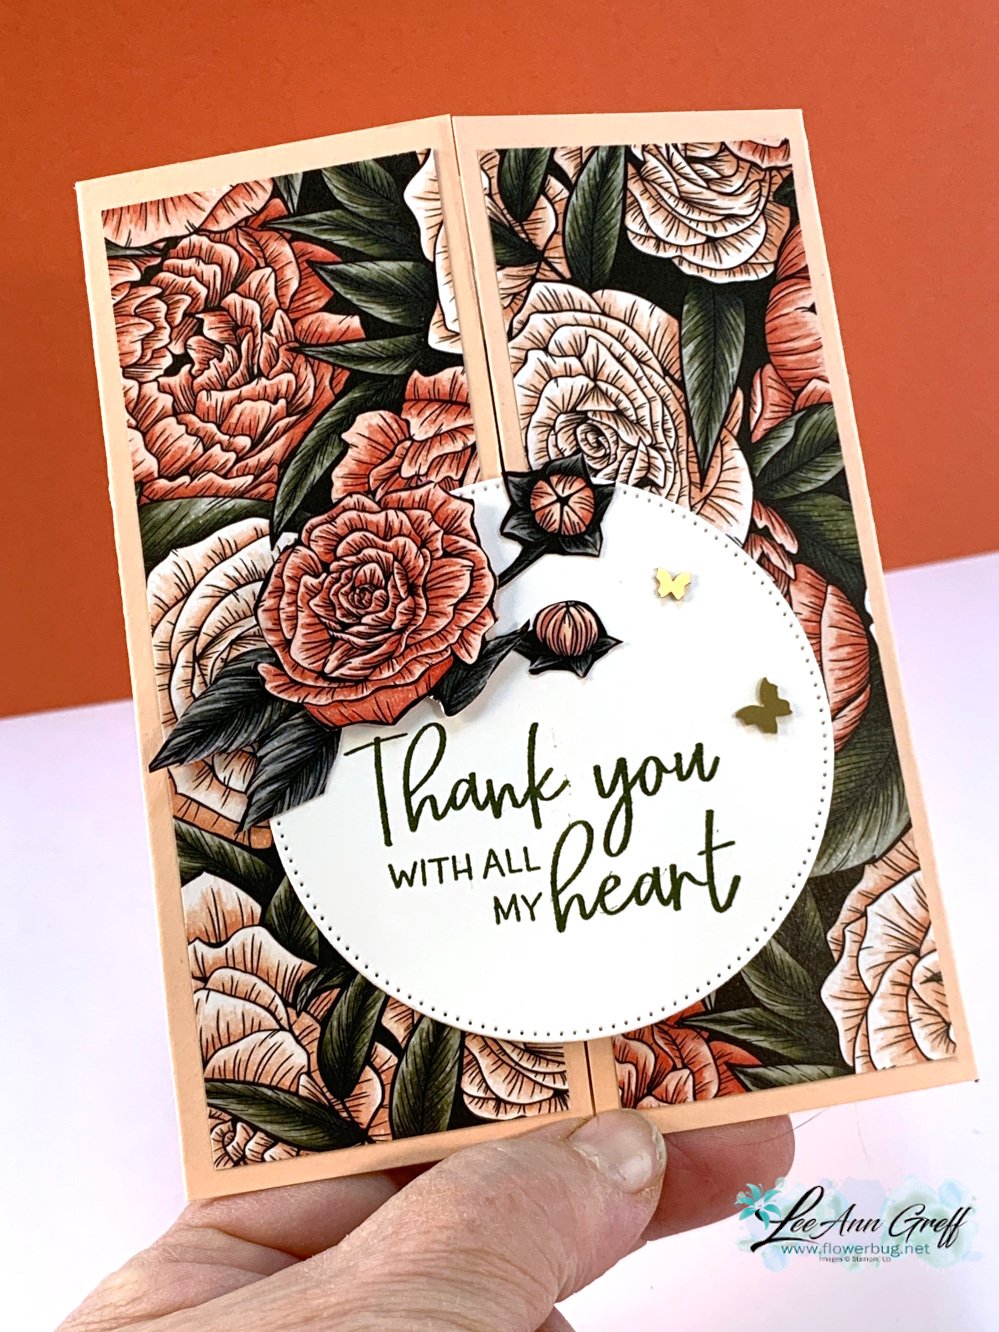
The card starts out as a gate-fold fun fold card.  Easy enough….  I chose to fussy cut a few flowers & leaves from the pretty DSP to add to my greeting element.  The greeting is from the Fitting Florets stamp set. The white stitched circle is from the Stylish Shapes dies.  I also added a few Brushed Brass butterflies; love these!  They're so dainty and nice & flat.  

Here's the inside view of the explosion insert: 

I added the layered squares on the diagonally at the center of the explosion piece.  Note that this is only adhered on the very outside edge of the inside card.  It sort of floats.  Please watch the video here to see exactly how it's done.  It's quite difficult to explain how this is done in writing.  

**I created a free project sheet for this card; Download it here

Below is the template I used for the designer paper explosion layer.  You'll start out with a 4" X 8" piece of designer paper and score vertically at 2", 4" and 6".  Then score on the diagonal 4 times as shown.

I hope you try making one of these; they're so fun! 

Click on the link below to watch how it's done. 

YouTube video here

~~~

Order online using the links below:

January Host code links: FYRQ94HR or 69GXSA3B

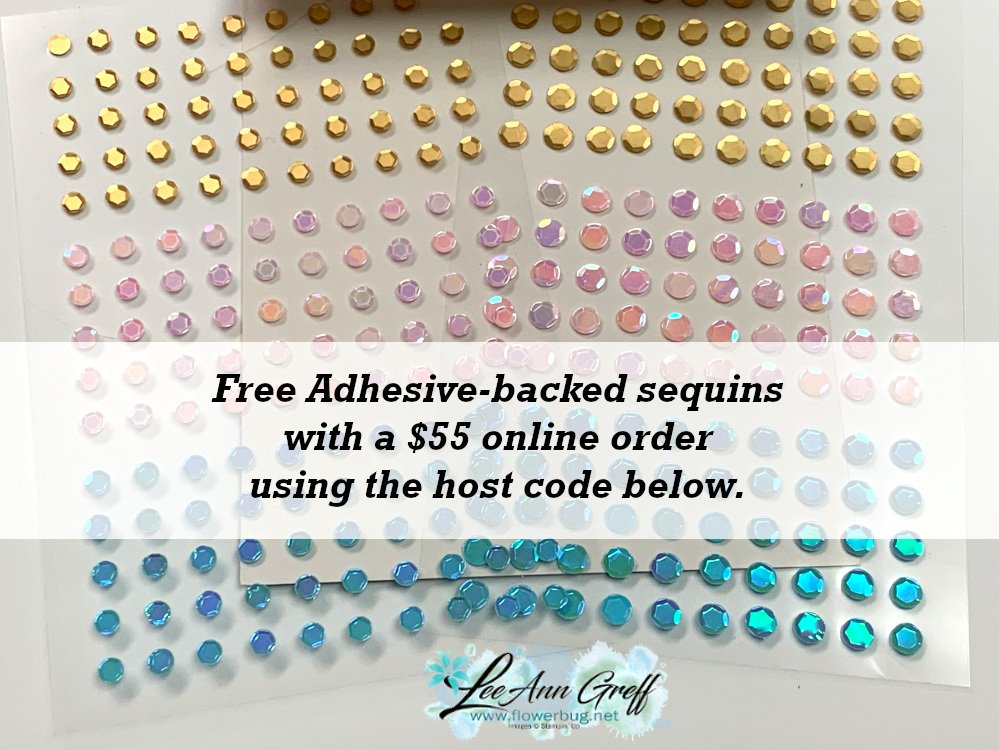
Get free Pastel Sequins with online orders over $55 when using the host code above! 

 Earn free products with my loyalty rewards! 
Click here to download yours and earn a $50 shopping spree!

~~~

Best Deal Ever on the Starter kit here!

Choose $175 in products for just $129 plus the new mini machine!

Or choose $175 for $99 without a new Mini.  AMAZING!

All Posts

  • New Product share & video tutorial on how to create sky through aspen trees


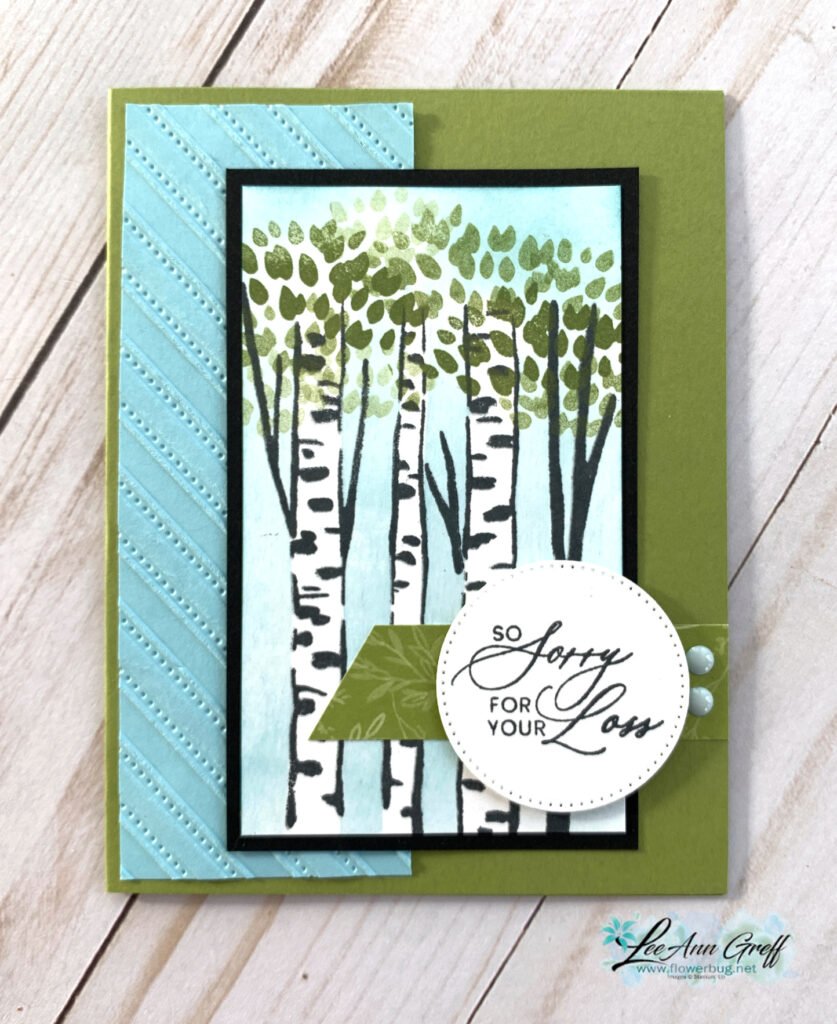
    Last week I shared a video highlighting the new products I pre-ordered from both the 2026 Spring catalog and the newest Online Exclusives. I also shared some swaps using new products including this one I made:

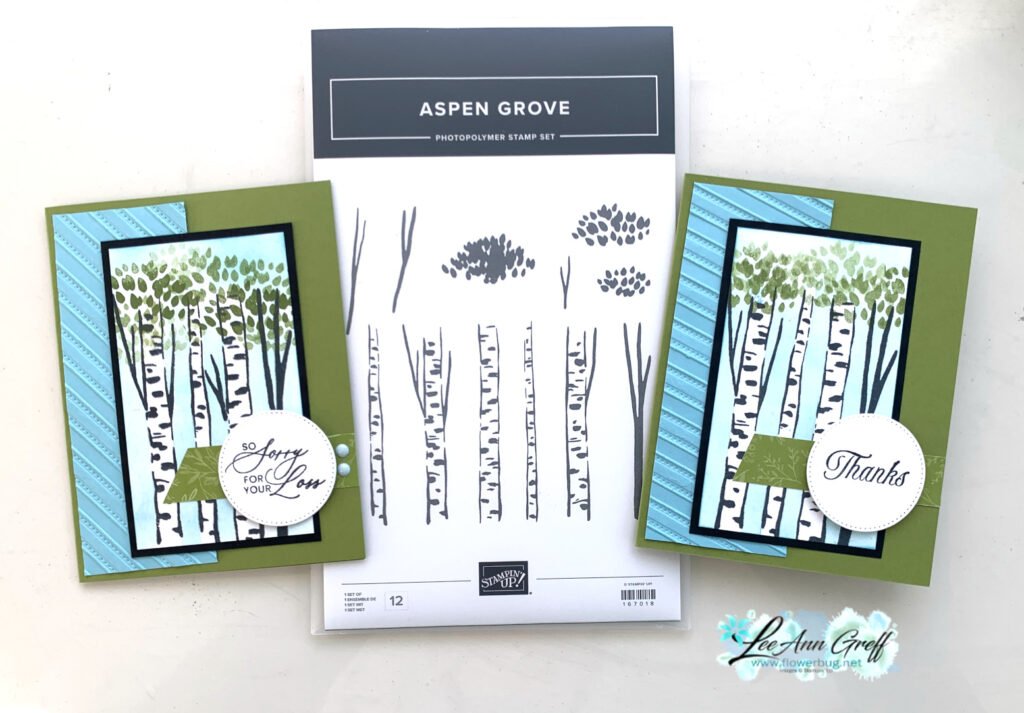
    This was made with a new stamp set called Aspen Grove. You might know I have a love for tree and leaf stamp sets so this was a definite ‘yes’ on my list. I made over 20 of these for my swap! But I like making multiples of cards I love.

    I chose Old Olive, Black and Balmy Blue as my colors here. I knew I wanted a blue sky between the tree limbs so I had to figure out a way to do that. Mmm…..

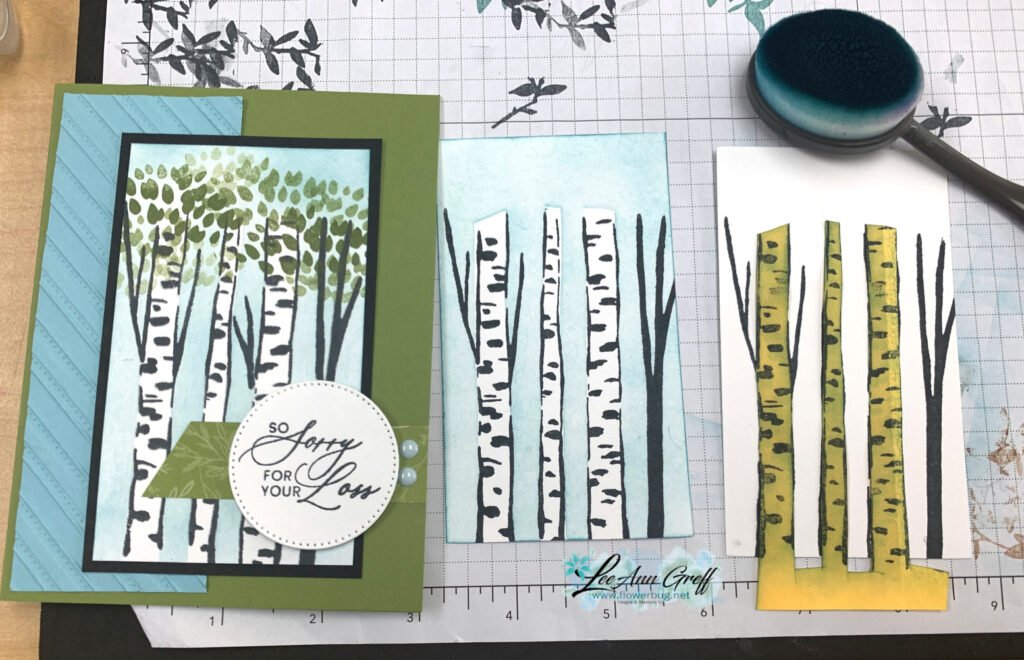
    Here’s what I did: I stamped the three tree limbs on a post it not and fussy cut around and between them. I then stamped on my White card stock and placed the post it note over the stamped image. Now I can add Balmy Blue ink over it all. Tip: I did add a bit more adhesive on the post it note but the best thing would be to use a post it note that is sticky all over (found at the office stores).

    After I added the blue sky with a blending brush I stamped the tree leaves repeatedly at the top using Old Olive ink, stamping in both 1st & 2nd generation inks (stamping off once).
    The greeting is from a new stamp set called Prayers & Promises.

    Here’s the free project sheet you can download or print. Click here.

    As you can see below the images in this set are mostly tree limbs and leaves. It’s what I like to call a ‘builder’ set where you can create your own scenes.

    Did you spy the new embossing folder called Lovely Stripes? I placed it in the folder on the angle to add more interest. This folder and the stamp set will be available starting tomorrow – Tuesday, January 6th! Click here to shop.

    Below is the video tutorial for this card and the new product shares too. I hope you watch! Don’t forget to subscribe to my YouTube Channel here.

    January Specials:

    Bonus days are here!

    Get this free PDF with all online orders in January!

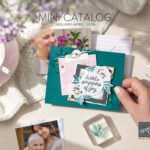
    The 2026 Spring Catalog is live!

    January’s Product of the Month
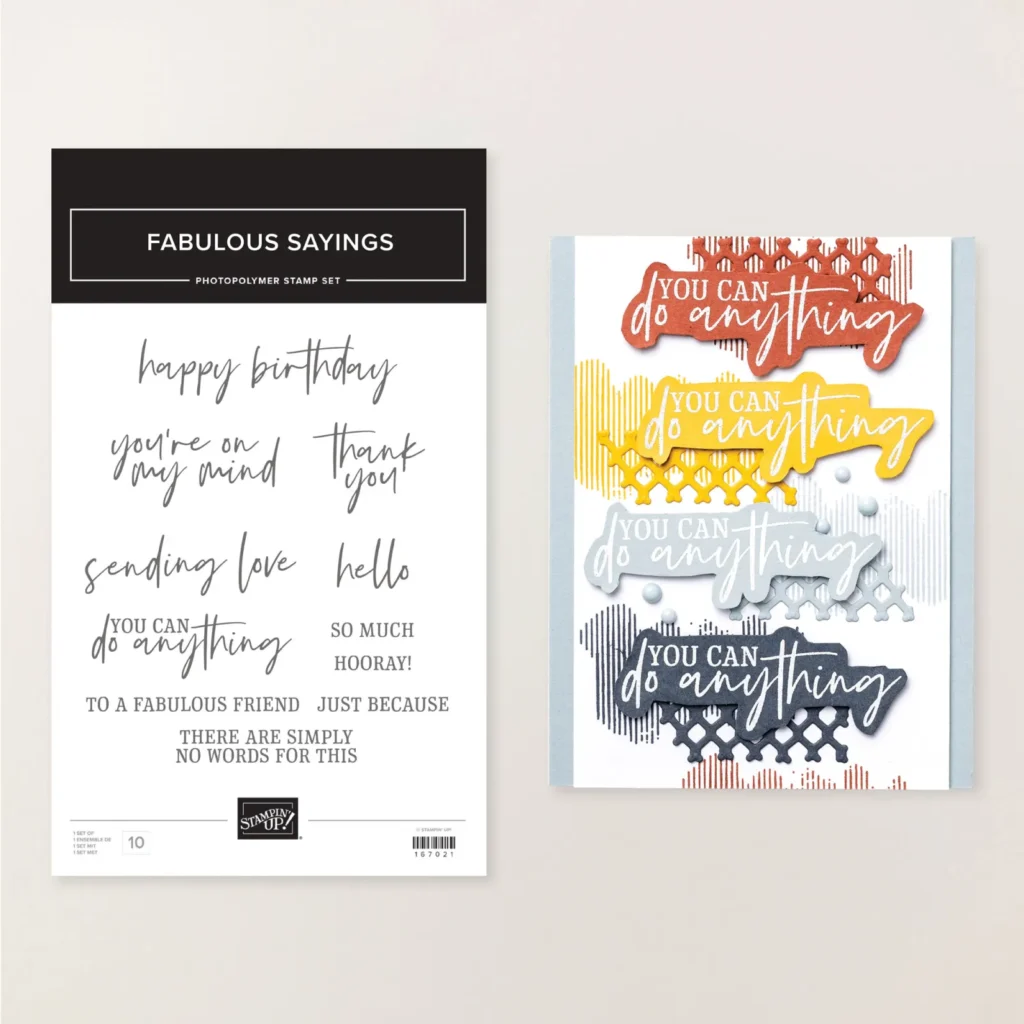
    Fabulous Sayings set
    Get it for $5 with any $75 purchase

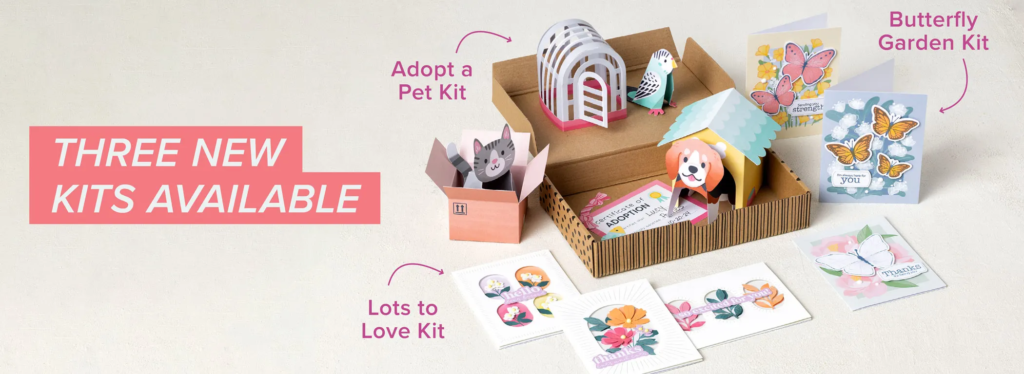
    Check out the newest Kits in our Kit Collection here.

    Leave a Reply

    Your email address will not be published. Required fields are marked *

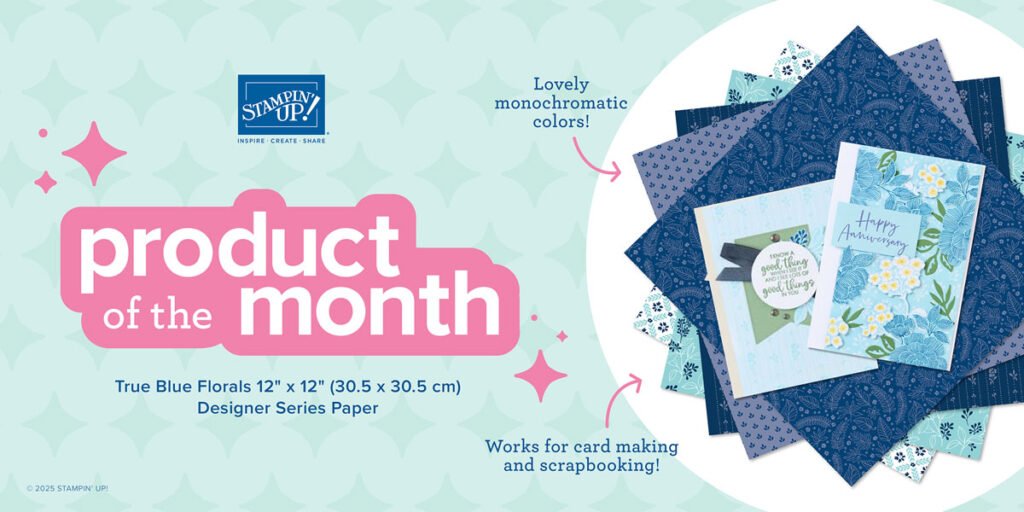
  • Don’t miss out on the True Blue Florals DSP!


    Happy New Year’s Eve!

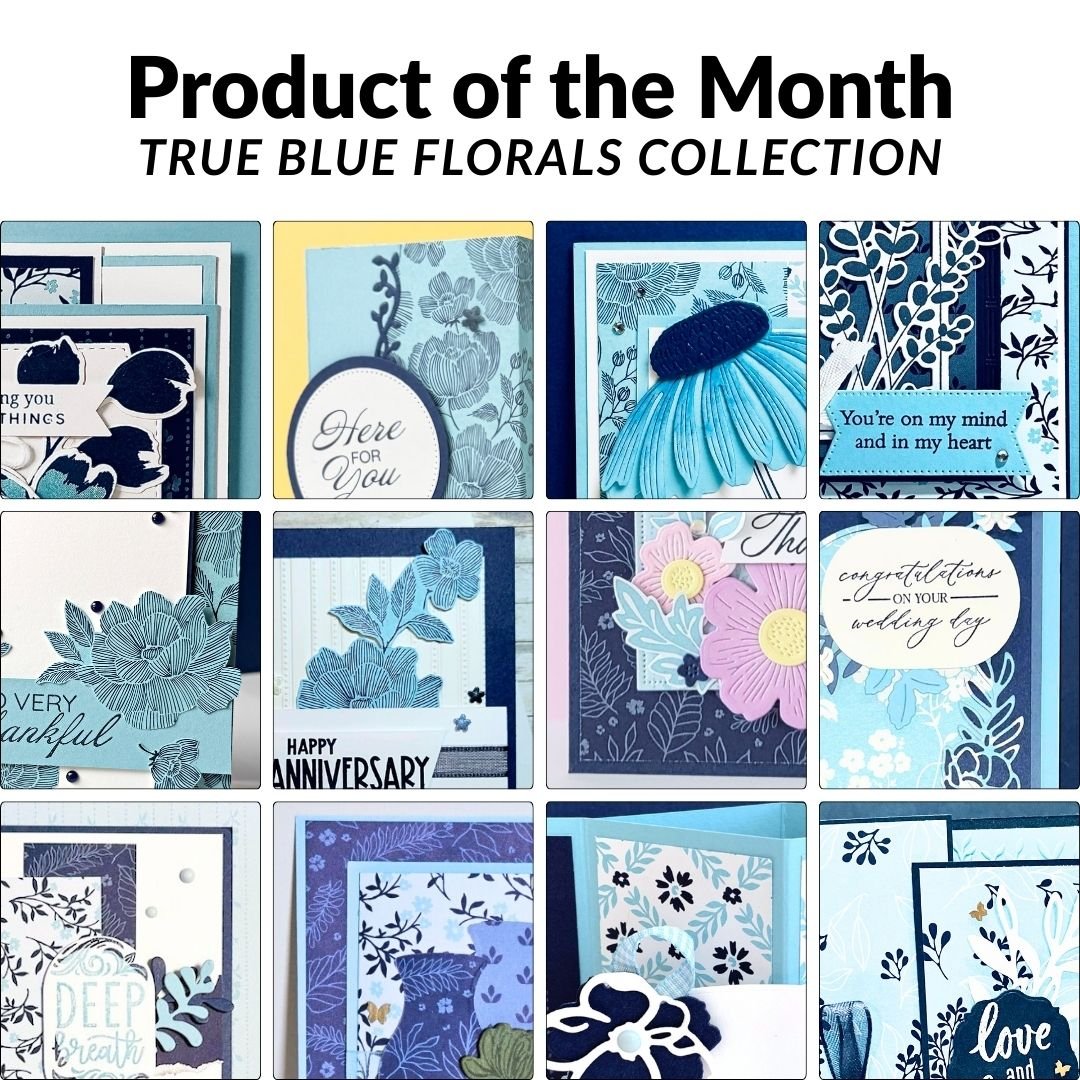
    This pretty True Blue Florals designer paper can be yours for just $5 once your order reaches $75. It’s the product of the month for December.

    You can see it here in the store. There are 2 sheets of 6 different patterns in 12 X 12″ size. If they have extra it may carry over into January. But there will be another NEW product of the month for January too!

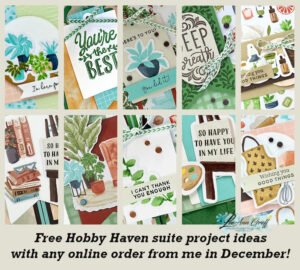
    I’m sending everyone who has purchased it from me a free PDF filled with 12 projects. I’m excited to collaborate with other Demo’s to offer this to my customers and team members.

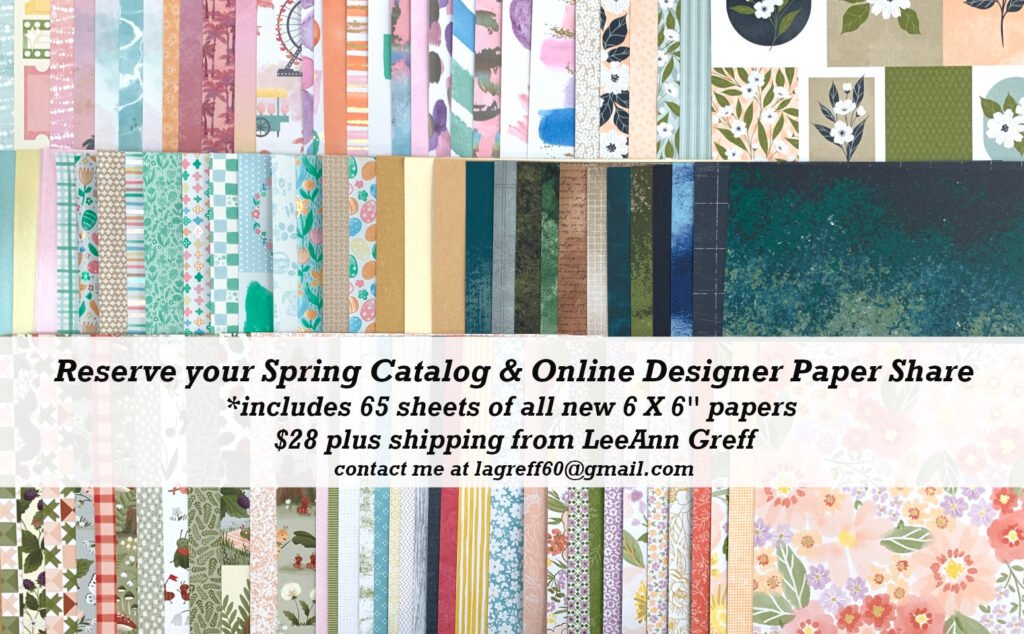
    The new Spring Catalog and Online products will be available to order on January 6th. However I am offering a new Designer Paper share for almost all of the new papers. Reserve yours now and be one of the first to get your share.

    It includes 65 sheets of 6″ X 6″ pieces from 13 different packs. It costs $28 plus shipping ($7). Or if you double the share you’ll receive 6″ X 12″ sheets and the shipping is Priority at $10.

    Click here to reserve your designer paper share.

    *You’ll receive a PDF with multiple projects featuring this product
    after the 20th of the month.
    ~~~

    The Last Chance list has been updated!
    Click here to shop.

    Get a free PDF tutorial with any online order from me in December!

    Leave a Reply

    Your email address will not be published. Required fields are marked *

  • Pretty card with a unique layout and new Spring Catalog products


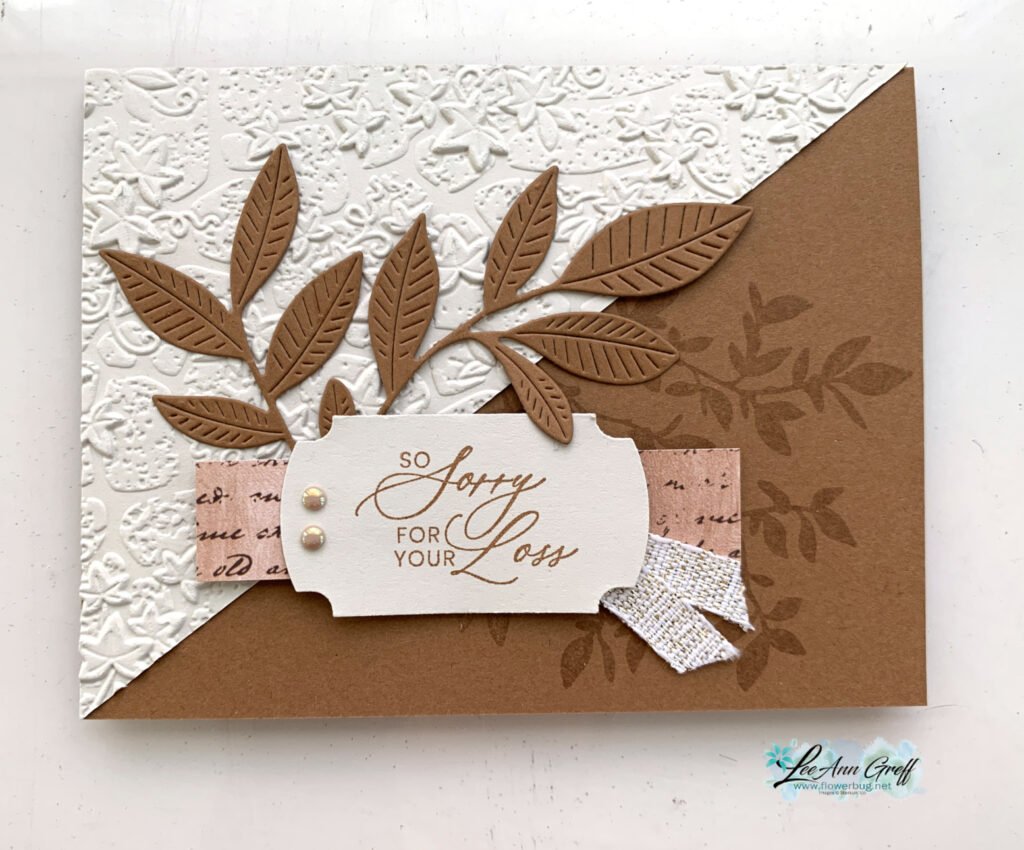
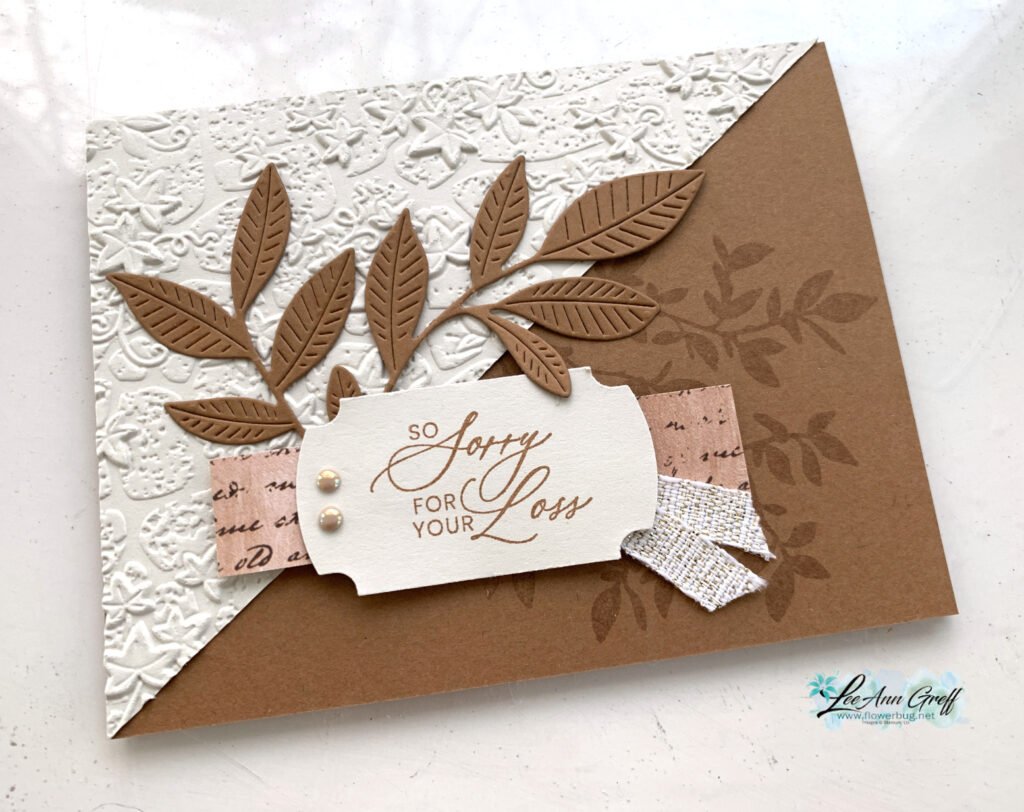
    Here’s the second card I shared on last week’s video. It features new product from the upcoming 2026 Spring catalog:

    Isn’t it pretty? My colors include Pecan Pie with Basic Beige and a small strip of the Nature’s Walk designer series paper.

    The stamp & dies bundle is called Nature’s Symphony. The textured triangle is the new Stone & Vine 3D embossing folder. The greeting is from the new Prayer’s & Promises stamp set – it’s a wonderful new set for sympathy or thinking of you greetings. The greeting is the Labeled with Love punch seen here.

    I’ll be sharing lots more new product in the next few weeks. In fact, in my weekly Live video today at 11 am CT I’ll share ALL of the new products I pre-ordered from both the 2026 Spring catalog and the newest Online Exclusives too. Join me here! Don’t forget to follow me so you’ll be notified with I go Live.

    This layout is simply one extra ‘diagonal half’ of a 5 1/2″ X 4 1/4″ piece of card stock added to the card front. Easy but has a unique look to it. This could be designer paper or card stock like I did here.

    If you’d like the free project sheet click here to print or download it.

    Below is the video tutorial I shared last week. It includes a second fun fold card as well.

    *You’ll receive a PDF with multiple projects featuring this product
    after the 20th of the month.
    ~~~

    The Last Chance list has been updated!
    Click here to shop.

    Get a free PDF tutorial with any online order from me in December!

    Leave a Reply

    Your email address will not be published. Required fields are marked *


Notice: LeeAnn Greff, Independent Stampin’ Up! Demonstrator, Manager. The content of this website is my sole responsibility as an independent Stampin’ Up! demonstrator and the use of, and content of, the classes, services, or products offered on this website is not endorsed by Stampin’ Up! Copyright 2025