/


Latest Post

Exclusive Virtual Card Retreat opportunity! October 1st & 2nd


Experience the joy of crafting when you join this two-day virtual retreat for people who love card making and community.
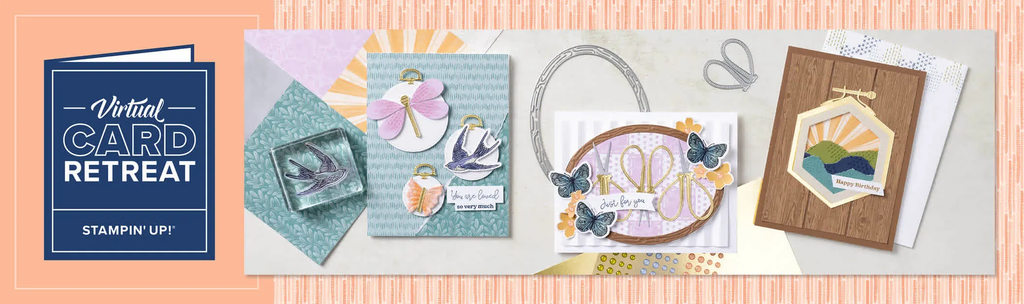
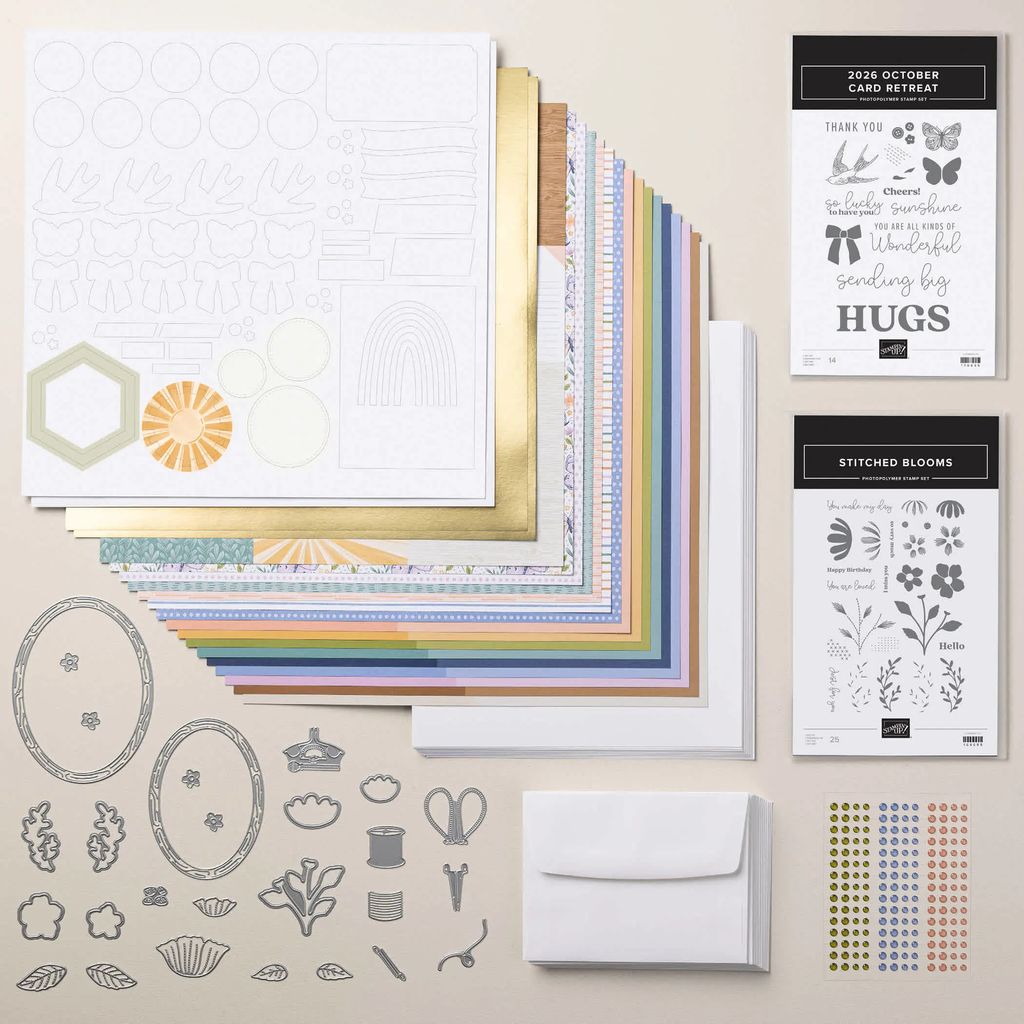
During the retreat, you’ll build creative confidence as you make 15 beautiful, technique-focused cards and craft along with Stampin’ Up! staff using the 2026 October Card Retreat kit. We’ll even have some fun giveaways!
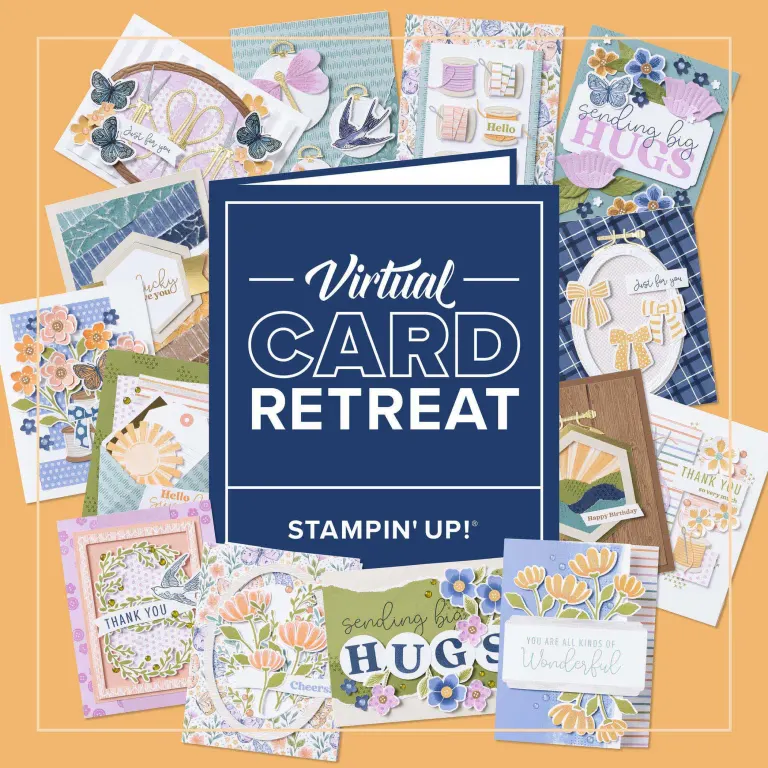
It’s $165 for the products and the virtual class and you earn product credits on this purchase too! See it here.

What’s included in the Virtual Card Retreat:
– Card making supplies for 15 cards: This kit includes two stamp sets, one die set, Designer Series Paper and Two-Tone Cardstock with cut guidelines printed on the back, printed precut images, embellishments, envelopes, Basic White Cardstock, and one sheet of gold foil paper. (See the Additional Supplies List below for products you will need to complete the retreat projects; you may already have some of these supplies in your craft stash.)
– Access to a crafting community: This kit also includes a card with a personalized link to the exclusive Facebook group where we’ll host the event. In our exclusive retreat Facebook group, you can meet and connect with fellow crafters, ask our talented Stampin’ Up! staff all your questions, share your progress, learn from other creative people, and get motivated by the amazing community.
– Craft along with live instruction: During the retreat, we’ll stream LIVE on Facebook and have presentations by Stampin’ Up! staff, including CEO Sara Douglass. The retreat will be recorded and available for replay in the Facebook group so you can watch later and craft at your own pace.
– Detailed instructions: You can download step-by-step project instructions before the event. Reference these instructions as you craft or use them after the retreat is over.

These products are exclusive to this class and not available separately.
Even if you don’t have the products in time to join this class on October 1st & 2nd it’s recorded so you can access the link anytime afterwards.

Tip: When purchasing this class add on a Product of the Month before you check out!
All Posts

  • Choose to get Stampin’ Up! products at a discount… and help me achieve my goal


    Many people love being a Stampin’ Up! customer. And that’s absolutely fine! But did you know you can be a Demonstrator without doing anything more than you do as a customer? Yes, it’s true!

    • Place orders whenever you wish
    • There’s no need to hold classes or events. There’s no need to run a business unless you want to.
    • When you’re done ordering you simply stop; it’s that simple!
    • Enjoy the discount on all future purchases!

    I have a personal goal and need 4 more people to join in October. Can you help me out and start saving on each order you place?

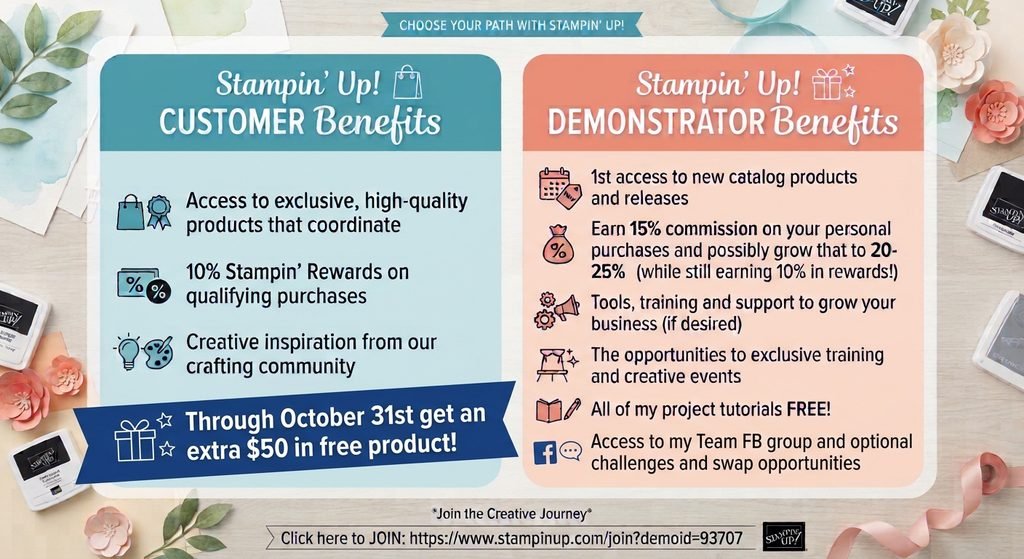
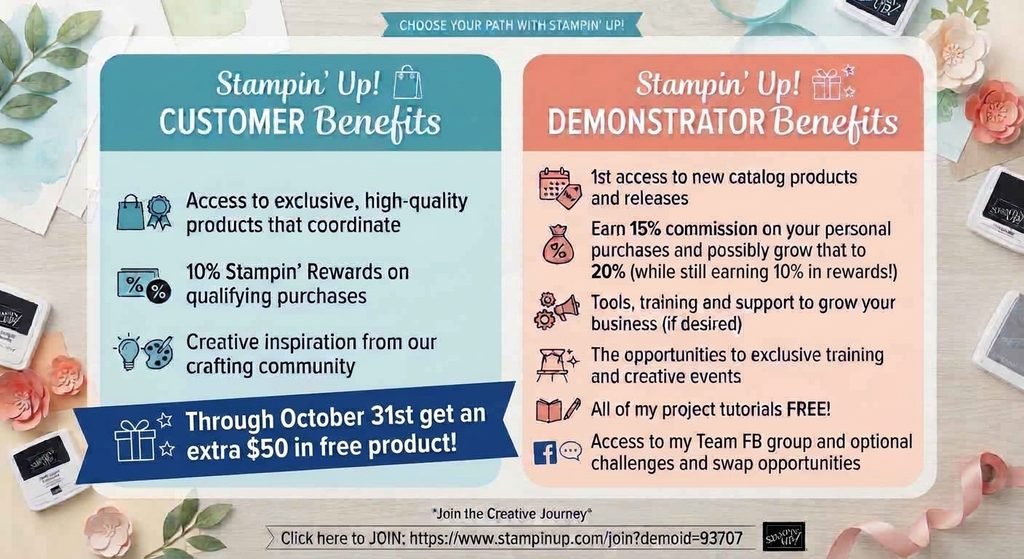
    Here’s a graphic with the details:

    Right now, through October 31st you can grab the starter kit deal and get up to $75 in FREE product of your choice!

    The kit costs $100 and you’ll receive a coupon for your starter kit purchase of $125 or less. Then you’ll receive an additional $50 in free product rewards! Click here to get started

    Details:

    • You get 15% discount on all products and can increase that to 20%.
    • There’s a minimum purchase of $300 a quarter to stay active. 
    • But your first quarter is waived so you have until March 31st to get that $300 in and each order counts towards that first $300.
    • And, when you order Stampin’ Up! counts your purchase at full price but you only pay at the discounted price.  For example, order $100 and pay just $85.  Tax and shipping is added to the discounted price.
    • In addition to your 15-20% discount you still earn 10% in product rewards; just like customers!  *your customer earned rewards transfers to your demo account.
    • You can stop ordering as a demo at any time.  There’s no pressure to continue.  It’s totally up to you on how long you stay. 
    • Get ALL of my project tutorials in my Team newsletter each month!

    I hope you’ll consider getting the Starter kit this month; you will not regret it!

    Leave a Reply

    Your email address will not be published. Required fields are marked *

  • A set of Autumn ‘5 at a time’ cards; with video and free project sheet


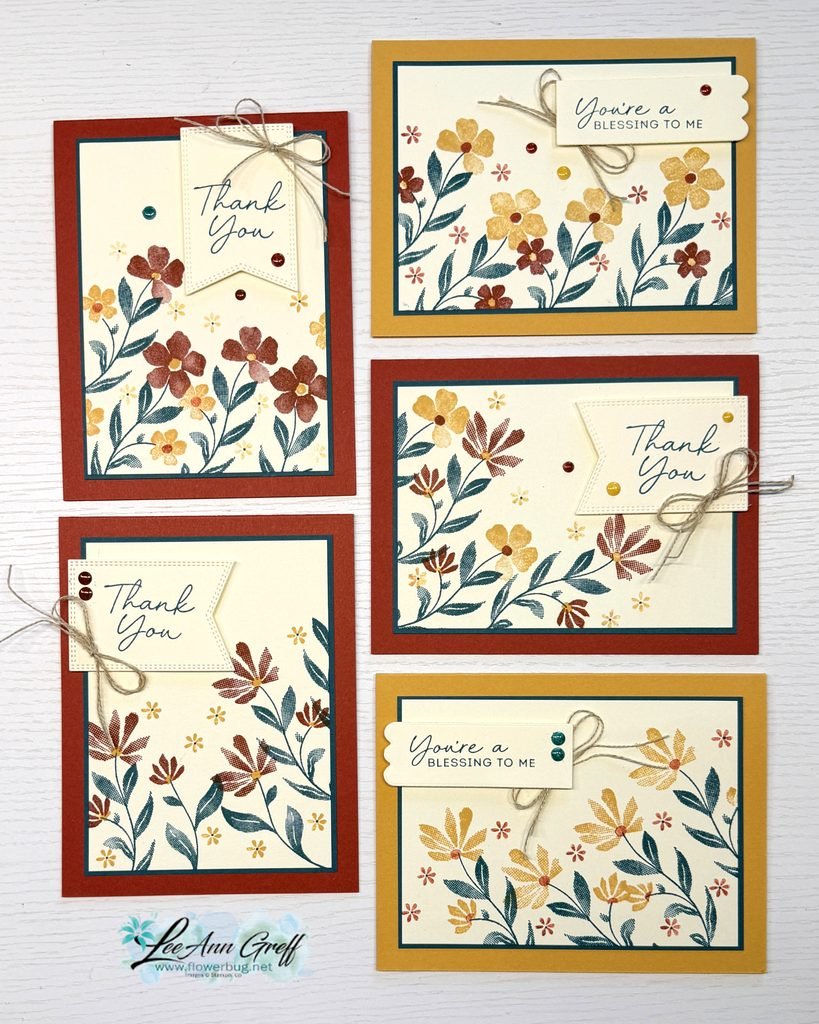
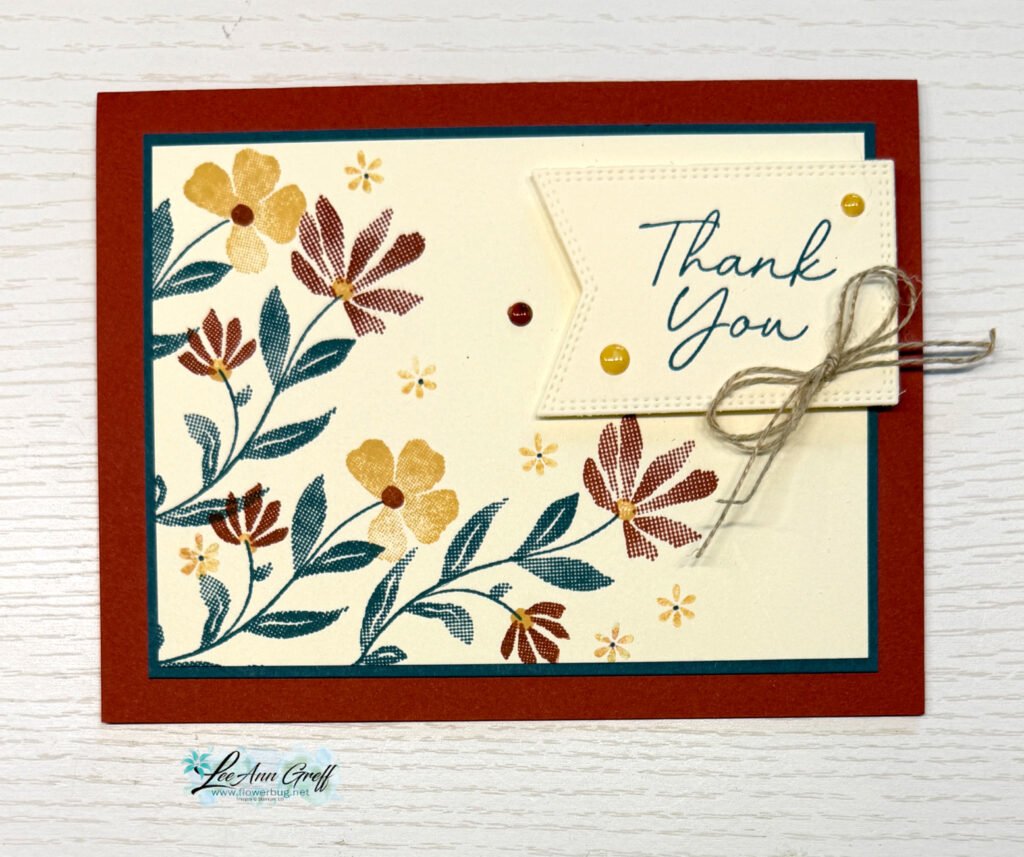
    Look at these beautiful cards; all made by stamping one sheet of Vanilla card stock and cutting it into 5 pieces!

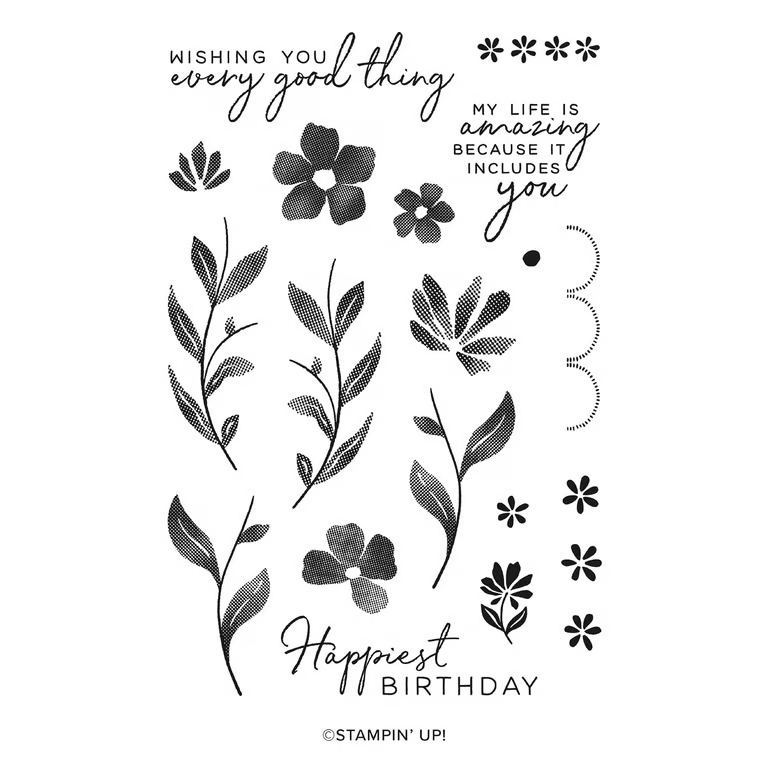
    Just like the cards I shared yesterday, they’re stamped with the Tile Garden stamp set seen here. I wanted to create these cards in fall colors instead of the summery colors I shared yesterday.

    Here I used Cajun Craze, Golden Glow and Pretty Peacock with Very Vanilla. I love how they turned out!

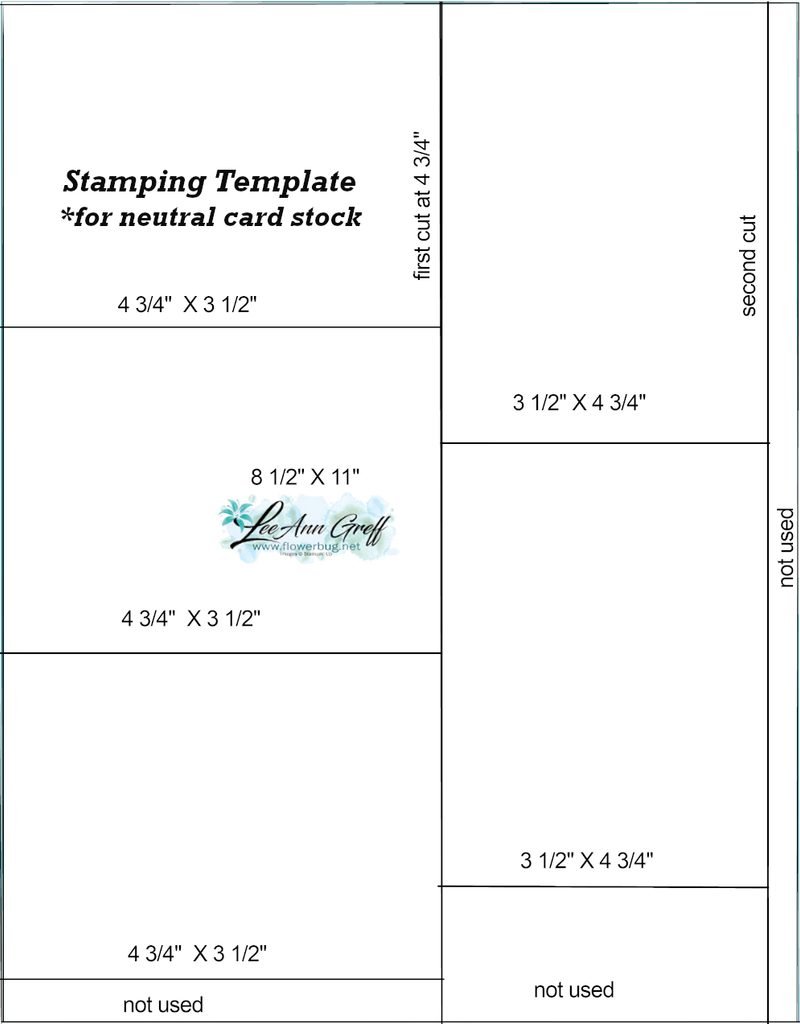
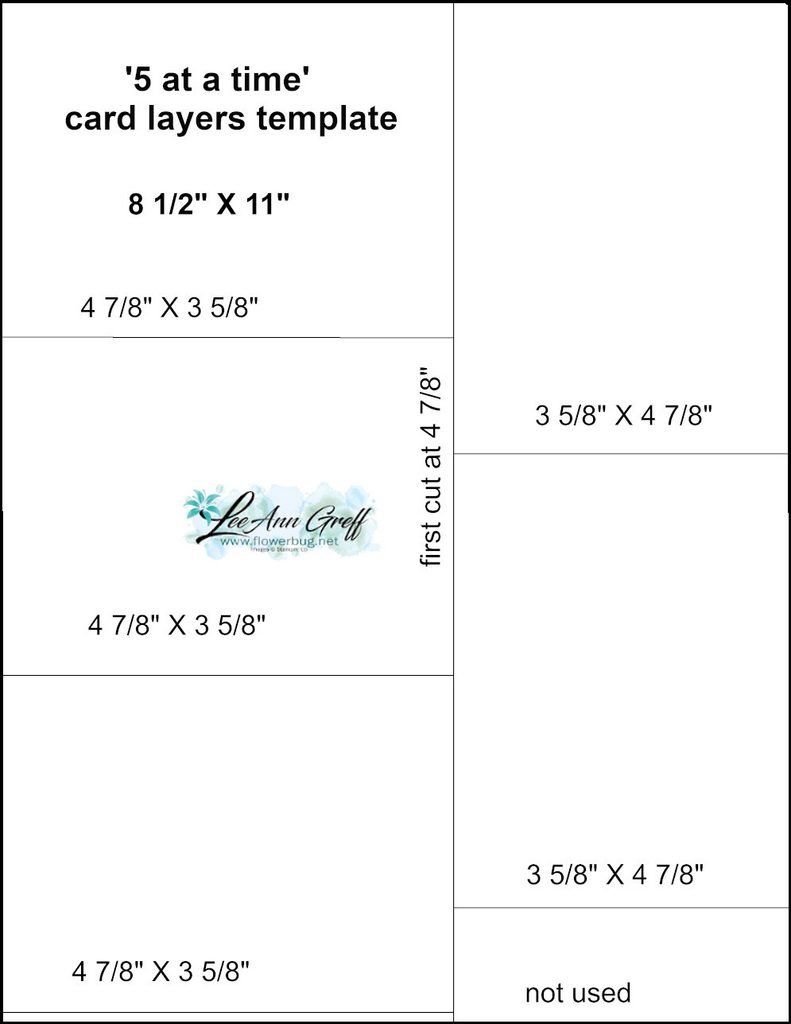
    The 2 templates for both stamping and the Pretty Peacock layers are all made from a single sheet of 8 1/2″ X 11″ card stock. Use them as a cutting guide.

    This first one is for the Vanilla or ‘neutral’ stamped layer.

    This next template is the one for the Pretty Peacock layer; under the stamped Vanilla pieces. I love how you can use your card stock so effectively!

    Both of these templates are included in the free project sheet I created. Click here to print or download it.

    And below is the video tutorial I shared last week with an entire different set of cards! I’ll share another version tomorrow.

    Remember that the join offer ends Saturday! You get an extra $50 in free products when you choose the Starter kit.

    You won’t regret it! Click here.

    Leave a Reply

    Your email address will not be published. Required fields are marked *

  • 5 beautiful cards the easy way; with my ‘5 at a time’ templates!


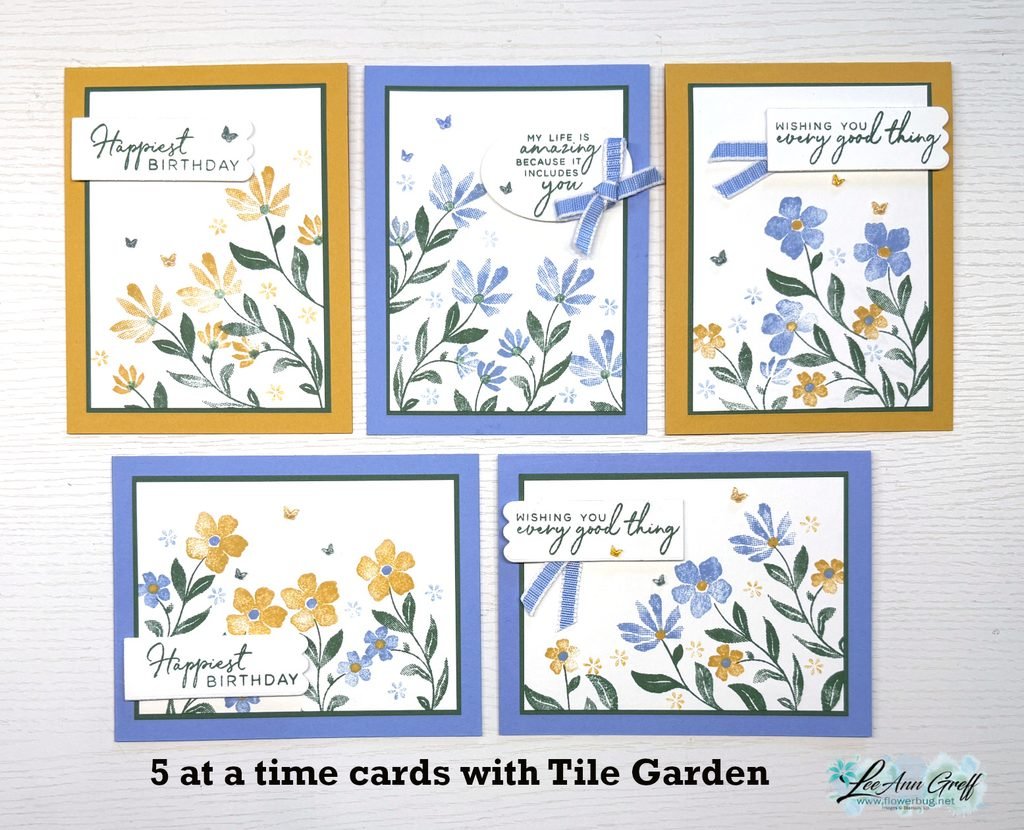
    Check out these gorgeous cards made with my 5 at a time templates!

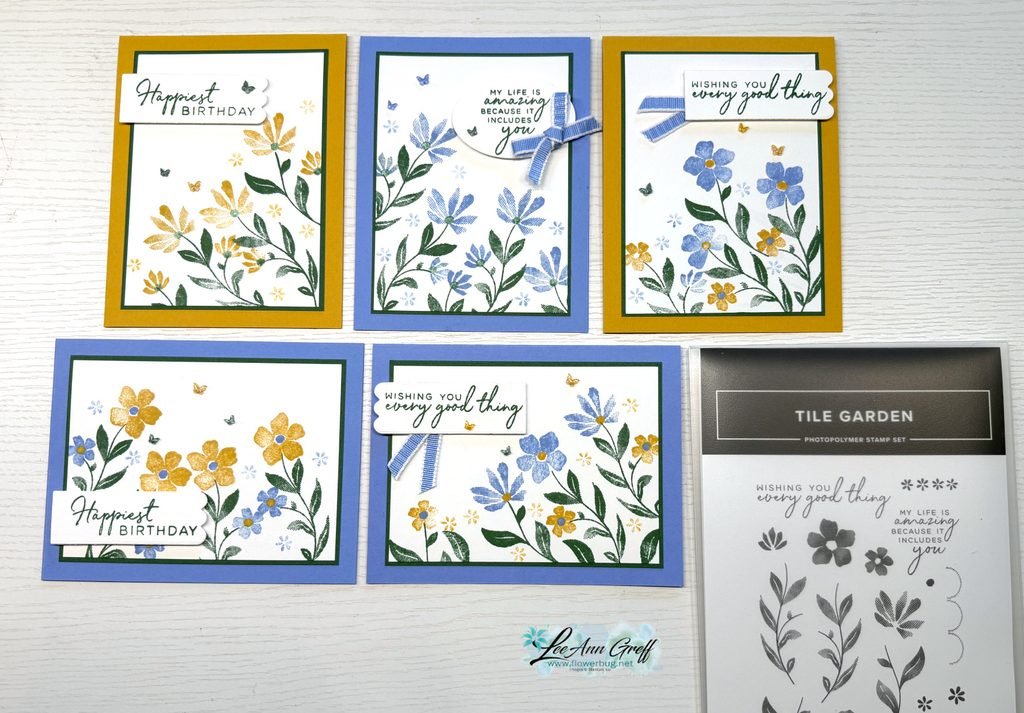
    Aren’t they pretty? I chose this stamp set because of the pretty floral images. And I knew they’d make an easy, beautiful background. My colors include Hydrangea Hue, Peaceful Pine and Golden Glow.

    My 5 at a time templates make creating 5 cards so effortlessly! This first template is what I used for my White stamped layer.

    Vertically, make the first cut from an 8 1/2″ X 11″ White CS at 4 3/4″. Then cut 3 pieces from the left section at 3 1/2″. Now cut the other piece at 3 1/2″ wide and cut that into two pieces at 4 3/4″. Save the bottom piece for a greeting layer.

    This next template is for the colored layer under the White stamped pieces. It’s just an 1/8″ larger than the White layers.

    Cut in the same manner as the one above; starting vertically at 4 7/8″. Please watch the video here, or below to see how it’s done.

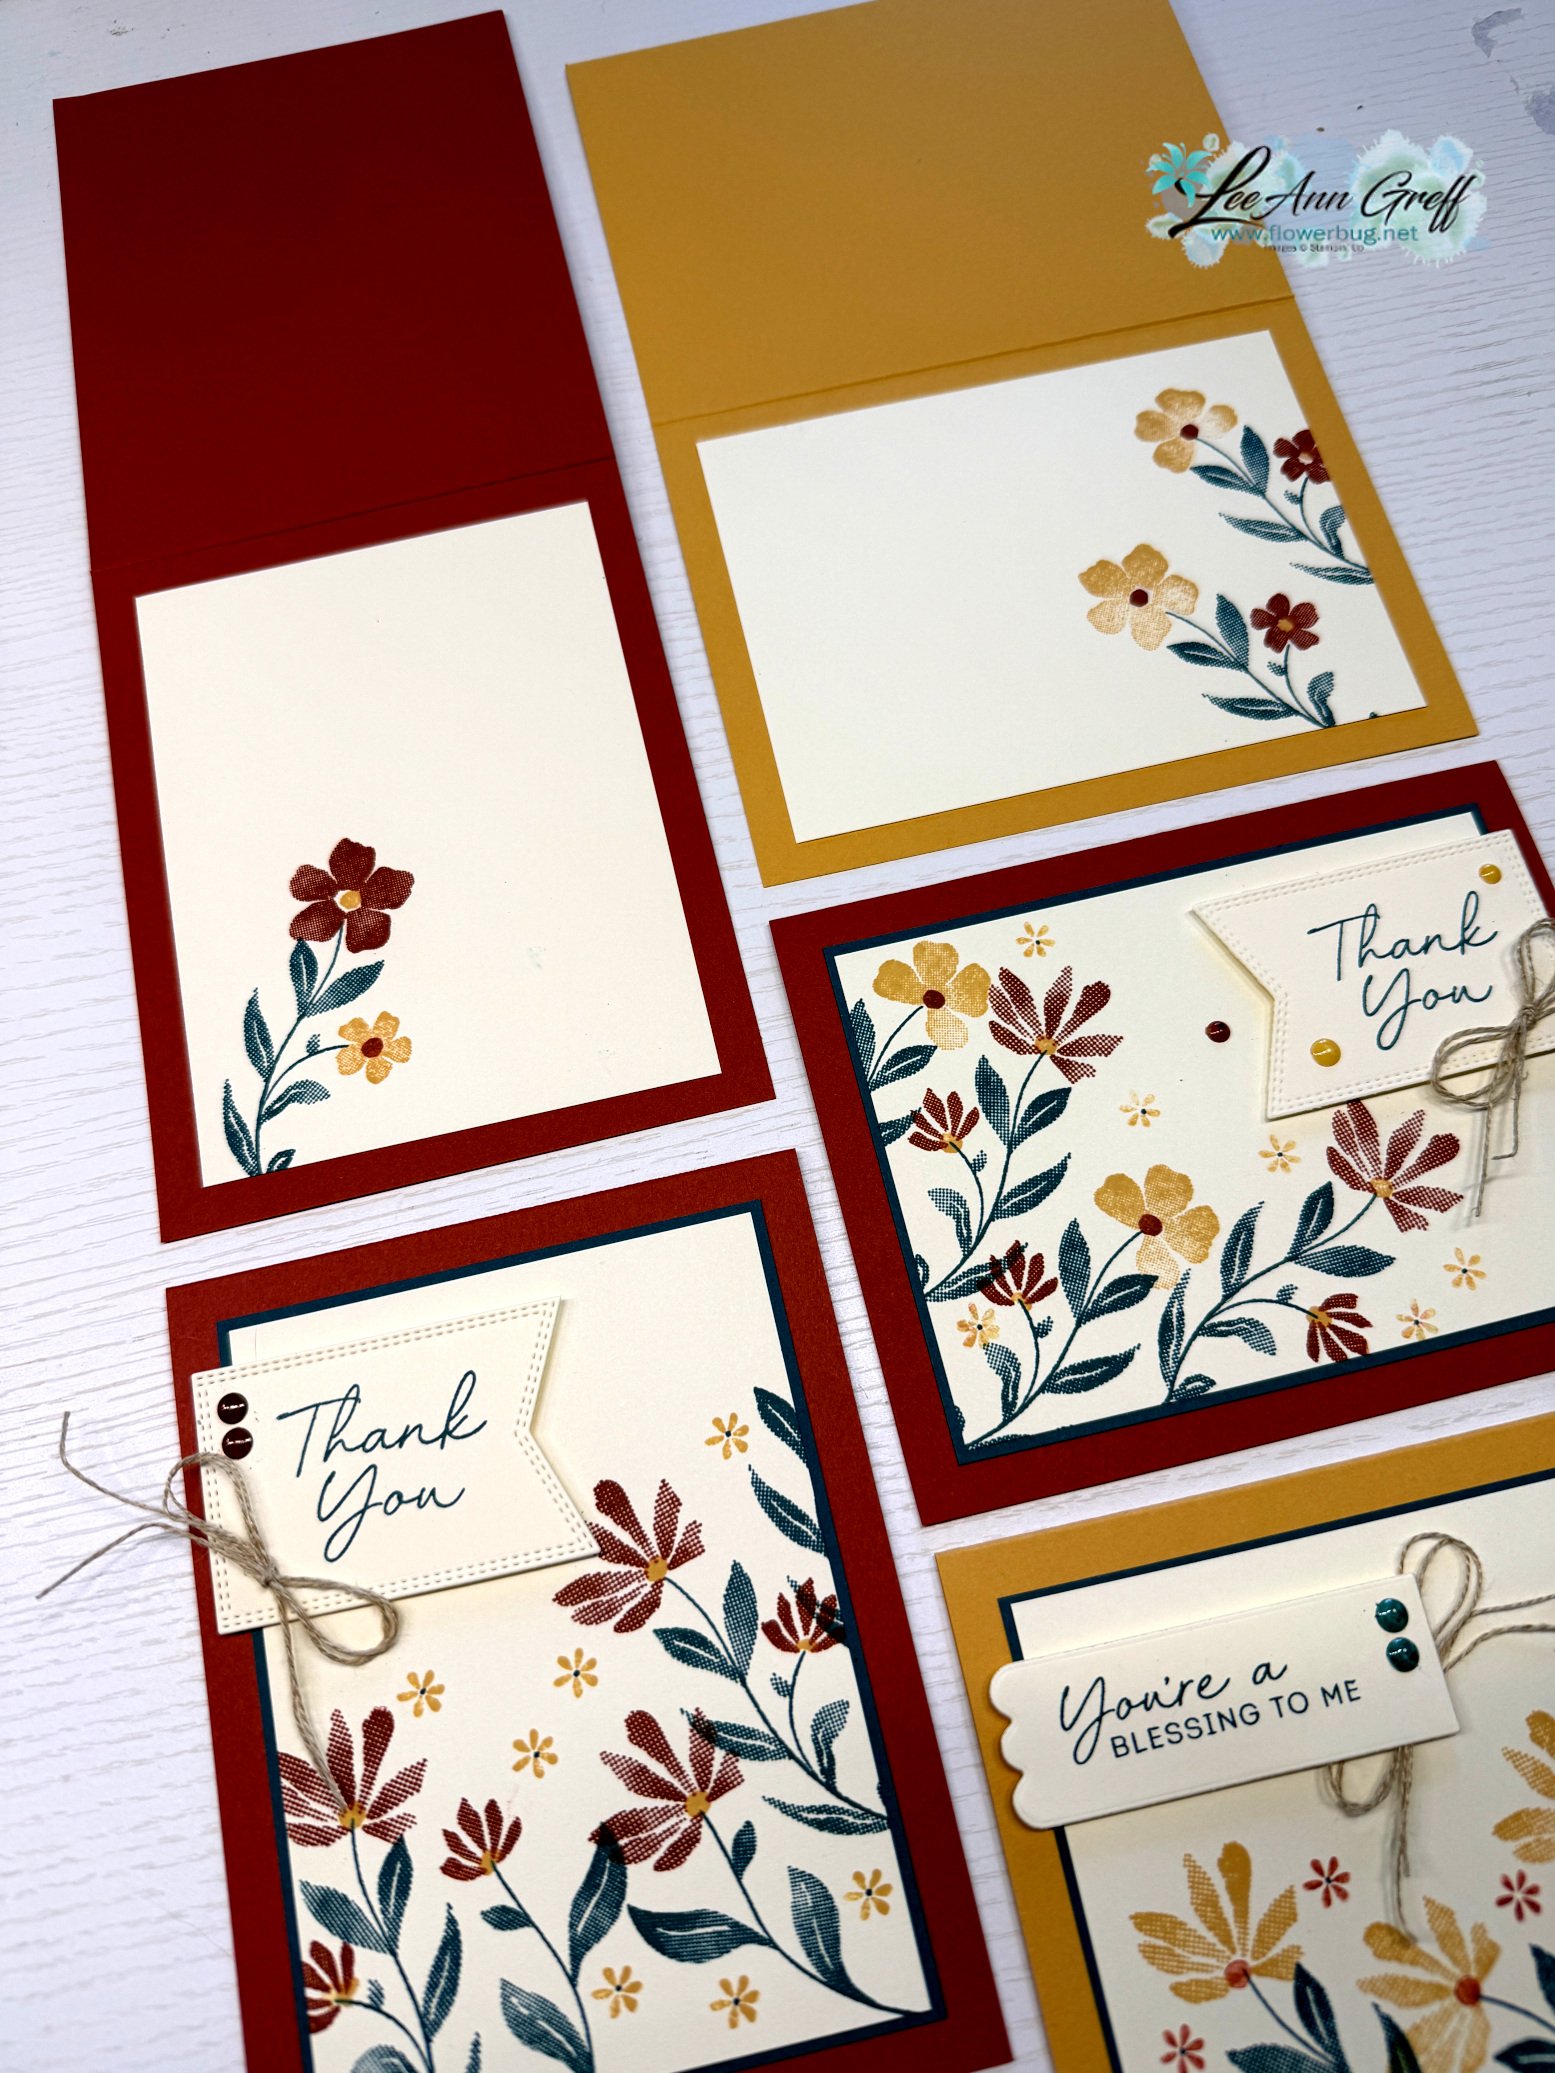
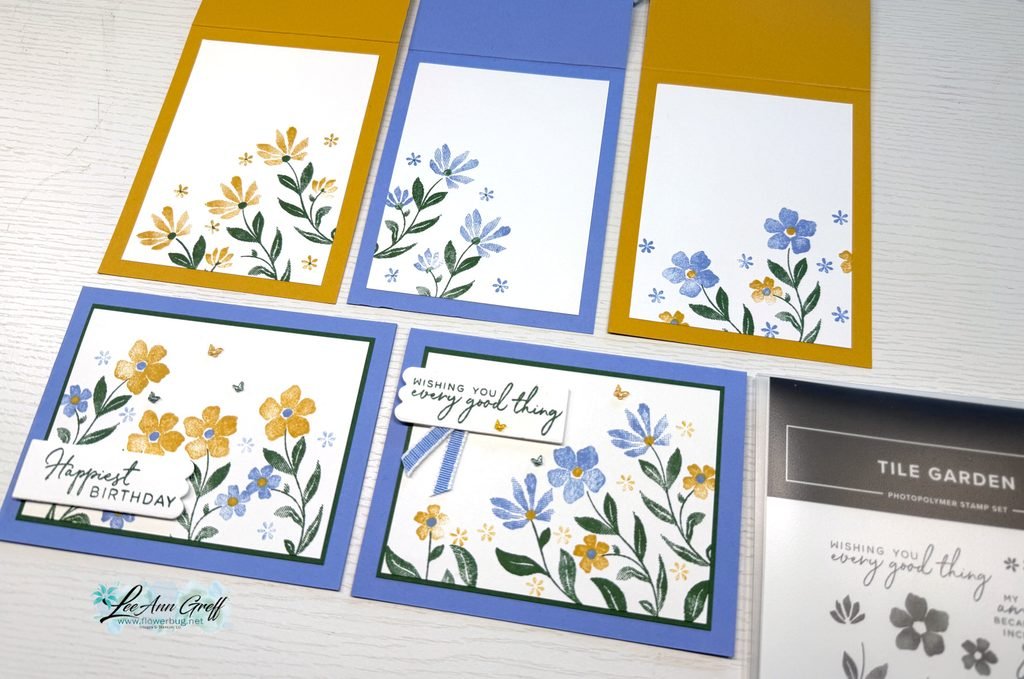
    I cut 5 card bases for these stamped layers and you can see how I stamped the insides of some above. I love stamping backgrounds; our stamp images are fantastic! And this set has that distinktive feel to the images which gives multiple hues of colors when stamping.

    It’s actually in a bundle with the amazing Tile Garden dies. See the stamp set here and the bundle here.

    I created a free project sheet for these cards and it includes the two templates! Click here to print or download it.

    And below is the video tutorial I shared last week with an entire different set of cards! I’ll share another version tomorrow.

    The Starter kit deal ends on Saturday! I hope you’ll consider joining my team and taking advantage of the continual discount on all future Stampin’ Up! products!

    Click here to get the deal!!

    Leave a Reply

    Your email address will not be published. Required fields are marked *


Notice: LeeAnn Greff, Independent Stampin’ Up! Demonstrator, Manager. The content of this website is my sole responsibility as an independent Stampin’ Up! demonstrator and the use of, and content of, the classes, services, or products offered on this website is not endorsed by Stampin’ Up! Copyright 2025