/


Latest Post

Easy Ornament cards with video tutorial


Have you ever made an 'ornament' card?  They're quite easy if you have a circle die or punch.  The possibilities are endless; just like real ornaments!

I shared how during last week's Stamp with Me Live.  Follow me here on FB to catch my weekly videos. I challenge my followers to share their version of an ornament card by January 2nd to get in on door prize drawing.  Share yours here. 

You can use designer paper, dies or just greetings to embellish them.  
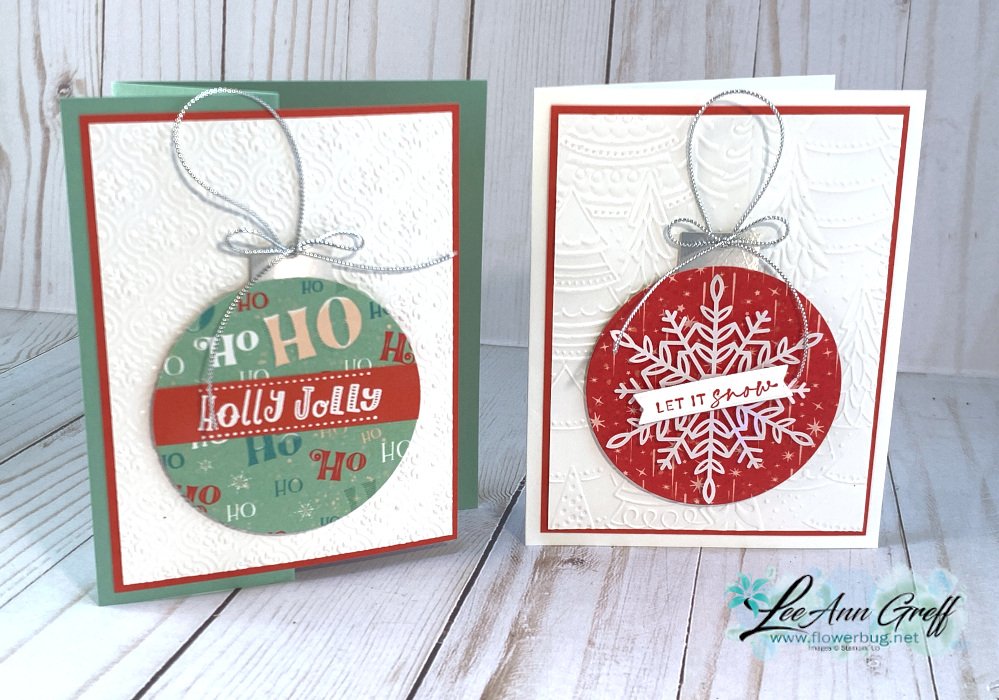
Or use our Wonderful Snowflakes elements like the card on the right above; they're on sale for just $2.40 each!  You get 24 of them; see them here.  An amazing deal!!

There are many fantastic deals on the Last Chance sale or the Clearance Rack refresh.  See them all here while supplies last.

Here are a few more I made on the video:
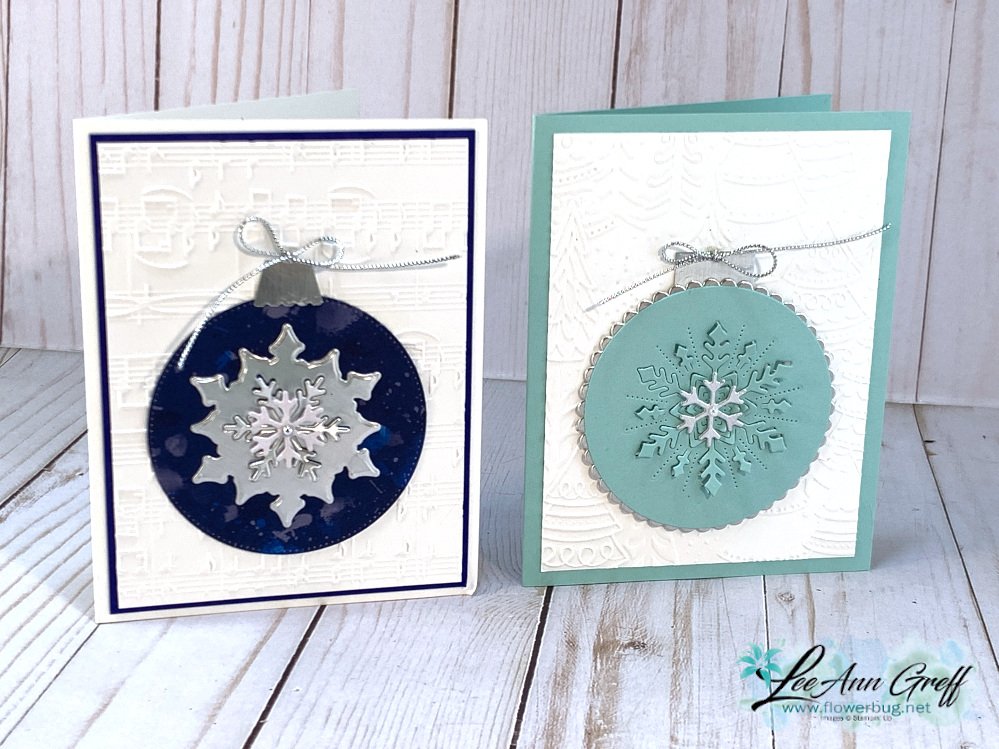
I used the Frosted Flurry dies here; they're on sale for just $13.60 instead of $34!!  WOW!  Click here to see them online
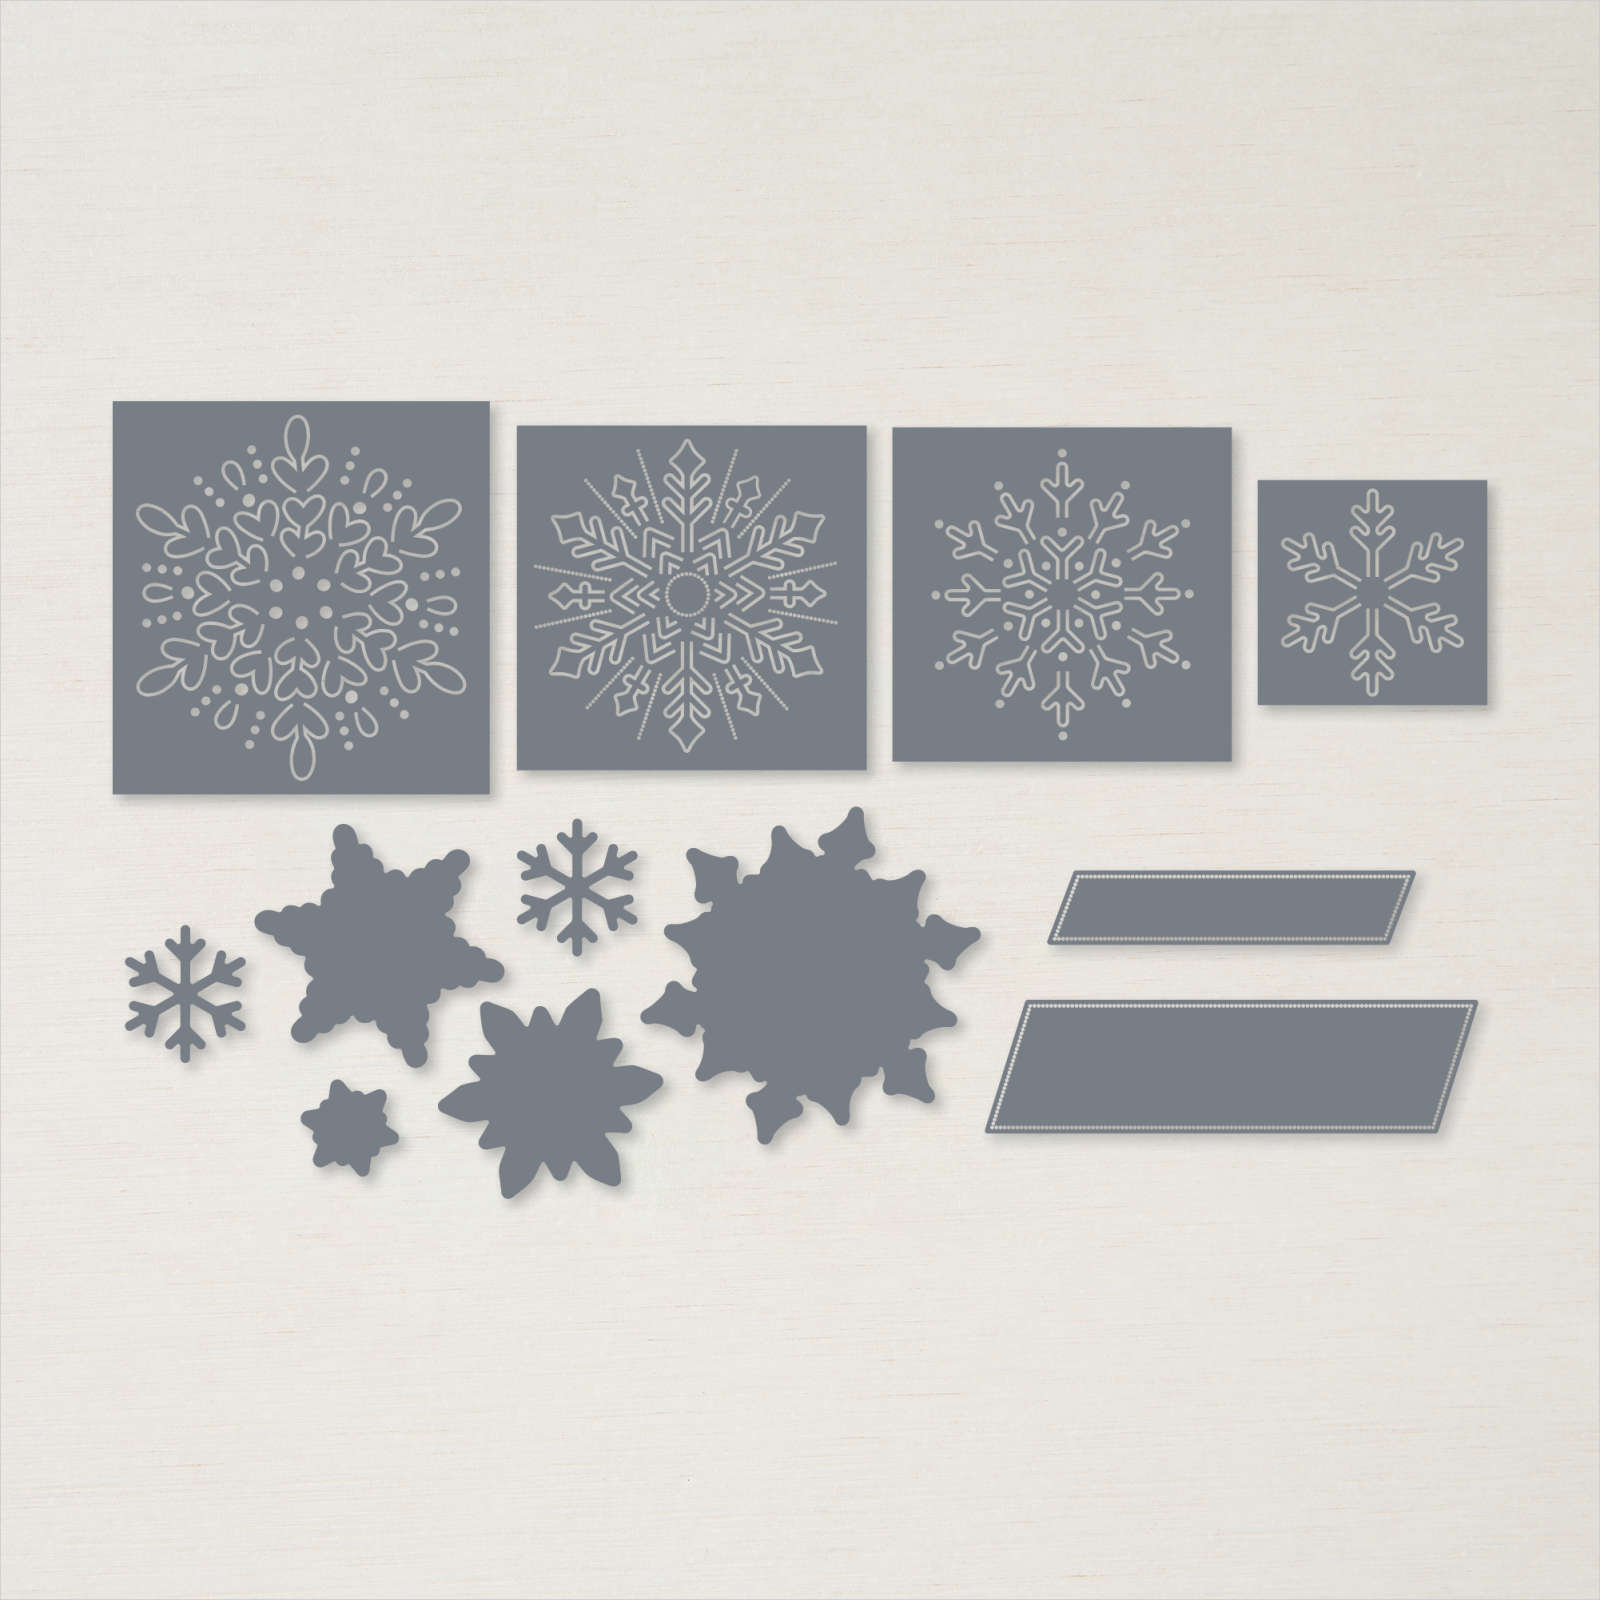
I love the greeting dies and the fact that it has snowflakes that can be cut out fully or just partially like the right one above. 

Click on the photo below to watch the video. 

~~~

Clearance Rack Refresh!

Last Chance list is here!  

Order online using the links below:

Host code link: DXYW7GV3

Free Card Class in December: *I still have 4 left! 

Get a FREE card class from me with online orders over $55 when using either host code above!

 Earn free products with my loyalty rewards! 

Click here to download yours and earn a $50 shopping spree!
All Posts

  • Split Panel card with All Wrapped Up DSP; with free project sheet too


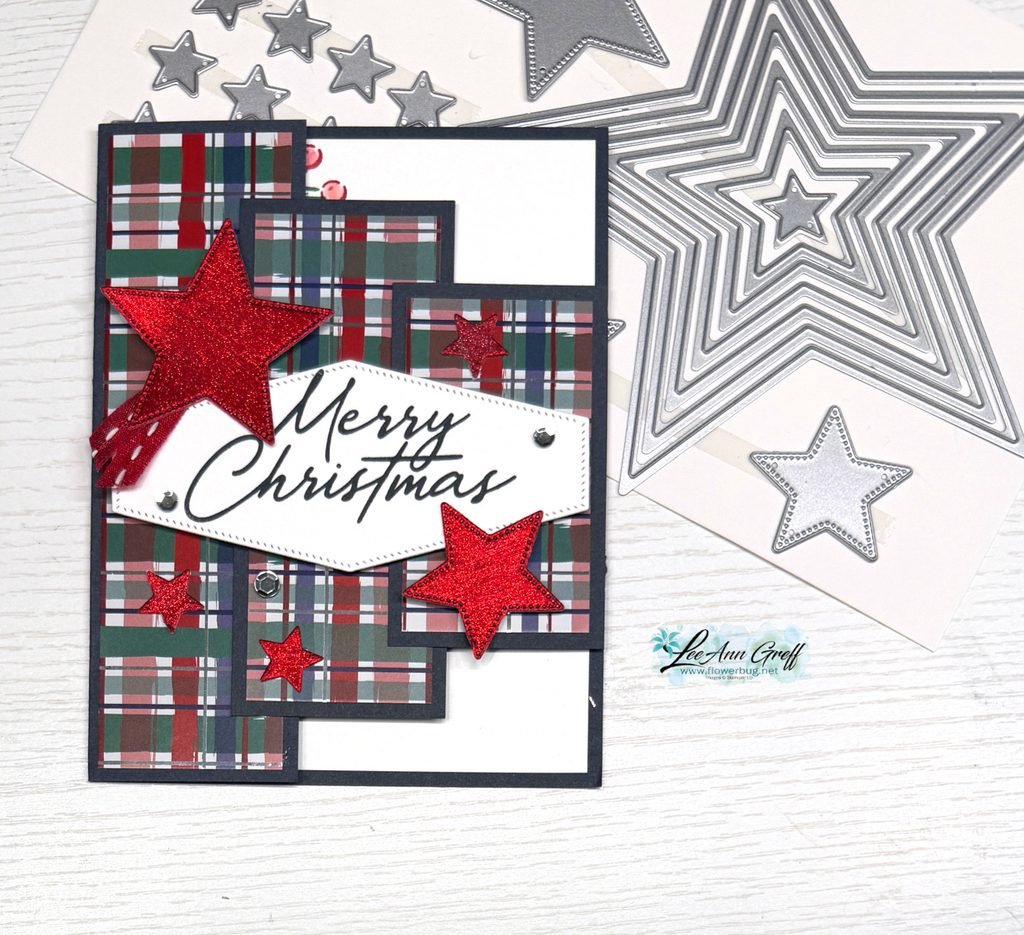
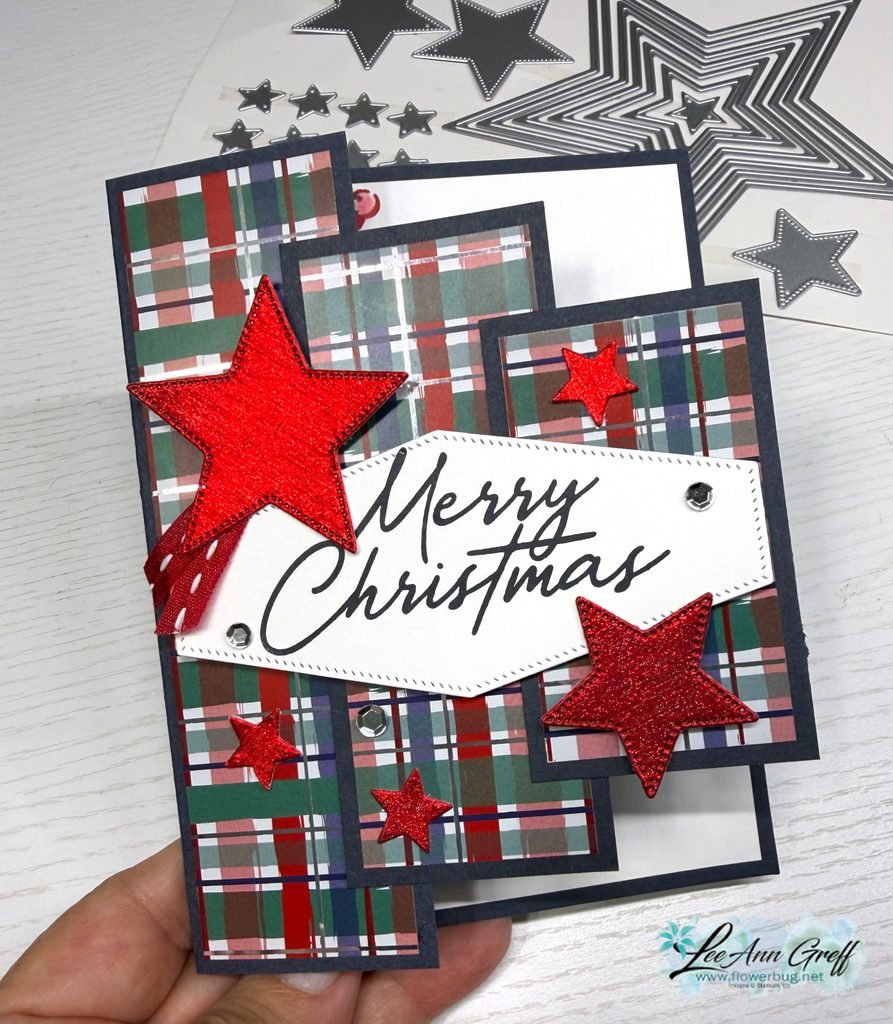
    Today I’m sharing another version of this neat split panel card. This time it’s a Christmas card.

    The All Wrapped Up specialty DSP can be seen here. I love this plaid!

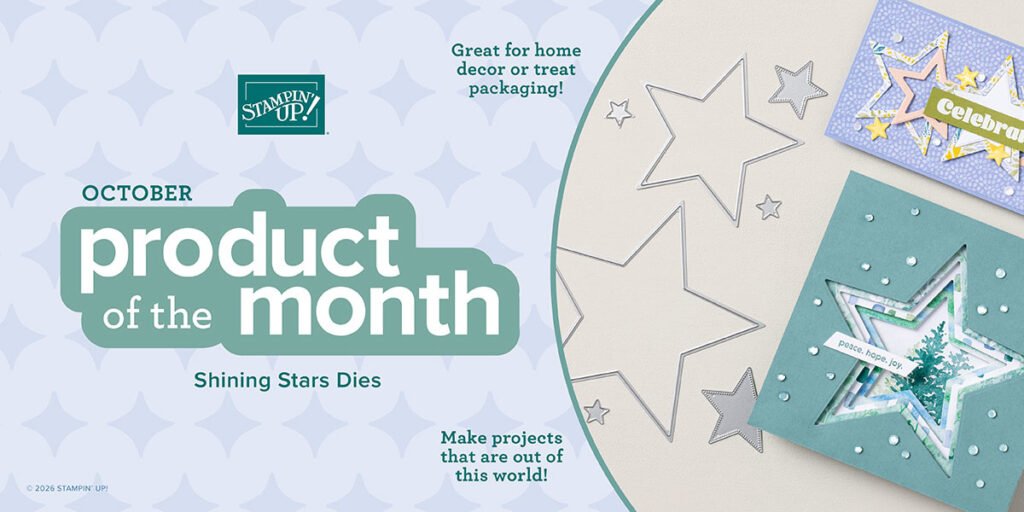
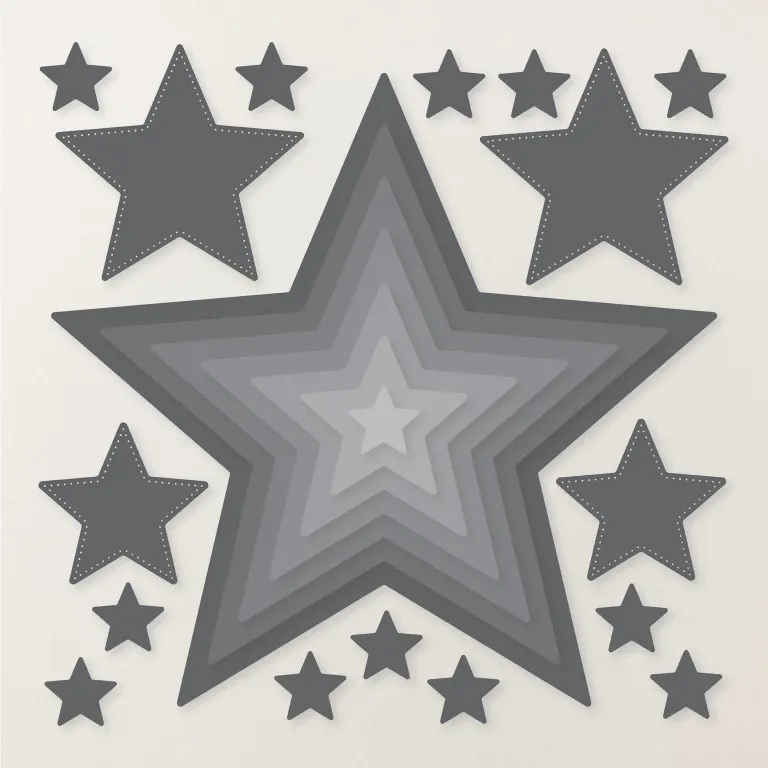
    The Shining Stars dies are our October Product of the Month. They’re just $5 with any Stampin’ Up! order (once your order reaches the $75 mark). There are 23 dies in this set! What a fabulous deal this is! See them here.

    The greeting is from the Noel Tidings stamp set; the greeting label is from the Nested Essentials dies seen here.

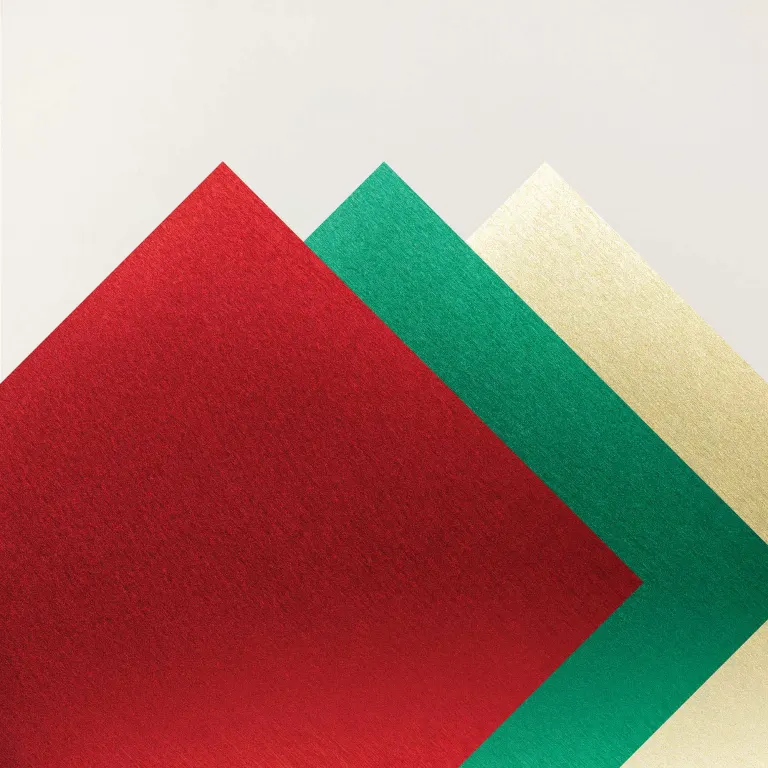
    I used Secret Sea card stock for my card base. The stars are cut from the Timeless Metallic specialty paper seen here.

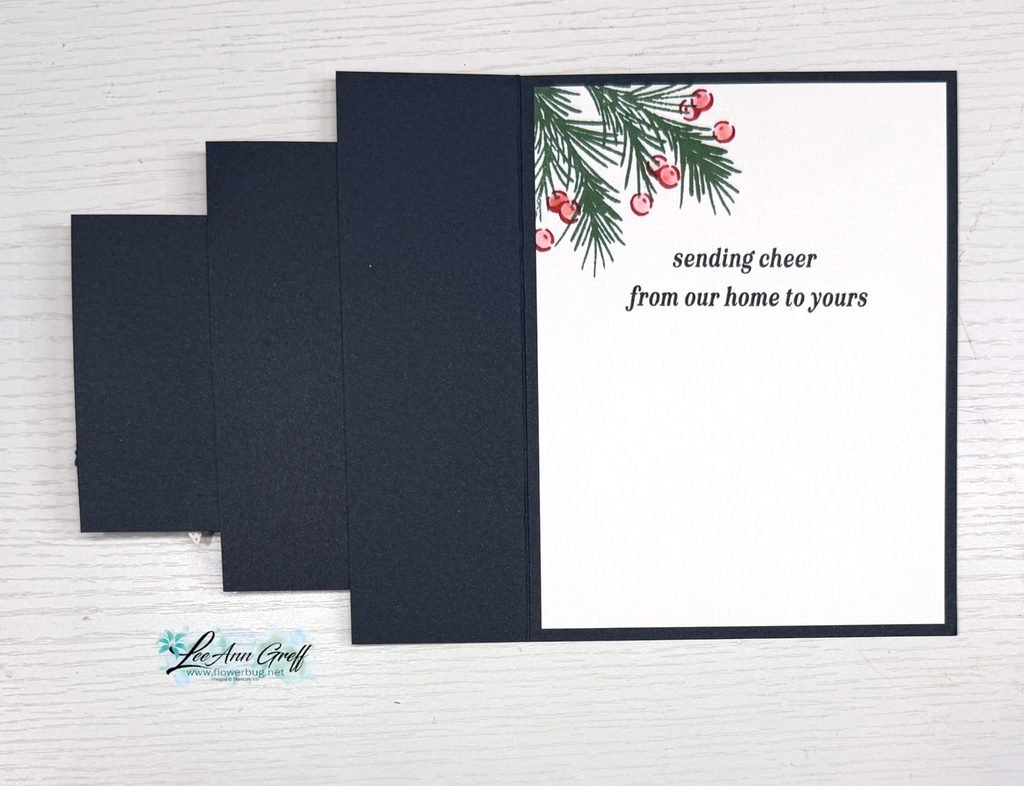
    Here’s now I finished the inside; all images are from the Noel Tidings stamp set seen here.

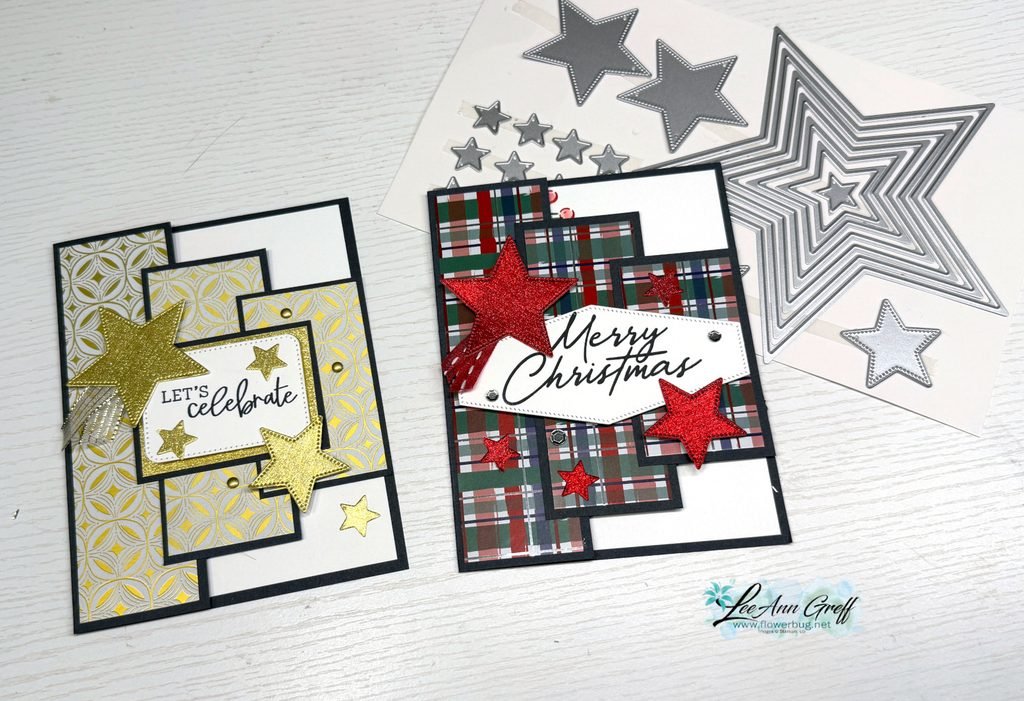
    I created a free project sheet you can download or print. Click here to access it. It includes photos, measurements, step by step directions and a list of supplies. You can see both versions in the project sheet or below:

    And below is the video tutorial for this card and the other version I shared yesterday.

    Get the Starter Kit in October and choose an EXTRA $50 in free product!

    It’s wonderful to get a discount on every single purchase! There’s no need to do more if you don’t want to; simply enjoy the perks!

    Go here to get yours!

    ~~~

    Get these amazing Shining Stars dies for just $5 with any order over $75 – they’re available while supplies last!

    Order online here.

    ~~~

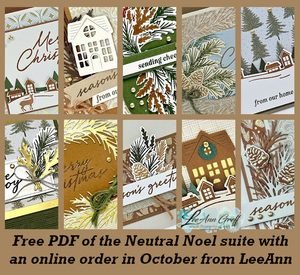
    Get this PDF tutorial FREE with any Online order from me in October.

    ~~~

    The Last Chance list has been updated; grab the deals here.

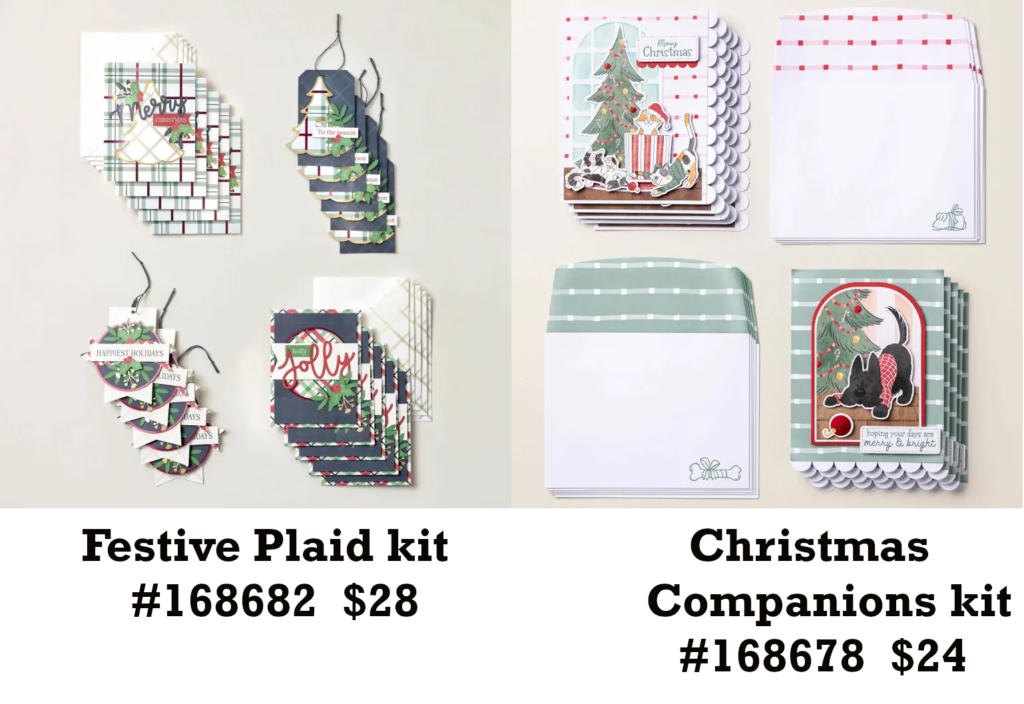
    There are two new kits in the Kit Collection this month. I have a feeling they’ll sell out before the Holidays.

    Leave a Reply

    Your email address will not be published. Required fields are marked *

  • Split Panel Fun Fold card with free project sheet & video tutorial


    This card was a big hit on last week’s video! I cased it from my friend Susie Wood who continues to inspire me.

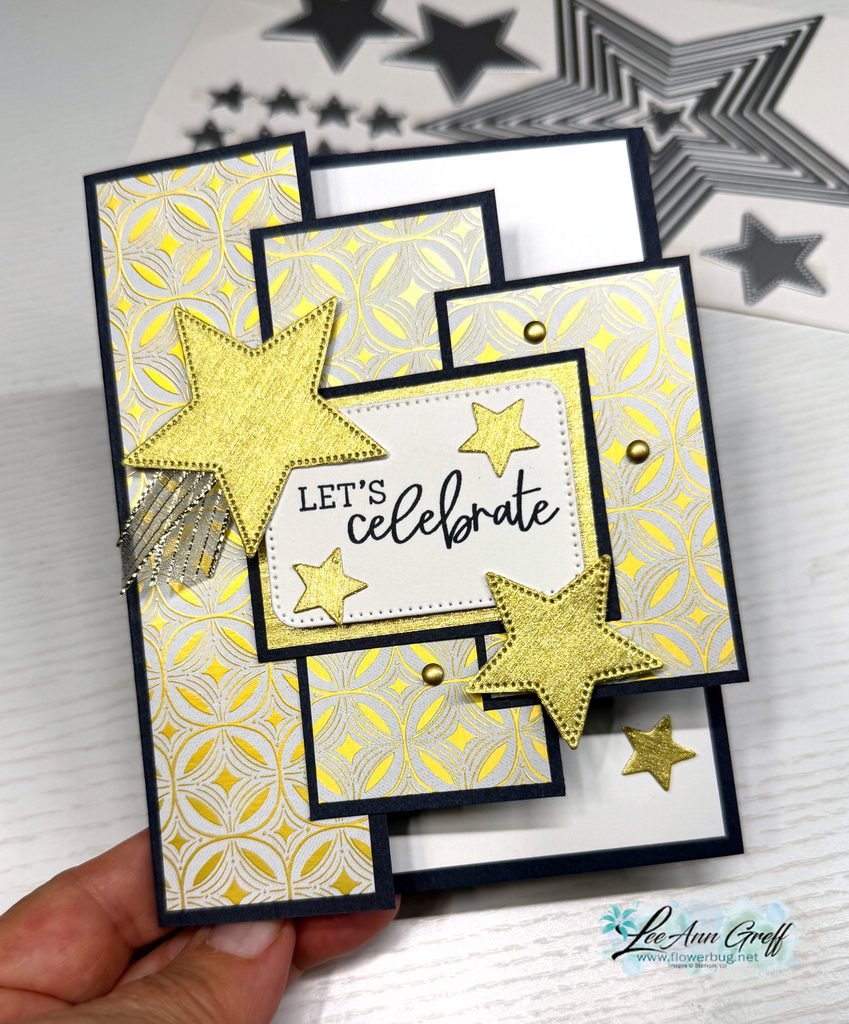
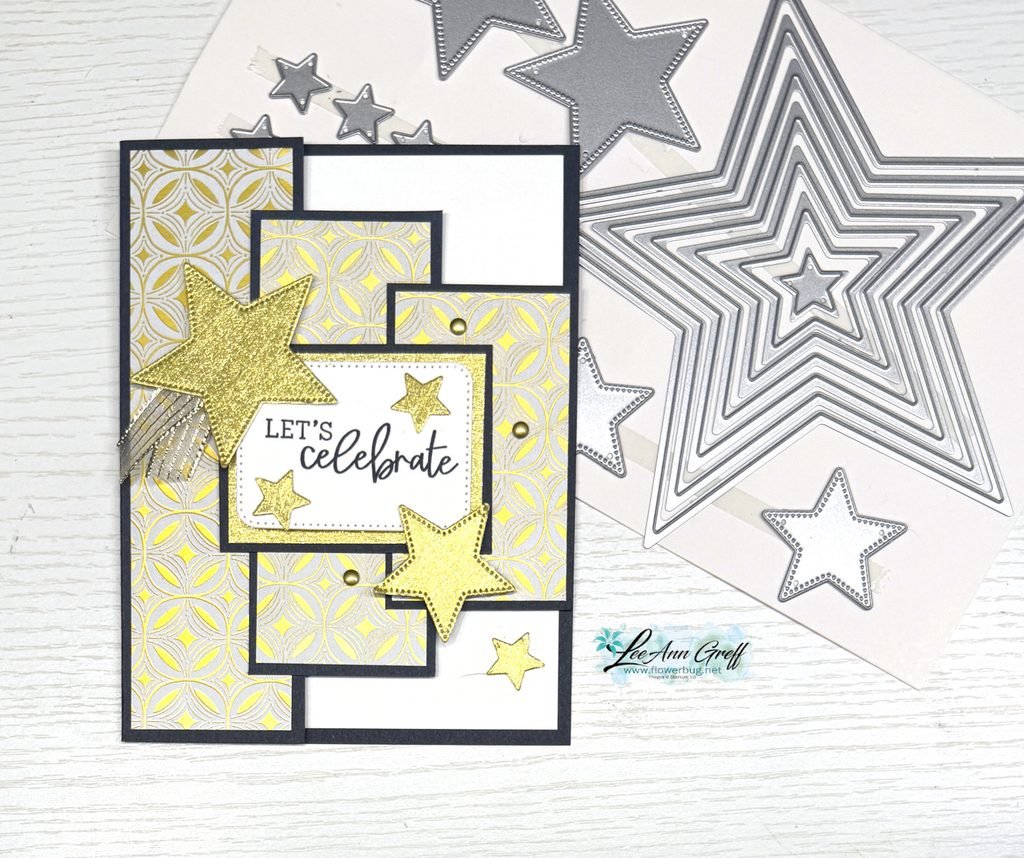
    This card features the Neutral Noel specialty designer series paper and the Shining Stars dies. The graduated panels on the front add a bit of fun to the card layout. It’s another great way to feature your designer paper!

    The Shining Stars dies are just $5 with any Stampin’ Up! order (once your order reaches the $75 mark). There are 23 dies in this set! What a fabulous deal this is! See them here.

    My colors include Secret Sea, Gold and White. Classy and seems to fit these products. The stars were die-cut from the Timeless Metallic specialty paper seen here. It comes with sheets of Gold, Red and Green and is perfect for holiday projects.

    I created a free project sheet you can download or print. Click here to access it. It includes photos, measurements, step by step directions and a list of supplies. Tomorrow I’ll share another version of this card fold.

    And below is the video tutorial for this card and one more version as well.

    Get the Starter Kit in October and choose an EXTRA $50 in free product!

    It’s wonderful to get a discount on every single purchase! There’s no need to do more if you don’t want to; simply enjoy the perks!

    Go here to get yours!

    ~~~

    Get these amazing Shining Stars dies for just $5 with any order over $75 – they’re available while supplies last!

    Order online here.

    ~~~

    Get this PDF tutorial FREE with any Online order from me in October.

    ~~~

    The Last Chance list has been updated; grab the deals here.

    There are two new kits in the Kit Collection this month. I have a feeling they’ll sell out before the Holidays.

    Leave a Reply

    Your email address will not be published. Required fields are marked *

  • More examples of this easy card layout; save this one!


    I shared this layout in a previous video along with the free project sheet. See that here.

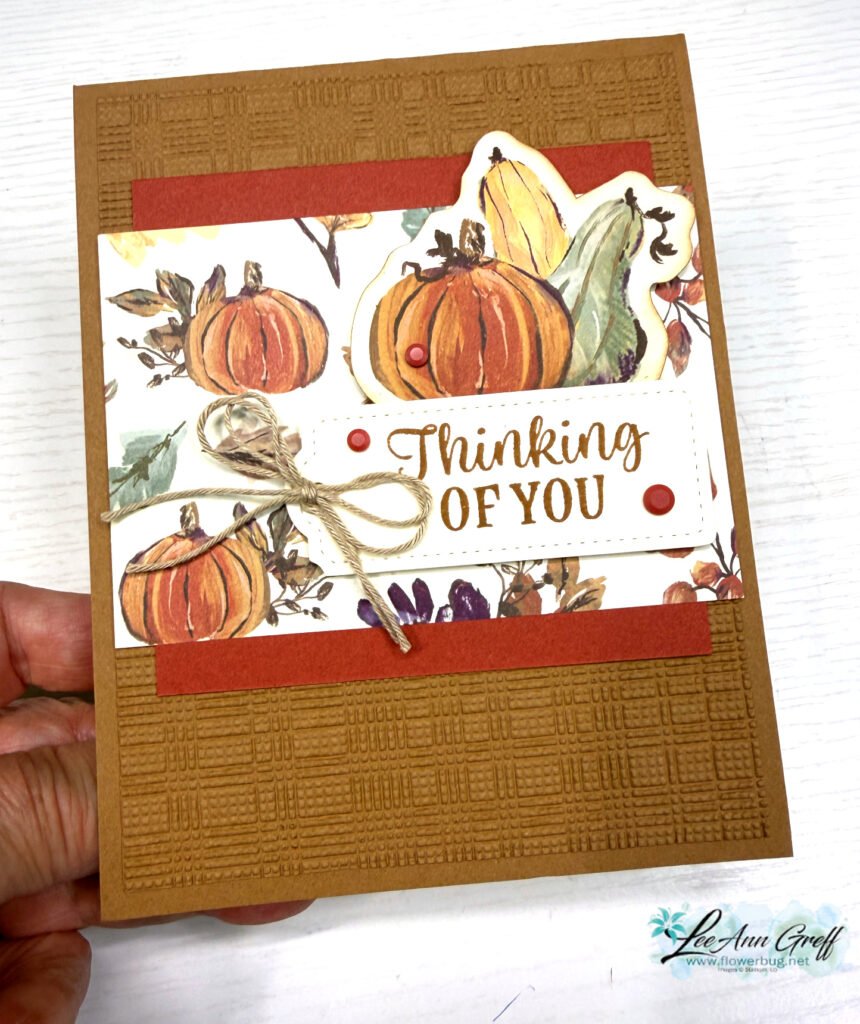
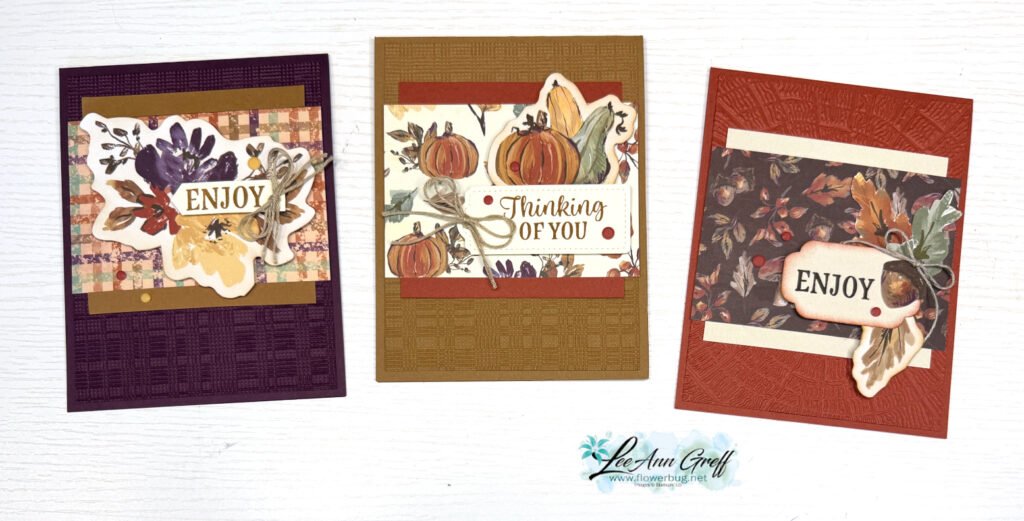
    Today I’m sharing more of this card layout; it’s quick & easy to mass produce lots of cards!

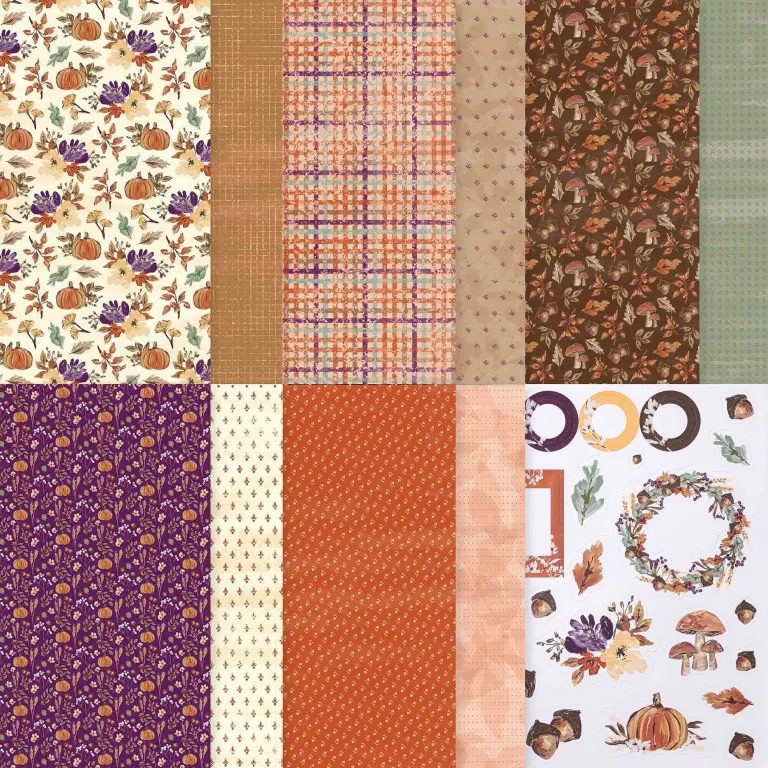
    The colors above are Pecan Pie with Cajun Craze. These are made with the Autumn Opulence specialty designer paper seen here.

    This pack includes two sheets of printed die-cuts; ready to add to your cards. Love the ease of these!

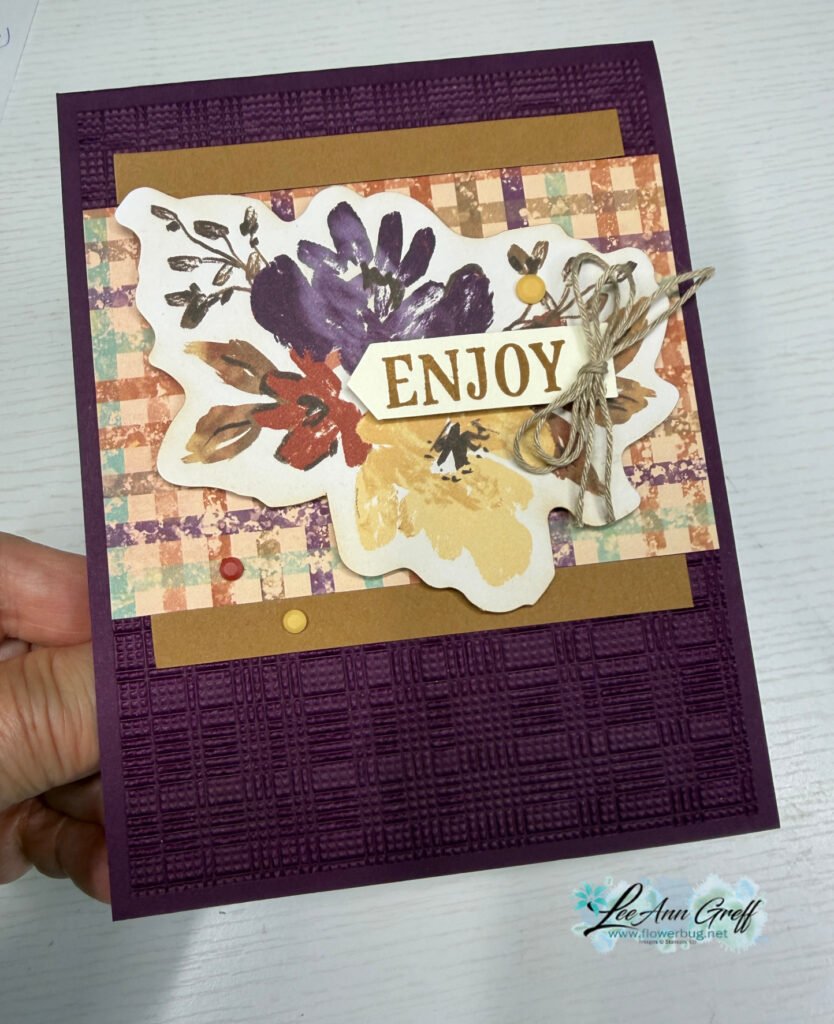
    I used Blackberry Bliss with Pecan Pie above. The greetings are from the Sunflower . That pretty embossing folder is called Softly Woven and is currently out of stock. Click here to add your email to the notification list when it’s available again.

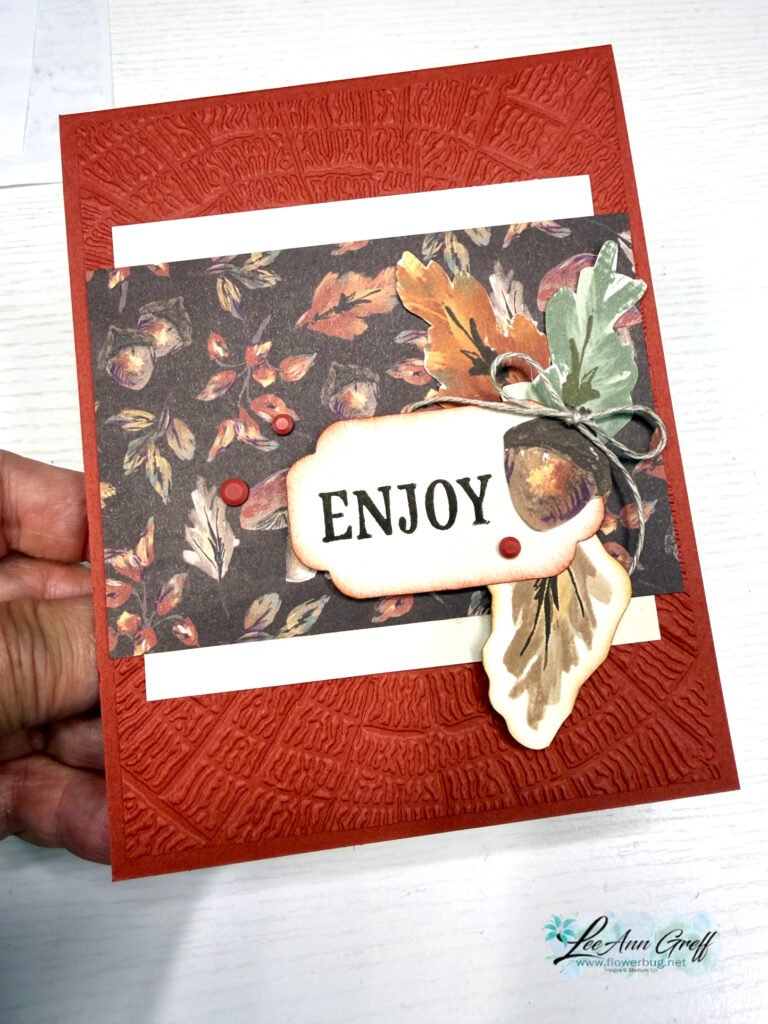
    Above I used Cajun Craze with Vanilla. The embossing folder is the Tree Ring 3D seen here. It’s discounted and on the last chance list.

    Which one of these do you like best?

    Here is the free project sheet for these cards. Click here to download or print it.

    And below is the video tutorial:

    Leave a Reply

    Your email address will not be published. Required fields are marked *


Notice: LeeAnn Greff, Independent Stampin’ Up! Demonstrator, Manager. The content of this website is my sole responsibility as an independent Stampin’ Up! demonstrator and the use of, and content of, the classes, services, or products offered on this website is not endorsed by Stampin’ Up! Copyright 2025