/


Latest Post

Easy Ornament cards with video tutorial


Have you ever made an 'ornament' card?  They're quite easy if you have a circle die or punch.  The possibilities are endless; just like real ornaments!

I shared how during last week's Stamp with Me Live.  Follow me here on FB to catch my weekly videos. I challenge my followers to share their version of an ornament card by January 2nd to get in on door prize drawing.  Share yours here. 

You can use designer paper, dies or just greetings to embellish them.  
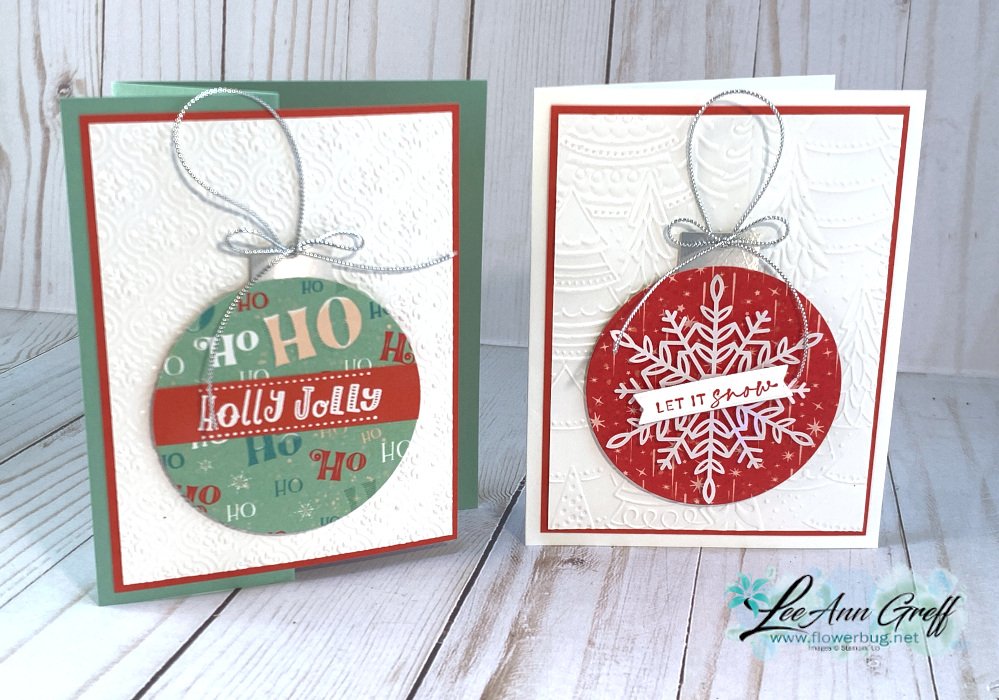
Or use our Wonderful Snowflakes elements like the card on the right above; they're on sale for just $2.40 each!  You get 24 of them; see them here.  An amazing deal!!

There are many fantastic deals on the Last Chance sale or the Clearance Rack refresh.  See them all here while supplies last.

Here are a few more I made on the video:
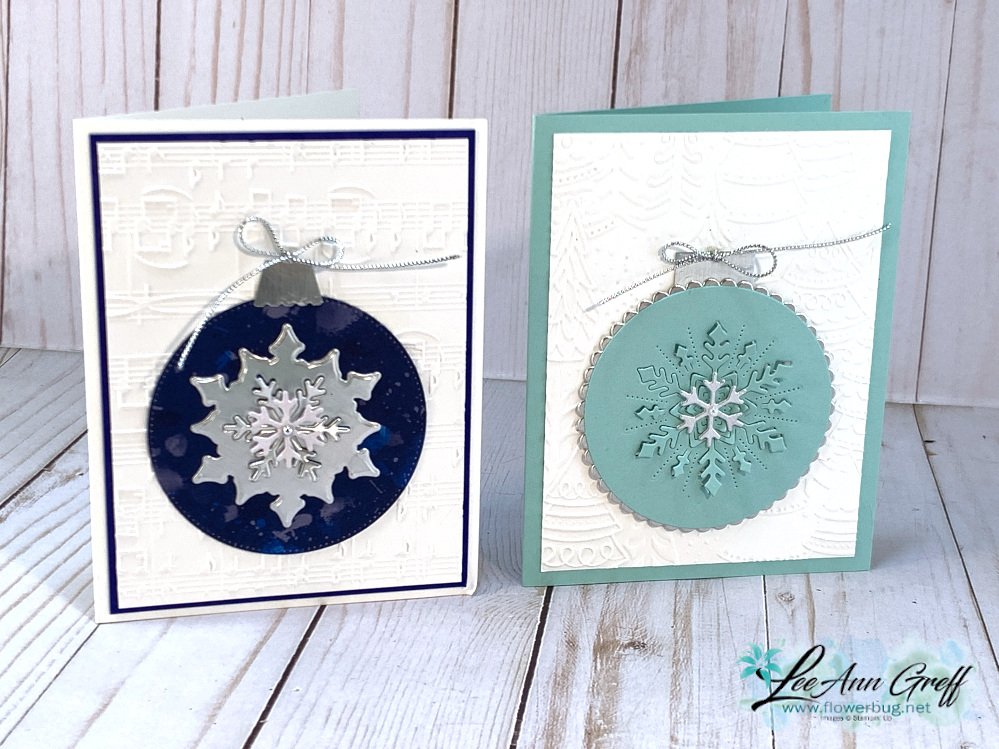
I used the Frosted Flurry dies here; they're on sale for just $13.60 instead of $34!!  WOW!  Click here to see them online
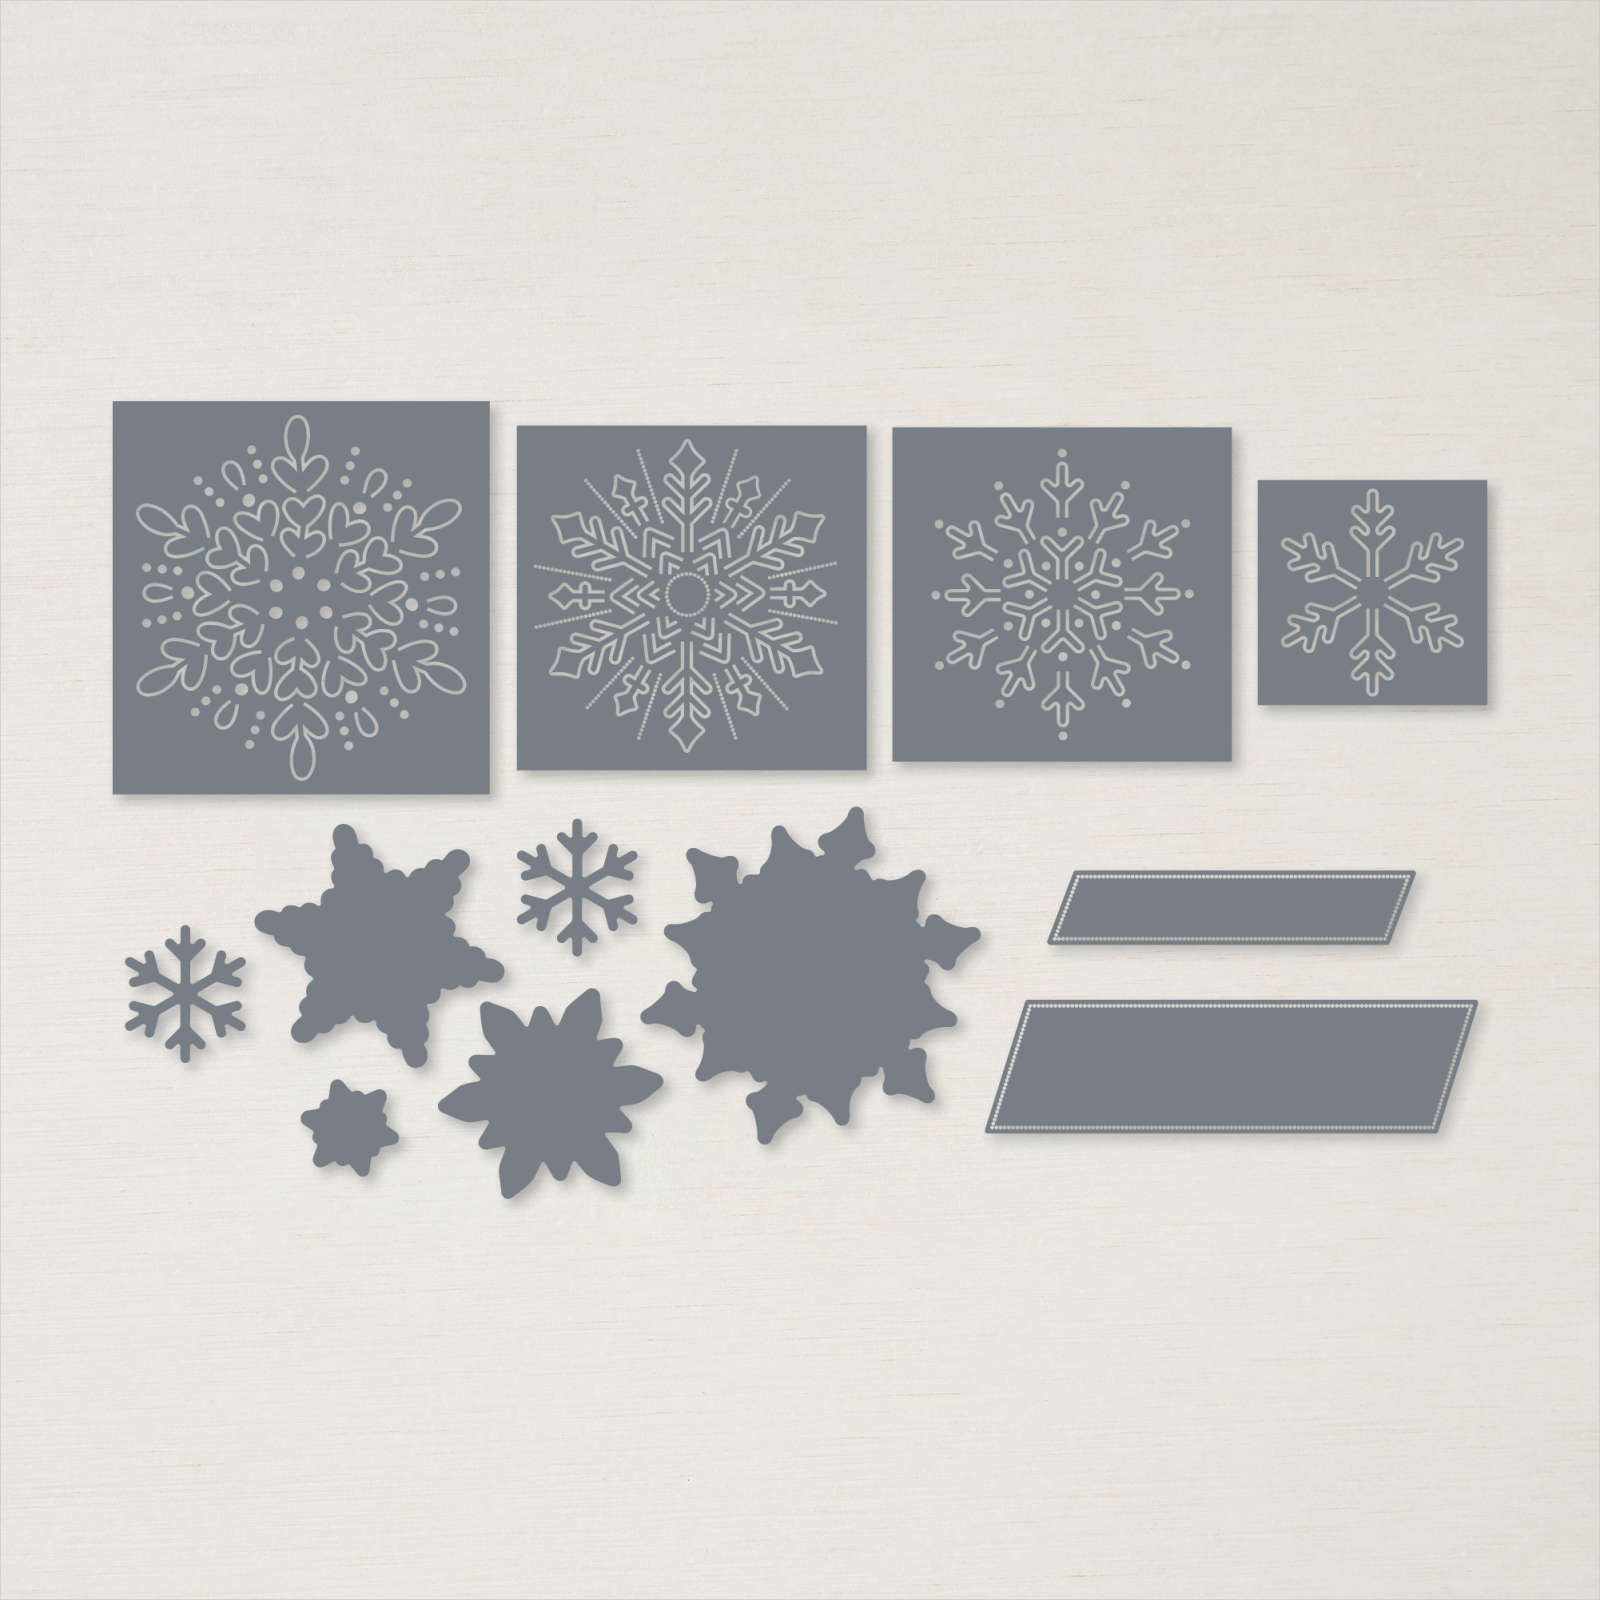
I love the greeting dies and the fact that it has snowflakes that can be cut out fully or just partially like the right one above. 

Click on the photo below to watch the video. 

~~~

Clearance Rack Refresh!

Last Chance list is here!  

Order online using the links below:

Host code link: DXYW7GV3

Free Card Class in December: *I still have 4 left! 

Get a FREE card class from me with online orders over $55 when using either host code above!

 Earn free products with my loyalty rewards! 

Click here to download yours and earn a $50 shopping spree!

All Posts

  • Thoughtful Wishes bundle with a neat masking effect


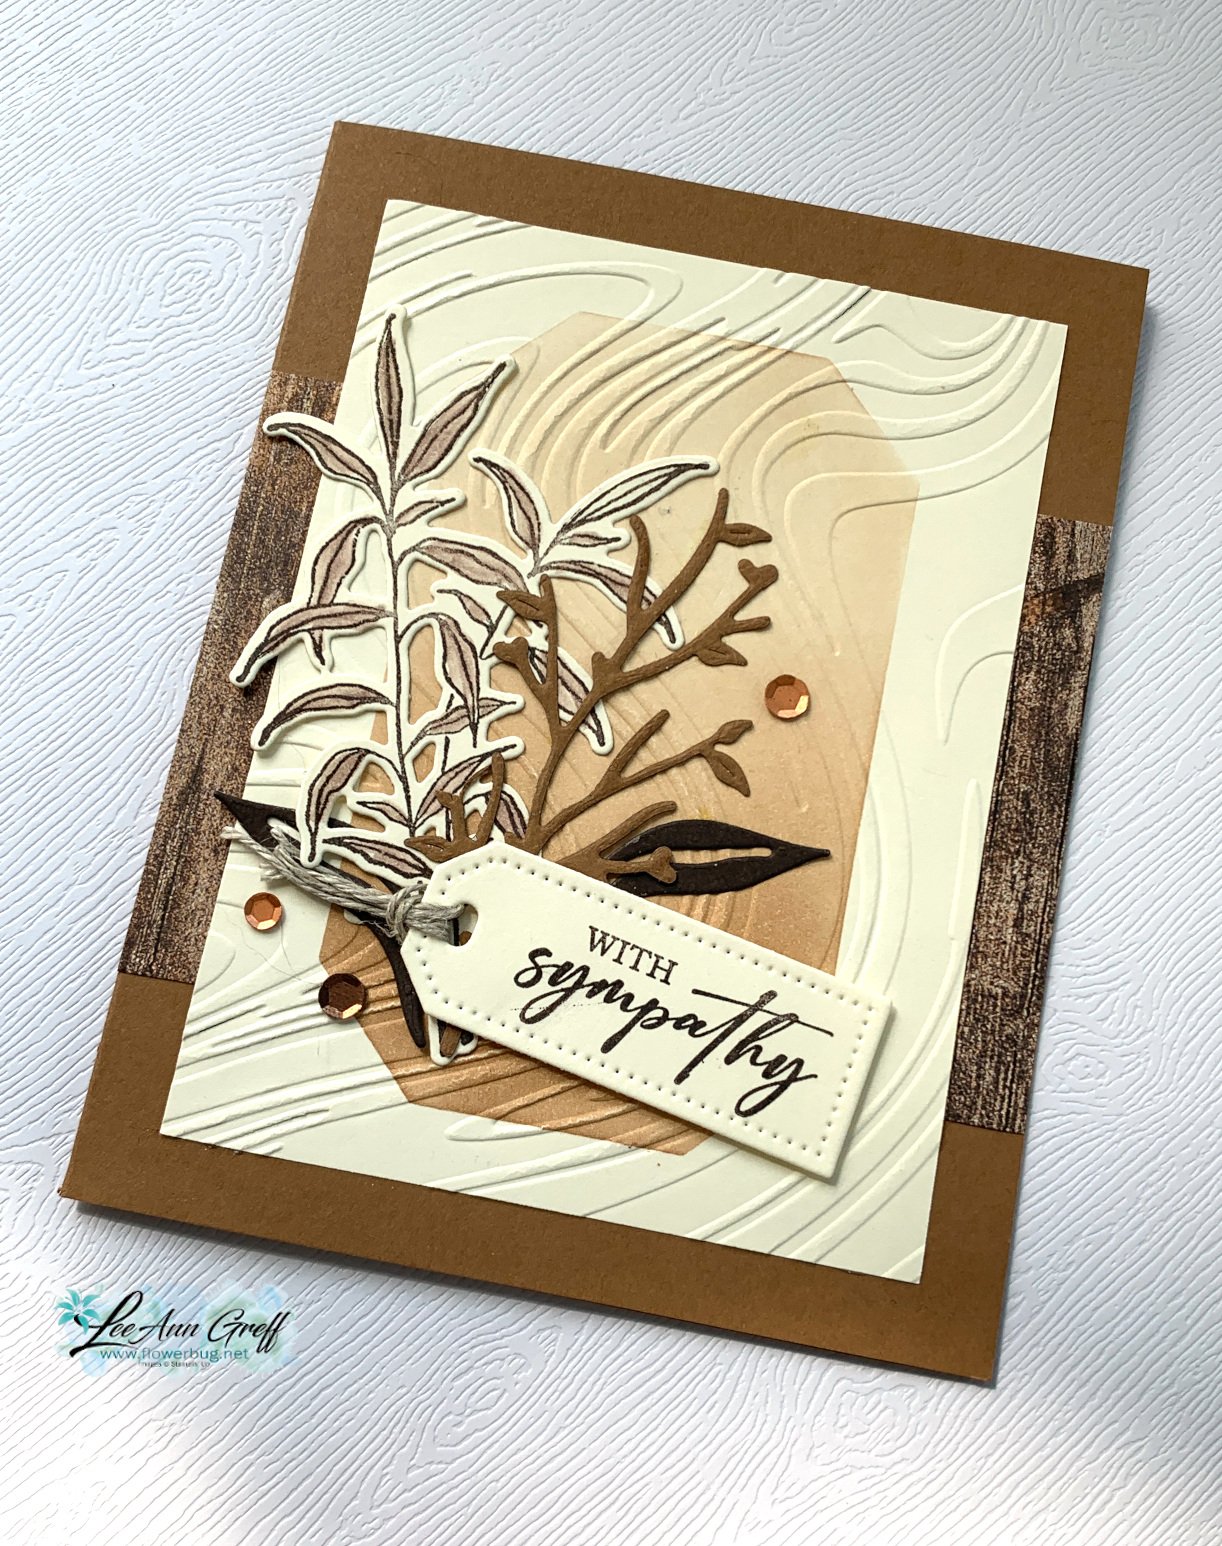
    What do you think of this monochromatic card?  

    The colors include Very Vanilla with Pecan Pie & Early Espresso. I used quite a few new Annual Catalog products here. 

    Products used:

    • Thoughtful Wishes bundle seen here
    • Country Woods designer paper
    • So Swirly embossing folder seen here
    • Countryside corner dies for my mask (now seen online)
    • Unbounded Love stamp set

    I added ink inside a die-cut mask with a Blending Brush & Pecan Pie ink before I textured it with the So Swirly embossing folder.  I love the effect! 

    ~~~

    May Specials: 

    *current host code link:  9AWSF9T9

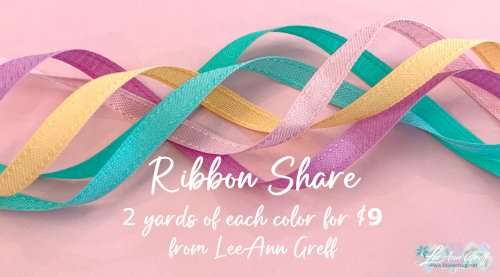
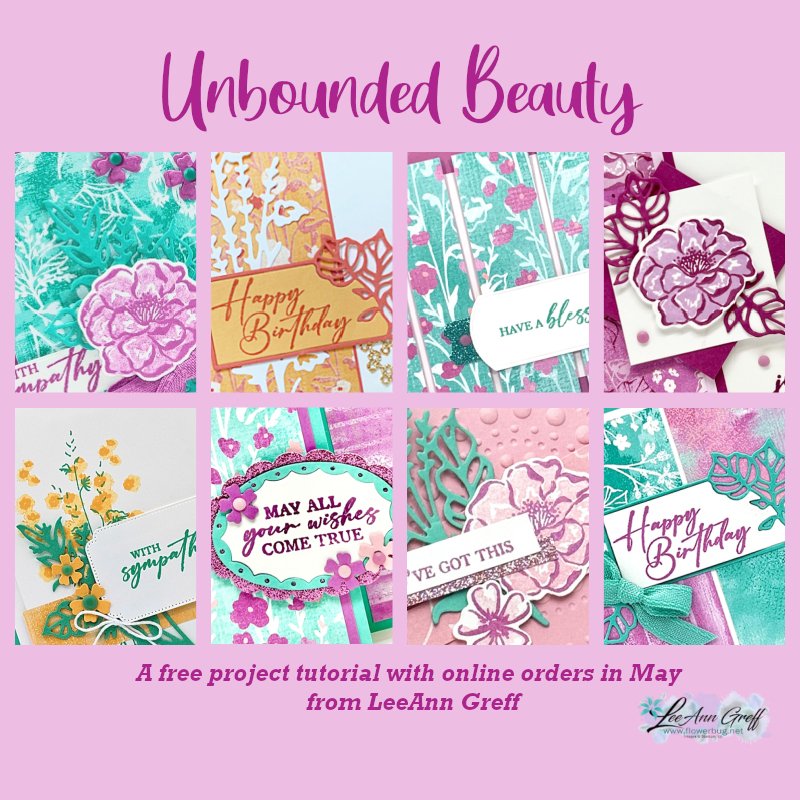
    Click on the pictures above or below to get to my new catalog shares – choose from designer papers or a ribbon share. 

    ~~~

    All online orders in May will receive a free project tutorial and if your order is over $50 I'll also send you a pre-cut card kit!

    Leave a Reply

    Your email address will not be published. Required fields are marked *

  • Unbounded Beauty card; an easy layout you’ll love to copy!


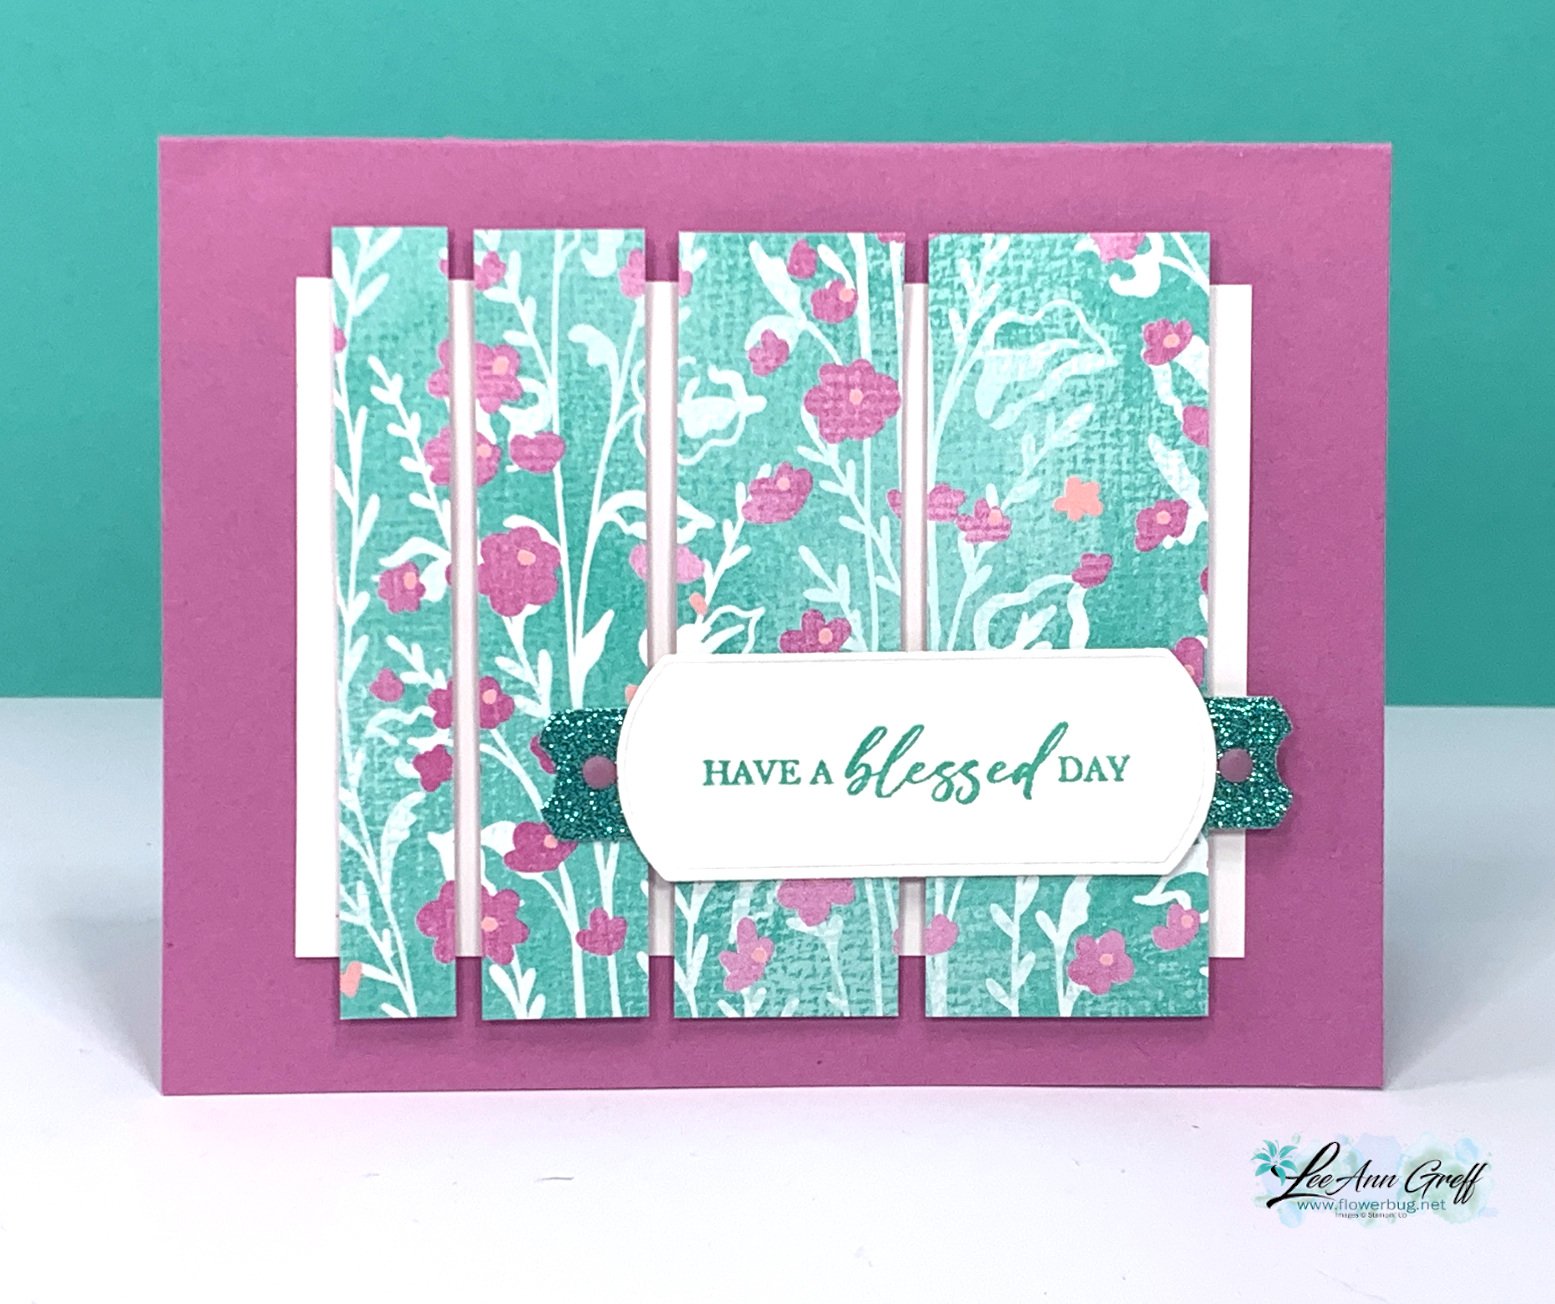
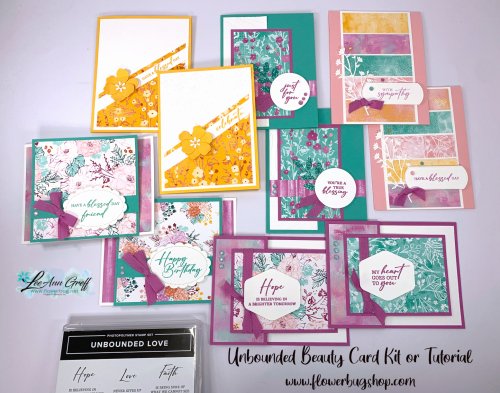
    I created this card for my free project tutorial this month – it features the Unbounded Beauty suite. This tutorial is free to everyone who orders from me online. 

    My colors include Petunia Pop, Basic White and a bit of Summer Splash with the In Color glimmer paper.  The pretty designer paper is called Unbounded Beauty and can be seen here. 

    The greeting stamp & die-cut are both from the same suite – the Unbounded Love bundle seen here.  

    Measurements: 

    • card base 5 1/2" X 8 1/2" score/fold at 4 1/4"
    • Designer paper – start with a piece measuring 3 1/2" square. Cut from the left at 1/2", 3/4", 1" and 1 1/4"
    • White is 4 1/4" X 3" plus a scrap for greeting die-cut

    If you're loving this pretty designer paper you might consider opting in for my Unbounded Beauty card kit to go.  It includes 10 pre-cut cards, approximately $20 in product and the free tutorial – all for $29 plus shipping.  See it here. 


    There's also a PDF tutorial option for those who have their own supplies at www.flowerbugshop.com. 

    ~~~

    May Specials: 

    *current host code link:  FCJ937QT or 9AWSF9T9

    Click on the pictures above or below to get to my new catalog shares – choose from designer papers or a ribbon share. 

    ~~~

    All online orders in May will receive a free project tutorial and if your order is over $50 I'll also send you a pre-cut card kit!

    Leave a Reply

    Your email address will not be published. Required fields are marked *

  • Beautiful but quick cards with the Thoughtful Journey Memories & More card pack


    I shared this card on last week's FB live video. It starts out with the Thoughtful Journey Memories & More cards and a Basic White Memories & More card base. 

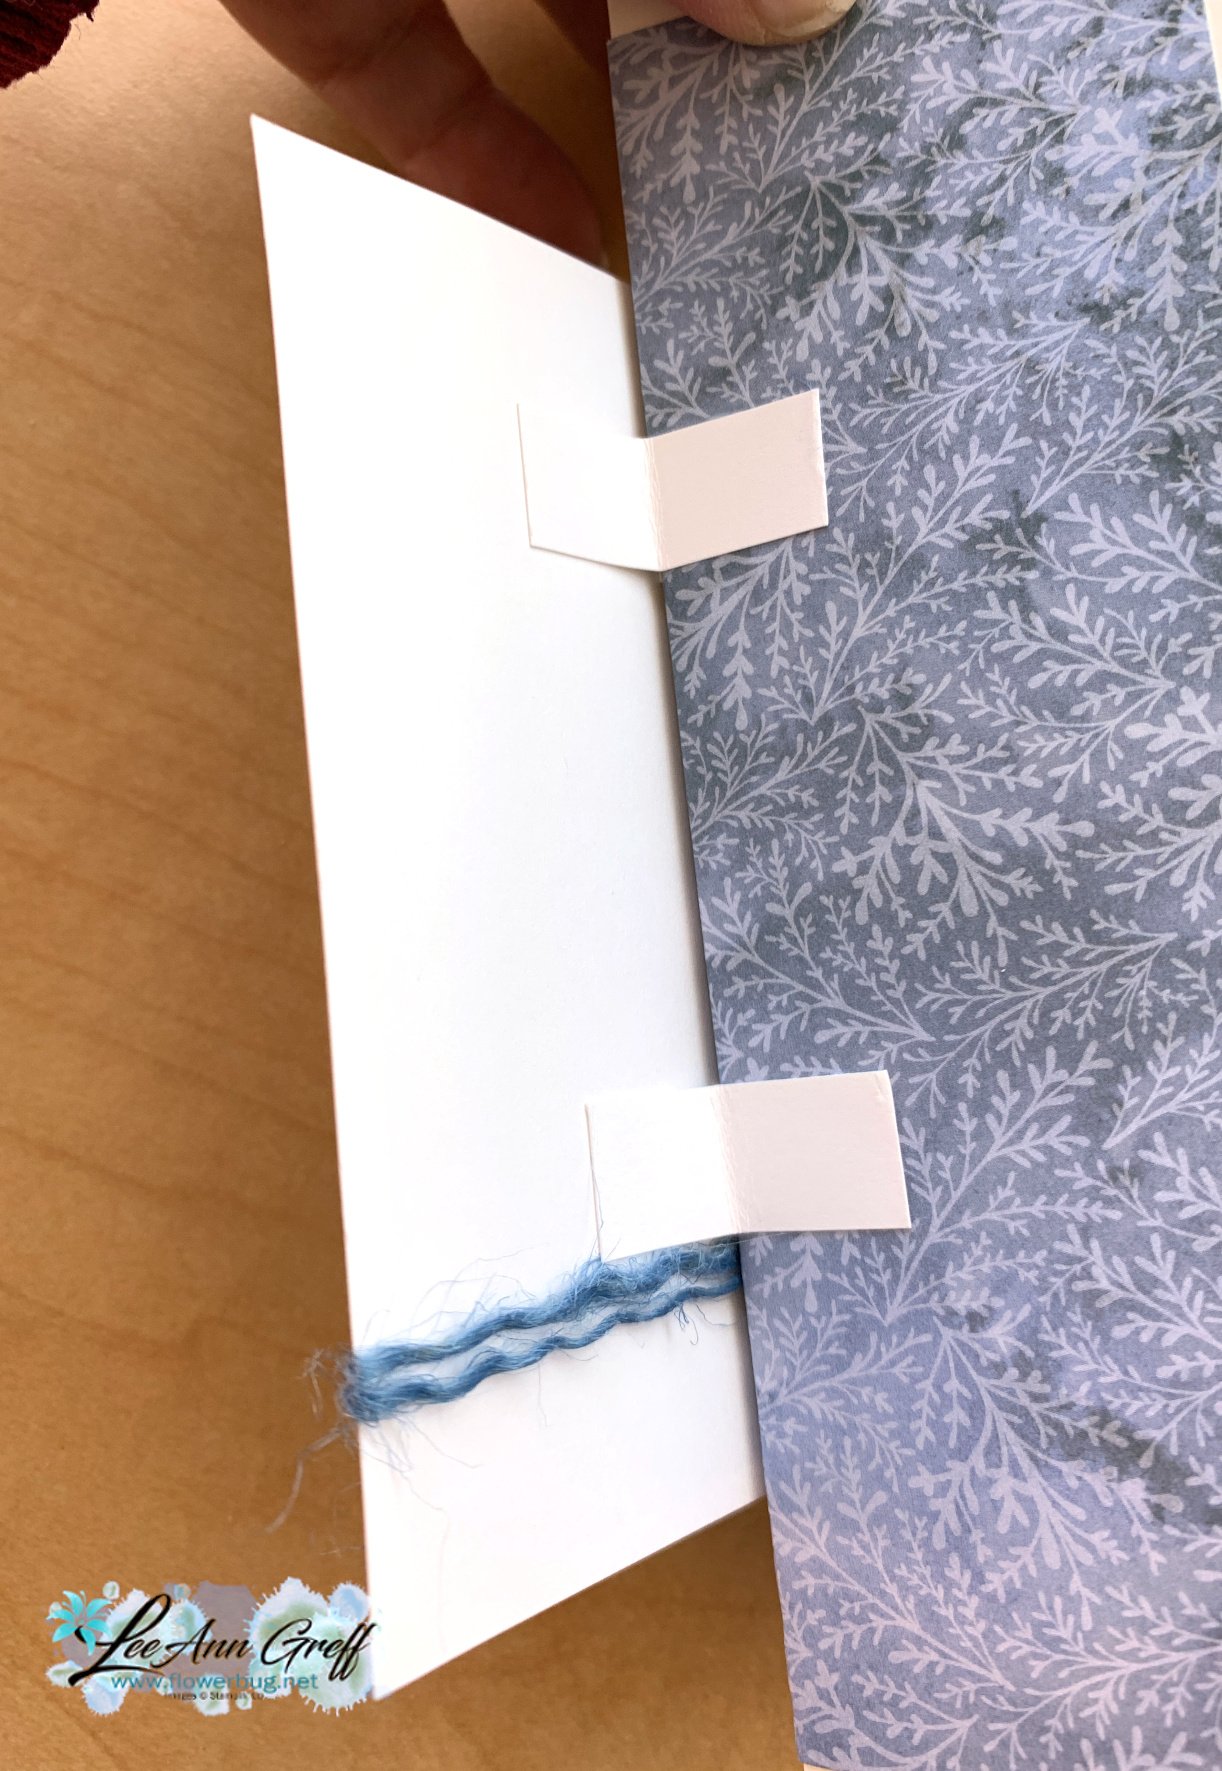
    I scored the blue card and the front half of the card base in half.  Then added a few short pieces of card stock behind the front layers so that layer pops up. 

    The size of these pieces do not matter at all.  Some people use one thicker piece on each side; I used two thin pieces.  It allows the top layer to move independently from the front of the card.  See how it's done in this video. 


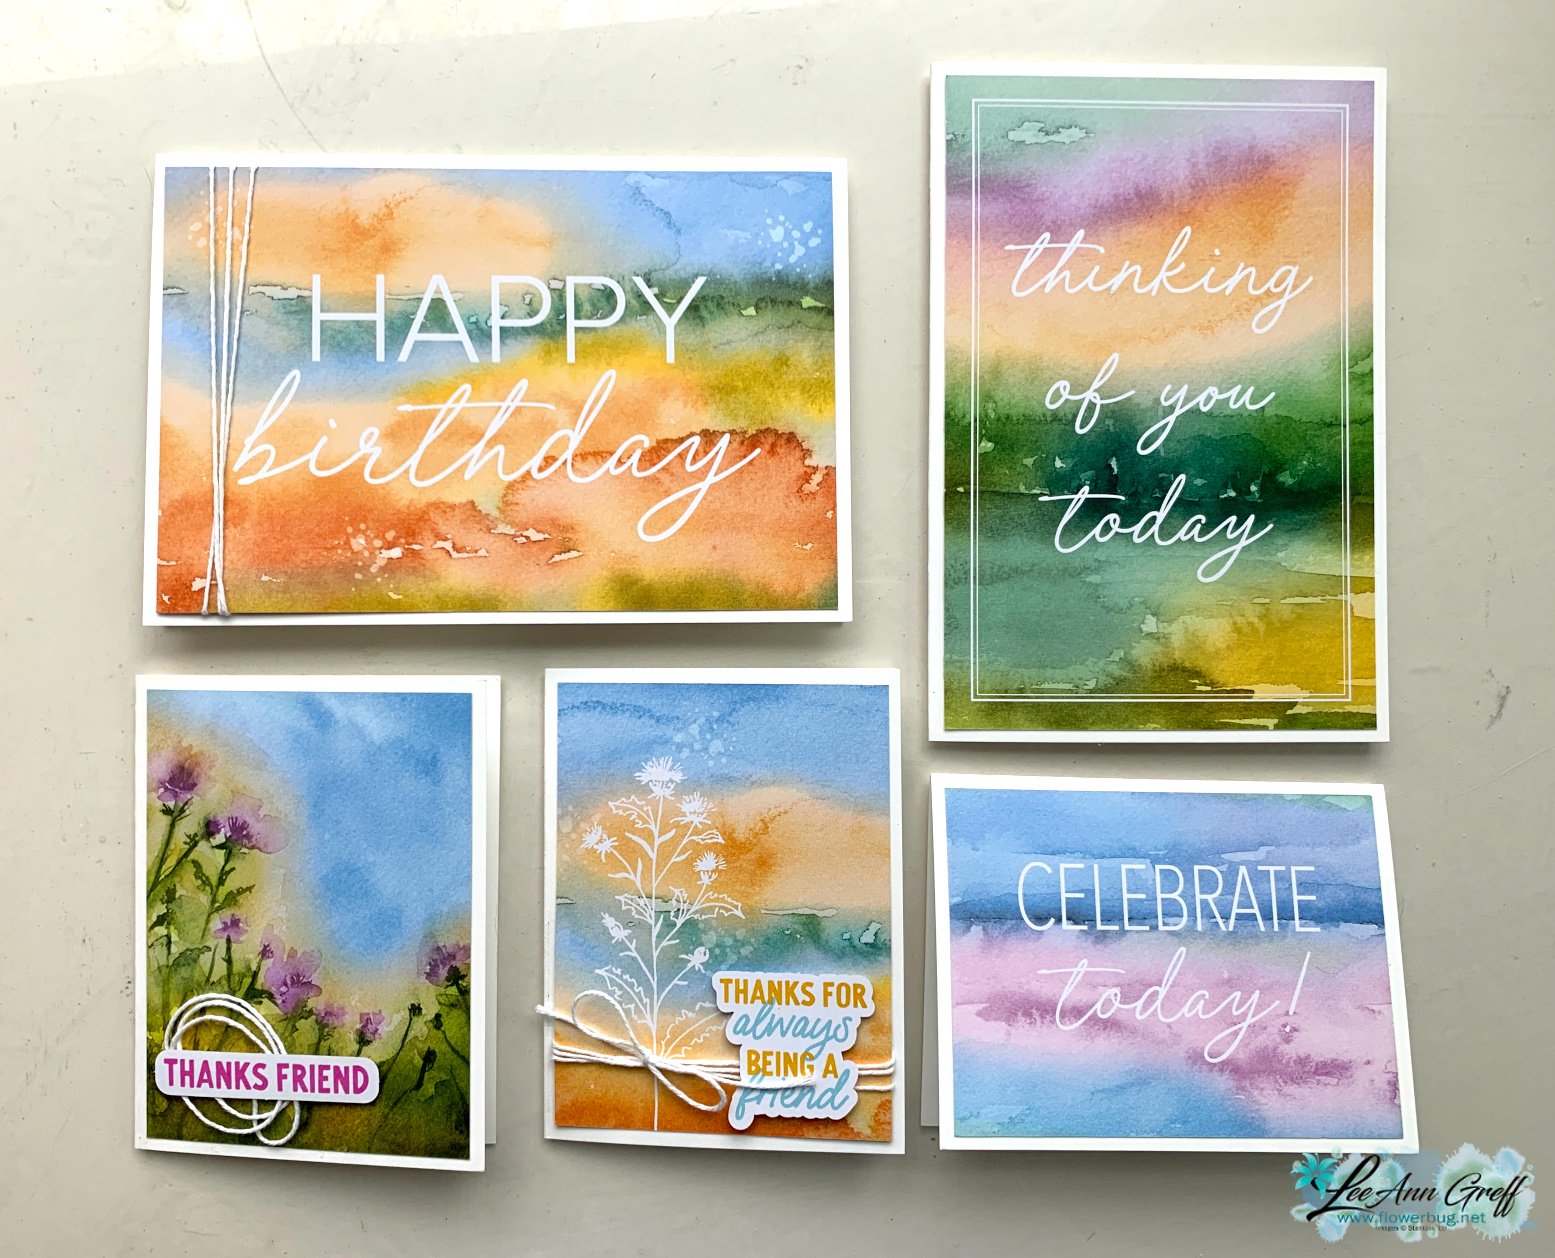
    You can see these Memories & More cards here. They come in a pack of 28 – half are 3 X 4" and the rest are 4" X 6". They fit our Basic White Memories & More card bases and envelopes perfectly.  They're also a great way to create larger than our usual cards – 4 1/4" X 6 1/4" finished size.  

    I made more beautiful cards with these products, adding a bit of twine to some along with a few printed greetings from the Saying Something Ephemera pack. 
     

    You can see the Saying Something Ephemera pack here.  It's FULL of tons of greetings you can just add to a card or scrapbook page.  I was thrilled when I saw these in the catalog. They're a perfect solution for quick crafting.  

    Sometimes you want or need to be able to make quick cards; these items are a wonderful way to do that!

    ~~~

    May Specials: 

    *current host code link:  FCJ937QT or 9AWSF9T9

    Click on the pictures above or below to get to my new catalog shares – choose from designer papers or a ribbon share. 

    ~~~

    All online orders in May will receive a free project tutorial and if your order is over $50 I'll also send you a pre-cut card kit!

    Leave a Reply

    Your email address will not be published. Required fields are marked *


Notice: LeeAnn Greff, Independent Stampin’ Up! Demonstrator, Manager. The content of this website is my sole responsibility as an independent Stampin’ Up! demonstrator and the use of, and content of, the classes, services, or products offered on this website is not endorsed by Stampin’ Up! Copyright 2025