/


Latest Post

Easy Fun Fold card! Stamp with Me tonight on FB Live


Tonight at 7:30 pm I'm making these easy fun fold cards on Facebook Live!  Join me and create right along with me.  Click here to join me on my FB page. 

I used the Paper Blooms DSP, Stitched in Whimsy & In Bloom bundle in Night of Navy & White. This pretty designer paper is free with any $50 order during our Sale-a-Bration promotion.  See it here. 

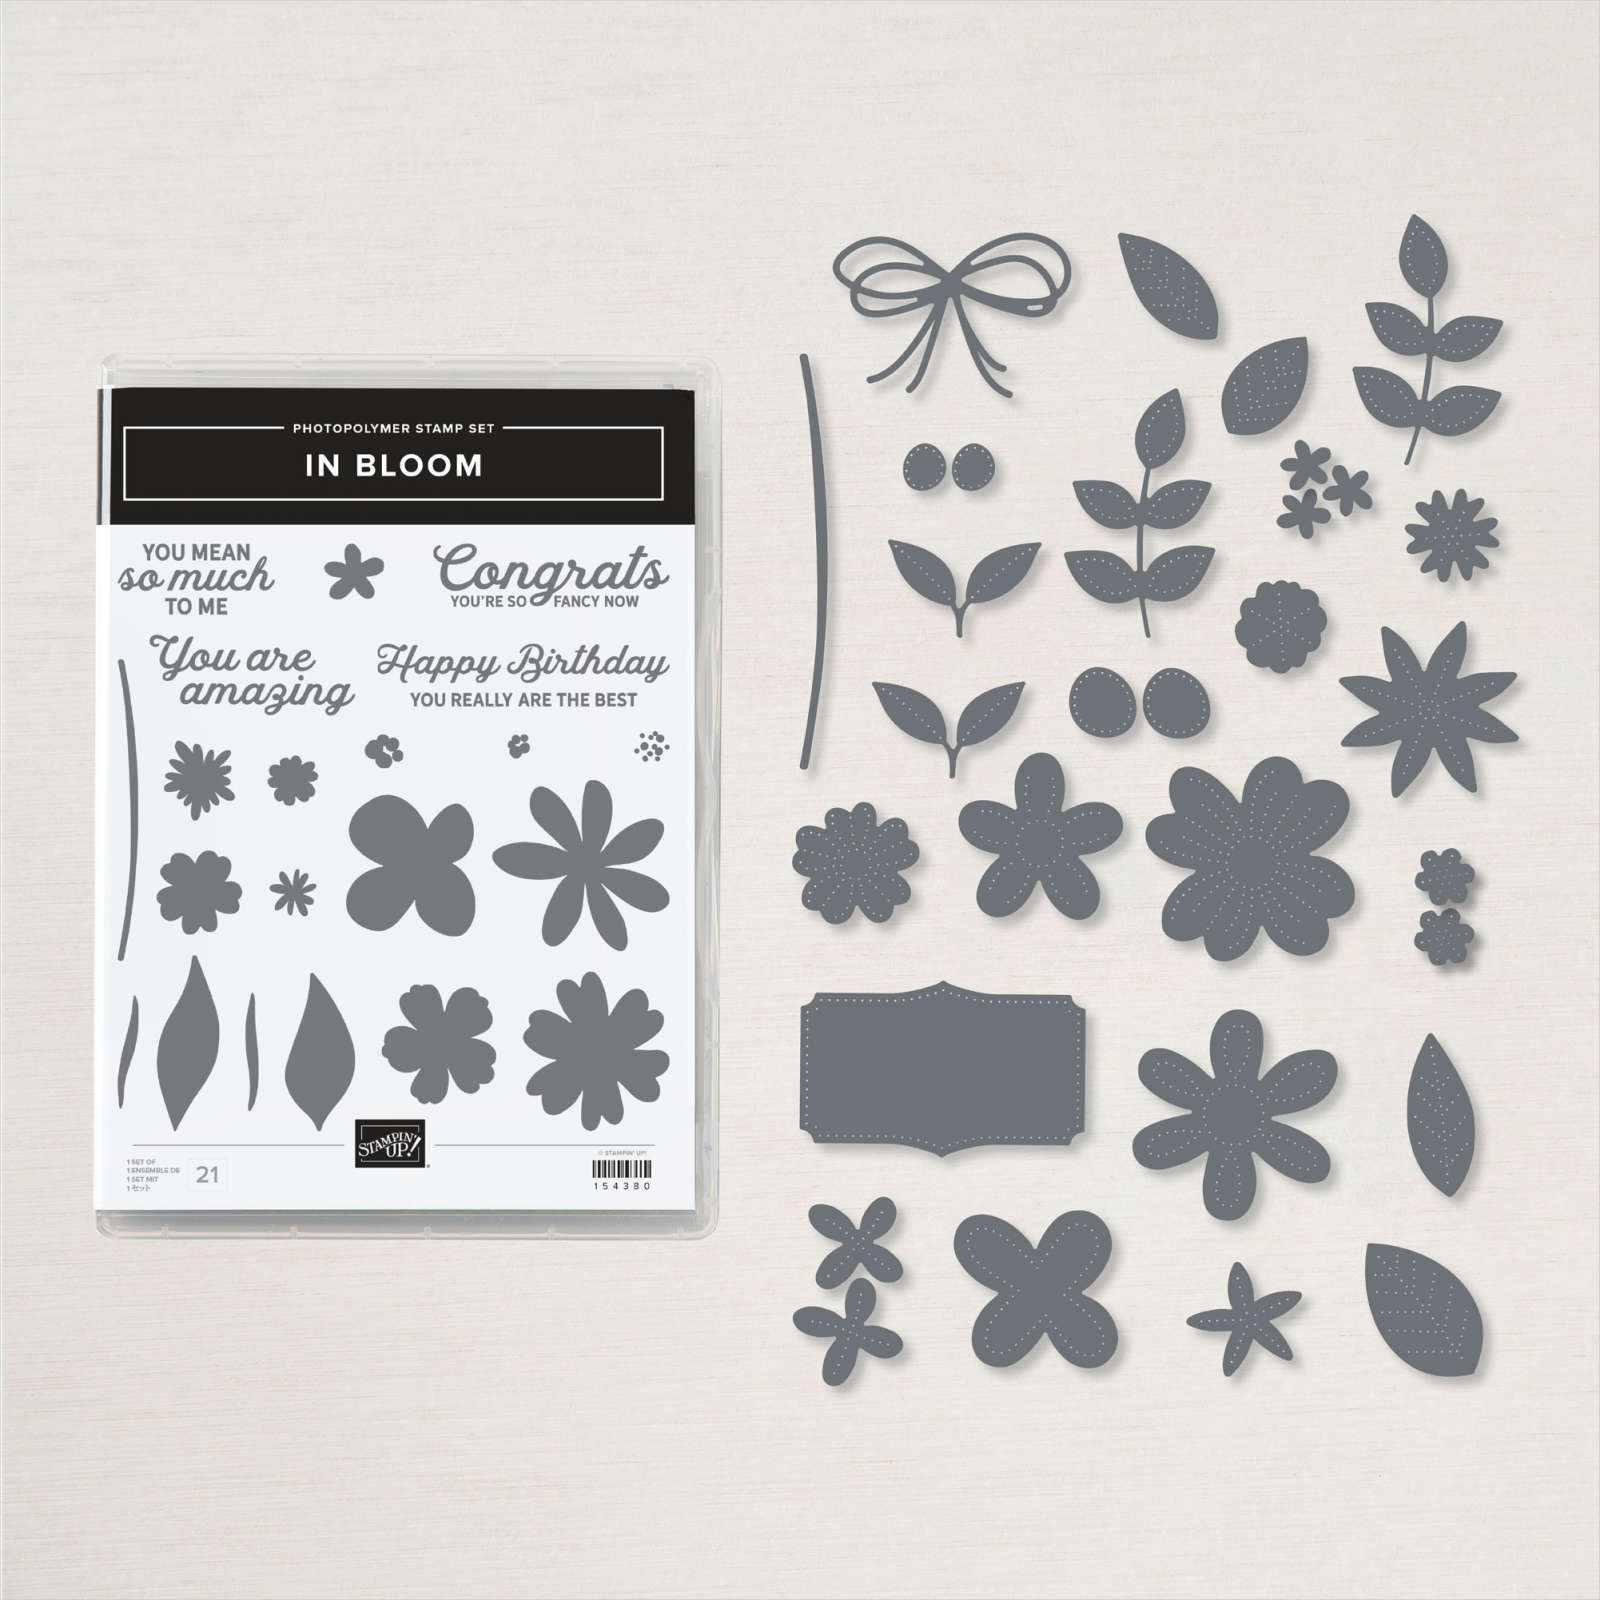
See that neat stitching on the inside of the card?  That's my new favorite 'Stitched with Whimsy' dies; seen here. 

I used both the dies and the stamp set on my front panels.  I also stamped the greeting on the inside layer on the bottom left card.  

You can see this neat In Bloom bundle here.  Look at these dies!  Love the stitching!


Measurements:
Main card 4 1/4" X 7 1/2" scored at 5 1/2" *save the extra piece for the front layer ( 3 1/2" X 2 3/4"
White 4" X 5 1/4", 3 1/4" X 2 1/2"
DSP 1 3/4” X 4”.
 
The neat thing about this card is that you can use what you cut off of the main card as your layer on the front flap.  Love that! 
 
 
I hope to see you tonight here on Facebook!  

~~~

January Specials:

Tomorrow is the last day of my BOGO Sale!  

*Order new Stampin' Up! items and get retired items FREE!

Go here to see it all. 


During Sale-a-Bration you get 5 packs of NEW 6" Designer Paper FREE with purchase of the Starter Kit! 


Go here to read about it

~~~

Current Host code is RHSK6A2F

Order online here

All online orders receive my new 12 X 12" One Sheet Wonder Tutorial!

Plus get a package of 200 Pastel Pearls from me with

an online order over $50 using the host code above.

*If your order is over $150 do not use the code; you'll still receive a gift! 

~~~

Get a package of 200 Pastel Pearls from me with an online order over $50 using the host code above.

*If your order is over $150 do not use the code; you'll still receive a gift! 

Below are the Multipurpose Glue stands we're making. They're $6 each and available in my Shop here.  

All Posts

  • A few favorite craft storage tips


    I thought I'd share some of my favorite ways to store my stamping products.  Some people enjoy organizing more than creating! 

    First is how I store my stamp sets.  In a dresser drawer.  I purchased a few dressers from IKEA many years ago and they've held up very well despite multiple moves.  

    Here's a photo of my craft studio.  I am very, very lucky to have such a beautiful room in our home for my business and classes. 


    Here's how I store my 8 1/2" X 11" card stock and paper scraps.  In front of each color of card stock I keep a cello bag for the scraps in that color. I've used this method for years and it really helps me use my scraps.

    Next is how I store my 12 X 12" designer paper and scrapbook pages. 

    It's a shoe storage cabinet! My 12 X 12" paper fits like it was made just for it!  You can get two stacks side by side in it since it's about 30" wide.    Plus it has a divider to fit even more paper above it.  I love the way the doors hinge open.  There are three doors and it's only about a foot deep.

    Lastly here's how I store my inks, markers and ribbon. These are Stampin' Up! storage and they're fully customizable to fit what you need.  Click here to see the options. 

    I love that it fits right on my work area for easy reach. As you can see I organize my inks in rainbow order. I'm not sure why my Blends aren't but I know my granddaughter will love to do that for me this week while she's here.  

    ~~~

    December Specials:

    *current host code link:  

    P243X6VH

    3 new designer papers!

    ~~~

    Available December 3rd; while supplies last!

    ~~~

    ~~~

    Leave a Reply

    Your email address will not be published. Required fields are marked *

  • Merry Christmas!


    I hope you enjoy a beautiful Holiday with family & friends.  

    Leave a Reply

    Your email address will not be published. Required fields are marked *

  • Diagonal Fun Fold with new products! Free project sheet & video too.


    Today I'm sharing a neat fun fold I hadn't made for awhile.  It's a diagonal fold that is fun and easy. 


    I used a few new, upcoming products from both the 2025 Spring and the 2025 Sale-a-Bration catalogs.  The greeting & punch are made with the Bright Borders set and coordinating To the Point punch.  The designer paper is the Toadstool Gardens 6" DSP from the SAB catalog.  It's free with any $60 purchase from January 7th – February 28th, 2025.  

    I made over 20 of them for a mail out swap I joined.  The colors include Melon Mambo & Granny Apple Green. 


    I share how to make it in the video here and seen below.  Basically it involves trimming off half of one side of the card base, flipping it and adhering it back to the card front.  The only confusing this can be adding your designer paper.  I suggest using a non-directional paper when trying this out. 

    Here's the free project sheet you can print or download. Click on the following link: Download Bright Borders Diagonal fun fold


    Below is the video if you'd like to see how to assemble this card. I also share a pretty Sophisticated Sled project too.

    ~~~

    December Specials:

    *current host code link:  

    P243X6VH

    3 new designer papers!

    ~~~

    Available December 3rd; while supplies last!

    ~~~

    ~~~

    Leave a Reply

    Your email address will not be published. Required fields are marked *


Notice: LeeAnn Greff, Independent Stampin’ Up! Demonstrator, Manager. The content of this website is my sole responsibility as an independent Stampin’ Up! demonstrator and the use of, and content of, the classes, services, or products offered on this website is not endorsed by Stampin’ Up! Copyright 2025