/


Latest Post

Easel Calendar with a post it box; made by Melissa


I LOVE sharing what my friends make.  Shout out to Melissa who made this adorable, bright & happy Easel Calendar for her club friends this month.  

She searched for a tutorial and actually found one I did last year!  She added a box for a pack of post-it notes too!  

She used the Pattern Party host paper seen here or on page 171 of our Annual catalog.  I always encourage my hostesses to choose this paper; it's the BEST deal! It's valued at $30 but hostesses can choose it for just $18 as part of their hostess benefits. Tip: Everyone earns free benefits on orders over $150; even Demonstrators! 

This is the type of information I want you to know before placing an order.  I want to maximize your value and get you the best deal on our products that I can! *please contact me before ordering so I can help you!
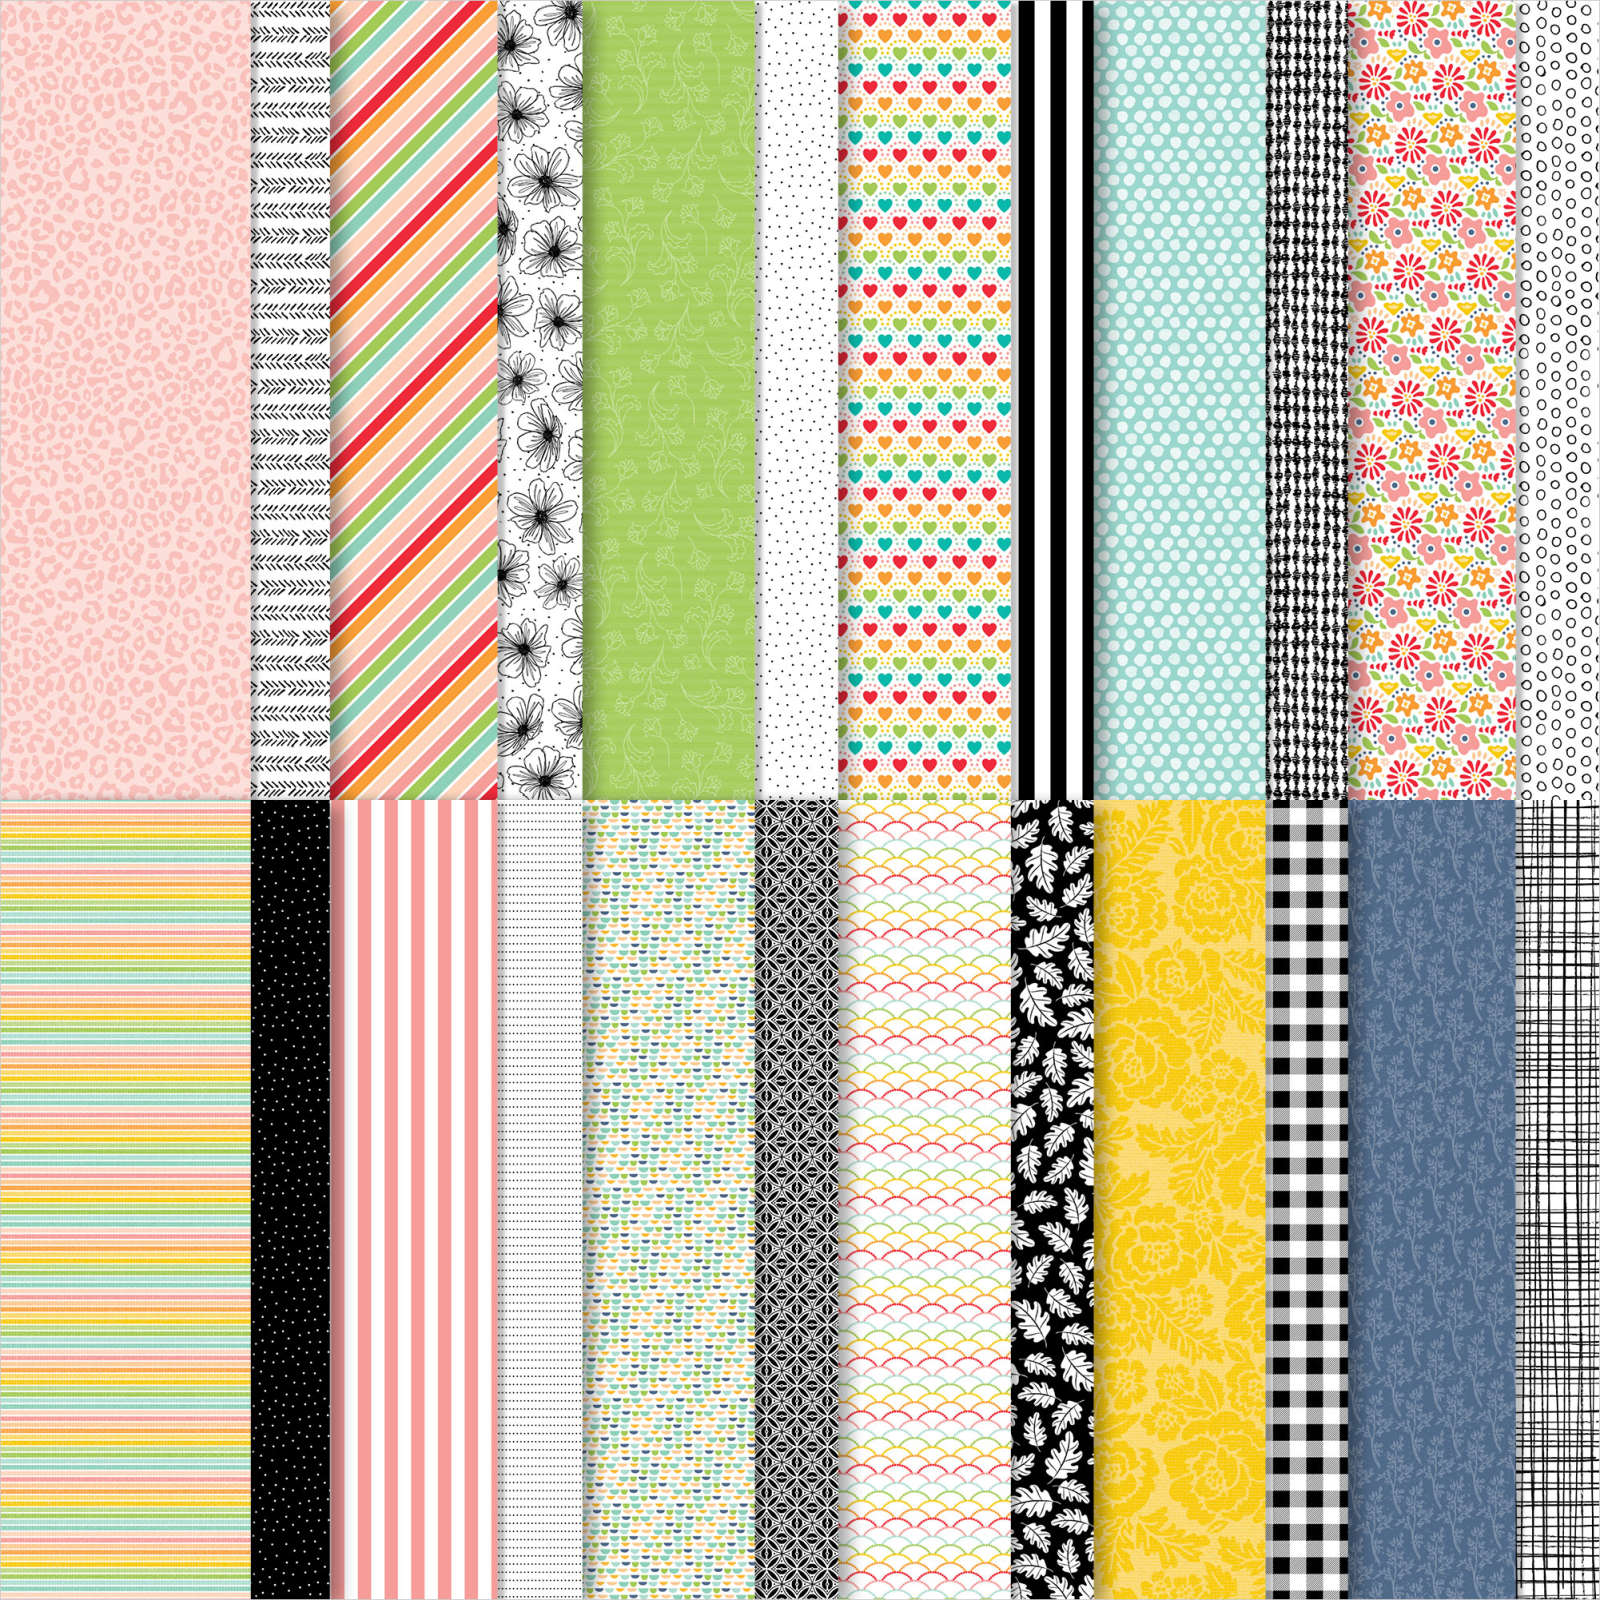
It's a huge pack of 48 12 X 12" sheets with fun, colorful patterns on one side & Black & White on the other.  It's my favorite DSP in the whole book!  

Measurements are below.  Or watch the video here.  

Easel Calendar card measurements

  • Card base 4 ¼” X 11” scored at 5 ½”.
  • Easel 4” X 4” scored at ½”, 2” & 3 ½”
  • DSP 4” X 5 ¼” 
  • Note box 4” X 5 1/8” scored at 3/8” on the short side.  On the long side score at 2 3/8” & 2 ¾”. *Wrap it with DSP if desired. 

*There's just a few days left to get the free Iridescent Rhinestones FREE.  Details below: 

~~~

January Specials:

Host codes:  S9WGFH9Z

 *click here to order 

Use the host code above & get free Iridescent Rhinestones with

a $50 order in January, 2022! 

Purchase the Starter Kit during Sale-a-Bration

and choose ANY 2 stamp sets free plus FREE shipping too!

Click here to get yours.


All Posts

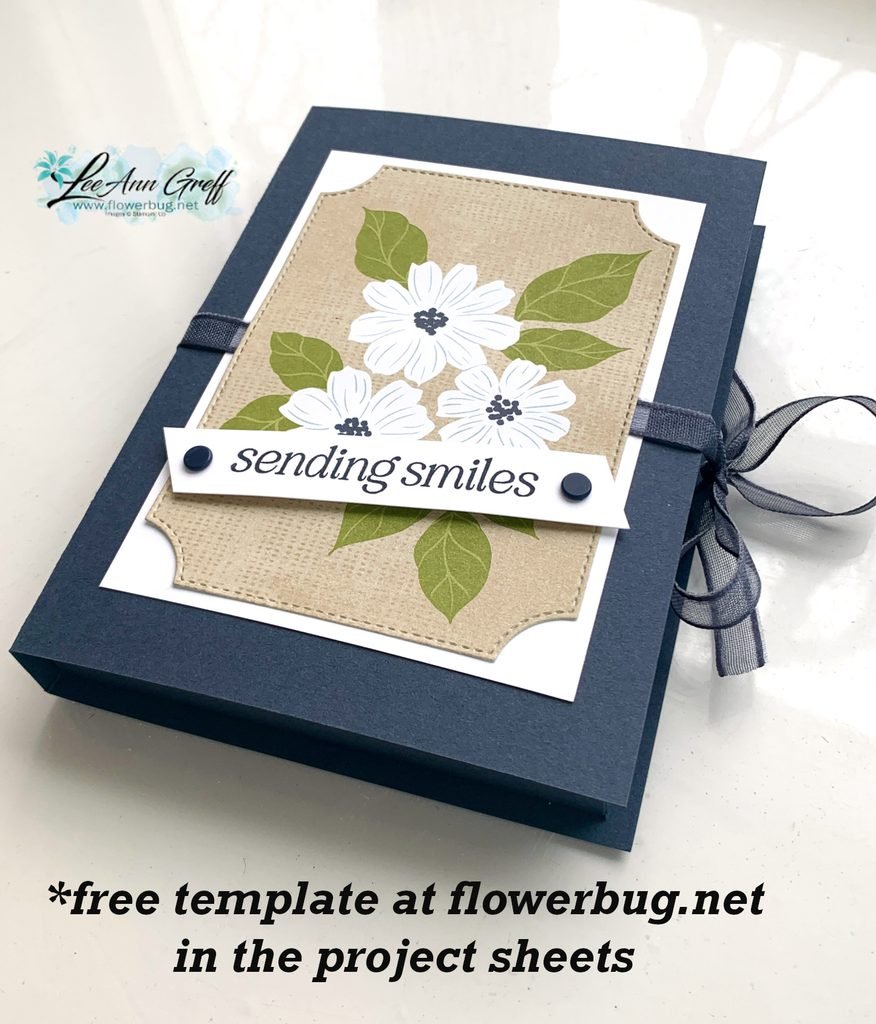
  • You’ll want to make this easy box for cards. Grab the free tutorial!


    I shared this fabulous box for gifting or storing cards in on last week’s Live video. It’s one of those projects you NEED to make!

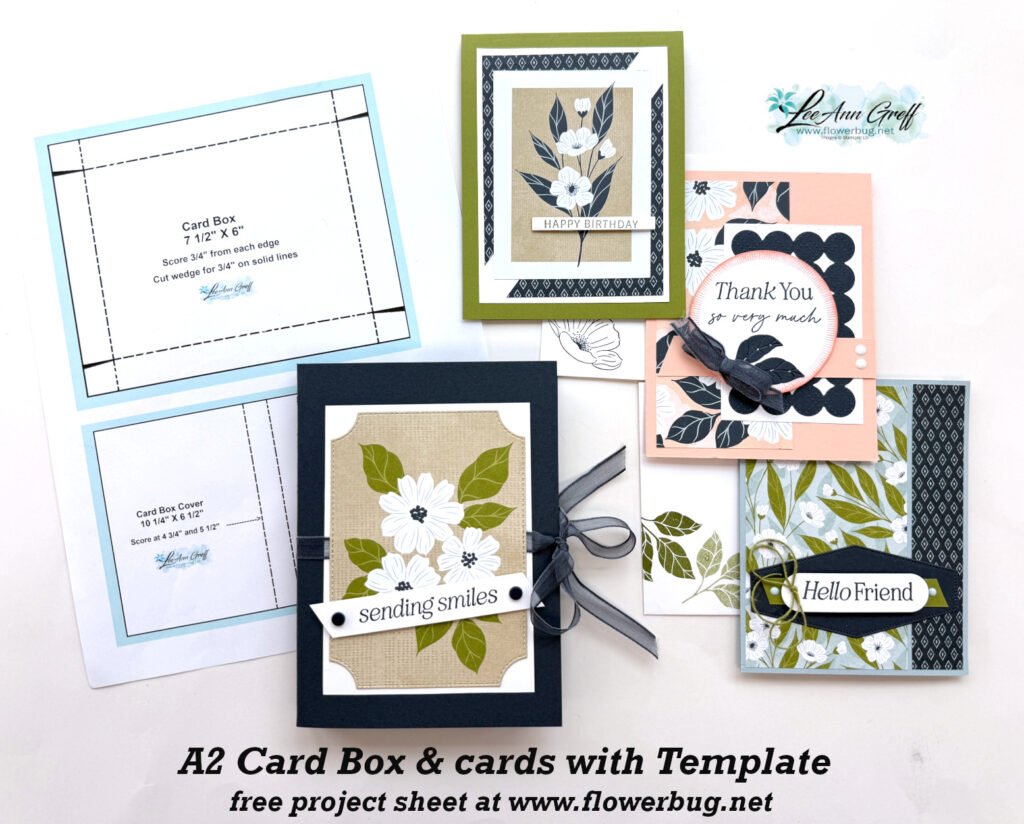
    I found a similar project on Pinterest but the measurements weren’t for A2 cards so I reconfigured it and came up with this one. I love it and the fact that it’s super easy makes it a must have to save among your project ideas.

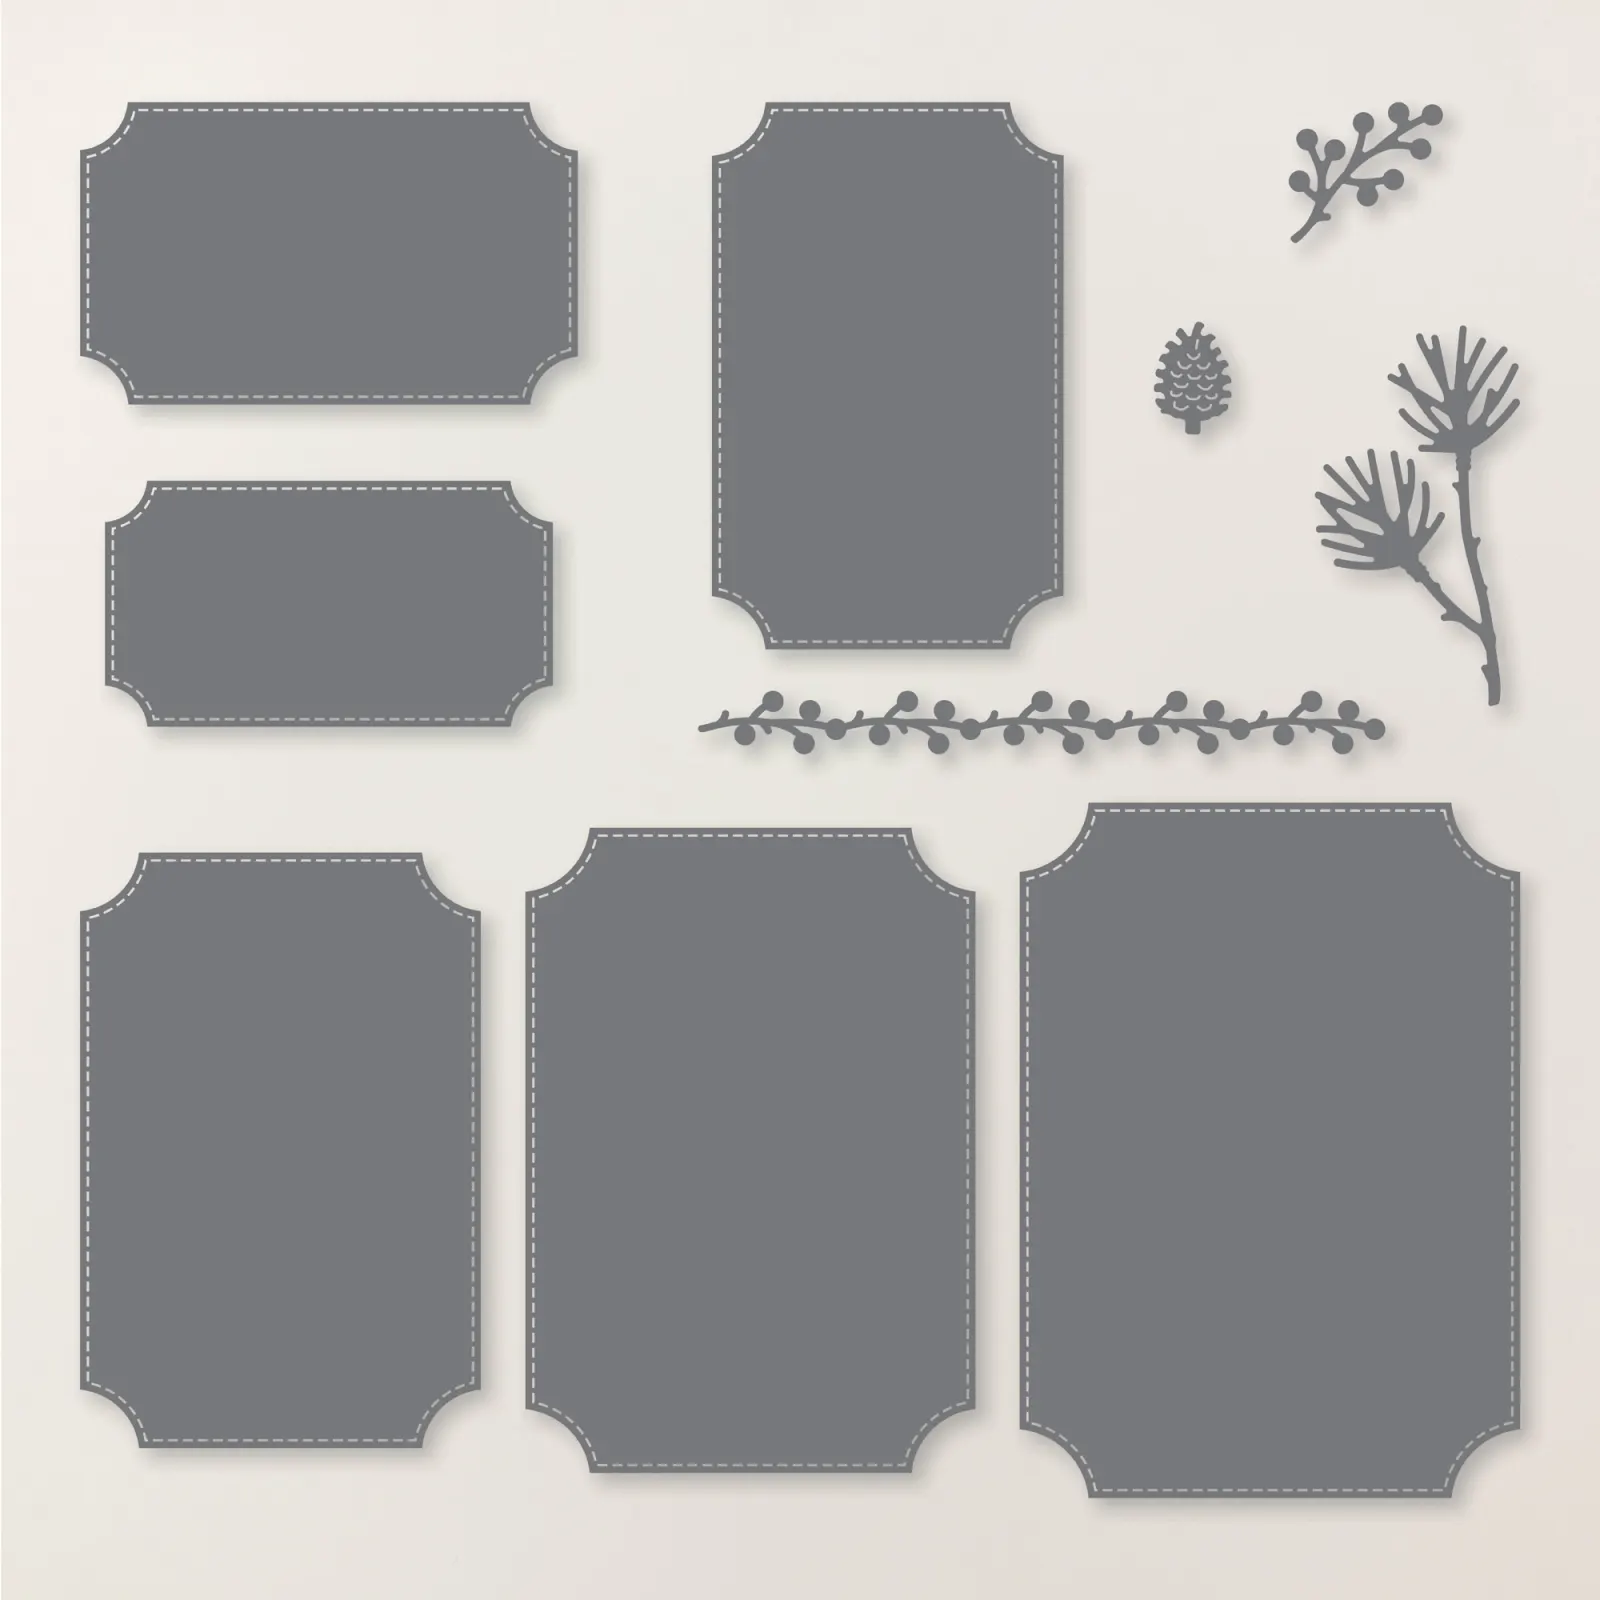
    I used Secret Sea card stock, the DSP and with the retiring Branching Out dies (so sad!) for the front. The Secret Sea bordered ribbon is perfect to wrap and tie into a bow for giving.

    If you don’t have these Branching Out dies; I think they’re a must have! Get them ASAP before they’re gone for good.

    It features the Lovely Blossoms suite; especially the Lovely Blossoms designer paper here and the Lovely Arrangements bundle seen here.

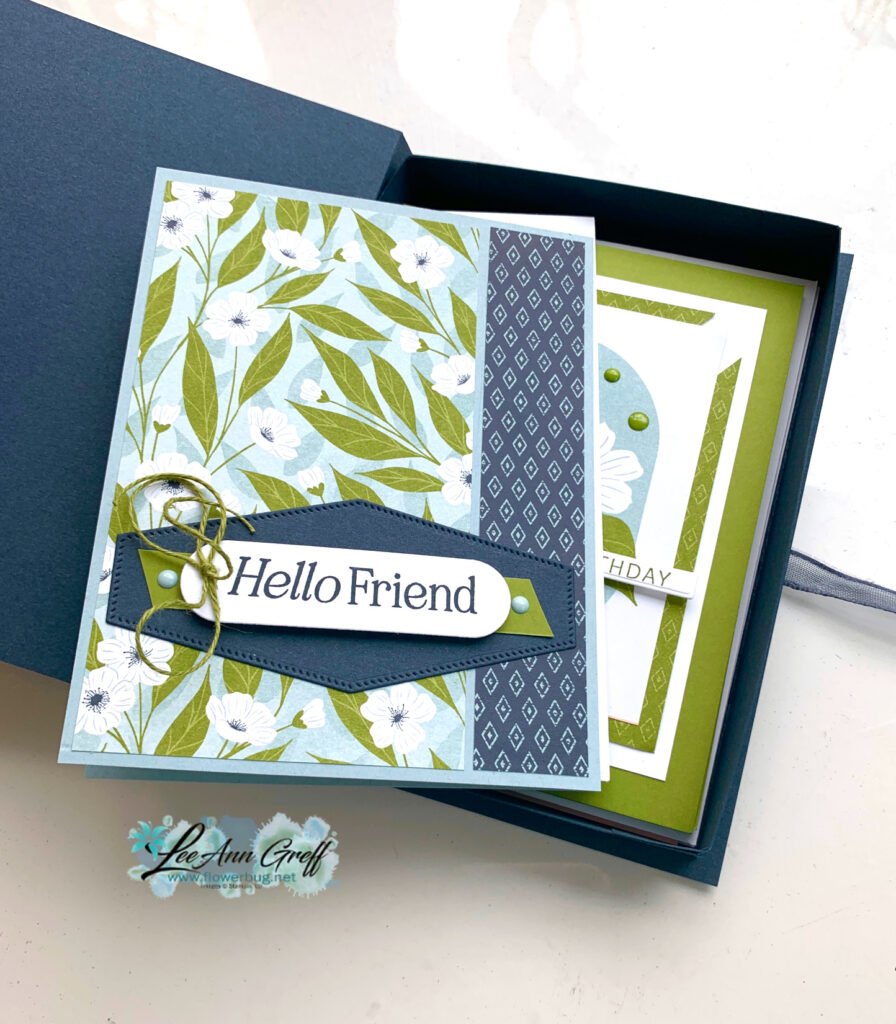
    I added three cards & envelopes inside the box but it would fit 5-6 cards if they’re not too thick.

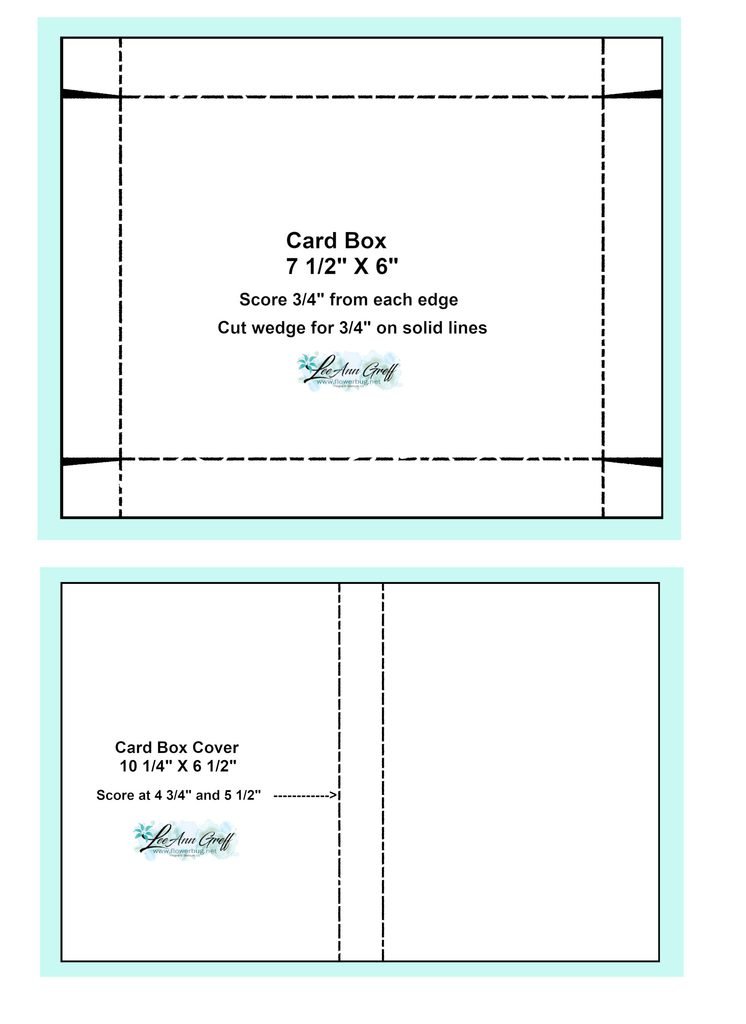
    I’ll share the cards in my blog post tomorrow. But in the meantime the template for this box is below.

    I created a free project sheet for both the box and the cards. Please click here to print or save it!

    The video tutorial is below; please watch it to see how to assemble the box.

    April Specials:

    Check out the Last Chance list here; these items go fast!

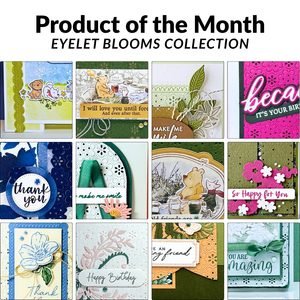
    Product of the Month is the Eyelet Blooms dies

    *Get a free 12 project tutorial when you redeem this POM from me!

    ~~~

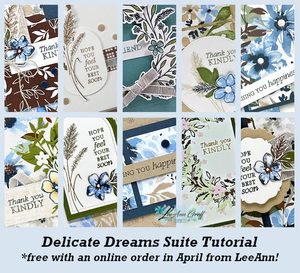
    Free PDF tutorial featuring the Delicate Whispers suite!

    And below is the video tutorial on how to assemble the box and some of the cards.

    Leave a Reply

    Your email address will not be published. Required fields are marked *

  • Lovely Florals card kit to go with PDF & video tutorial


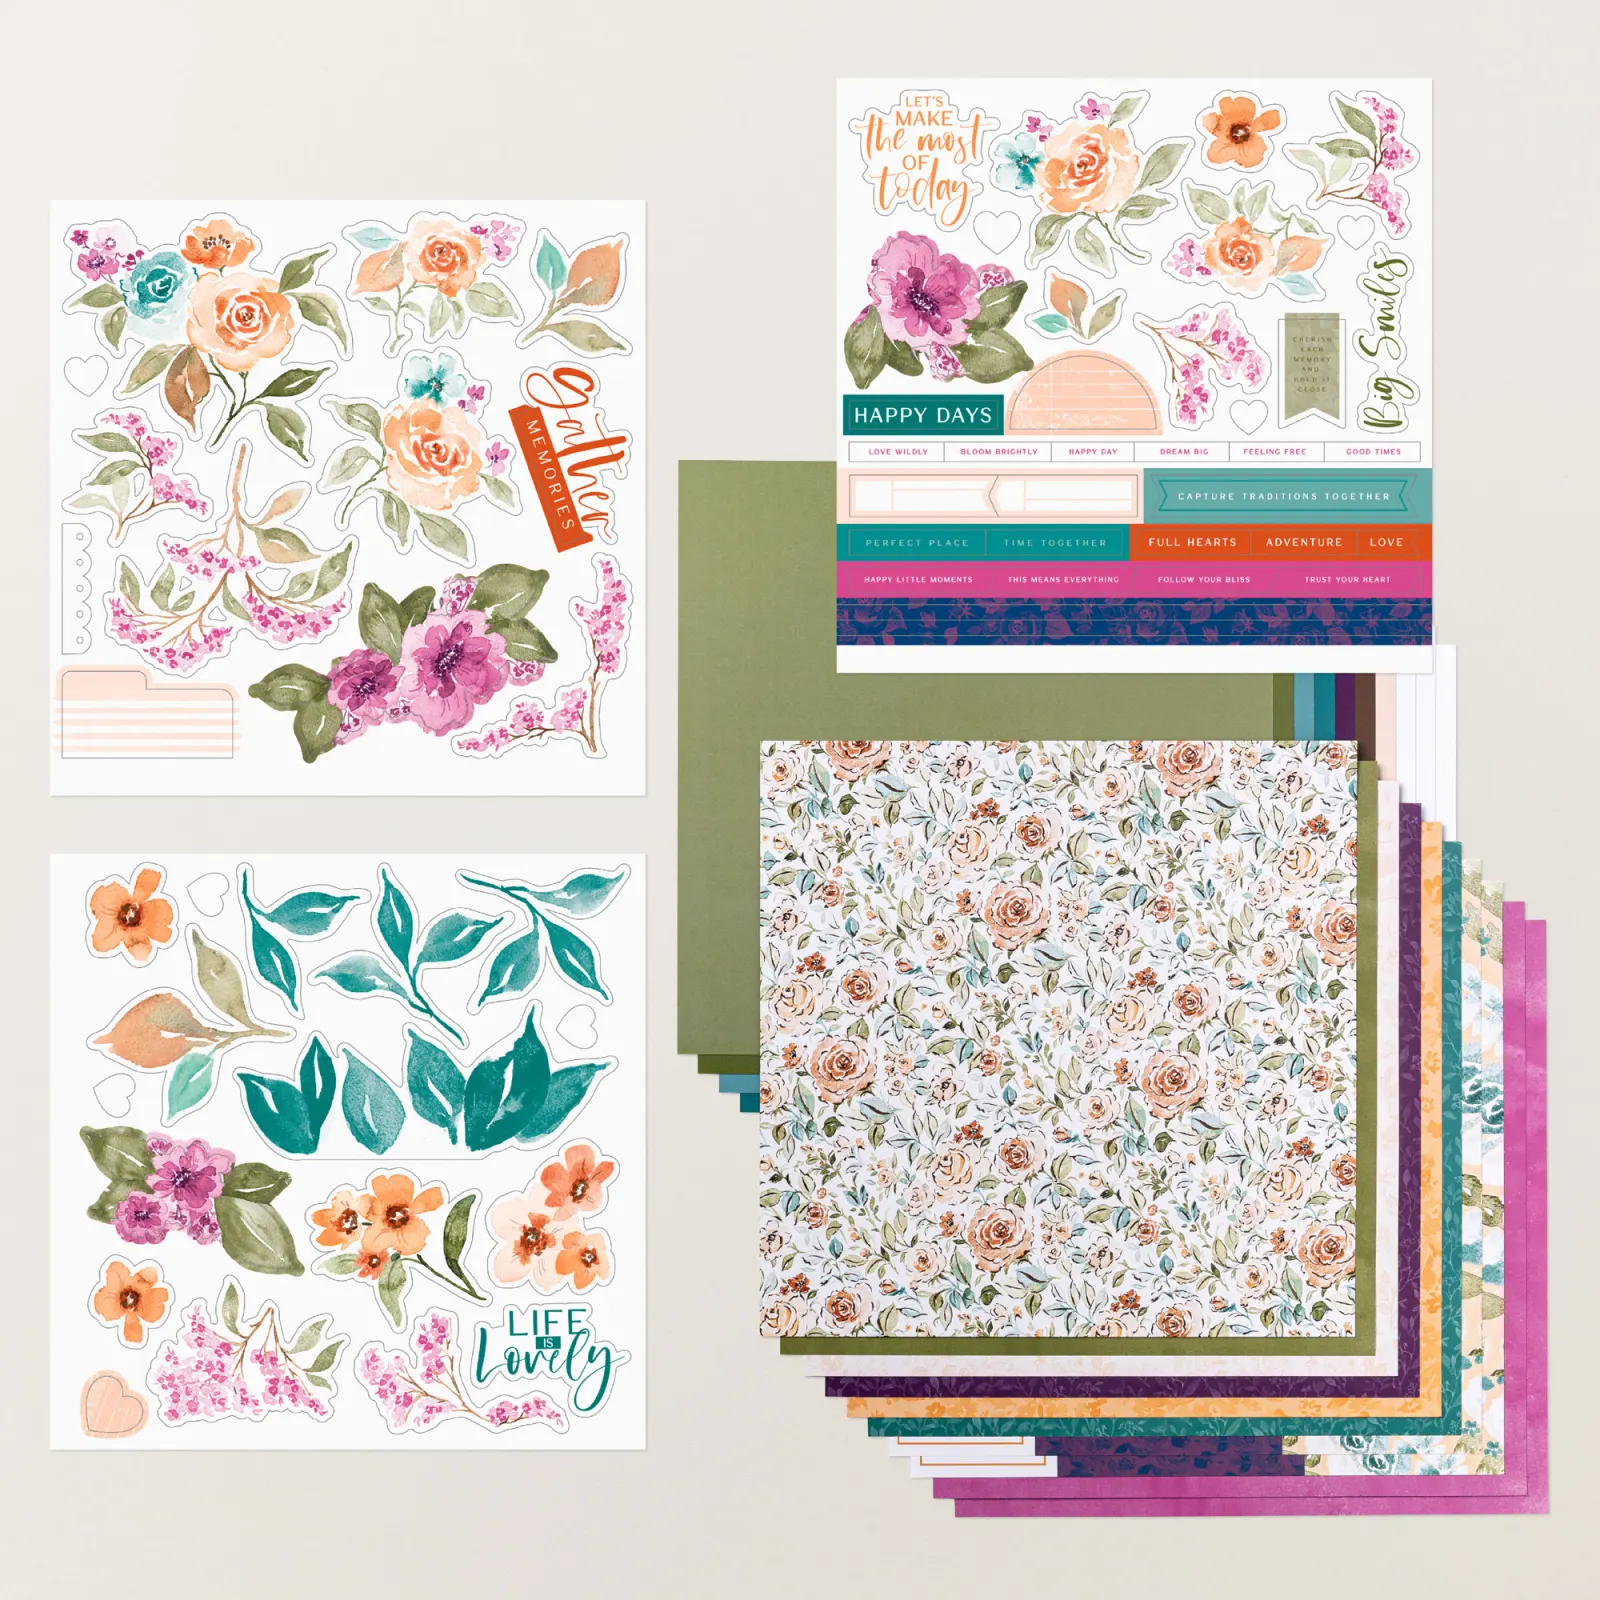
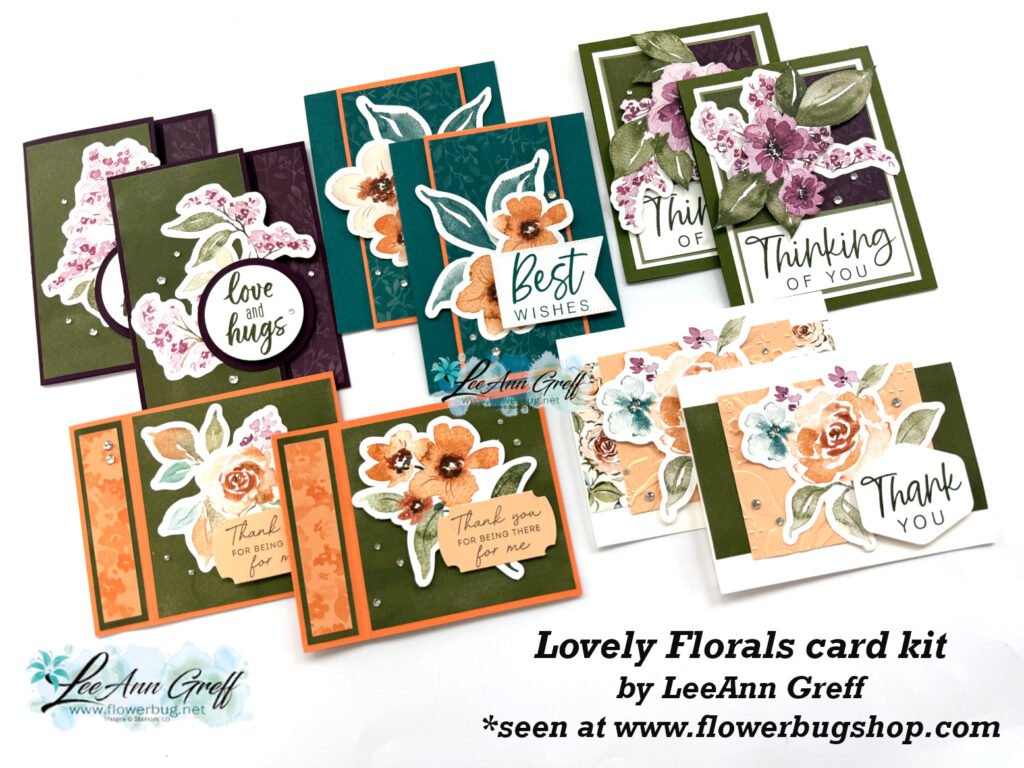
    Here’s something new & different in my card kits to go. I decided to play with the Lovely Florals scrapbook kit to create cards with. This kit from Stampin’ Up! includes sooo much product and it’s only $15 on the Last Chance list! *see it here

    It was super easy to convert the scrapbooking plan to cards. Here’s what I came up with.

    Aren’t they beautiful?! This is one of those kits you’ll truly enjoy creating; they’re so quick, easy and gorgeous.

    Reserve your card kit here and it will be mailed to you at the end of April. This kit includes 10 pretty cards and many of the products you need to make them.  

    Here’s what you’ll receive in your kit:

    • 10 pre-cut cards including die-cuts, punches and layers 
    • Multiple sheets of Lovely Florals designer series paper (12 X 12″)
    • three sheets of floral & greeting die-cuts and stickers in 12 X 12″ size!
    • a share of Rhinestone jewels
    • the PDF tutorial and the exclusive video tutorial

    The PDF tutorial is sent to you via email immediately after payment; check your spam folder. The actual kit with products is sent at the end of April via Priority Mail.  

    *You will need greeting images, inks, adhesives and a paper trimmer to finish the cards. 

    See all of my kits and tutorials here.

    Leave a Reply

    Your email address will not be published. Required fields are marked *

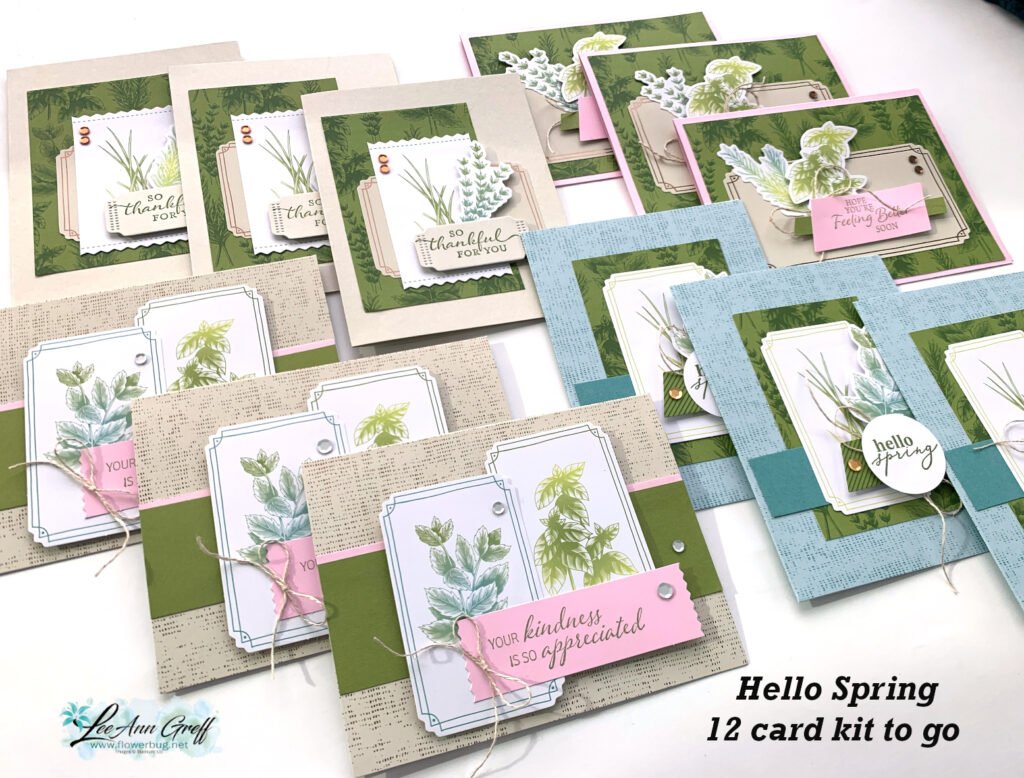
  • Hello Spring card kit to go; so pretty!


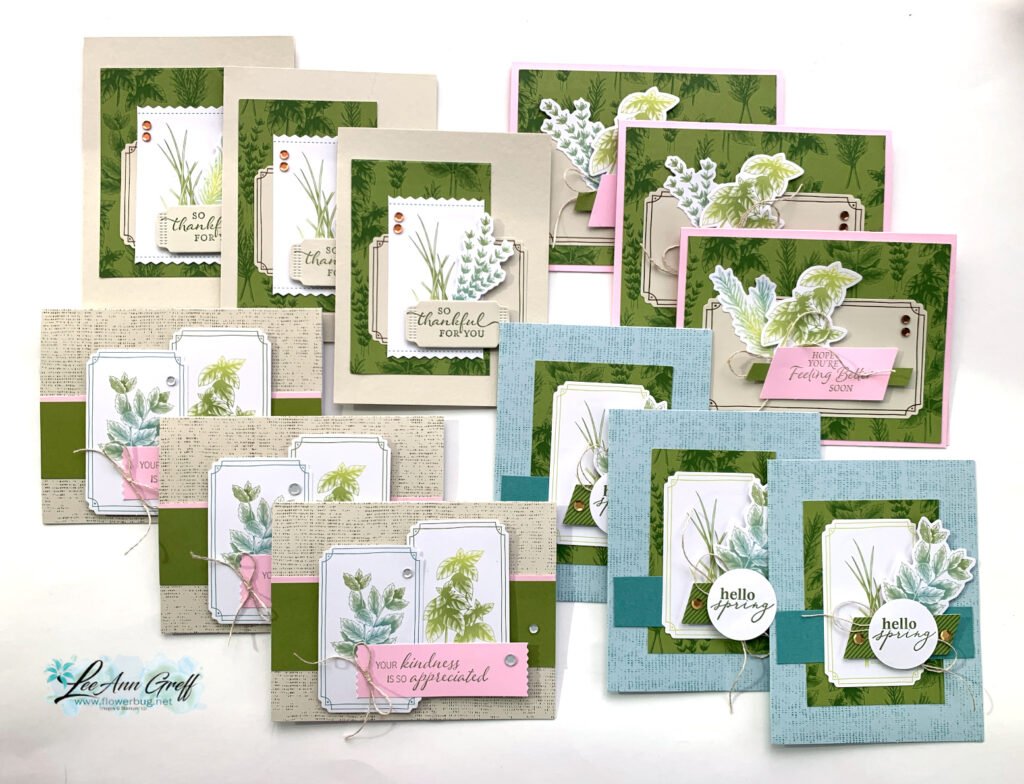
    Look at the these beautiful, botanical cards I made with a retired Paper Pumpkin kit.

    I redesigned the cards using the many pretty elements in the kit. 

    In this kit you’ll receive supplies to make 12 cards with envelopes. All card bases and layers are included along with linen thread & sequin gems. You’ll need Old Olive or Mossy Meadow ink, greeting images, a paper trimmer, scissors and adhesives to complete the cards.  

    You can reserve this kit here for $31. Or if you already own this PP kit you can grab the tutorial here. The PDF tutorial is emailed to you immediately after purchase; check your spam or junk folder. The kit is mailed out at the end of April. 

    I have three NEW kits this month; be sure to check them all out here. You’ll save $$ on shipping when ordering more than one kit.

    April Specials:

    Check out the Last Chance list here; these items go fast!

    Product of the Month is the Eyelet Blooms dies

    *Get a free 12 project tutorial when you redeem this POM from me!

    ~~~

    Free PDF tutorial featuring the Delicate Whispers suite!

    Leave a Reply

    Your email address will not be published. Required fields are marked *


Notice: LeeAnn Greff, Independent Stampin’ Up! Demonstrator, Manager. The content of this website is my sole responsibility as an independent Stampin’ Up! demonstrator and the use of, and content of, the classes, services, or products offered on this website is not endorsed by Stampin’ Up! Copyright 2025