/


Latest Post

Dressed to Impress meets Ornate Frames for a gorgeous hand made box!


These are the boxes I included in my Spring Retreat last month.  I think they're gorgeous and was so happy with how they turned out!

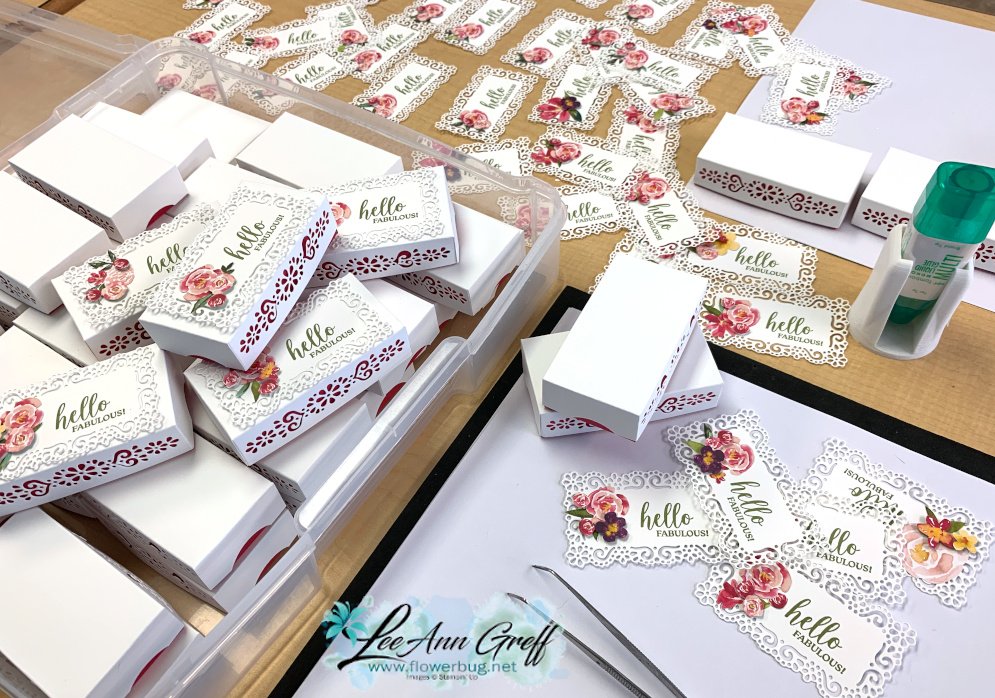
They're hand made from White and Lovely Lipstick card stock with fussy cut flowers and leaves from the Best Dressed designer series paper added to the top. The greeting is from the Dressed to Impress stamp set. The pretty die-cuts are from the Ornate Frames & Ornate Border dies which are now available again!  See them here. 

Here's a picture of the assembly process: 
Here are the box dimensions:

  • Top is 3 3/4" X 5 1/2" scored at 3/4" on all sides
  • Bottom is 3 5/8" X 5 3/8" and scored at 3/4" on all sides.  

Tips:

  • Once you have the box pieces cut and scored you can use the Ornate Border dies to die-cut the pretty windows in the sides.  
  • Cut the White frame using the Ornate Frames dies. Stamp the greeting and add fussy cut leaves and flowers. 
  • Fill with chocolate! 

~~~

May Specials


Get my 'ALL Fun Fold cards tutorial' free with any online order.

It includes directions, photos and measurements for 18 fancy card folds!


May Host code is EYDJ4MQN

Get a free pkg. of Noble Peacock rhinestones from me if your order is over $55. 

Order online here

All Posts

  • Nuts About Squirrels


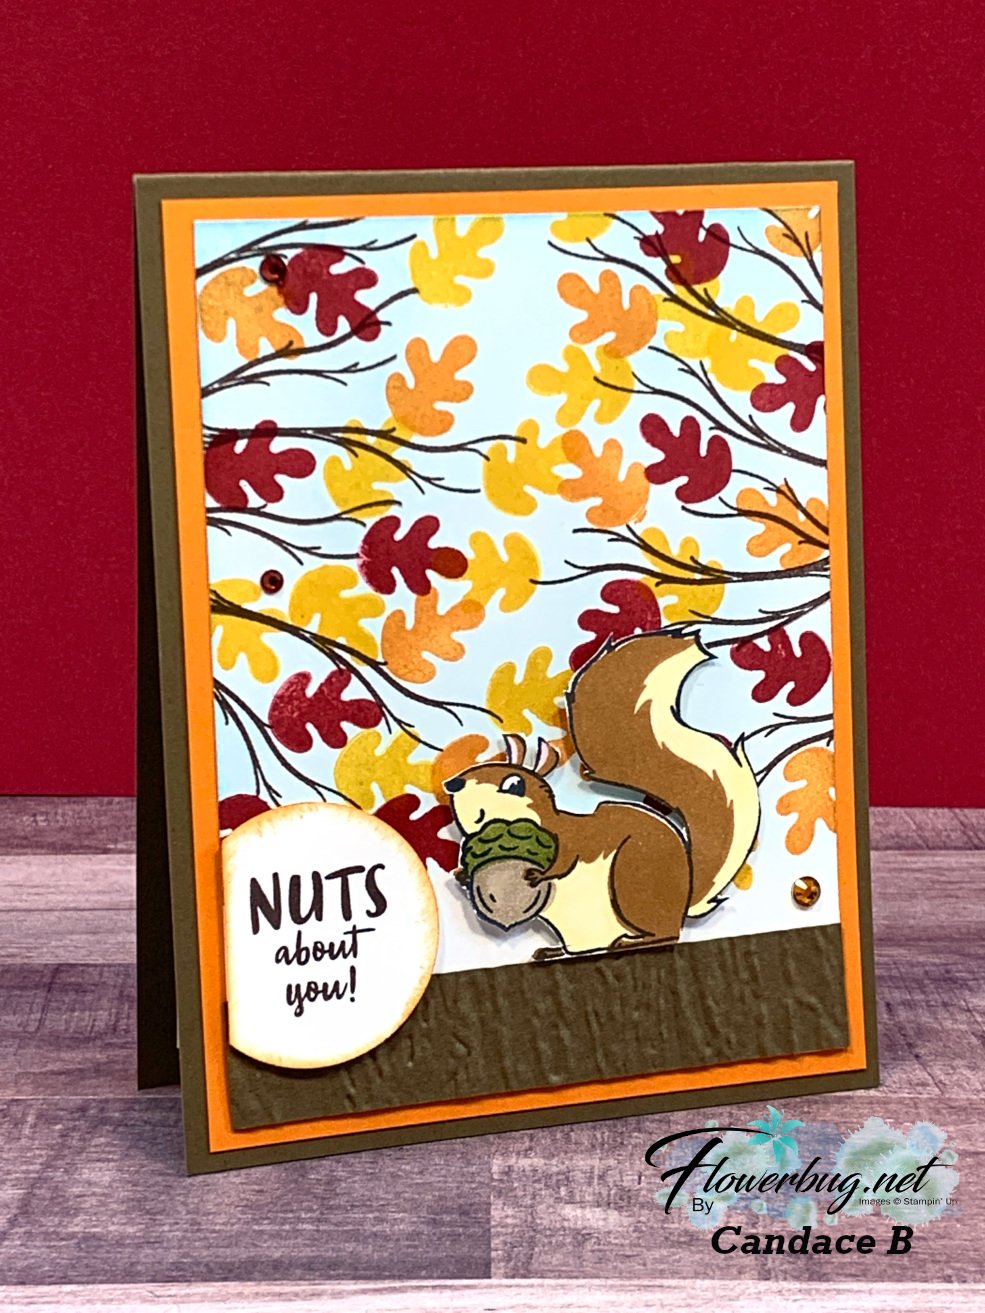
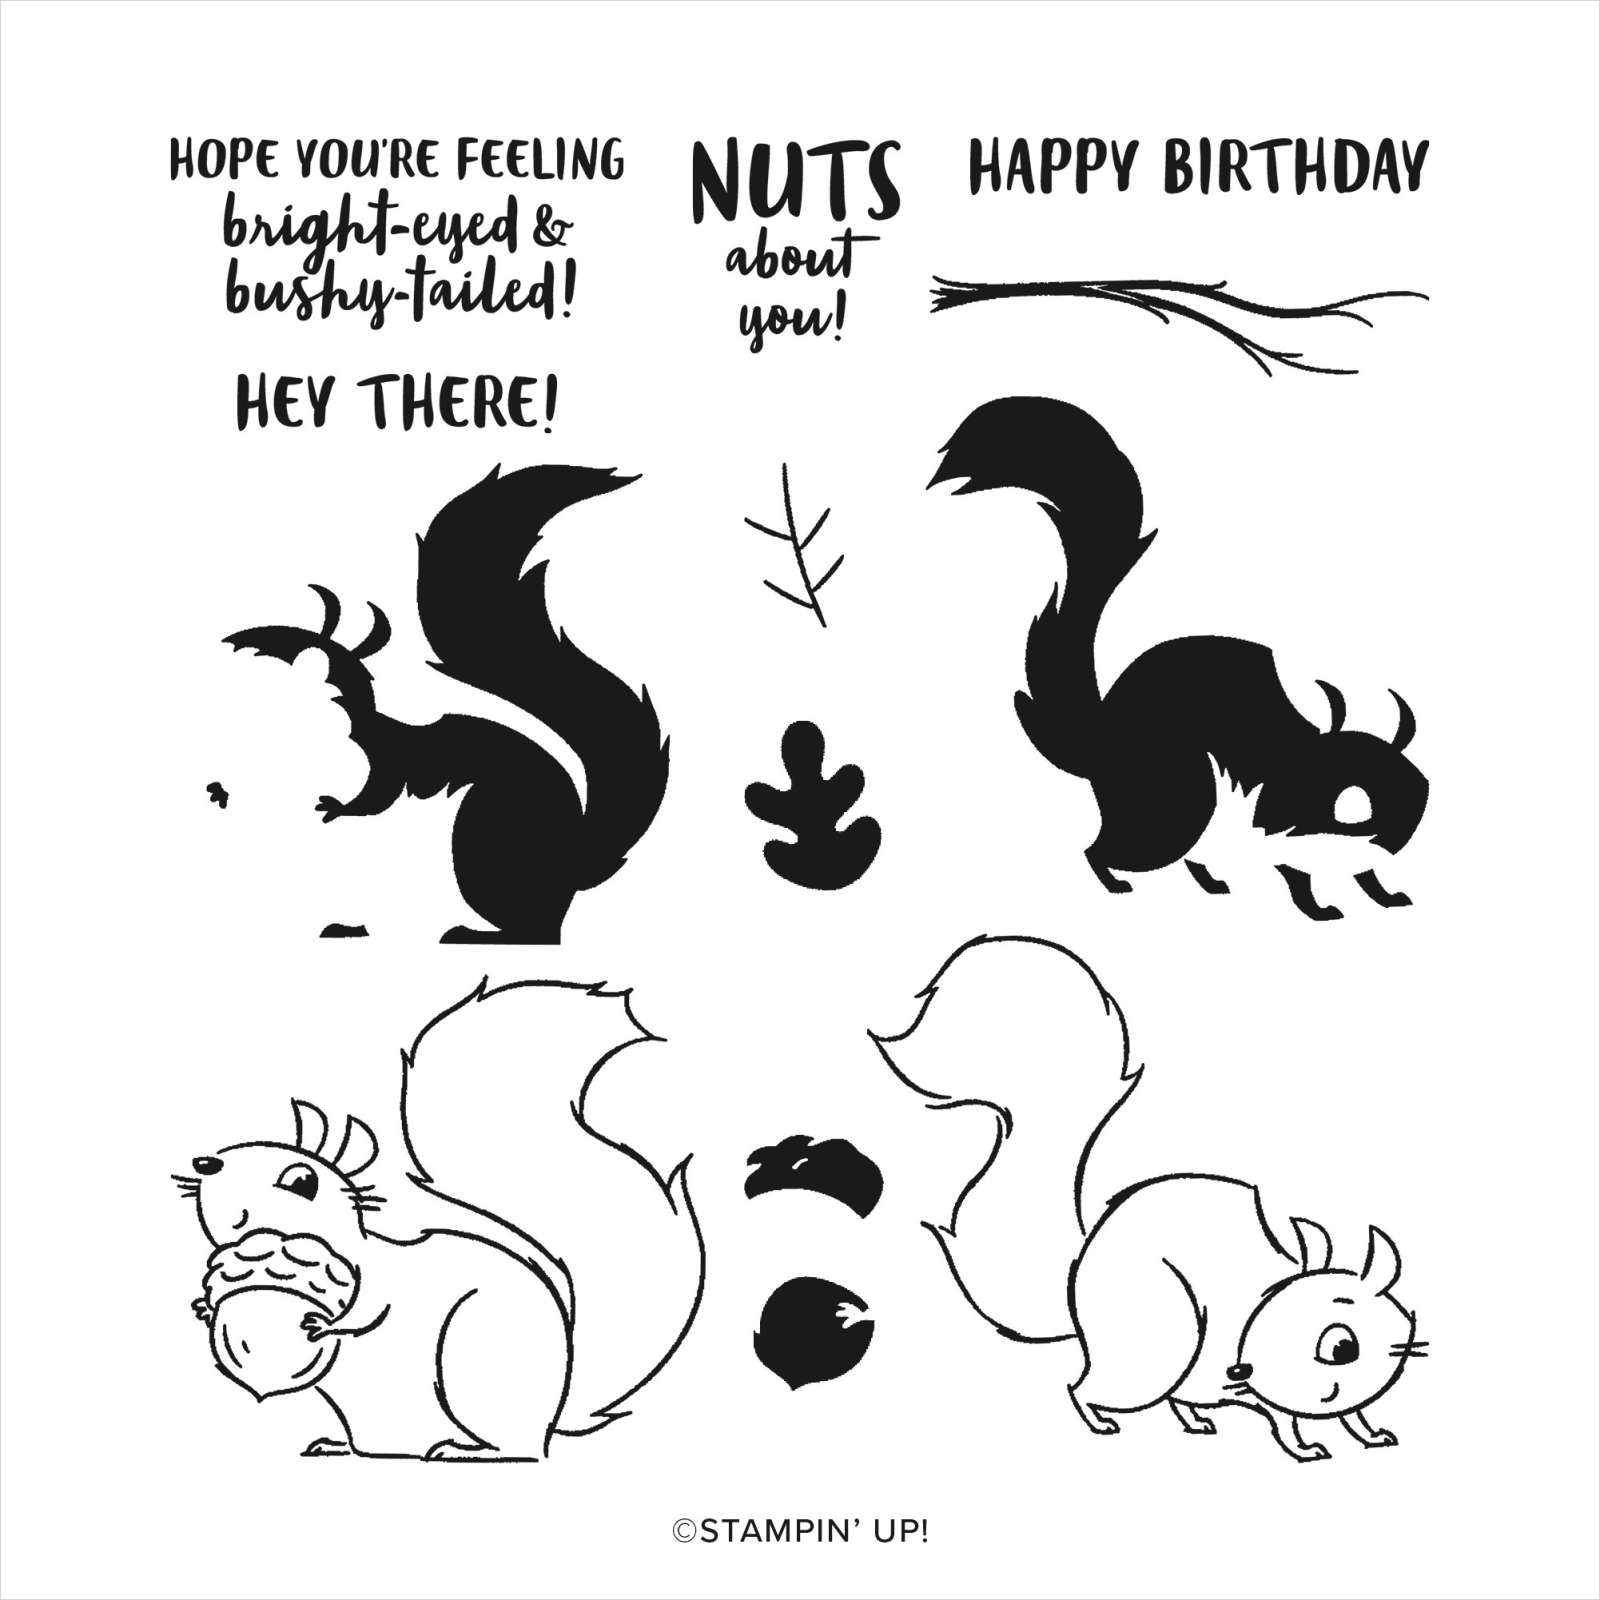
    Look at this adorable card Candace made for our September swap! She used the cute Nuts About Squirrels stamp set.

    You can see this cute set here.  Can you believe she stamped that background herself?  Here colors include Pumpkin Pie, Crushed Curry, Soft Suede and Cherry Cobbler. 

    Other details:

    • She stamped the squirrel and fussy cut it out. 
    • the embossing folder is called Bark 3D

    Click here to see this stamp set online.  Here's the inside view: 

    ~~~

    October Specials

    Host code: YYUAWBVA

    *click here to order

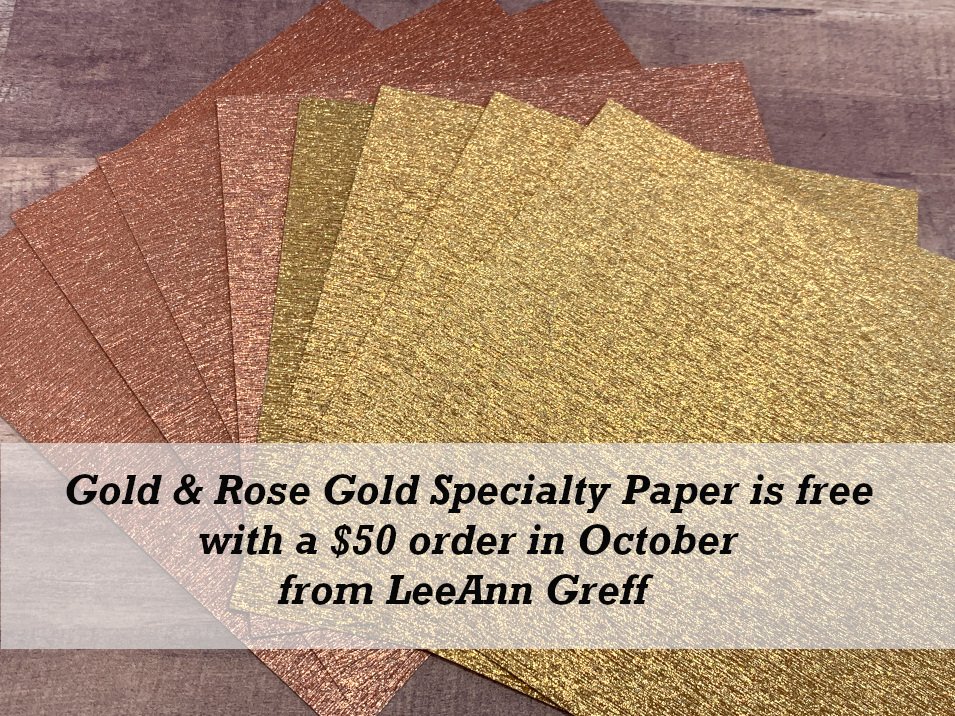
    Get a free package of Gold & Rose Gold Metallic specialty paper from me with a $50 online order in October! 

    All online orders will receive my October PDF tutorial free! 

    This month it features the Gingerbread & Peppermint suite.

    Leave a Reply

    Your email address will not be published. Required fields are marked *

  • Christmas Card Fun-Folds kit to go – limited quantities!


    If you love making Christmas cards, learning unique fun fold designs & having things pre-cut and ready to go you will love this kit to go!  

    It features the pretty Peaceful Prints designer paper in traditional holiday colors.  Every card is a special fancy fold as well.  

    This pre-cut kit is now sold out. However you can get the PDF tutorial here. 

    This kit was an optional add on for my monthly kit subscribers.  If you'd like to receive a fabulous pre-cut kit each month click below to subscribe. It's $36.50 and always includes $20 in product, 10 pre-cut cards plus the PDF tutorial as well!


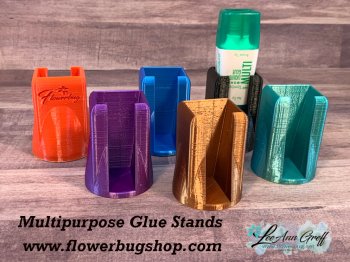
    See all of the items in my Kit & Tutorial shop here.  I also offer these handy glue stands as well. 

    ~~~

    October Specials

    Host code: YYUAWBVA

    *click here to order

    Get a free package of Gold & Rose Gold Metallic specialty paper from me with a $50 online order in October! 

    All online orders will receive my October PDF tutorial free! 

    This month it features the Gingerbread & Peppermint suite.

    Leave a Reply

    Your email address will not be published. Required fields are marked *

  • Angled Gate-Fold card with a latch closure; template & video tutorial


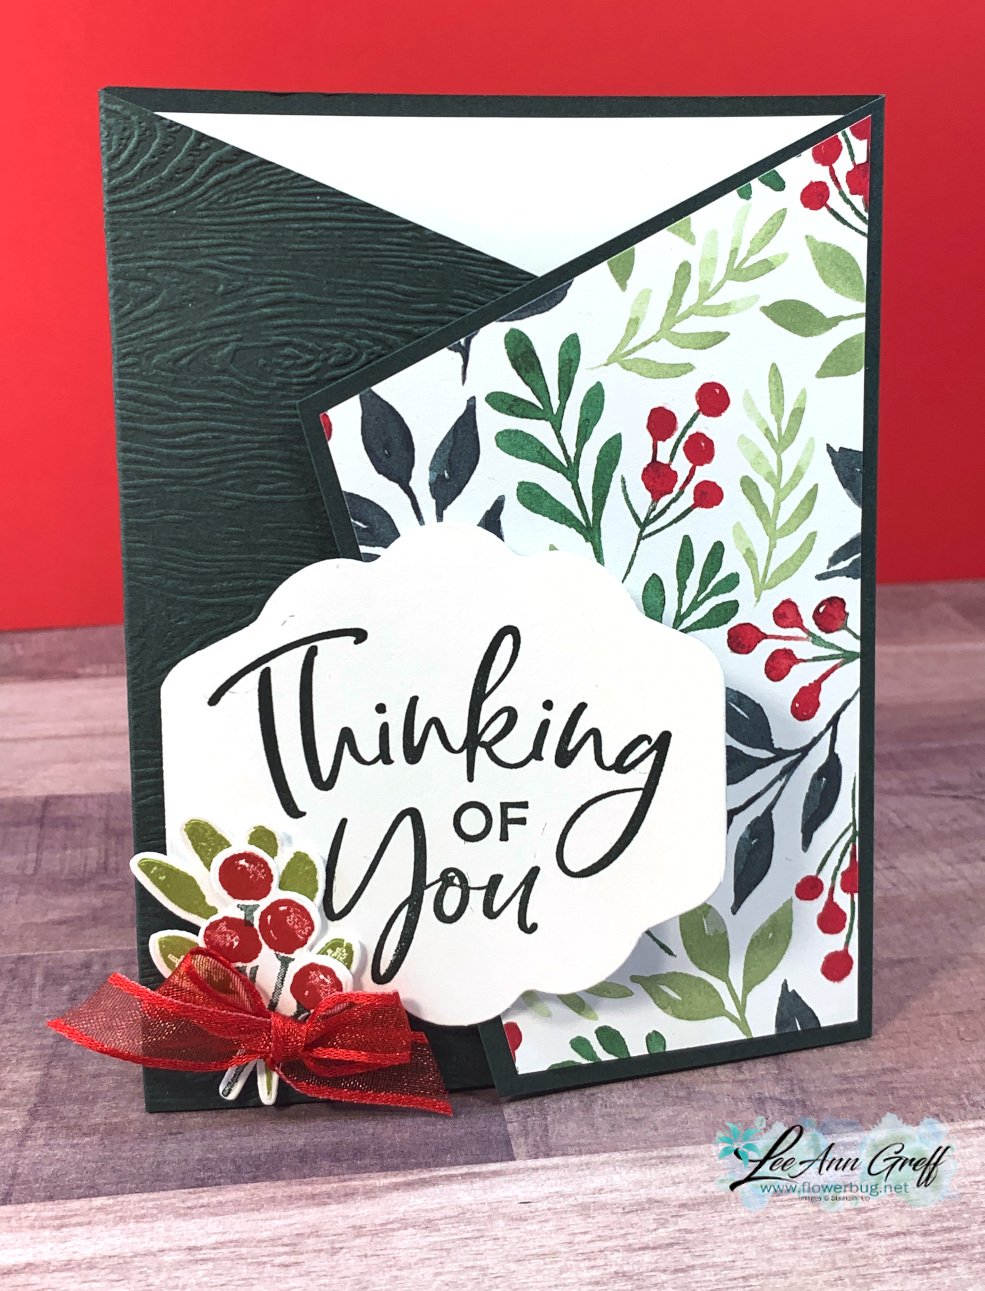
    I shared these cards last night on my Monday night Stamp with Me Live.  They're called Angled Gate-Fold cards.

    These first two cards feature the Painted Christmas designer paper, the Thinking, Thanks & Peace stamp set & Seasonal Label dies. The large greeting die-cut was cut smaller by cutting once and reinserting it to trim off a bit. (shared in the video) 


    On this card I added dimensionals to only the very left side of the greeting so it could work as a 'latch'.  The right side flap slips between the left side and the die-cut greeting to keep the card closed flat.  *Watch the video below to see how it's done.

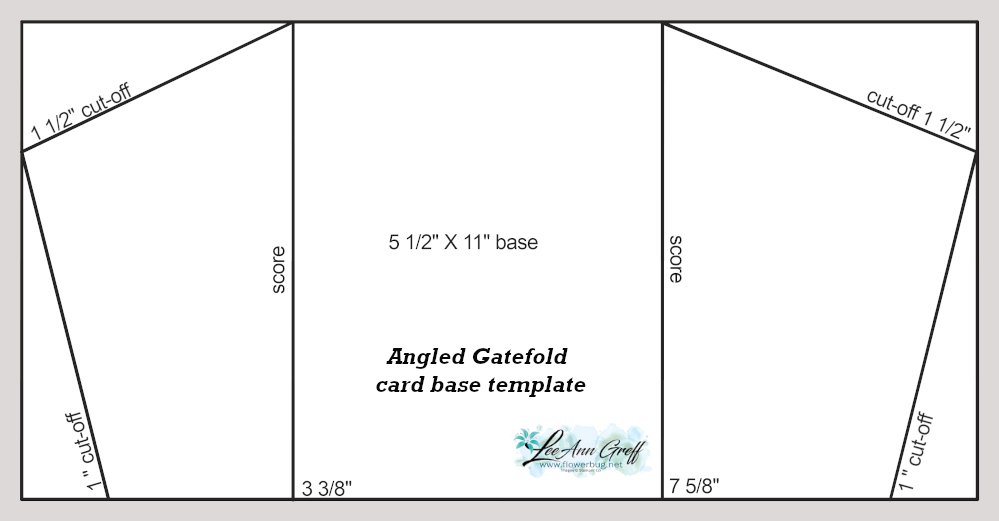
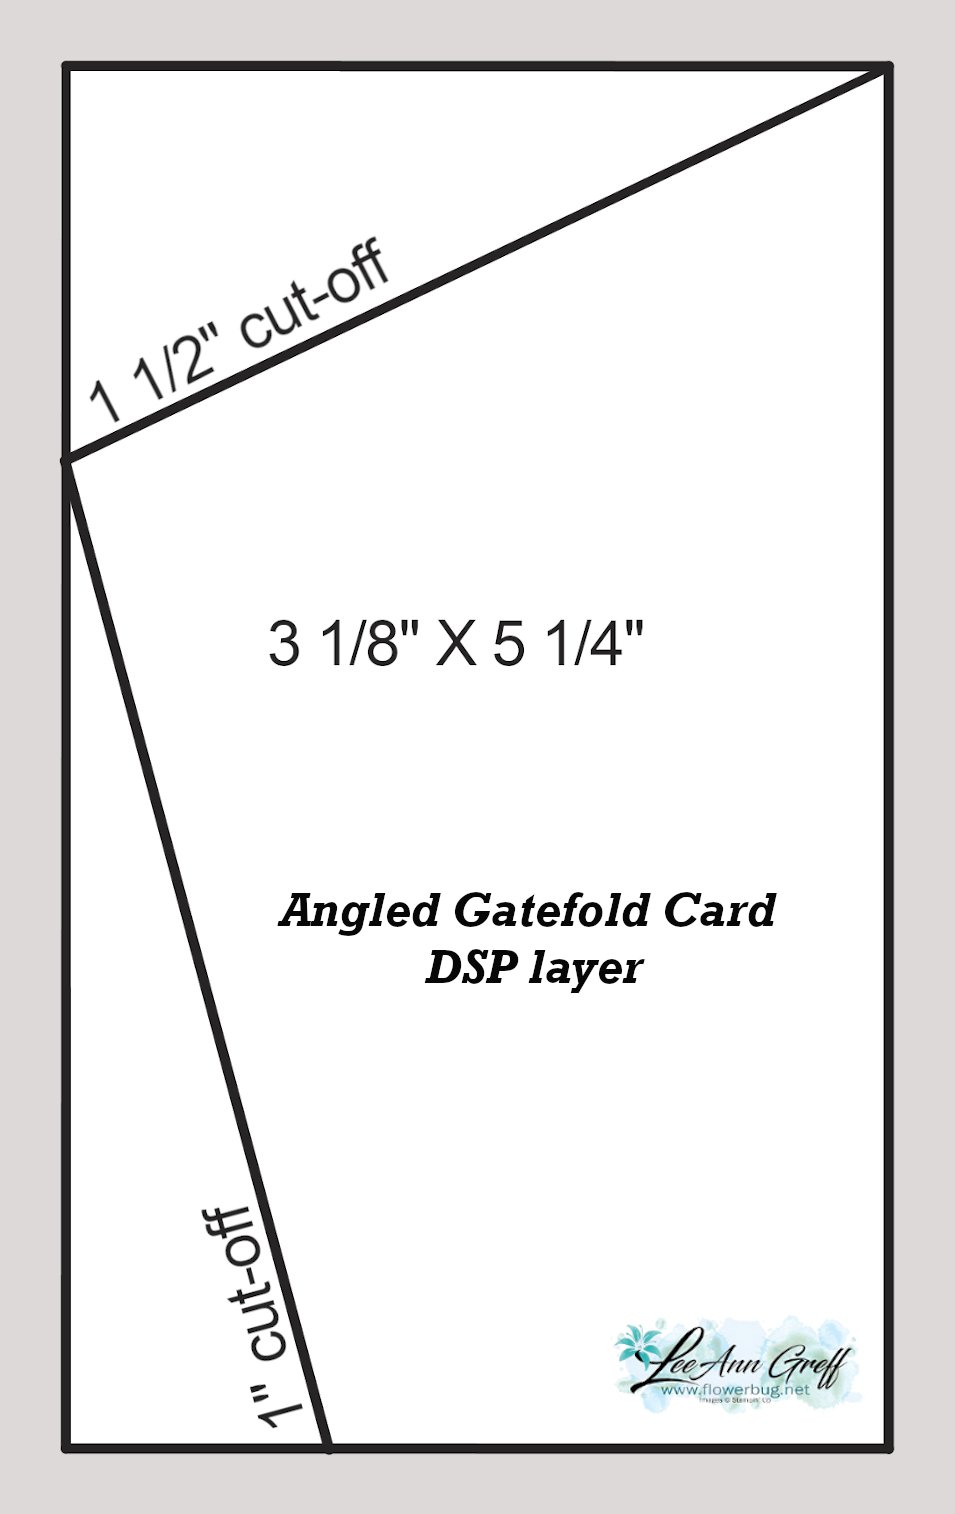
    I created an easy template for both the card base and the additional designer paper layer.  

    One important thing to note about the template below for the DSP layer is to be sure to check the direction & side you prefer before trimming off the angles.  You can use this template for both sides; just trim off the opposite edge. 

    I'll share the other two cards I made on Thursday; they're totally different! 

    You can see this video here; click on this photo below to watch. 

    ~~~

    October Specials

    Host code: YYUAWBVA

    *click here to order

    Get a free package of Gold & Rose Gold Metallic specialty paper from me with a $50 online order in October! 

    All online orders will receive my October PDF tutorial free! 

    This month it features the Gingerbread & Peppermint suite.

    Leave a Reply

    Your email address will not be published. Required fields are marked *


Notice: LeeAnn Greff, Independent Stampin’ Up! Demonstrator, Manager. The content of this website is my sole responsibility as an independent Stampin’ Up! demonstrator and the use of, and content of, the classes, services, or products offered on this website is not endorsed by Stampin’ Up! Copyright 2025