/


Latest Post

Double Flap fun fold with free project sheet & video tutorial


Today I'm sharing the second card I made on last week's video.  It's a double flap fold card featuring the Sunrise Sailing bundle.
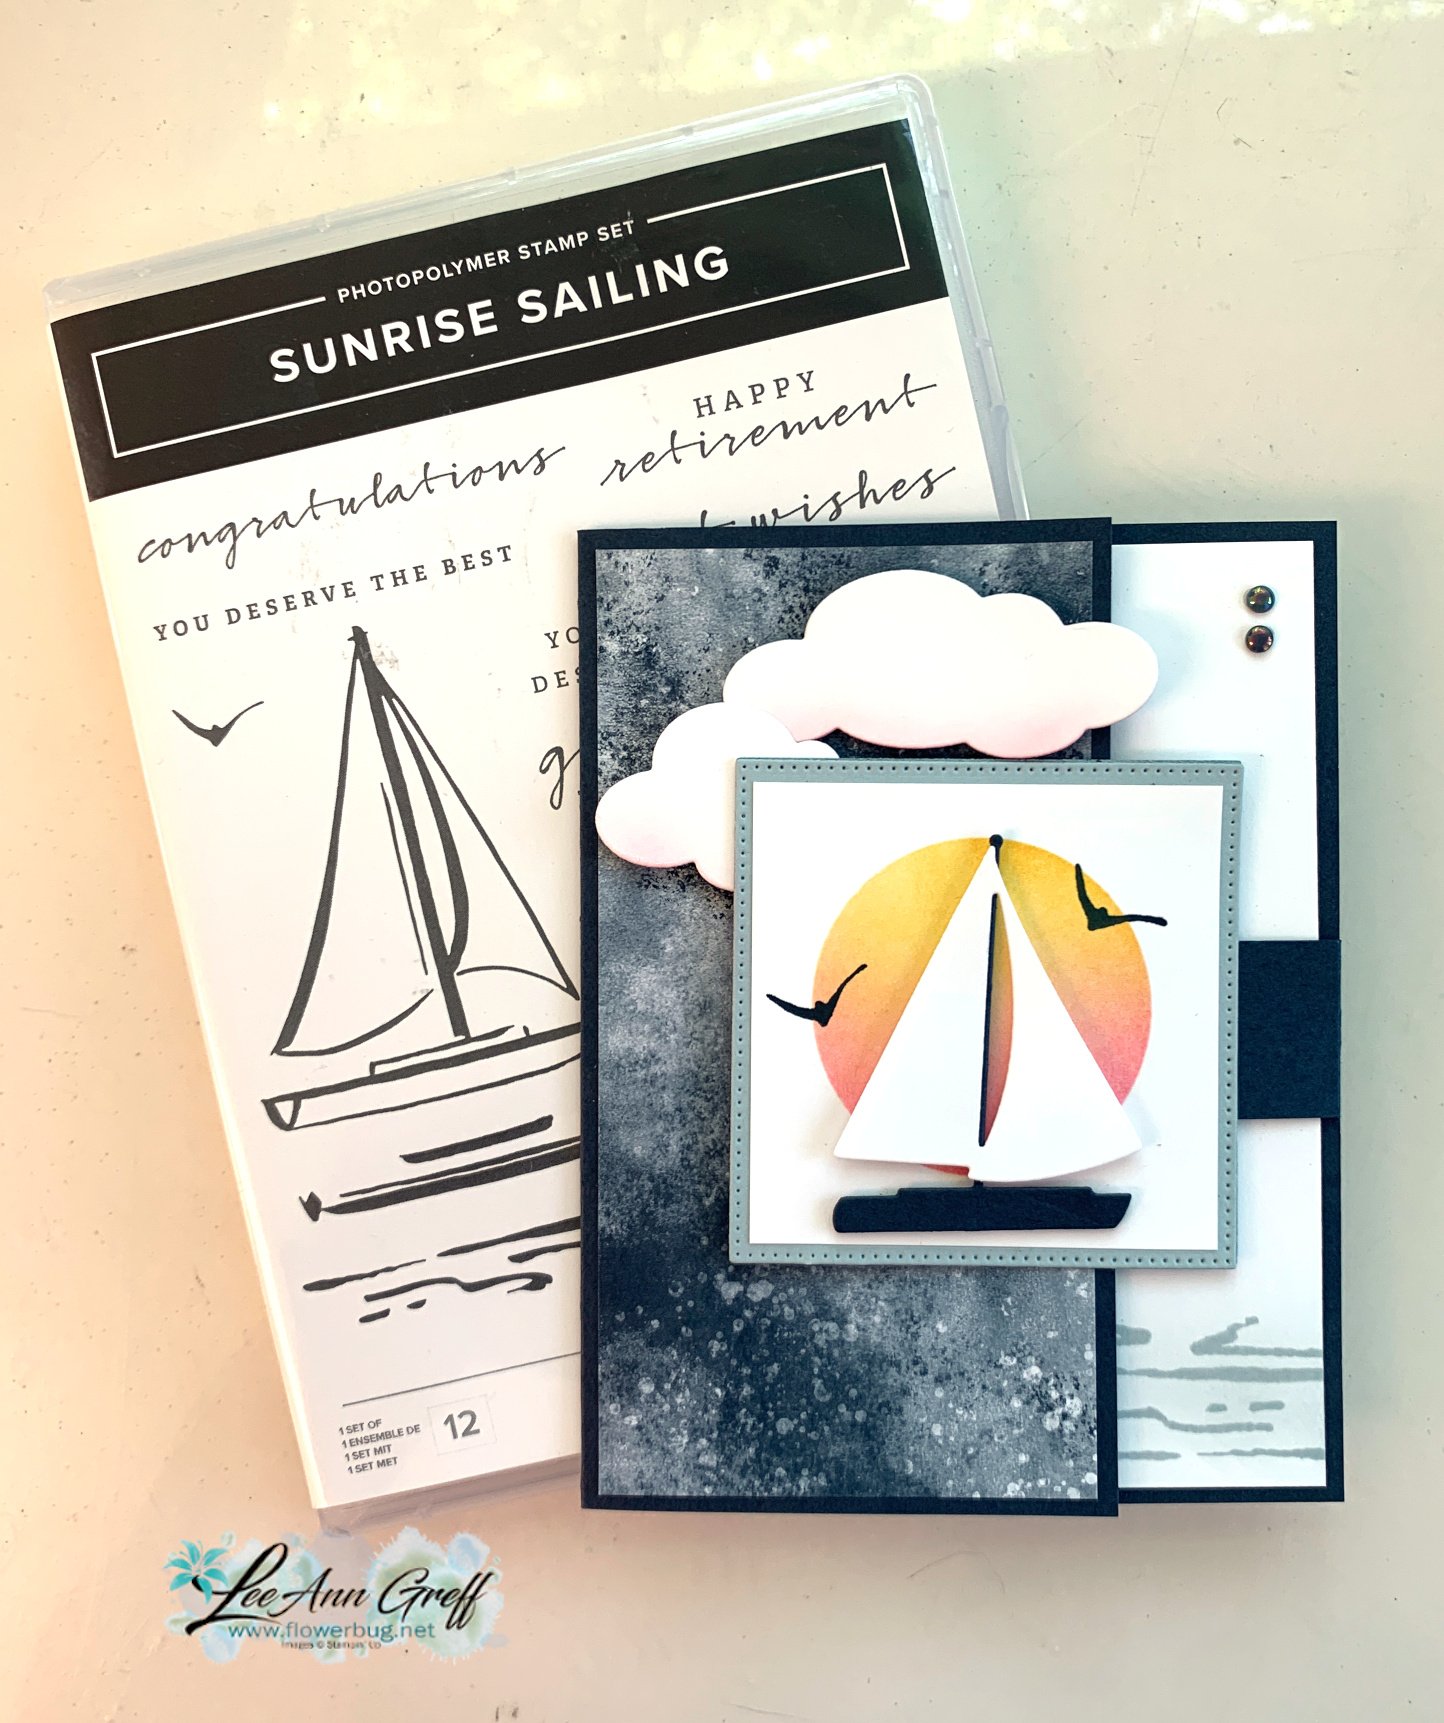
The colors include Cloud Cover, Secret Sea, Strawberry Slush and Daffodil Delight.  

I created a mask for the sun with a 1 7/8" circle punched from a post-it note. I used blending brushes & Strawberry Slush and Daffodil Delight inks. I also added just a hint of Strawberry Slush ink on the bottom of the cloud die-cuts. 

The Designer Paper is our new 6 X 6" In Color designer paper seen here.  

I showcased the Sunrise Sailing bundle seen here.  I love the stamp images AND the dies in this bundle.  They're wonderful and really spark creativity. There are THREE different size sailboats in the dies!  

As you can see in the sample in the photo below you can make a card with just the embossing folder! 

You can see in the photo below how the front square flap lifts to the right to reveal a peek at the inside. I added the cloud to the back of this square and placed it so it could 'latch' on the larger cloud to hold the card closed.   

I create a free project sheet for this card. I also share it on the same day as my video on my Flowerbug's Stamp & Share FB group here .       Download Sunrise Sailing Latch card

You can see the card fully opened below.  I love this easy but fun card fold.


You'll find the video tutorial for this card and another Sailing card below. Don't forget to subscribe to my YouTube channel while you're watching!  

I'll share another card with this bundle on Wednesday. 

~~~

July Specials:

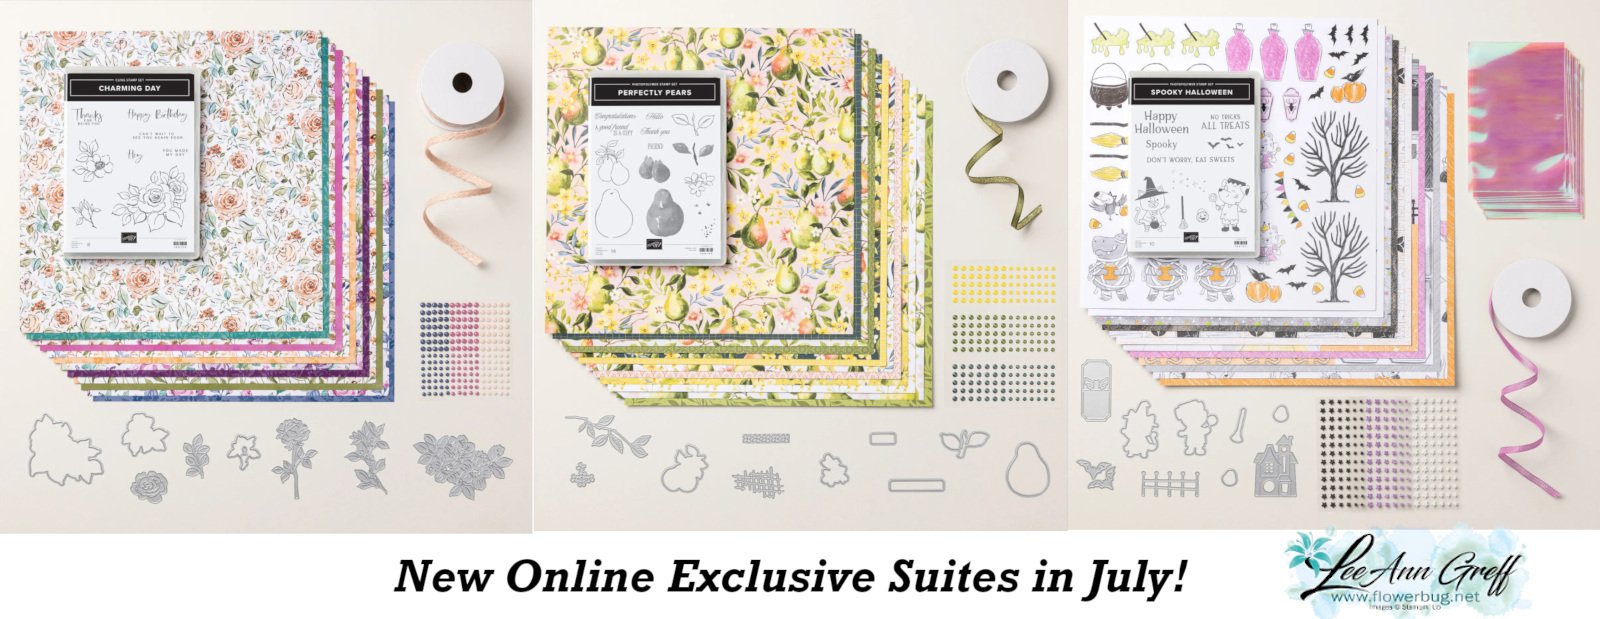
New Online Exclusives are here!  
~~~

Last Chance List has been updated!  see it all here. Don't miss out on the deals!

~~~

Get my Turtle-y Cute PDF tutorial free with any online order in July!


All Posts

  • A Shaker Card anyone can make with the Peaceful Deer bundle


    Have you ever made a shaker card?  Have you thought it was too much work to bother with or maybe you thought you needed special supplies? 

    Well today I'm sharing a fun & EASY shaker card idea. The only special thing you need is a clear envelope or cello bag.  

    And the Deer Punch is now available!!!  Get it here. 

    These cards are so fun and interactive.  You will be so proud to give one of these. One of my favorite things about this type of shaker card is that it isn't thick so it requires no extra postage. 

    1st step: add a white punched deer from the Deer Builder punch popped up with a Dimensional. 

    2nd: Insert into your clear envelope and add a good pinch of Subtle Shimmer sequins. 

    3rd: Fold the envelope over tightly to keep the sequins on the side of the DSP you want. Secure the flap. 

    Here's a photo of the back of the shaker part.  You can see the back side of the designer paper and where I folded the clear envelope over to secure.  A small cello bag would also work here.  

    After the shaker part is done just add your frame over it securing with adhesive.  Add to the card and finish! 

    Here's a version featuring the Whimsy & Wonder specialty designer paper; it works wonderfully here.  The card base and ink are Mint Macaron. The greeting is from the Peaceful Deer stamp set and the die-cut is from Tasteful Labels dies. 

    And below is the video; or click here to see it on YouTube.  I sure hope you watch it AND make one yourself!  

    ~~~

    November Specials: 

    Host codes: Z2RQ7BB6

    *click here to order

    Online orders over $50 get a pre-cut card kit of 4 cards & PDF tutorial.
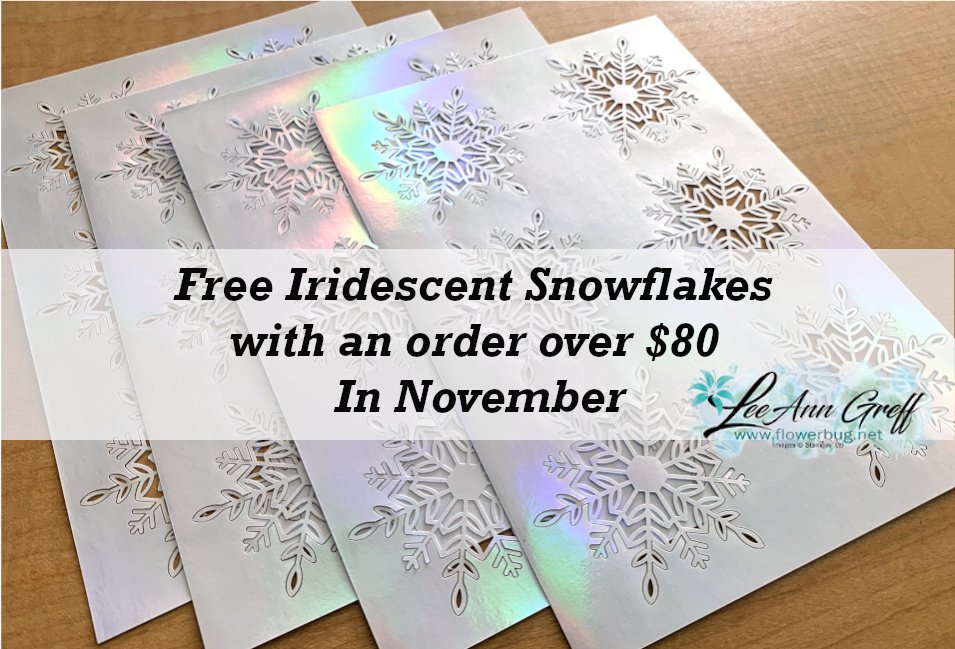
    *Orders over $80 will receive the card kit PLUS 24 Iridescent snowflakes!

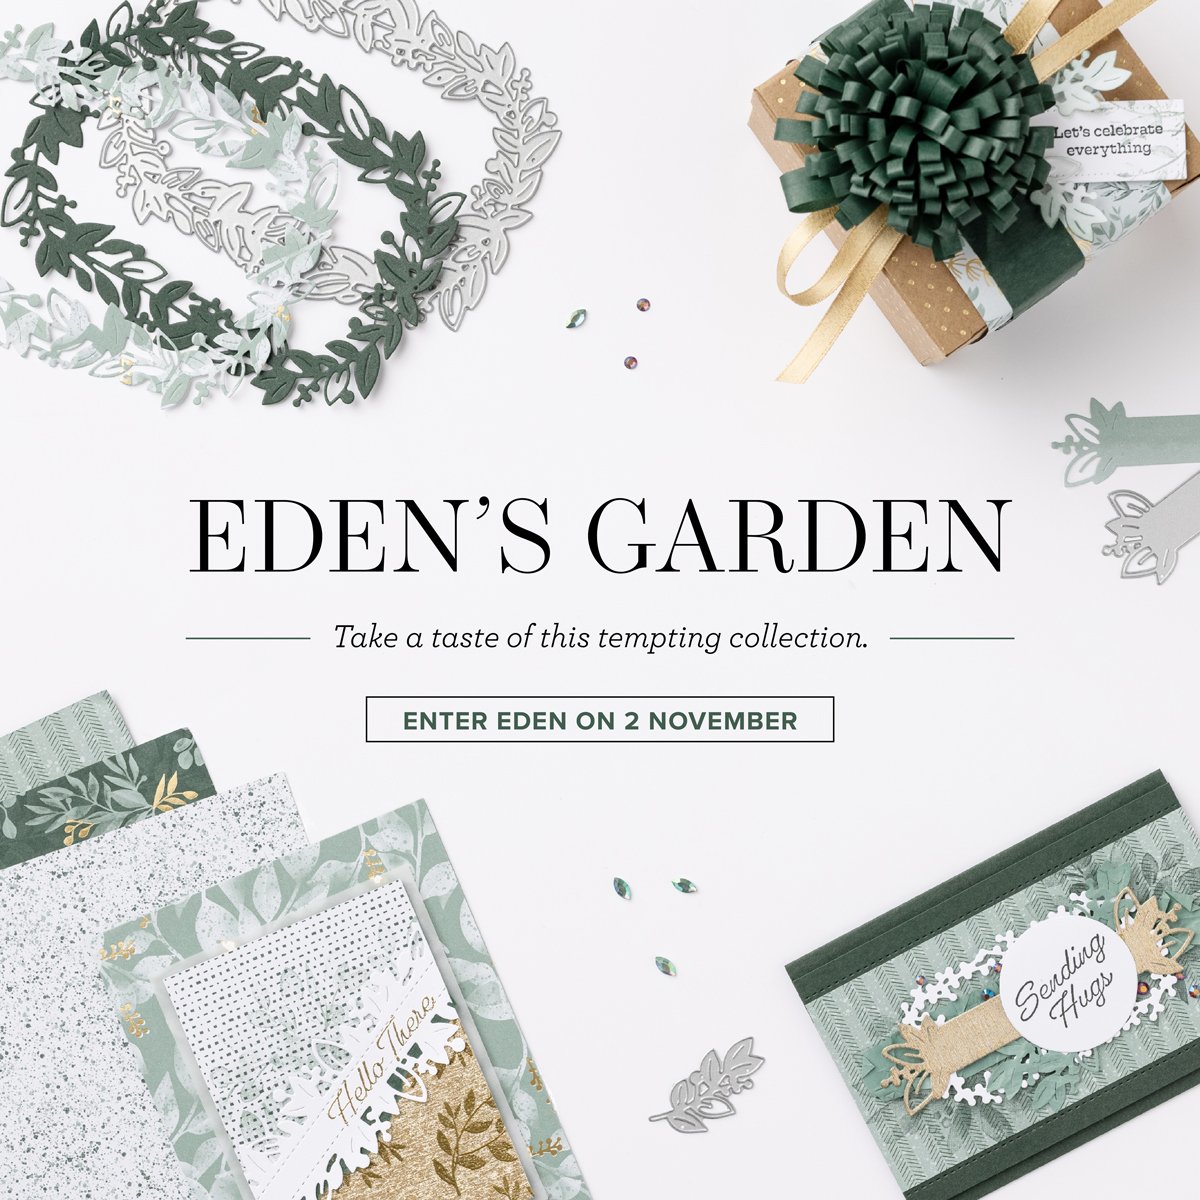
    All online orders will receive my Eden's Garden PDF 22 project tutorial free! 

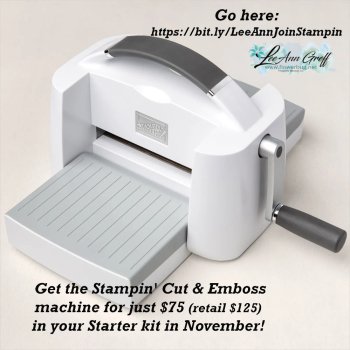
    Get the deal on the Starter kit here!  $125 in product for $75 plus free shipping!

    Get any of the tutorials or kits to go below in my Kit & Tutorial shop here:

    Peaceful Wishes Christmas – limited supply available; 20 cards!


    Christmas cards stamp a stack; limited supply! 

    Leave a Reply

    Your email address will not be published. Required fields are marked *

  • Live tonight! Show off your Designer Paper with this fun layout!


    We're making these cards tonight on Facebook Live here.  Every other Monday I host a 'Stamp with Me' Live where we use our Designer Paper in fun ways.  

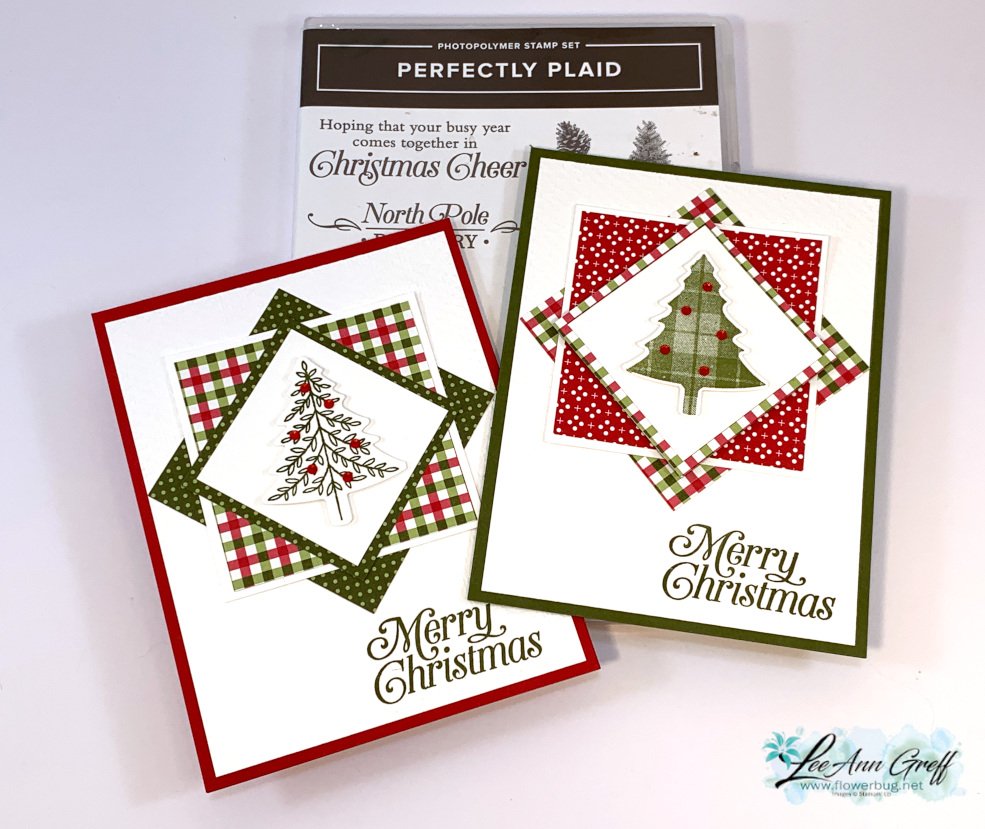
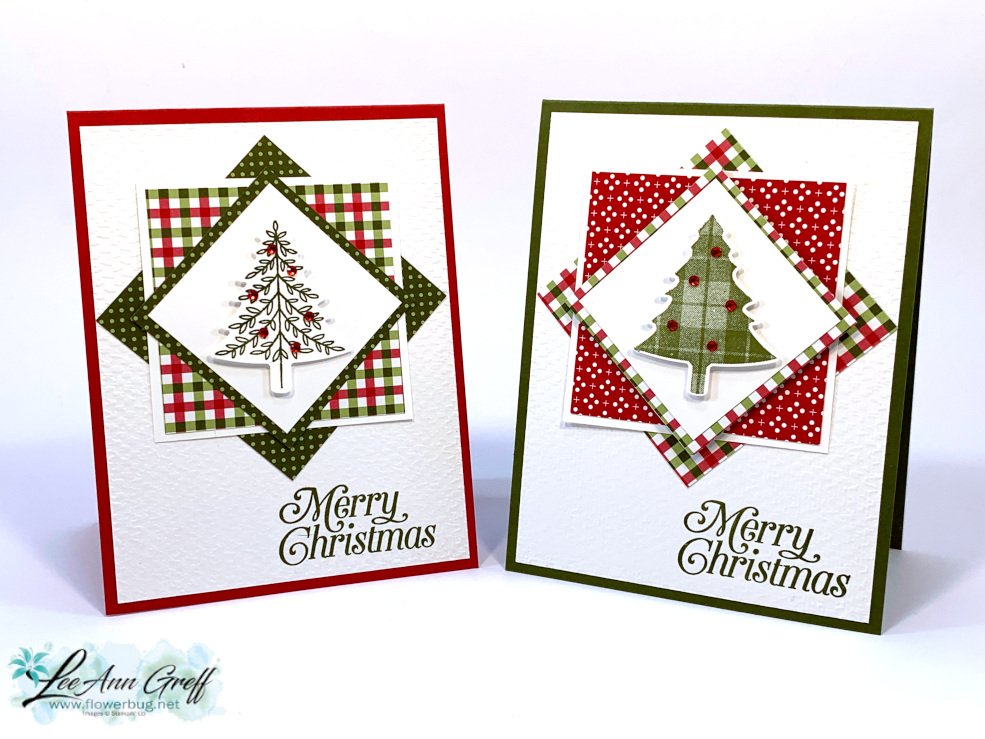
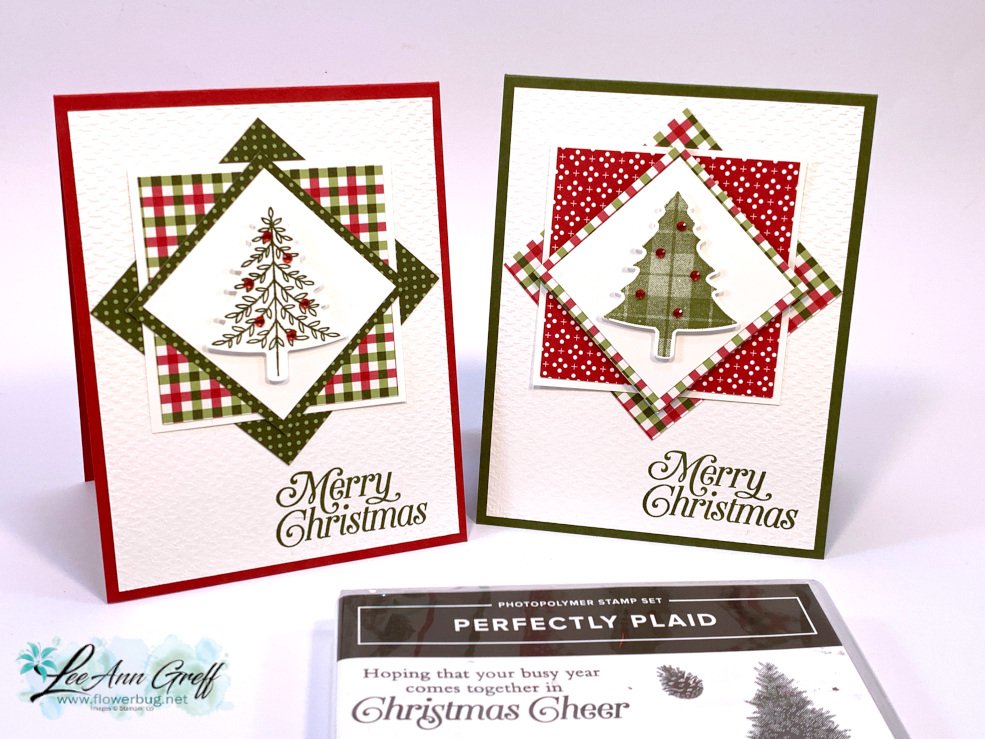
    I love this layout!  It is perfect for small patterns of Designer Paper. Turning squares on the angle adds a lot of playful interest to your card and showcases one main image, die-cut or punch in the center. 

    I post the measurements a few days before the Live event so you have the time to prep your pieces so we can complete them together.  

    I chose to use the Heartwarming Hugs designer paper from the Holiday catalog. (see it here)  And the Perfectly Plaid stamp set & Pine Tree punch.  

    Card stock is Real Red, Mossy Meadow & Basic White; ink is Mossy Meadow. 

    Measurements:
    Card base 4 1/4" X 11" scored at 5 1/2" 
    White CS – 2" square, 2 7/8" square, 4" X 5 1/4" plus a scrap for the punched piece
    DSP (Heartwarming Hugs) – 2 1/4", two different patterns at 2 3/4"

    See all of my videos here on my YouTube channel. 

    You can see this one here; click on the photo below: 

    ~~~

    November Specials: 

    Host codes: Z2RQ7BB6

    *click here to order

    Online orders over $50 get a pre-cut card kit of 4 cards & PDF tutorial.
    *Orders over $80 will receive the card kit PLUS 24 Iridescent snowflakes!

    All online orders will receive my Eden's Garden PDF 22 project tutorial free! 

    Get the deal on the Starter kit here!  $125 in product for $75 plus free shipping!

    Get any of the tutorials or kits to go below in my Kit & Tutorial shop here:

    Peaceful Wishes Christmas – limited supply available; 20 cards!


    Christmas cards stamp a stack; limited supply! 

    Leave a Reply

    Your email address will not be published. Required fields are marked *

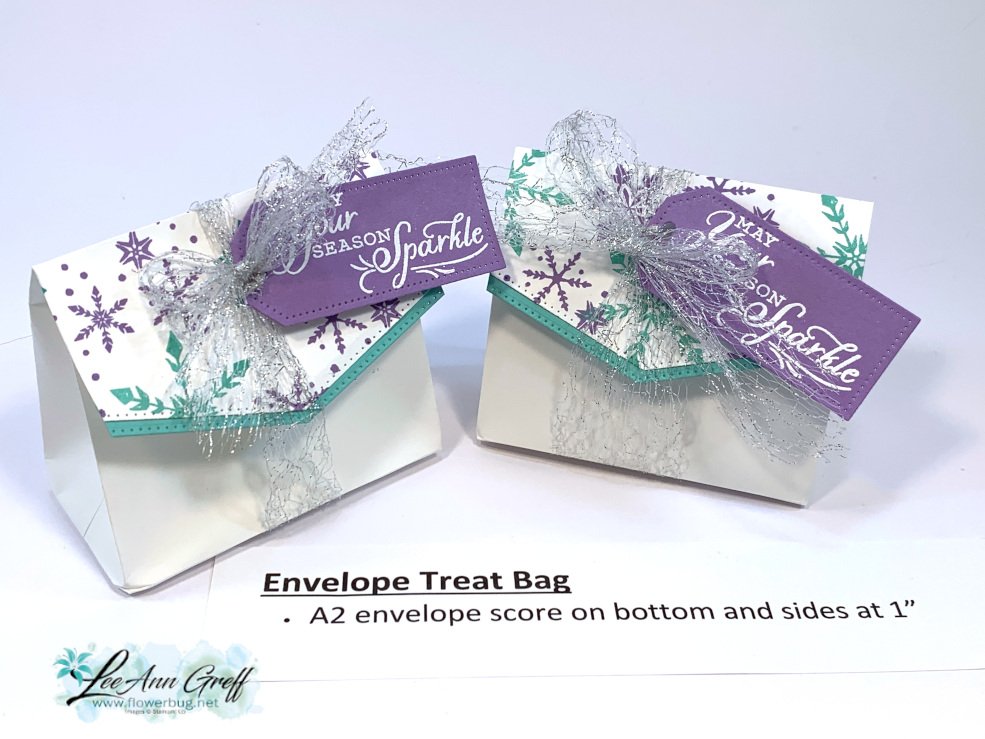
  • A treat bag from an envelope? Yes!


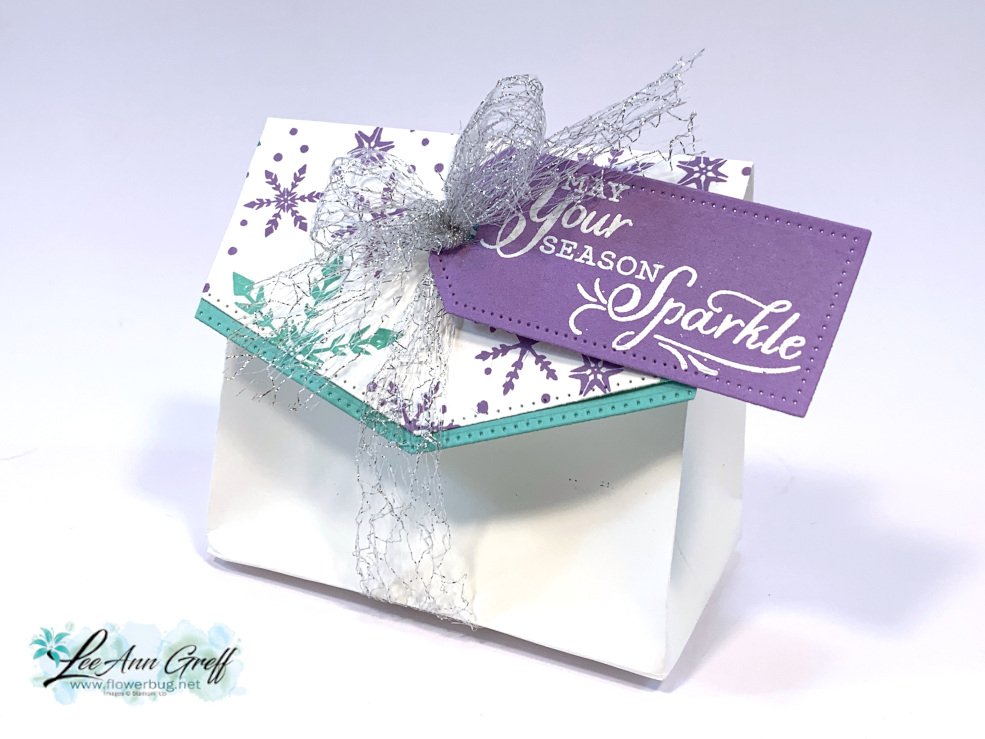
    I cannot believe what a nice size this treat bag is – all from an A2 size envelope!  

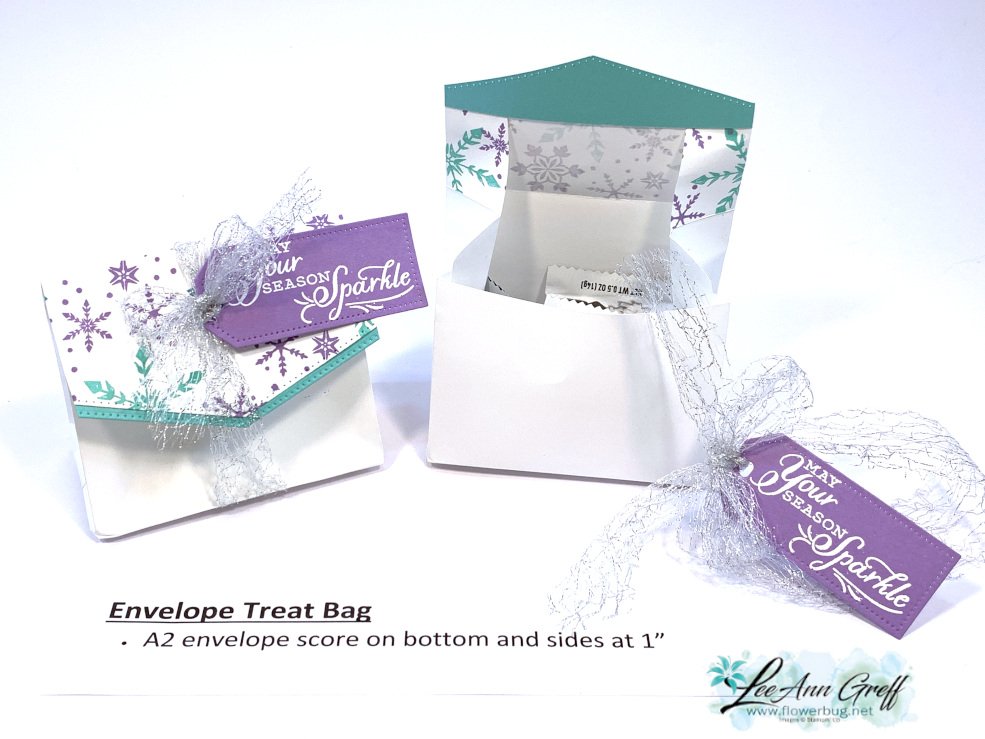
    Steps:

    1. First I stamped just the flap with snowflakes from the Snowflake Wishes stamp set using Coastal Cabana and Highland Heather inks.  Then I stamped the Highland Heather tag and heat embossed it with White embossing powder.  

    2. Next score 1" on the bottom and up both sides while the envelope is flat.  Fold on the score lines and press each fold well. 

    3. Open up the envelope into a box. Secure the bottom corners to the flat bottom. 

    4. Die-cut the flap using the Basic Border dies. Add a second layer of Coastal Cabana – also die-cut.  

    5. Fill the bag with treats, wrap the mesh ribbon around it and add the tag.  Tie it into a bow.  Done!

    And below is the video; it's the last project I share on this FB Live replay! 

    ~~~

    Host codes: RY3EDVMZ

    *click here to order

    Online orders over $50 get a pre-cut card class of 4 cards & PDF tutorial.
    *Orders over $80 will receive the card kit PLUS 24 Iridescent snowflakes!

    All online orders will receive my Eden's Garden PDF 22 project tutorial free! 

    Get any of the tutorials or kits to go below in my Kit & Tutorial shop here:

    Peaceful Wishes Christmas – limited supply available; 20 cards!


    Christmas cards stamp a stack; limited supply! 

    Leave a Reply

    Your email address will not be published. Required fields are marked *


Notice: LeeAnn Greff, Independent Stampin’ Up! Demonstrator, Manager. The content of this website is my sole responsibility as an independent Stampin’ Up! demonstrator and the use of, and content of, the classes, services, or products offered on this website is not endorsed by Stampin’ Up! Copyright 2025