/


Latest Post

Do you ever make cards made from leftover pieces?


Today is the last day of the Paper Pumpkin sale – refills and add-ons are up to 75% off! See it all here

~~~

I had a bunch of fussy cut coffee cups leftover from a previous project plus a stack of A Little Latte designer paper layers too.  Here are some of the cards I made with them.  

Aren't they great?  You'd never know I made these with leftover pieces! It's a fun challenge to put random layers together in a pleasing way. I really enjoyed making these as thank you's for my online orders. 

Here's a photo of the cute A Little Latte designer paper. There are two sheets of coffee cups you can fussy cut.  Or get the Latte Love bundle that has dies to match. 


 I knew I needed a neutral base to add the layers to so I started out with a textured White layer added to my card bases. I chose the So Swirly embossing folder seen here. After adding the DSP pieces & coffee cups I finished the cards with greetings and a twine bow. 


I keep a small bag of White die-cut greeting pieces on my desk so I grabbed some of those for my greetings.  Done! 

I think they turned out great.  Do you ever grab your leftovers to create with? 

~~~

July Specials:

*current host code link: BDGBJHAE


Earn $5 coupon for every $50 you spend in July; redeem in August. 

~~~

All online orders will receive my PDF tutorial featuring the Full of Life suite

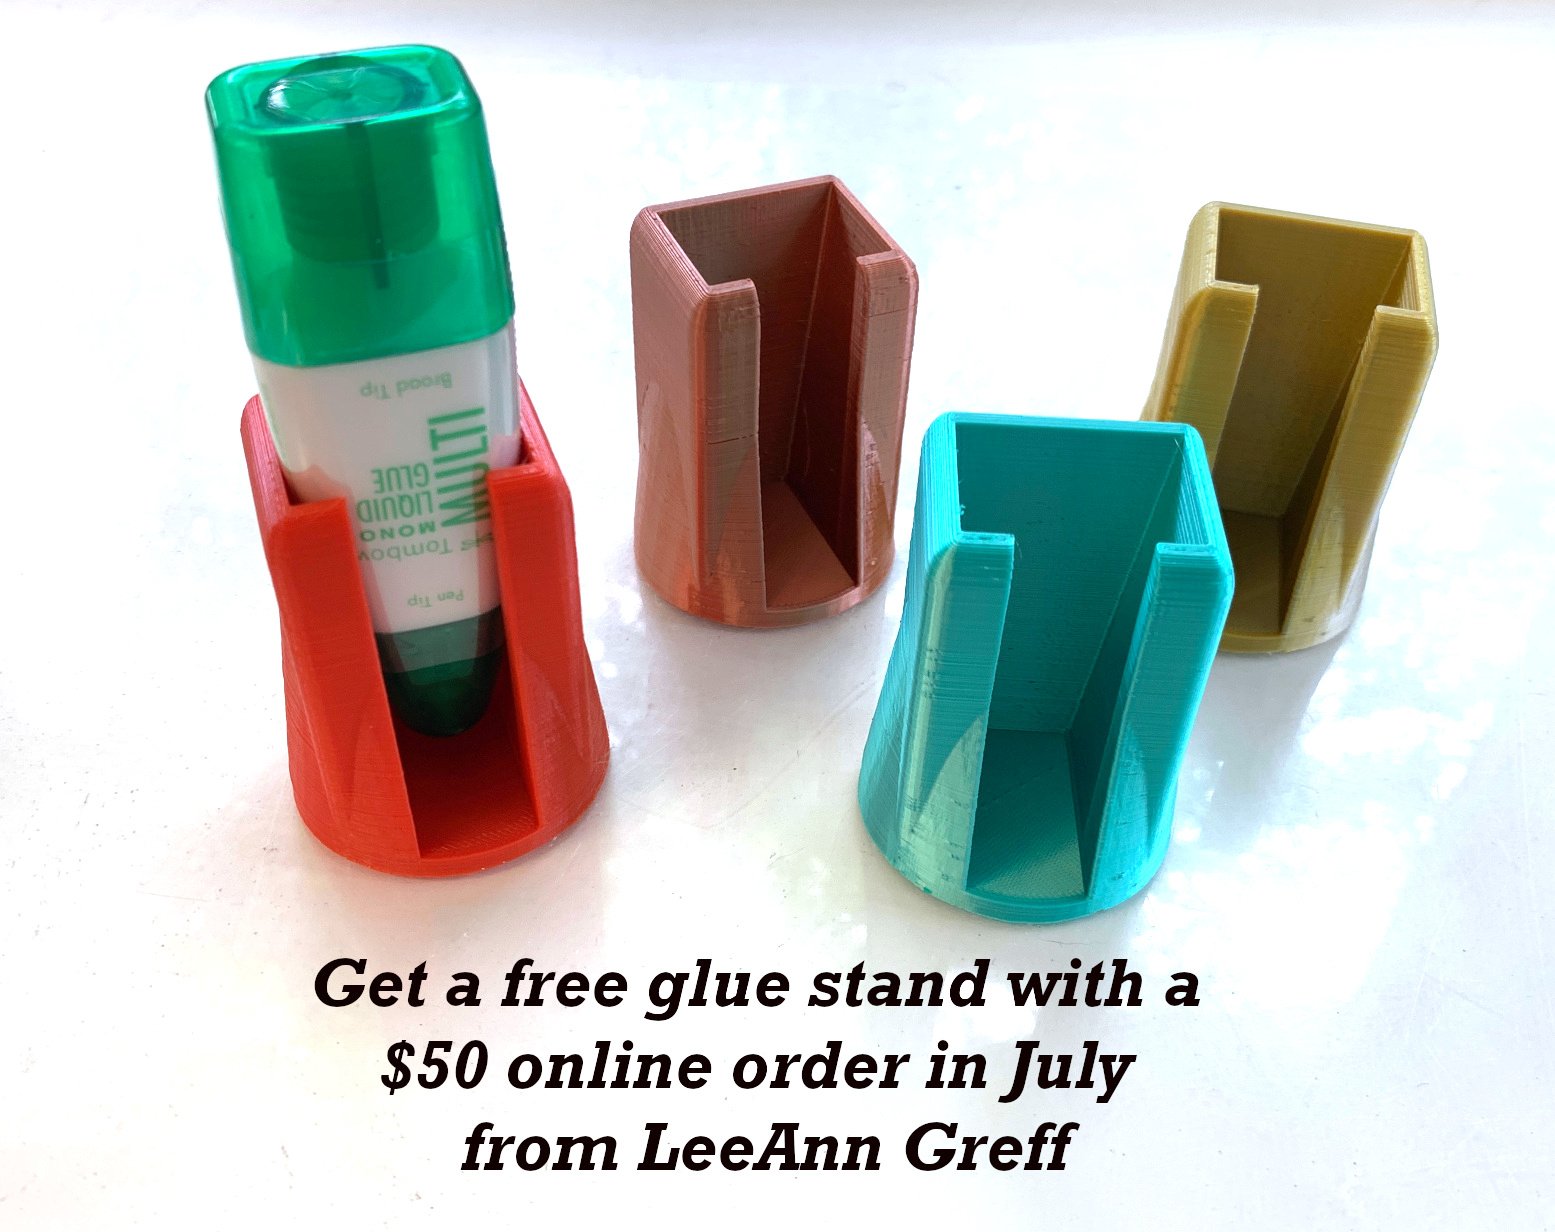
Choose a free glue stand from me!
All Posts

  • A stunning Holiday card with free project sheet & video tutorial


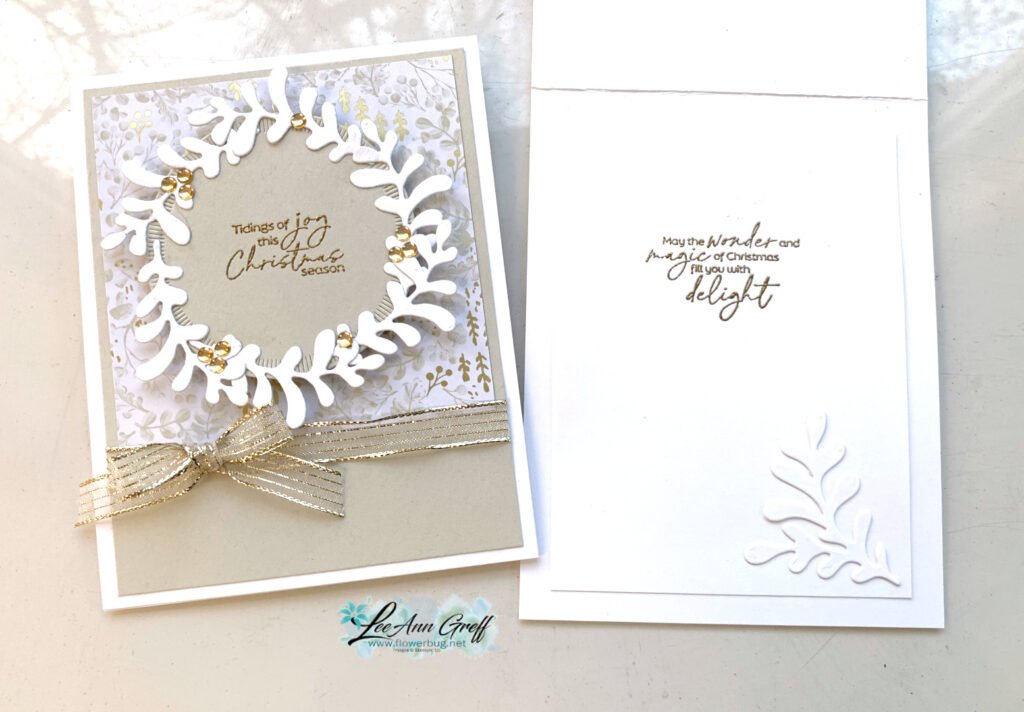
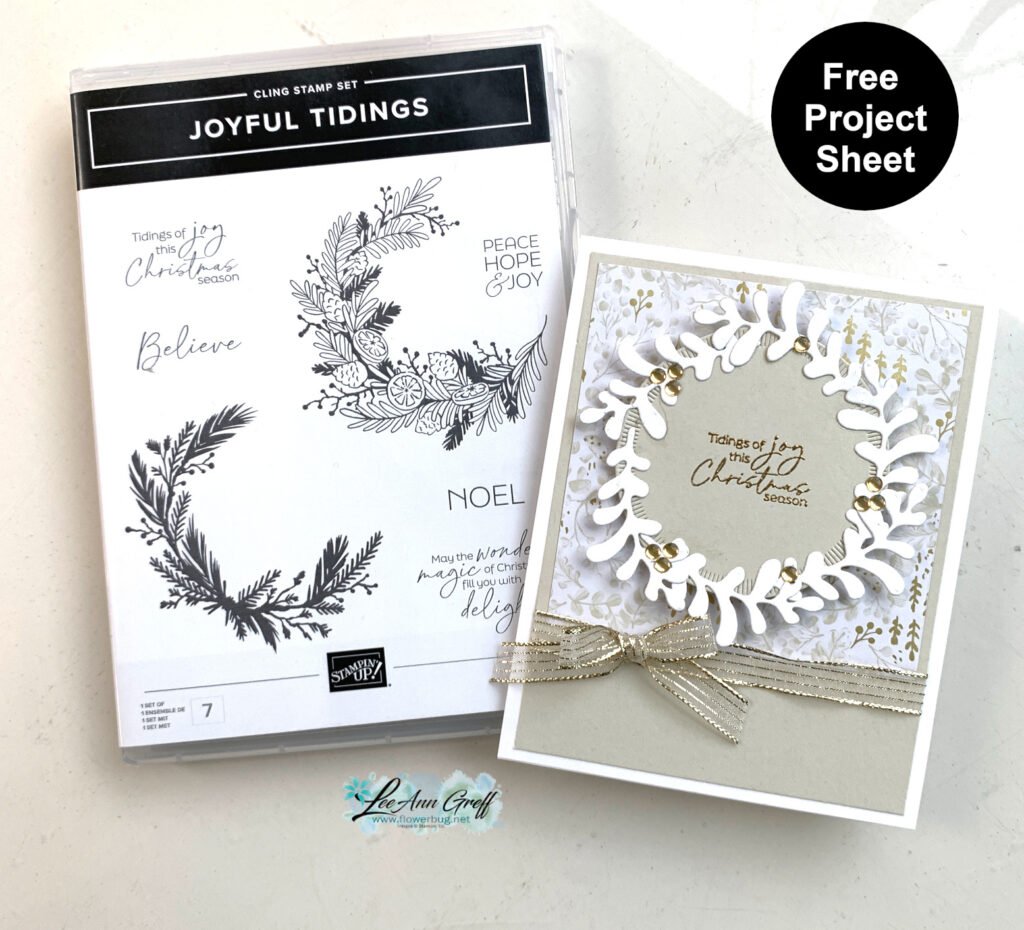
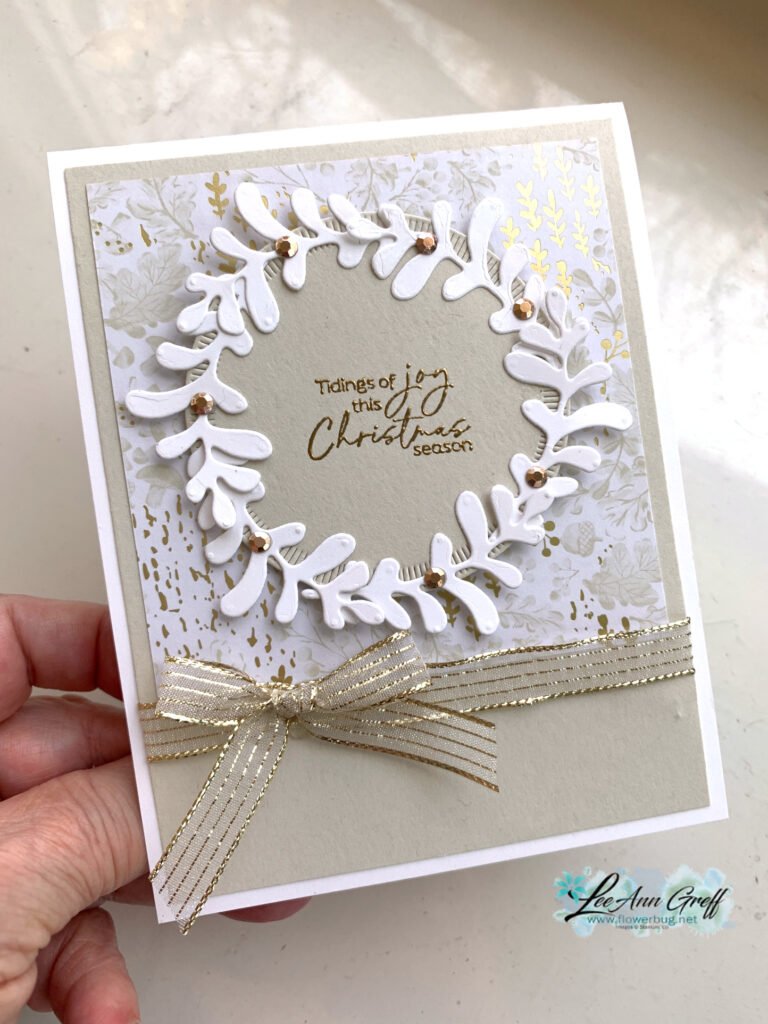
    Here’s the other card I made on last week’s video. I loved playing with the Joyful Tidings stamp set seen here; it’s just my style!

    My colors include White, Basic Beige & Gold. Soft, pretty & classy.

    Here are the products I used:

    – Gathering Together designer series paper
    – Gold Striped ribbon
    – Low-profile dots (now retired)
    – Gold heat embossing powder
    – Creative Haven dies seen here for the leaf die-cuts

    I created a free project sheet for this pretty card. Click here to download or print it.

    You can also watch the video tutorial below. I shared a neat trick to place the leaf die-cuts on the greeting circle element. Press & Seal wrap saves a ton of time!

    ~~~

    November Specials

    New Online products are available on November 4th.
    See them here.

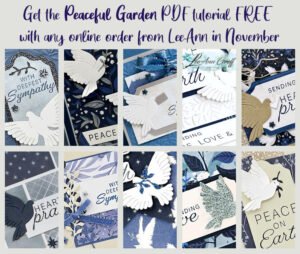
    Get the Peaceful Garden suite tutorial FREE with any online order in November!

    Leave a Reply

    Your email address will not be published. Required fields are marked *

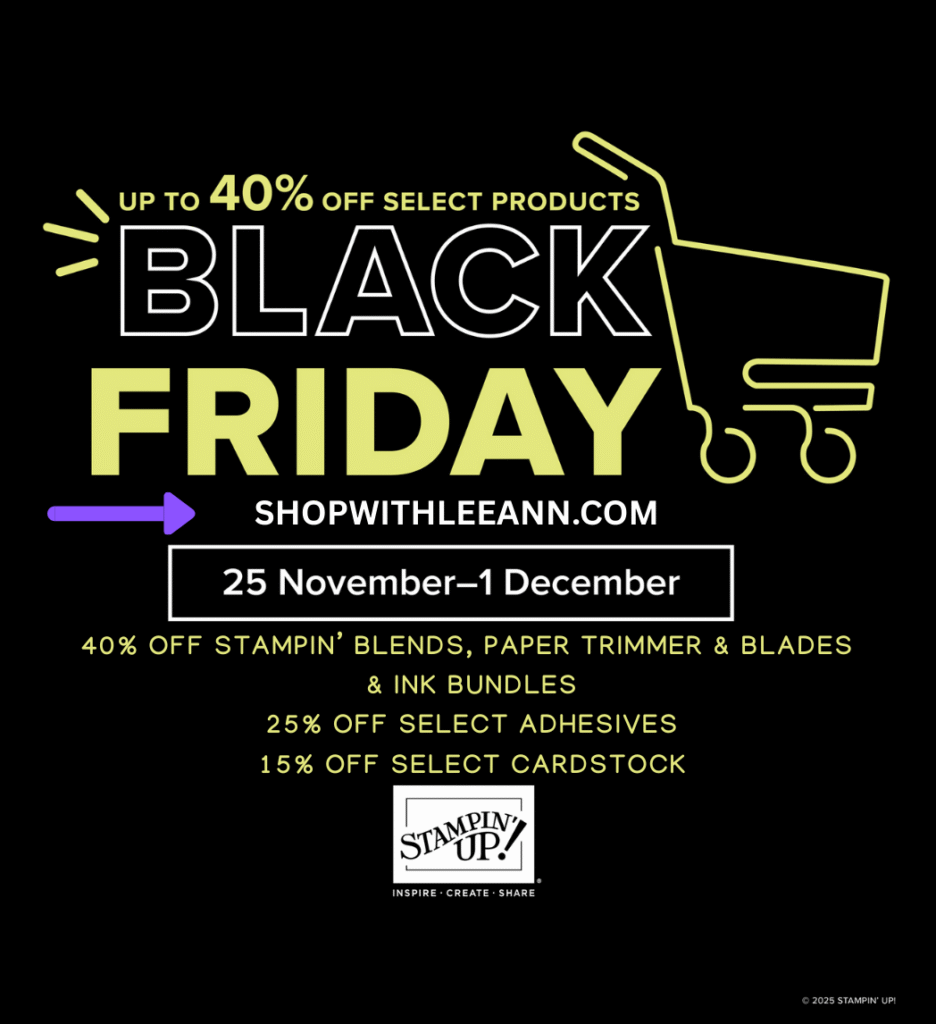
  • The Black Friday sale starts today!! Nov 25th – Dec 1st!


    Grab deals on lots of Stampin’ Up! products during the big sale this week.
    From November 25th through December 1st you can save up to 40% off select products!

    It includes Stampin’ Blends, Paper Trimmer, Blades & Ink bundles at 40% off!

    Plus 25% off select adhesives and 15% off select card stock! I’m happy to save on products I purchase regularly.

    ~~~

    Leave a Reply

    Your email address will not be published. Required fields are marked *

  • A gorgeous card with the Joyful Tidings set


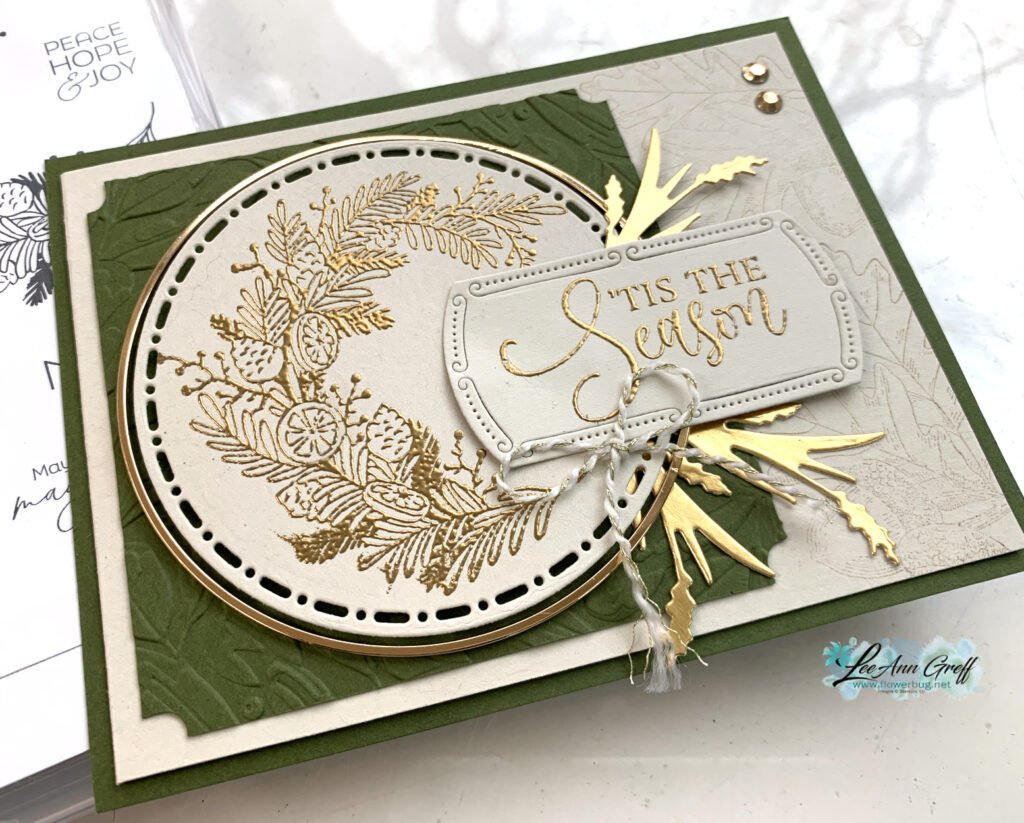
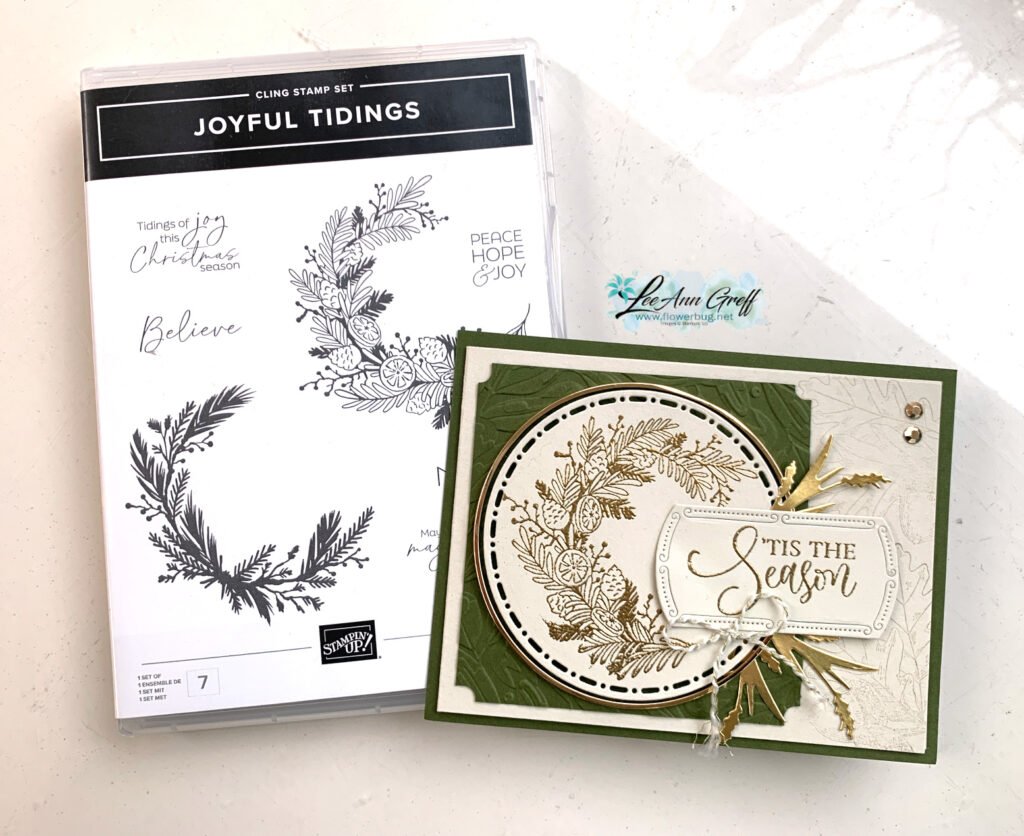
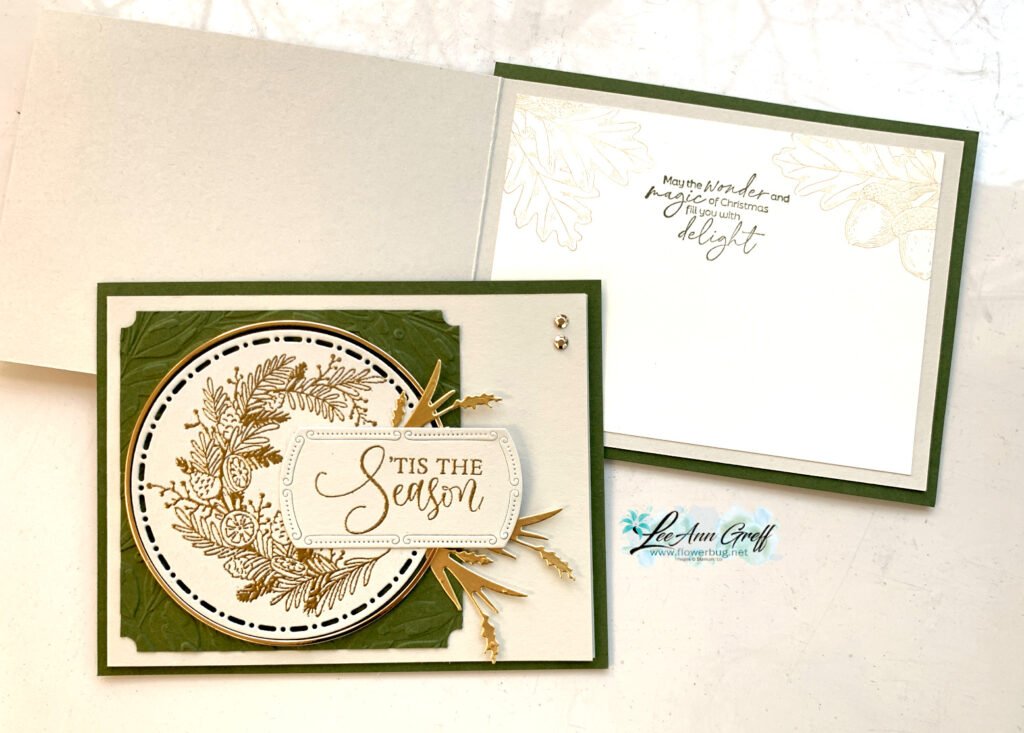
    This beautiful card has tons of Gold accents plus there are lots of neat tips you’ll appreciate. I made it during last week’s video.

    It was originally created for our November Team swap. The theme was to use foil or metallic heat embossing. I did both!

    Notice the background stamping on the right side; I used the Amber Autumn set with Versamark ink. The greeting is from the Ornamental Christmas set. The gold foil ‘wheat’ die-cuts are from the Amber Autumn dies
    The wreath stamp set is Joyful Tidings and can be seen here. I’ve always loved wreaths and used to collect them.

    Here I simply heat embossed the partial wreath in Gold embossing powder. It’s stamped on a die-cut from the Spotlight on Nature dies. See the pretty gold hoop? Those are available here and are applied with either mini glue dots or thin lines of Multipurpose Liquid Glue (which I did).

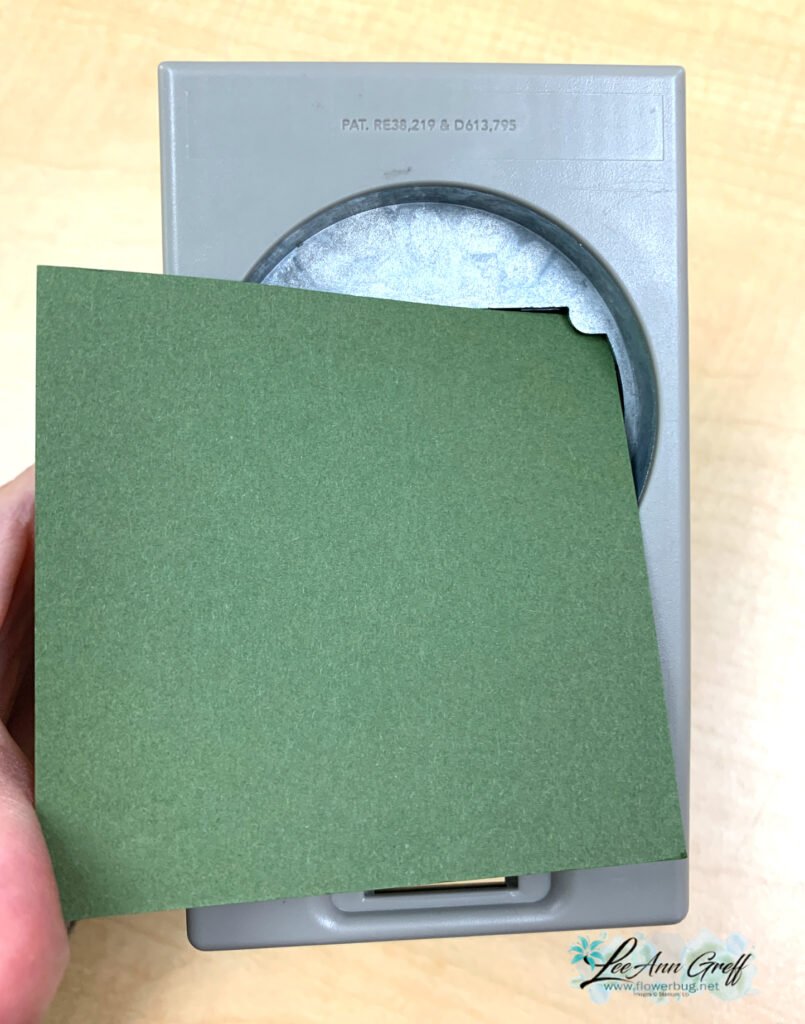
    My colors include Basic Beige, Mossy Meadow and Gold foil. I textured the Mossy Meadow layer with the Wreath 3D embossing folder. I also used the Labeled with Love punch to achieve the ‘ticket’ shaped corners.
    *look at your punches to see if you can use them in new ways!

    This card is a slightly different fold because the second layer is what opens. I created a free project sheet for this card for you. Click here to download or print it.

    I also have a video tutorial seen below for this beautiful card and one more beautiful card featuring the Joyful Tidings stamp set that I’ll share Wednesday.

    ~~~

    November Specials

    New Online products are available on November 4th.
    See them here.

    Get the Peaceful Garden suite tutorial FREE with any online order in November!

    Leave a Reply

    Your email address will not be published. Required fields are marked *


Notice: LeeAnn Greff, Independent Stampin’ Up! Demonstrator, Manager. The content of this website is my sole responsibility as an independent Stampin’ Up! demonstrator and the use of, and content of, the classes, services, or products offered on this website is not endorsed by Stampin’ Up! Copyright 2025