/


Latest Post

CUTE Halloween cards


Our monthly Team swap was last Saturday and our theme was Halloween or Fall cards.  Here are two of them I'm happy to share with you.

This first card was made by Lori.  She is featuring the Cute Halloween designer paper and the Picture This dies. 

The pumpkin, ghost & cat are punched with the Halloween punch directly from the Cute Halloween designer paper seen here.  This punch is on back order until October 11th.  But you CAN still order it. 

I really like how she added different patterns & textures behind each window from the Picture This die cut seen here.  And that peak of the black & white dsp behind it all really sets off the fun colors. 

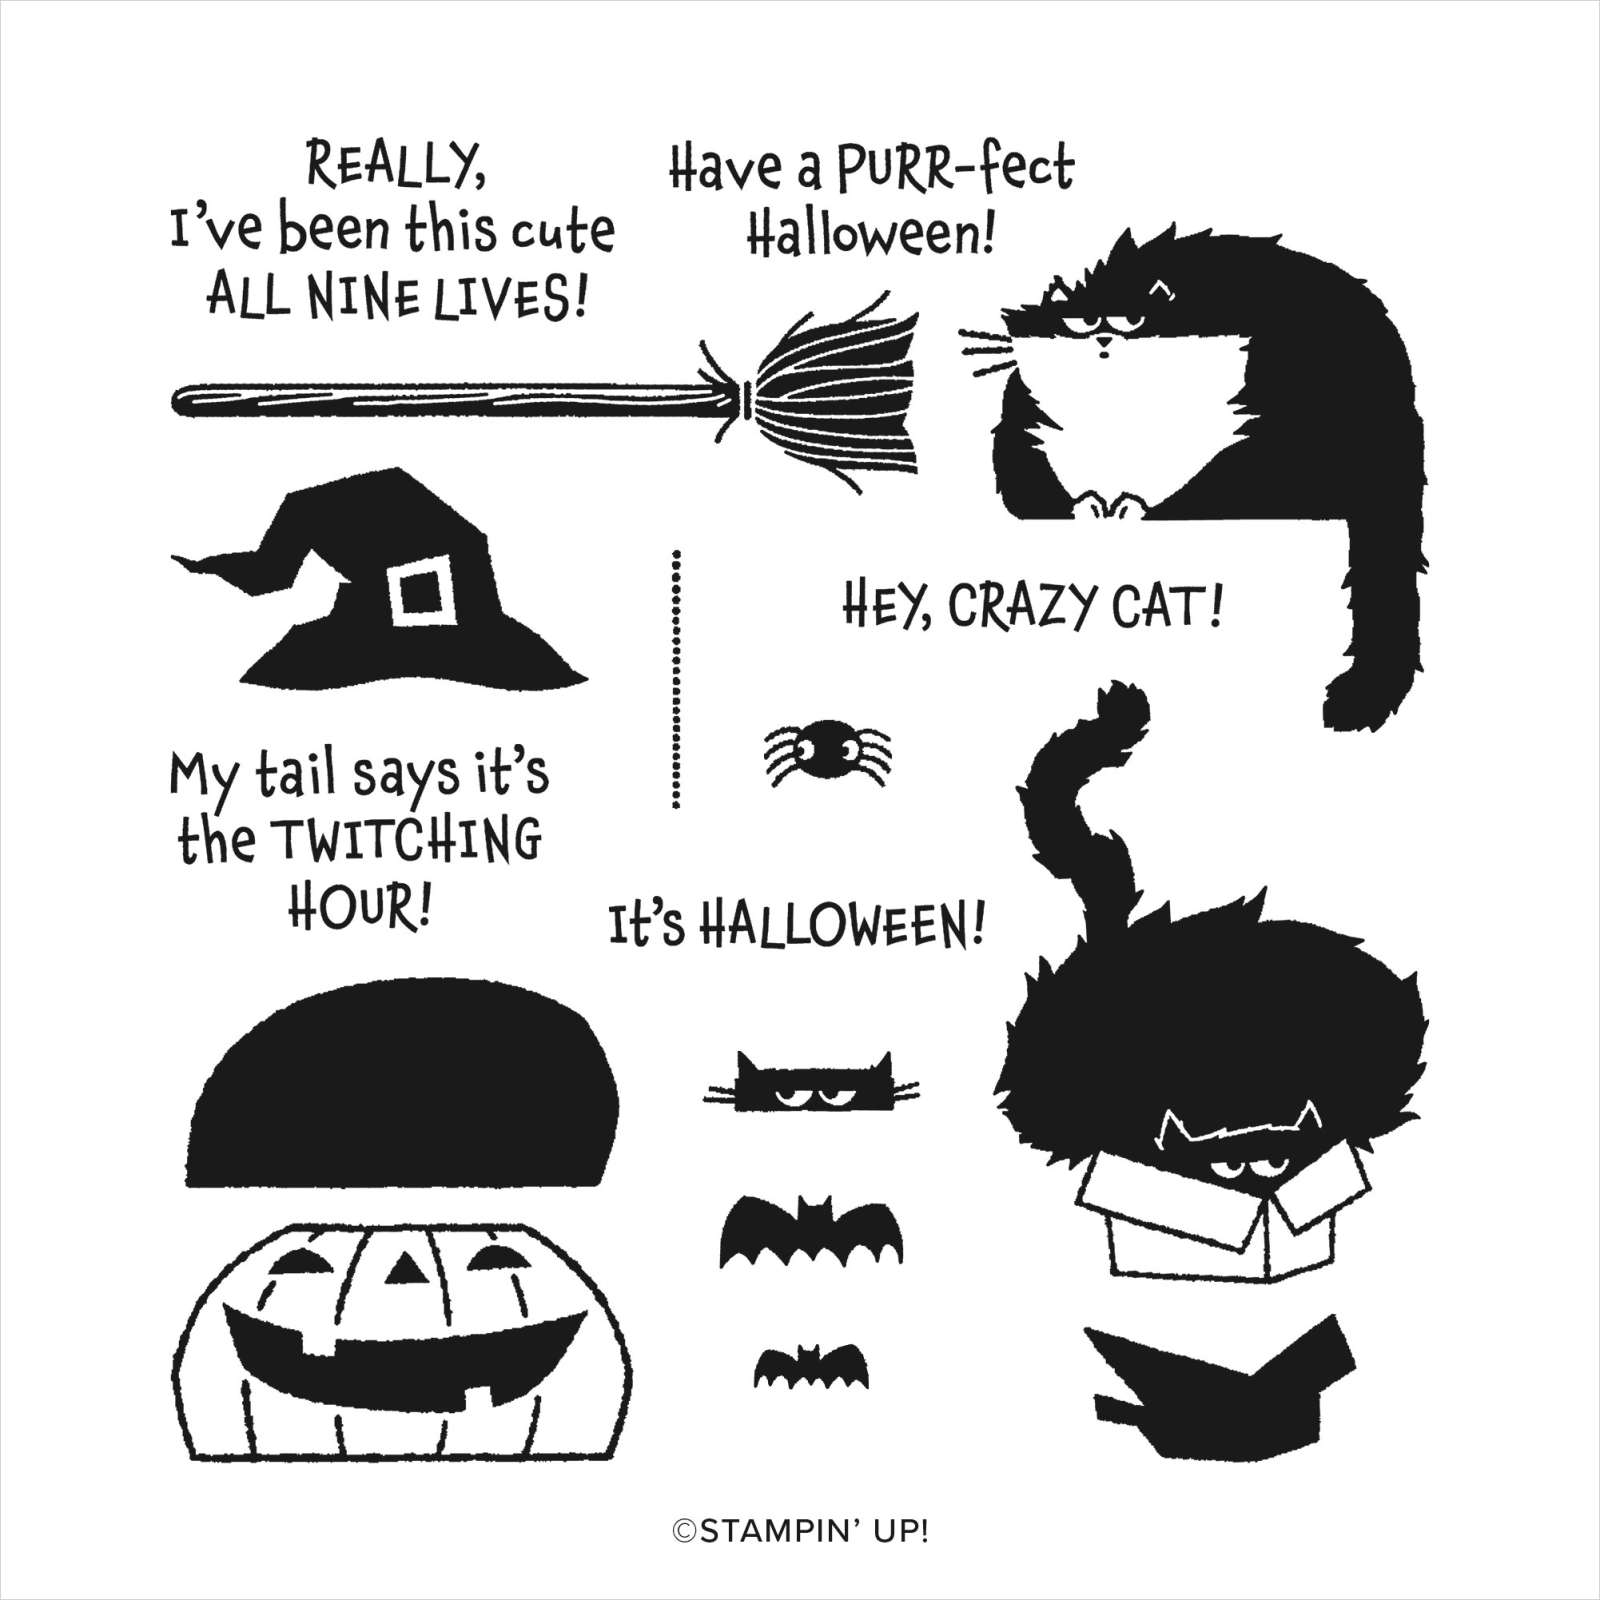
Next is a cute card made by Candy using the Clever Cats stamp set.  See it here. 

That cat peeking from behind the pumpkin is adorable. Her colors are Rich Razzleberry, Black, Mossy Meadow, Pumpkin Pie & White. Other products she used here are:

  • Double Oval punch
  • Stitched with Whimsy dies seen here
  • Parisian Flourish 3D folder

I can see this stamp set be used all year.  These cats are hilarious and so true to life! 

~~~

September Specials

Host code: WGVUYXTF

*click here to order

Get 10 beautiful hand-made cards from me with a $50 online order

from September 20-30th! 

All online orders will receive a free PDF tutorial filled with projects featuring

the Painted Christmas Suite!

BEST DEAL!

Get a Free Bundle  from the Holiday Catalog when you choose the Starter kit! 

Plus pick out $125 in product of your choice for just $99 and shipping is free! 

You're getting up to $205 in products for just $99!

All Posts

  • A few favorite craft storage tips


    I thought I'd share some of my favorite ways to store my stamping products.  Some people enjoy organizing more than creating! 

    First is how I store my stamp sets.  In a dresser drawer.  I purchased a few dressers from IKEA many years ago and they've held up very well despite multiple moves.  

    Here's a photo of my craft studio.  I am very, very lucky to have such a beautiful room in our home for my business and classes. 


    Here's how I store my 8 1/2" X 11" card stock and paper scraps.  In front of each color of card stock I keep a cello bag for the scraps in that color. I've used this method for years and it really helps me use my scraps.

    Next is how I store my 12 X 12" designer paper and scrapbook pages. 

    It's a shoe storage cabinet! My 12 X 12" paper fits like it was made just for it!  You can get two stacks side by side in it since it's about 30" wide.    Plus it has a divider to fit even more paper above it.  I love the way the doors hinge open.  There are three doors and it's only about a foot deep.

    Lastly here's how I store my inks, markers and ribbon. These are Stampin' Up! storage and they're fully customizable to fit what you need.  Click here to see the options. 

    I love that it fits right on my work area for easy reach. As you can see I organize my inks in rainbow order. I'm not sure why my Blends aren't but I know my granddaughter will love to do that for me this week while she's here.  

    ~~~

    December Specials:

    *current host code link:  

    P243X6VH

    3 new designer papers!

    ~~~

    Available December 3rd; while supplies last!

    ~~~

    ~~~

    Leave a Reply

    Your email address will not be published. Required fields are marked *

  • Merry Christmas!


    I hope you enjoy a beautiful Holiday with family & friends.  

    Leave a Reply

    Your email address will not be published. Required fields are marked *

  • Diagonal Fun Fold with new products! Free project sheet & video too.


    Today I'm sharing a neat fun fold I hadn't made for awhile.  It's a diagonal fold that is fun and easy. 


    I used a few new, upcoming products from both the 2025 Spring and the 2025 Sale-a-Bration catalogs.  The greeting & punch are made with the Bright Borders set and coordinating To the Point punch.  The designer paper is the Toadstool Gardens 6" DSP from the SAB catalog.  It's free with any $60 purchase from January 7th – February 28th, 2025.  

    I made over 20 of them for a mail out swap I joined.  The colors include Melon Mambo & Granny Apple Green. 


    I share how to make it in the video here and seen below.  Basically it involves trimming off half of one side of the card base, flipping it and adhering it back to the card front.  The only confusing this can be adding your designer paper.  I suggest using a non-directional paper when trying this out. 

    Here's the free project sheet you can print or download. Click on the following link: Download Bright Borders Diagonal fun fold


    Below is the video if you'd like to see how to assemble this card. I also share a pretty Sophisticated Sled project too.

    ~~~

    December Specials:

    *current host code link:  

    P243X6VH

    3 new designer papers!

    ~~~

    Available December 3rd; while supplies last!

    ~~~

    ~~~

    Leave a Reply

    Your email address will not be published. Required fields are marked *


Notice: LeeAnn Greff, Independent Stampin’ Up! Demonstrator, Manager. The content of this website is my sole responsibility as an independent Stampin’ Up! demonstrator and the use of, and content of, the classes, services, or products offered on this website is not endorsed by Stampin’ Up! Copyright 2025