/


Latest Post

CUTE Easter Bunny projects by Sharon; our Artist of the Month


Easter is just 2 weeks away so I thought I'd share Sharon's projects featuring the Easter Bunny bundle. She chose it for her Artist of the Month theme and she knocked it out of the park!  

Unfortunately the bundle is not currently available as the Easter Bunny punch is out of stock.  It will be back on or before May 15th.  You can get the Easter Bunny stamp set now. 

I'll share a brief description of each: 

She stamped her bunnies on Vellum and colored in just the ears.  The vellum is die-cut with the Scalloped Contour dies. So many cute details here – note the bird, egg and carrot…. The grass in front and the white cloud pieces under the vellum set the scene!

Next is a few of her adorable  Easter treats:

ON the top left is one of our Scalloped Kraft Treat boxes seen here. She punched the bunny through the lid and added a piece of window sheet to hold in the yummy candy.  The blue 'pull-up' candy bar treat holds a massive kit kat candy bar!  I love the bunny punched through the front with a sweet basket. Just wrap the ribbon around the bar and tie at the top for a fun pull up treat.  *Tip; use the size of your candy bar to guide you on cutting/folding your card stock wrap.  

Here is a close-up of the bunny eggs.  She stamped the White strip and added it to a card stock wrap. The bunnies are stamped, colored and fussy cut then added to the band.  

Next is a fun fold with three bunnies on the diagonal.  
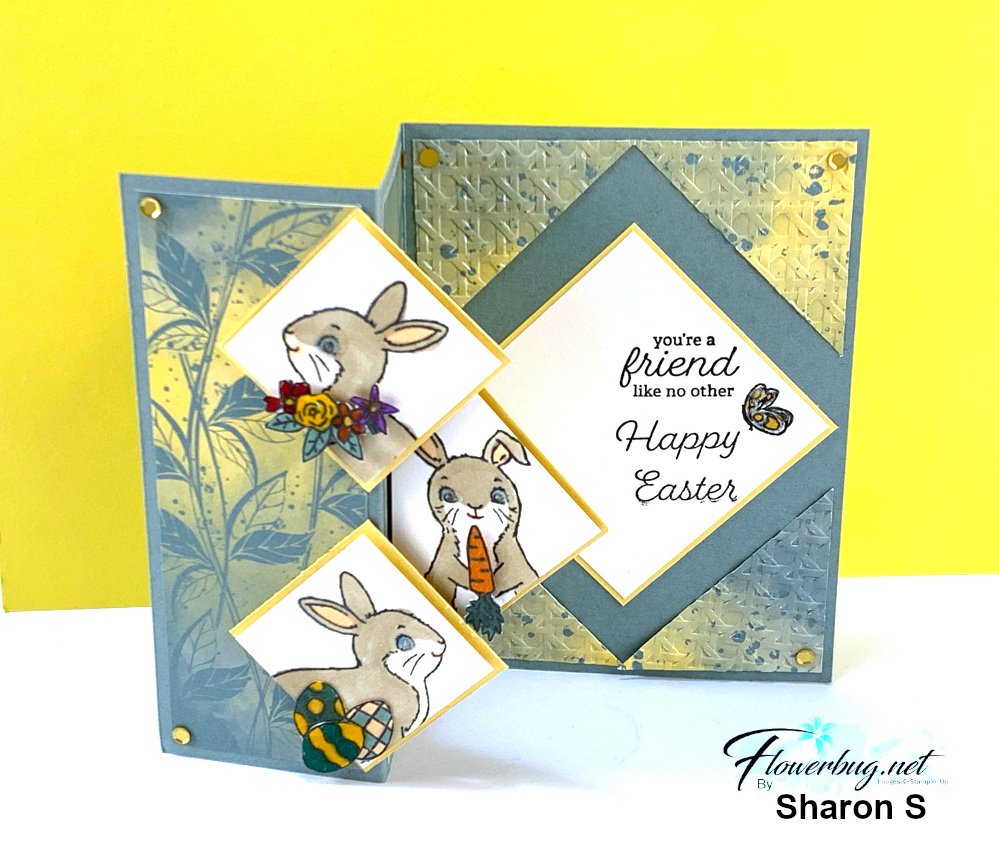
This card is a standard A2 card – 5 1/2" X 8 1/2" scored at 2 1/8" & 4 1/4". She added the front two squares on the front panel and here's how she added the center bunny to the inside edge.  The designer paper is the new Hello, Irresistible DSP. 

I love the additions she added to each one, flowers, a carrot and eggs; all from the Easter Bunny stamp set. 

Look closely at the ribbon and fancy edge element on this next card: 
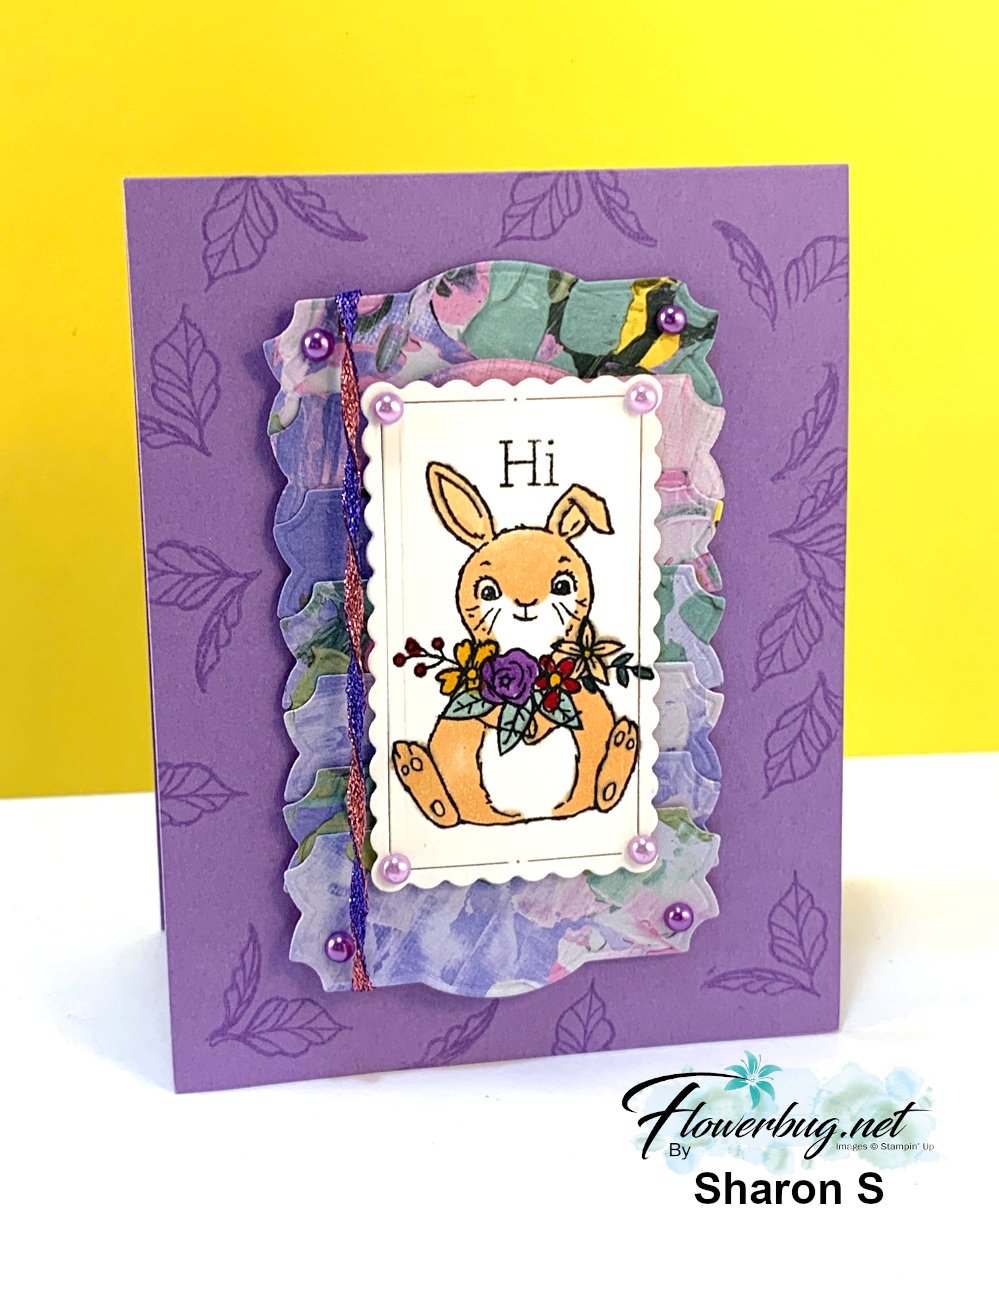
She used two colors or our In Color ribbon and twisted them together.  Fun!  And for the DSP element here she die-cut multiple labels from the Fancy Flora DSP & Natural Prints dies to create this pretty layer.  Clever & creative!

This next card is a card with an additional 'gift'.  A bunny bookmark… 
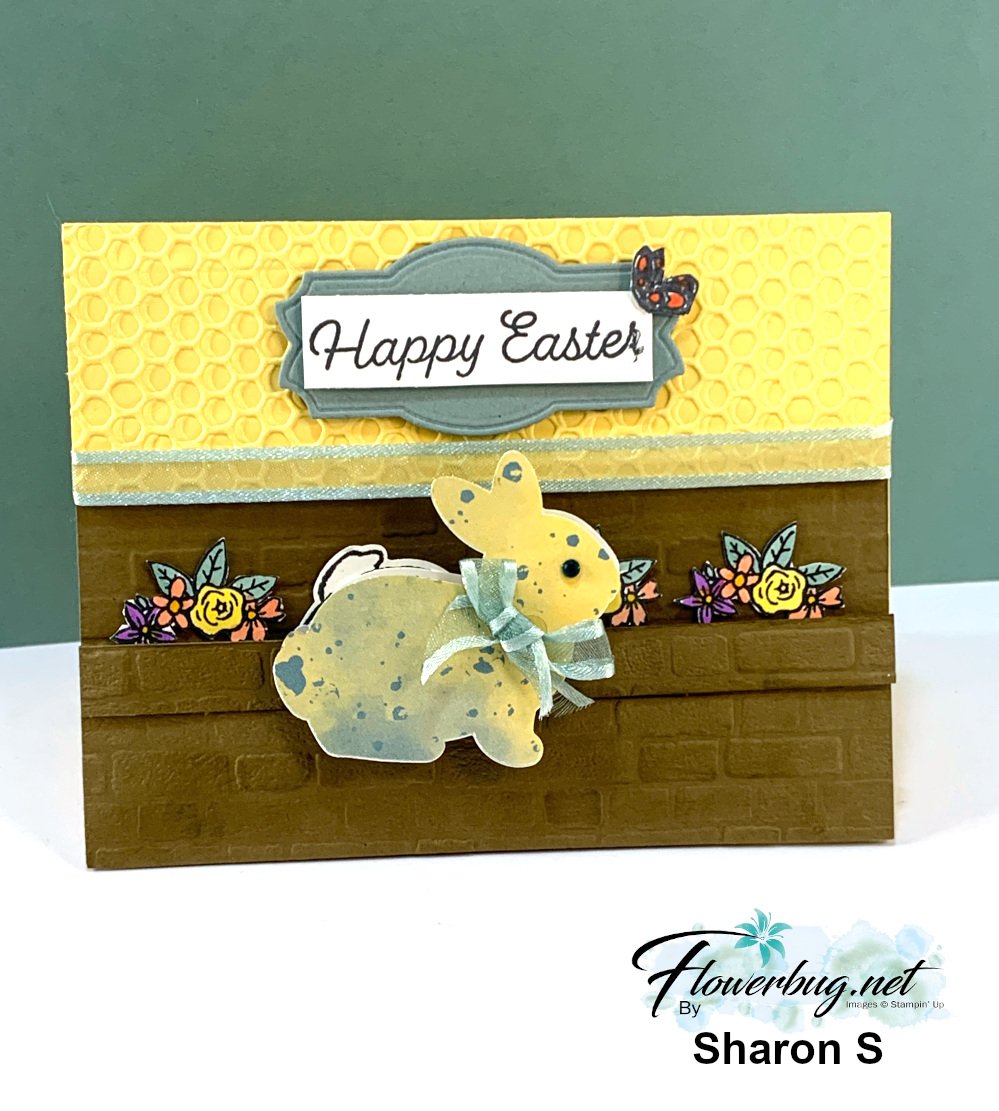
See how the double bunny can be removed to use as a bookmark?  It's held onto her basket with magnets.  These magnets are adheres to each side of the bunnies. The card looks great without the magnet bookmark too.  Super clever!  

This next card is made from a window sheet.  Yes; the card base is a clear window sheet!  So cool.  

The die-cut wreath is from the Natural Prints dies using Fancy Flora DSP. 

Here's a view of the inside. She added the card stock to the inside front and the inside back of the folded Window Sheet card base.  

Lastly a set of sour cream treat containers: 

Have you ever made one of these?  It's been awhile for me but they are so fun to make.  Basically it a tube of paper that you secure one end well. Then fill with candy and secure the other end closed opposite from the other end.  Traditionally you use a crimper to crease the end, but you can use a scoring tool as well.  

She had fun adding multiple tags to each! 
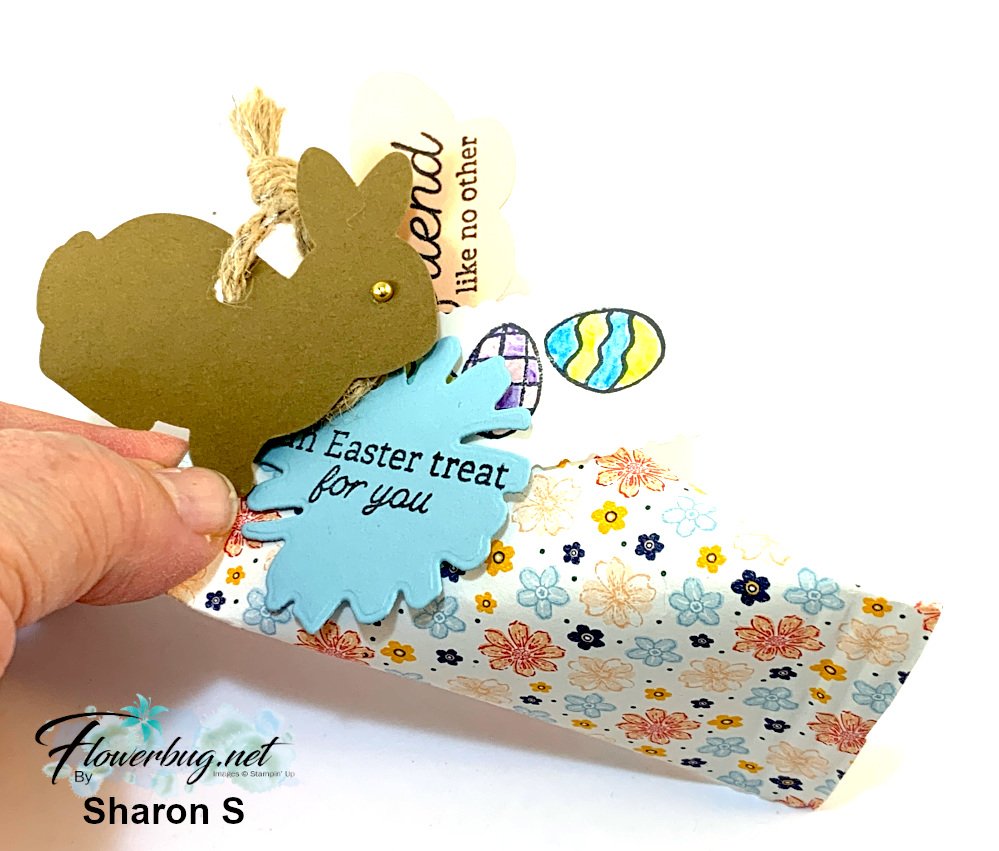
Didn't she do an amazing job?!  So many wonderful and SUPER creative projects. Well done Sharon!!

~~~

March Specials:

See the new Online Exclusives here! 

*current host code: BFE4C2KM

Get a free class kit with online orders over $55 when using the host code above!

Earn free products with my loyalty rewards! 

Click here to download yours and earn a $50 shopping spree!
All Posts

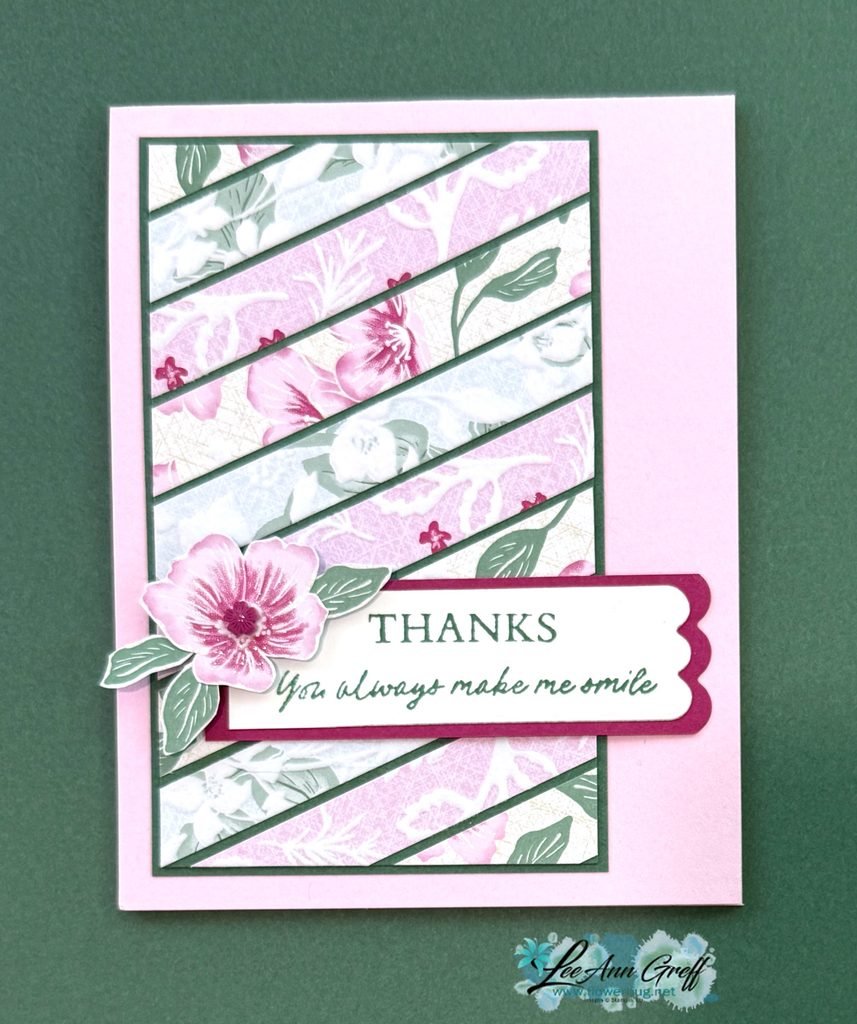
  • A fun way to use your Designer Paper scraps!


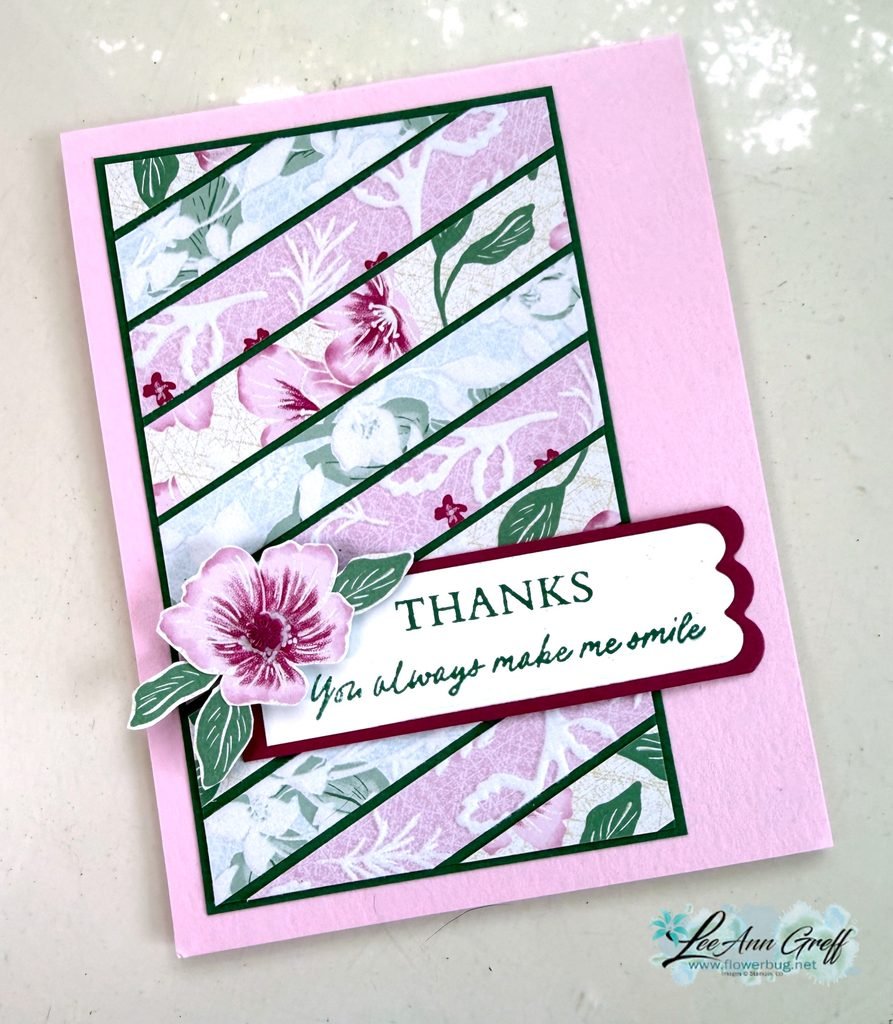
    Is it hard for you to toss those small pieces of designer paper pieces? Well, if you’re a ‘saver’ I have a quick card idea for you.

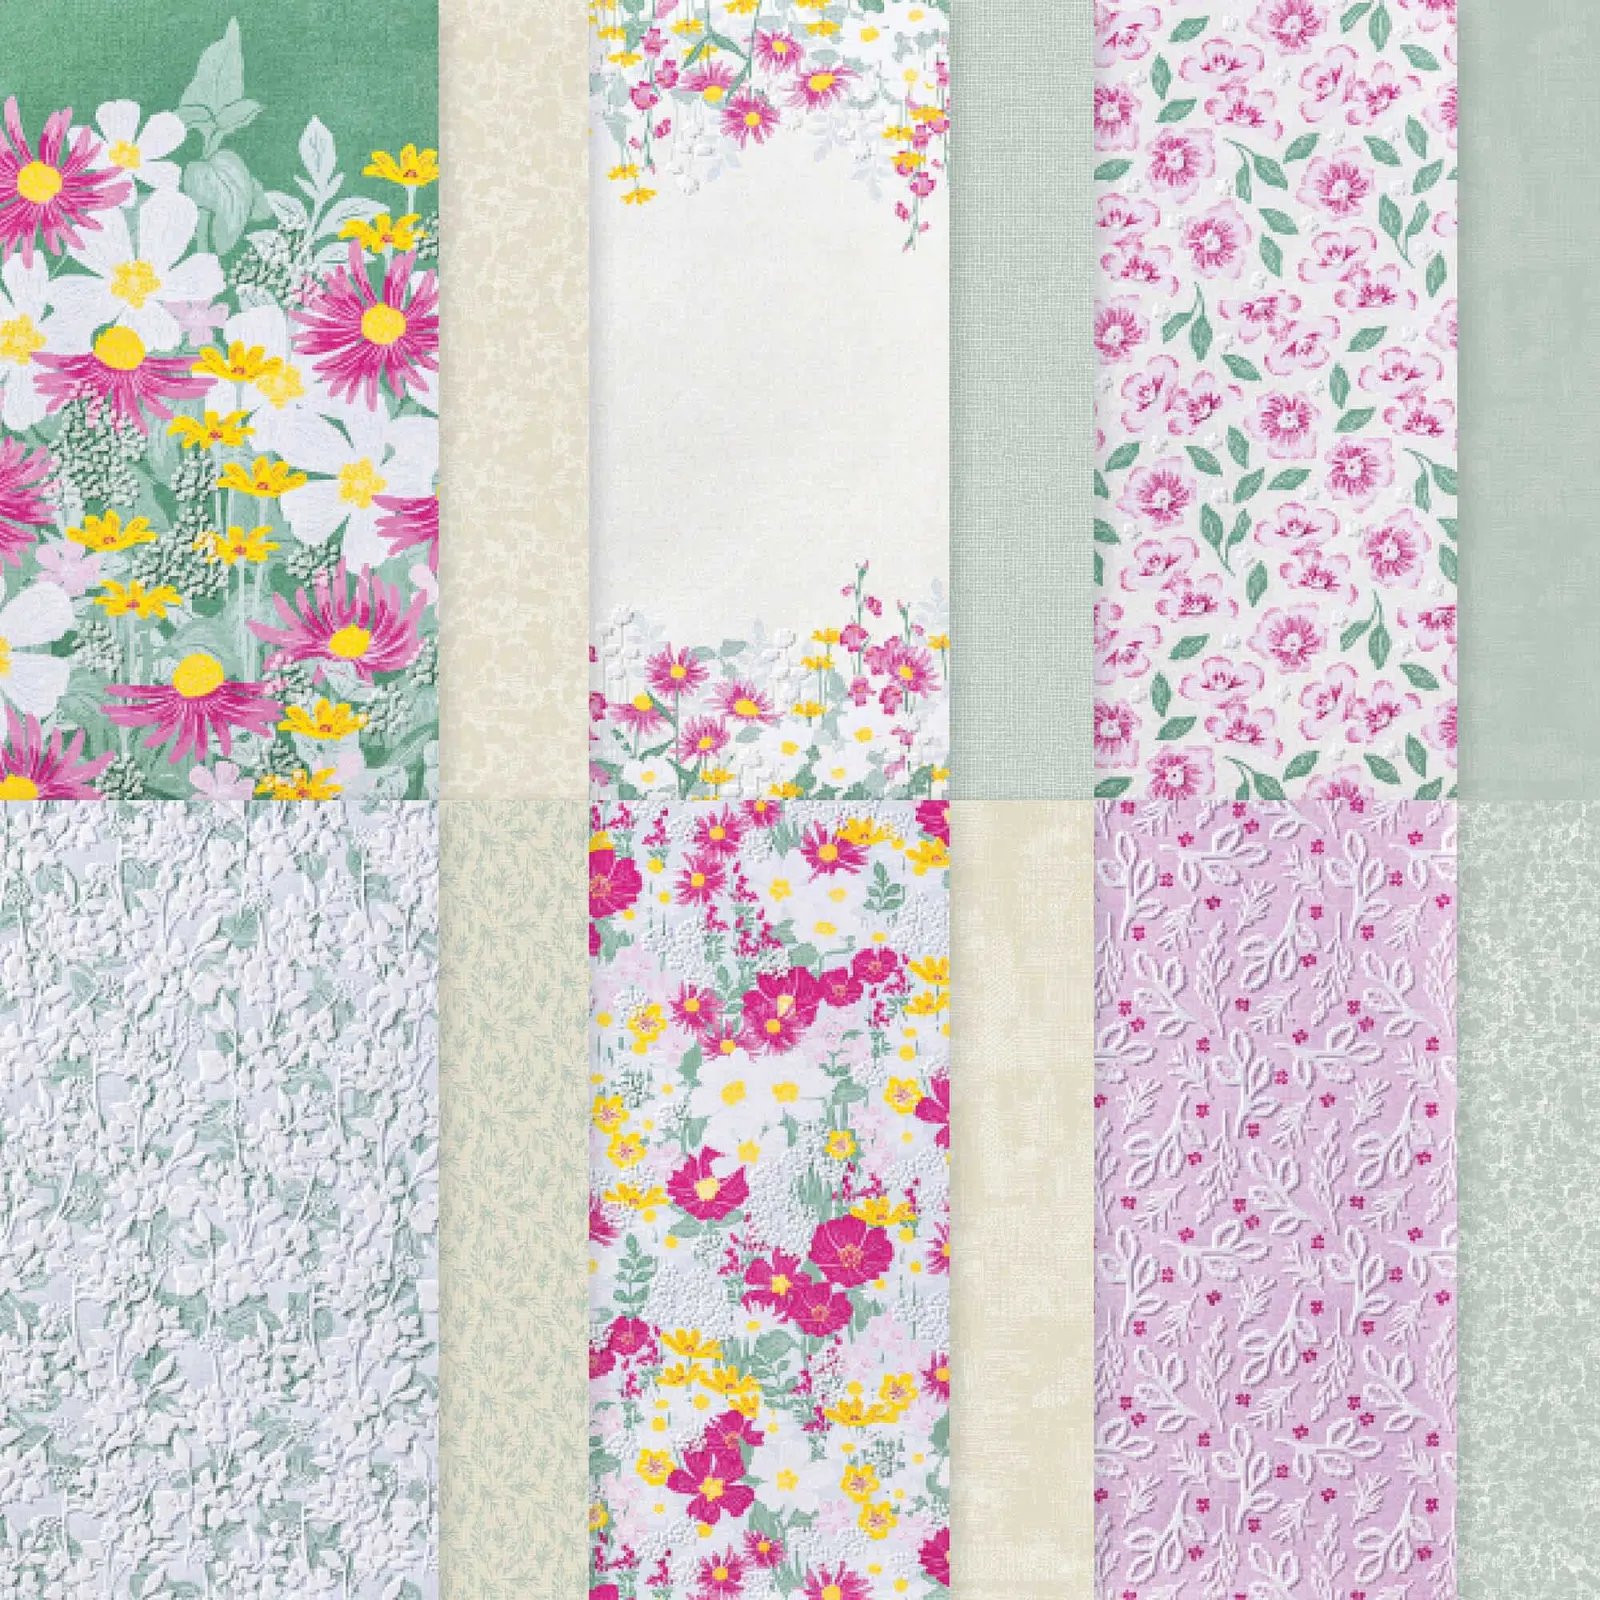
    Here I used the pretty Velvet Meadow specialty designer paper from our Online store. It has velvet/flocked accents that feel soft and fuzzy. See it here.

    Unfortunately it’s currently out of stock but it will be back! Add your email to the product page so you’re notified when it’s available.

    I cut three different patterns of DSP in 1/2″ wide strips. I added them to a piece of Peaceful Pine card stock (3″ X 4 3/4″) at an angle. I left a narrow space between them all and trimmed off the ends afterwards. Then I layered it on another Peaceful Pine piece slightly larger before adding it to my Bubble Bath card base.

    Tip: Adding the designer paper layer on the left and adding the greeting strip hanging off on the right adds balance to the card.

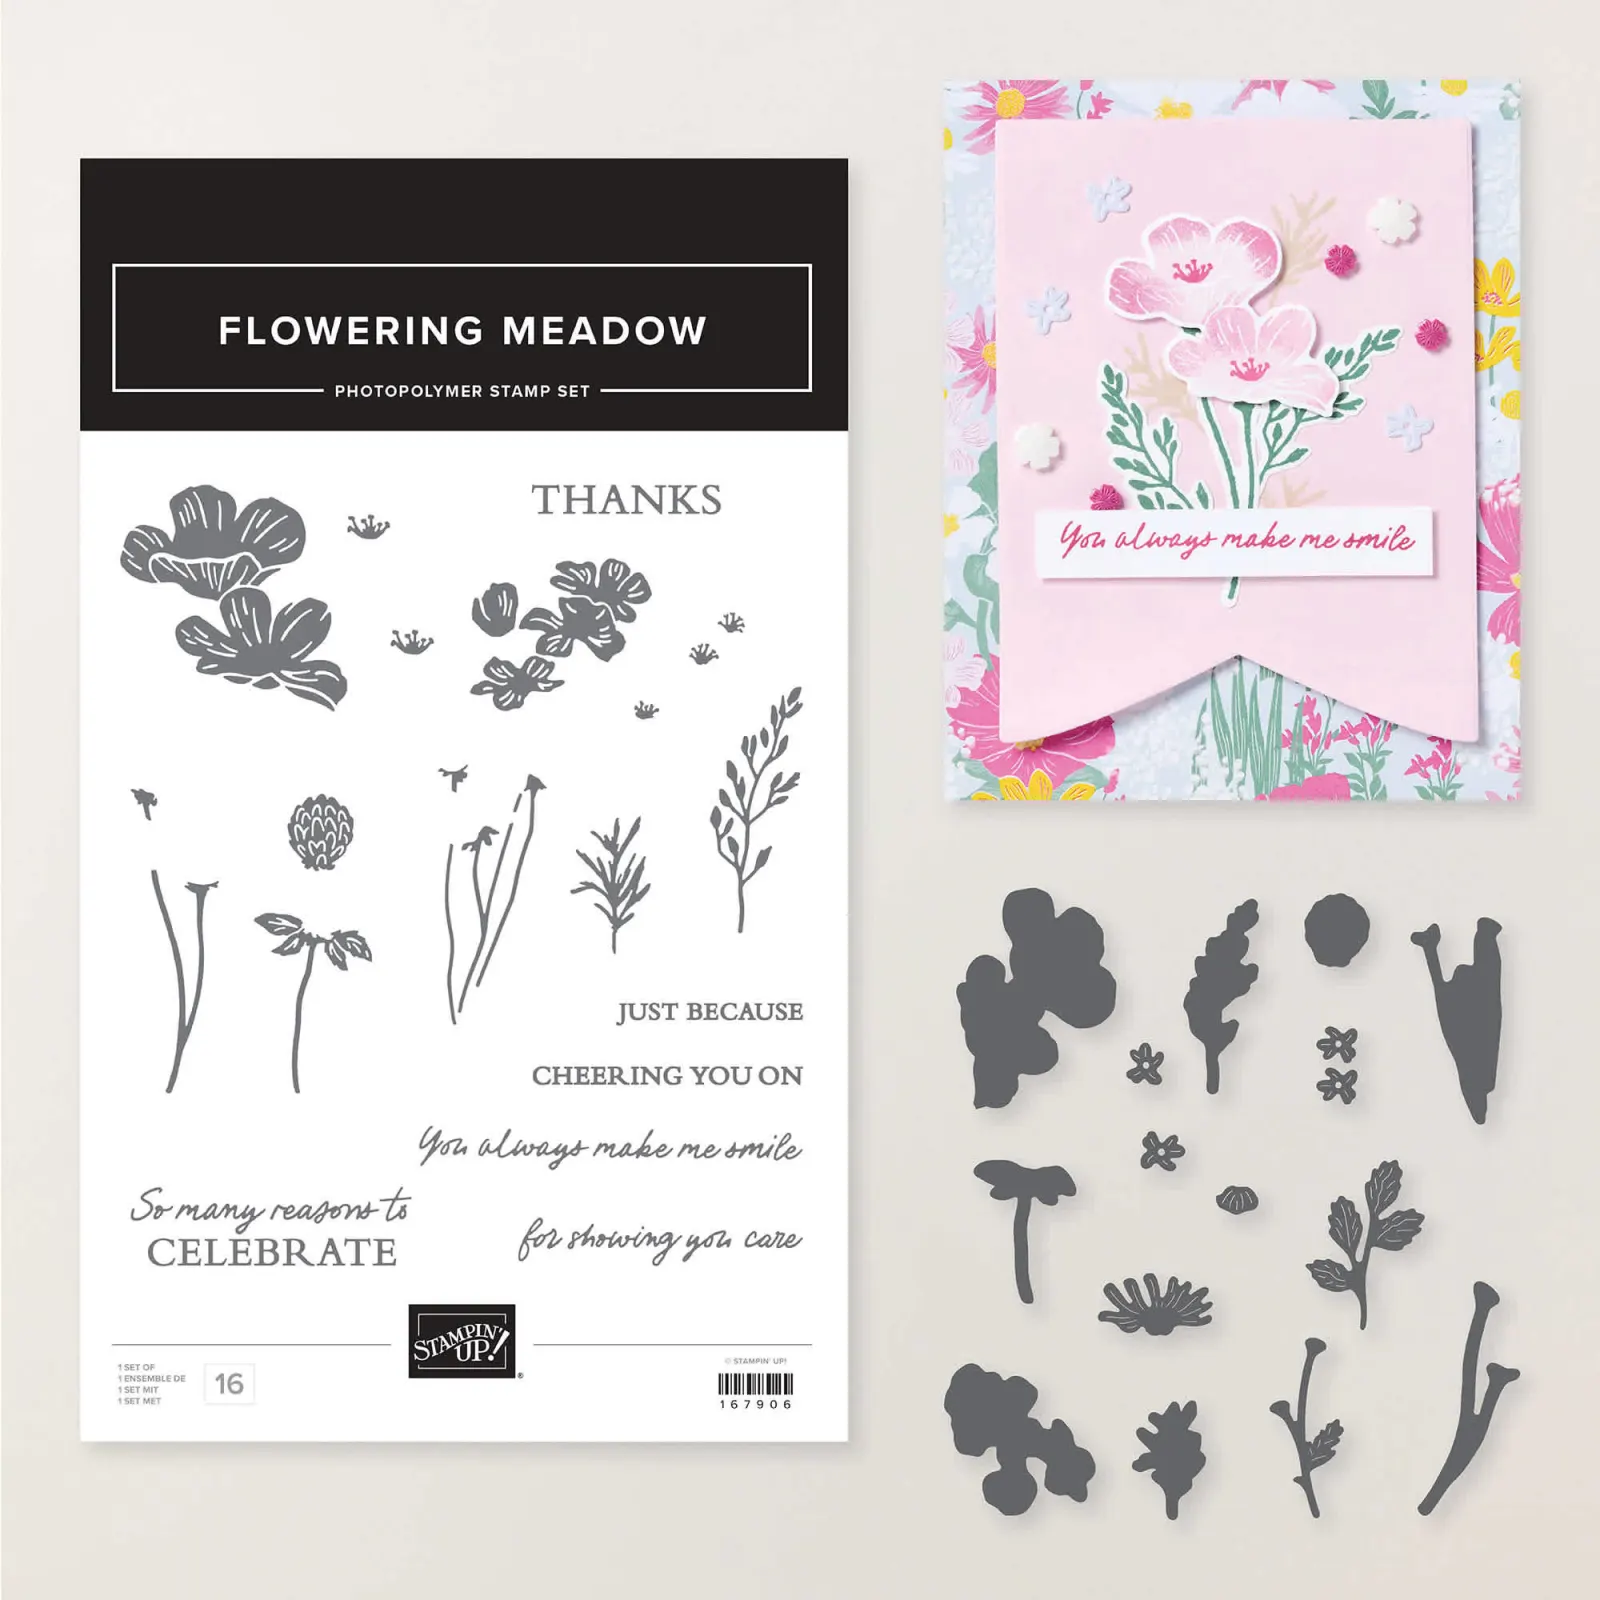
    Here’s the coordinating Flowering Meadow bundle; see it here.

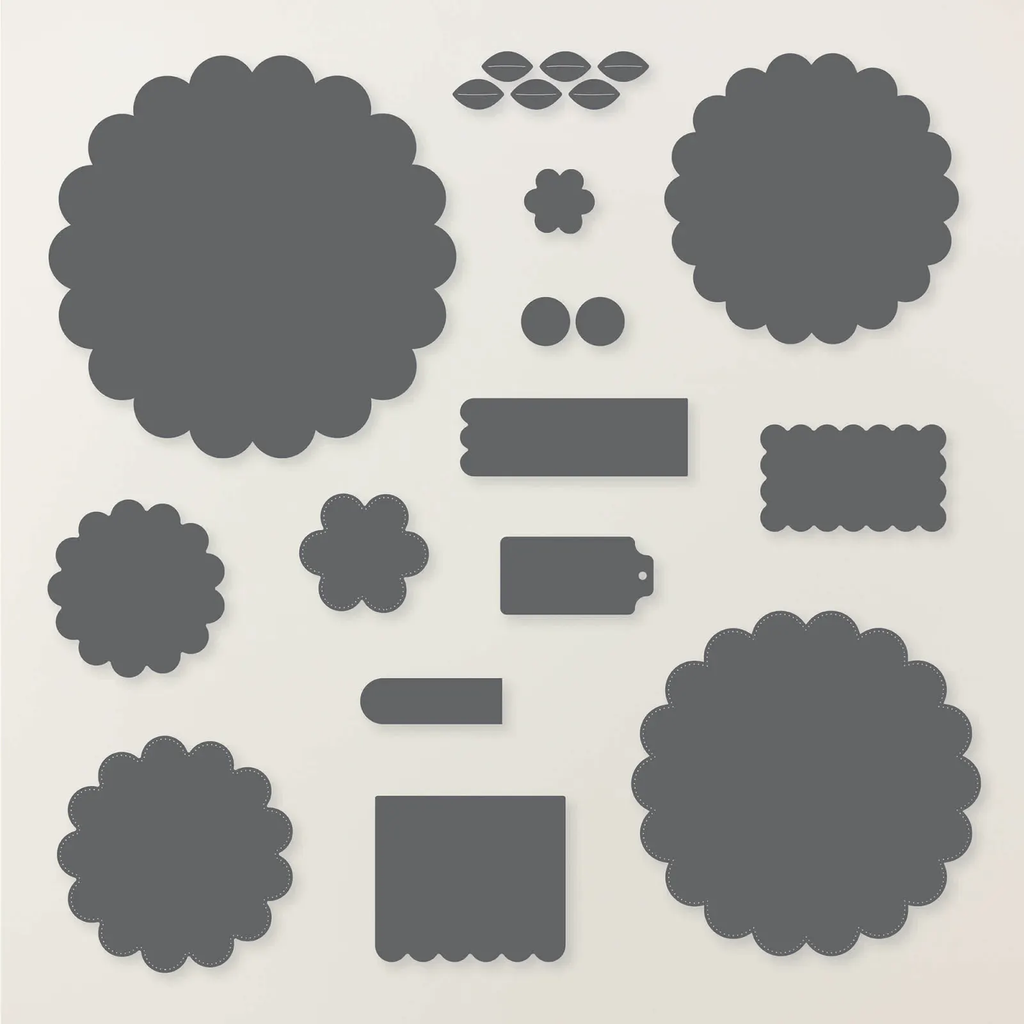
    The greeting is made with the Scalloped Blooms dies. The flower and leaves are fussy cut from the designer paper. A quick and pretty card!

    Leave a Reply

    Your email address will not be published. Required fields are marked *

  • My favorite deals on the Last Chance list!


    I thought I’d share some of MY favorite deals on the Last Chance list today.

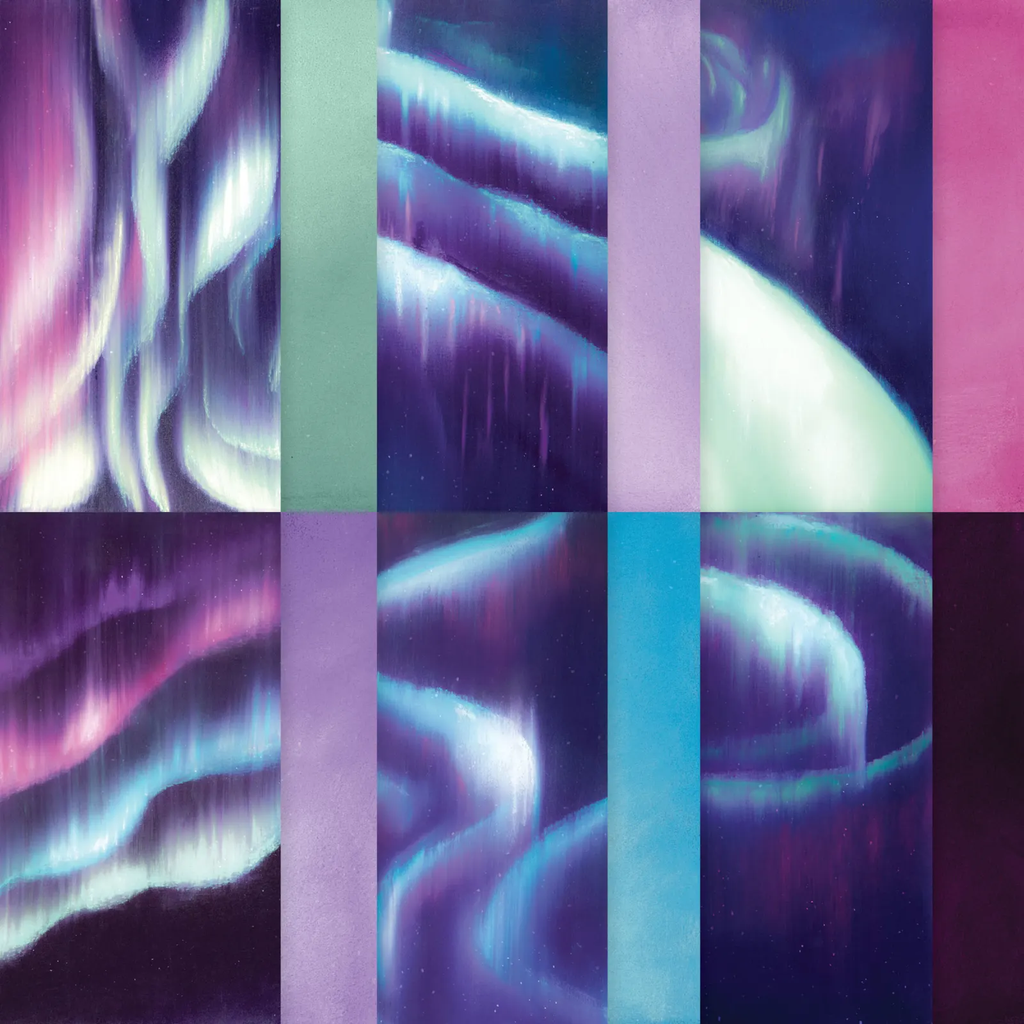
    First is the incredible Lights of Aurora designer paper seen here: It’s now $7.50 instead of $12.

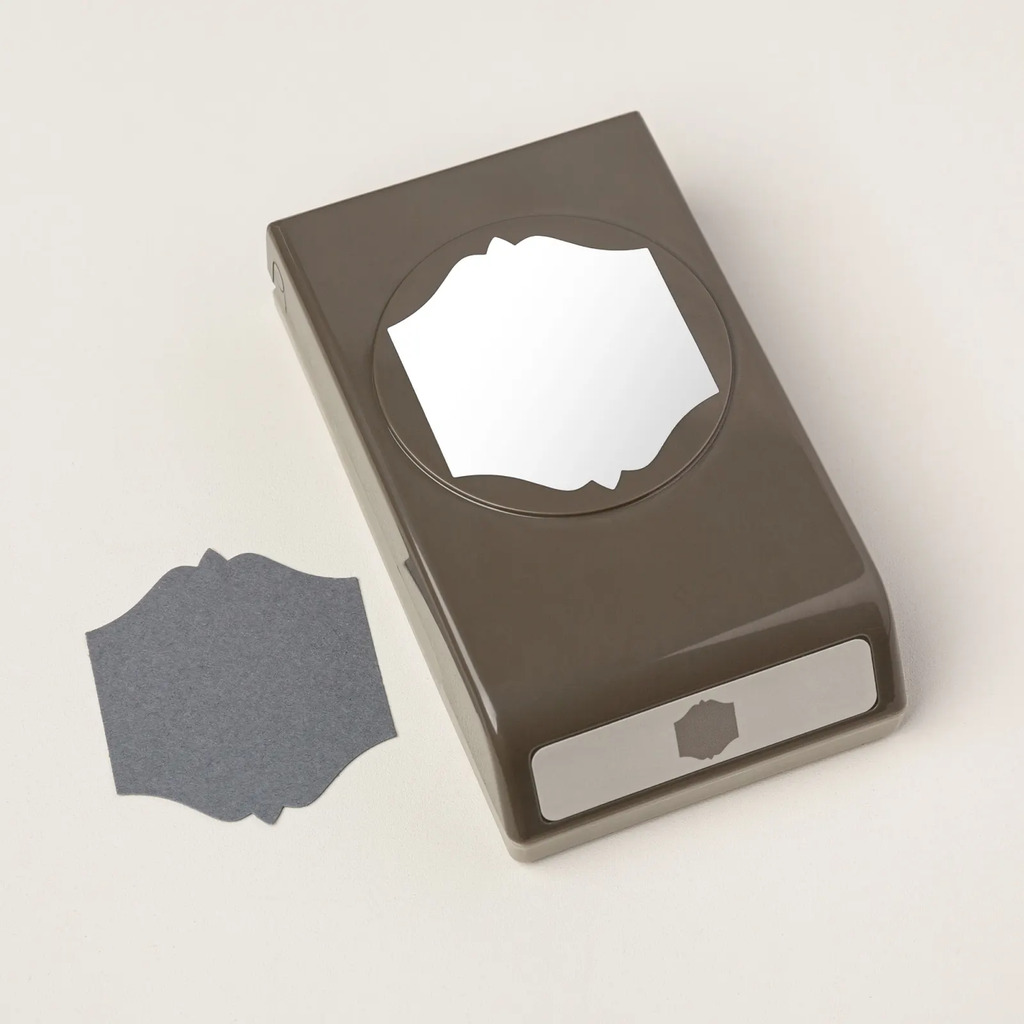
    If you don’t have the To the Point punch I’d get it now while you can. It’s one of my favorite label punches ever. See it here.

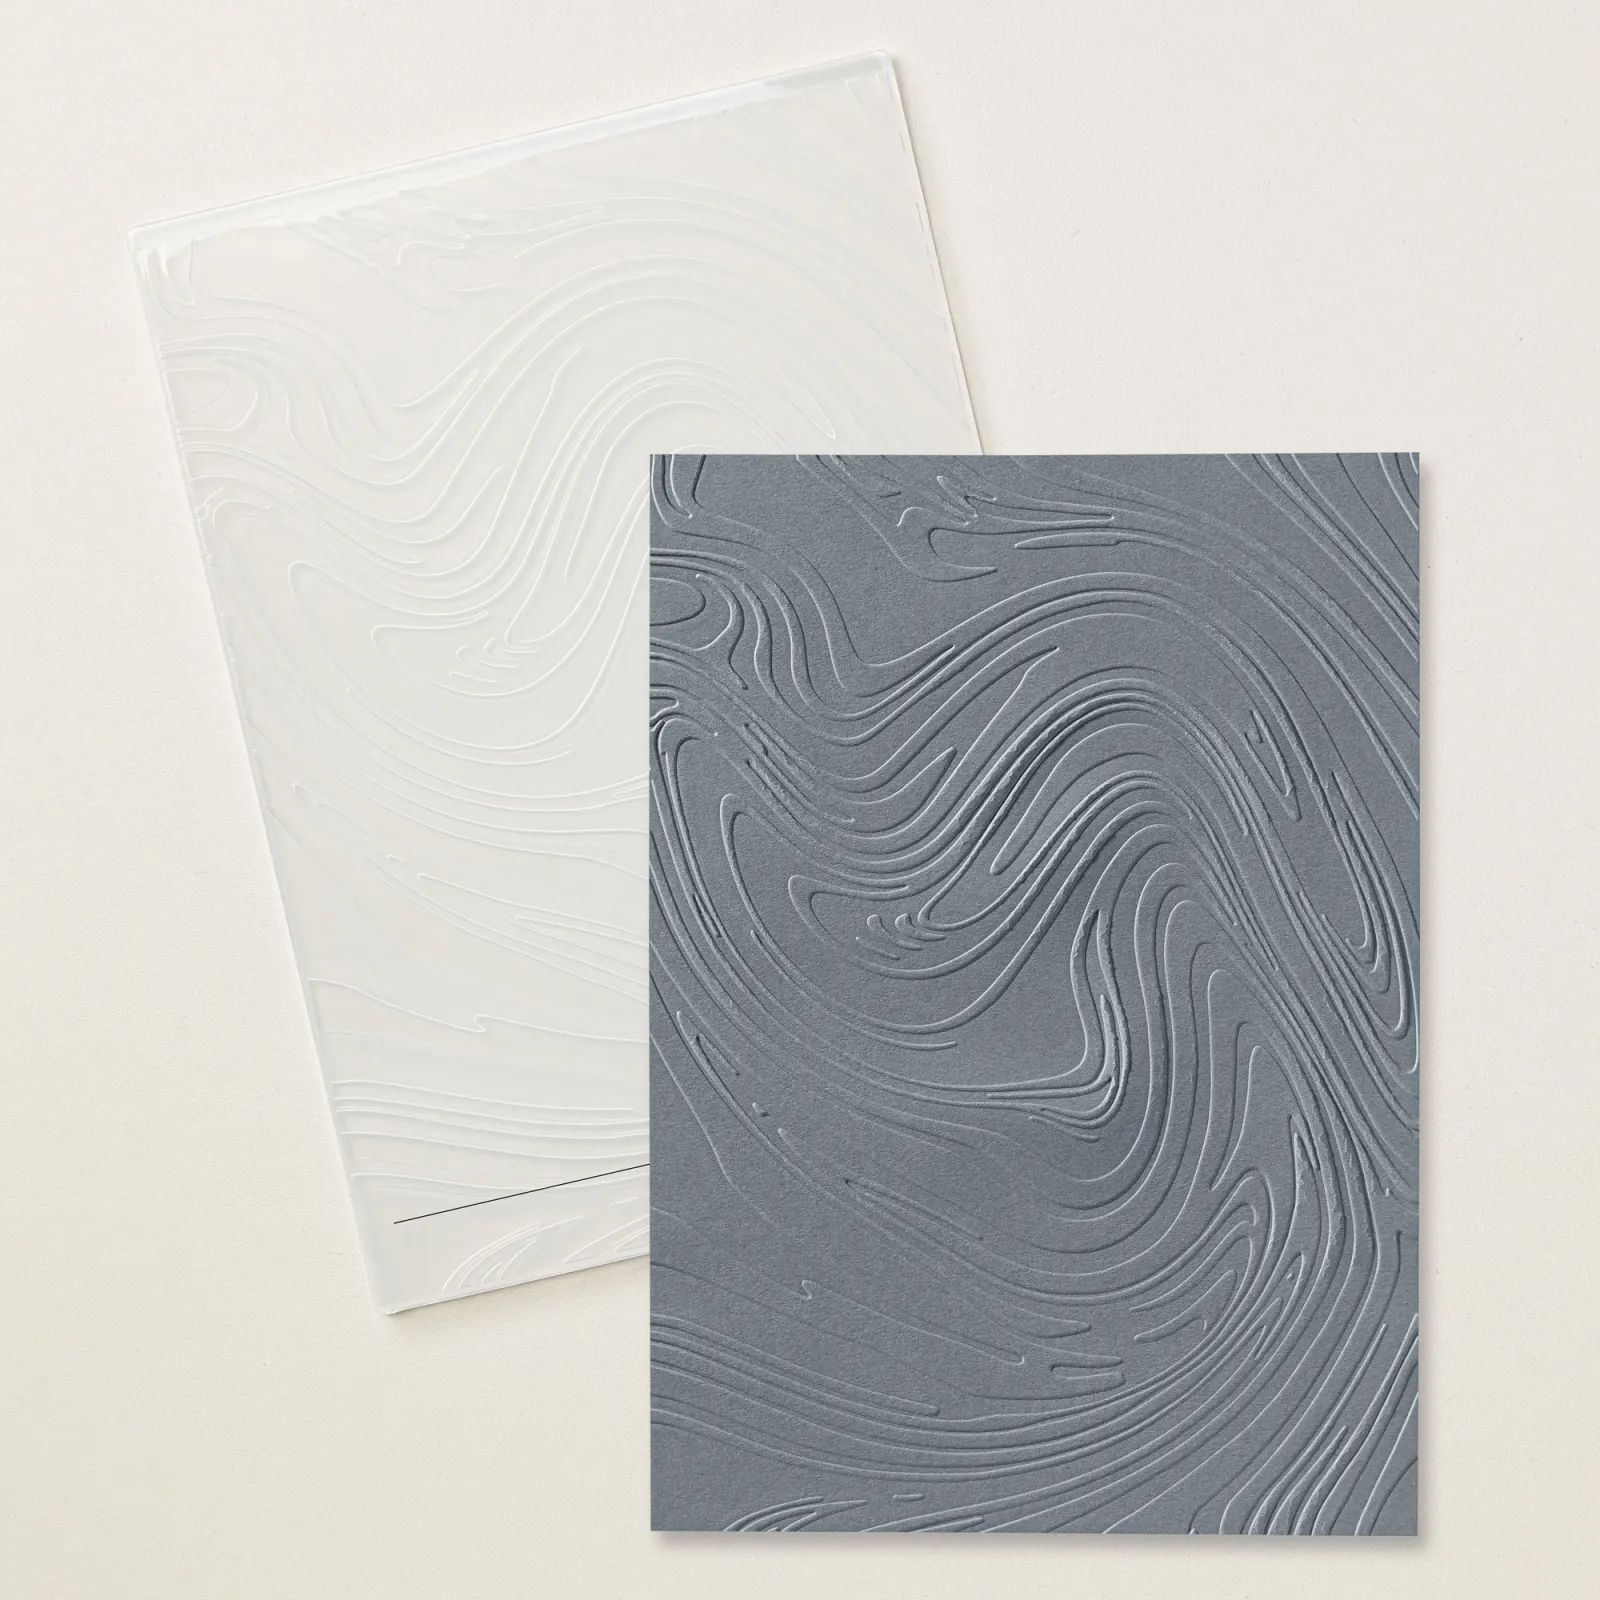
    The So Swirly embossing folder is so versatile; a perfect background texture. See it here. It’s just $5.25 now.

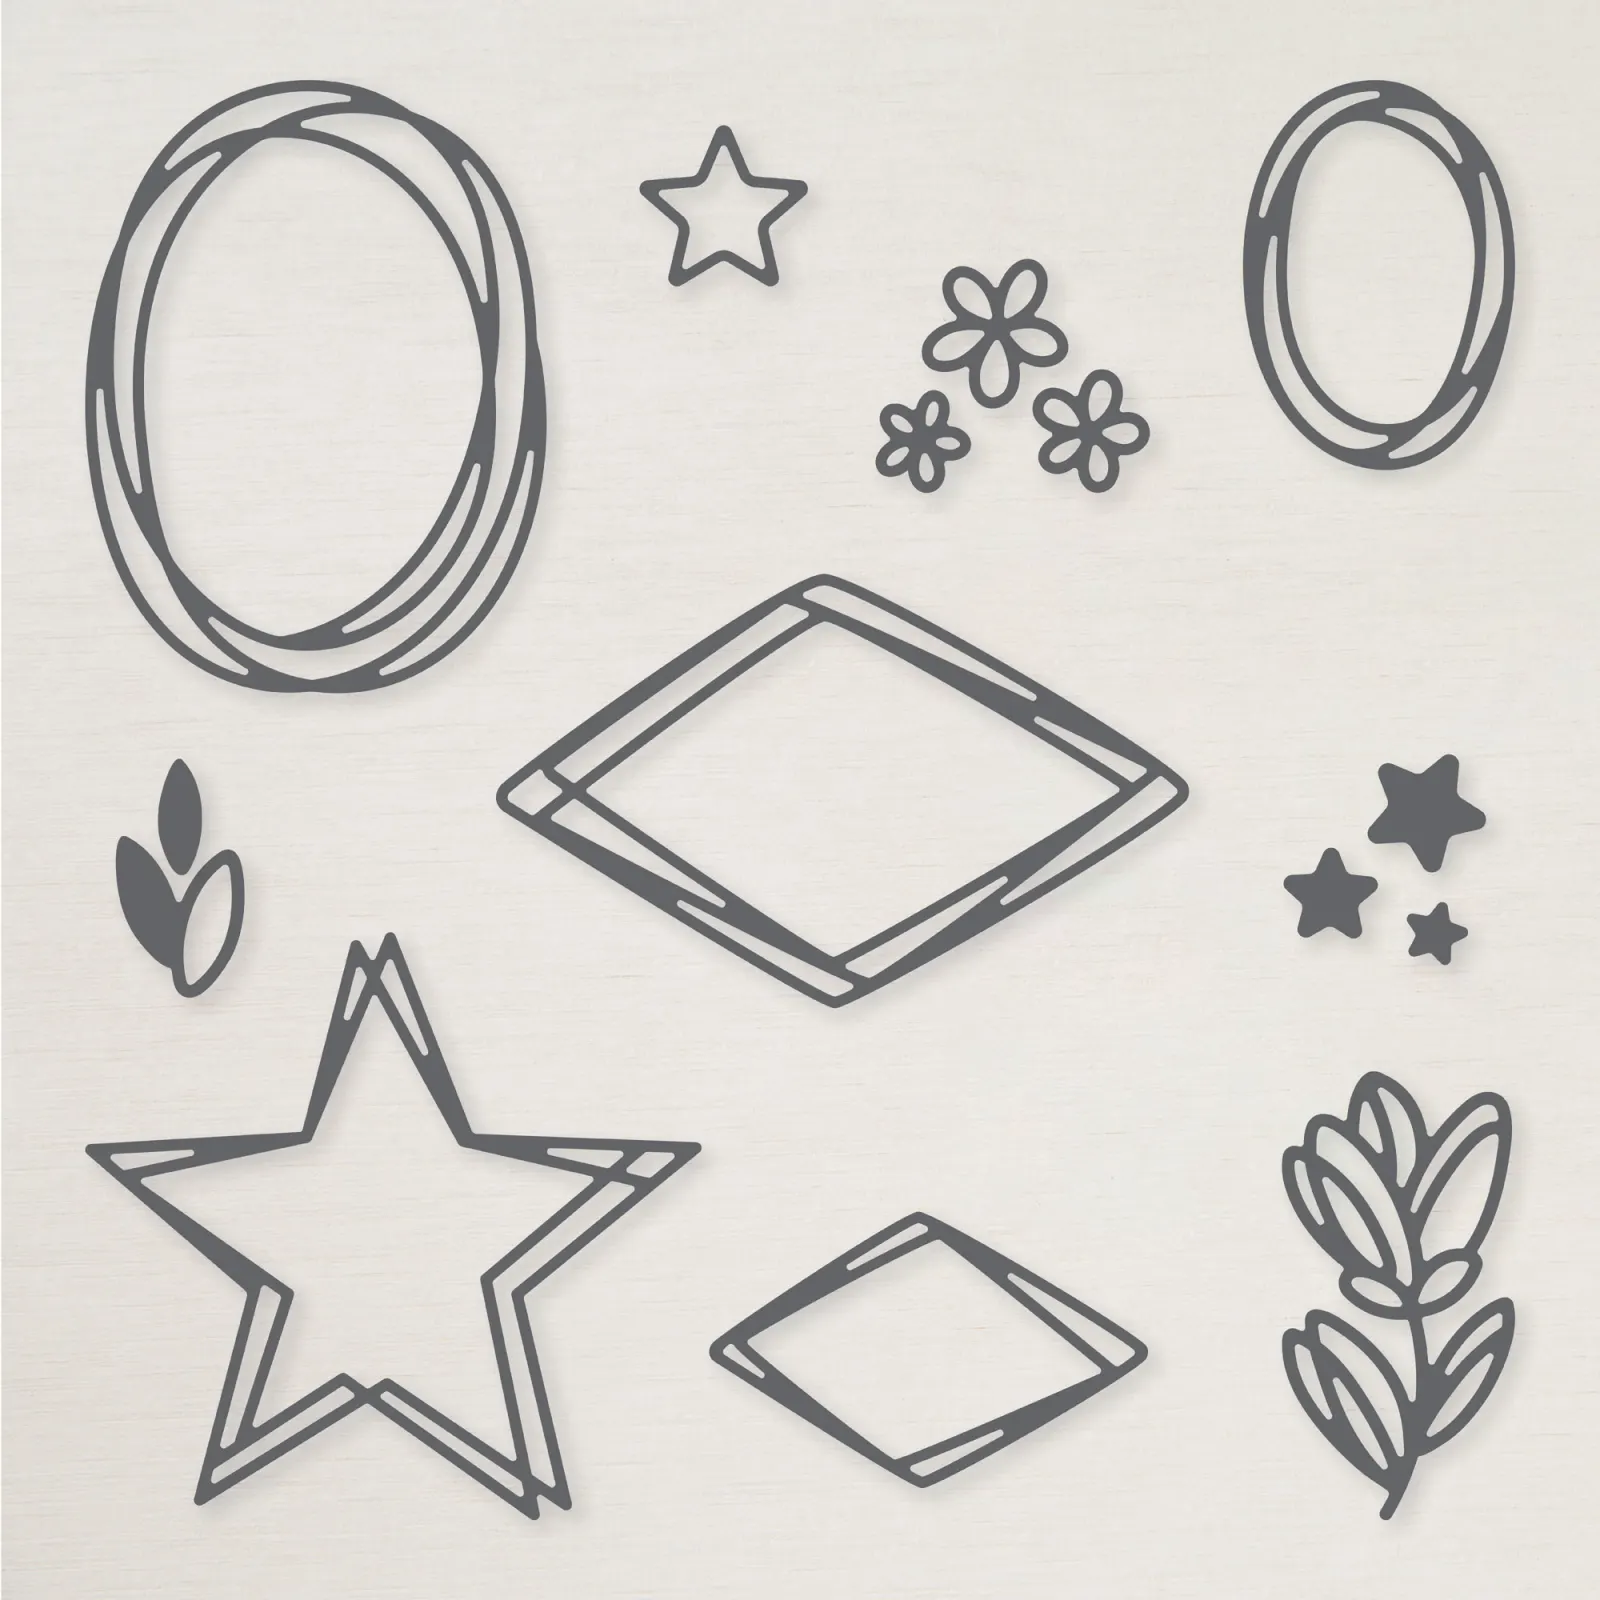
    The Swirled Design dies are now half off! So many fun ways to use these all occasion die-cuts! See it here.

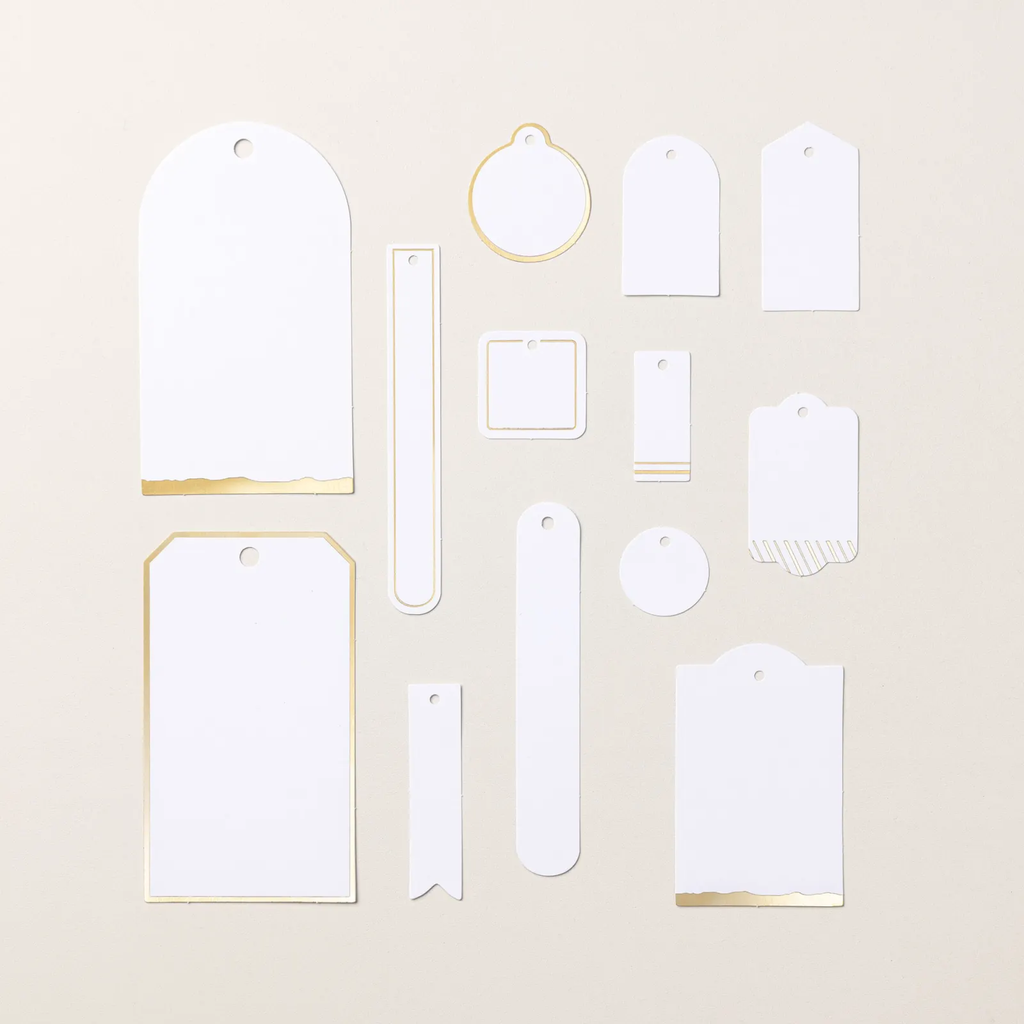
    And the Touch of Gold ephemera pack provides you with quick sentiment tags. There are 6 sheets of tags in this package for just $4.25. See them here.

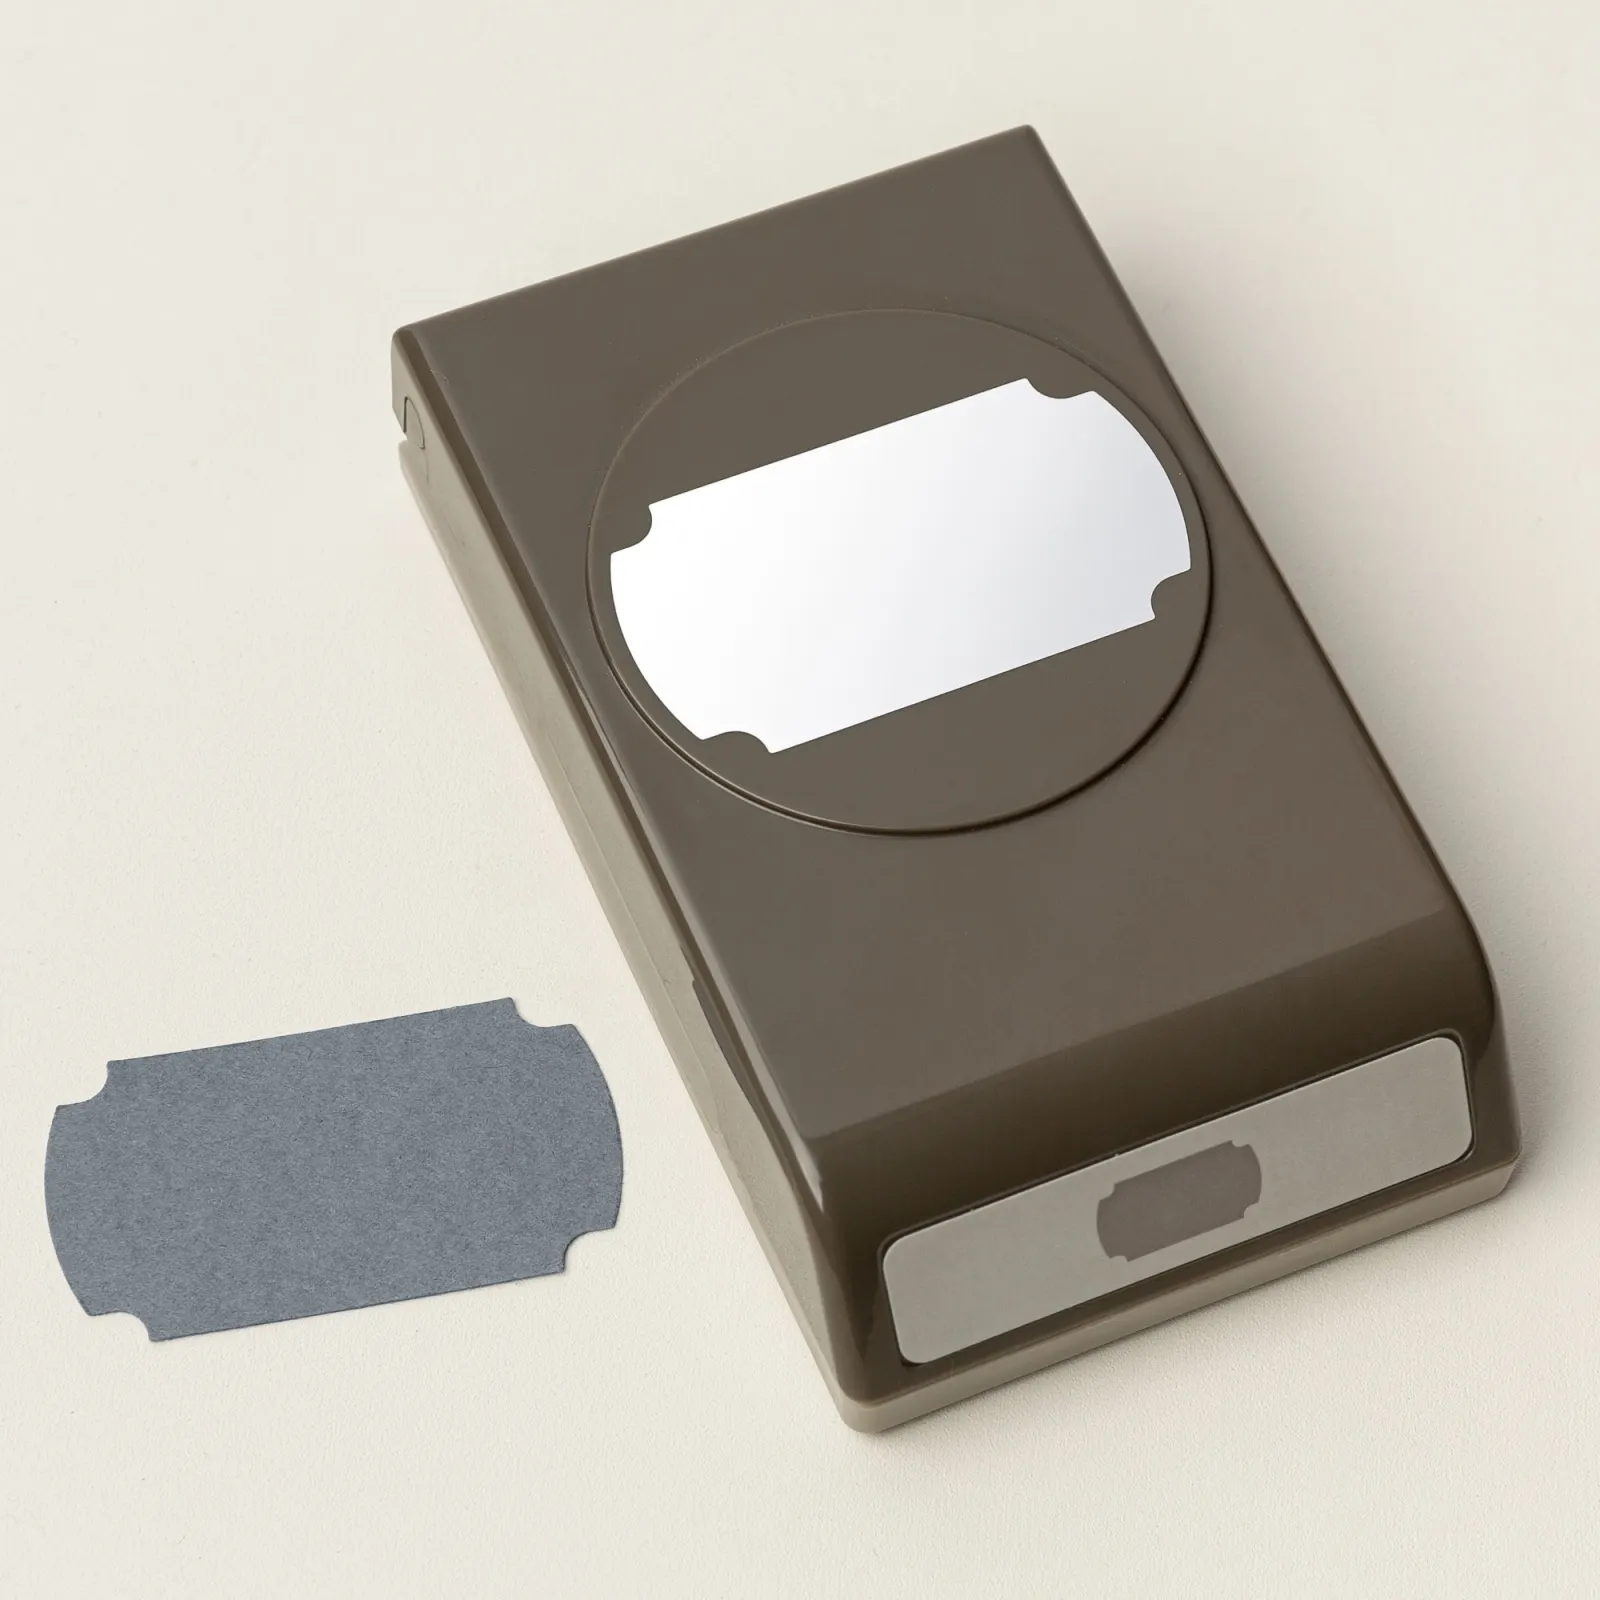
    Here’s another favorite punch for sentiments; the Labeled with Love punch seen here. Now just $12.50.

    And there are two colors of retired In Color card stock available at half price; here’s the Petunia Pop 8 1/2″ X 11″ CS seen here.

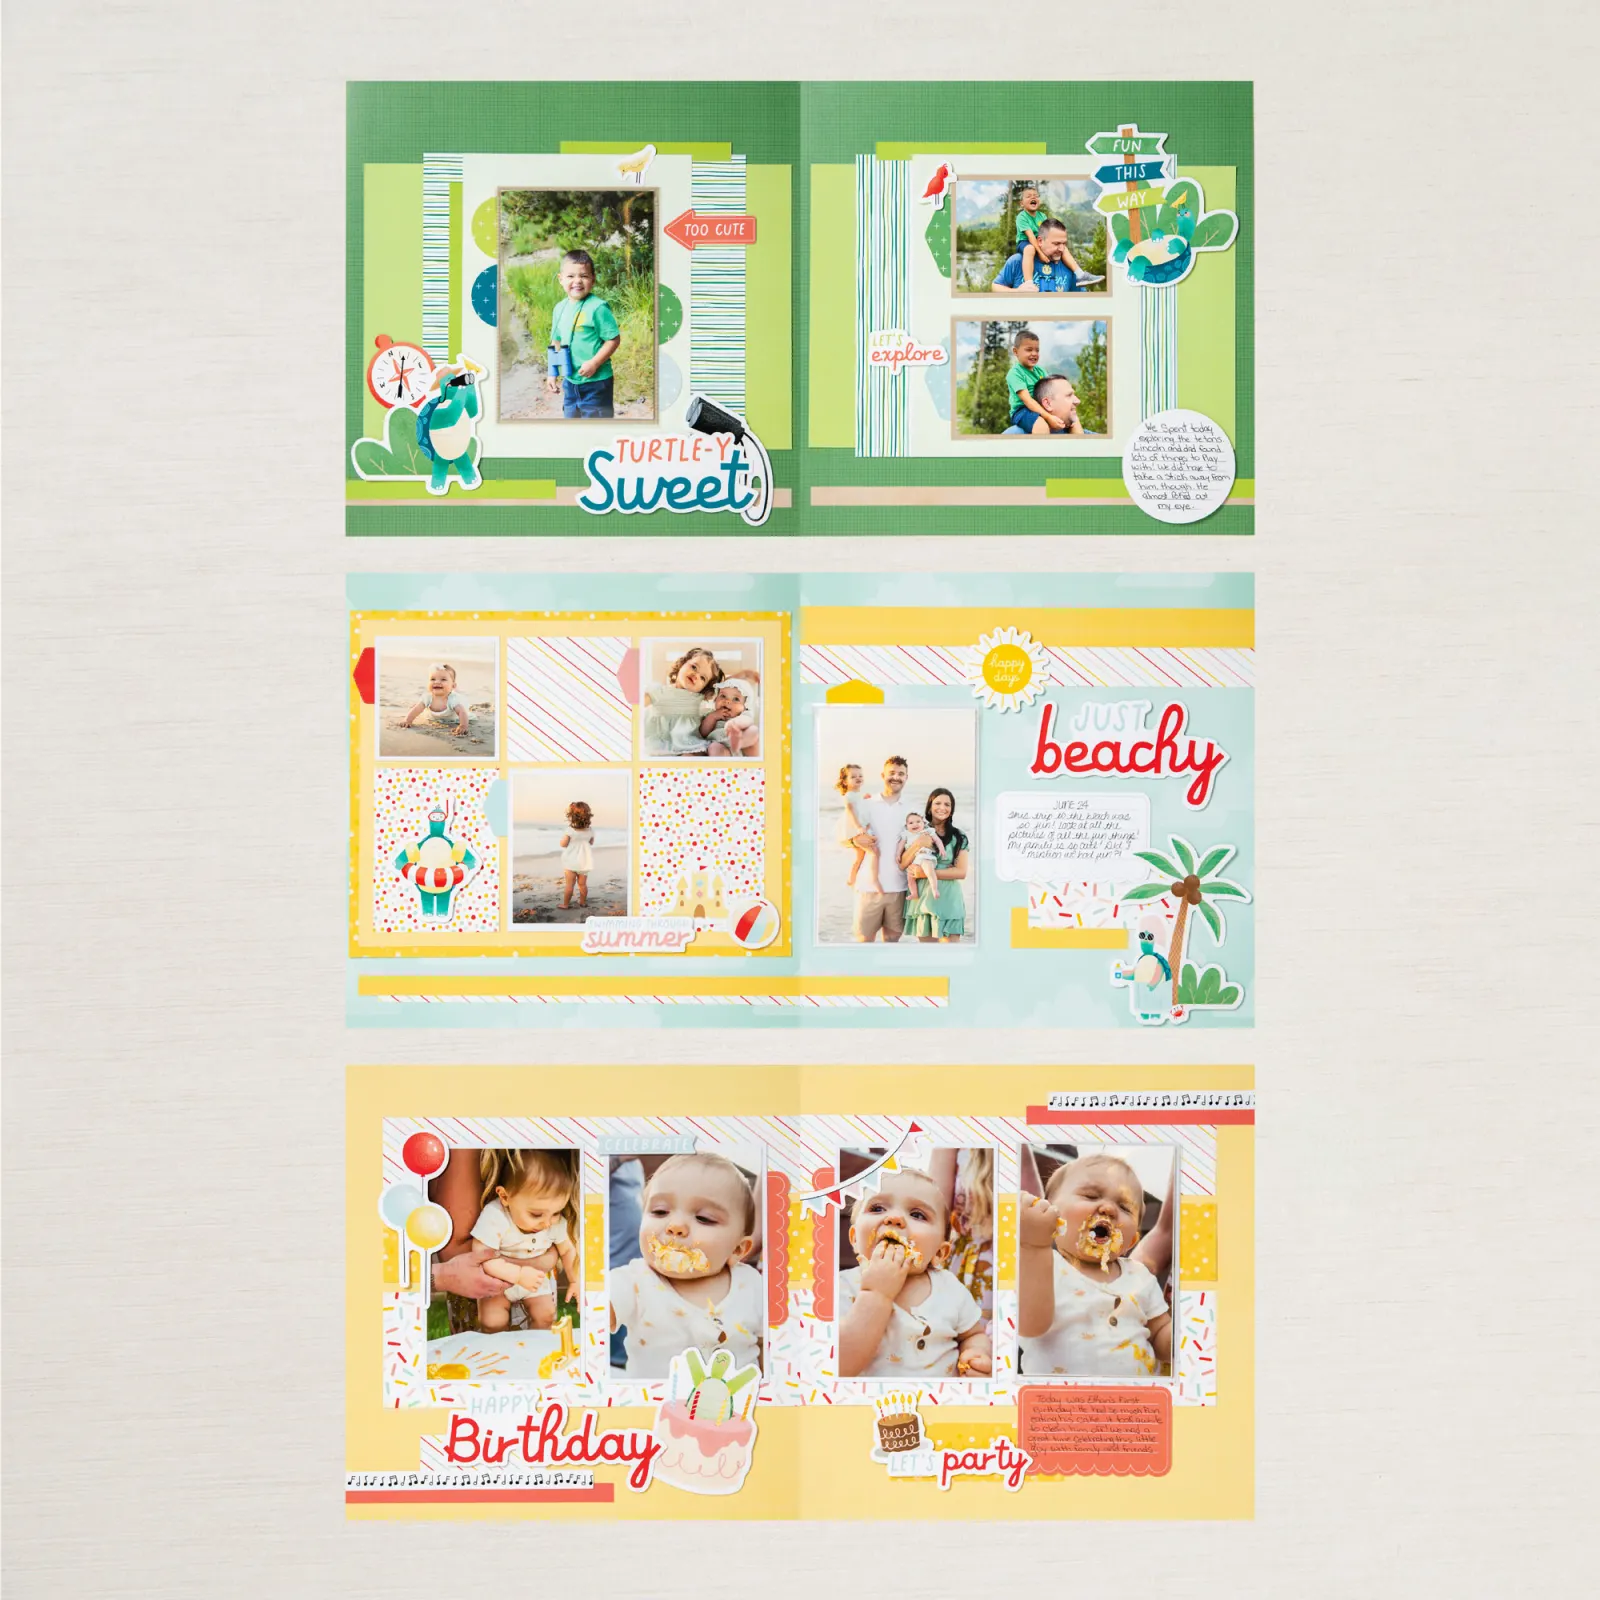
    And lastly is the Turtle-y-Sweet scrapbook kit – now just $13 instead of $34! See it here. There are many other scrapbook kits on clearance too.

    Kit includes one of each item listed below.
    – Step-by-step instructions
    – 10 sheets of Designer Series Paper
    – 8 sheets of Two-Tone Cardstock
    – 2 sheets of printed stickers and precut images
    – Photo placeholders

    Check out all of the deals on the Last Chance list here. Remember to add on a Product of the Month if your order reaches the $75 point. It’s just $5!

    Leave a Reply

    Your email address will not be published. Required fields are marked *

  • Quick All Aflutter card with the Extraordinary Washi tape


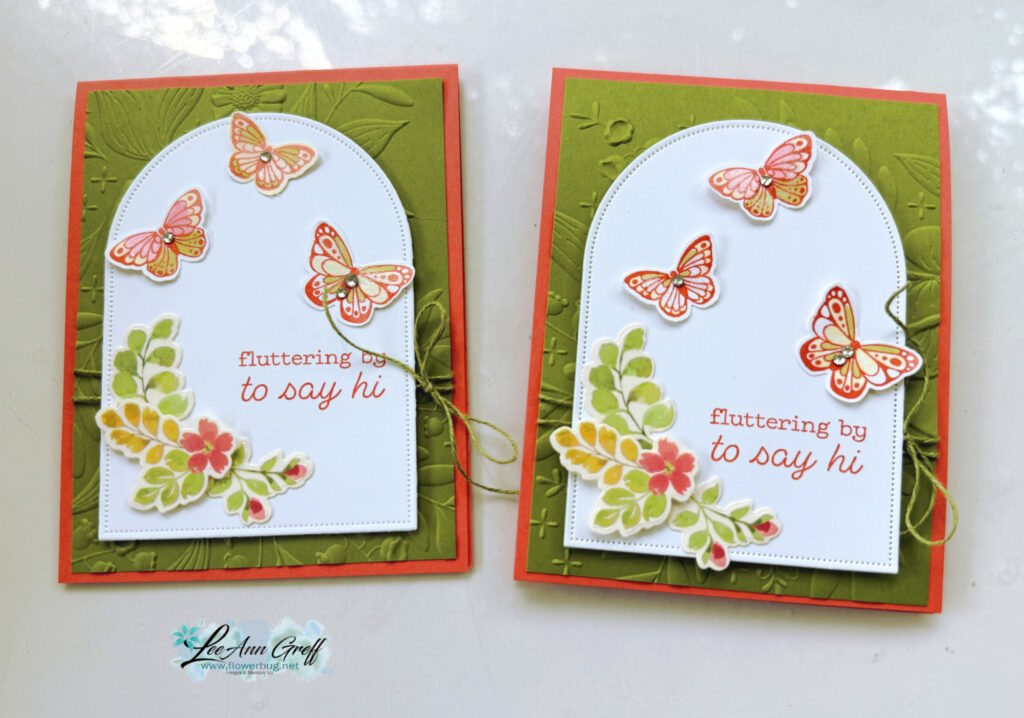
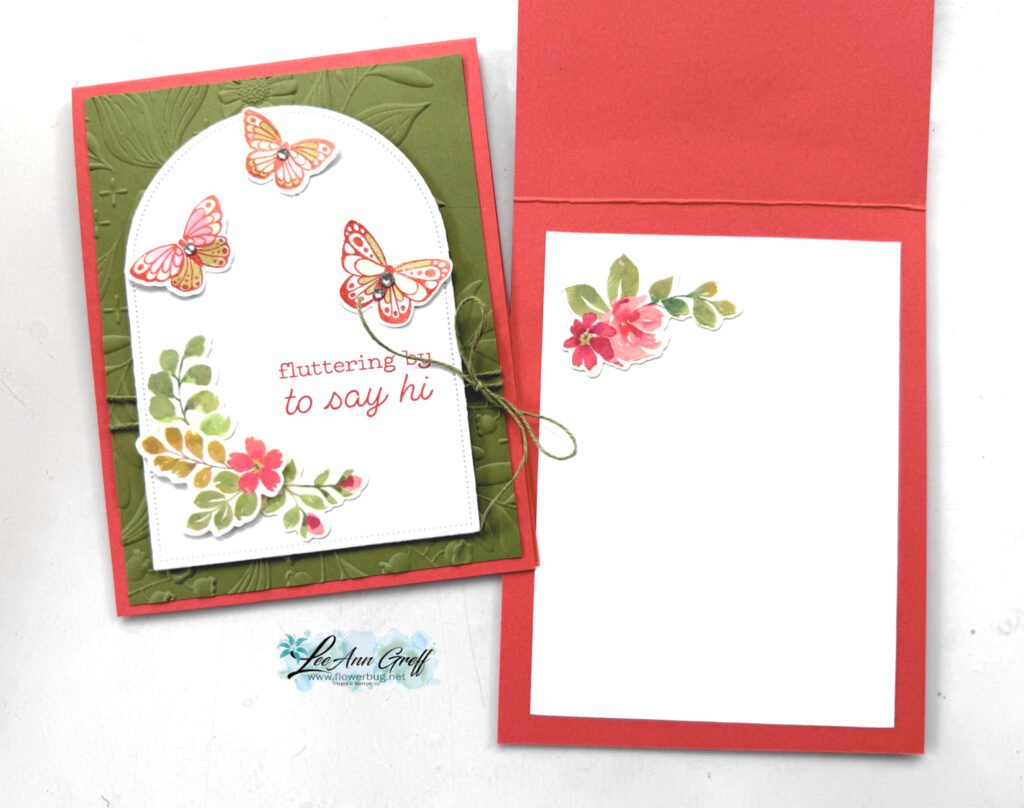
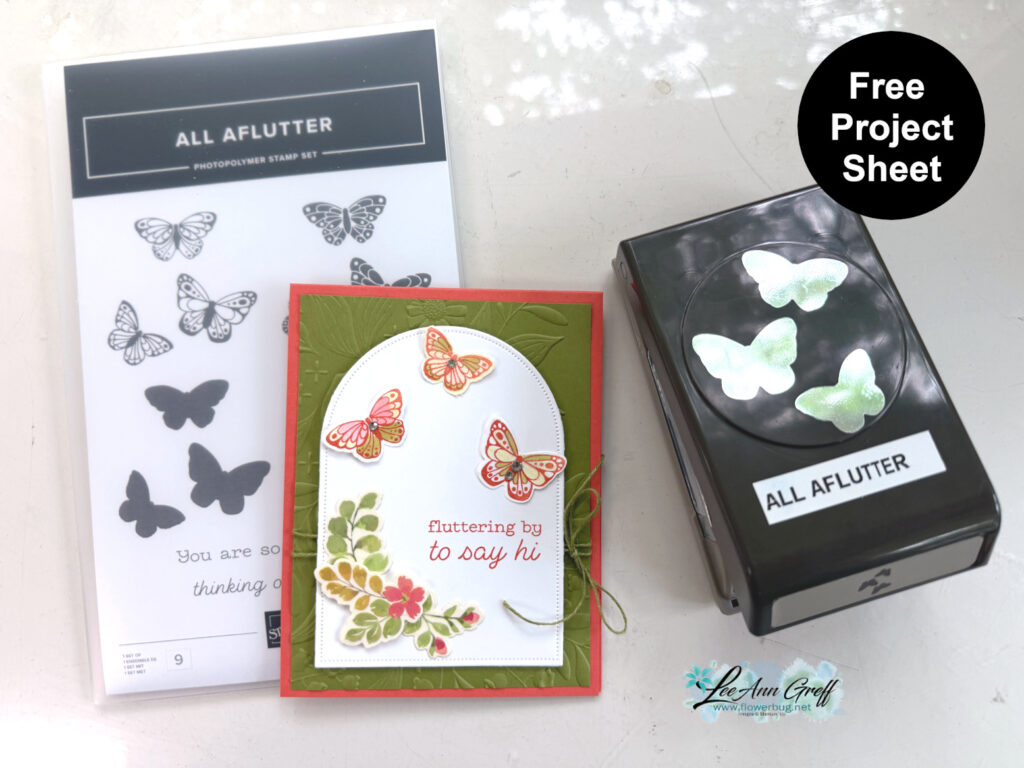
    Here’s a sweet card made with both the All Aflutter bundle and the Extraordinary Washi tape:

    My colors include Calypso Coral, Old Olive and White. The Arches dies used in White here give a wonderful focal point to highlight the butterflies, greeting and flowers from the Washi tape. Unfortunately they are out of stock currently; but see them here and put your email in to get notified when they’re back in stock.

    The background texture on the Old Olive layer is the Floral Spray 3D embossing folder. This folder is super popular and out of stock right now. Again, please add your email to be notified when it’s available.

    I love the Extraordinary Washi tape with coordinating die. You can cut out lots of colored flowers and leaves with ONE CUT! I save the extras to use them when I need just a little something extra. See the Washi tape here (you get 10 yards!) and the coordinating die-cut here. There’s also a bundle you can get here; it includes both the stamps and die-cut.

    It’s simple to use this washi tape! Start by adhering a strip of it to white card stock (vellum or window sheet also works). Then use the die-cut to cut all of the pieces out.

    I created a free project sheet for this card. Click here to download it or print it out.

    See the All Aflutter bundle here.

    There’s also a video tutorial for this card and another sweet All Aflutter fun fold card. See it below.

    Leave a Reply

    Your email address will not be published. Required fields are marked *


Notice: LeeAnn Greff, Independent Stampin’ Up! Demonstrator, Manager. The content of this website is my sole responsibility as an independent Stampin’ Up! demonstrator and the use of, and content of, the classes, services, or products offered on this website is not endorsed by Stampin’ Up! Copyright 2025