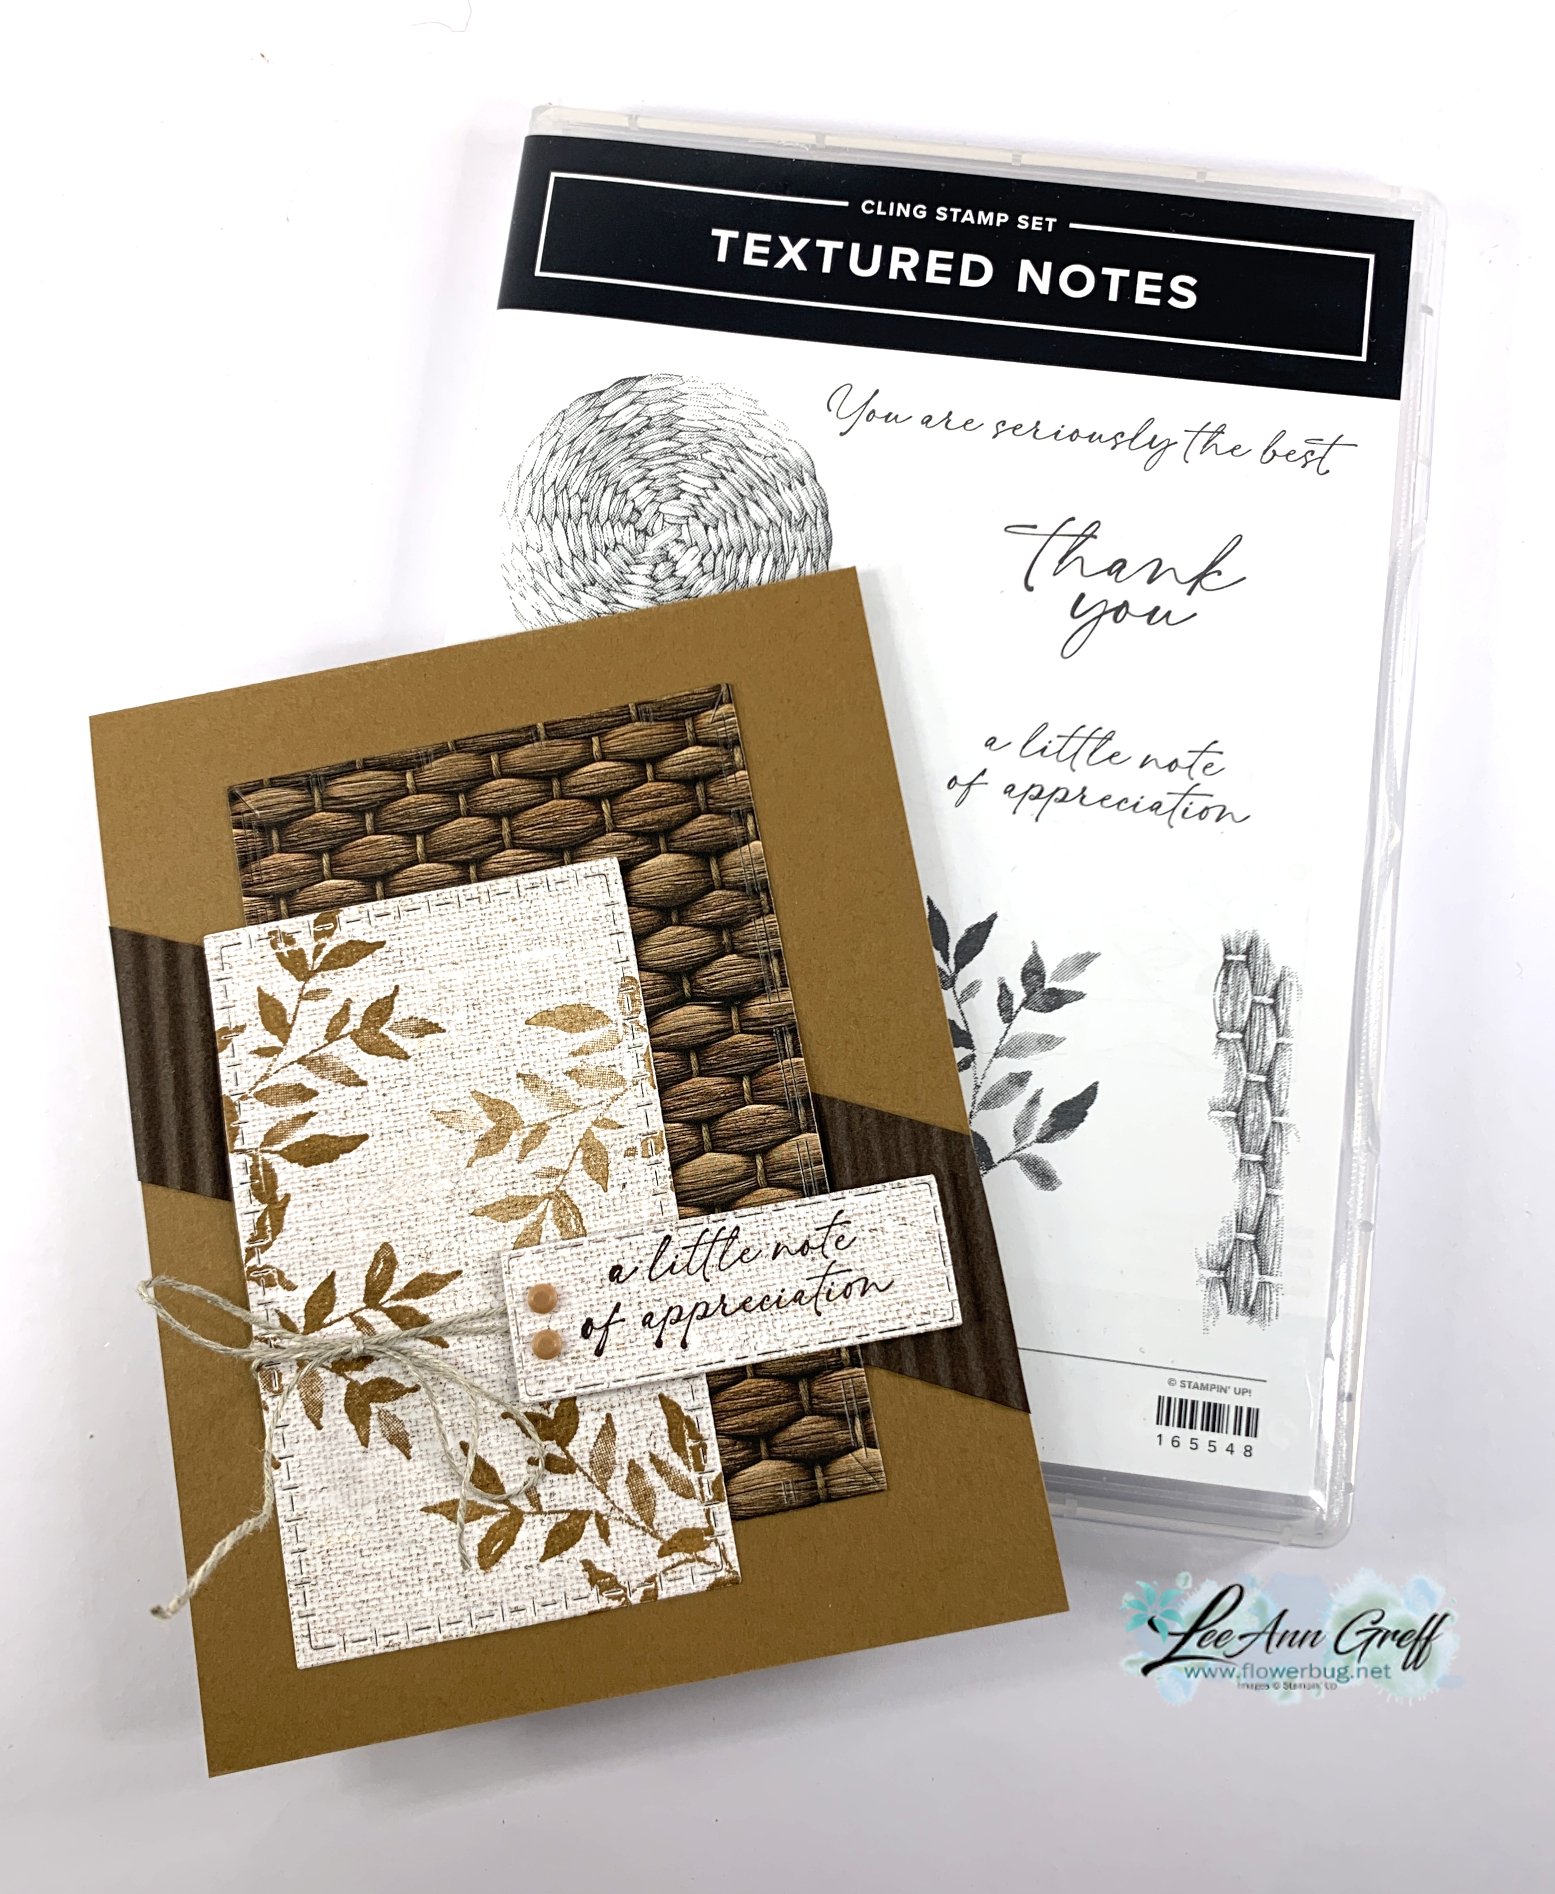
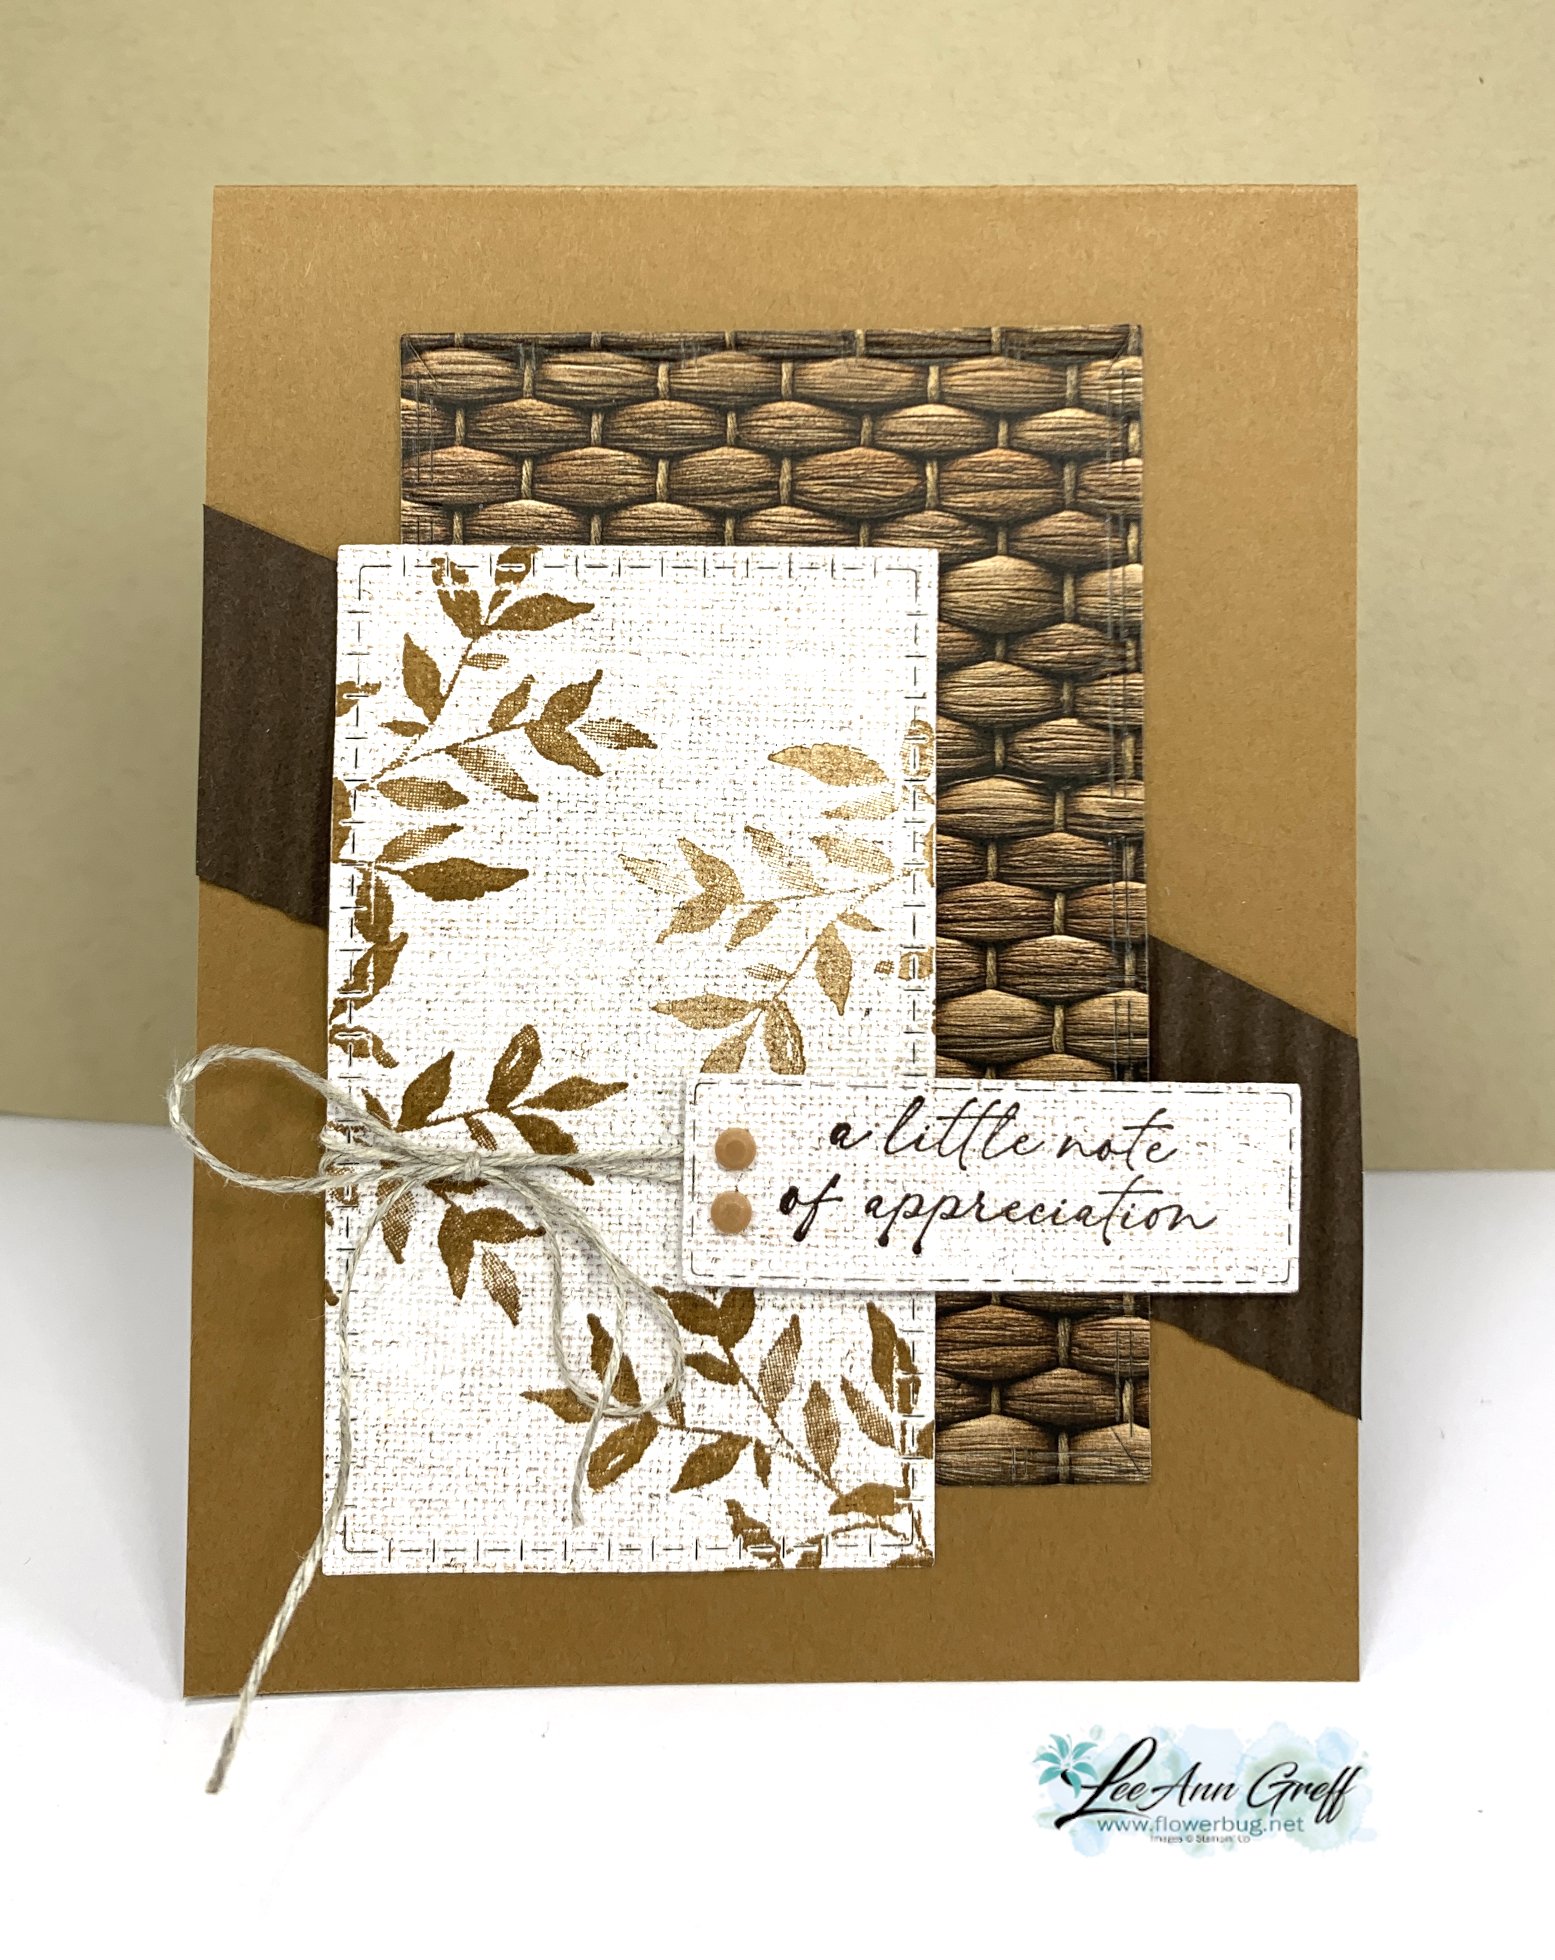
This lovely card features Pecan Pie with Early Espresso. I stamped directly onto the designer paper – a soft linen sheet included in the Woven Textures DSP seen here.
I die-cut the three rectangles with the new Textured Notes dies which is included in the Textured Notes bundle seen here. I cannot stop using this bundle!!
Did you catch the texture on the diagonal Early Espresso strip? That's the new Mini Corrugated 3D embossing folder seen here. I tell you this suite is incredible! I love every single thing in it!
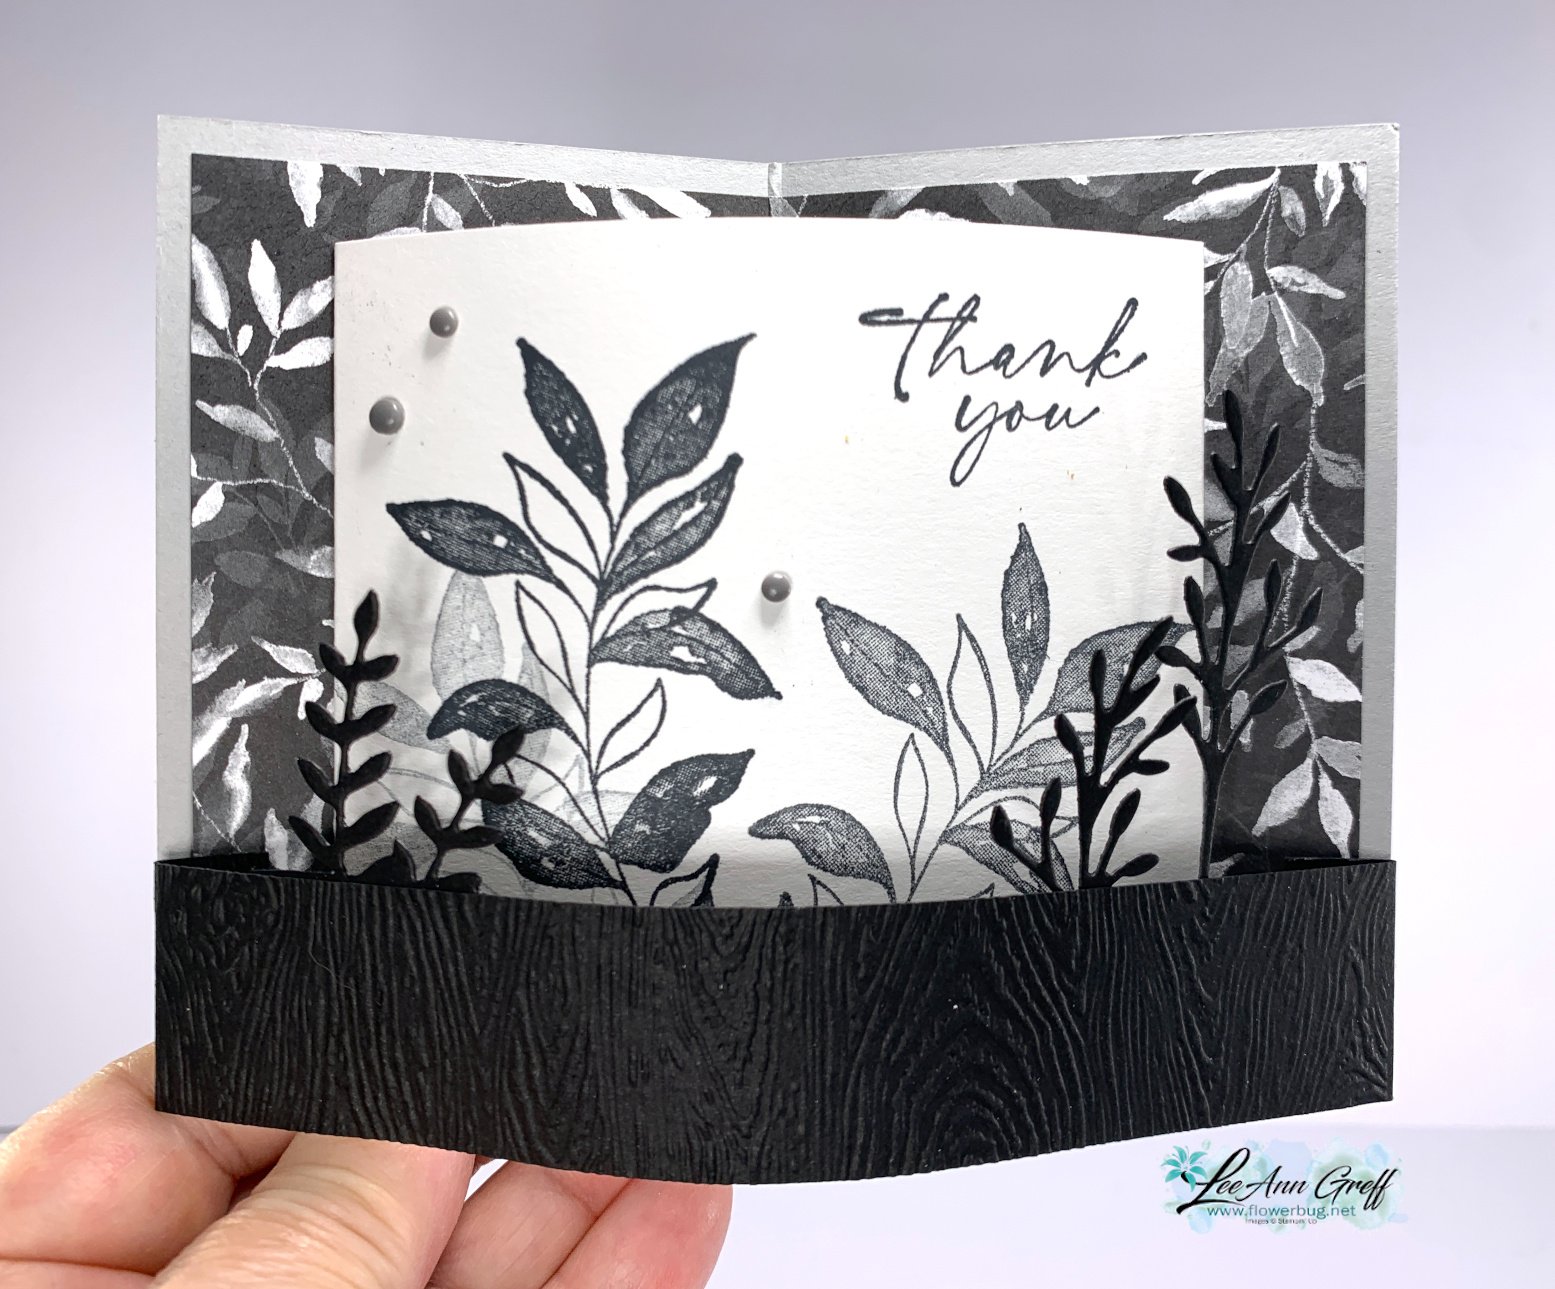
Below is the inside view. Like I said yesterday these leaf stamps are wonderful to play with. Easy, beautiful cards.
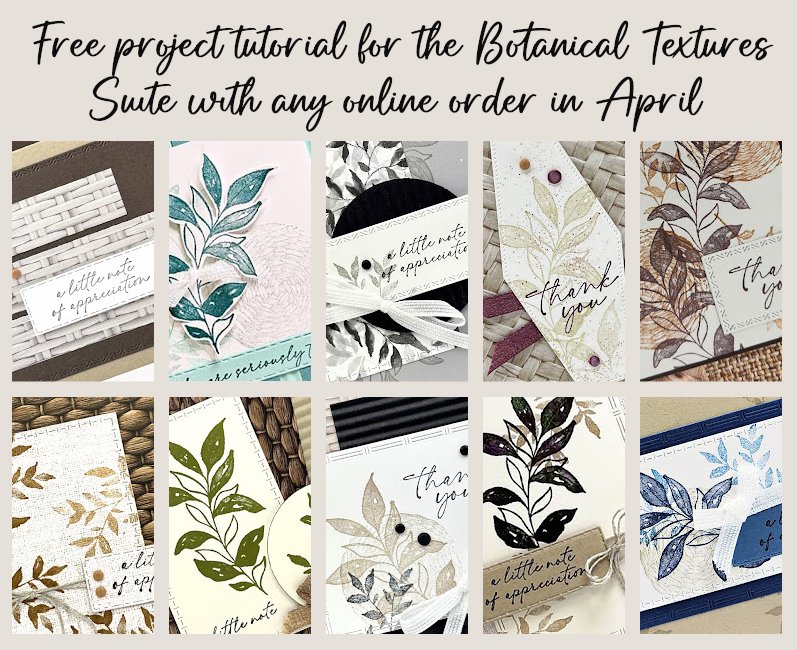
Here is the free project sheet for you. Click on the following link to print or download the directions: Download Woven Textures suite card
Check out the retiring and discounted items on the Last Chance List!
The new & updated Last Chance list is out! Do not wait to check out the tons of new items on it! There are discounted retiring and discontinued items you need to check out. These items can go super fast! Go here to see it all.
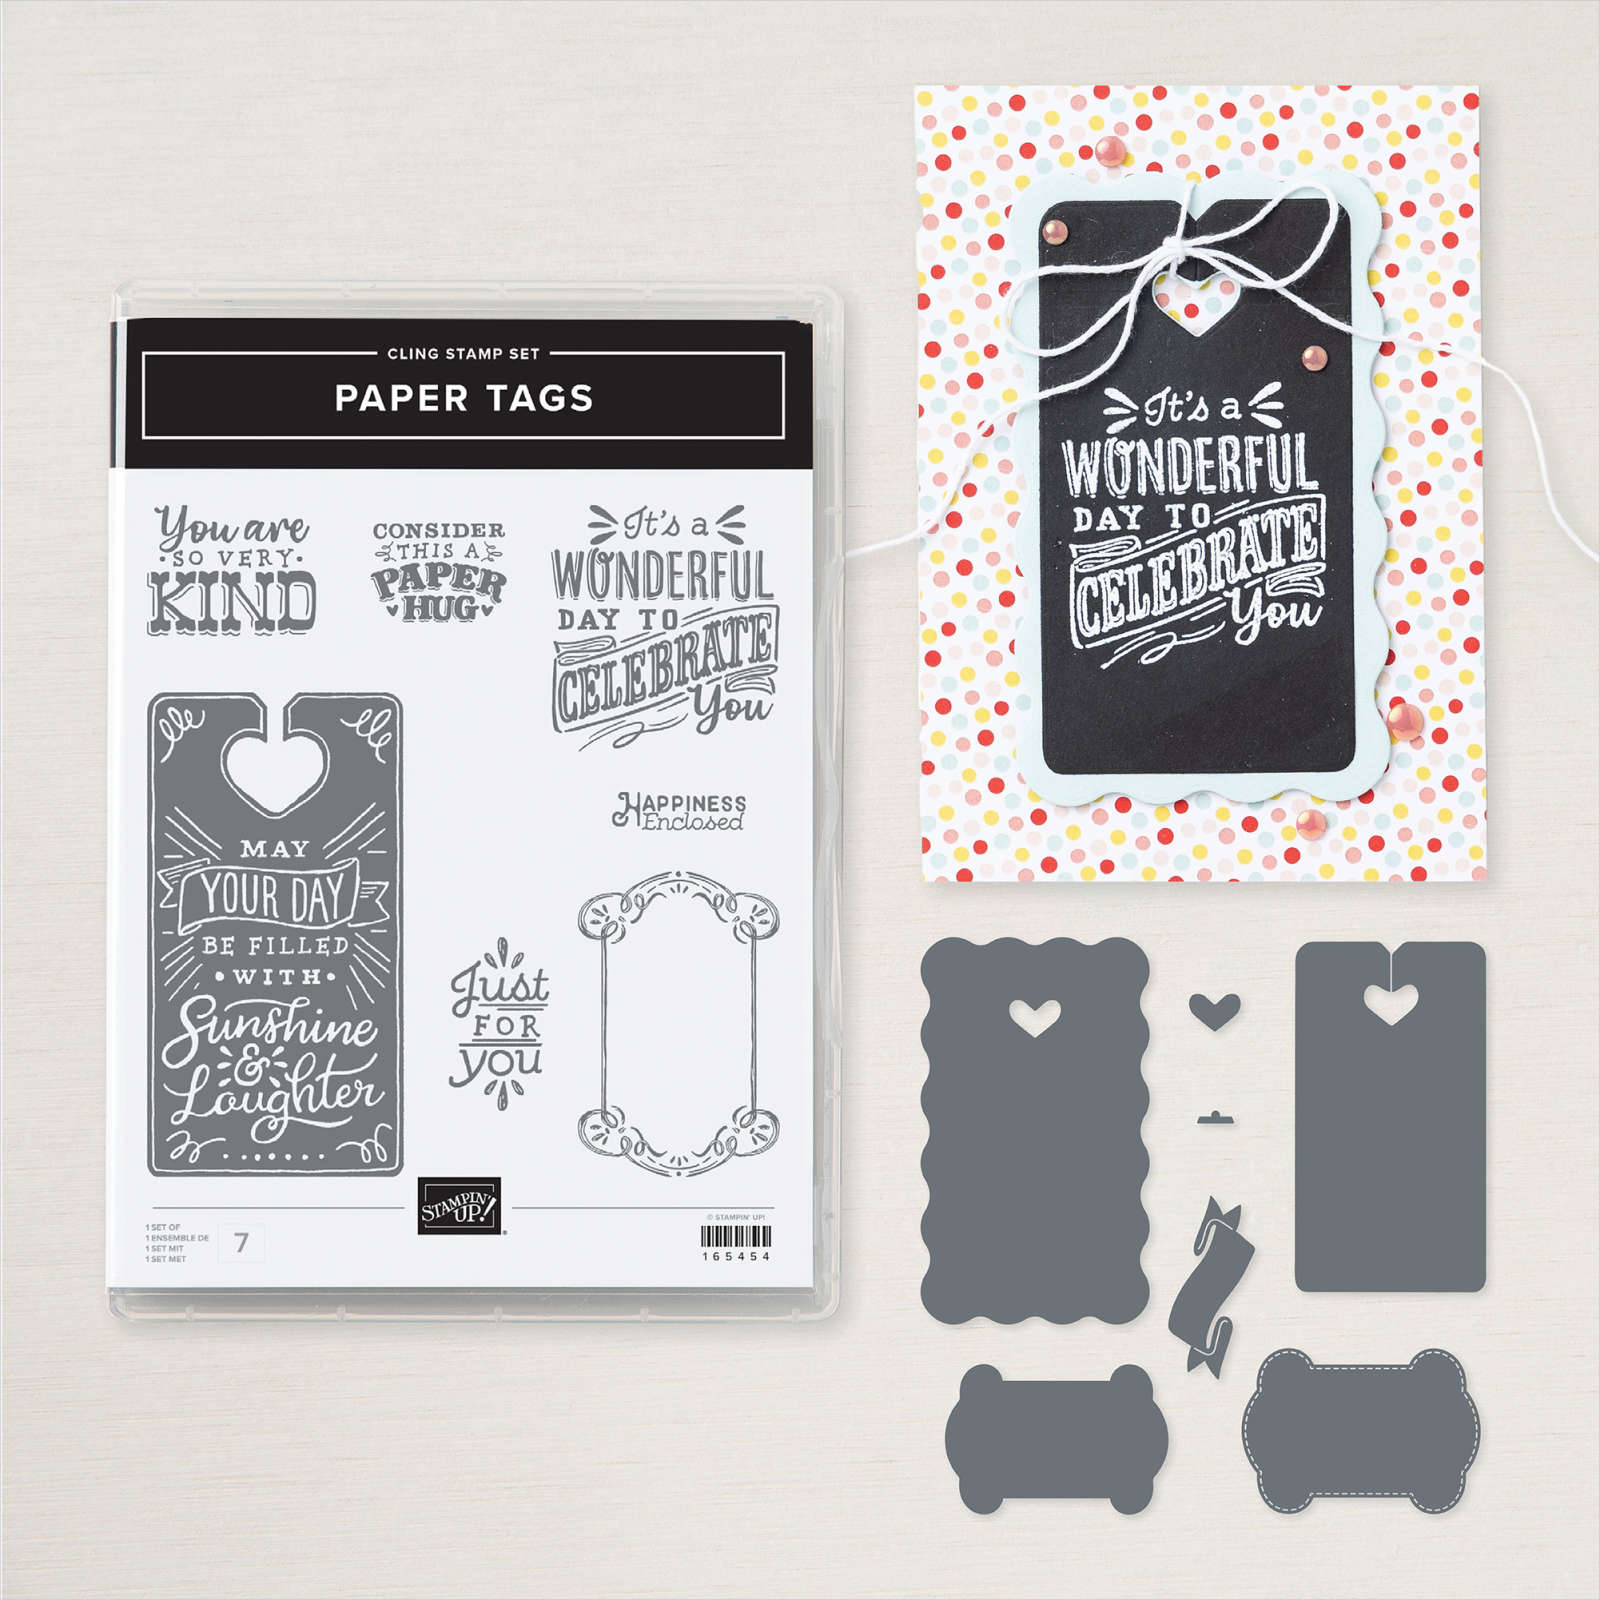
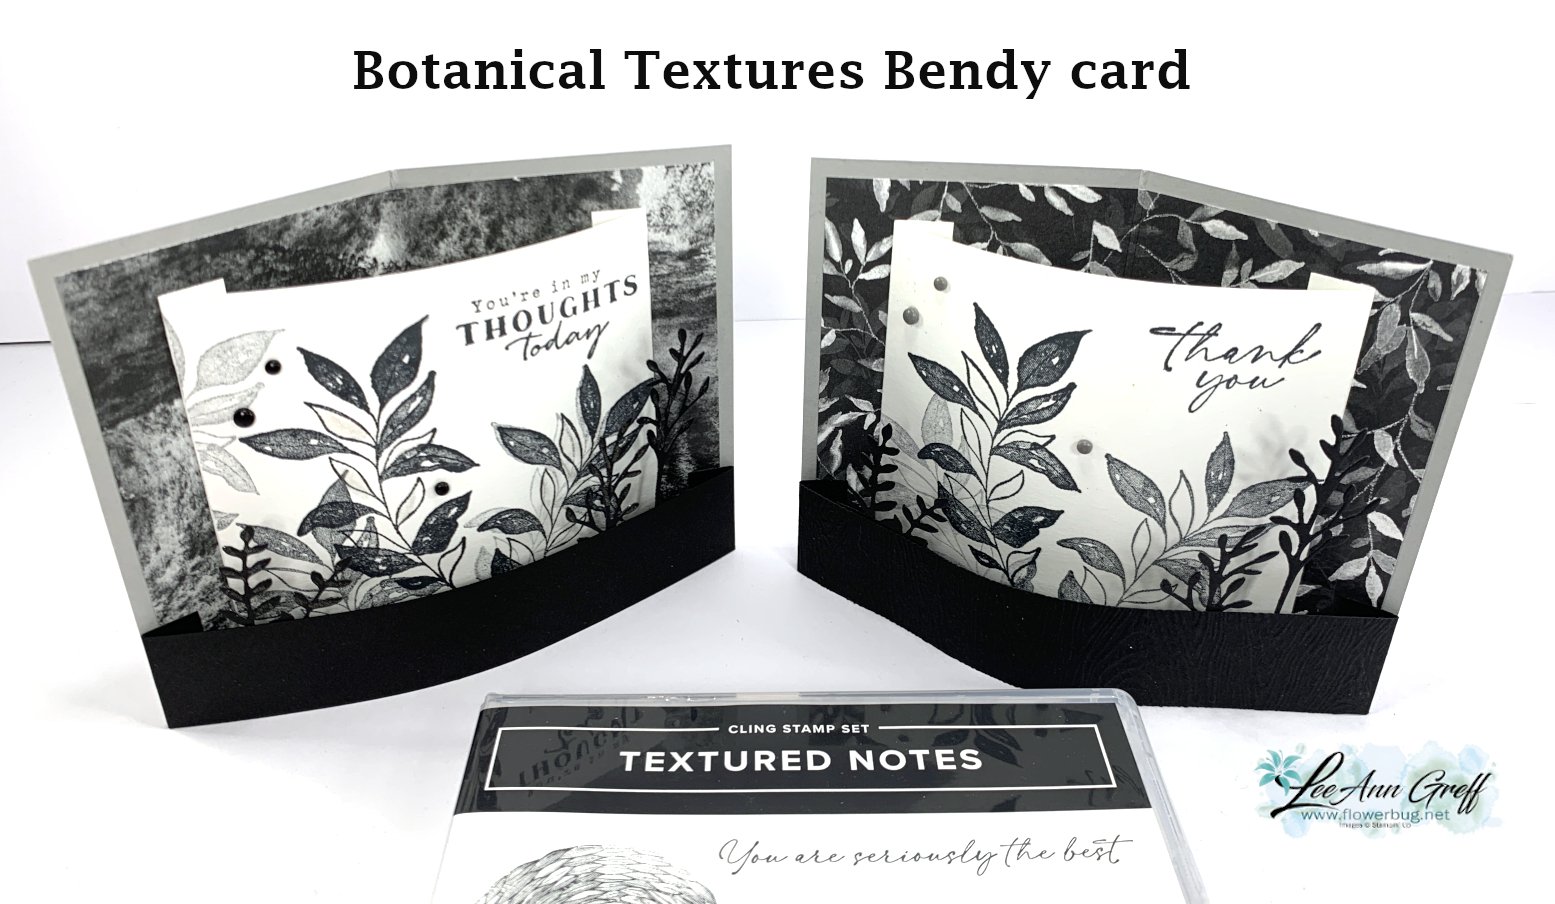
This stamp set is in a bundle with the wonderful Textured Notes dies. See the bundle here.
This Bendy card is super simple to make. The back is scored in the center plus the center white and the lower black have scored tabs on the side that allows the entire card to bend. Be sure to check out the video & free project sheet below.
Notice: LeeAnn Greff, Independent Stampin’ Up! Demonstrator, Manager. The content of this website is my sole responsibility as an independent Stampin’ Up! demonstrator and the use of, and content of, the classes, services, or products offered on this website is not endorsed by Stampin’ Up! Copyright 2025


![Botanical Textures.1]](https://flowerbug.biz/wp-content/uploads/2025/07/6a00e551e5147e883402e860fd276f200d-500wi.jpg "Botanical Textures.1]")


Leave a Reply