/


Latest Post

Cut once for two card fronts with the Border Basics dies; video tips & tutorial too


I shared one of the cards I made in last week's video and here's another one. Both feature the same three products: Masterfully Made designer paper, Wanted to Say dies and the Border Basics dies.  
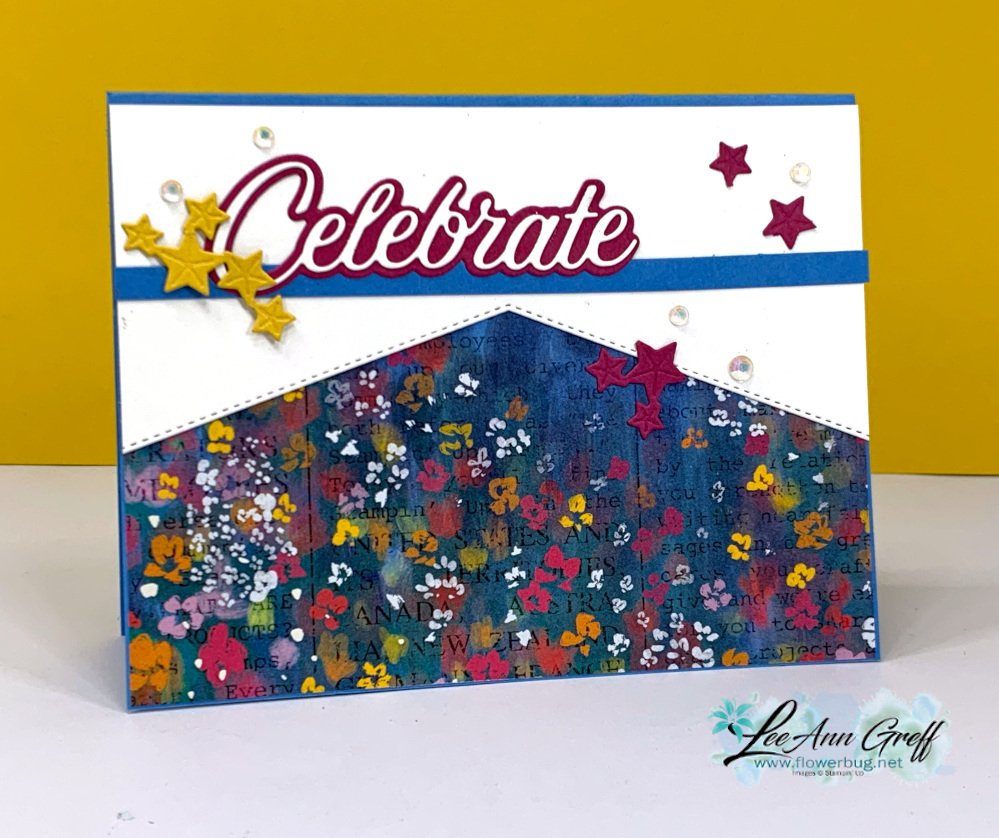
I used the White die-cut leftover from the card I shared yesterday on this card; basically getting two cards from one die-cut!

The Border Basics dies are wonderful and so versatile since they die-cut the stitched edge on both sides.  Below is a photo of the inside of the card: 
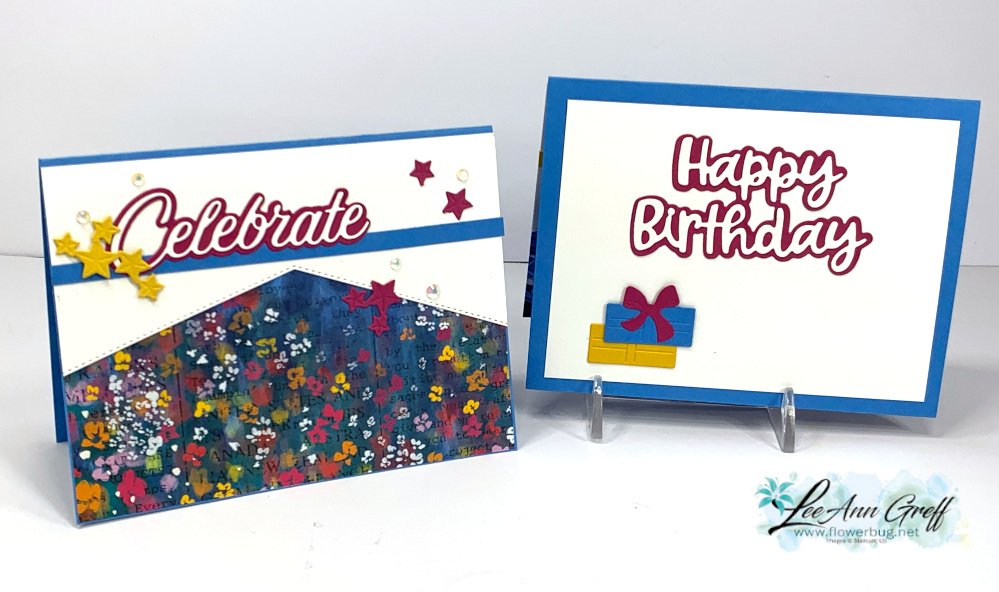
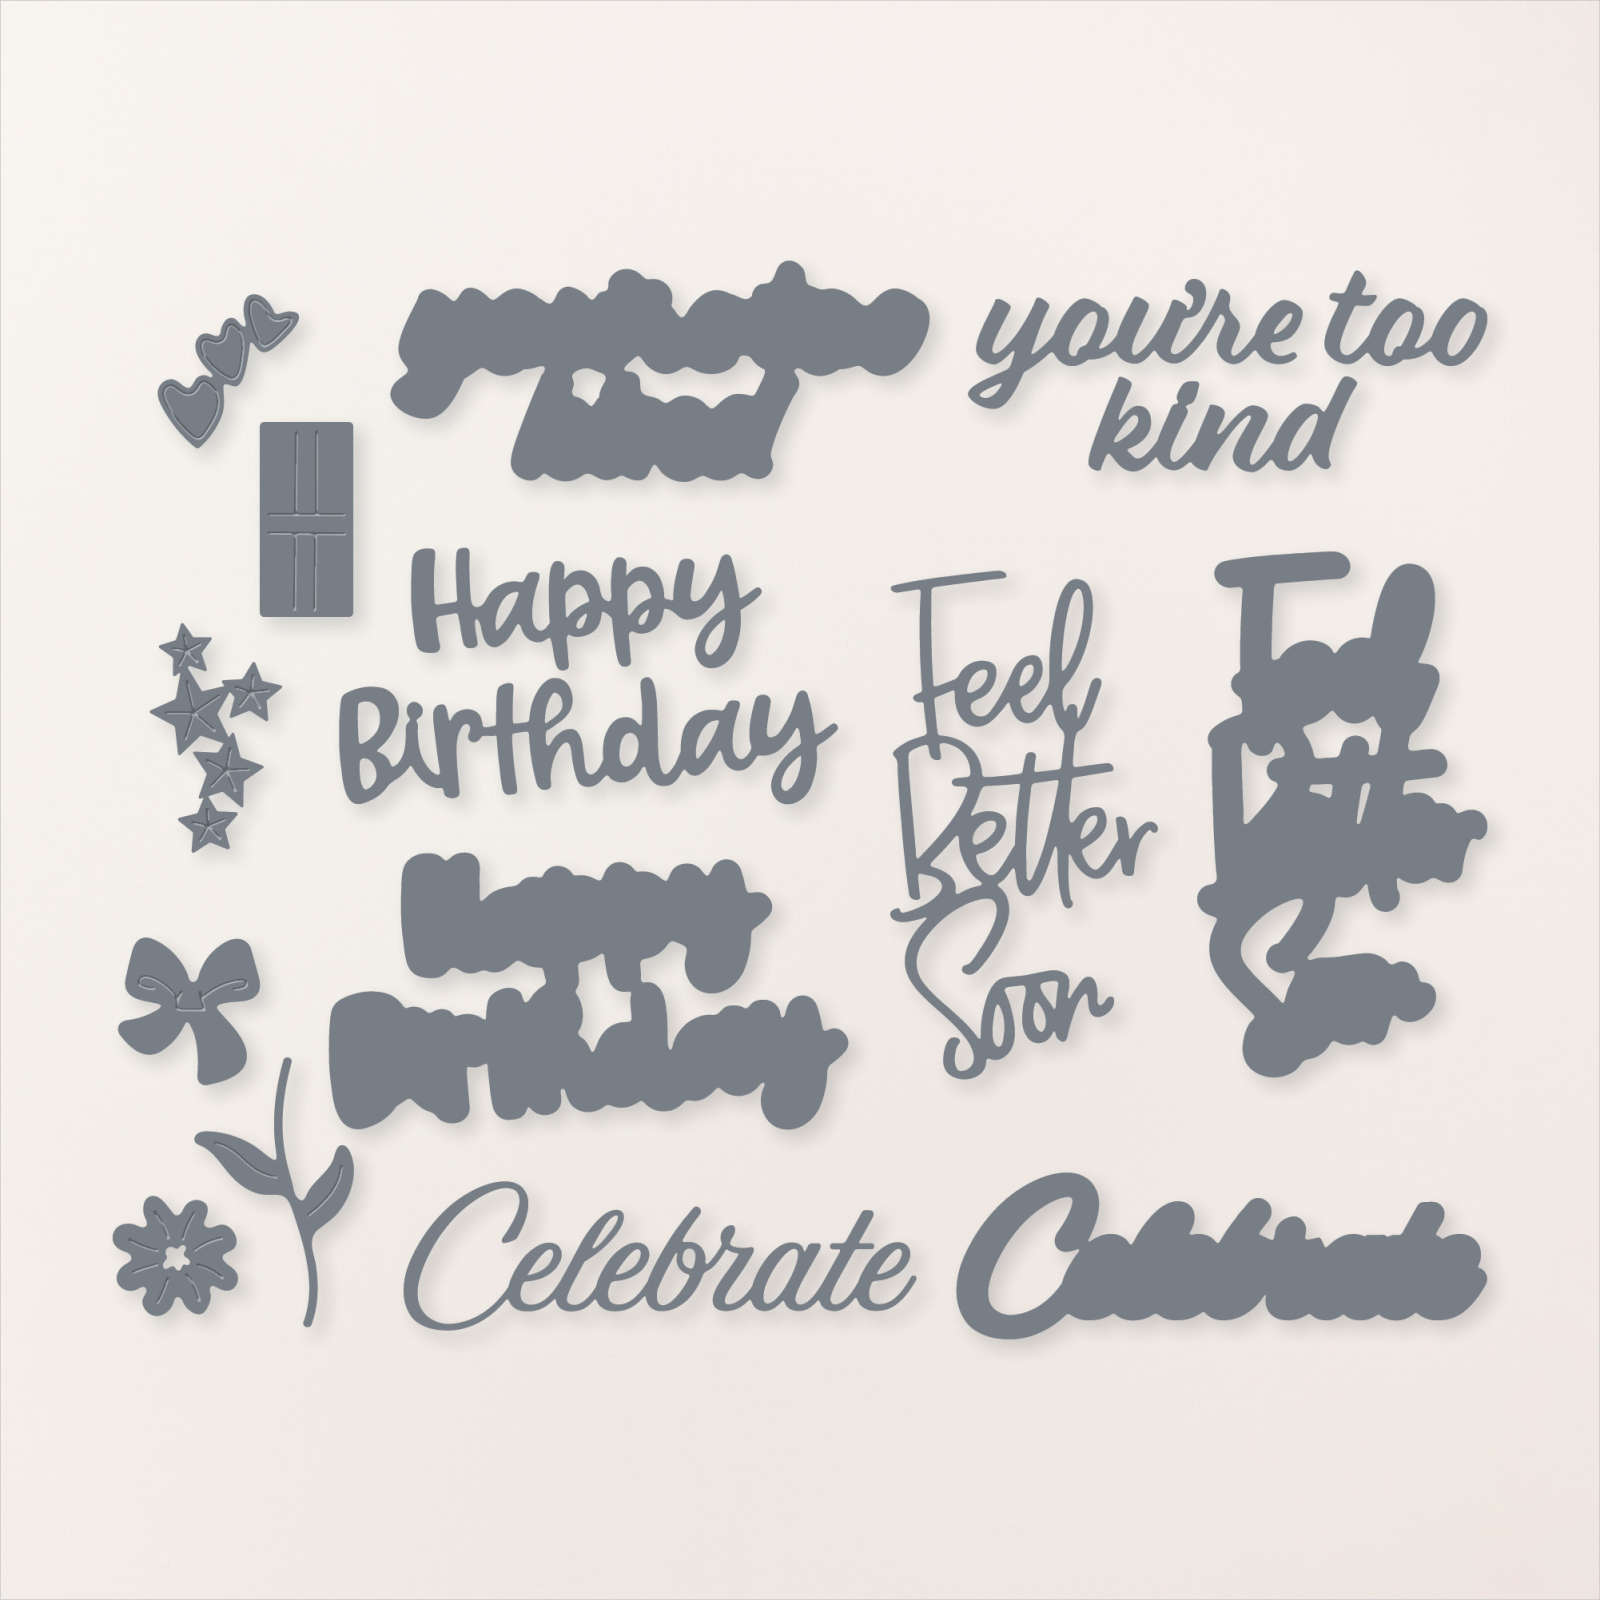
The Celebrate, Happy Birthday, stars and present die-cuts are all from the Wanted to Say dies seen here: 
Here are both cards I shared; each with a different piece of the Masterfully Made CS.  As you can see I added a thin line of card stock to rest the 'Celebrate' die-cut on. I love the effect!

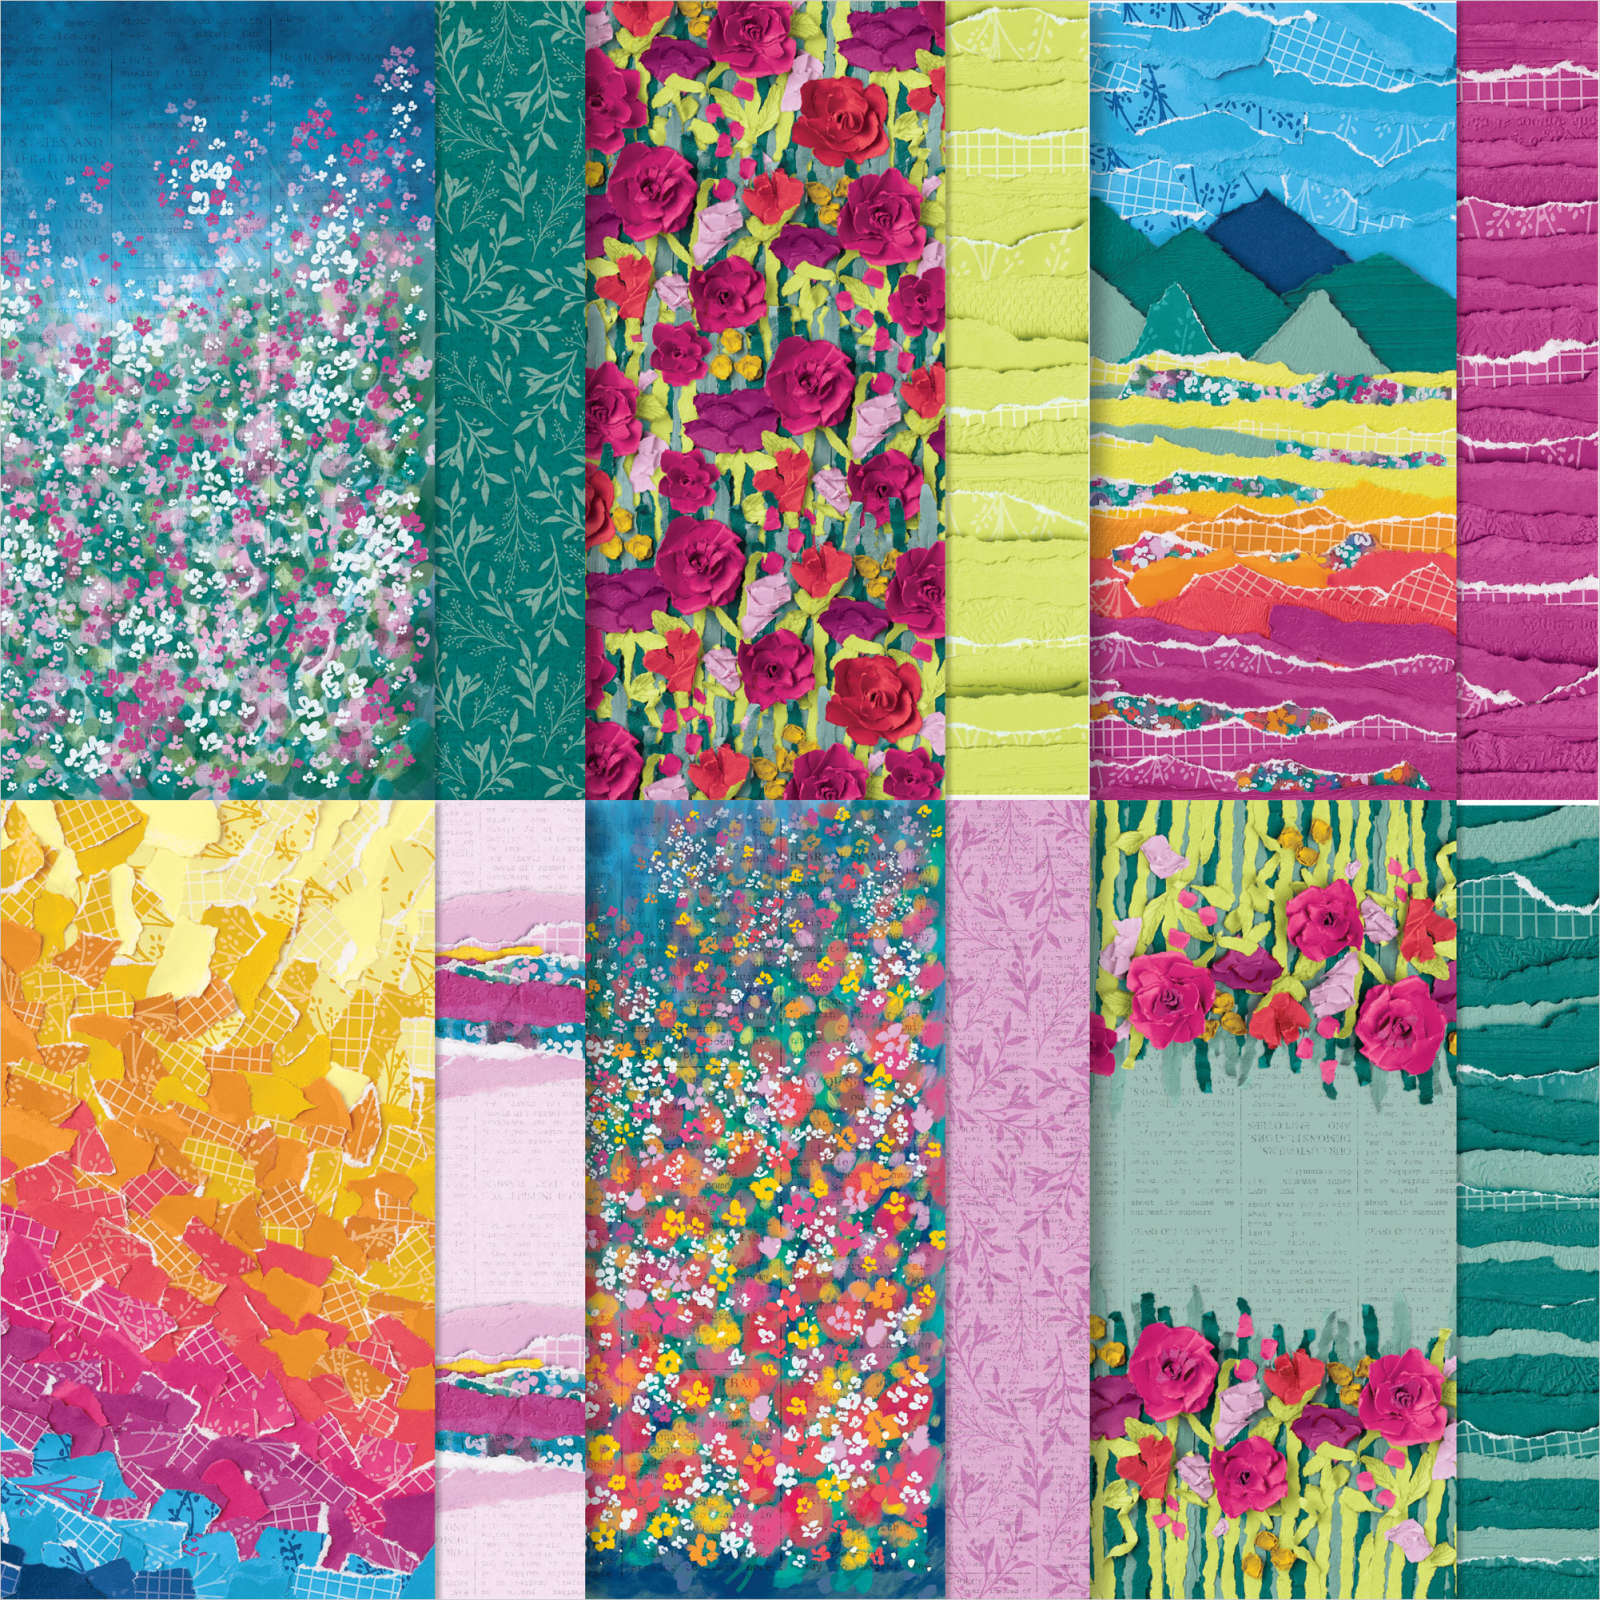
You can see this beautiful designer paper here.  It's discounted in June; down to $10.62.
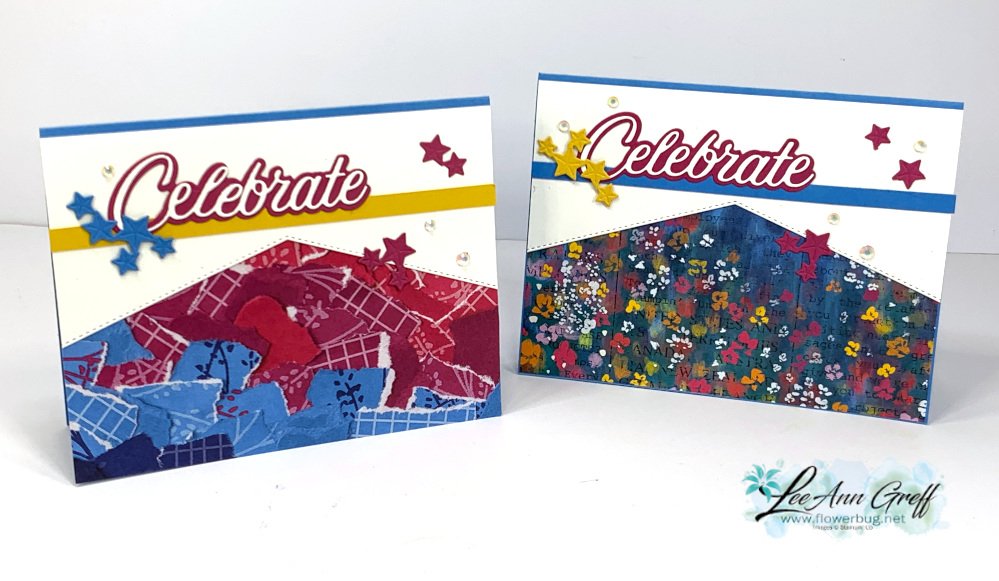
The photo below shows both cards; one cut for two card front! 

I cut the right side of the card front off (on the left card) and used that piece on the card on the right. Essentially I cut the card front in half and added it to the card on the right, adding DSP underneath to show off the angles.  One cut; two cards!  

You can see how I made this card on the video here.  Or click on the photo below to watch. Remember to follow me on Facebook here or on my YouTube channel here. 

~~~

June Specials:

Designer Paper is 15% off in June!
WOW – get $155 in product for $99 with free shipping! click here!

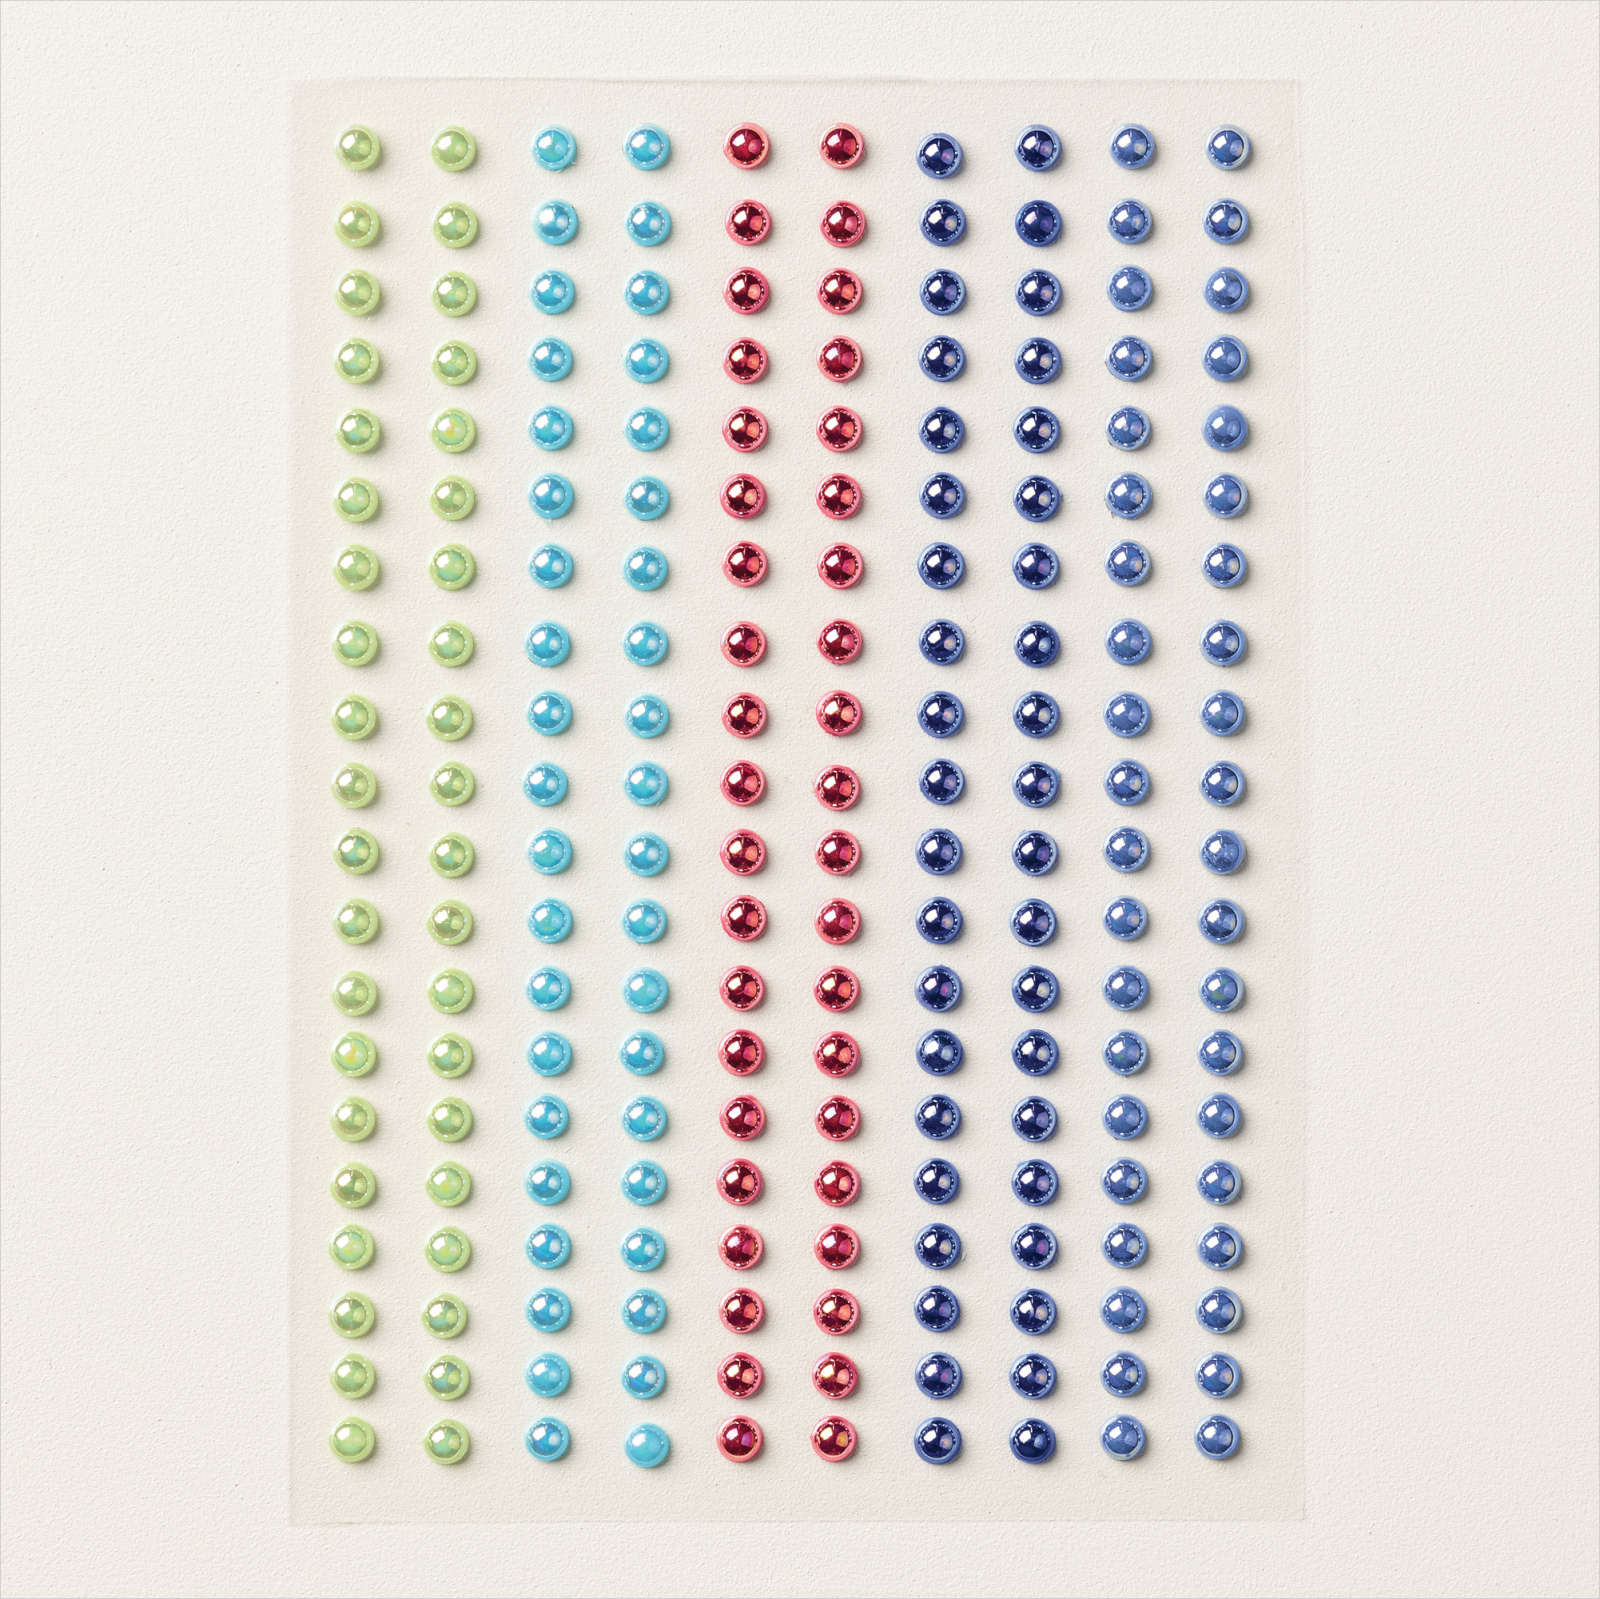
Get a package of In Color pearls with online orders over $55 using a host code.

*current host code: M7SCQSVS 
 Earn free products with my loyalty rewards! 

Click here to download yours and earn a $50 shopping spree!
All Posts

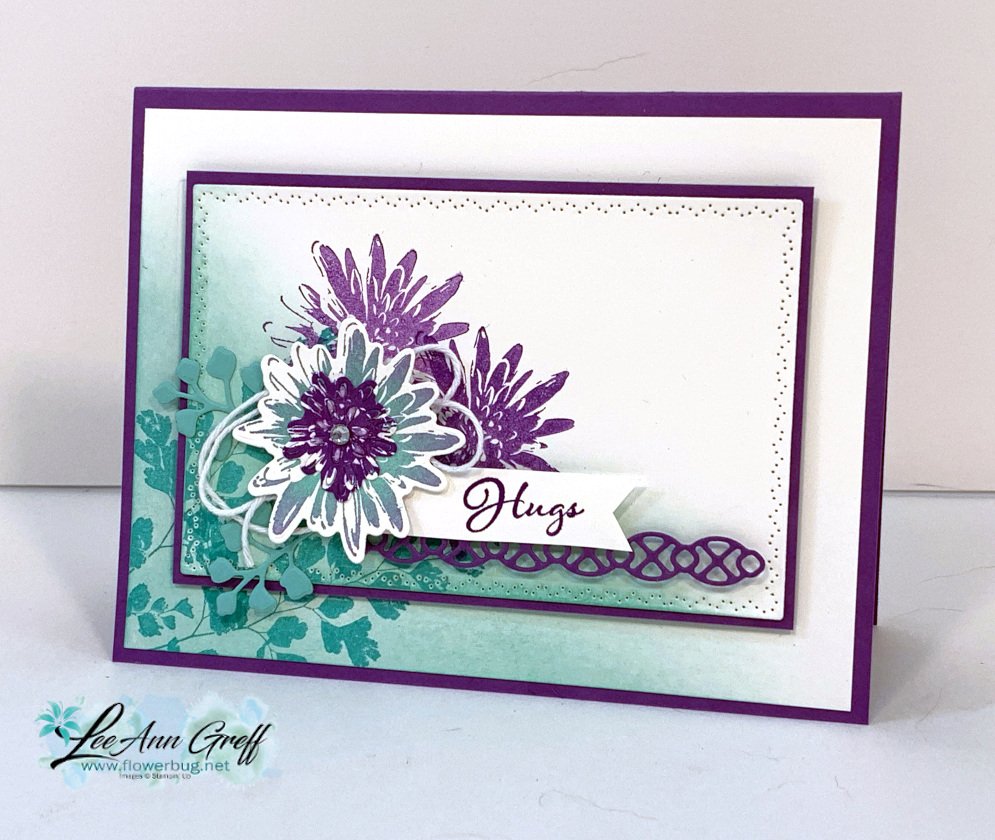
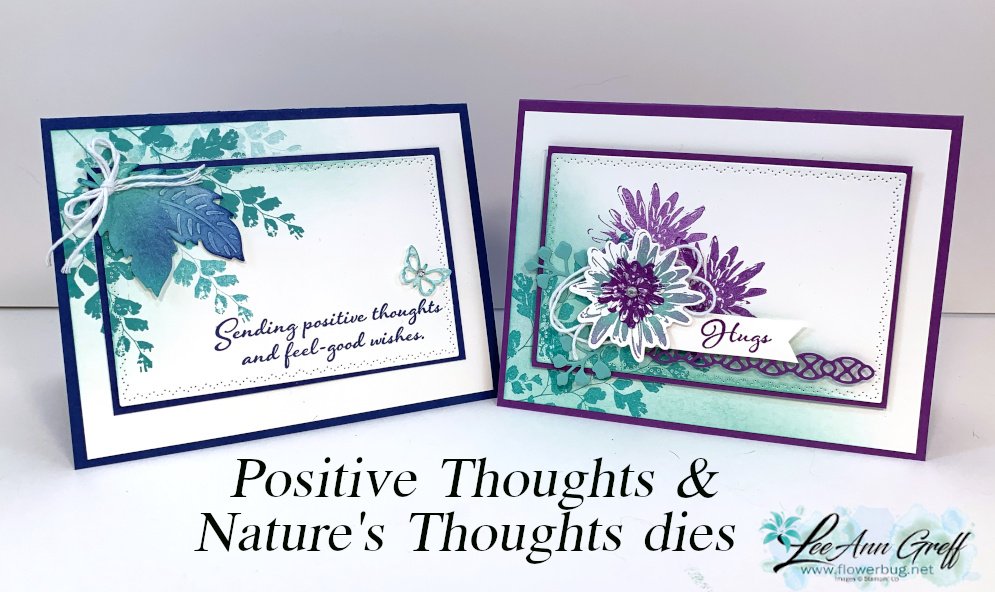
  • Positive Thoughts with Nature’s Thoughts dies; stamp once but get two layers!


    These pretty cards were made on one of my recent Facebook Live videos. See it here:

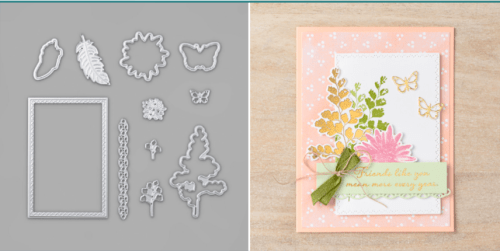
    The Positive Thoughts stamp set is easily a big favorite from the January – June Mini catalog. And now we have dies that coordinate with it called Nature's Thoughts; see them here. 

    I stamped both white layers at the same time; I believe this technique is called double (or triple) time stamping.  After stamping I sponged the edges and used the stitched rectangle die from the Nature's Thoughts set to cut out the top layer.  Next add it to the next layer before adding to your card.  Easy! 

    The colors here are Bermuda Bay and Gorgeous Grape.  See the detail on the dies here?  Gorgeous! 

    These colors are Blueberry Bushel with Bermuda Bay.  I also sponged the die-cut feathers and sponged those too.  That little butterfly is also from the Nature's Thoughts dies.  

    These dies are part of the Coordination Product Release available now; while supplies last.  Here's a link to the Positive Thoughts stamp set. 

    ~~~

    Four February Specials just for you besides Sale-a-Braton

    and the Product Coordination Release! 

        1. Earn a ticket in the drawing for each $25 you order online in February for a free Little Ladybug stamp set!

    Order online here

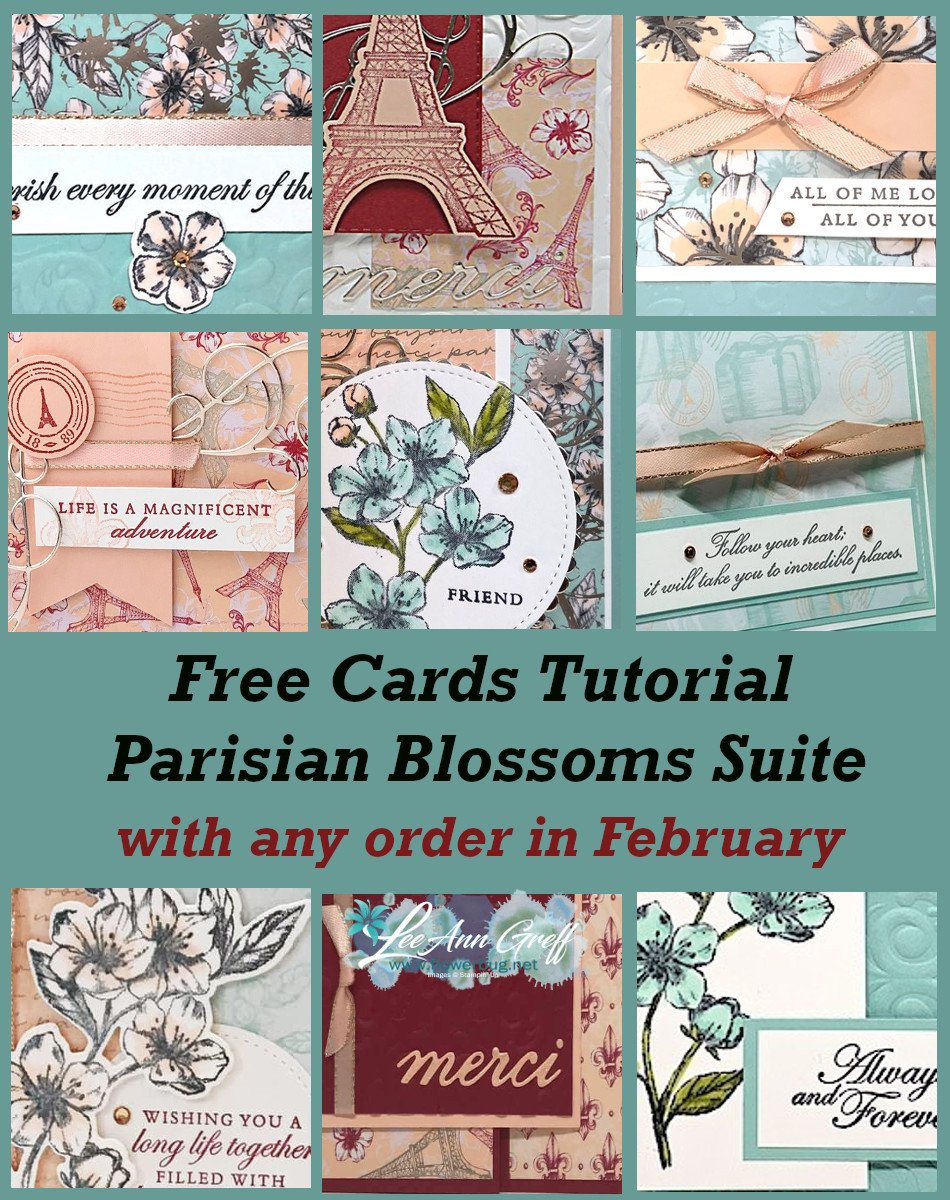
    2. All online orders will receive a free pdf cards tutorial in an email.

    3. And if your order is over $55 you'll get a free package of Champagne Rhinestones too!

    February Host Code is 4CQKPWRV

    Order online here

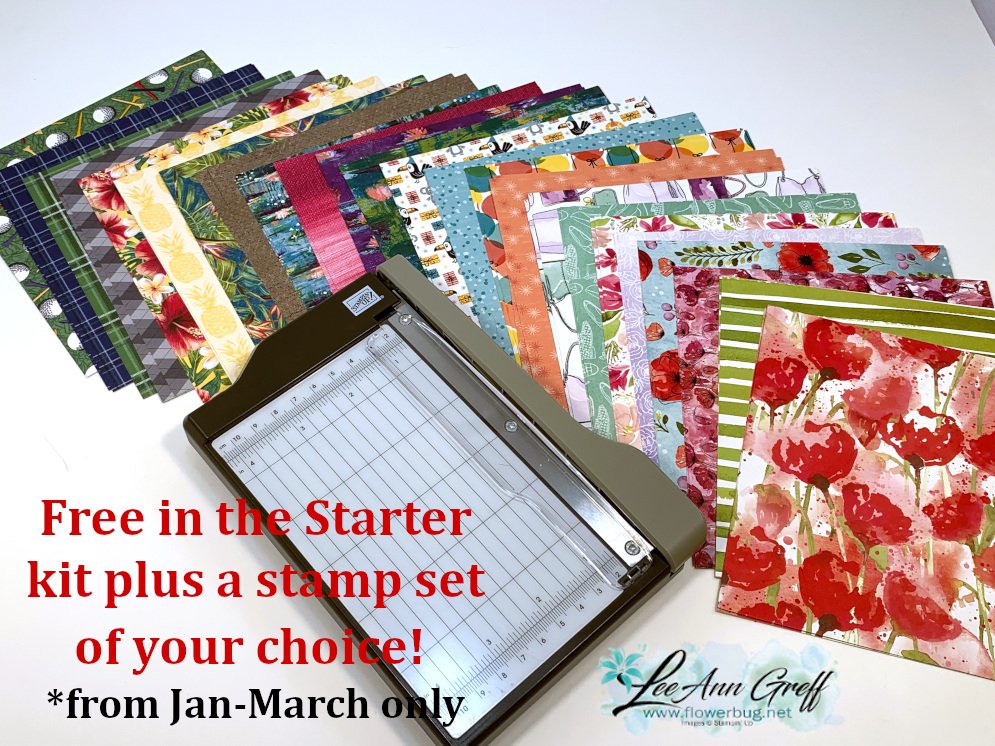
    4. Choose any FREE stamp set when you purchase the Starter kit during Sale-a-Bration; of any value! Plus you'll get a free paper trimmer and a 6 X 6 sampler of new Designer Paper!  It's just $99 plus tax; shipping is free!  Click here to join my awesome Flowerbug's Team! 


    Leave a Reply

    Your email address will not be published. Required fields are marked *

  • Sending Flowers Die creates a beautiful circle of flowers!


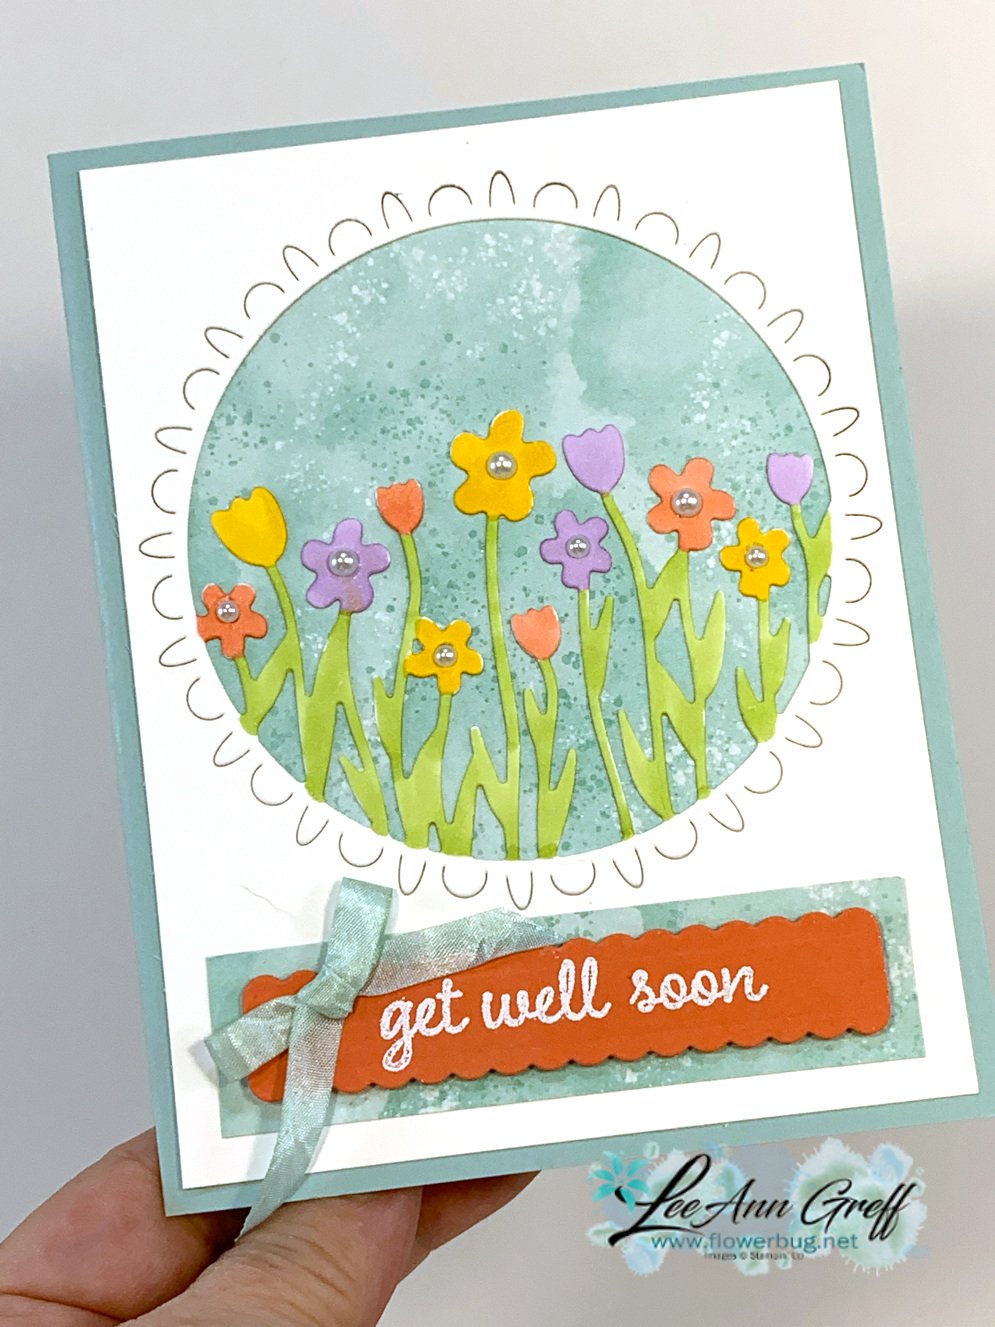
    We made this pretty card at my Flowerbug's Team meeting last month. It features the new Sending You Flowers die that's available in the Coordination Product Release.  You can see all 5 new items here:

    This unique die cuts out the center of your paper; not the outside.  It gives you a beautiful bouquet of flowers in a frame.  That cute greeting banner is also part of the die set. 

    Details:

    • The greeting is from the Timeless Tulips stamp set and is heat embossed in White embossing powder on Calypso Coral CS.
    • The ribbon is the 1/4" White crinkled ribbon colored with the Dark Pool Party Blends marker.
    • The flowers and stems are colored with Blends markers; they color so easily! 
    • That pretty designer paper behind the window is the Follow Your Art paper in the annual catalog on page 165. 

    Click here to shop. 

    ~~~

    Four February Specials just for you besides Sale-a-Braton

    and the Product Coordination Release! 

        1. Earn a ticket in the drawing for each $25 you order online in February for a free Little Ladybug stamp set!

    Order online here

    2. All online orders will receive a free pdf cards tutorial in an email.

    3. And if your order is over $55 you'll get a free package of Champagne Rhinestones too!

    February Host Code is 4CQKPWRV

    Order online here

    4. Choose any FREE stamp set when you purchase the Starter kit during Sale-a-Bration; of any value! Plus you'll get a free paper trimmer and a 6 X 6 sampler of new Designer Paper!  It's just $99 plus tax; shipping is free!  Click here to join my awesome Flowerbug's Team! 


    Leave a Reply

    Your email address will not be published. Required fields are marked *

  • Under My Umbrella Bridge fold card with video


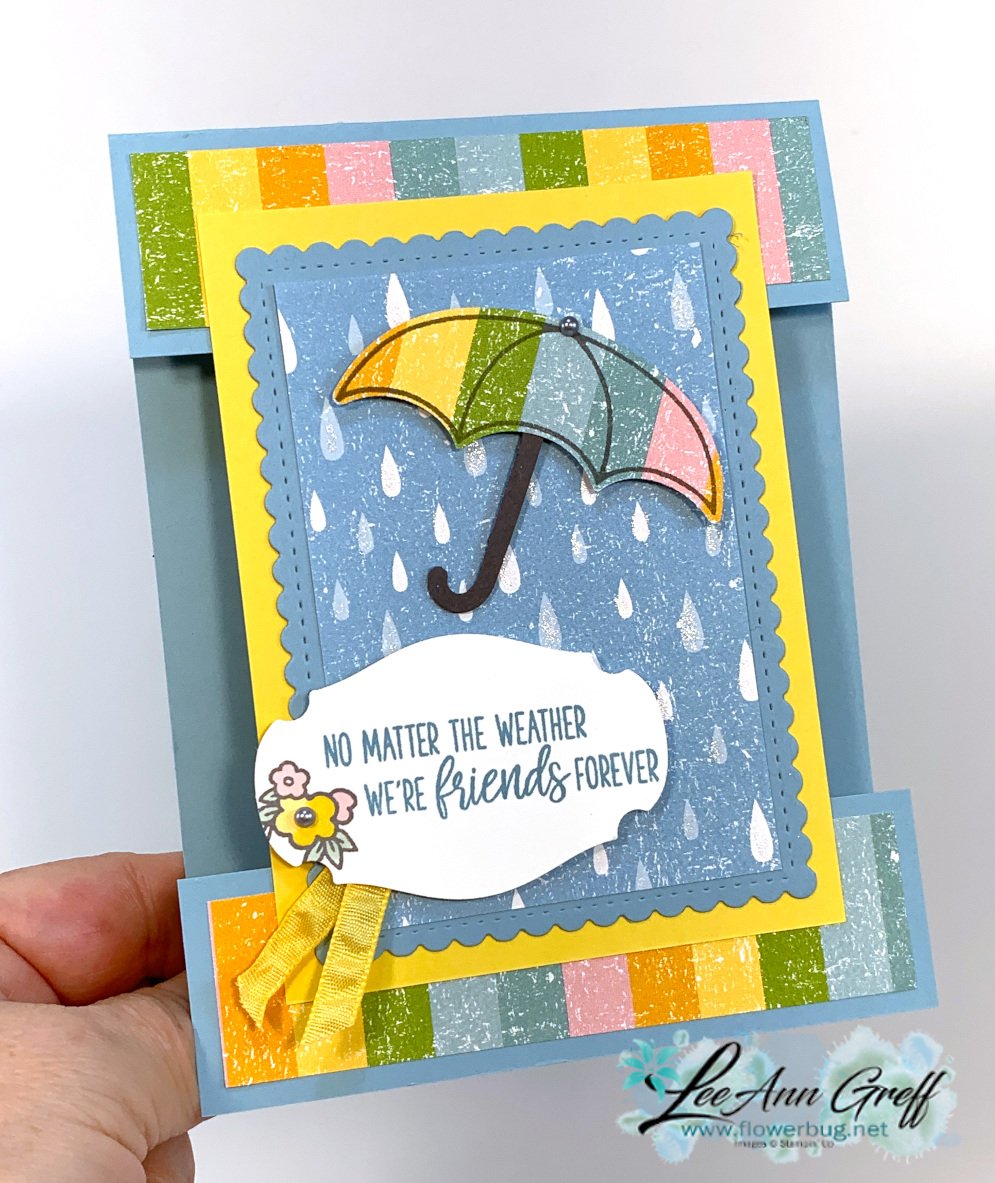
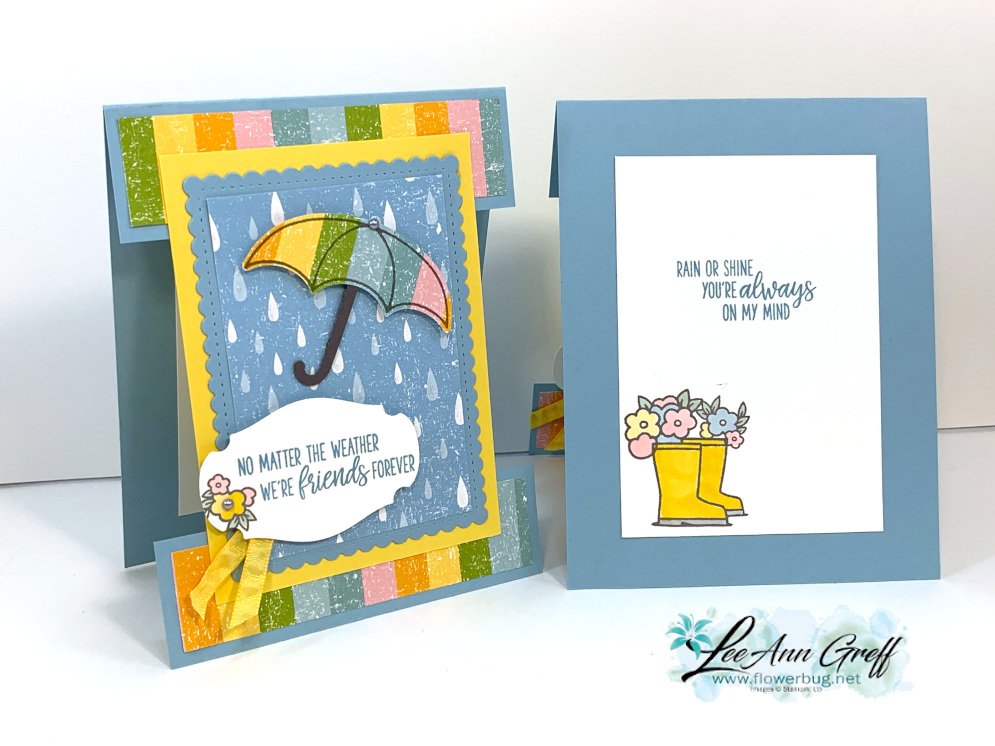
    This card was a big hit at my Card Clubs in February.  It's a bridge fold card featuring the Under My Umbrella bundle.  See it here. 

    To create this card you'll cut your base card short and add another short piece at the bottom. The Daffodil and Balmy Blue layers 'bridge' the base layers.  Really cool.  And I was able to die-cut the Balmy Blue scalloped rectangle from the leftover piece from the middle.  I love using my card stock so perfectly.  *See measurements below.

    The Under My Umbrella stamps and punch bundle is just $30.50 for both! It has so MANY cute images and wonderful greetings.  I just love it! We stamped the images in Basic Gray ink and colored them in with Blends markers 


    The striped and raindrops designer paper is from the Pleased as Punch paper; available while supplies last now with the Coordination Product Release special.  You can see it here.  It's so bright and springlike! 


    Measurements:

    • Balmy Blue 4 1/4" X 6 3/4" scored at 5 1/2", plus a second piece at 1 1/4" X 4 1/4" for the bottom
      White inside 3 X 4 1/4" and a scrap for greeting punch
      Daffodil Delight 3 1/4" X 4 1/2"
      Balmy Blue scalloped die-cut 3" X 4"
      Pleased as punch DSP 2 1/2" X 3 5/8" front, two strips 1" X 4" for top and bottom plus scrap for
      umbrella punch

    ~~~

    Four February Specials just for you besides Sale-a-Braton

    and the Product Coordination Release! 

        1. Earn a ticket in the drawing for each $25 you order online in February for a free Little Ladybug stamp set!

    Order online here

    2. All online orders will receive a free pdf cards tutorial in an email.

    3. And if your order is over $55 you'll get a free package of Champagne Rhinestones too!

    February Host Code is 4CQKPWRV

    Order online here

    4. Choose any FREE stamp set when you purchase the Starter kit during Sale-a-Bration; of any value! Plus you'll get a free paper trimmer and a 6 X 6 sampler of new Designer Paper!  It's just $99 plus tax; shipping is free!  Click here to join my awesome Flowerbug's Team! 


    Leave a Reply

    Your email address will not be published. Required fields are marked *


Notice: LeeAnn Greff, Independent Stampin’ Up! Demonstrator, Manager. The content of this website is my sole responsibility as an independent Stampin’ Up! demonstrator and the use of, and content of, the classes, services, or products offered on this website is not endorsed by Stampin’ Up! Copyright 2025