/


Latest Post

Curvy Christmas & the Postage Punch


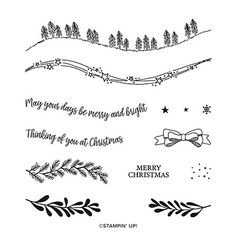
Check out this easy card using the new Curvy Christmas stamp set and the Postage Punch!  

It's super simple! Here's how I made it:

  1. Stamp the curvy trees image on the White CS using Shaded Spruce ink.  Color the trees with a Light Shaded Spruce Blends marker.  Add a tiny star using Cherry Cobbler ink on one tree. Adhere it to the Cherry Cobbler layer and to the main card.
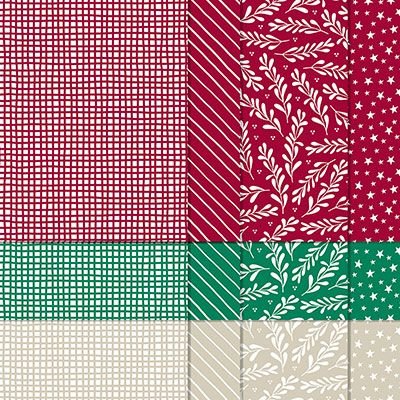
  2. Punch out three pieces of Classic Christmas designer paper with the Postage Punch seen here.  Adhere to the White CS. 
  3. Stamp the greeting in Cherry Cobbler ink on a 1/2" strip of White CS.  Punch the ends with the Banners Pick a Punch. Add it to the card with mini dimensionals. 
  4. Finish with a few Holiday rhinestones. 

You can see this stamp set here; it's only available through January 4th.  And the Classic Christmas Designer Paper is here while supplies last. 

Remember that everyone who orders any of these products or places an online order with me in November will receive a free 22 project PDF tutorial featuring the Curvy Celebration products! 


~~~

November Specials!

Current Host code is GRC9VVUU


All online orders receive my FREE Curvy Celebrations 22 project PDF Tutorial! 

All Posts

  • Gather Together Tag Punch Fun Fold


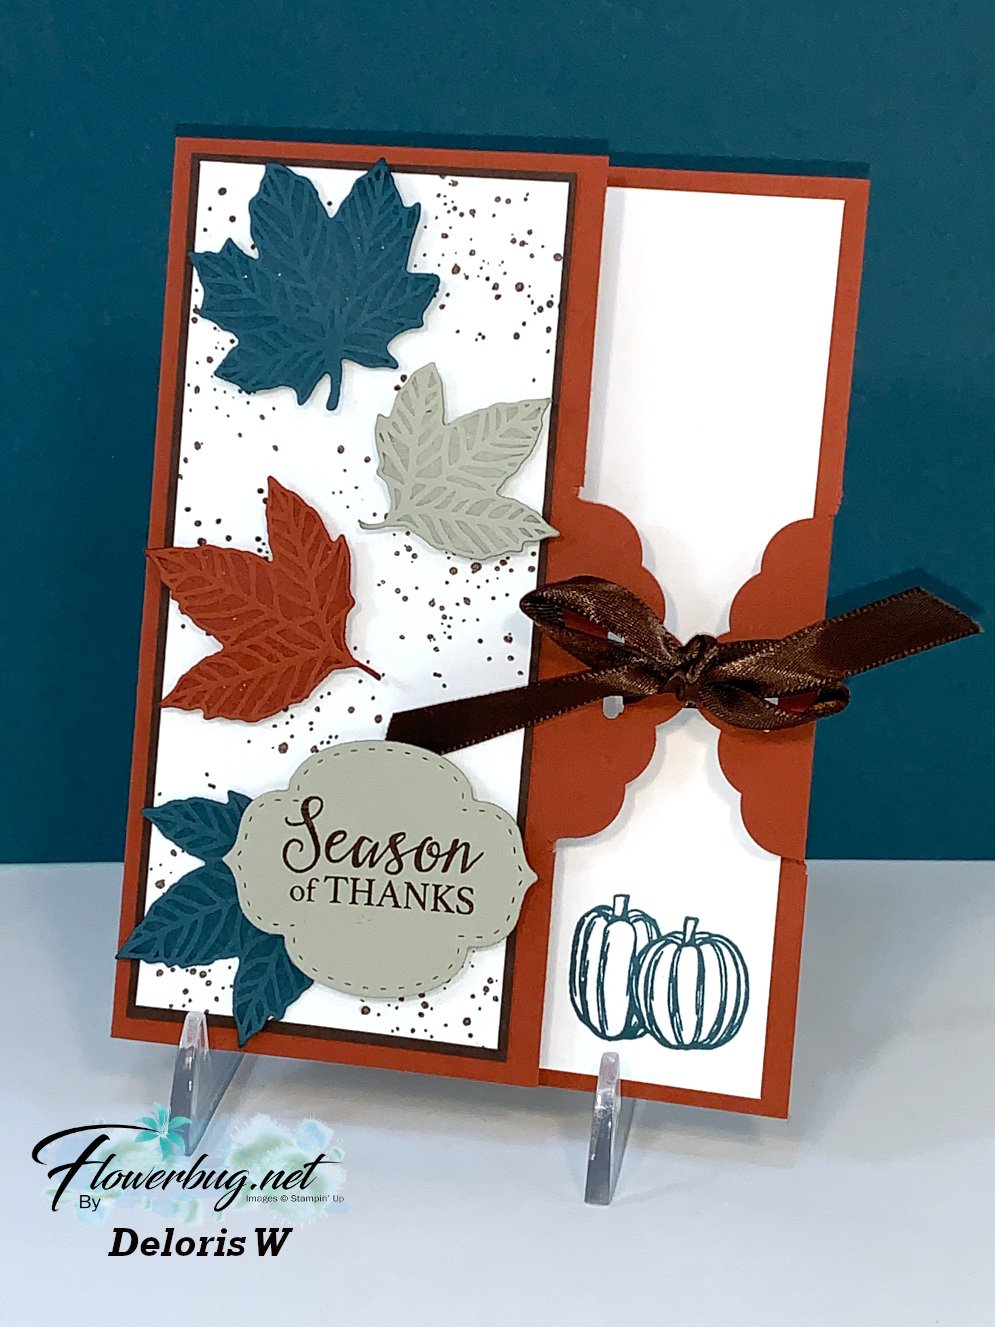
    Check out this fun fold card Deloris made for a recent Team swap.  Our theme was fun folds from the 2020 Holiday catalog. 

    She used the Gather Together bundle seen here and the Scalloped Tag Topper punch seen here.  


    Her colors are Cajun Craze, Pretty Peacock, Early Espresso & Sahara Sand.  The tag punch is pushed in to create the design on both edges and then the sides are trimmed with a paper trimmer.  A really lovely design!  

    I'll be sharing more of my Team Fun-fold card swaps next week! 

    ~~~

    October Specials!

    Current Host code is MJK7R2CU

    Designer Paper Sale; click here!

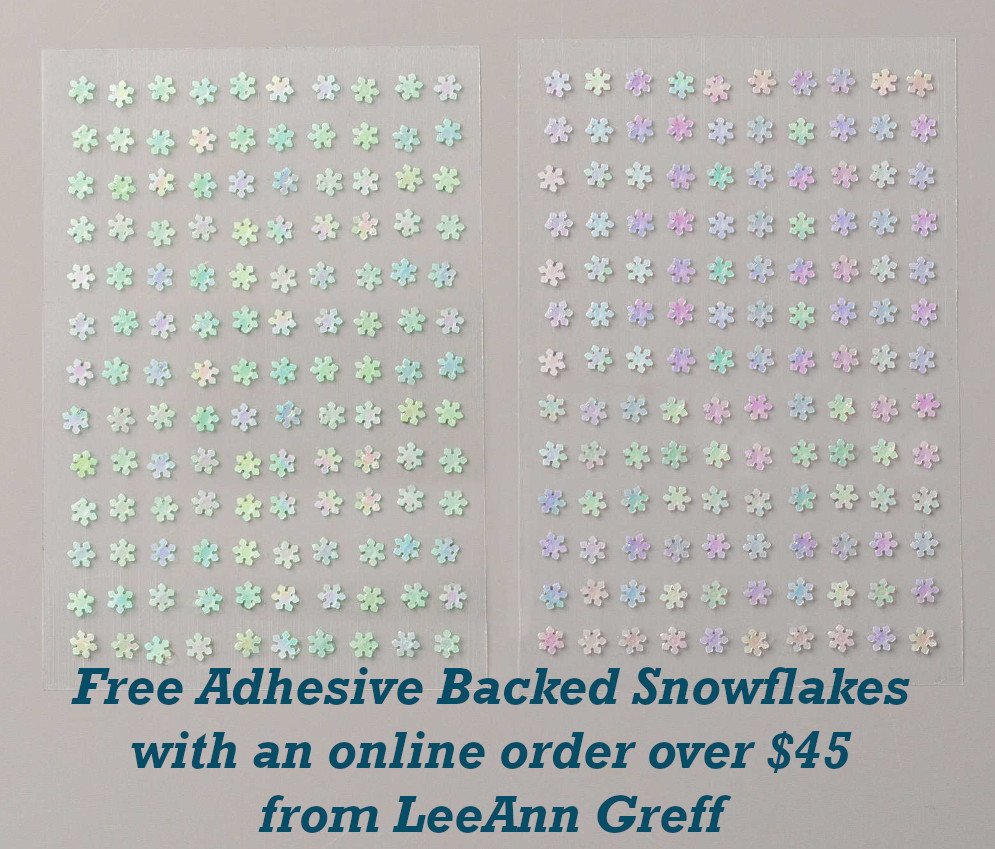
    Get a free package of Adhesive Backed Snowflakes in October with an

    online order over $45. 


    All online orders will receive my Tutorial of the Month featuring the Poinsettia Petals suite!

    Leave a Reply

    Your email address will not be published. Required fields are marked *

  • Z-Fold Cards with measurements for you!


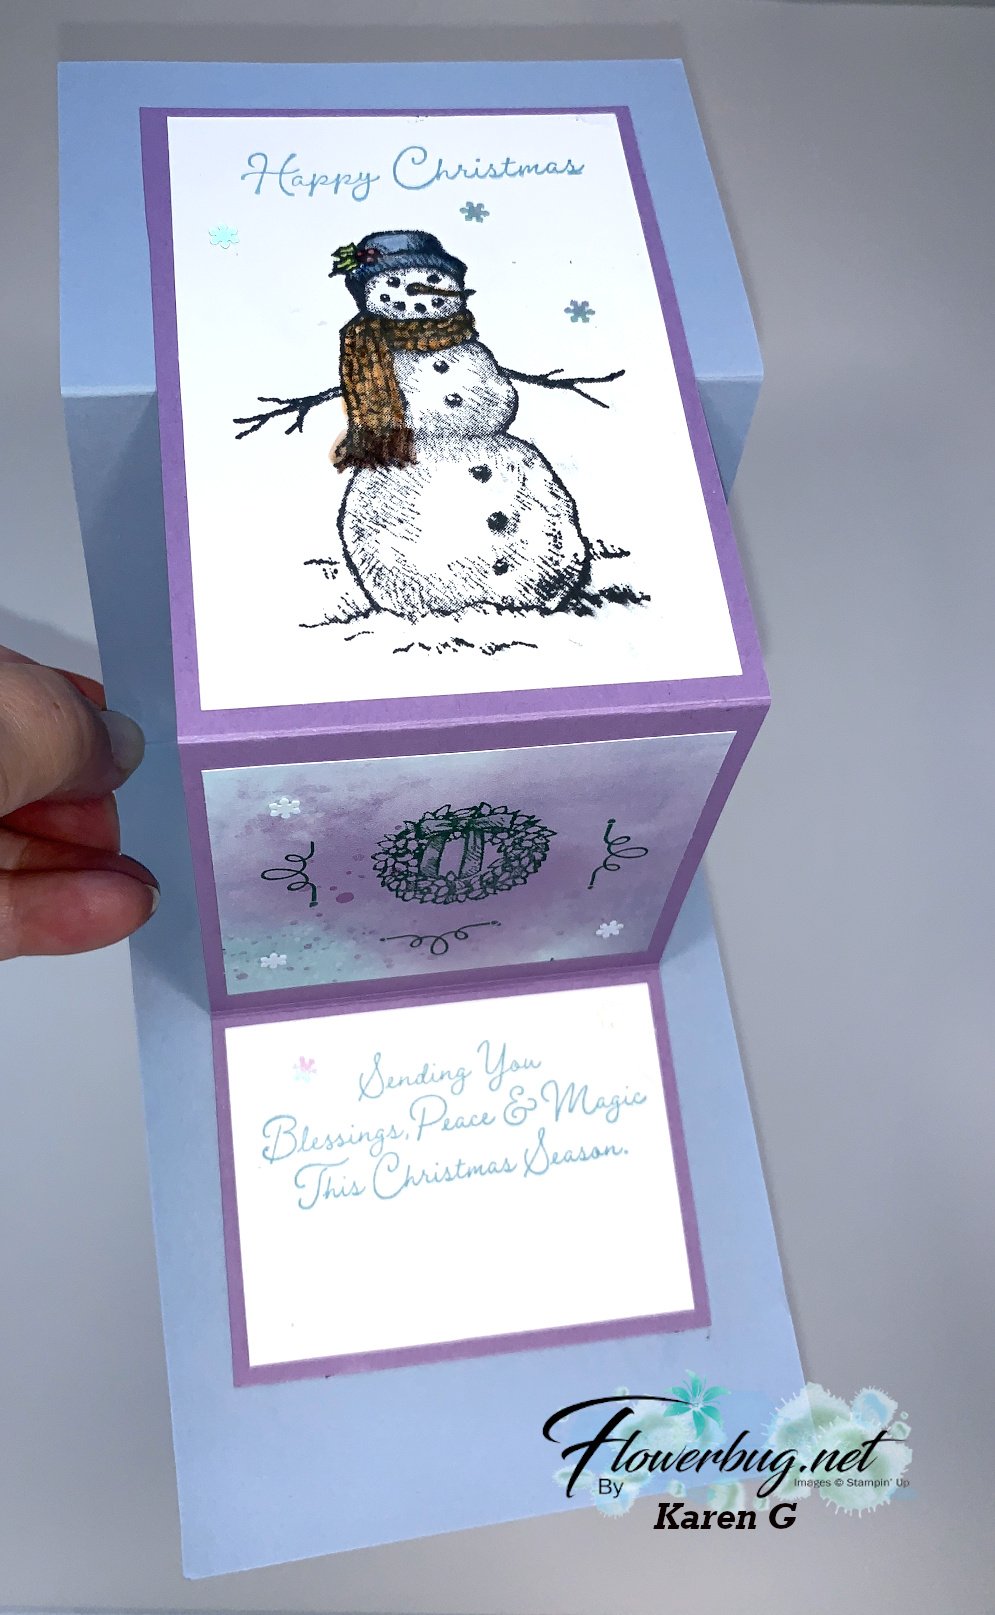
    Here are two more fun fold cards made by my Flowerbug's Team for a recent swap.  They're both Z-fold cards but totally different!  

    First is Mary's card featuring the Heartwarming Hugs designer paper and the Warm Hugs bundle; both in the 2020 Holiday catalog now.  This Designer paper is on sale right now.  Click here to see all 15 papers! 

    Measurements:

    • Real Red card 4 1/4" X 11" scored at 2 3/4" and 5 1/2"
    • Pear Pizzazz 3 1/4" X 10" scored at 4 1/2" and 7 1/4" 
    • Designer paper front3" X 4 1/4", inside is 4" X 5 1/4"
    • White inside is 3" X 2 1/2"

    Karen G made this pretty card with the Snow Wonder stamp set.  

    Measurements: 

    • Seaside Spray 4 1/4" X 11" scored at 2 3/4" and 5 1/2"
    • Highland Heather 3 1/4" X 10" scored at 4 1/2" and 7 1/4" 
    • White front 4 1/4" X 3", bottom is 2 1/4" X 3"
    • Snowflake Wishes DSP in the center is also 2 1/4" X 3" 

    I hope you're enjoying this Fun Fold series of cards.  I am so proud of my gals; they've truly created fabulous cards!!

    ~~~

    October Specials!

    Current Host code is MJK7R2CU

    Designer Paper Sale; click here!

    Get a free package of Adhesive Backed Snowflakes in October with an

    online order over $45. 


    All online orders will receive my Tutorial of the Month featuring the Poinsettia Petals suite!

    Leave a Reply

    Your email address will not be published. Required fields are marked *

  • Gift Wrapped Fun Fold card!


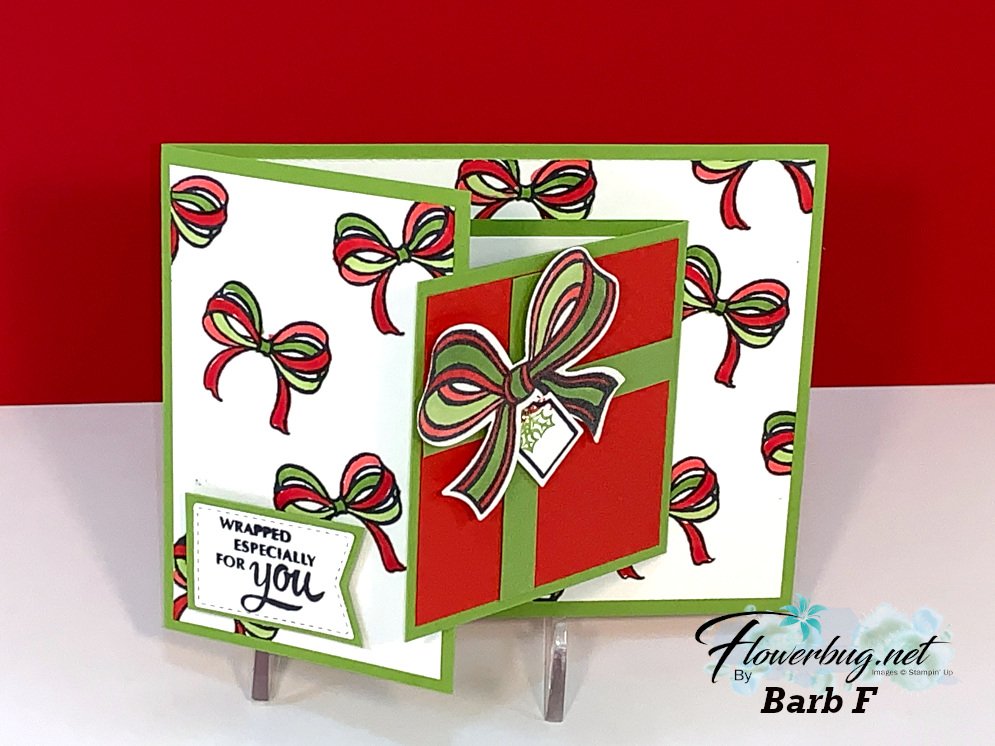
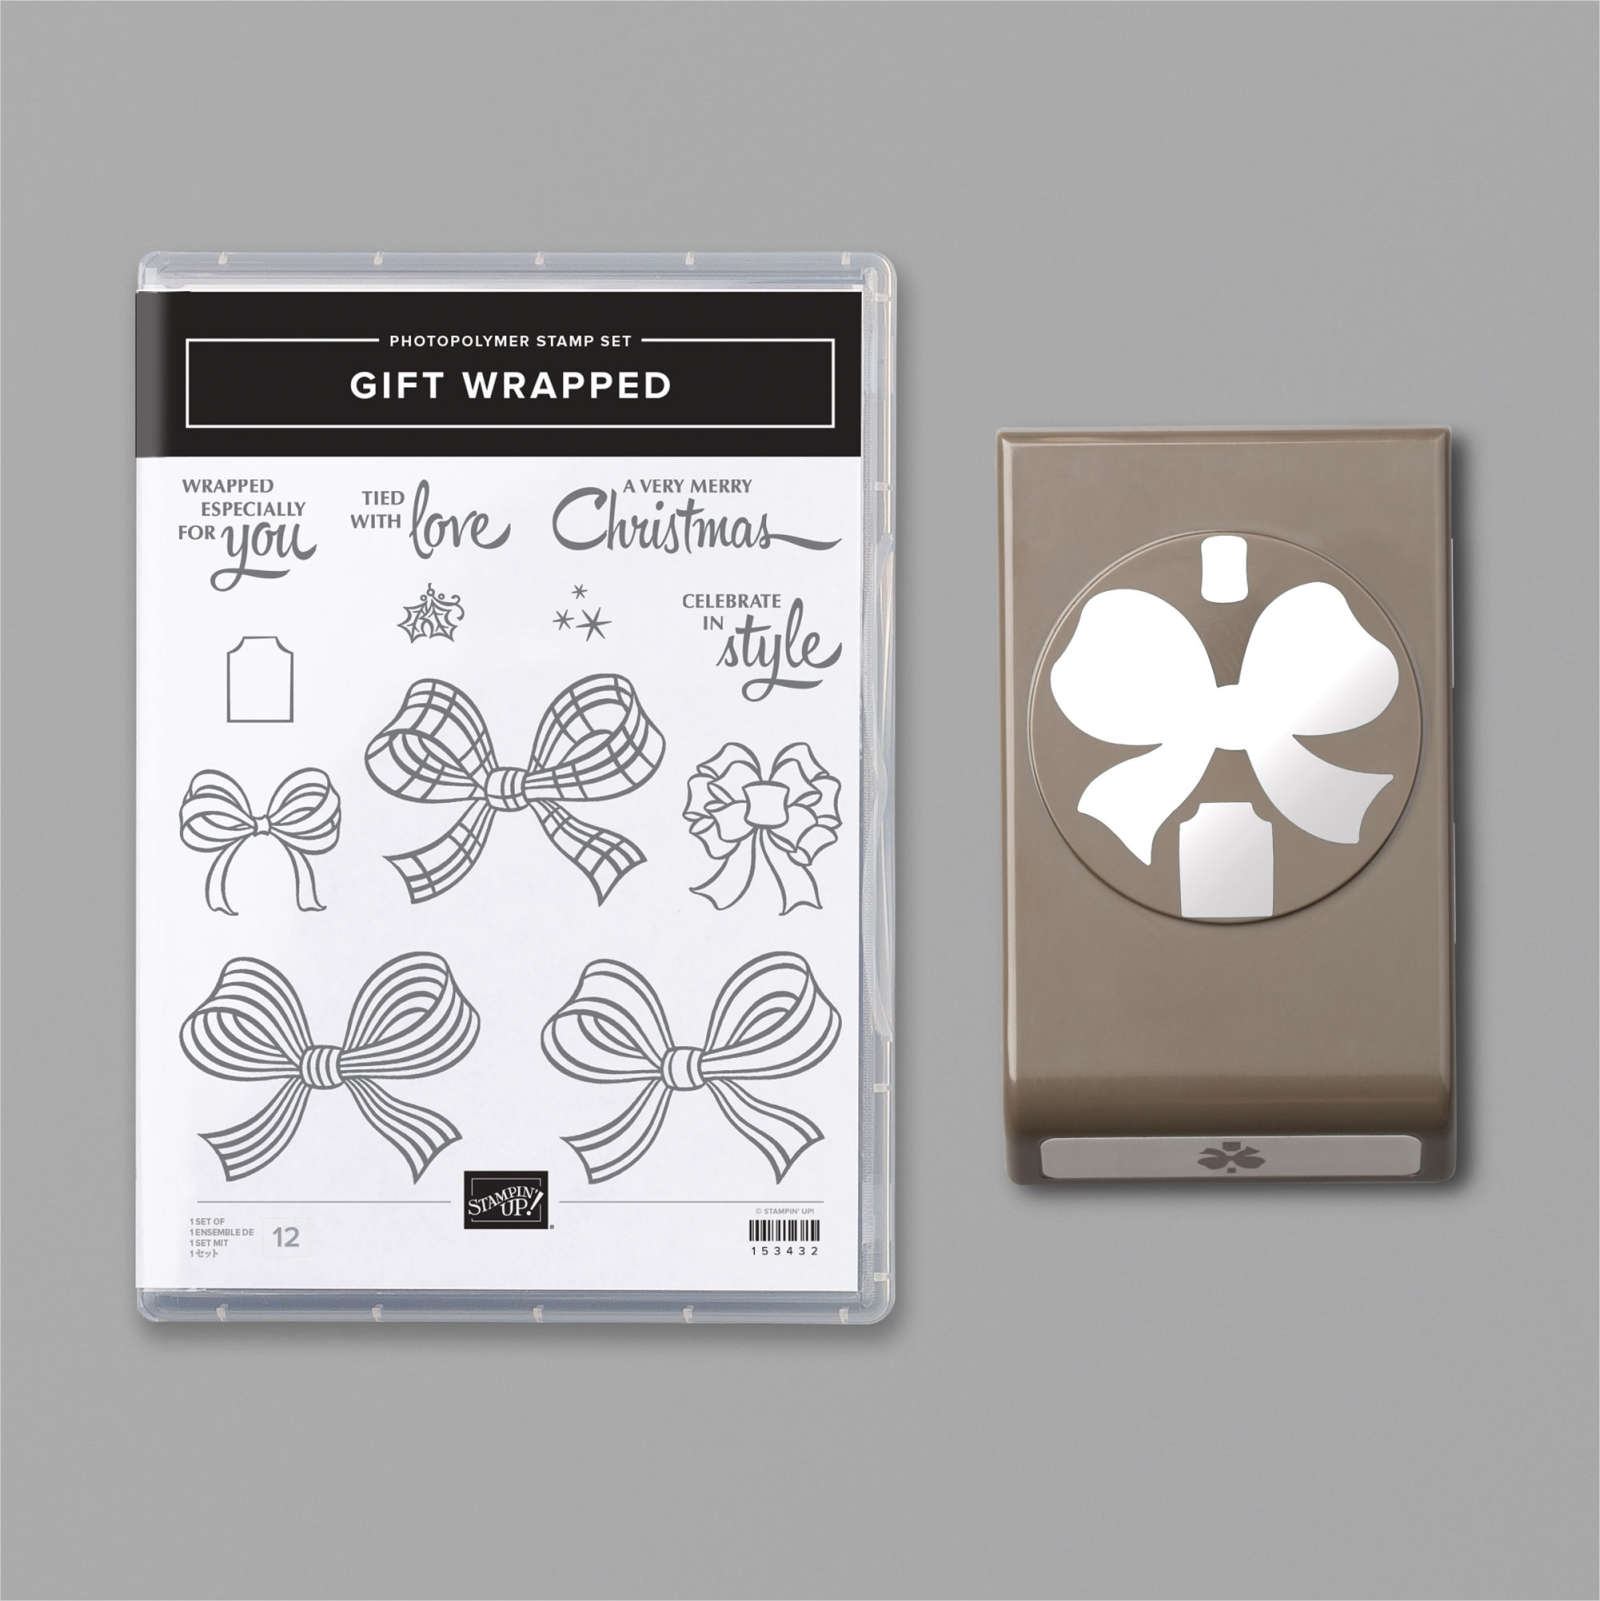
    Look at this super cute Fun Fold card featuring the Gift Wrapped bundle seen here! 

    I LOVE the bright, eye-catching colors she choose; Granny Apple Green & Poppy Parade.  Can you see that she used both the Light & Dark colors in these Blends markers?  

    She also used the Wink of Stella on the punched bow and 'ribbon' on the front. See that cute baby tag?  That's part of the punch too! 

    Can you see how the front flap catches on the greeting on the left?  Love this! 

    Measurements: 

    • Granny Apple Green 4 1/4" X 8 1/4" and 3" X 6" scored at 3" and two 1/2" X 2 3/4" strips and a 1" X 1 1/4" piece for the greeting layer
    • Poppy Parade 2 3/4" square
    • Whisper White 4" X 5 1/4" plus a 2 3/4" square for inside the smaller flip area and scraps for the Tasteful Labels die-cut, and ribbon punches. 

    ~~~

    October Specials!

    Current Host code is MJK7R2CU

    Designer Paper Sale; click here!

    Get a free package of Adhesive Backed Snowflakes in October with an

    online order over $45. 


    All online orders will receive my Tutorial of the Month featuring the Poinsettia Petals suite!

    Leave a Reply

    Your email address will not be published. Required fields are marked *


Notice: LeeAnn Greff, Independent Stampin’ Up! Demonstrator, Manager. The content of this website is my sole responsibility as an independent Stampin’ Up! demonstrator and the use of, and content of, the classes, services, or products offered on this website is not endorsed by Stampin’ Up! Copyright 2025