/


Latest Post

Curvy Christmas & the Postage Punch


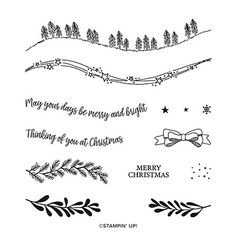
Check out this easy card using the new Curvy Christmas stamp set and the Postage Punch!  

It's super simple! Here's how I made it:

  1. Stamp the curvy trees image on the White CS using Shaded Spruce ink.  Color the trees with a Light Shaded Spruce Blends marker.  Add a tiny star using Cherry Cobbler ink on one tree. Adhere it to the Cherry Cobbler layer and to the main card.
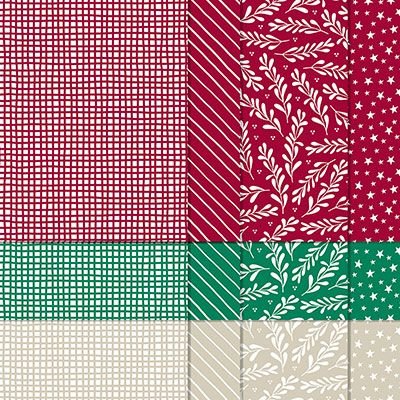
  2. Punch out three pieces of Classic Christmas designer paper with the Postage Punch seen here.  Adhere to the White CS. 
  3. Stamp the greeting in Cherry Cobbler ink on a 1/2" strip of White CS.  Punch the ends with the Banners Pick a Punch. Add it to the card with mini dimensionals. 
  4. Finish with a few Holiday rhinestones. 

You can see this stamp set here; it's only available through January 4th.  And the Classic Christmas Designer Paper is here while supplies last. 

Remember that everyone who orders any of these products or places an online order with me in November will receive a free 22 project PDF tutorial featuring the Curvy Celebration products! 


~~~

November Specials!

Current Host code is GRC9VVUU


All online orders receive my FREE Curvy Celebrations 22 project PDF Tutorial! 

All Posts

  • Check out these Team swap cards!


    Today I'm sharing a few of our August Flowerbug's Team swaps.  Our theme was to create a card without a greeting on the front.  It was quite the challenge for some of us!!  

    First is a fractured card made by Karen.  She shared how to make it and we were all blown away by how easy it is! 

    I loved it so much I shared how to make it in a recent video.  See it here and my blog post here. 

    She featured the Inked Botanicals designer paper and the Trucking Along bundle.  The Truck builder punch is unavailable at this time; it will be back in October.  Her card base & 1/4" strips are Calypso Coral.  Love that truck full of flowers!

    ~~~

    Next is a sweet card made by Sharon who chose the Cheerful Daisies bundle seen here. 

    She added lots of die-cut daisies & leaves; some are sponged. She added the circles image (from Timeless Arrangements) using the Baby Wipe method.  Love this look!  And after stamping the circles she textured it with one of the Basics 3D embossing folders (online exclusive).  Plus she colored the White glittered ribbon (another online exclusive) by sponging on color.  So many great details! 

    ~~~

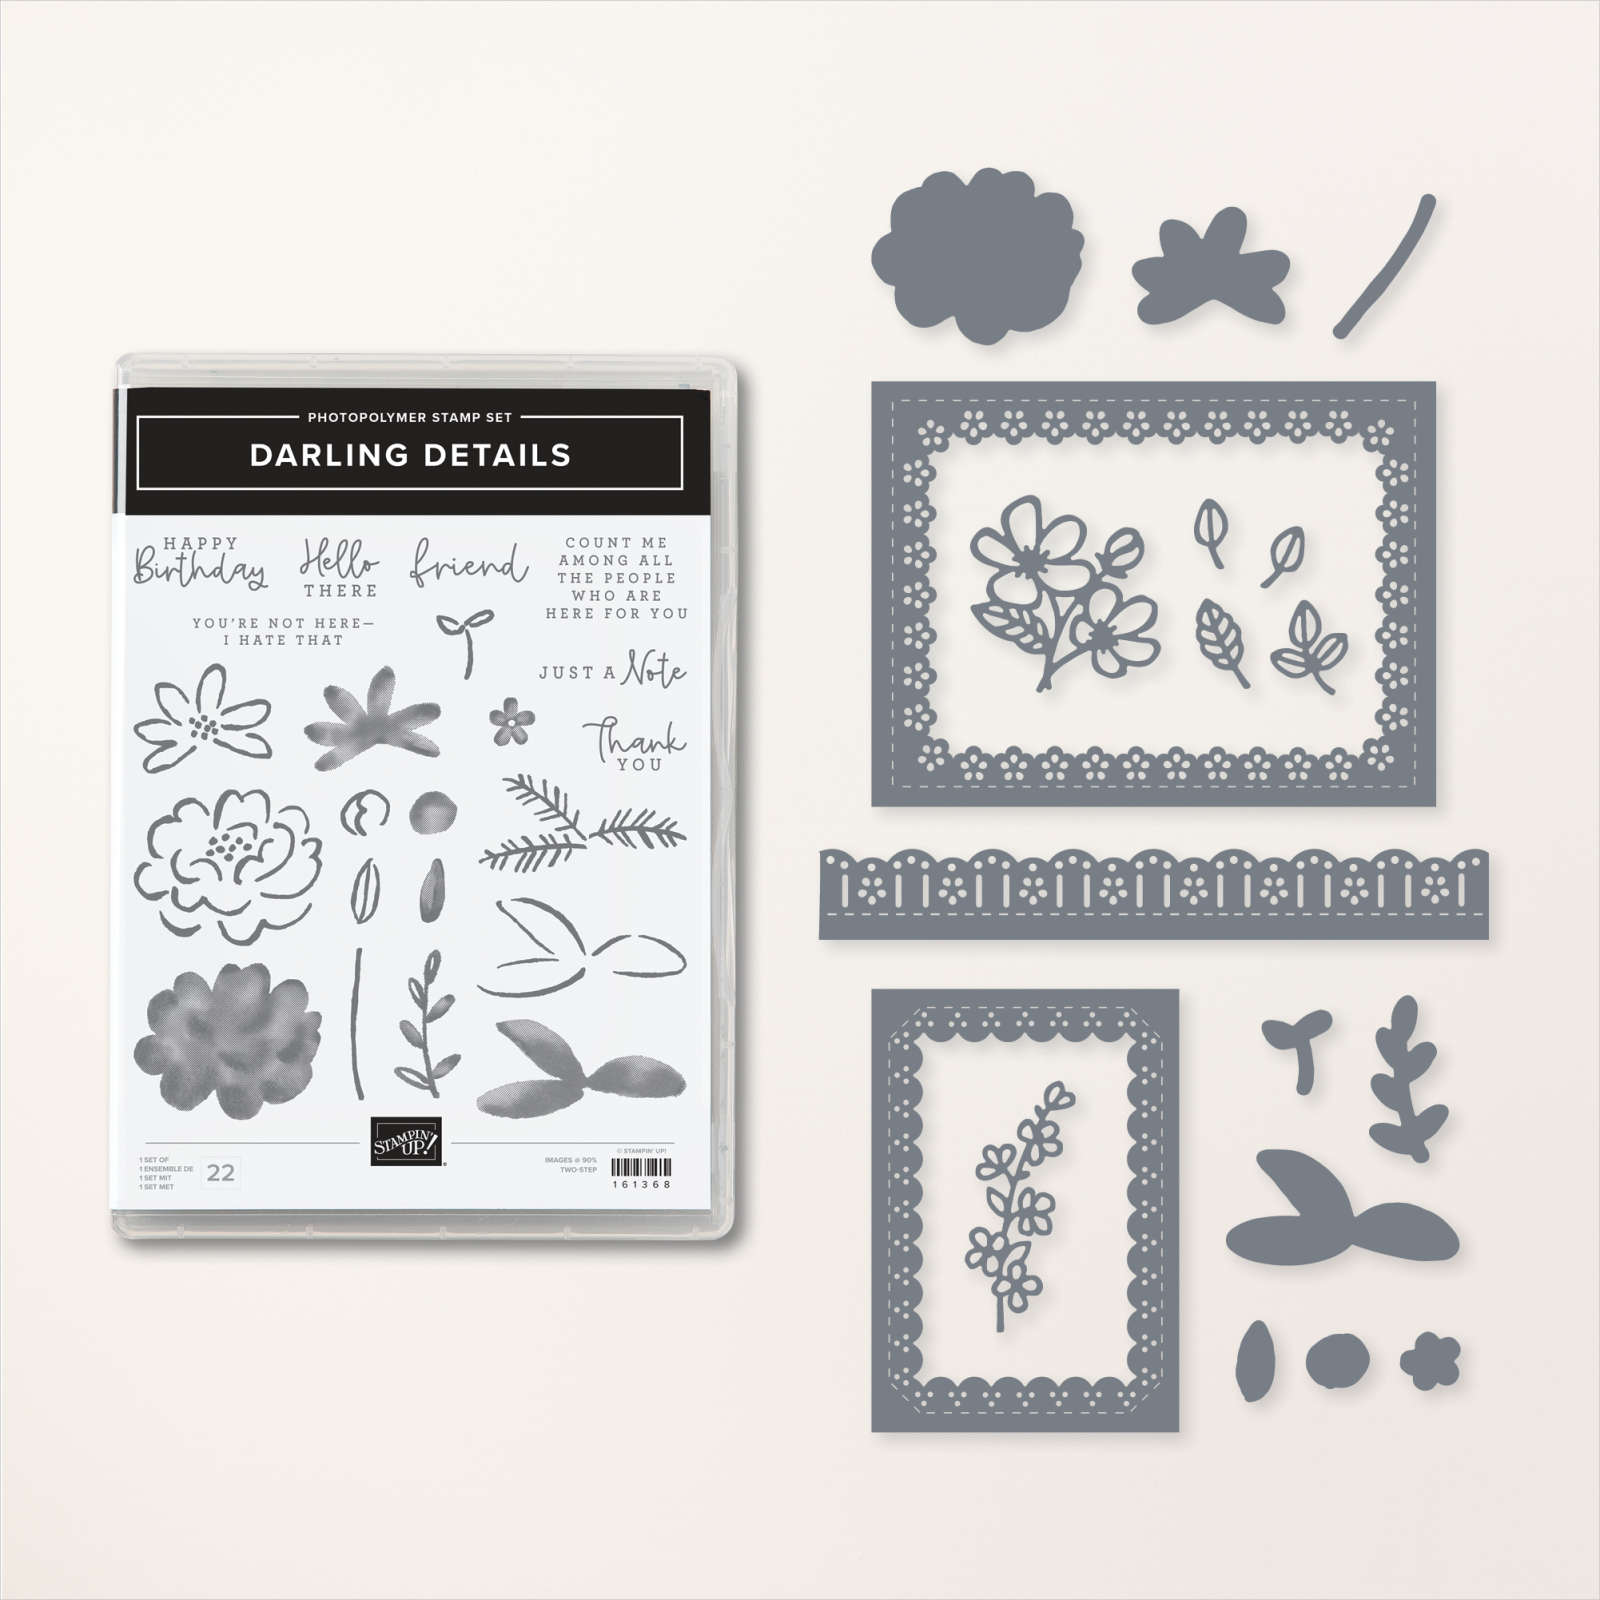
    Next is a pretty card made by Mary who featured the Darling Details bundle seen here. 

    The pretty & delicate frame adds beautiful detail to the Delightfully Eclectic designer paper in the center.  Her colors are Fresh Freesia, Night of Navy and Crushed Curry.  

    This wonderful bundle may have slipped your notice; here's a photo of both the stamp set & dies:

     ~~~

    August Specials: 

     *current host codes: KY99RPXP 

    Free Gift with orders in August: 

    Get a pack of at least 5 beautiful cards with orders over $50 this month. 

    The more you order the more cards you get!

    *cards are previous card kits to go; over the top and many fun folds.  

    **Redeem your Bonus coupons in August! 

    Leave a Reply

    Your email address will not be published. Required fields are marked *

  • The easy way to make a ‘Fractured’ card! Video tutorial & free project sheet!


    You may have seen these cards online lately; they're quite popular.  It looked s bit intimidating to me; I thought I'd have to do a lot of measuring to get the pieces to fit exactly.  

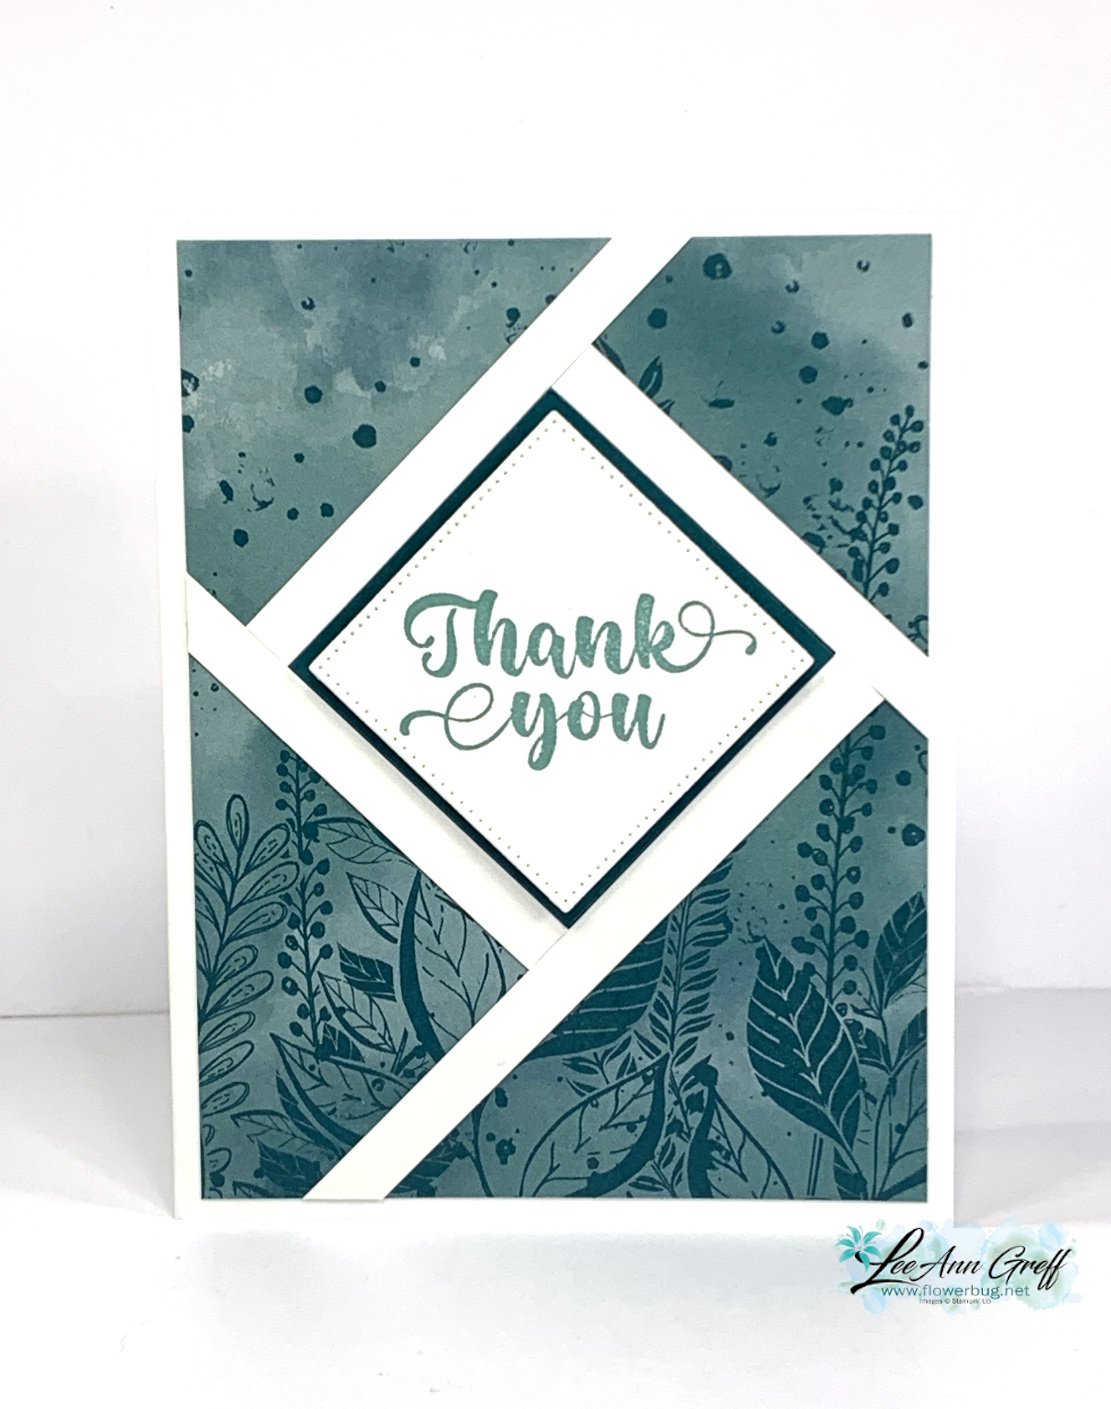
    Well my team member Karen shared how to make them at our August Team meeting and I was surprised to learn it's quite easy peasy!  So I had to share the fractured card on a recent Live video so YOU could see how fun & quick it is.

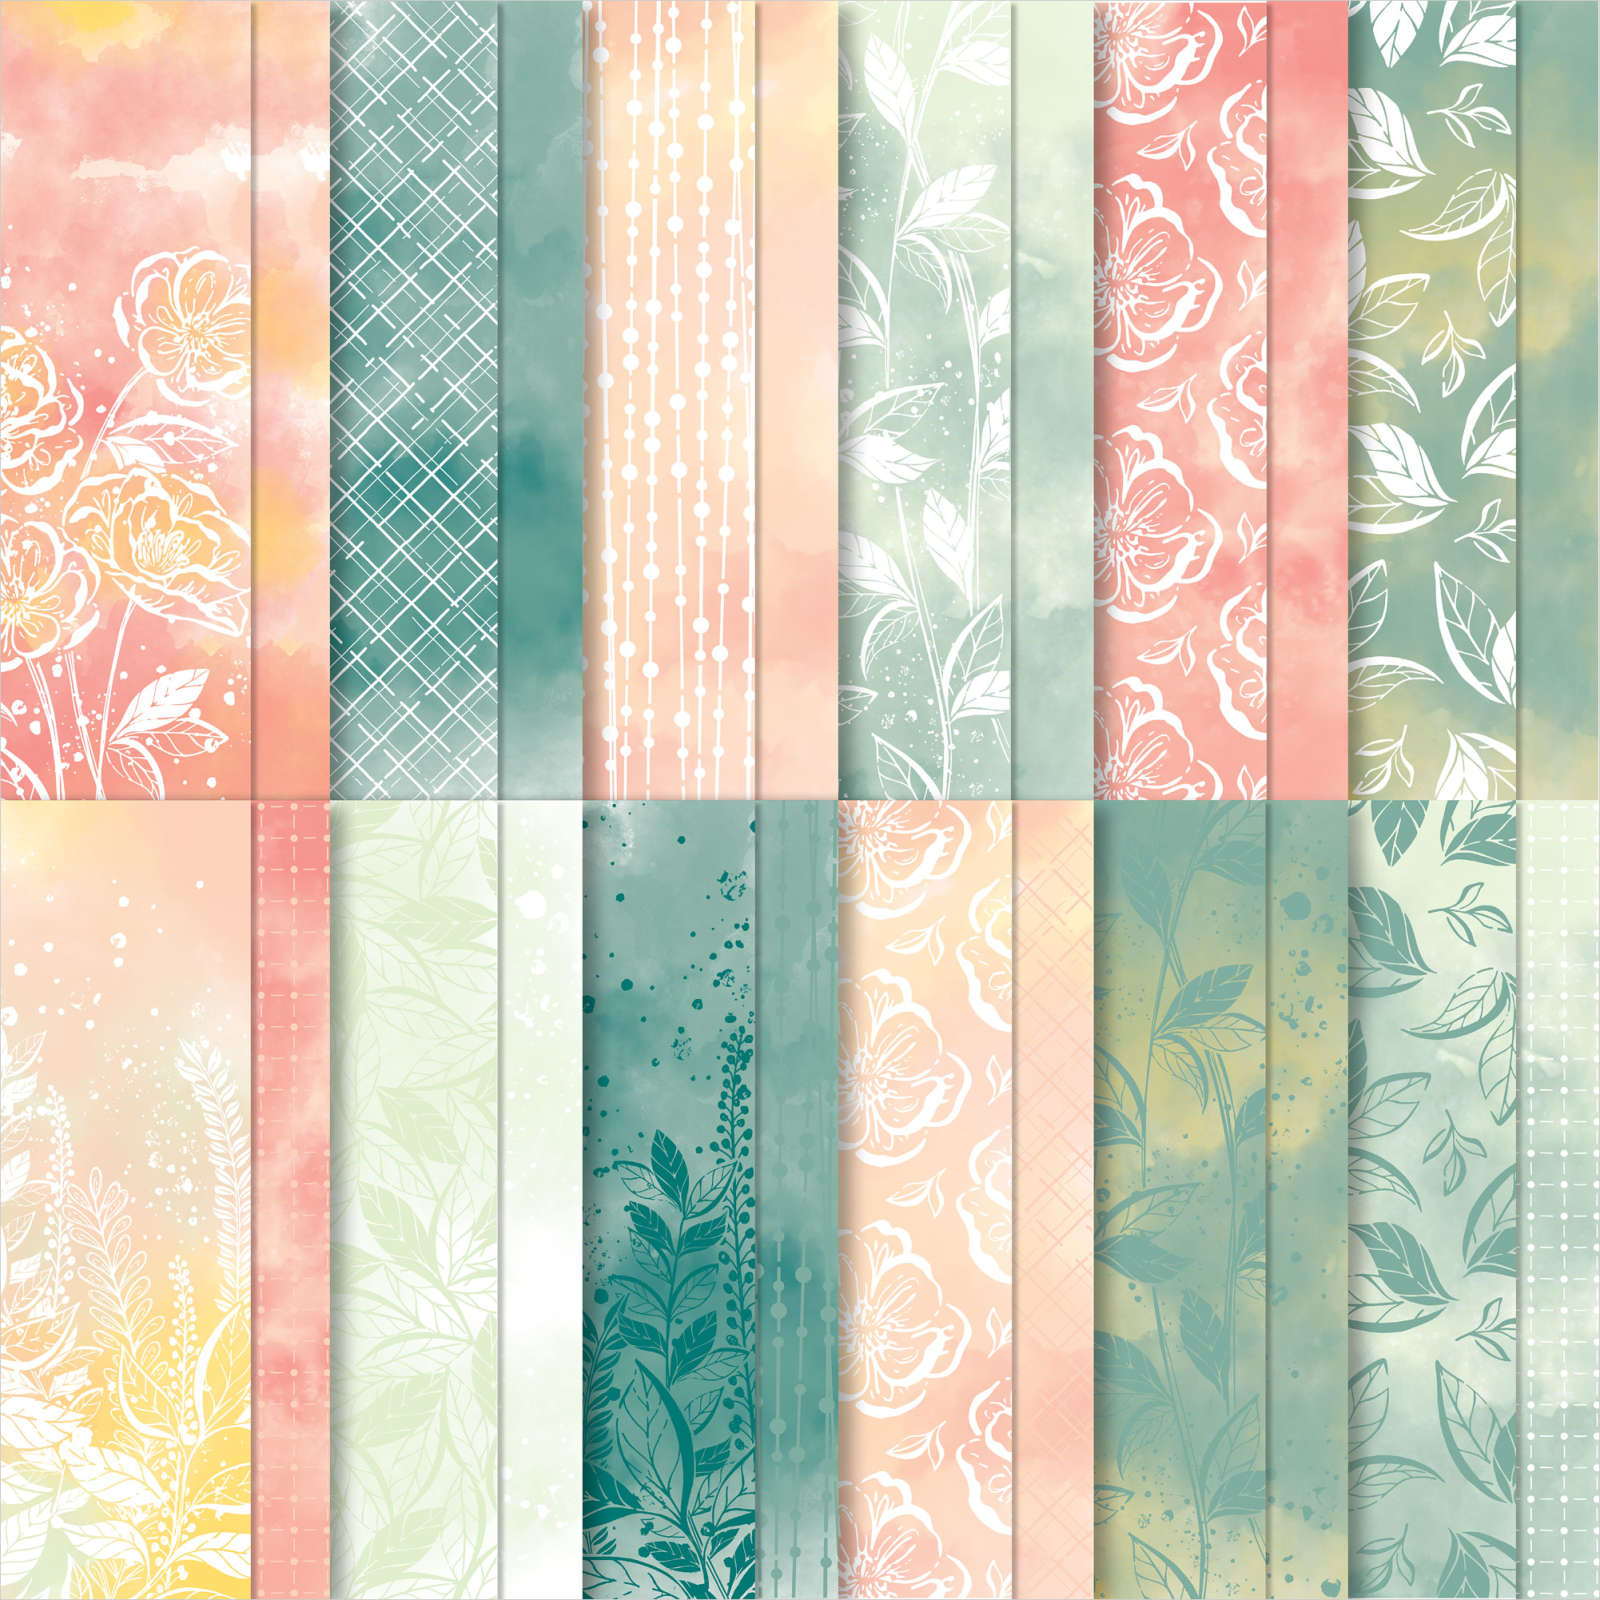
    I chose to use the Hello, Irresistible designer paper and the Irresistible Blooms stamp set; both Online Exclusives. See all of our products available online here.  There are so many they have their own category!  

    This card starts out with a full 4" X 5 1/4" layer of designer paper.  The center squares and strips are added on directly over the designer paper!  No measuring needed!!  

    **Get the free project sheet here Download Irresistible Blooms Fractured card

    This pretty designer paper is in low inventory.  Do you have it yet?  It's just beautiful!

    My center squares are approximately 2" in size and are from the Stylish Shapes dies – the middle die of the 5 square dies. I chose to add a 2 1/4" layer under my square.  

    Tip: Once you adhere your square to the upper center (eyeballing, no measuring needed) you will start adding your 1/4" X 5" strips of card stock.  You start at the upper center.  Leave the excess strips hanging off the card until you're done; then just trim off.  *watch the video below to see my helpful tips for success. 

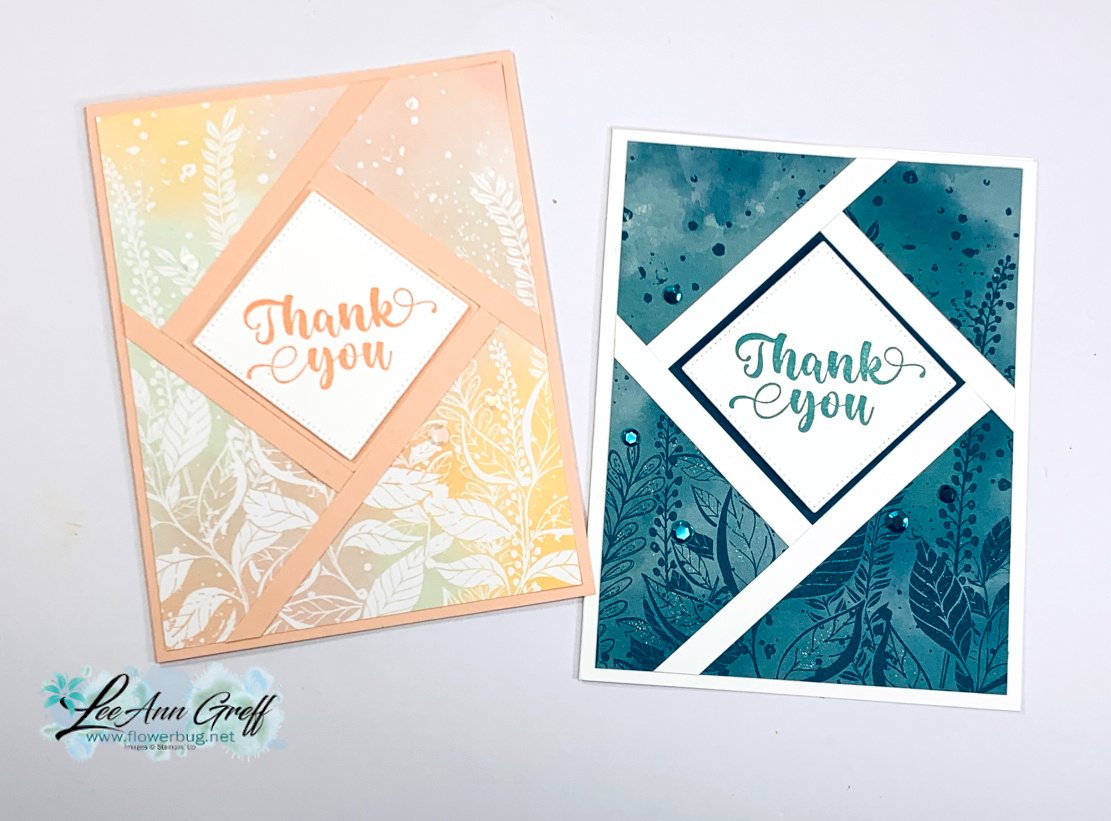
    Here are both cards I shared in the video; one in Pretty Peacock and the other in Petal Pink. 


    Which do you prefer?  One is soft and pretty and the other is vibrant. I like the 1/4" strips to match the card base; I feel it gives a greater sense of continuity.  

    I kept these cards quite simple but you could certainly add more to it.  

    Click here or on the photo below to watch the video.  I believe it will give you the confidence to try it.  

     ~~~

    August Specials: 

     *current host codes: KY99RPXP 

    Free Gift with orders in August: 

    Get a pack of at least 5 beautiful cards with orders over $50 this month. 

    The more you order the more cards you get!

    *cards are previous card kits to go; over the top and many fun folds.  

    **Redeem your Bonus coupons in August! 

    Leave a Reply

    Your email address will not be published. Required fields are marked *

  • Bendy Window card with free PDF & video tutorial!


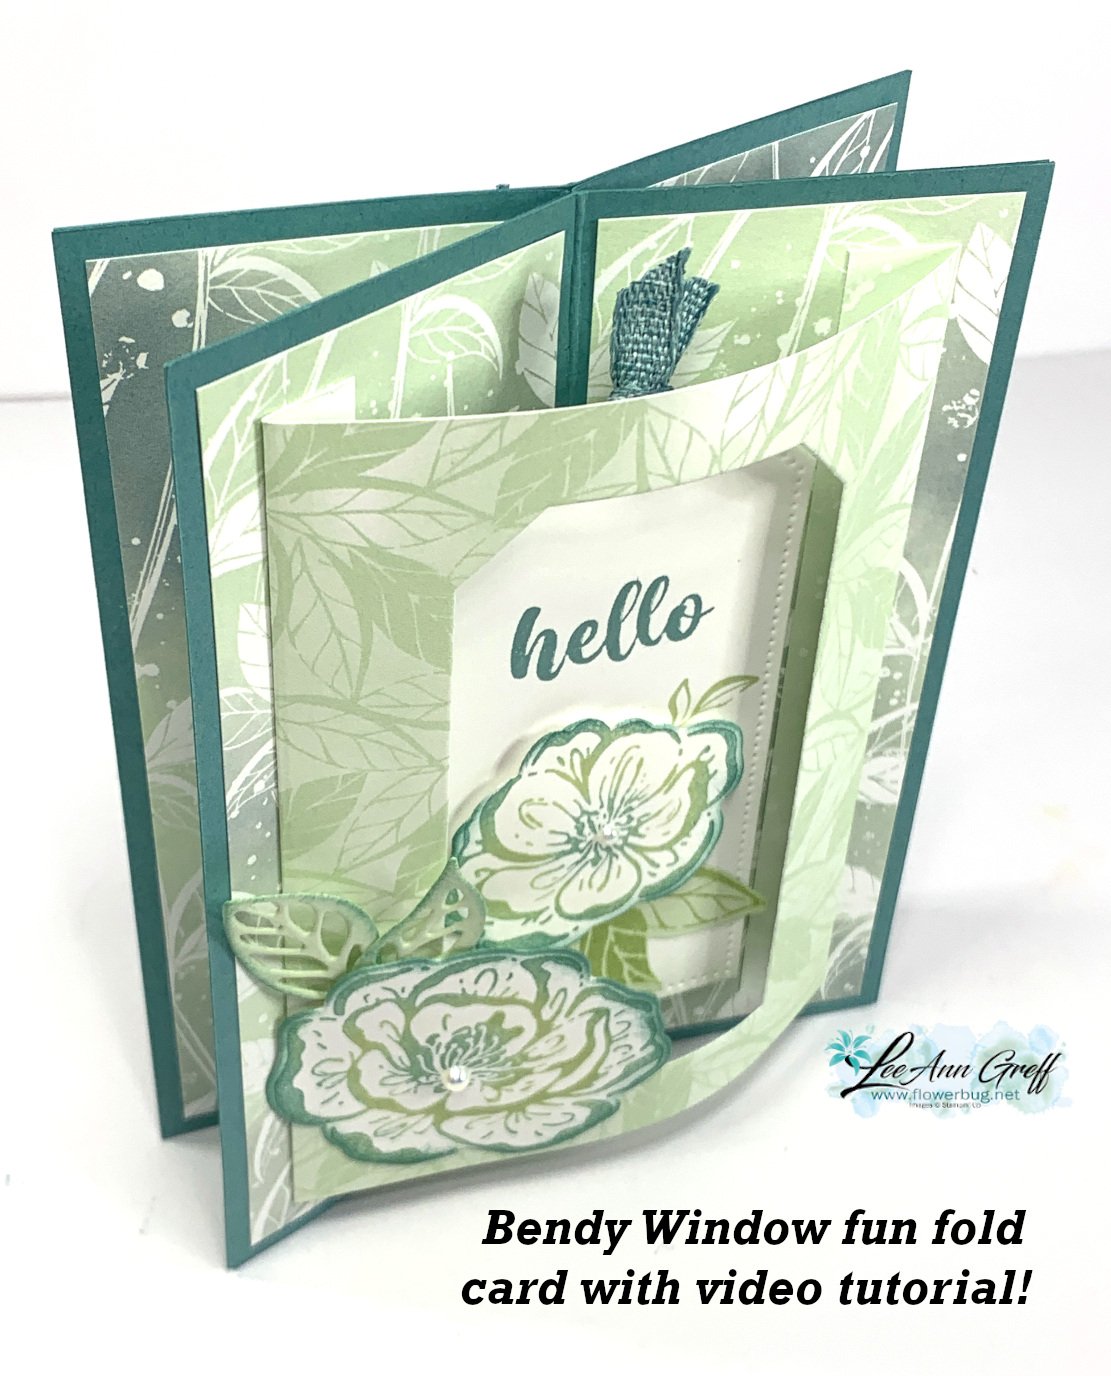
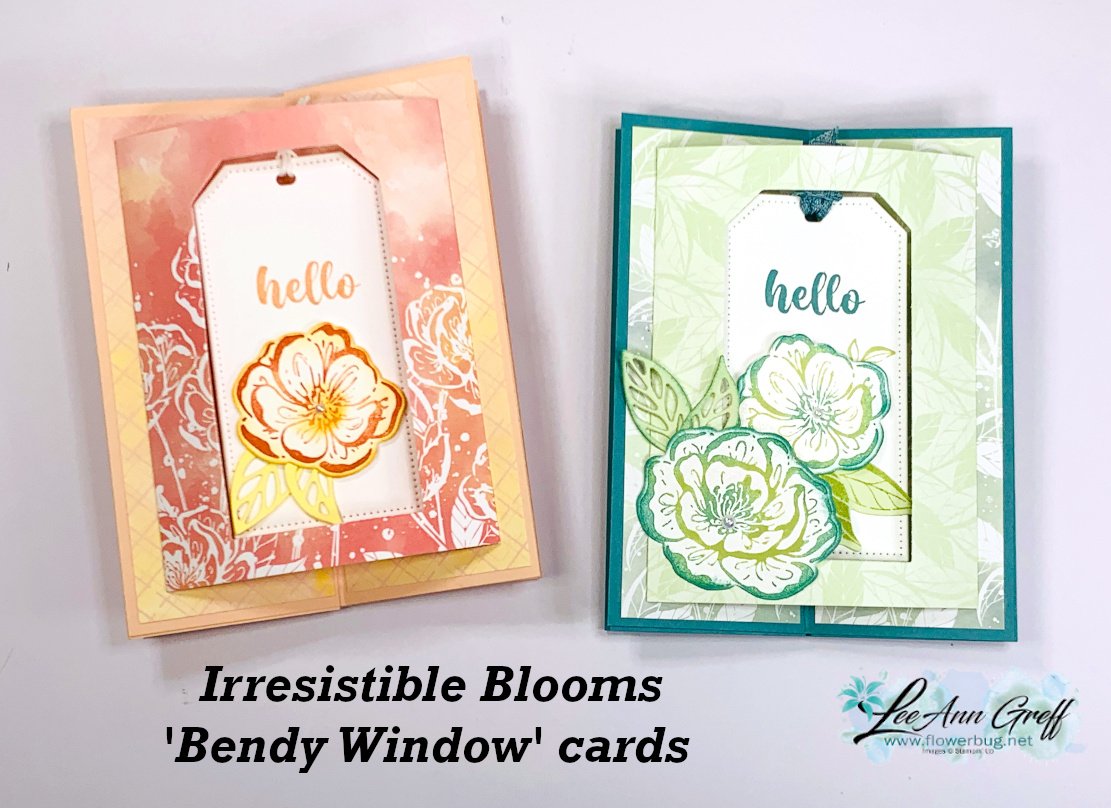
    I shared this super unique fun fold card on last week's Live video.  If you're on Facebook please follow me here for my weekly Tuesday morning videos. If not, you can always follow my YouTube channel here.  

    As you can see it looks a bit tricky… but with my step by step tutorial it's not!  I do have a PDF project sheet for it but even with the written instructions I the video posted below will help a lot.  

    I chose to use the Irresistible Blooms bundle and the Hello, Irresistible 6 X 6" designer paper (currently in low inventory). Both of these are Online Exclusives.  My colors are Lost Lagoon with Soft Sea Foam.  

    There is a little fold of card stock under the stamped White tag that pops it up when the card is opened. 

    Here's a peek at it.  There are three rolled up mini glue dots on the peak of this piece that adheres the tag to it.  

    I made a second version during the video using Petal Pink card stock. 

    Here's the PDF project sheet with measurements & a supplies list: Download Bendy Window card tutorial sheet Which one do you prefer?  

    Click here or on the photo below to watch the video.  I believe it will give you the confidence to try it.  

     ~~~

    August Specials: 

     *current host codes: KY99RPXP 

    Free Gift with orders in August: 

    Get a pack of at least 5 beautiful cards with orders over $50 this month. 

    The more you order the more cards you get!

    *cards are previous card kits to go; over the top and many fun folds.  

    **Redeem your Bonus coupons in August! 

    Leave a Reply

    Your email address will not be published. Required fields are marked *


Notice: LeeAnn Greff, Independent Stampin’ Up! Demonstrator, Manager. The content of this website is my sole responsibility as an independent Stampin’ Up! demonstrator and the use of, and content of, the classes, services, or products offered on this website is not endorsed by Stampin’ Up! Copyright 2025