/


Latest Post

Curvy Celebration ideas!


Here are a few more projects I made with the Curvy Celebrations products. 
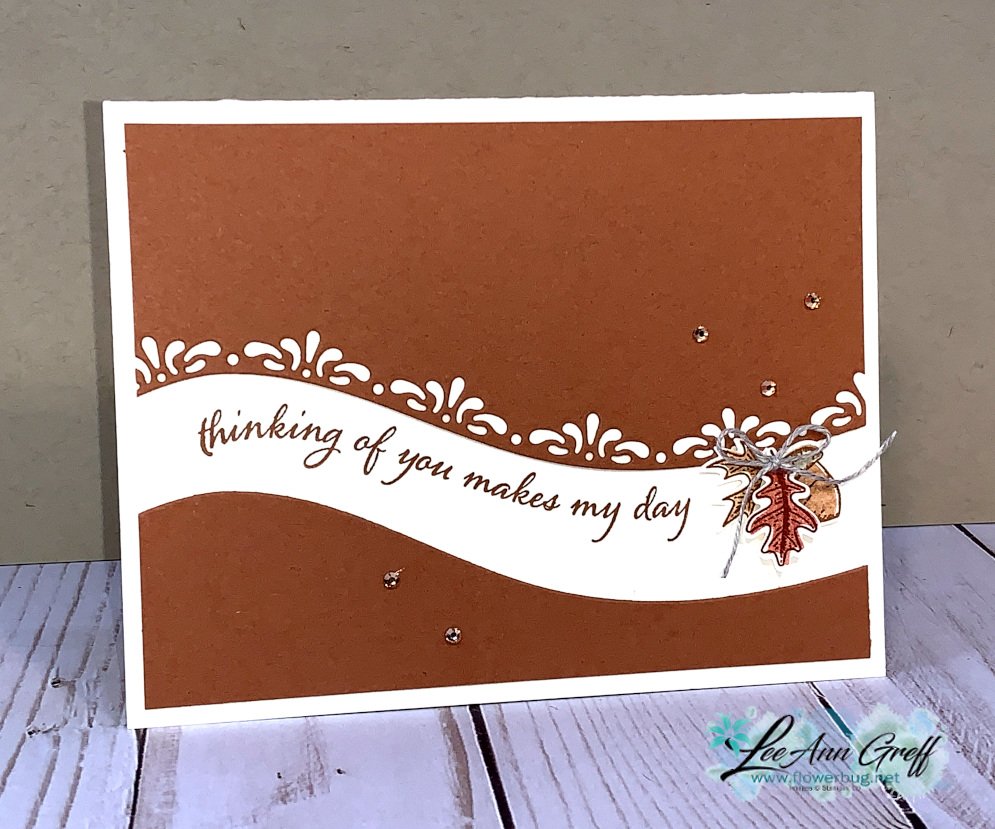
Above is a super simple card made by cutting just one piece of Cinnamon Cider card stock in half with one of the Curvy dies.  Separate them on the Vanilla card and add a curvy greeting.  Finish with a few punched leaves from the Beautiful Autumn punch bundle. 

On this card I added the White curvy die-cut layer to a piece of Artistry Blooms designer paper and finished it with a few Blossom punches and Artistry Blooms sequins.  Easy!
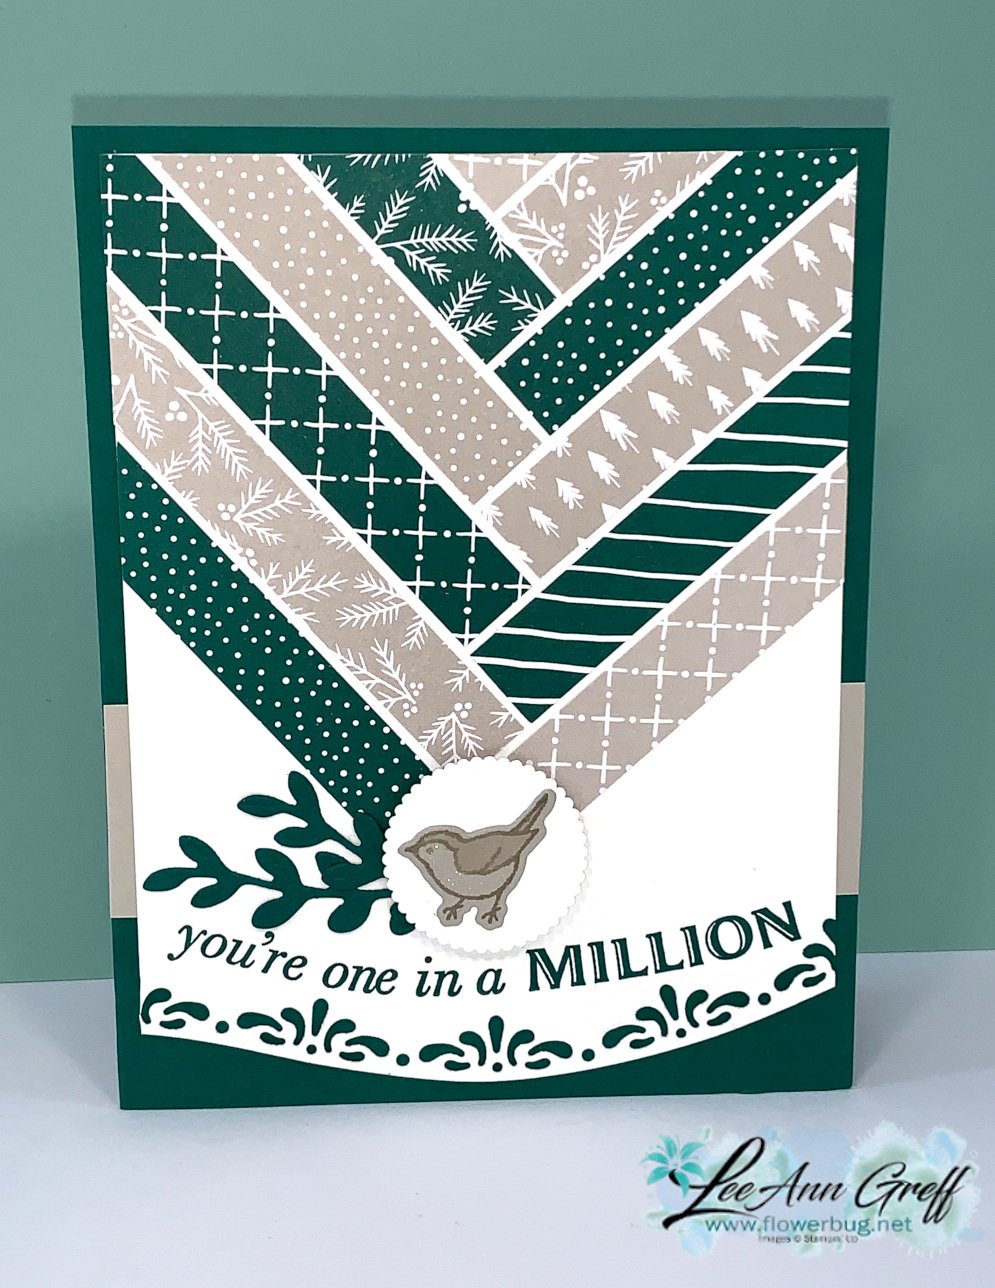
The card above features my strips technique I shared here in this video.  So fun and a great way to use scraps of Designer Paper! 

Here's another great reason to get any of these items now; everyone who places an online order (or orders any of the Curvy Celebrations items) will receive a free 22 project PDF full of ideas for their new products! 

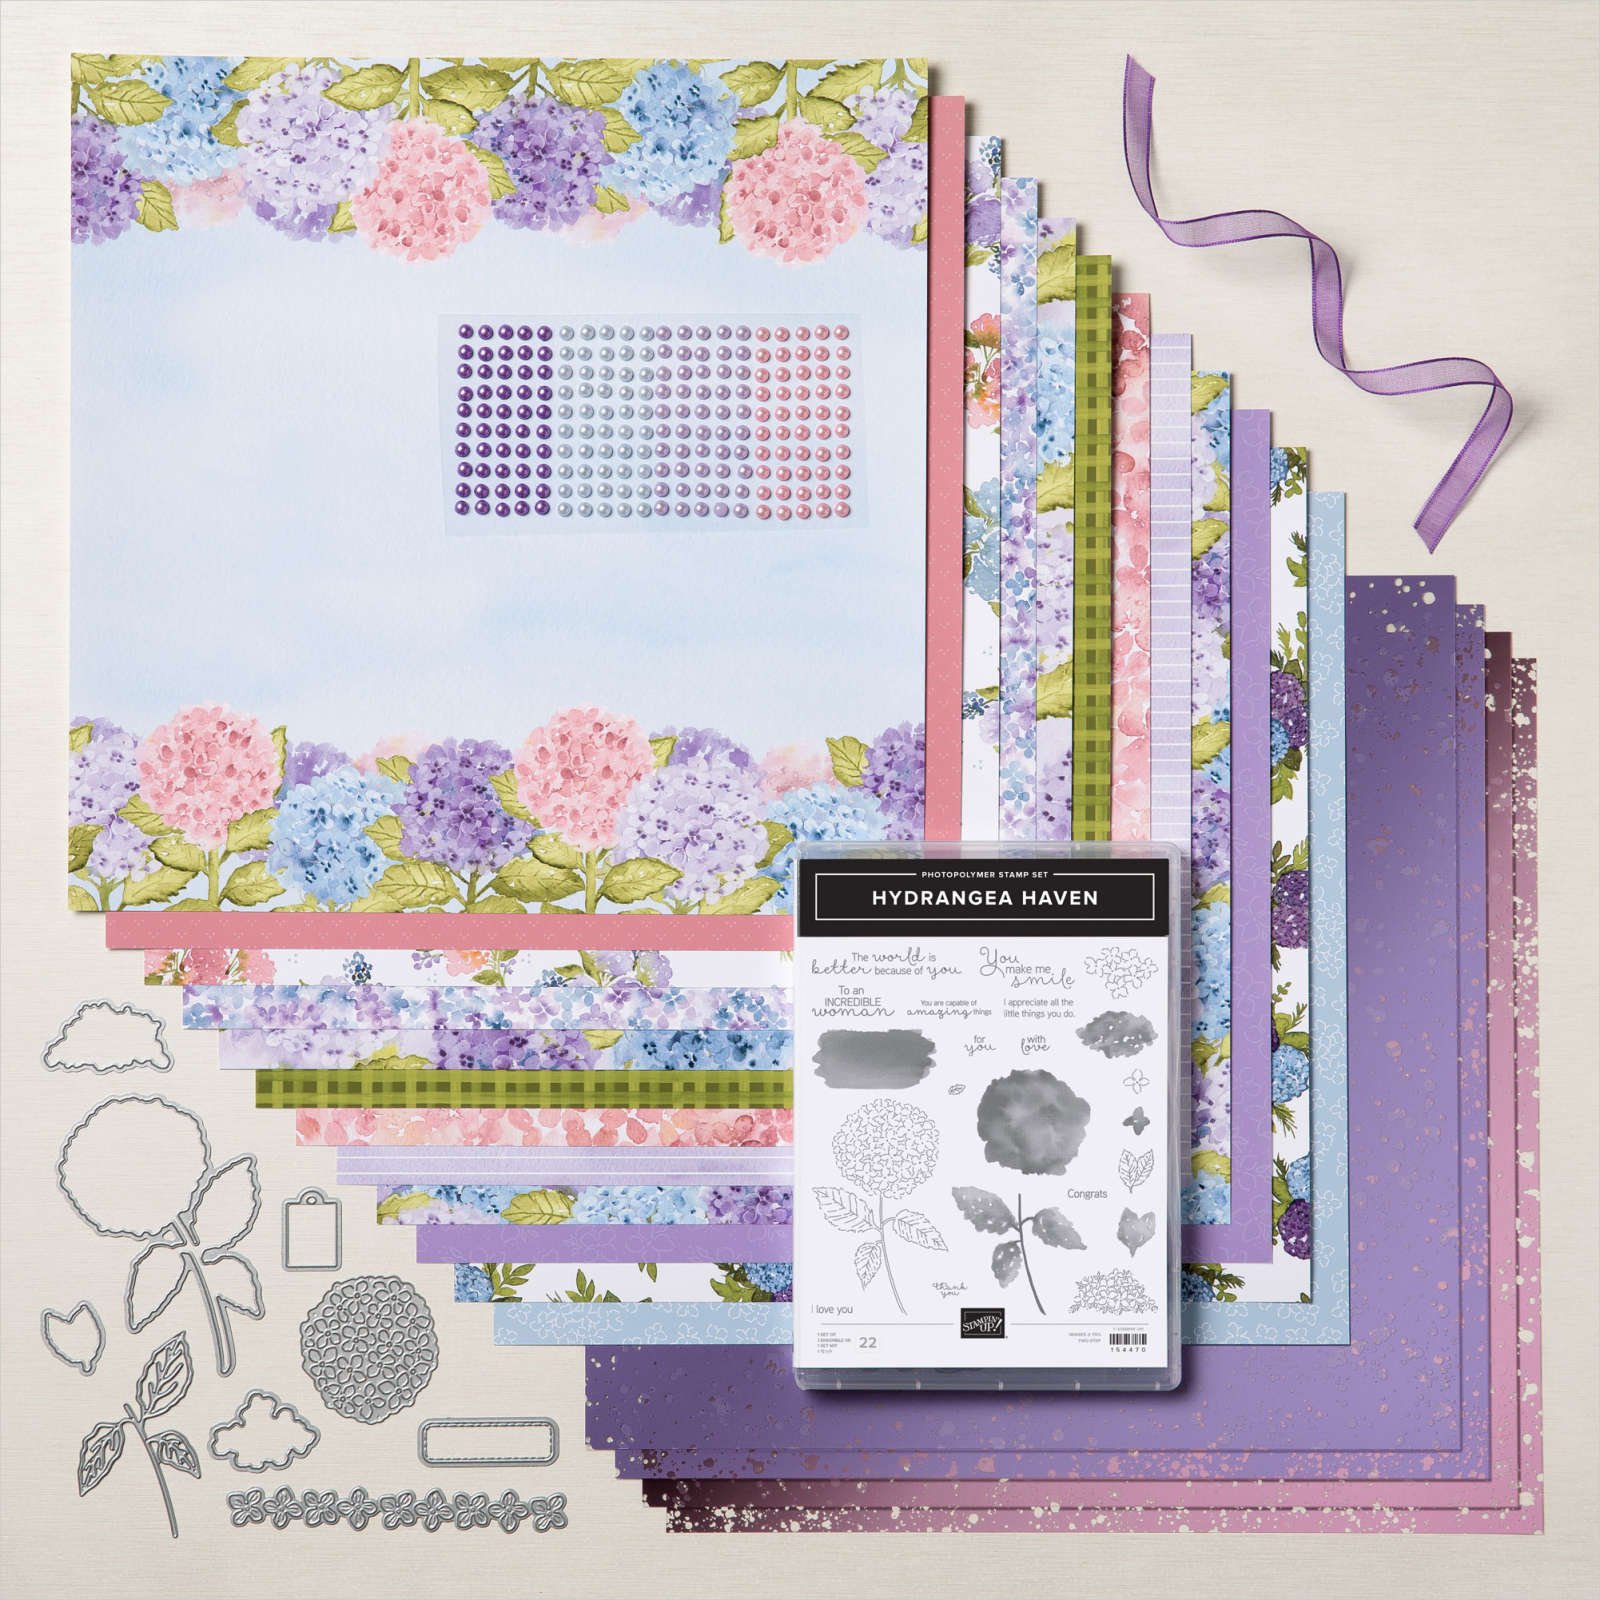
I chose to get it all at once with the entire Curvy Celebrations bundle seen here.  

Here are some sneak peaks of the projects in the free PDF: 
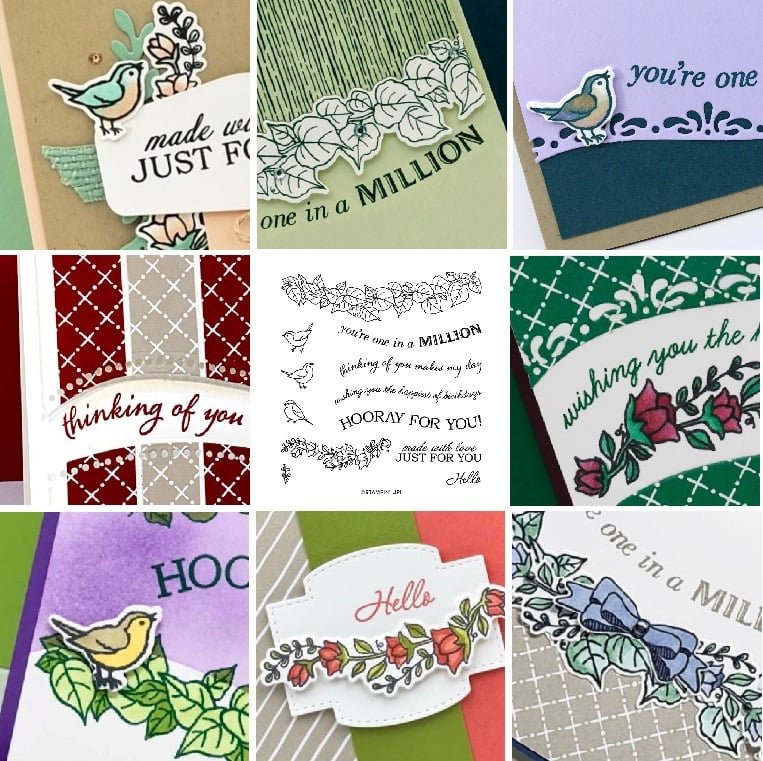
Above are ideas featuring the Quite Curvy set and below are projects with the Curvy Christmas set. 

~~~

November Specials!

Current Host code is JRZFR4QU


All online orders receive my FREE Curvy Celebrations 22 project PDF Tutorial! 

All Posts

  • Creative Cards Simple Sketch #CC2


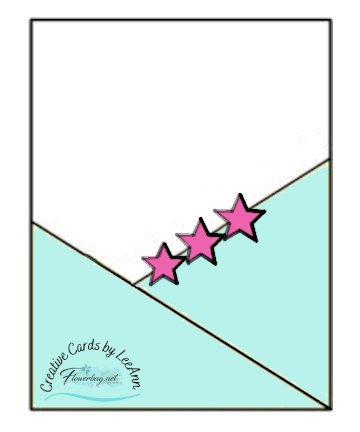
    Get inspired by sketches!  You can find them everywhere online; especially on Pinterest.  Just search for card sketches and you'll be amazed at the great layouts you'll come up with. 

    I've started a weekly challenge with my Flowerbug's Team where I share a card sketch or color challenge.  I'm calling them Creative Cards or #CC.  Here's the one we did last week: 

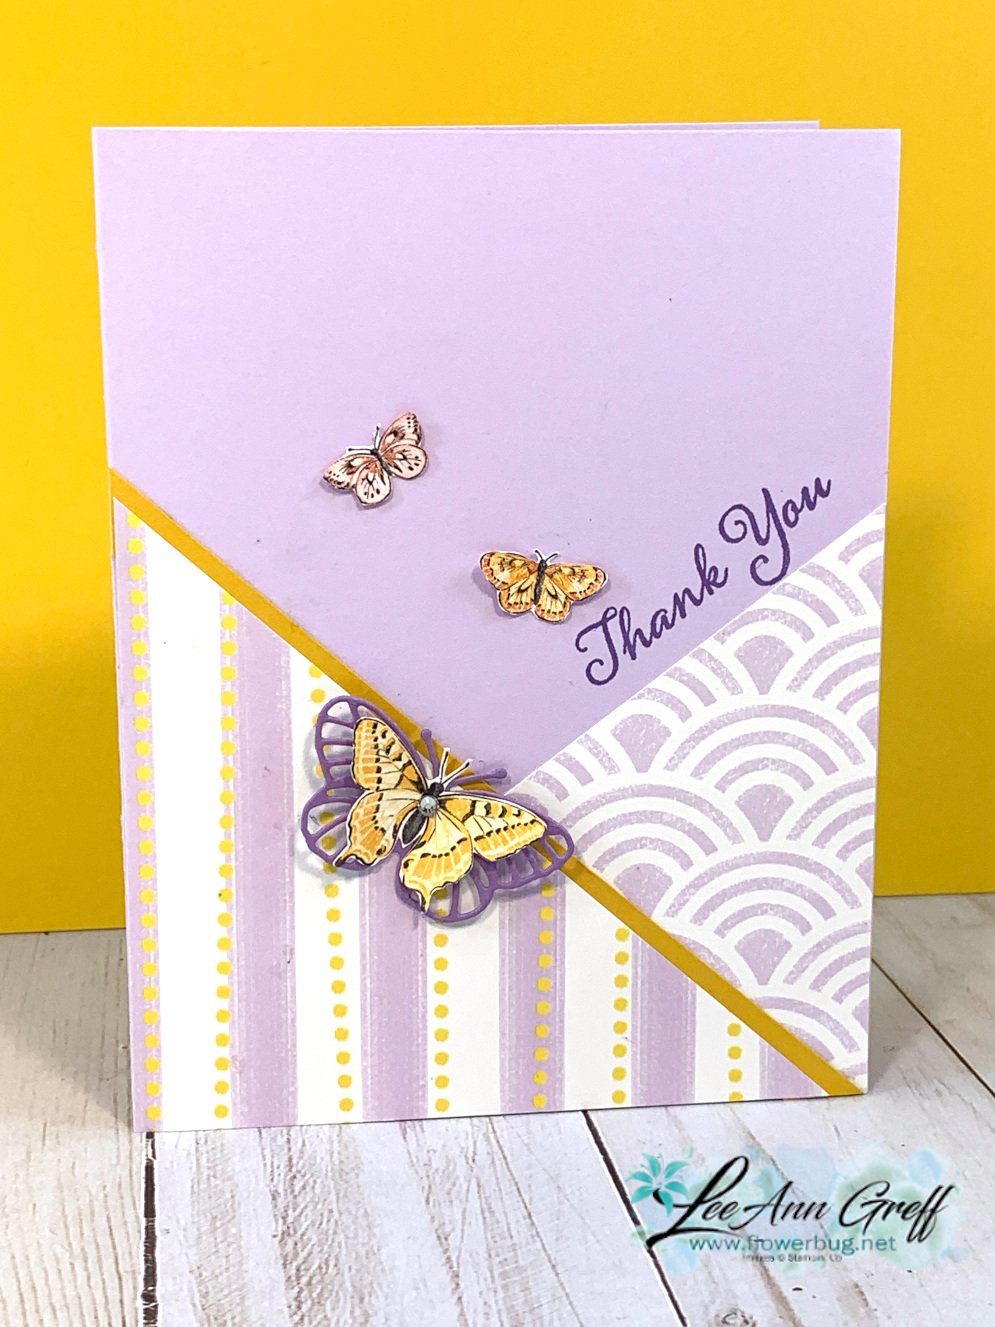
    And here's the card I came up with.  

    I chose to use the Playing with Patterns designer paper and a new product that's coming out to everyone in March.  It's called Butterfly Bouquet and it has gorgeous Designer Paper and a beautiful stamp & dies bundle.  The stamp & dies will be out in the upcoming 2021 Annual Catalog in May.  But they're releasing it early in March!  

    Demonstrators can order it now in February. On the card above I used mostly the DSP with just one purple die-cut. The greeting is from one of my favorite greeting sets; Happy Thoughts.  

    There are now just 7 days left of Sale-a-Bration!!! 

    That means you have one week to either purchase the Starter Kit deal (seen below) or get free stamps or paper!  Don't wait! 

    ~~~

    February Specials:

    Get the best deal during Sale-a-Bration with purchase of the Starter Kit!   Get $125 in products of your choice for just $99 and FREE shipping too!  

    Plus you get 5 packs of NEW 6" Designer Paper FREE. 


    Go here to read about it

    ~~~

    Current Host code is CGSK9YDR

    Order online here

    All online orders receive both a Hydrangea Hill and Sand & Sea projects PDF!


    ~~~

    Get a package of 150 Resin Hearts from me with an online order over $50 using the host code above. They're adorable and so tiny!

    *If your order is over $150 do not use the code; you'll still receive a gift! 

    Below are the Multipurpose Glue stands we're making. They're $6 each and available in my Shop here.  

    Click here to follow me on Facebook! 

    Leave a Reply

    Your email address will not be published. Required fields are marked *

  • Fun Origami Folded Window cards for FB Live Monday!


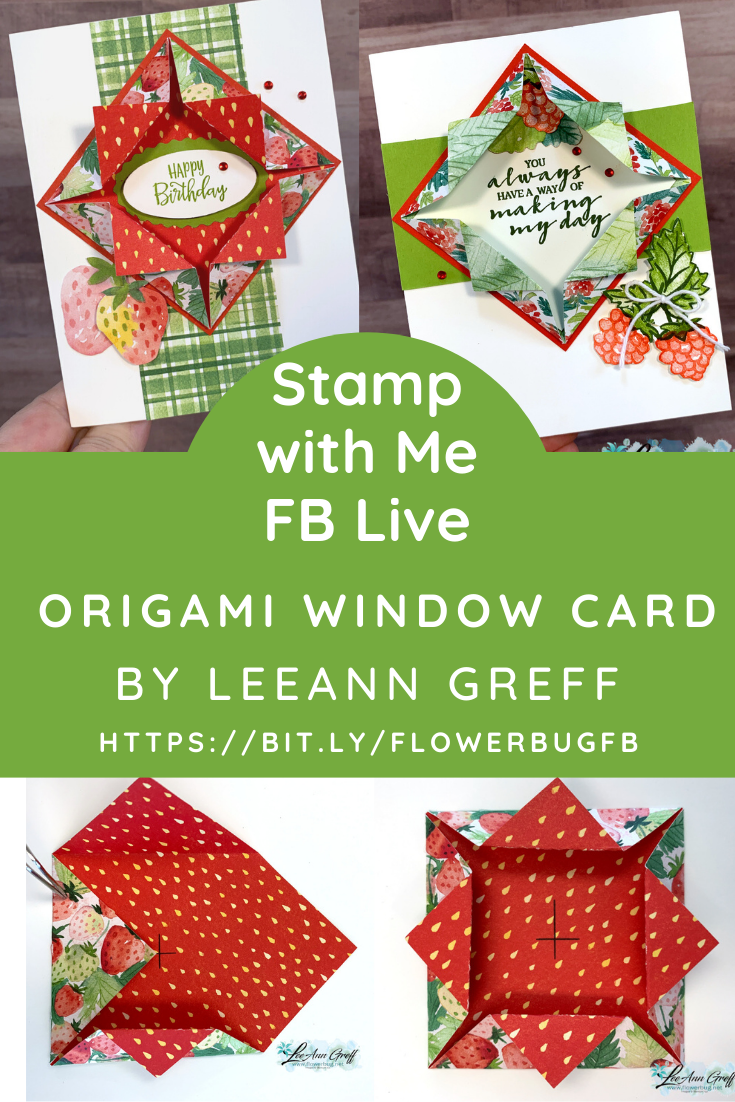
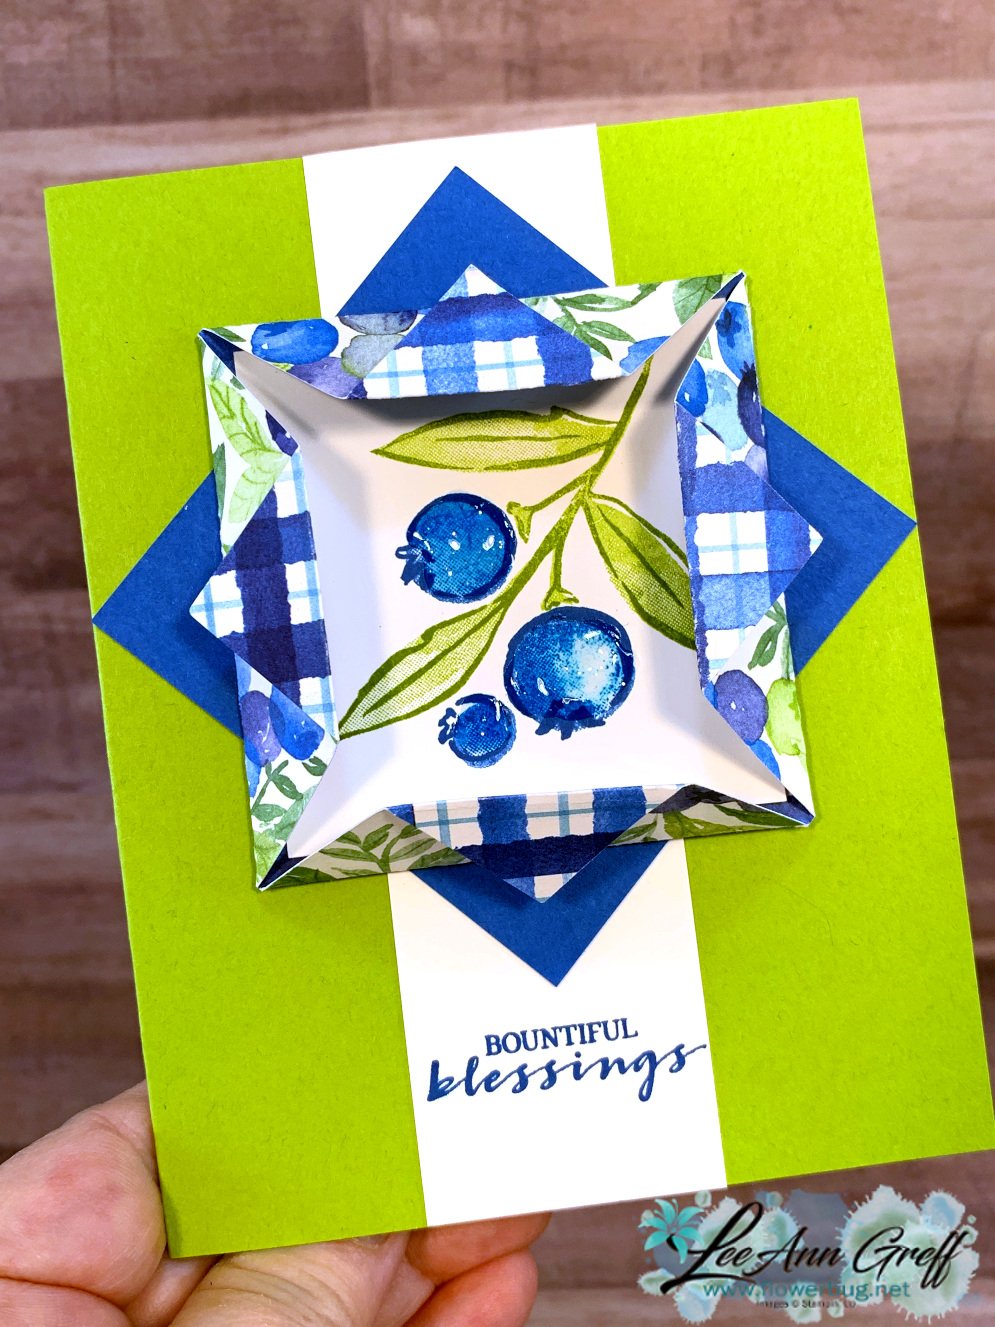
    Have you made an origami folded window?  They're so easy to do!  I'll be making cards like these on Monday night's FB Live 'Stamp with Me' here. 

    How does 'Stamp with Me' work?  I share the projects a few days before the Live to give you time to prep your pieces.  You use the paper, stamps & ink you have to stamp right along with me!  

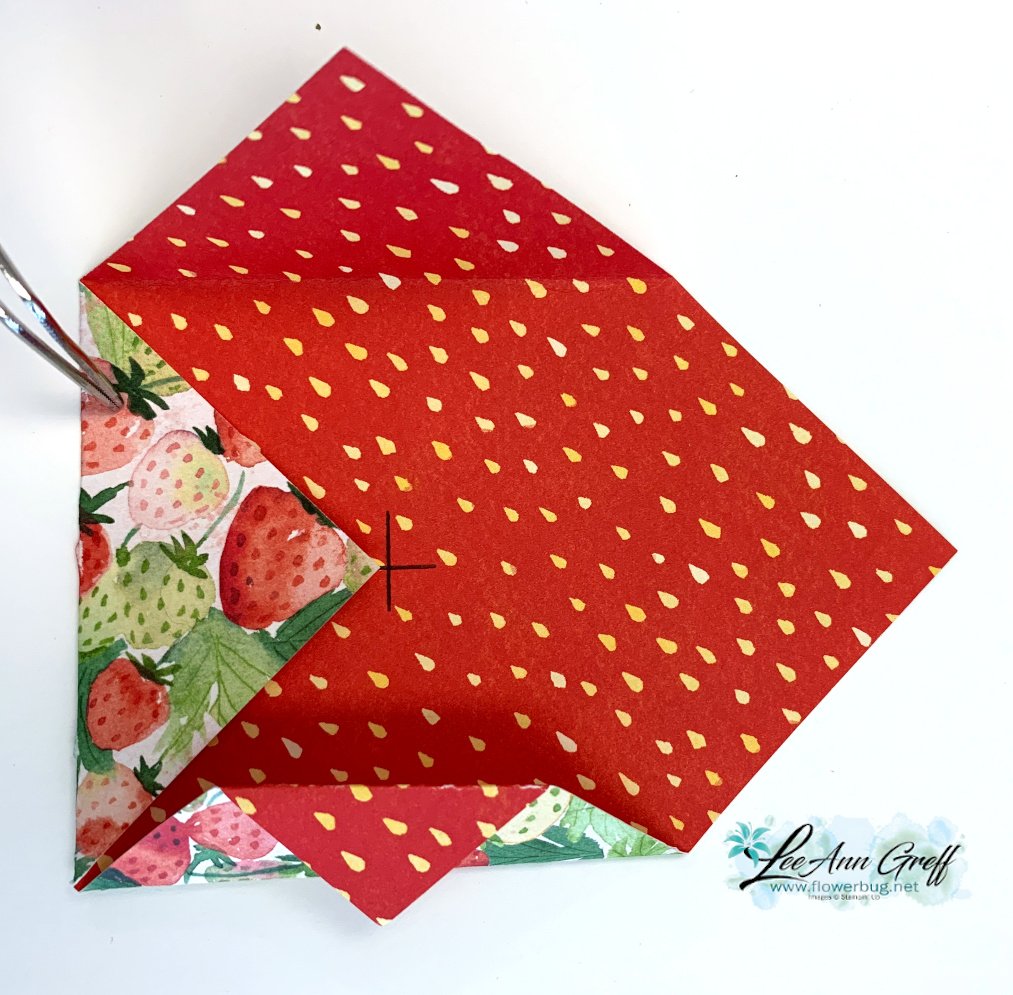
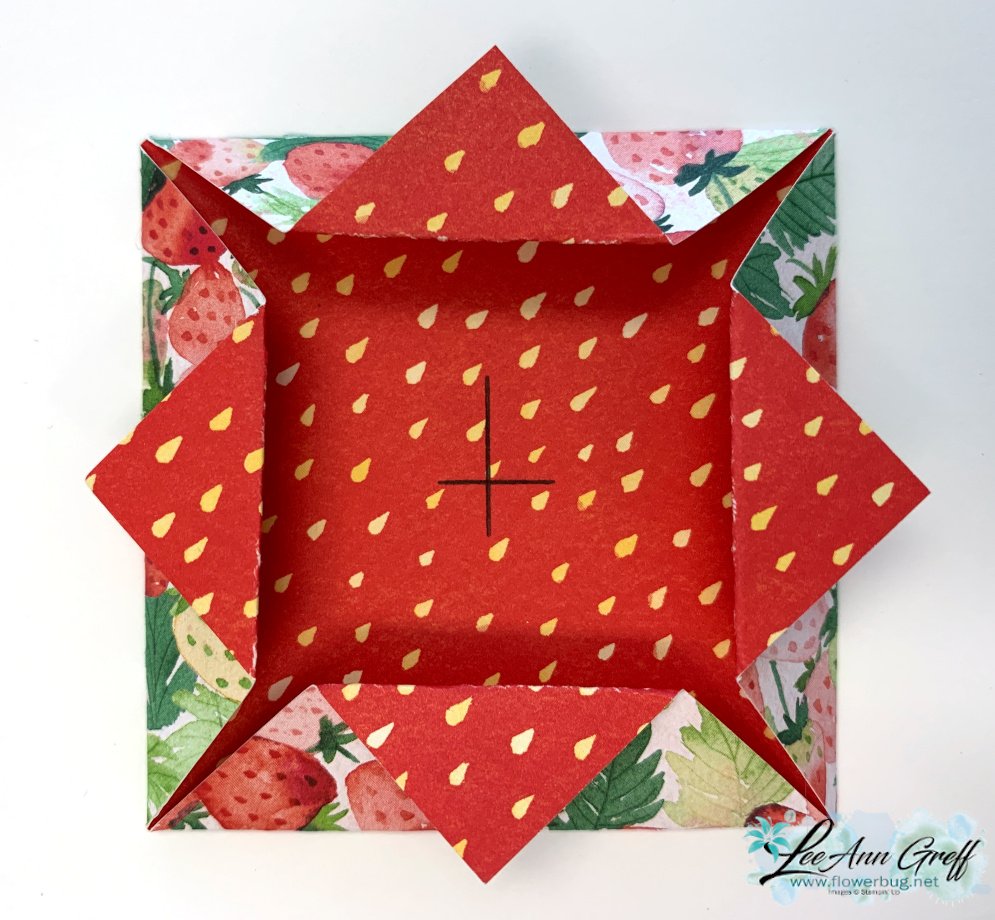
    You'll start with a 4" square of Designer Paper.  I chose to use the Berry Delightful paper from the Sale-a-Bration catalog. 

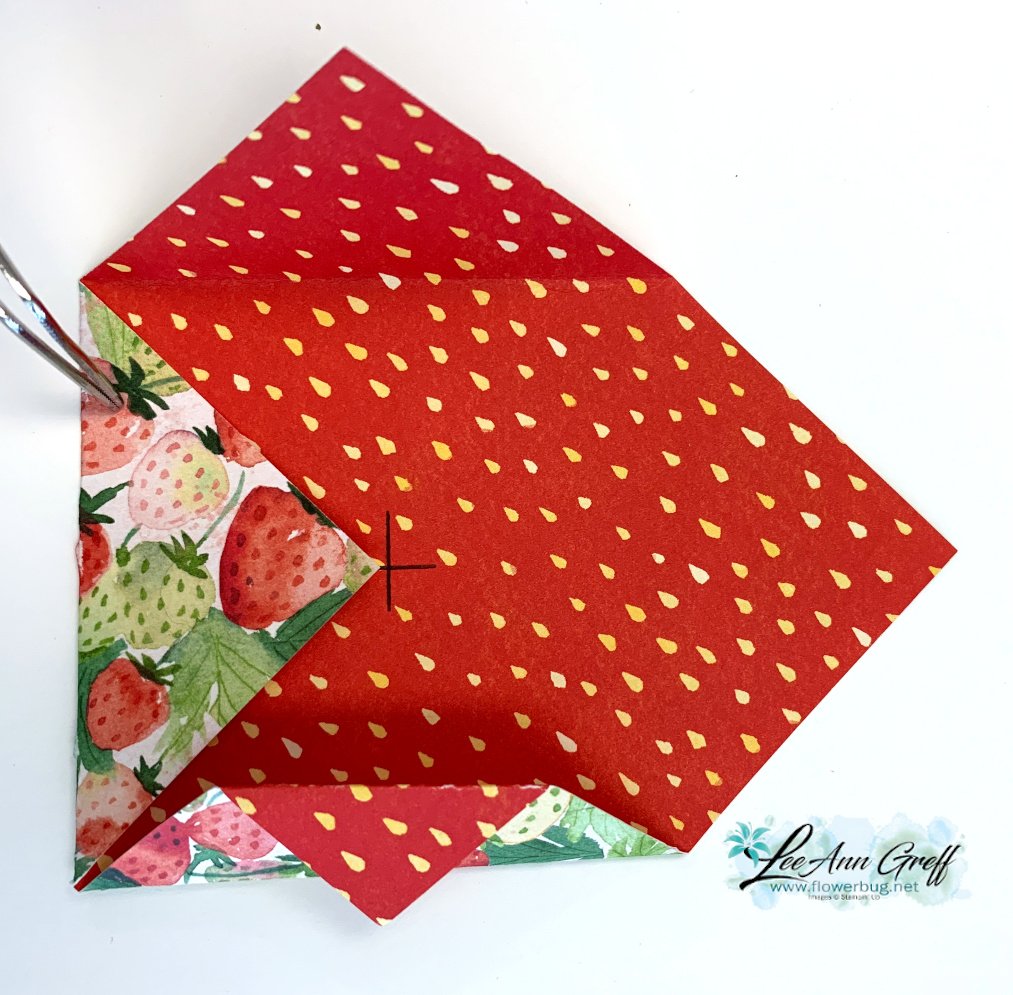
    Then you draw an X in the center. Do this by placing a ruler from corner to corner.  Draw a line.  Do the same once more on the other corners.  This X is where you will bring the DSP point up to.  Press well and then fold back the tip to the fold. Do this on all corners!  


    It looks like the tip hangs off the corner but it doesn't. I added a layer to some of these measuring 3" square.  If you add a stamped layer inside that is 2 3/4" square. 

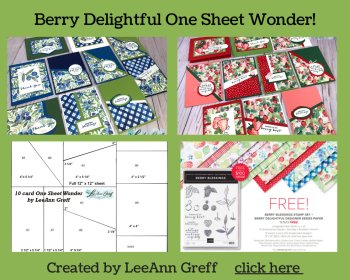
    The stamps are from the Berry Blessings stamp set; it comes with this super fun designer paper in a bundle.  It's FREE with a $100 order through February 28th.  If you place an order to earn this bundle you'll also receive a free 10 cards kit from me for my 12 X 12" one sheet wonder. See it here. 


    Here's the link to this video.

    ~~~

    February Specials:

    Get the best deal during Sale-a-Bration with purchase of the Starter Kit!   Get $125 in products of your choice for just $99 and FREE shipping too!  

    Plus you get 5 packs of NEW 6" Designer Paper FREE. 


    Go here to read about it


    ~~~

    Current Host code is CGSK9YDR

    Order online here

    All online orders receive both a Hydrangea Hill and Sand & Sea projects PDF!


    ~~~

    Get a package of 150 Resin Hearts from me with an online order over $50 using the host code above. They're adorable and so tiny!

    *If your order is over $150 do not use the code; you'll still receive a gift! 

    Below are the Multipurpose Glue stands we're making. They're $6 each and available in my Shop here.  

    Click here to follow me on Facebook! 

    Leave a Reply

    Your email address will not be published. Required fields are marked *

  • Seashells fun fold card; wow!


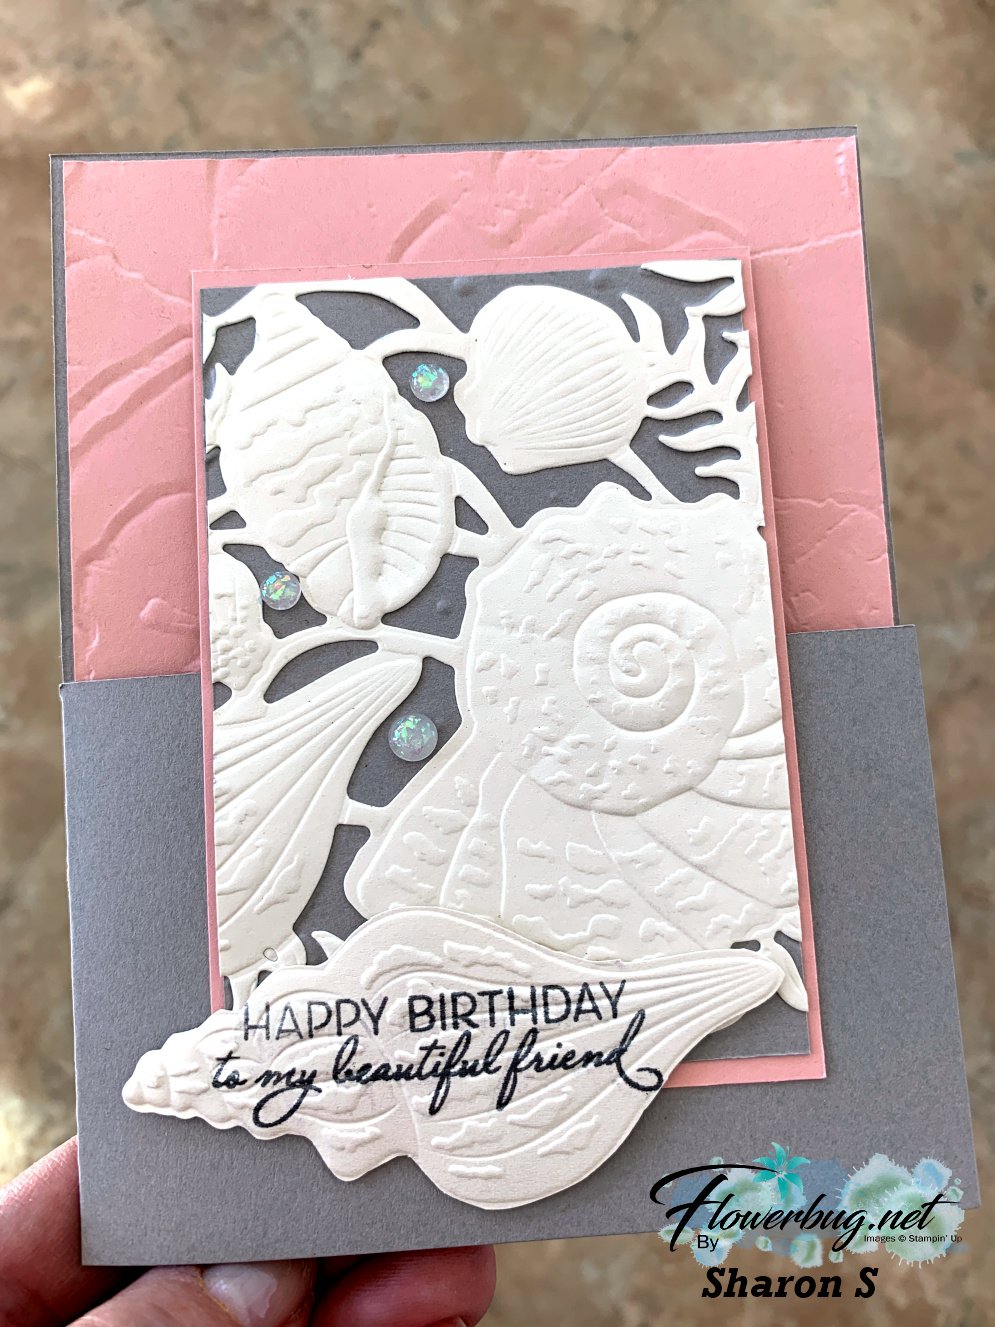
    Sharon created this gorgeous 'dutch door' fun-fold card for our February Team swap. 

    I think stamping on the die-cut shell before embossing is the neatest idea!  She used the Friends are Like Seashells bundle with the Seashells 3D embossing folder. 

    Her colors are Blushing Bride with Gray Granite and our new Pearlescent Paper.  This specialty paper is absolutely stunning! See it here. 

    That great texture on the back layer is made with the Painted Texture embossing folder seen here. 

    Measurements: 

    • Gray Granite 8 1/2" X 5 1/4" and trim off 2 3/4" X 4 1/4" on the upper left front. Front is 4" X 2 3/4"
    • Pearlescent paper is also 4" X 2 3/4" 
    • Blushing Bride 4 1/8" X 5 3/8" inside, 2 7/8" X 4 1/8" front
    • Vanilla inside is 2 3/4" X 4" 

    *Remember that if you have a nice wish list February is a great time to whittle it down!  You can choose to order as a customer and earn free Sale-a-Bration items or get the Starter Kit option and get 25% off a $125 order.  And then get 20% off all further purchases! Details in this post or click here.

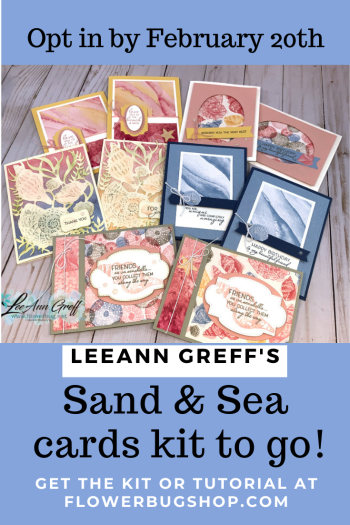
    Today's the last day to get in on my Sand & Sea cards kit to go.  Click here to get the kit or the tutorial. 


    ~~~

    February Specials:

    Get the best deal during Sale-a-Bration with purchase of the Starter Kit!   Get $125 in products of your choice for just $99 and FREE shipping too!  

    Plus you get 5 packs of NEW 6" Designer Paper FREE. 


    Go here to read about it

    ~~~

    Current Host code is CGSK9YDR

    Order online here

    All online orders receive both a Hydrangea Hill and Sand & Sea projects PDF!


    ~~~

    Get a package of 150 Resin Hearts from me with an online order over $50 using the host code above. They're adorable and so tiny!

    *If your order is over $150 do not use the code; you'll still receive a gift! 

    Below are the Multipurpose Glue stands we're making. They're $6 each and available in my Shop here.  

    Click here to follow me on Facebook! 

    Leave a Reply

    Your email address will not be published. Required fields are marked *


Notice: LeeAnn Greff, Independent Stampin’ Up! Demonstrator, Manager. The content of this website is my sole responsibility as an independent Stampin’ Up! demonstrator and the use of, and content of, the classes, services, or products offered on this website is not endorsed by Stampin’ Up! Copyright 2025