/


Latest Post

Create this eye-catching scene with ink and blending brushes; video tutorial too!


Here's another card I created on last week's video. Do you love colorful scenes too? 

Here I used Cloud Cover cardstock for my base; scored it an extra time to create a flap near the center. This is a great way to add the main element of your card.  In this case it's a stamped and colored tree scene on our new Party Banner dies.  

I found the Peaceful Pier stamp set seen here to be perfect for my scenes. It's a great line-art set you don't have to color in, as you can see in my example. 

Here is the free project sheet with measurements and supplies listed: Click on the following link to download it.  Download Peaceful Pier fun fold scene

I am now adding my project sheets to my Flowerbug's Stamp & Share FB group the same day I share the live video.  Click here to join the group. 
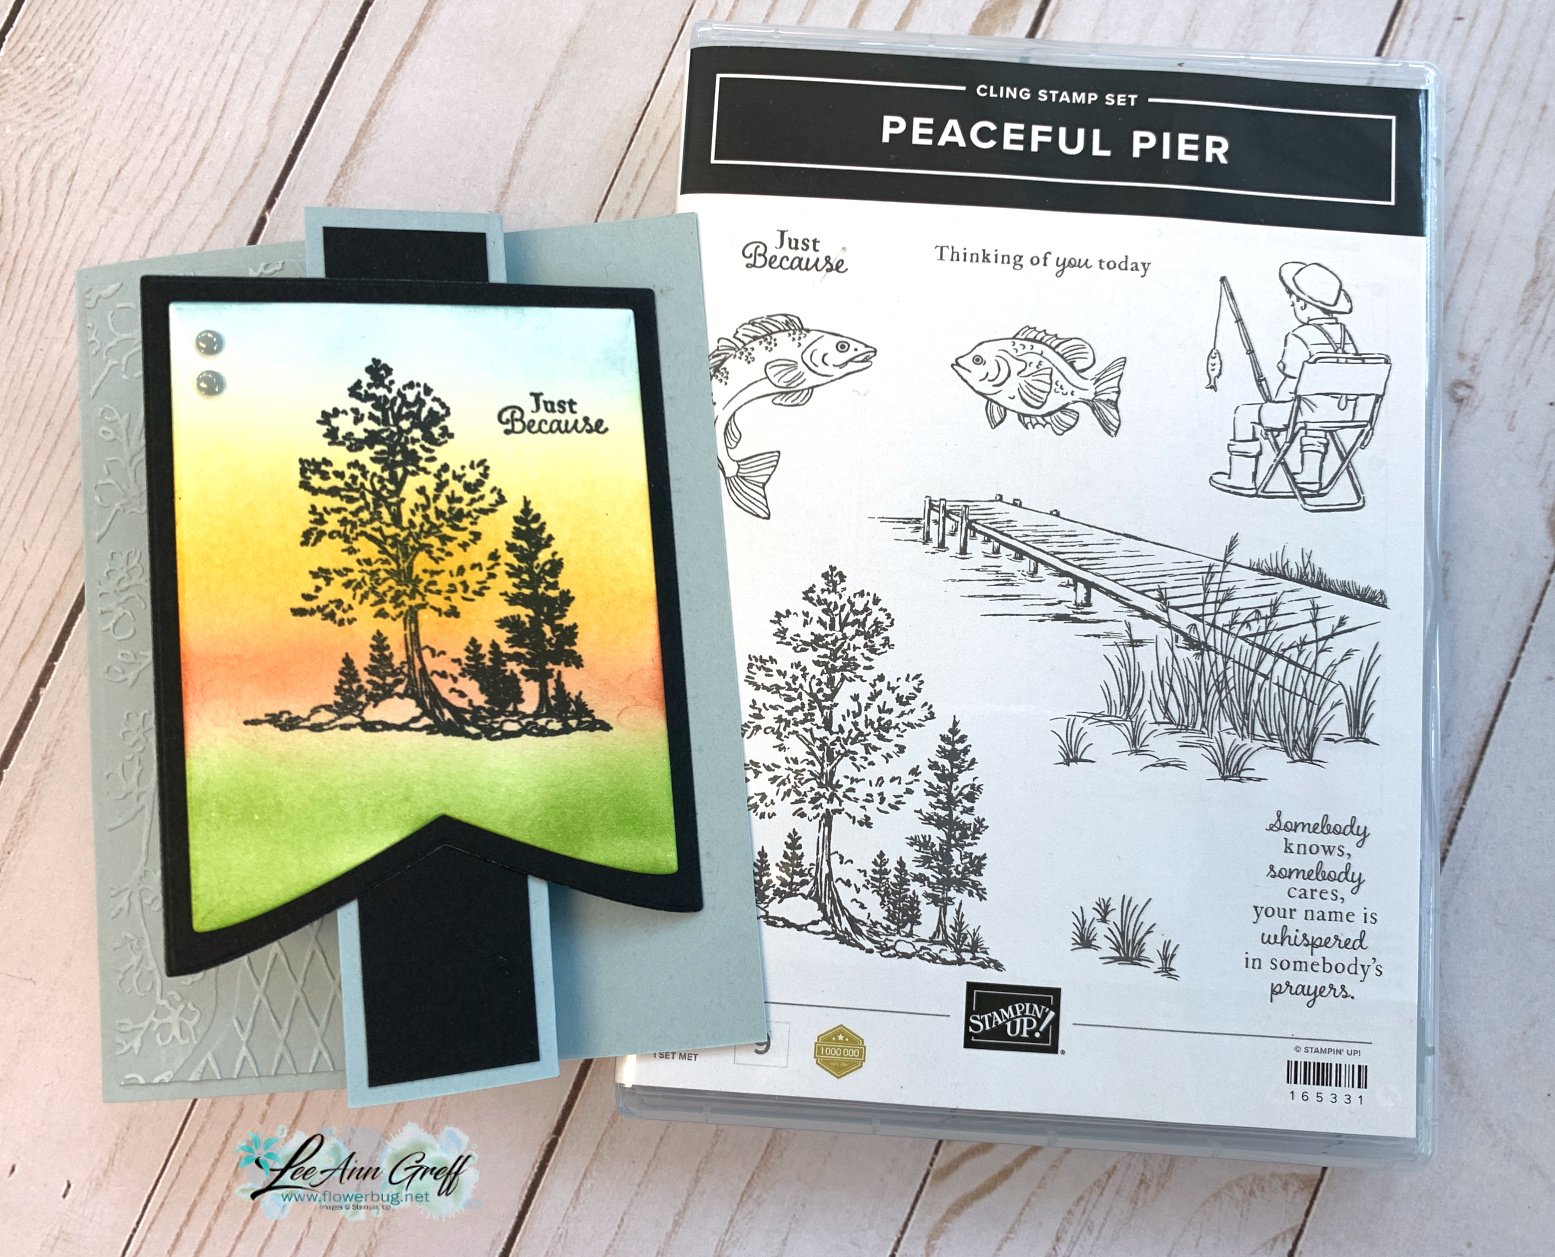
I used these inks for blending; from bottom to top – Granny Apple Green, Calypso Coral, Daffodil Delight and Cloud Cover. Blending brushes make it easy to add ink smoothly. But there are tricks to it!  

Below is the video tutorial on how to add ink smoothly with Blending Brushes.  I hope you watch it!

~~~

June Specials:

The Suite Sale is on! 

Buy one get 50% the second item – on all available suite products. 

Shop here or see products below: 

~~~

Last Chance List has been updated!  see it all here. Don't miss out on the deals!

~~~

Earn free card kits in June with online orders! Get 4 kits with a $50 order and orders over $80 receive all 6 cards. All you need are greetings, gems and adhesives to assemble. 

Order here 

~~~

Get my Celebratory Sips PDF tutorial free with any online order in June!

All Posts

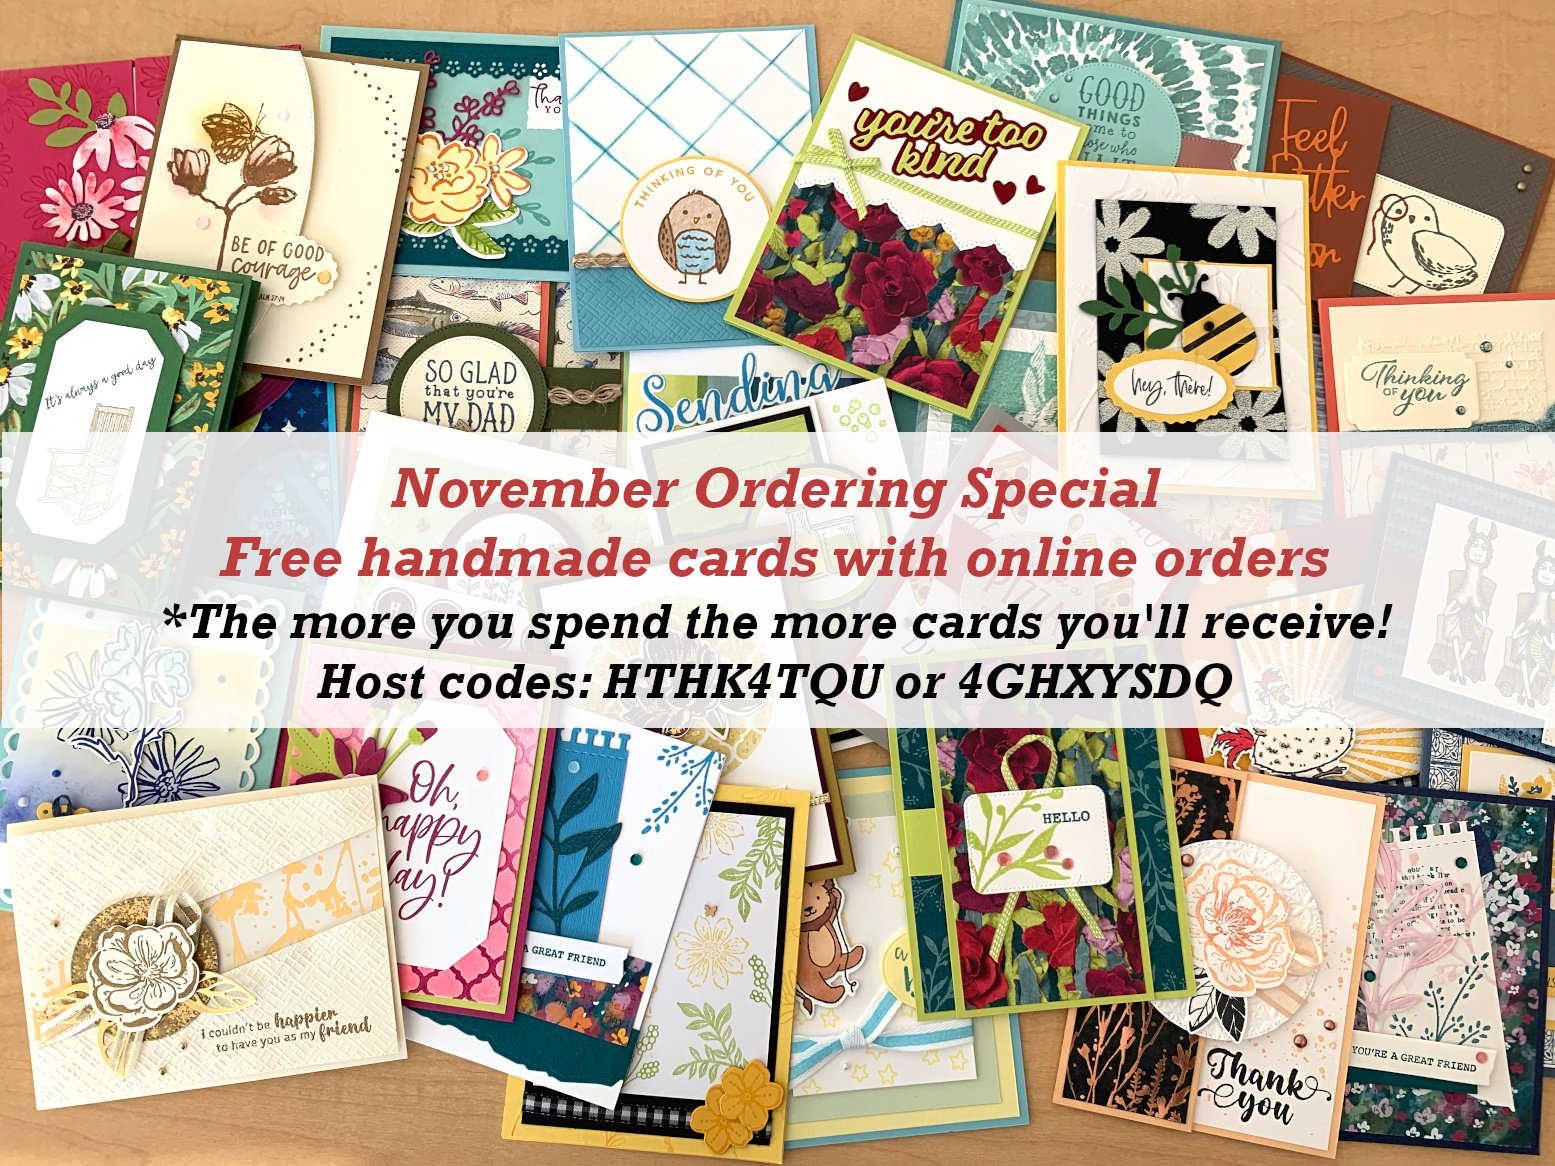
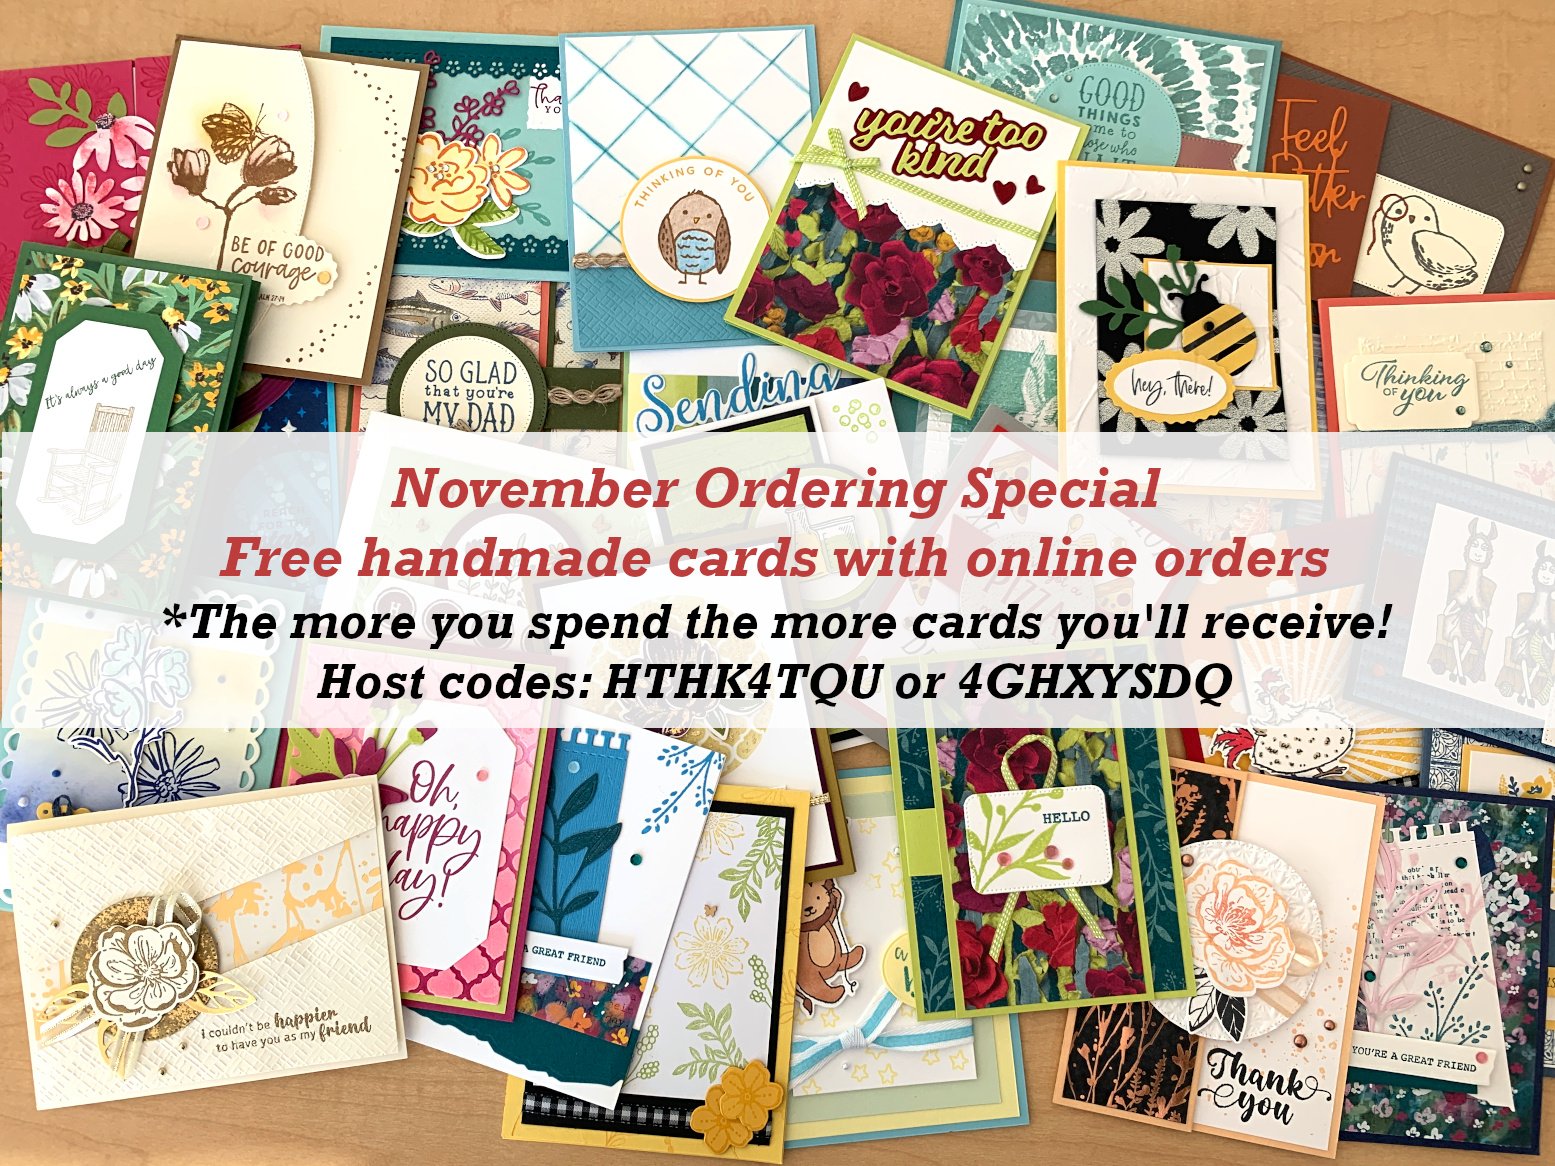
  • Get free handmade cards from me in November. And a brand new card kit in the Kit Collection!


    It's November! It's hard to believe we're starting to think about Thanksgiving already!  

    I have a bunch of handmade cards I'd love to share with you. I know many of you love having card samples in hand for ideas. I have a shoebox full saved for quick reference when I'm creating.  

    My November special for online orders is a set of handmade cards. The more you order the more cards you'll receive!  

    Please use a host code when ordering from me. This helps me a lot so I can afford to gift you all with free items each month. 

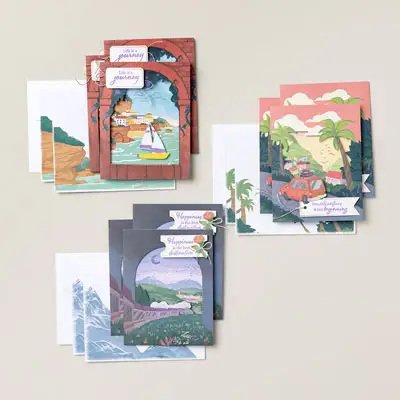
    Starting today there's a brand new kit in our Kit Collection; it's a set of cards with a 'destination' theme. It's called the Best Destination Kit – item #163186. 


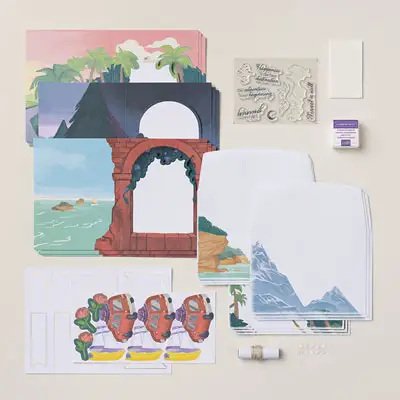
    This all inclusive kit is $20 and includes:

    • Enough supplies to create 9 cards—3 each of 3 designs
    • 9 coordinating envelopes
    • Best Destination Photopolymer Stamp Set
    • One Gorgeous Grape Ink Spot
    • Printed card bases, printed die cuts, adhesive, embellishments, and a clear block
    • Finished card size: 5-1/2" x 4-1/4" 

    Here are the pretty scenic cards:

    Remember that our Kit Collection kits are all inclusive. This means that everything you need is in the kit.  However you may need a paper snips scissors and I recommend adhesive too. The kits usually include dimensionals or glue dots but if you're a crafter you'll want your own adhesive.

    Look at all you get!

    Here's a close-up of the stamp set that's included:

    See this kit & others here in our Kit Collection. 

    ~~~

    November Specials: 

    *current host code: HTHK4TQU or 4GHXYSDQ

    Leave a Reply

    Your email address will not be published. Required fields are marked *

  • Gorgeous Abundant Beauty Kraft notecards with gift box


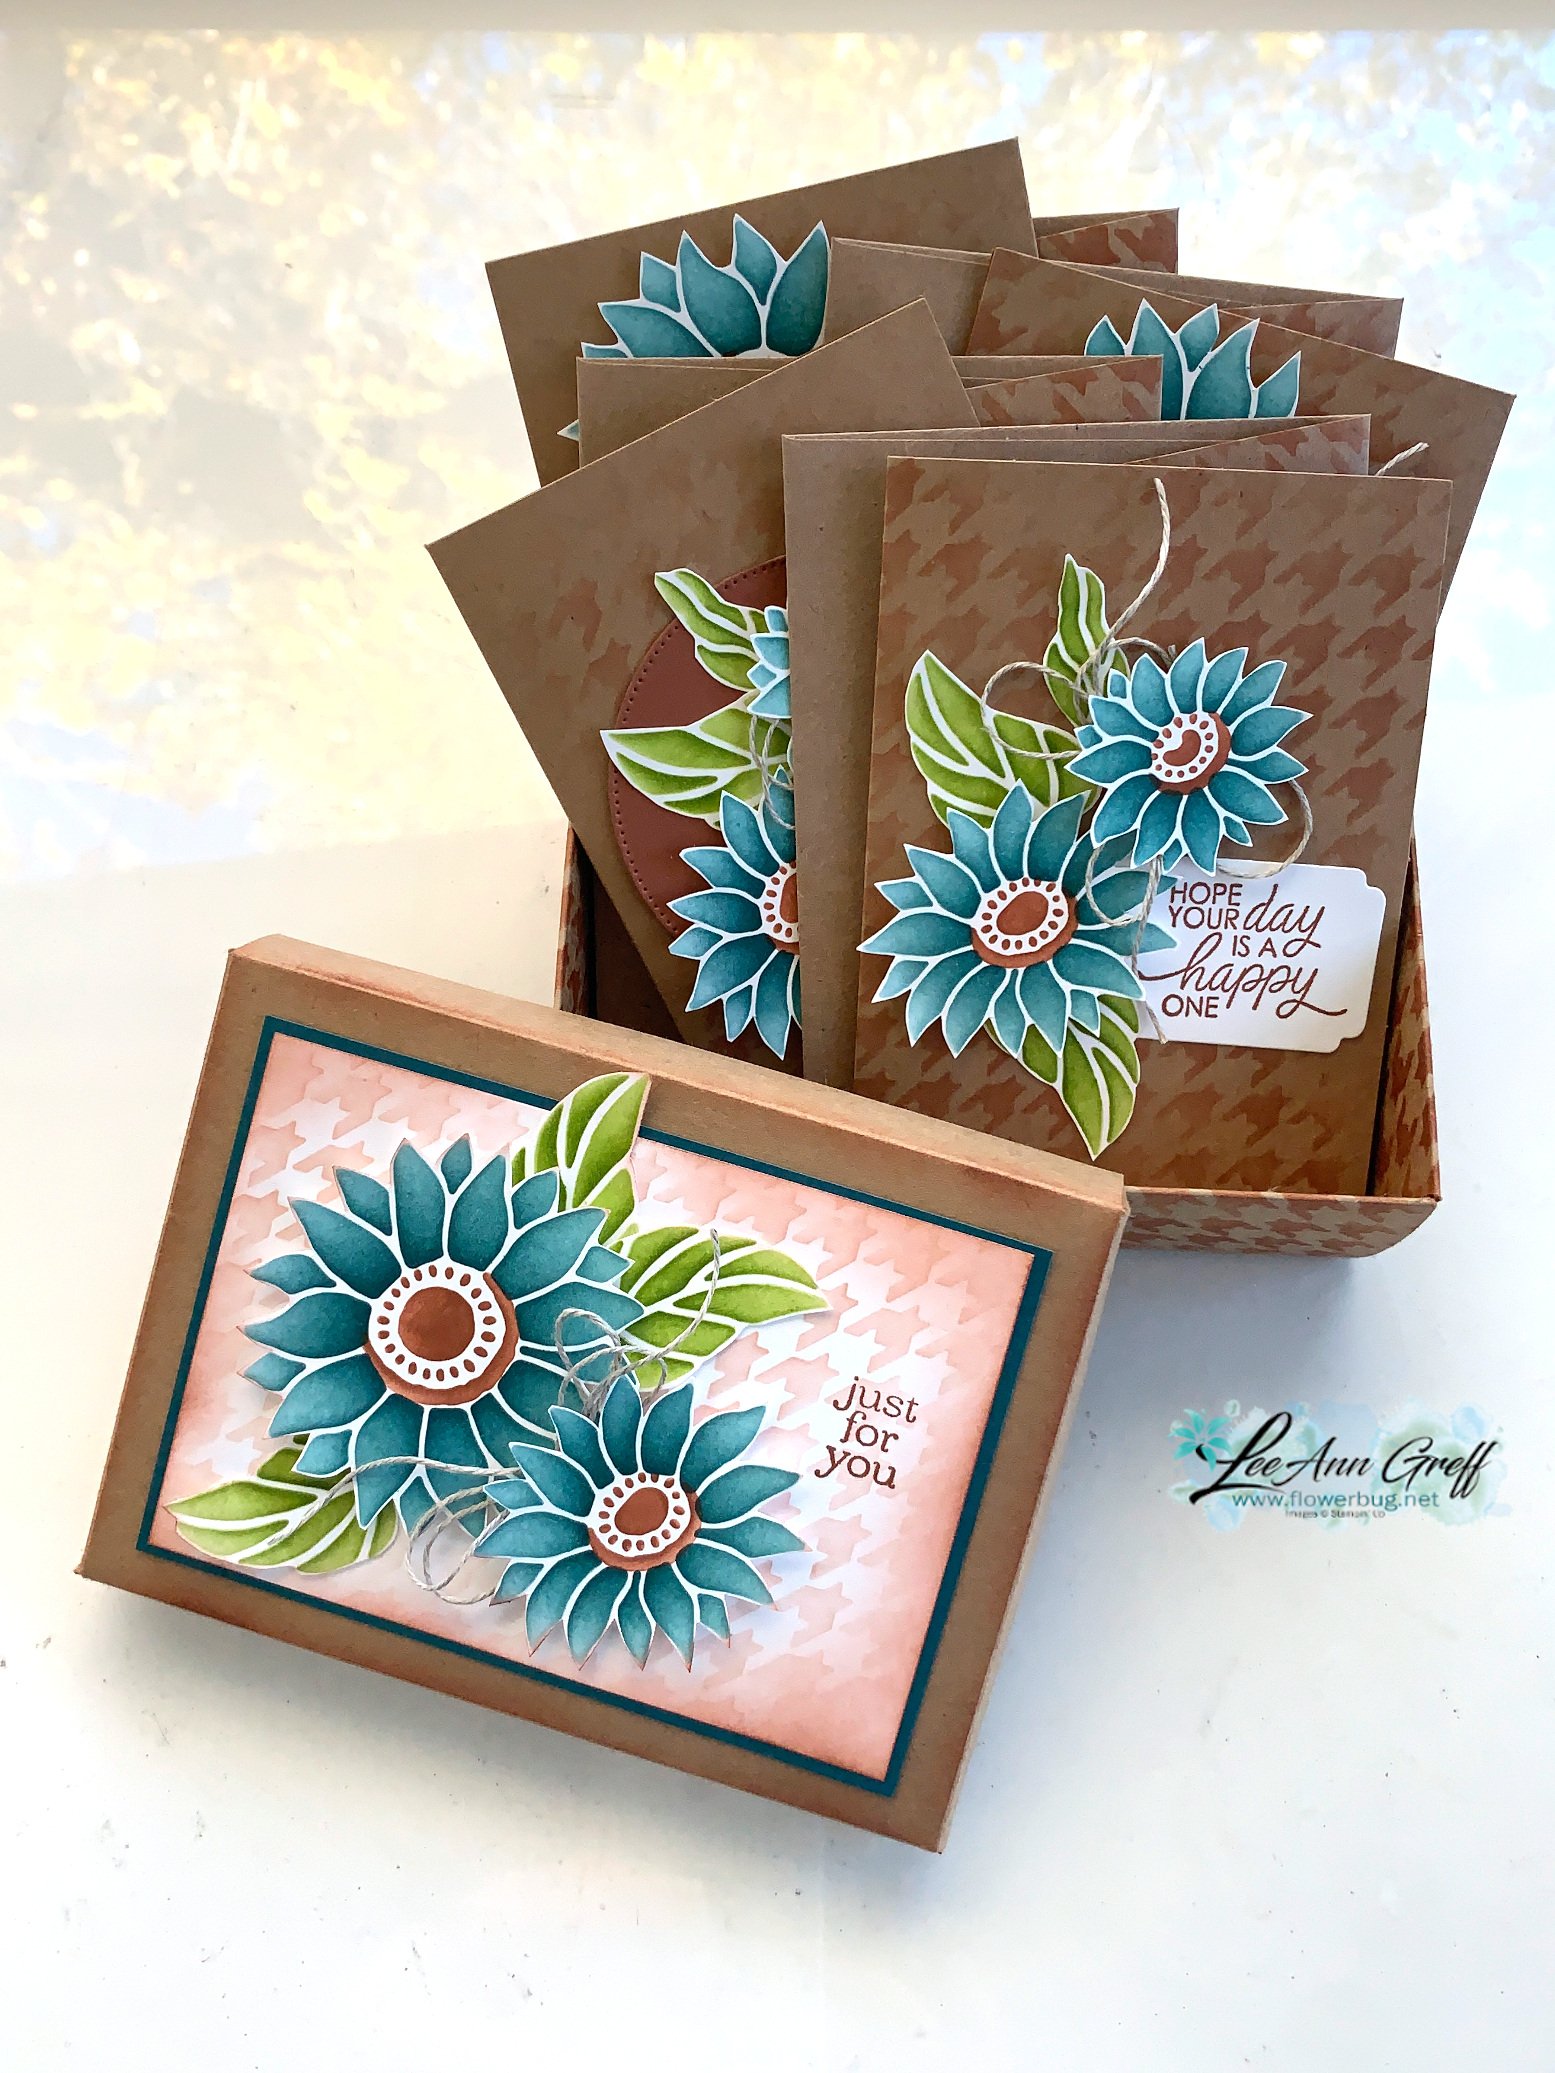
    I was inspired by this set of cards & box by a project shared online. I changed up the colors to 'my' favorites and created this:

    I absolutely LOVE the Abundant Beauty Decorative masks seen here! The sunflowers are my favorite of course, but I also used the houndstooth mask here as well. Unfortunately these masks are out of stock right now. They'll be back around November 13th. 

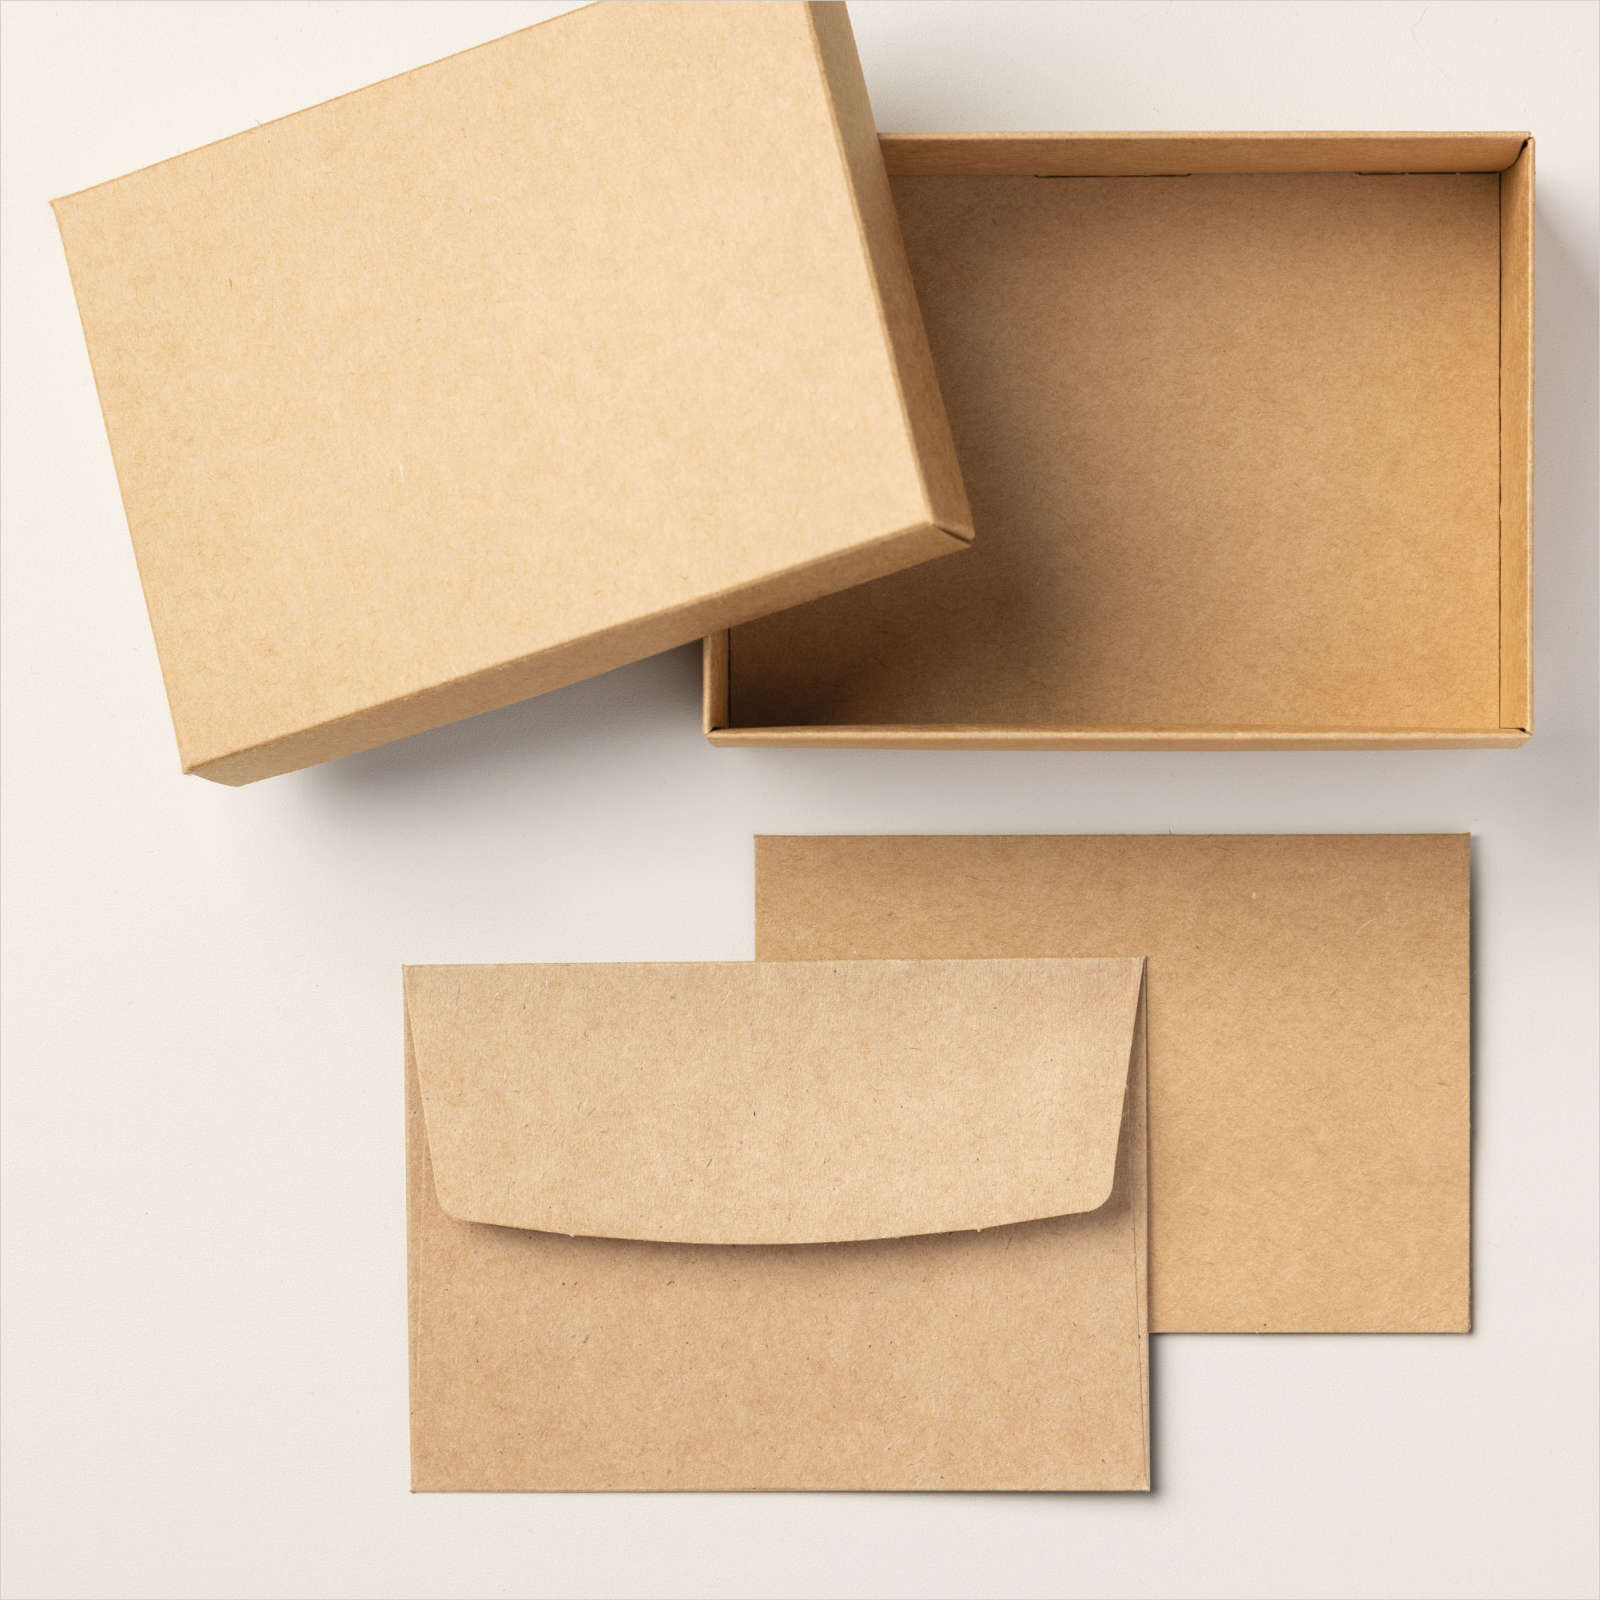
    You might think I made this box but I sure didn't!  It's found on page 135 of our Annual Catalog. It includes 20 cards & 20 envelopes and one box for gifting cards in; all in Kraft paper.  The cards are notecard side which is 5" X 3 1/2". See it here online. 

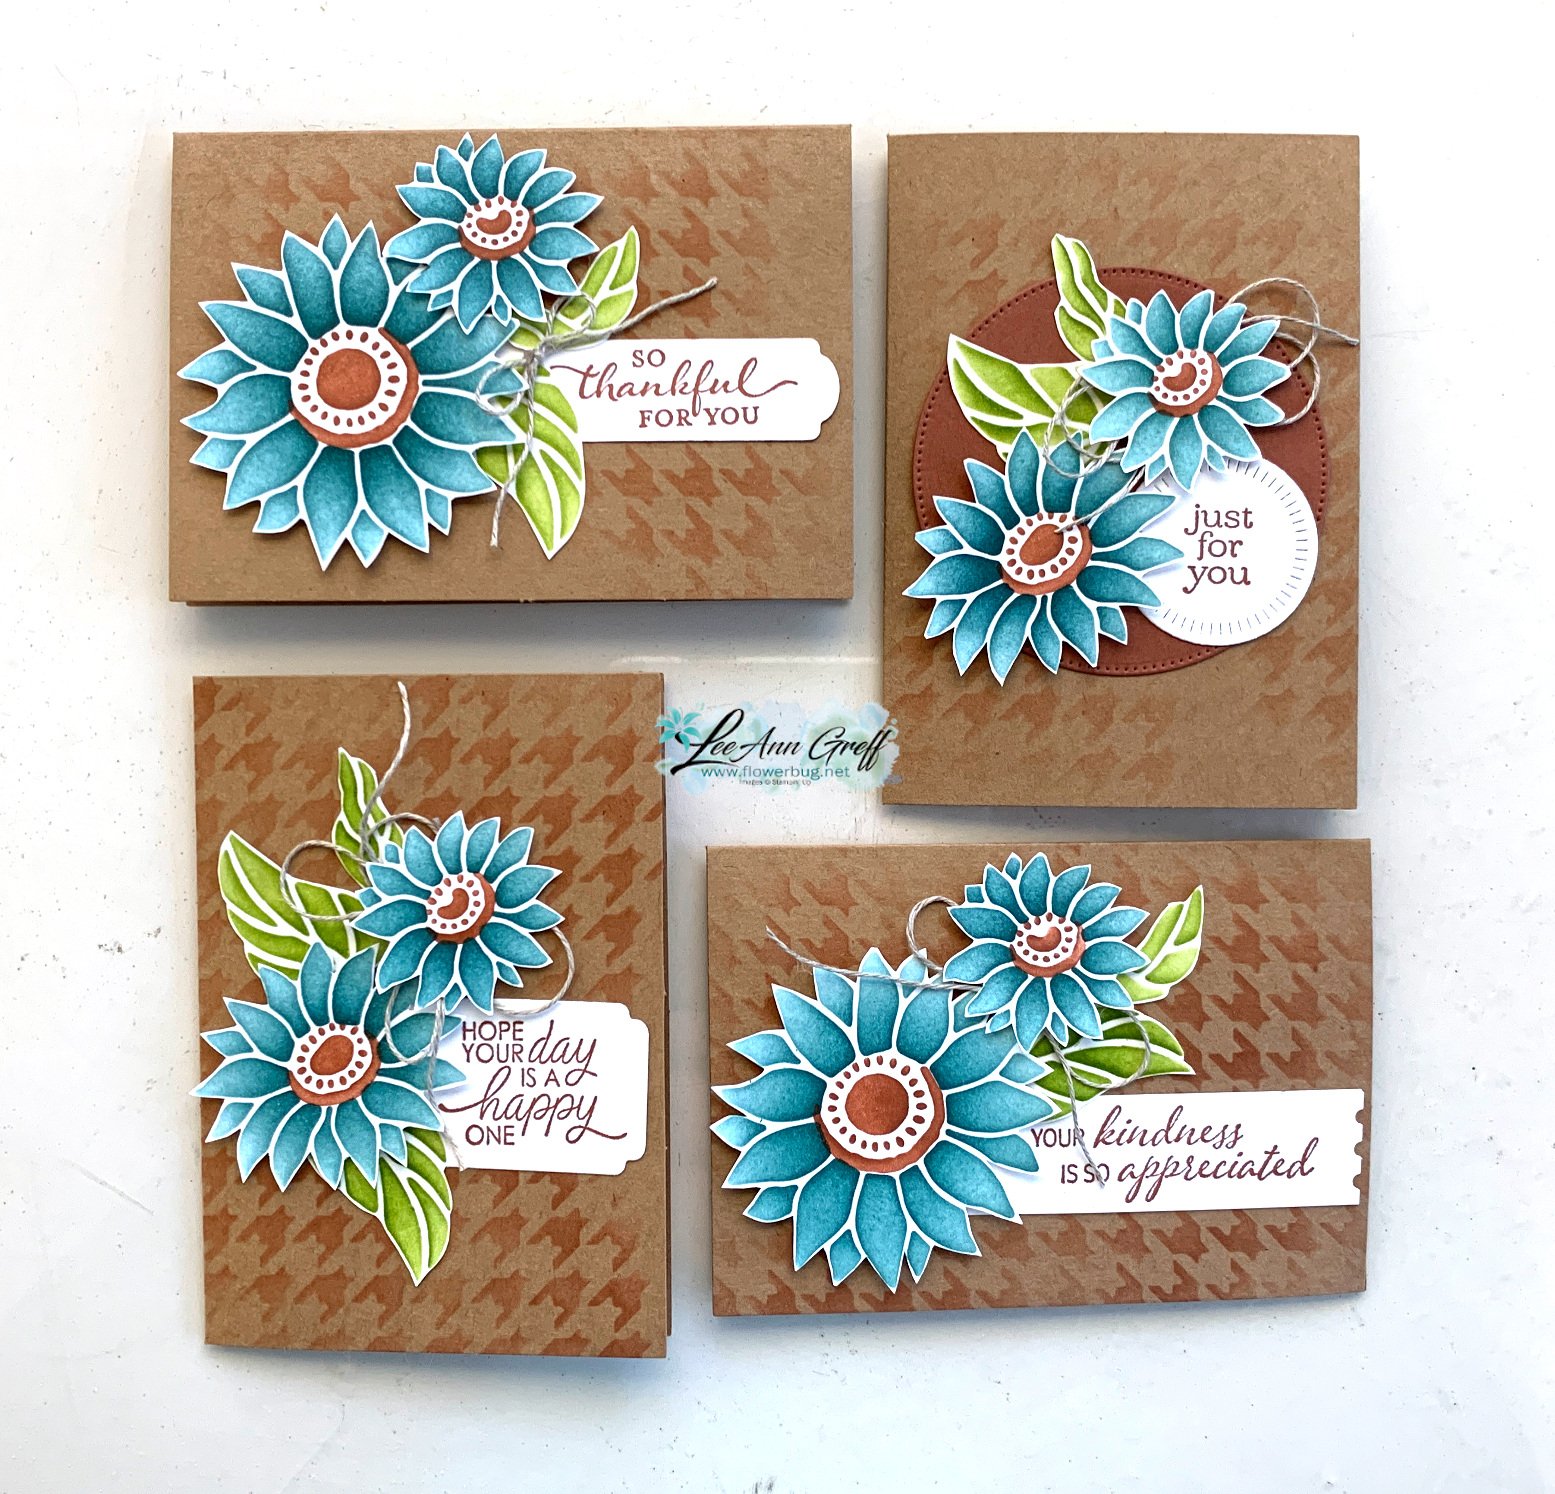
    As you can see in the photo below I used the houndstooth mask to add a soft background to each notecard.  I used a blending brush and Copper Clay ink.  

    The sunflowers are made with Pretty Peacock ink and the leaves are Granny Apple Green on White cardstock. Yes; they are all fussy cut! I did some but my friend Pat did the rest for me; she loves to fussy cut things! 

    The greetings are from the So Sincere stamp set from the 2023 Holiday catalog.  It's my favorite greeting set right now. See it here. 


    You can see in the photo below that I added the houndstooth pattern to the entire box, inside & out.  Because it comes flat it's easy to do. 

    I hope you're inspired by this project.  I'm not sure who will receive it yet, but it will be someone special! 

    ~~~

    November Specials: 

    *current host code: HTHK4TQU or 4GHXYSDQ

    Leave a Reply

    Your email address will not be published. Required fields are marked *

  • Neat card fold that shows off your double-sided designer paper! Free project sheet & video too


    Happy Halloween!  

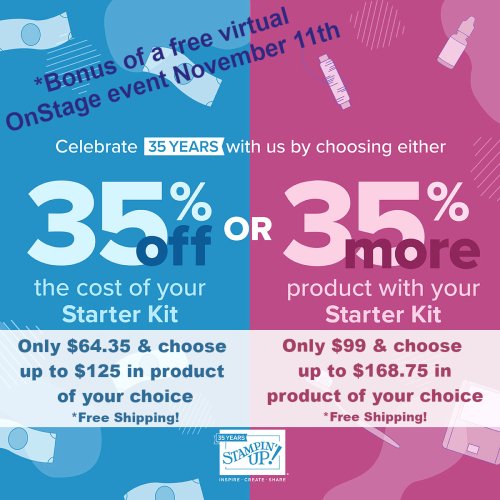
    Today is the last day of the October Starter kit special of 35 % off or 35 % more! 

    If you have a wish list more than $65 I hope you consider it!  For the next 6 months all of your Stampin' Up! orders will be at a 20% discount!  I'd love to see you save some money and get the starter kit.  

    ~~~

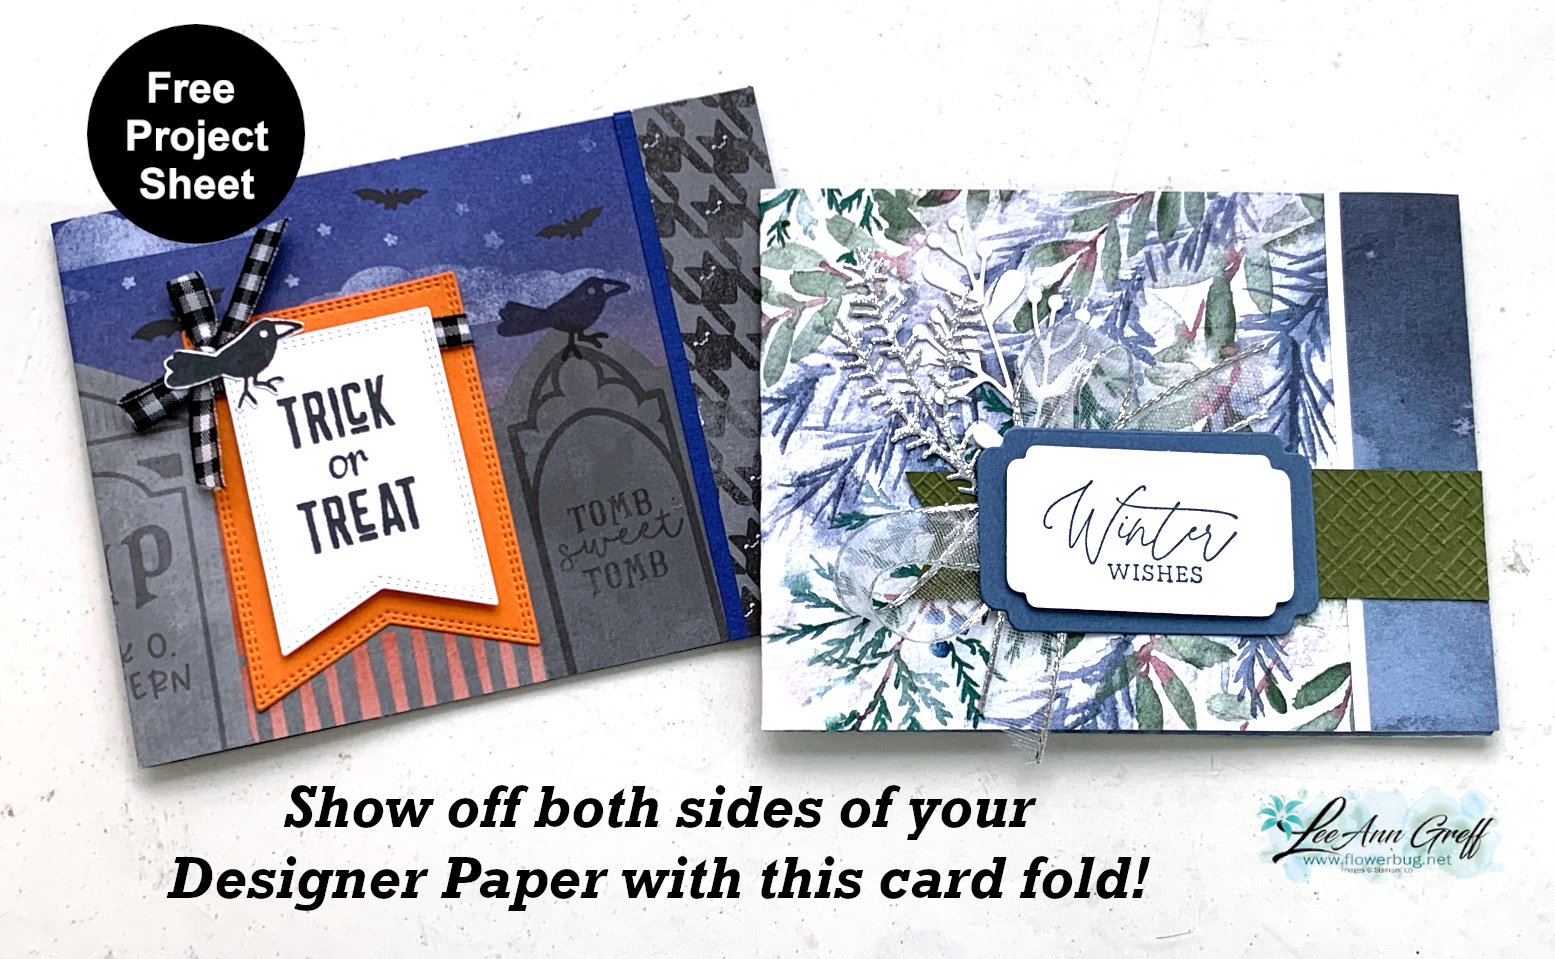
    I shared these neat cards on last week's video.  This layout truly shows off both sides of your double-sided designer paper!

    I made the Trick or Treat card before the video and the Winter Wishes card during the video that you can watch here.

    Trick or Treat card details:

    • Them bones designer paper seen here
    • Greeting is from Throughout the Year set (2023 Holiday catalog)
    • Greeting die-cuts are from the Nested Essential dies
    • Black & White Gingham ribbon

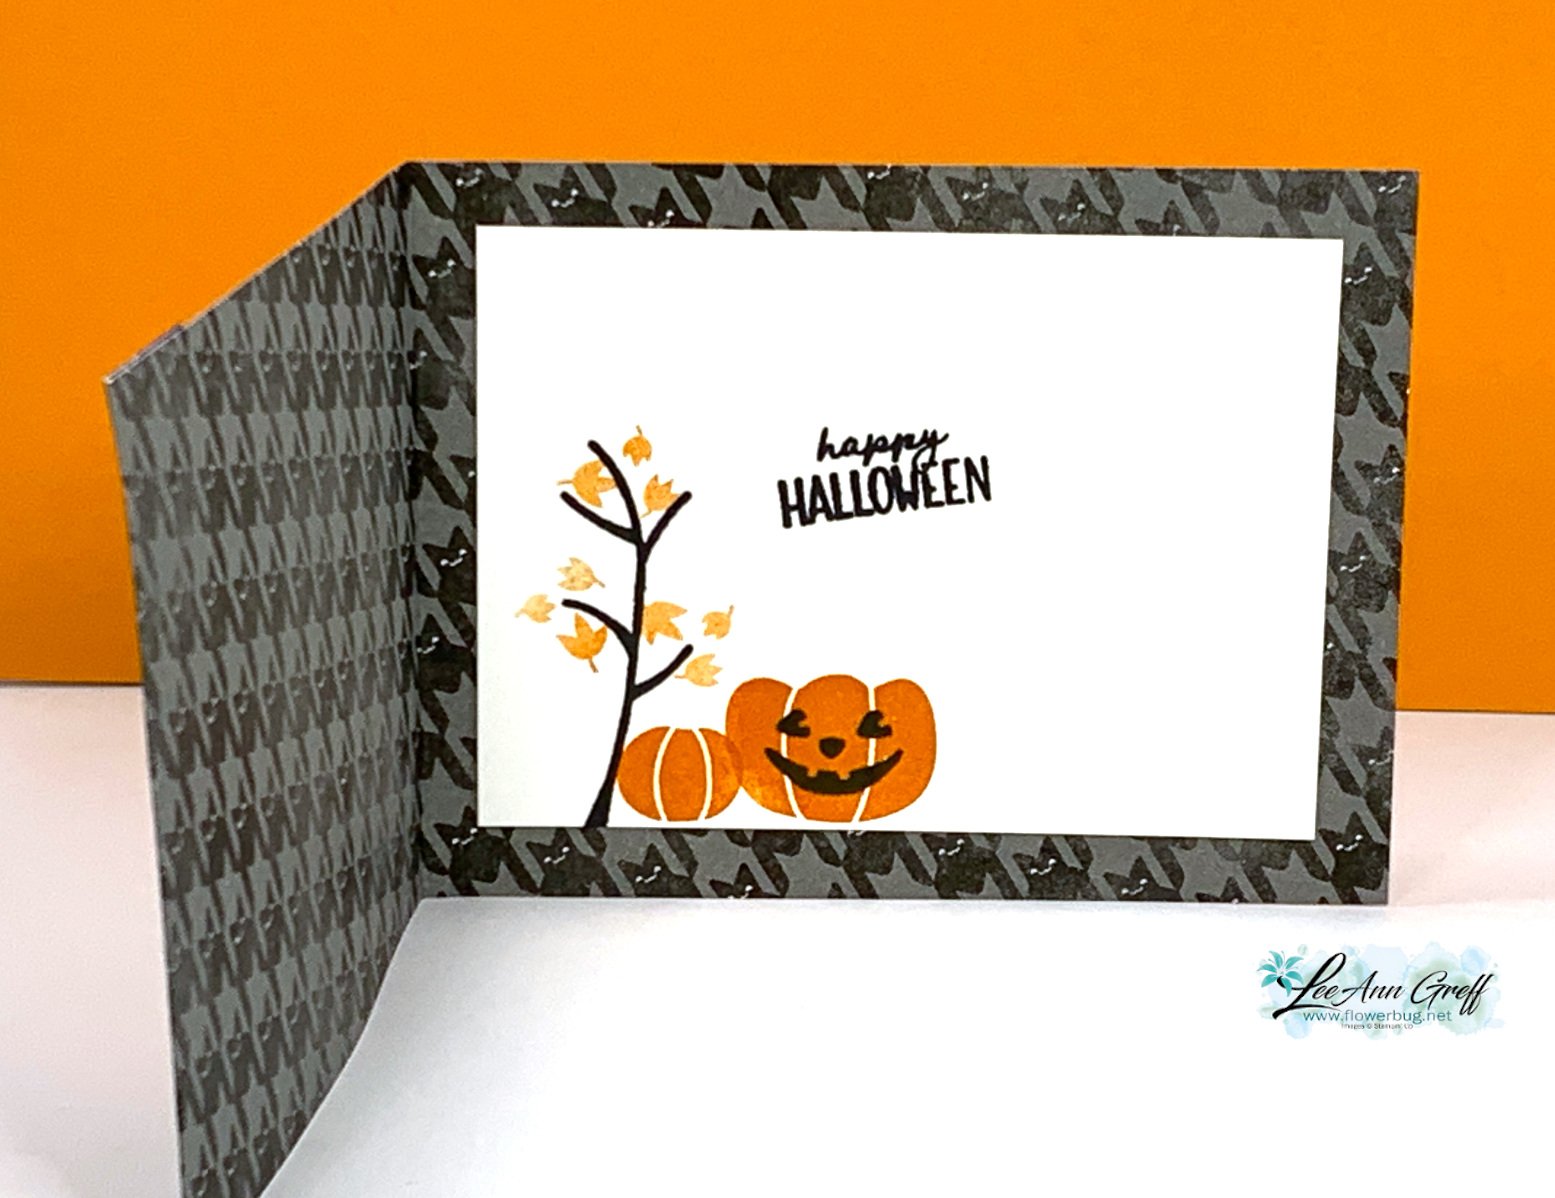
    Here's the inside view.  I chose the Pick of the Patch stamp set here. I love the look of the designer paper in the inside of the card!

    *Download or print the free project sheet here: Download Designer Paper card base; shows both sides!

    Here is the other card I shared:

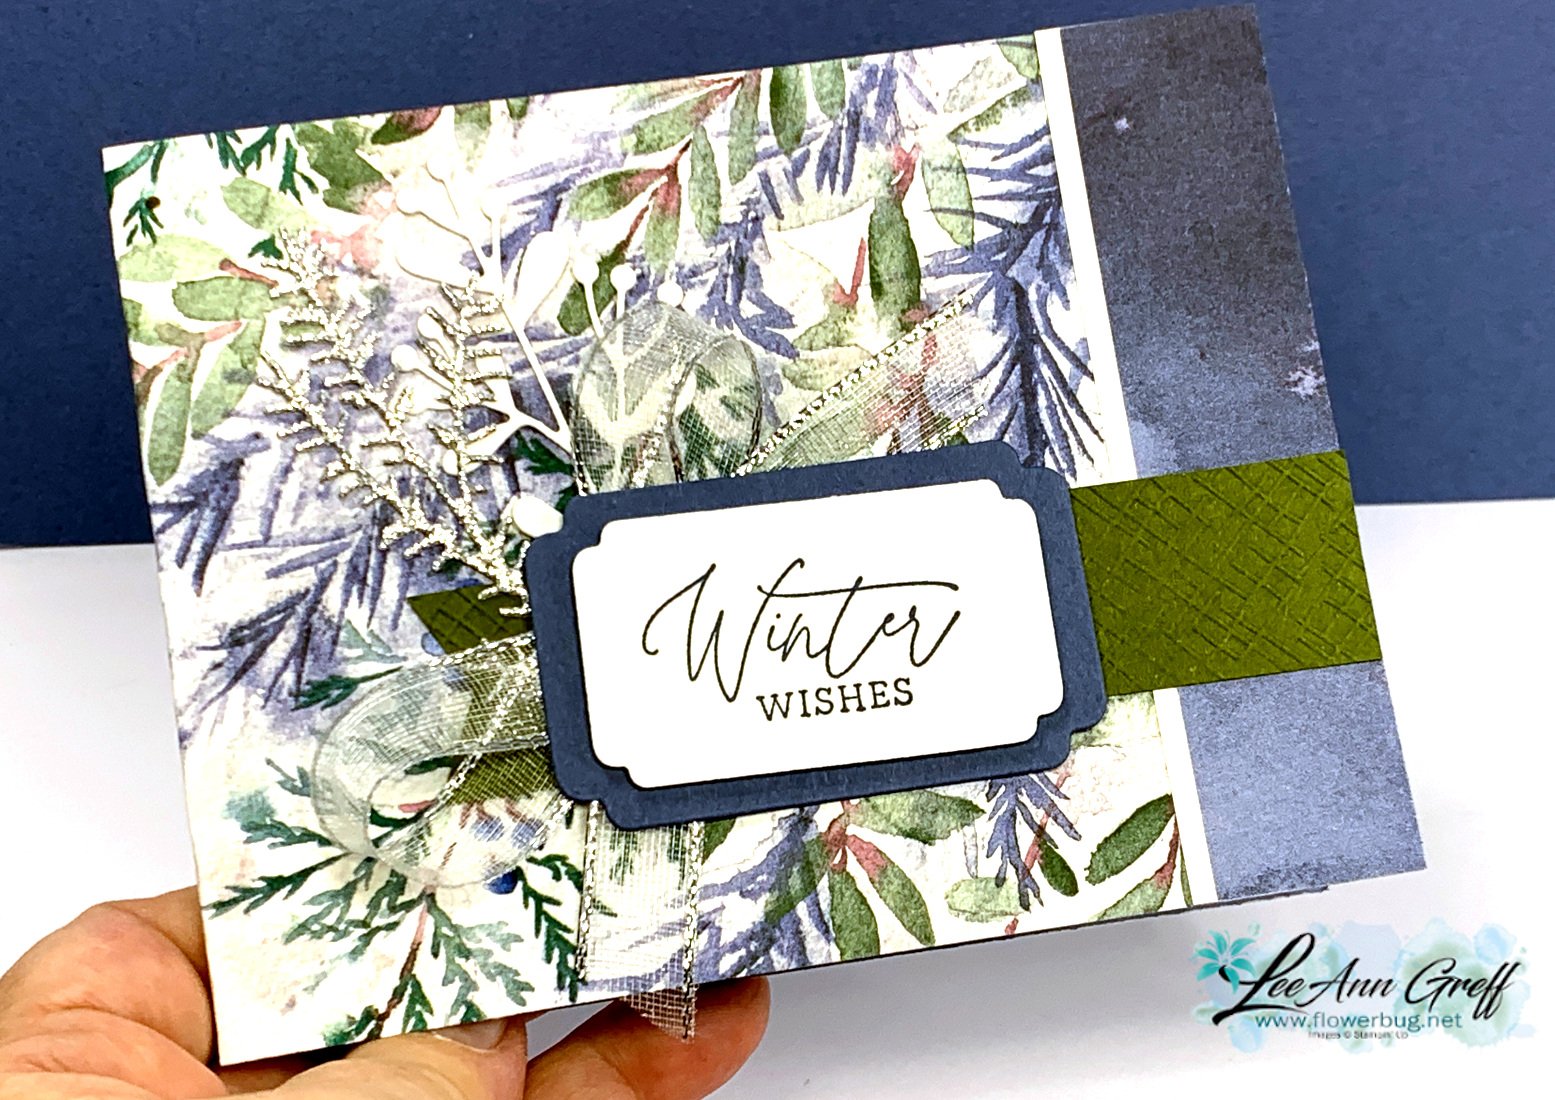
    This card shows off the Magical Meadow bundle in the greeting and pretty die-cuts. 

    Details:

    • Winter Meadow designer paper seen here – 11" X 4 1/4" scored at 1" and 6 1/2"
    • Mossy Meadow, Basic White & Misty Moonlight card stock plus Adhesive-backed silver glimmer paper for the pretty foliage die-cut

    Here's the inside view; stamped with the Magical Meadow stamp set. 

    The Magical Meadow bundle has been one of my favorites this season.  I seem to reach for it often. See it here. 

    Here is the video for these neat cards.  You'll also find another fun fold card and a quick treat bag too! 

    *For some reason I'm not able to add a photo of the video but click on the link above to watch it. 

    ~~~

    October Specials: 

    Amazing Starter Kit choices! 

    Choose one and enjoy the 20% discount on all future orders! Click here

    *current host code: HTHK4TQU or 4GHXYSDQ

    *Get free glitter gems with online orders over $55 (Please use a host code)

    Leave a Reply

    Your email address will not be published. Required fields are marked *


Notice: LeeAnn Greff, Independent Stampin’ Up! Demonstrator, Manager. The content of this website is my sole responsibility as an independent Stampin’ Up! demonstrator and the use of, and content of, the classes, services, or products offered on this website is not endorsed by Stampin’ Up! Copyright 2025