/


Latest Post

Create this eye-catching scene with ink and blending brushes; video tutorial too!


Here's another card I created on last week's video. Do you love colorful scenes too? 

Here I used Cloud Cover cardstock for my base; scored it an extra time to create a flap near the center. This is a great way to add the main element of your card.  In this case it's a stamped and colored tree scene on our new Party Banner dies.  

I found the Peaceful Pier stamp set seen here to be perfect for my scenes. It's a great line-art set you don't have to color in, as you can see in my example. 

Here is the free project sheet with measurements and supplies listed: Click on the following link to download it.  Download Peaceful Pier fun fold scene

I am now adding my project sheets to my Flowerbug's Stamp & Share FB group the same day I share the live video.  Click here to join the group. 
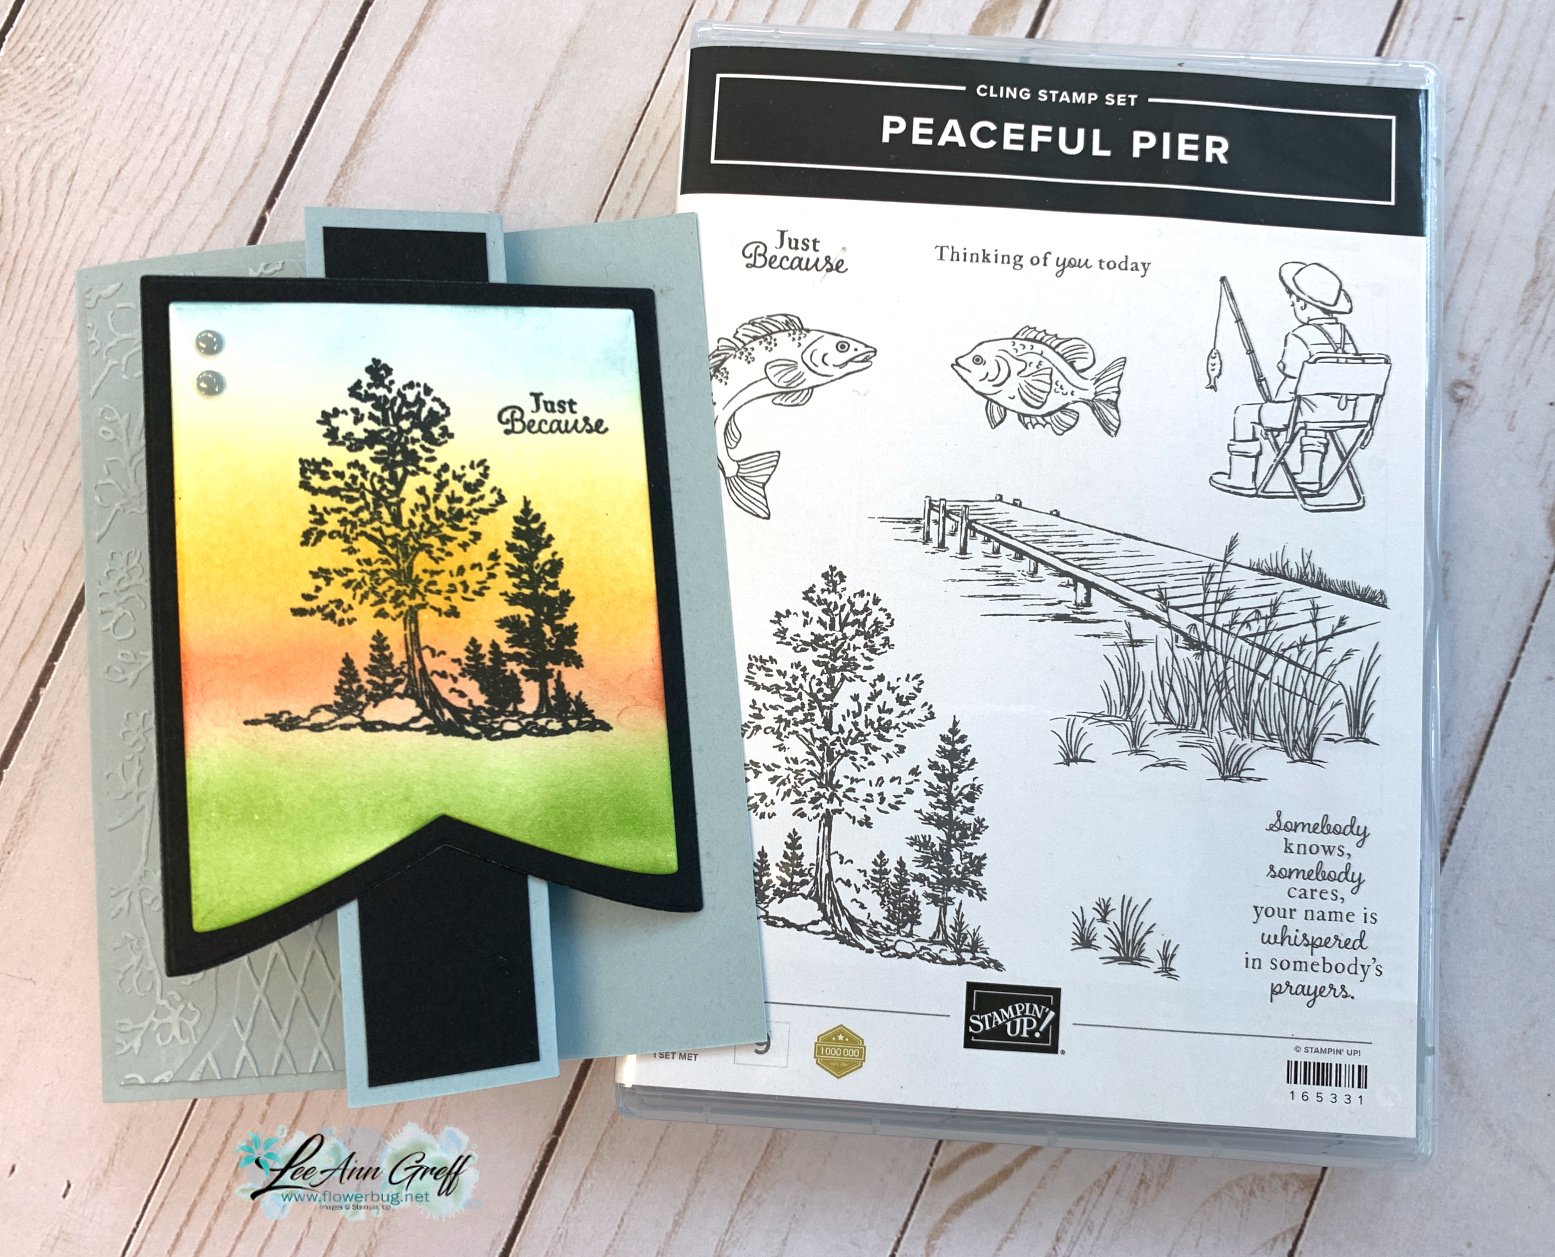
I used these inks for blending; from bottom to top – Granny Apple Green, Calypso Coral, Daffodil Delight and Cloud Cover. Blending brushes make it easy to add ink smoothly. But there are tricks to it!  

Below is the video tutorial on how to add ink smoothly with Blending Brushes.  I hope you watch it!

~~~

June Specials:

The Suite Sale is on! 

Buy one get 50% the second item – on all available suite products. 

Shop here or see products below: 

~~~

Last Chance List has been updated!  see it all here. Don't miss out on the deals!

~~~

Earn free card kits in June with online orders! Get 4 kits with a $50 order and orders over $80 receive all 6 cards. All you need are greetings, gems and adhesives to assemble. 

Order here 

~~~

Get my Celebratory Sips PDF tutorial free with any online order in June!

All Posts

  • A gorgeous Handcrafted Ornaments card with video & free project sheet!


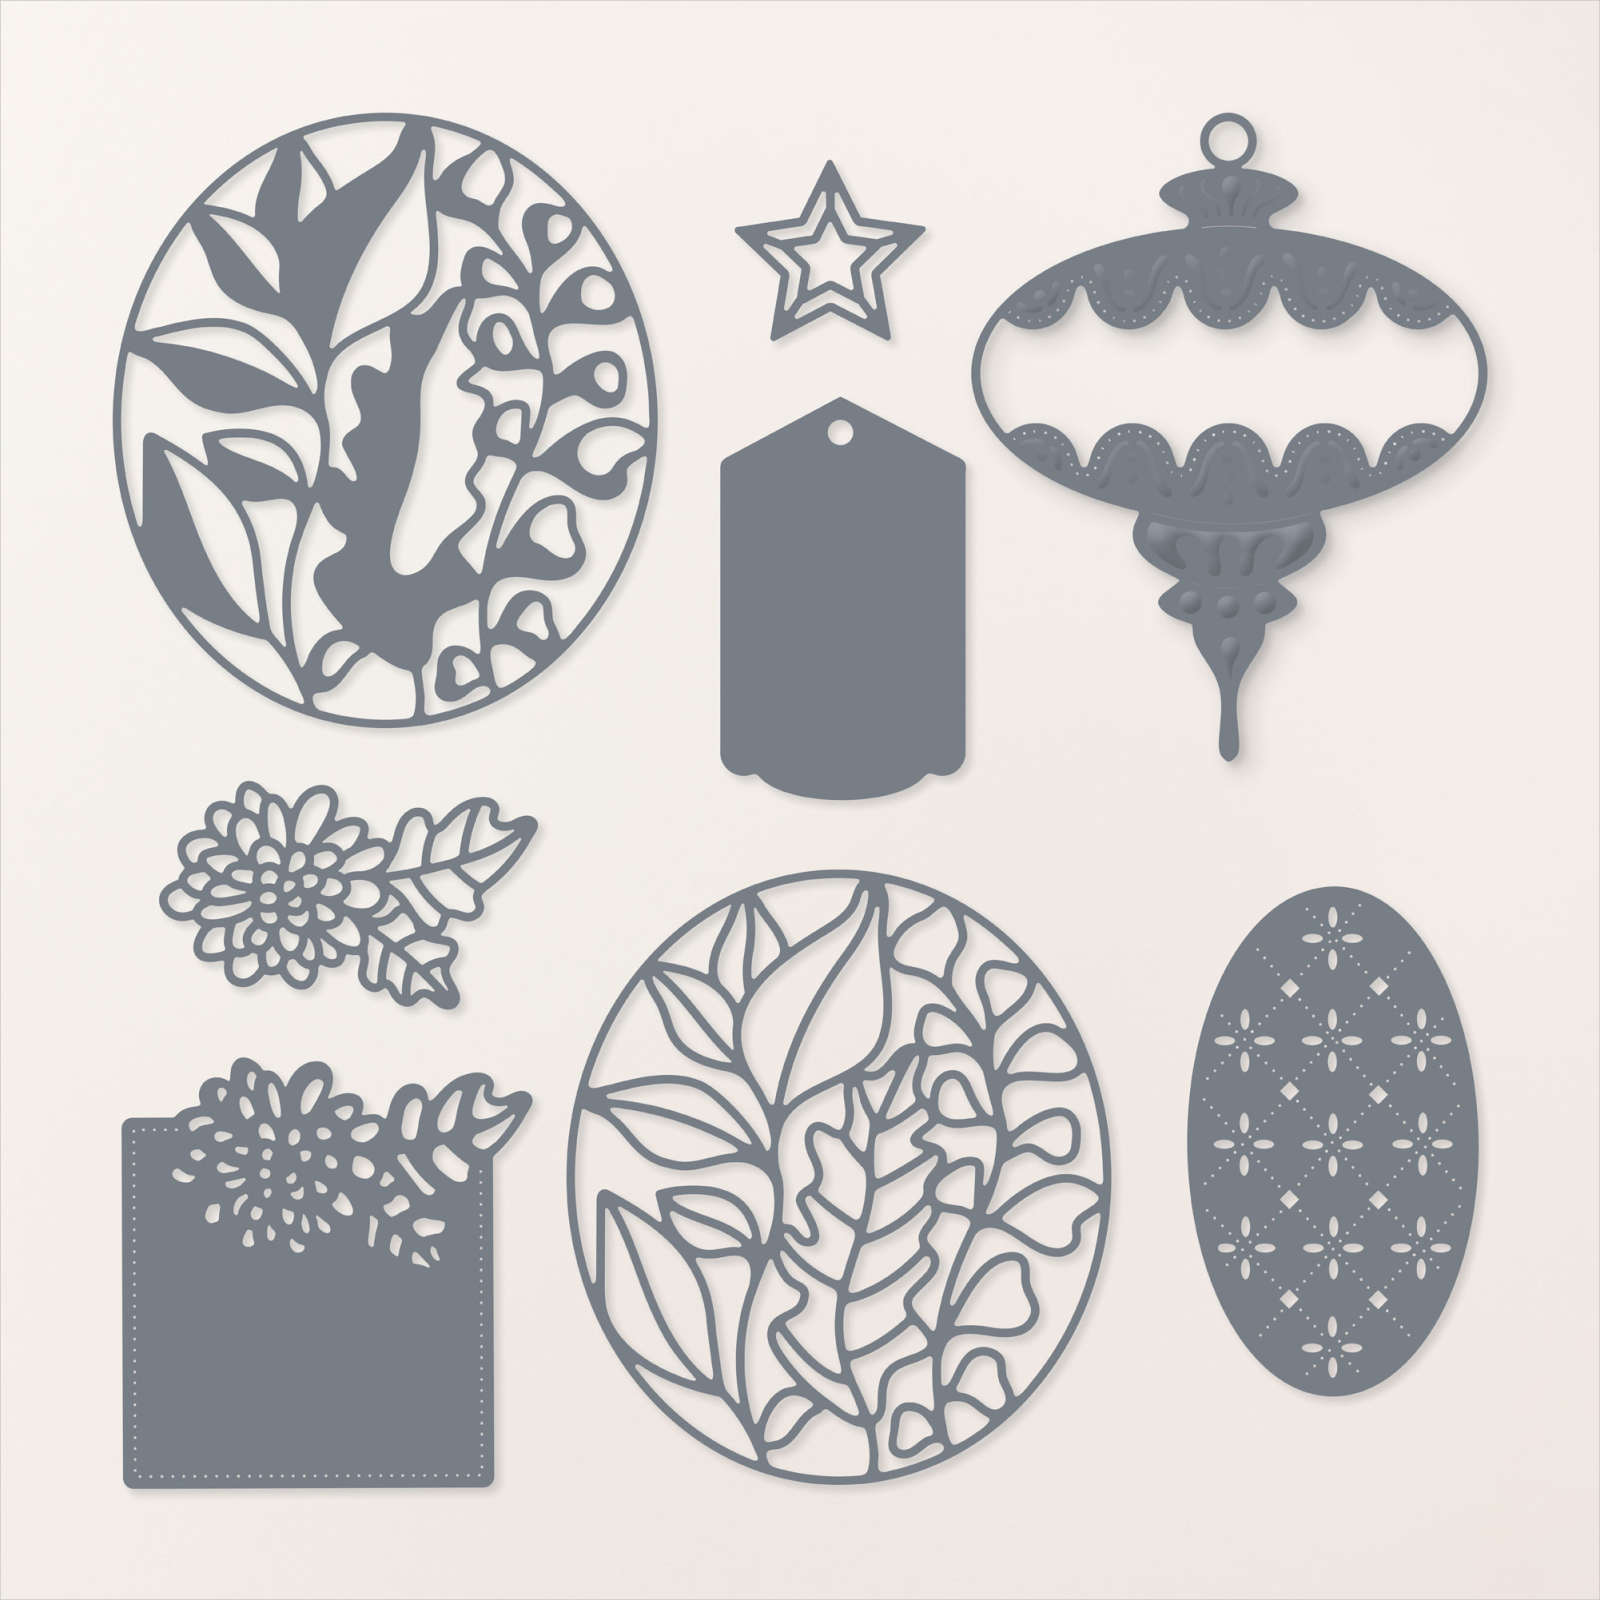
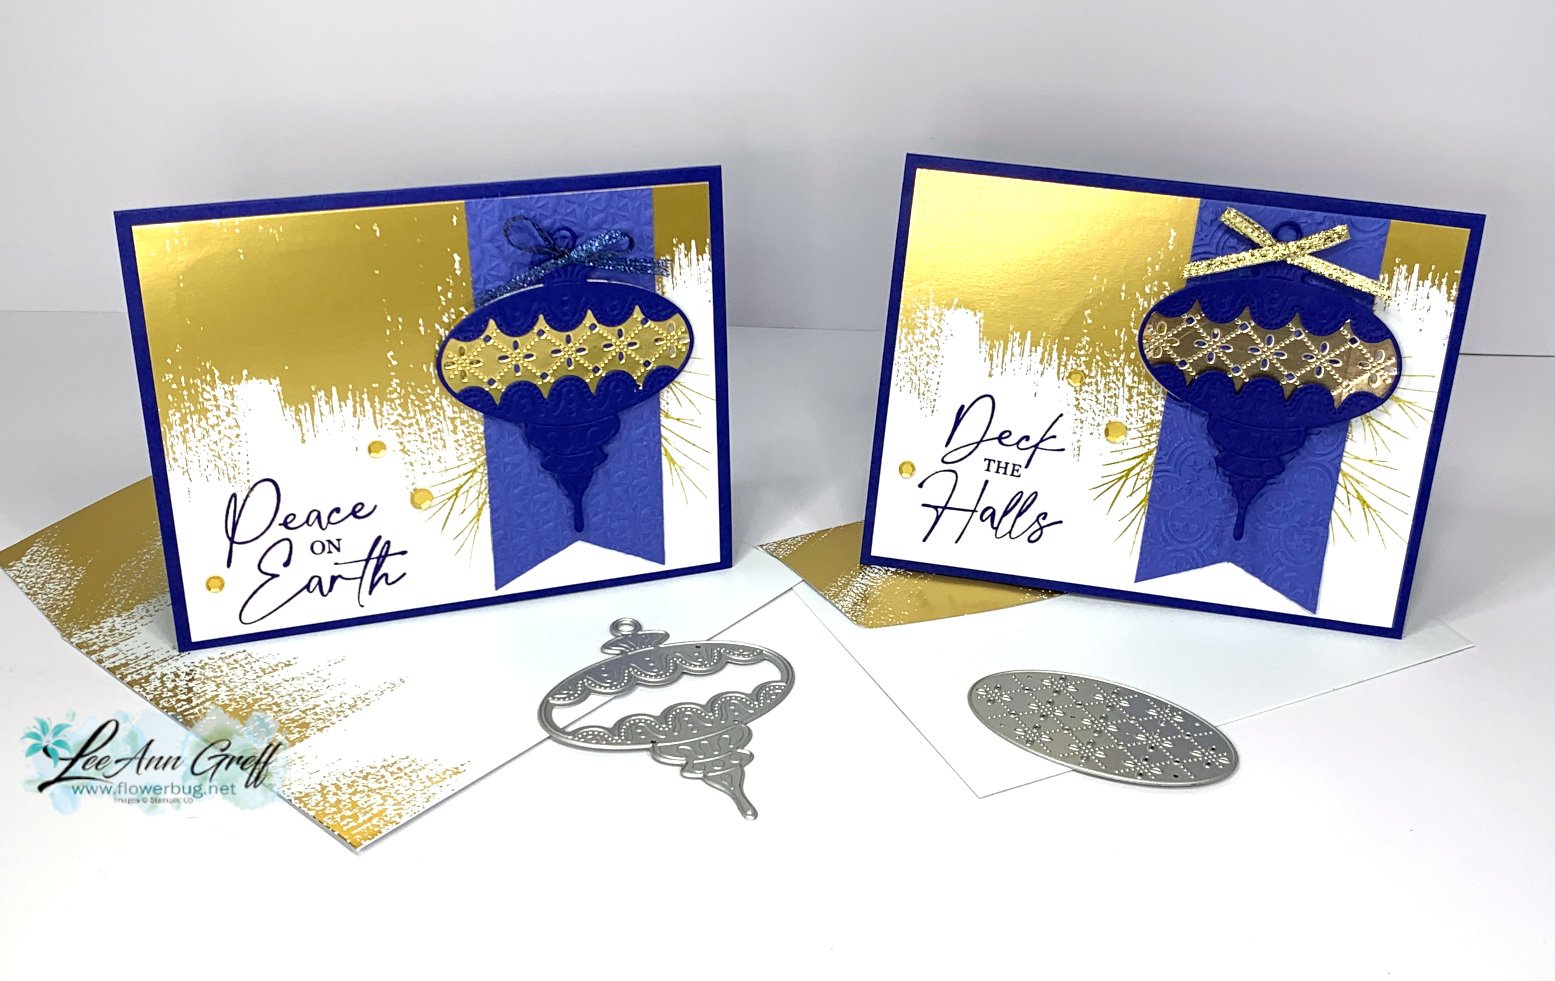
       Look at this beautiful card made with the Handcrafted Elements dies!

    These dies are seen in our 2023 Holiday catalog or online here.  There are two dies in the set that create that pretty, layered ornament.  

    I chose to use Starry Sky & Orchid Oasis along with the Brushed Gold cards. For the stamped bough image under the banner, I used Wild Wheat ink, stamped off once.  It's surprisingly close to gold! 

    This card is one we made at my October Card Clubs; they could choose their favorite greeting and also the color of bow on the ornament.  

    I used the Distressed Tile 3d embossing folder seen here. 

    *Click on this link to download the free project sheet. I suggest you print them or save the ideas in a file for future inspiration. Download Oct 23 Handcrafted Elements club card

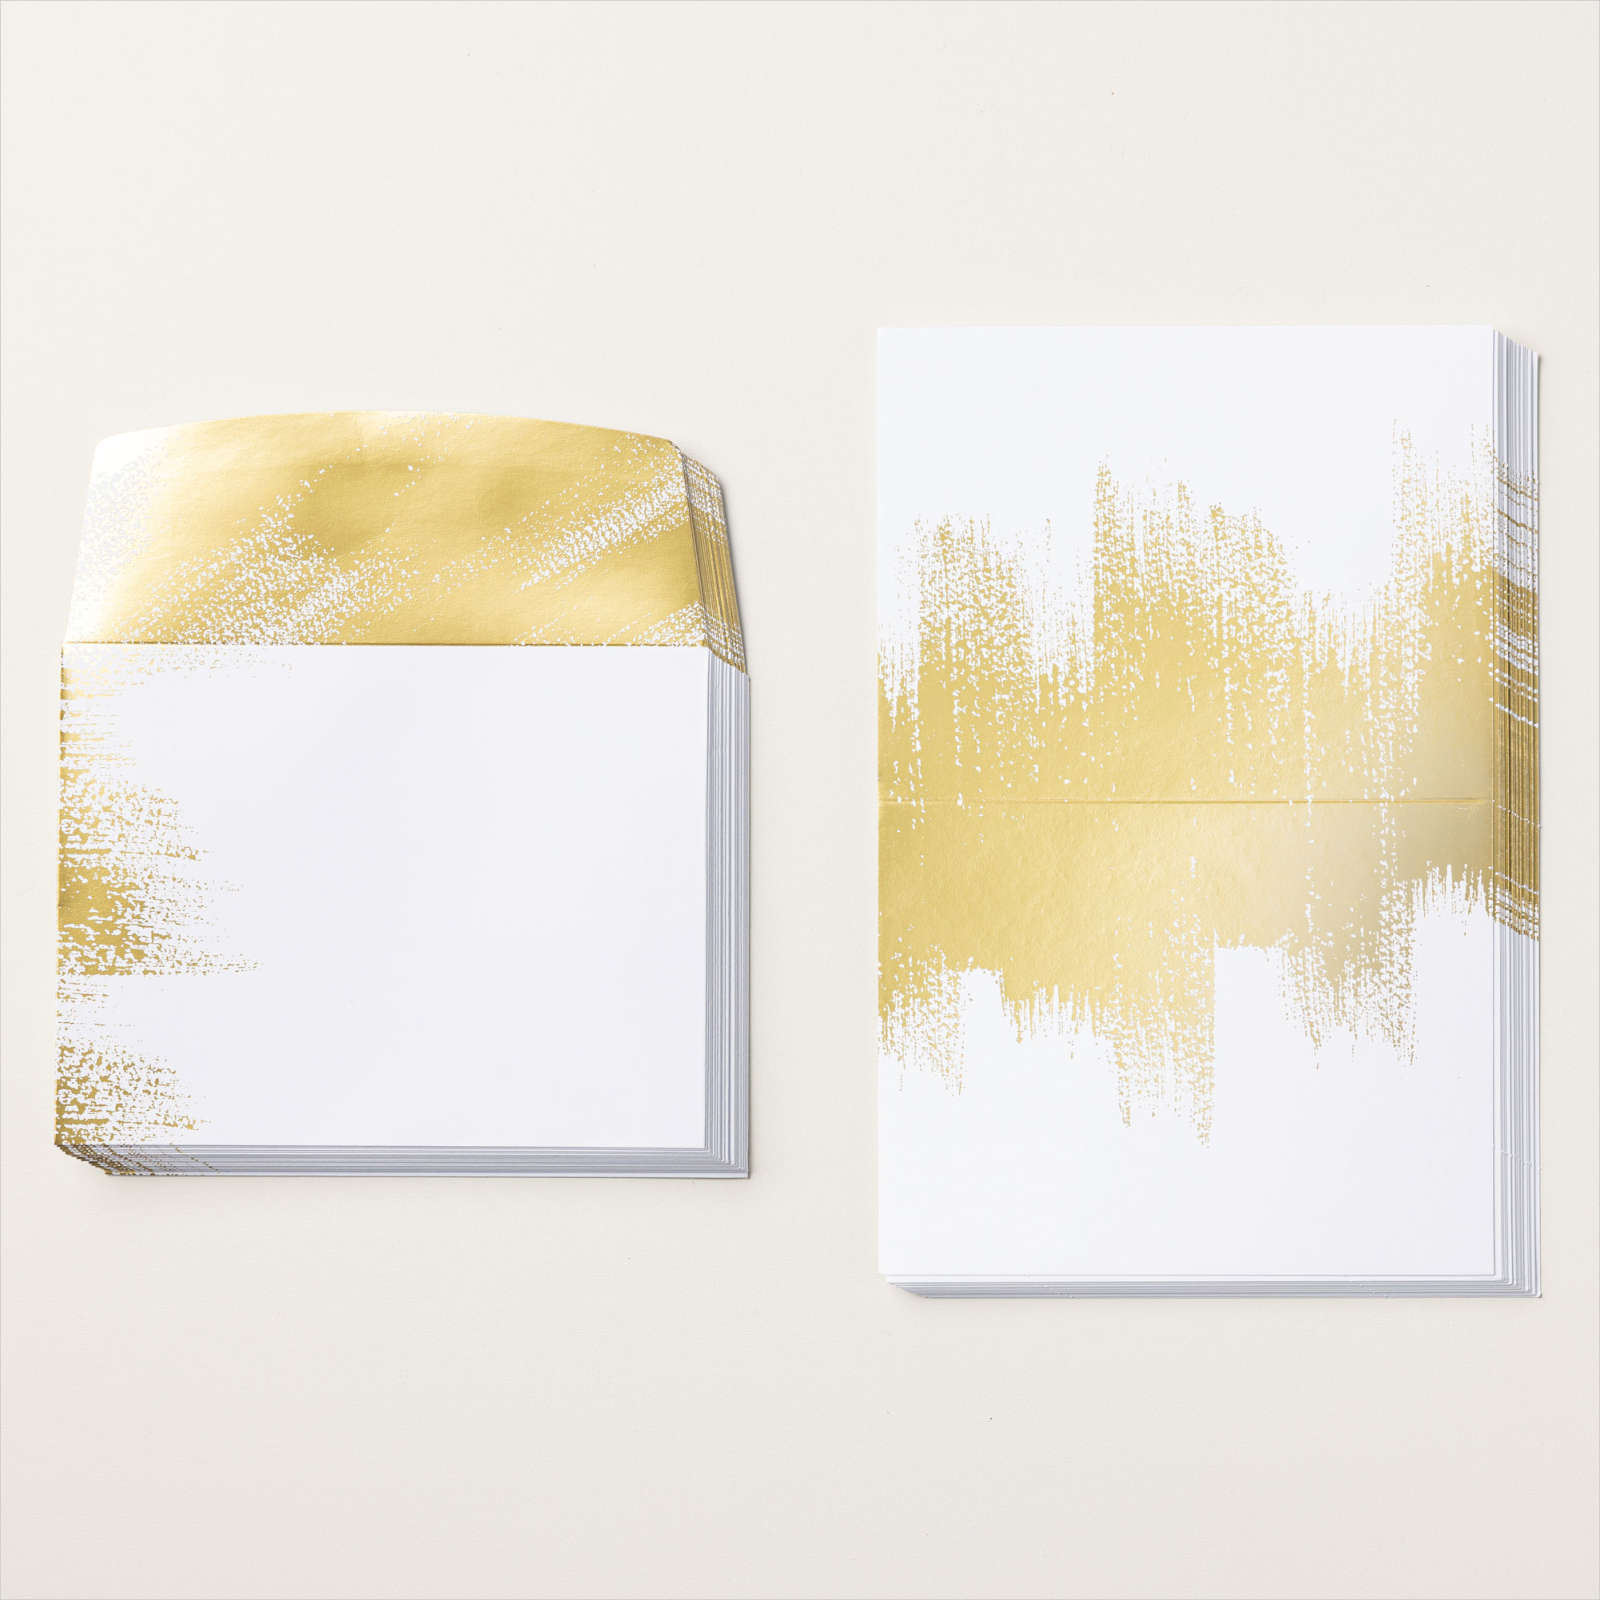
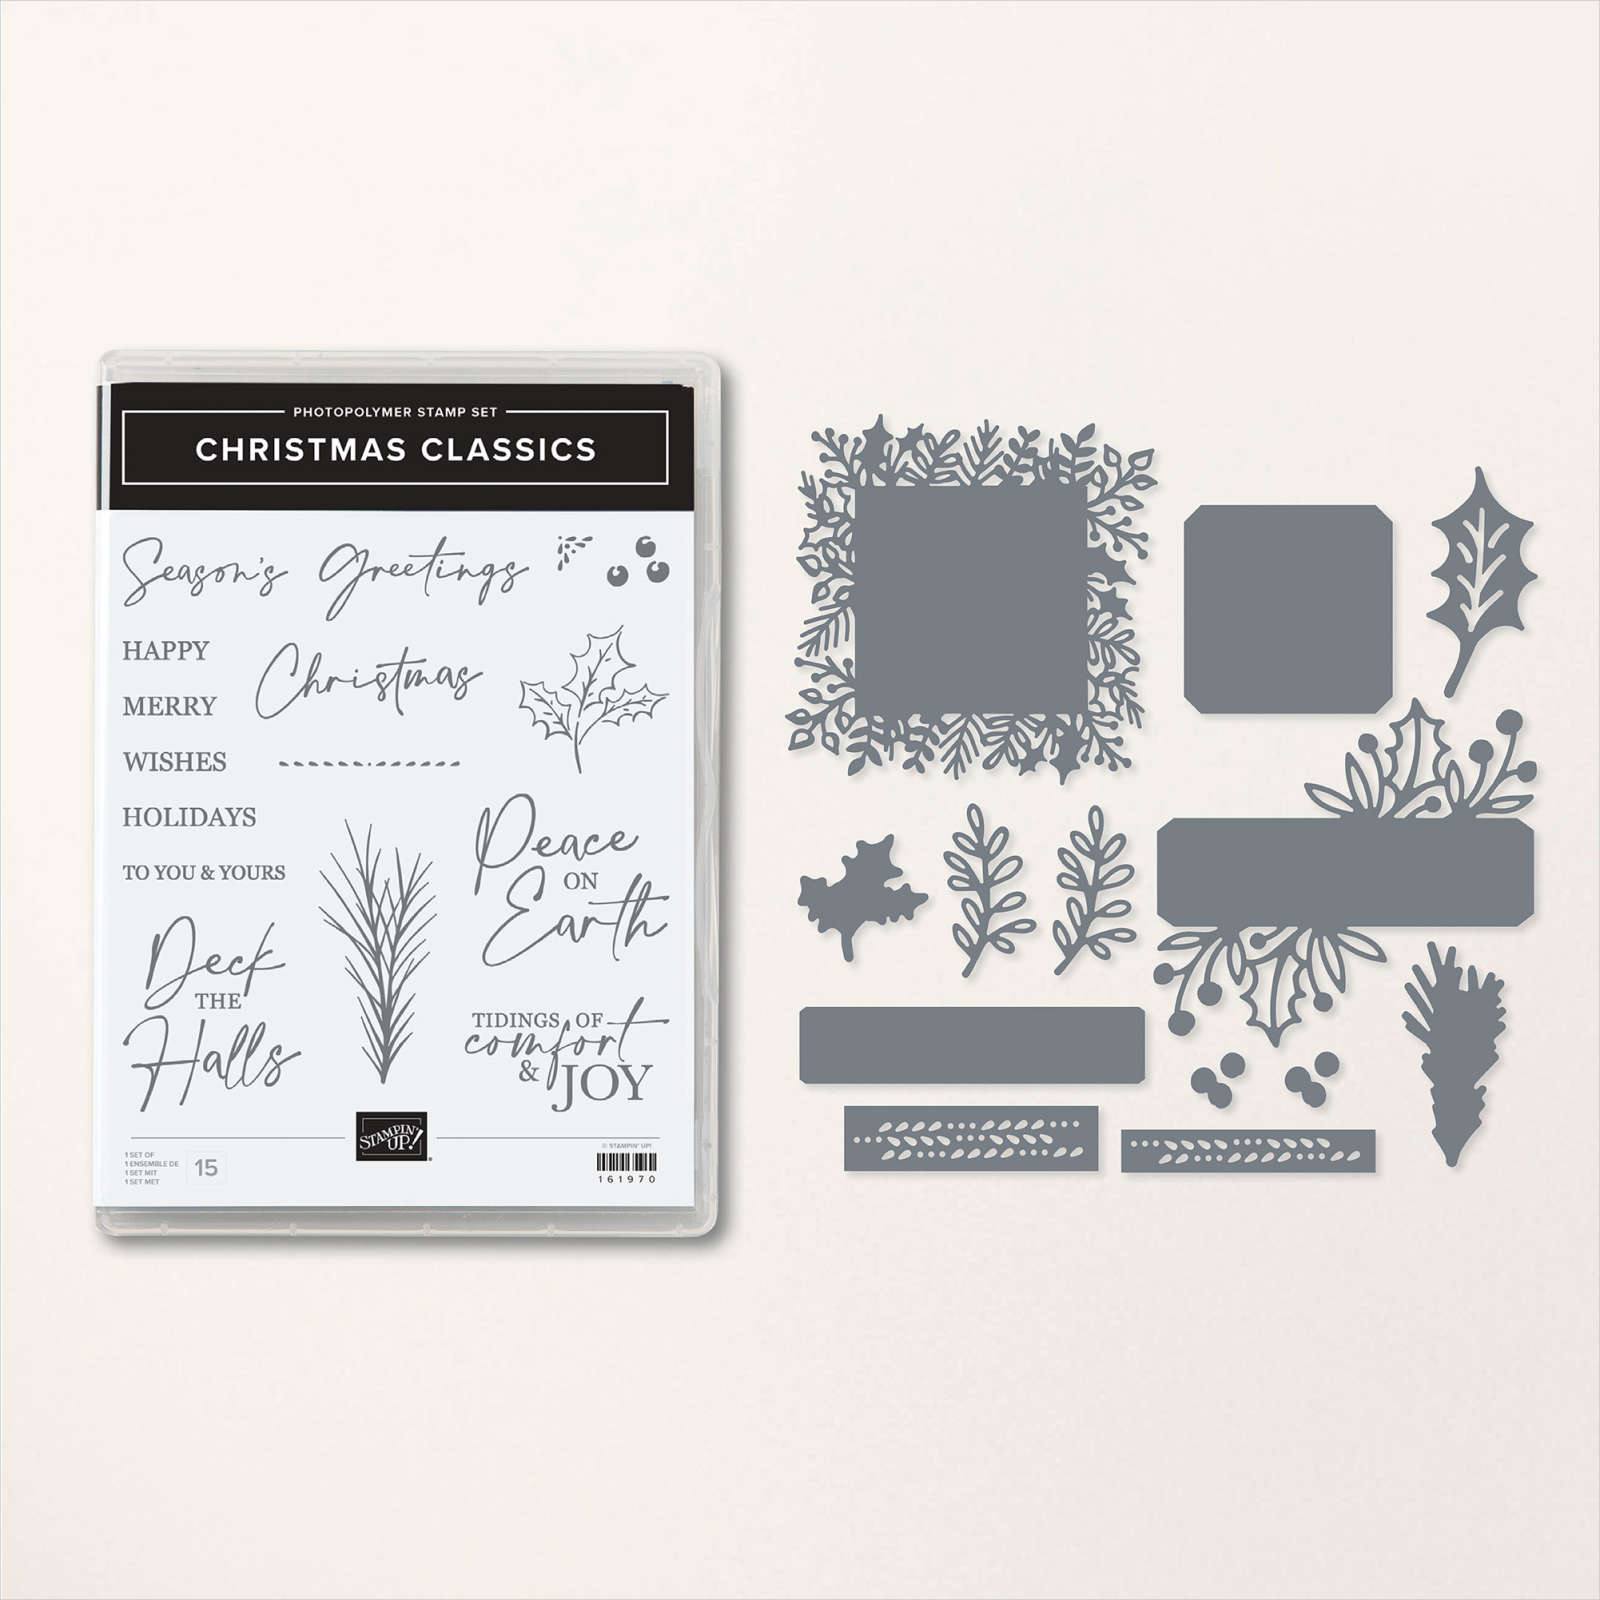
    Yesterday I shared a pretty card featuring two of the same products seen in this card. Click here to see it. The Christmas Classics stamp set and the Brushed Gold cards & envelopes. 

    Look at the stunning golden shine on this card! 

    I shared a second card made with the other half of the Brushed Gold card base in the video here.  I hope you watch it! I will share the details on that card tomorrow. 

    ~~~

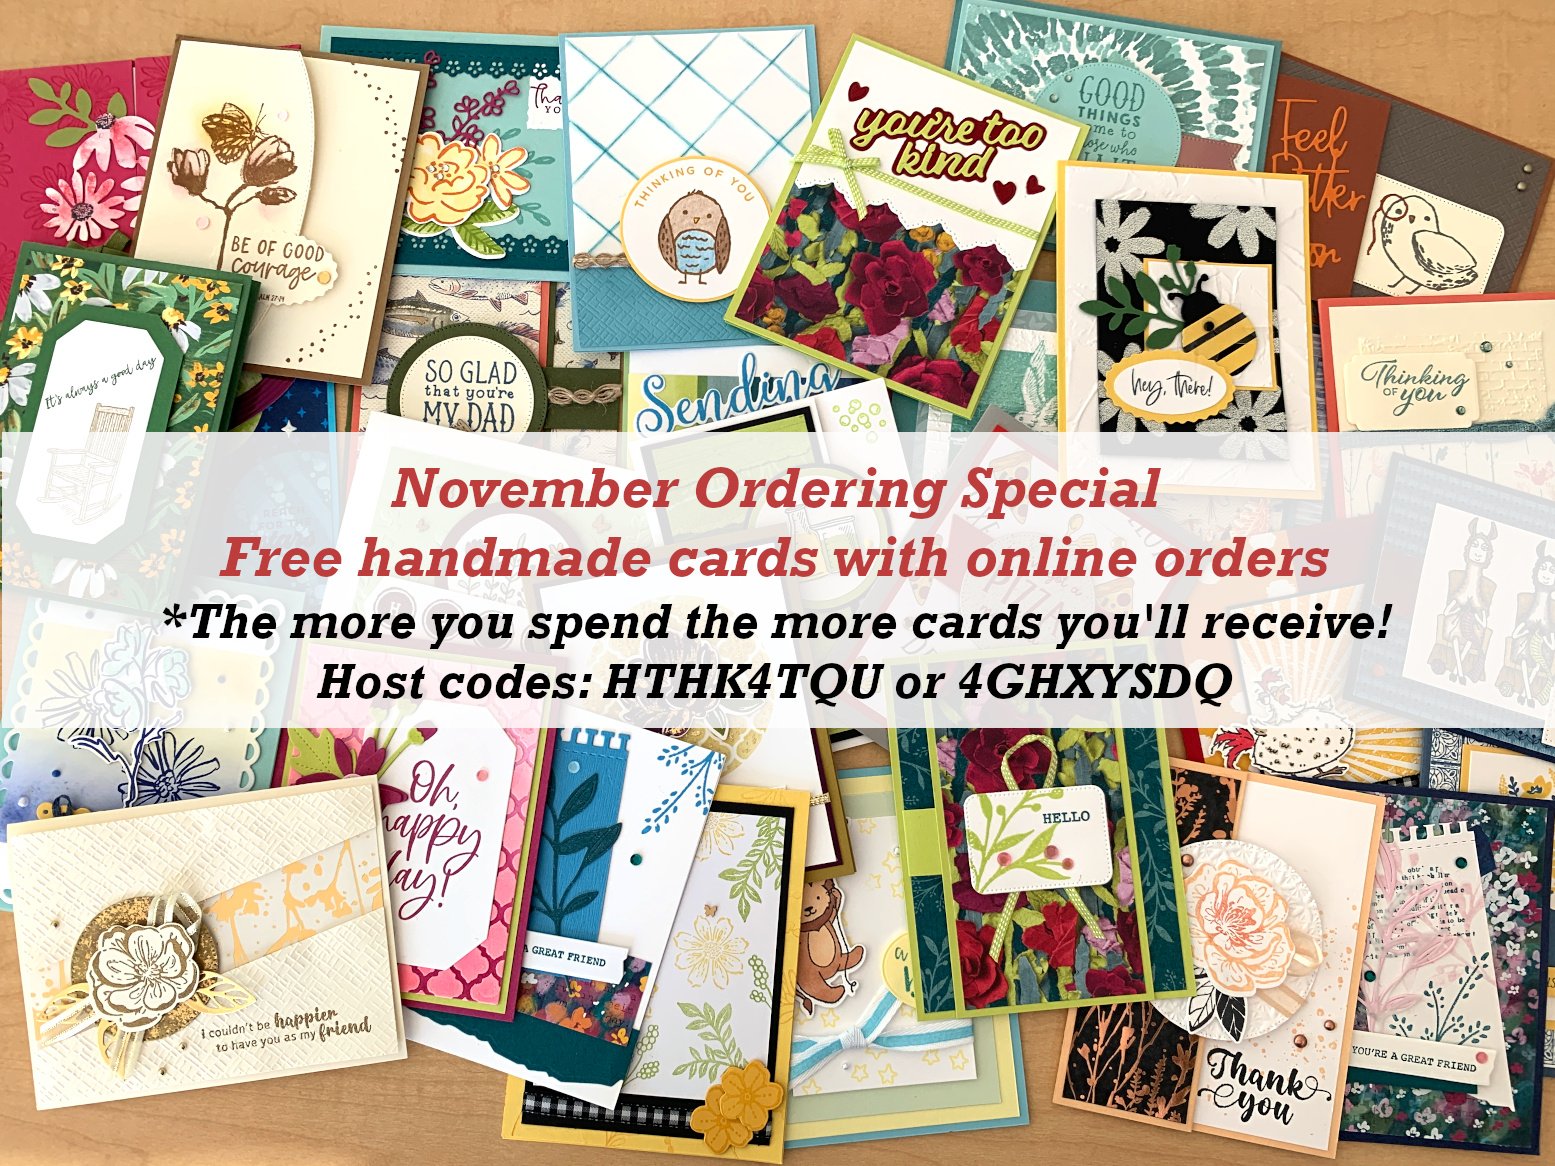
    November Specials: 

    *current host code: 4GHXYSDQ

    Click on the photo below to see all of the new online products

    Leave a Reply

    Your email address will not be published. Required fields are marked *

  • Christmas Classic with the pretty Brushed Gold cards & envelopes; with video & free project sheet


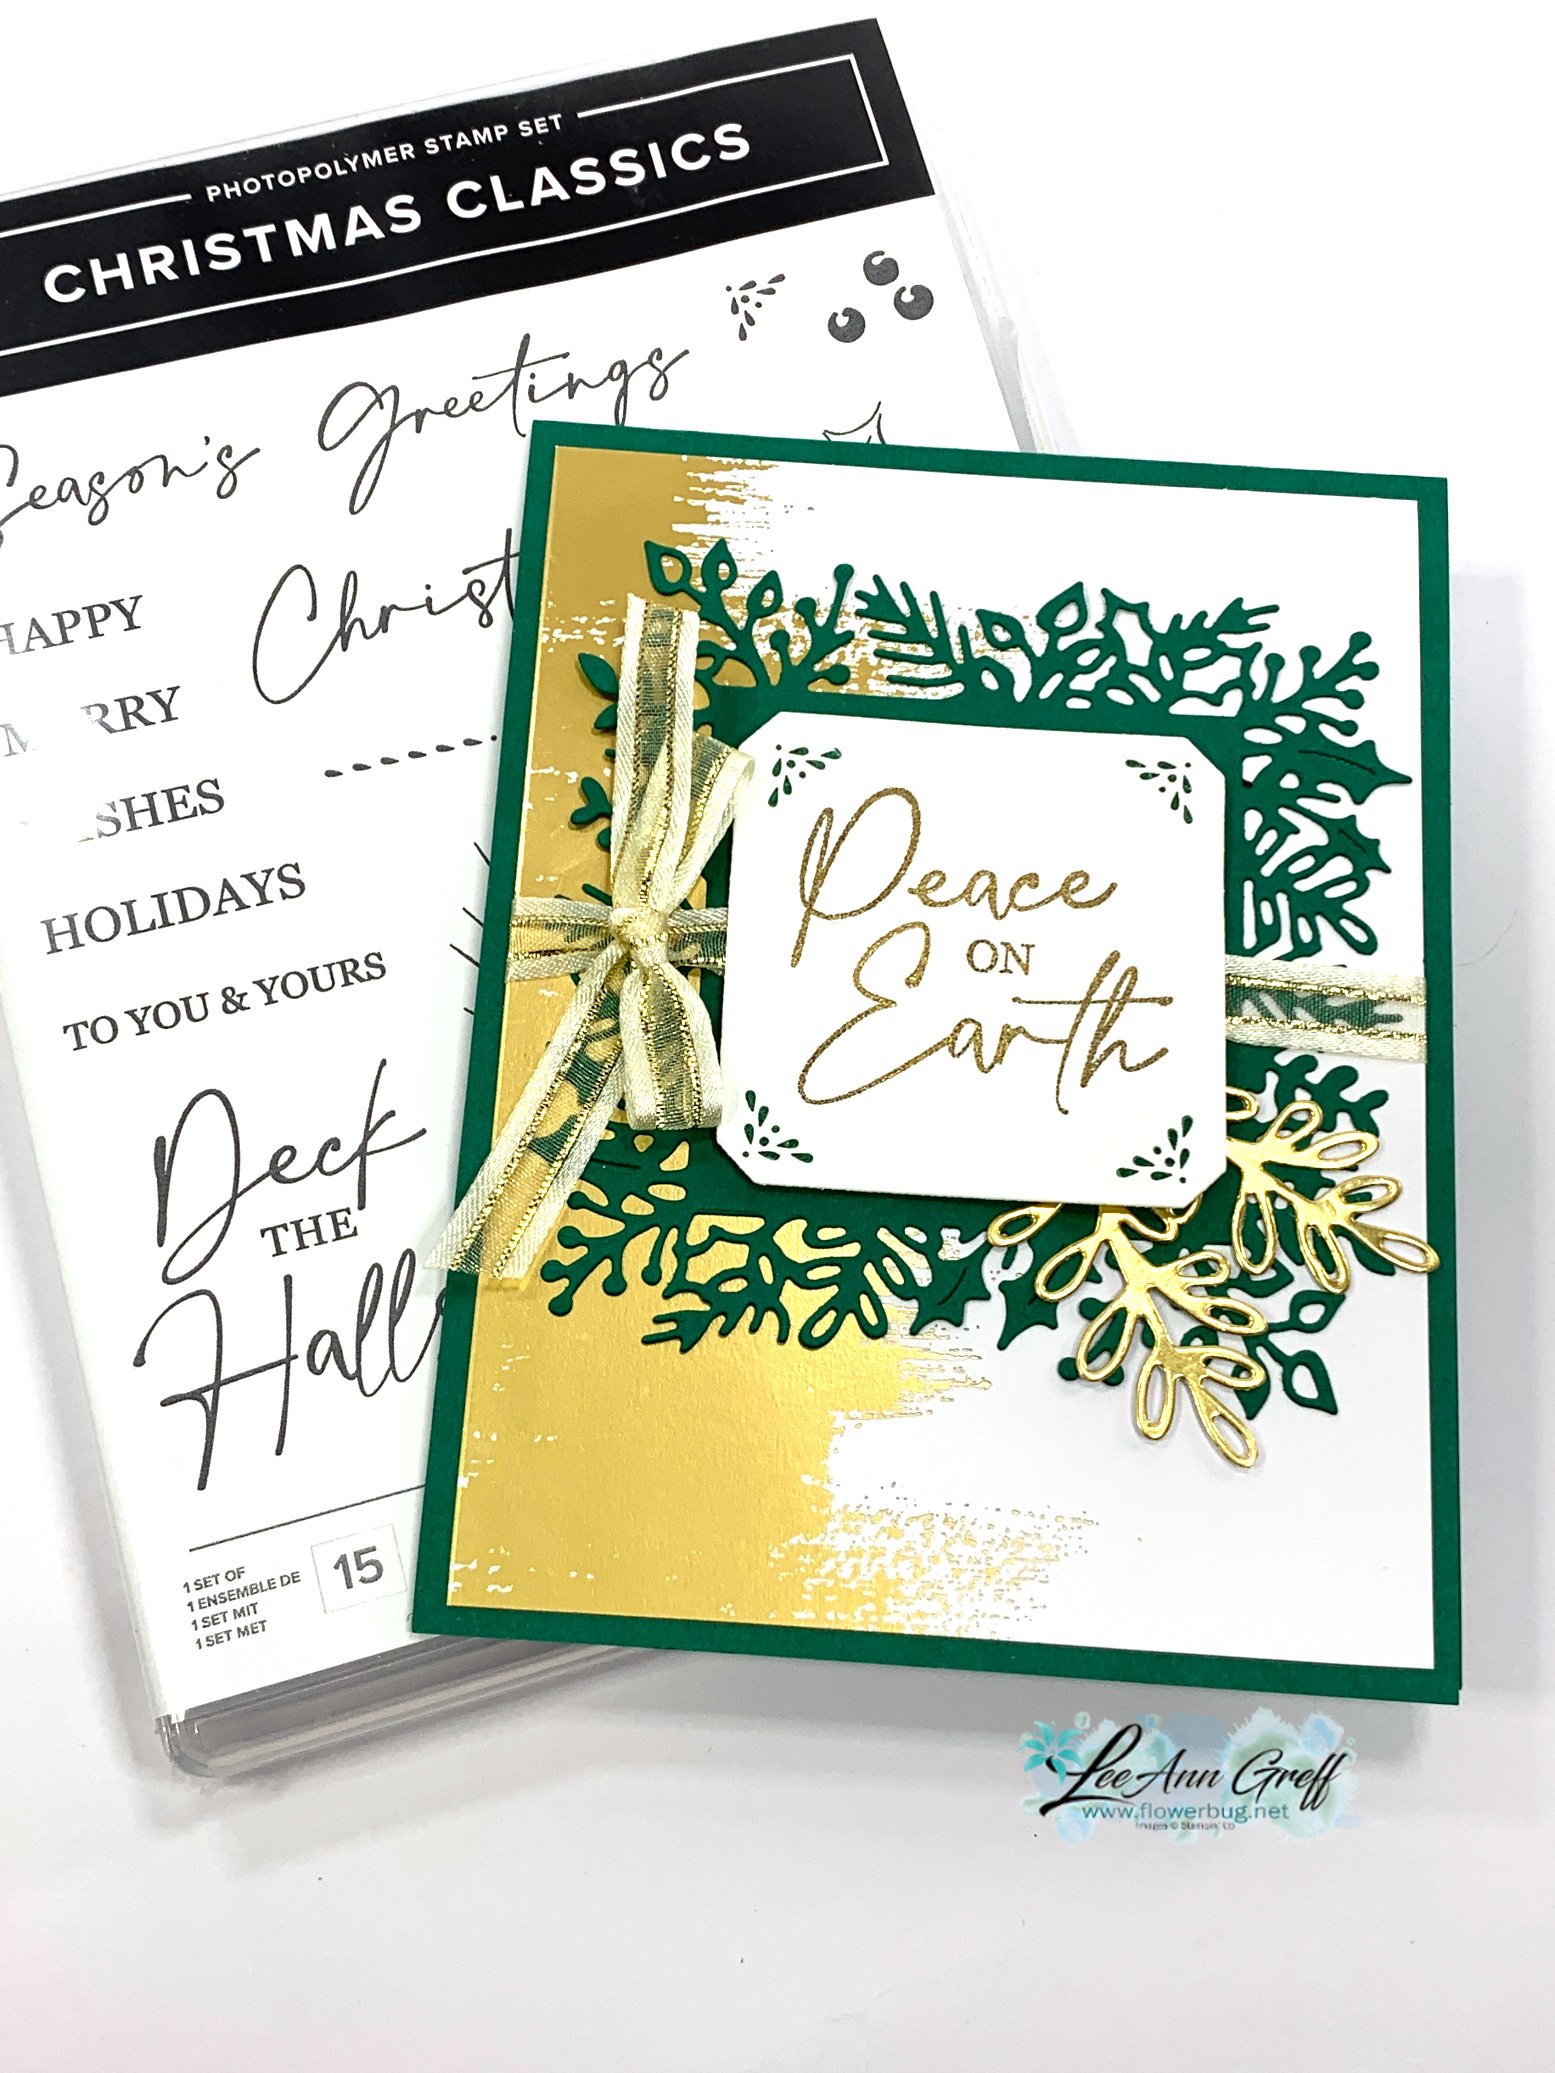
    I shared how to make this pretty card on last week's Live video:

    It features two of my favorite products from the 2023 Holiday catalog; the Christmas Classics bundle and the beautiful Brushed Gold cards & envelopes. 

    I cut the card base in half so I could get two card fronts from it. I paired the gold accents with Shaded Spruce and the beautiful, detailed die-cut from the Christmas Classics dies.  See the bundle here.  I think it's absolutely gorgeous.  It's rare that I like the dies as well as the stamps!

    *Click here to download and print the free project sheet: Download Brushed Gold Christmas Classics frame

    I shared a second card made with the other half of the Brushed Gold card base in the video here.  I hope you watch it! I will share the details on that card tomorrow. 

    ~~~

    November Specials: 

    *current host code:  4GHXYSDQ

    Click on the photo below to see all of the new online products

    Leave a Reply

    Your email address will not be published. Required fields are marked *

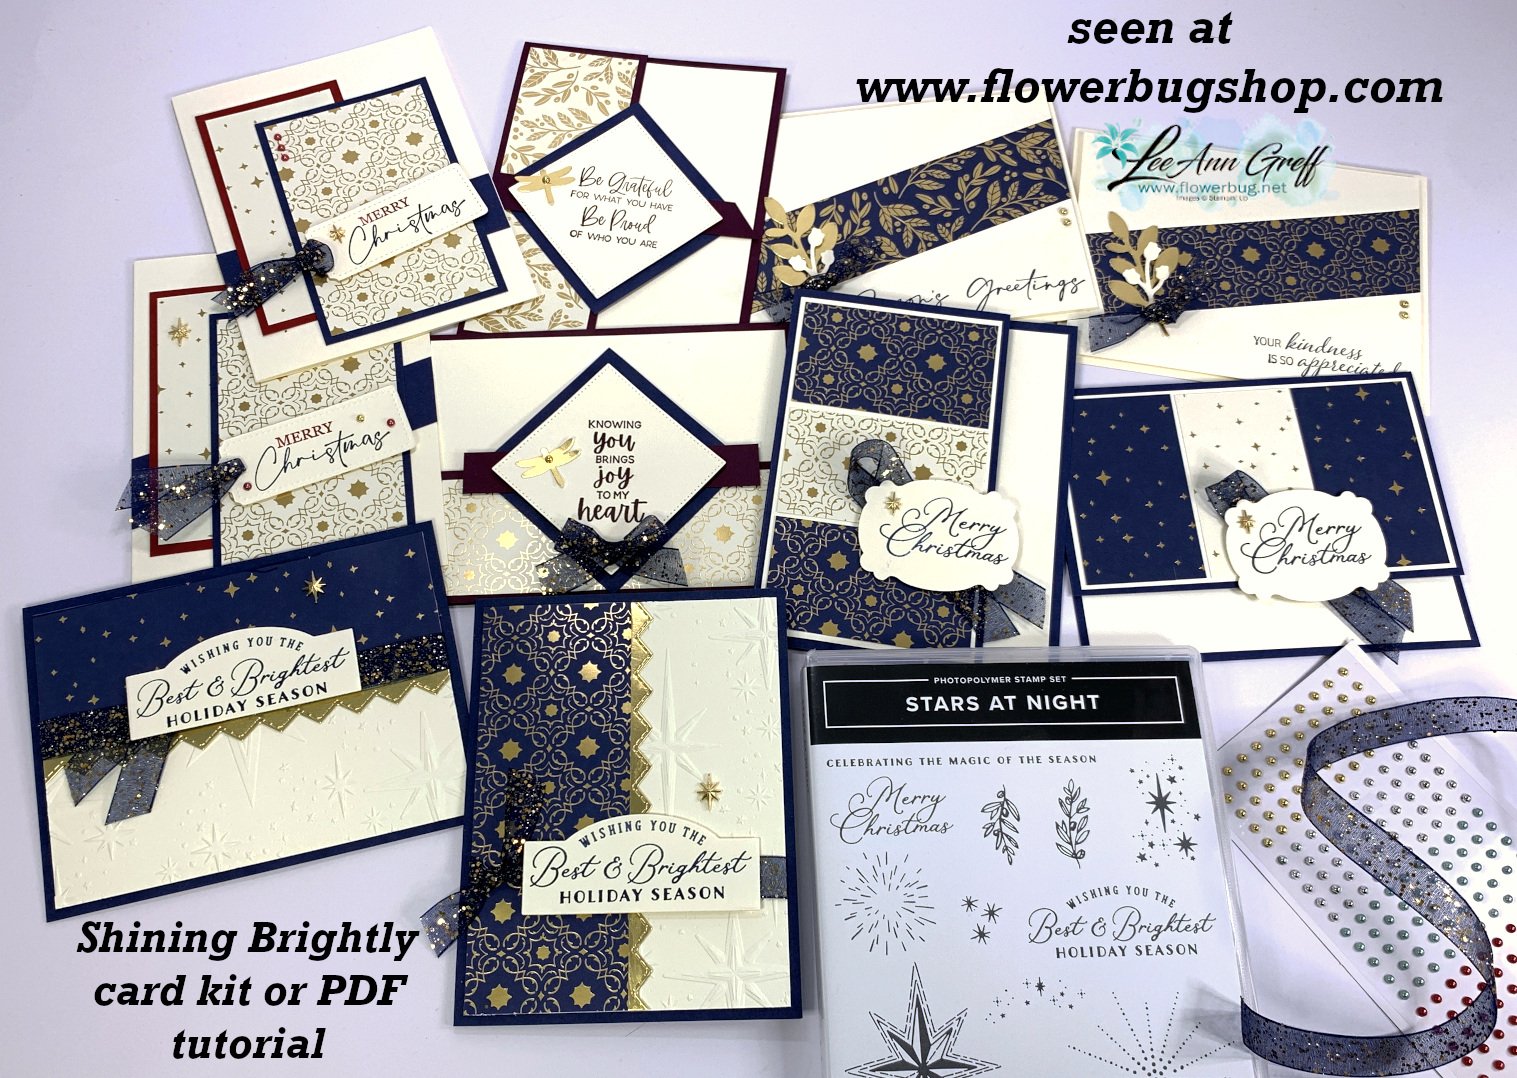
  • Reserve your Shining Brightly card kit to go; or get the PDF tutorial option


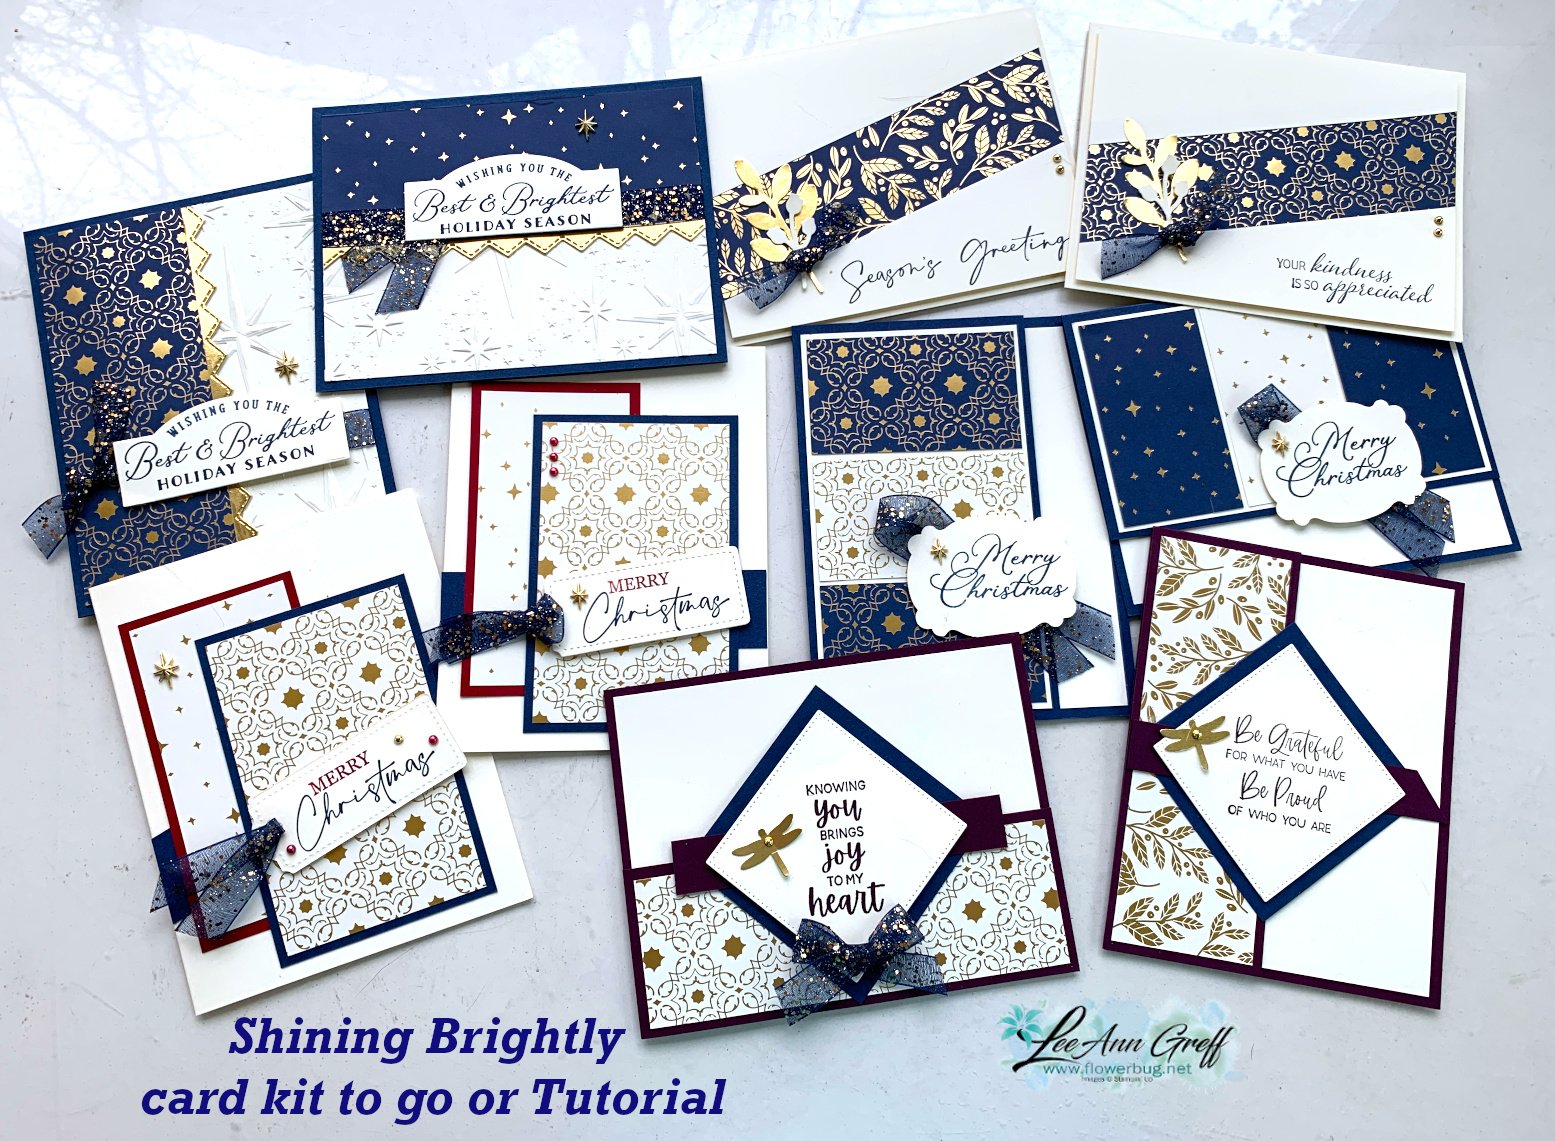
    The Shining Brightly specialty paper is featured  for these pretty all occasion & Christmas themed cards; and a few are fun fold designs too. It has beautiful gold foil accents on each sheet with Vanilla and Navy. 

    It's one of my card kits/tutorials options this month. It features the Shining Brightly specialty designer paper which is extremely beautiful with it's gold foil accents in Vanilla and Navy. 

    This kit includes the following:

    • 1/2 pkg. Brightly Shining specialty designer paper (6" X 12")
    • a share of Sparkly Navy & Gold ribbon
    • a share of Festive Pearls & possibly Adhesive-Backed Star trinkets (if available) 
    • the pre-cut cards including all die-cut & punched elements
    • the PDF tutorial (a $15 value)

    Reserve your kit here by November 19th. The PDF is emailed to you immediately after payment. The kit is sent via Priority Mail at the end of the month or beginning of December, barring product availability. 

    There is also a PDF tutorial option for those who already have the products.  It's $15 and seen here.

    *You will need stamps, ink, adhesives and a paper trimmer to complete the cards. I used the Stars at Night, Christmas Classics & So Sincere stamp sets and Night of Navy, Cherry Cobbler & Blackberry Bliss inks. 

    *I design my card kits to need mostly greeting images so it's easy to use what YOU own. But if you'd like to add on the So Sincere stamp set I offer it at 10% off along with the purchase of a kit to go

    This is one of two NEW kits available this month but there are many more available too!  Save money and order multiple kits!  See them all here.

    ~~~

    November Specials: 

    *current host code: HTHK4TQU or 4GHXYSDQ

    Click on the photo below to see all of the new online products

    Leave a Reply

    Your email address will not be published. Required fields are marked *


Notice: LeeAnn Greff, Independent Stampin’ Up! Demonstrator, Manager. The content of this website is my sole responsibility as an independent Stampin’ Up! demonstrator and the use of, and content of, the classes, services, or products offered on this website is not endorsed by Stampin’ Up! Copyright 2025