/


Latest Post

Create this eye-catching scene with ink and blending brushes; video tutorial too!


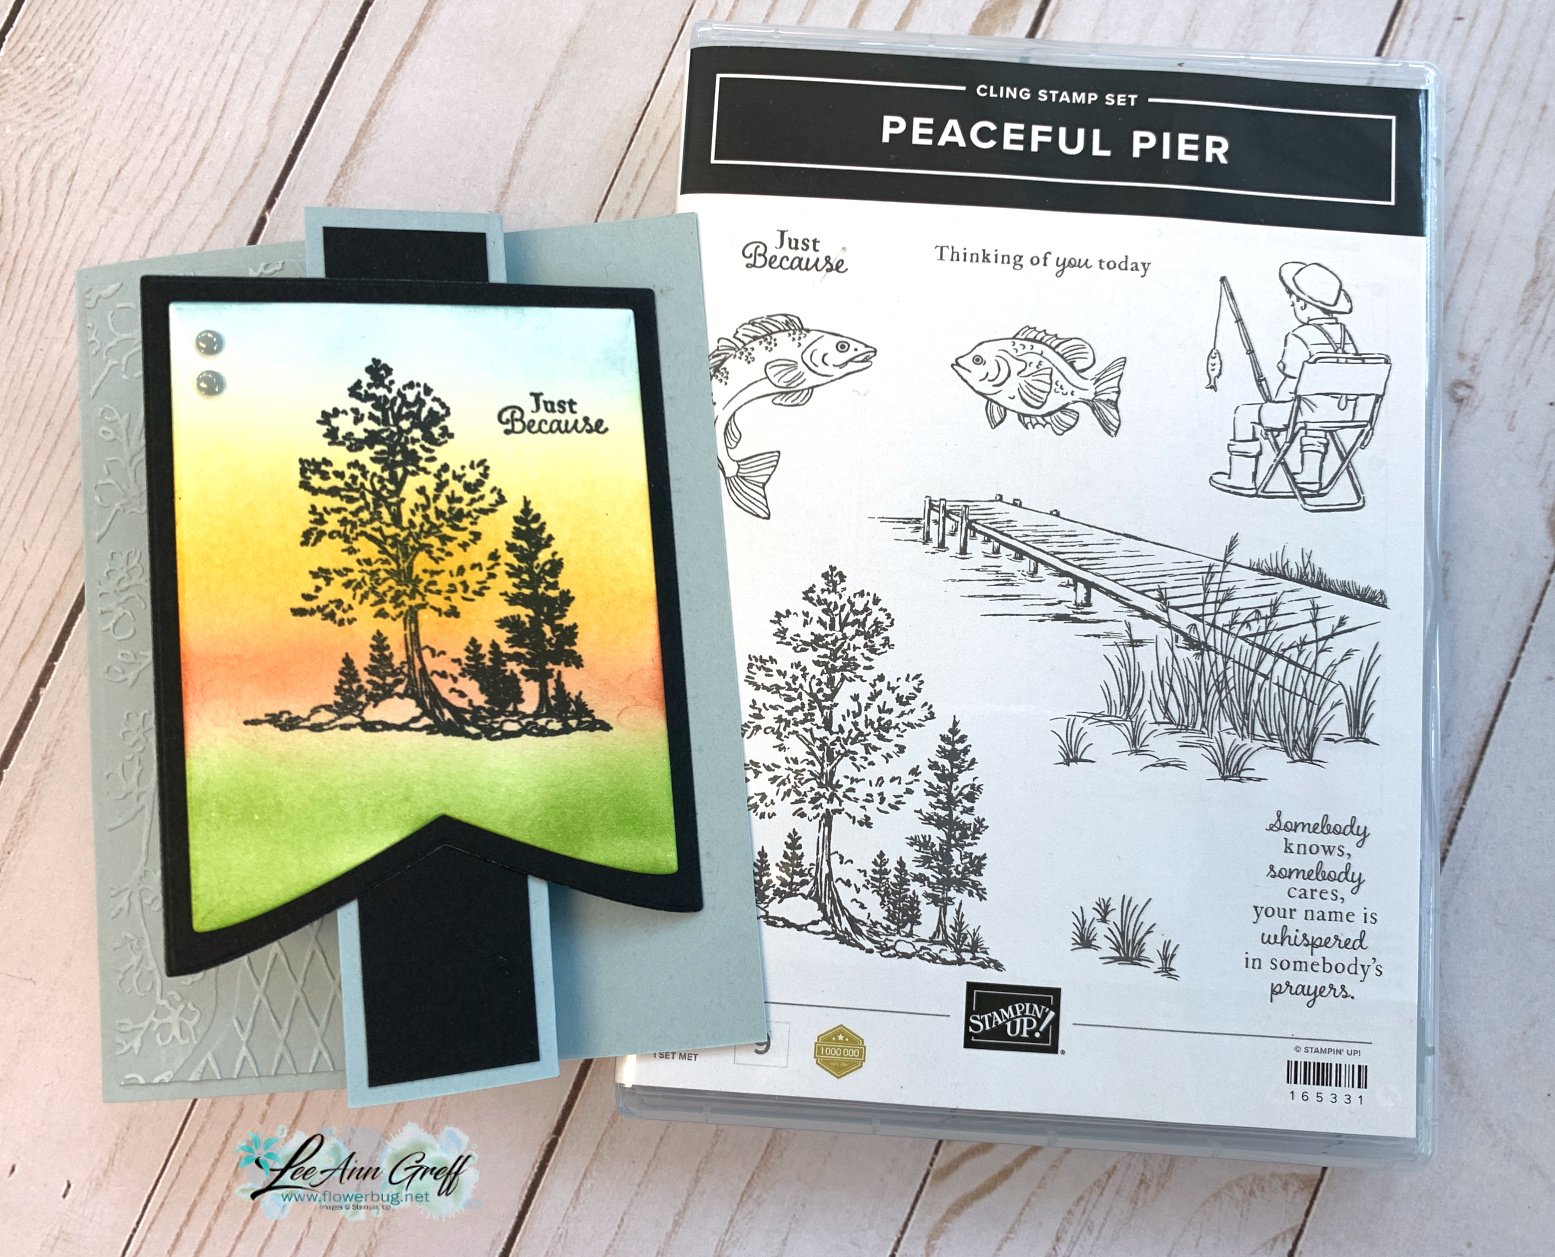
Here's another card I created on last week's video. Do you love colorful scenes too? 

Here I used Cloud Cover cardstock for my base; scored it an extra time to create a flap near the center. This is a great way to add the main element of your card.  In this case it's a stamped and colored tree scene on our new Party Banner dies.  

I found the Peaceful Pier stamp set seen here to be perfect for my scenes. It's a great line-art set you don't have to color in, as you can see in my example. 

Here is the free project sheet with measurements and supplies listed: Click on the following link to download it.  Download Peaceful Pier fun fold scene

I am now adding my project sheets to my Flowerbug's Stamp & Share FB group the same day I share the live video.  Click here to join the group. 
I used these inks for blending; from bottom to top – Granny Apple Green, Calypso Coral, Daffodil Delight and Cloud Cover. Blending brushes make it easy to add ink smoothly. But there are tricks to it!  

Below is the video tutorial on how to add ink smoothly with Blending Brushes.  I hope you watch it!

~~~

June Specials:

The Suite Sale is on! 

Buy one get 50% the second item – on all available suite products. 

Shop here or see products below: 

~~~

Last Chance List has been updated!  see it all here. Don't miss out on the deals!

~~~

Earn free card kits in June with online orders! Get 4 kits with a $50 order and orders over $80 receive all 6 cards. All you need are greetings, gems and adhesives to assemble. 

Order here 

~~~

Get my Celebratory Sips PDF tutorial free with any online order in June!

All Posts

  • Gorgeous Season of Green & Gold card kit to go; now with video!


    The gorgeous Green & Gold foil specialty paper is the star of these beautiful cards.  

    Aren't they pretty?  The patterns include gold foil on one side of each sheet. 4 of 5 designs are fancy folds. 

    You have a choice between a pre-cut kit or a PDF tutorial.  Both now include a video tutorial!

    The tutorial includes photos, measurements, the supply list and step by step instructions. You'll also receive a link to an unlisted video tutorial. This will be sent via email after purchase.  

    The kit to go is $31 and includes the following:

    • 10 pre-cut cards with die-cuts
    • 1/2 pkg. Season of Green & Gold DSP (6" X 12")
    • a share of Iridescent sheet ribbon and Neutral sequins
    • the PDF tutorial & video link

    Click here to pre-order the kit to go. Click here to purchase the PDF tutorial $16. 

    The PDF tutorial will be sent to you immediately after purchase.  Please check your spam or junk folder. 

    You'll need inks, greeting images, a scissors (some fussy cutting), adhesives and a paper trimmer to cut your new designer paper. 

    Products used:

    • Stamps – Everyday Greetings & Greetings of the Season
    • Inks – Garden Green, Mossy Meadow
    • Cardstock – Garden Green, Mossy Meadow, Old Olive, Gold Foil, Vanilla, White
    • Dies & Folders – Stylish Shapes, Unbounded Love, Magical Meadow, Thoughtful Wishes, Golden Greenery, Greetings of the Season dies. Distressed Tile, Exposed Brick & Timber embossing folders. 
    • Other – Die-cut machine, adhesives, paper snips scissors, Paper trimmer

    Save $$ on shipping if you order more than one kit.  See them all at my shop here. 

    ~~~

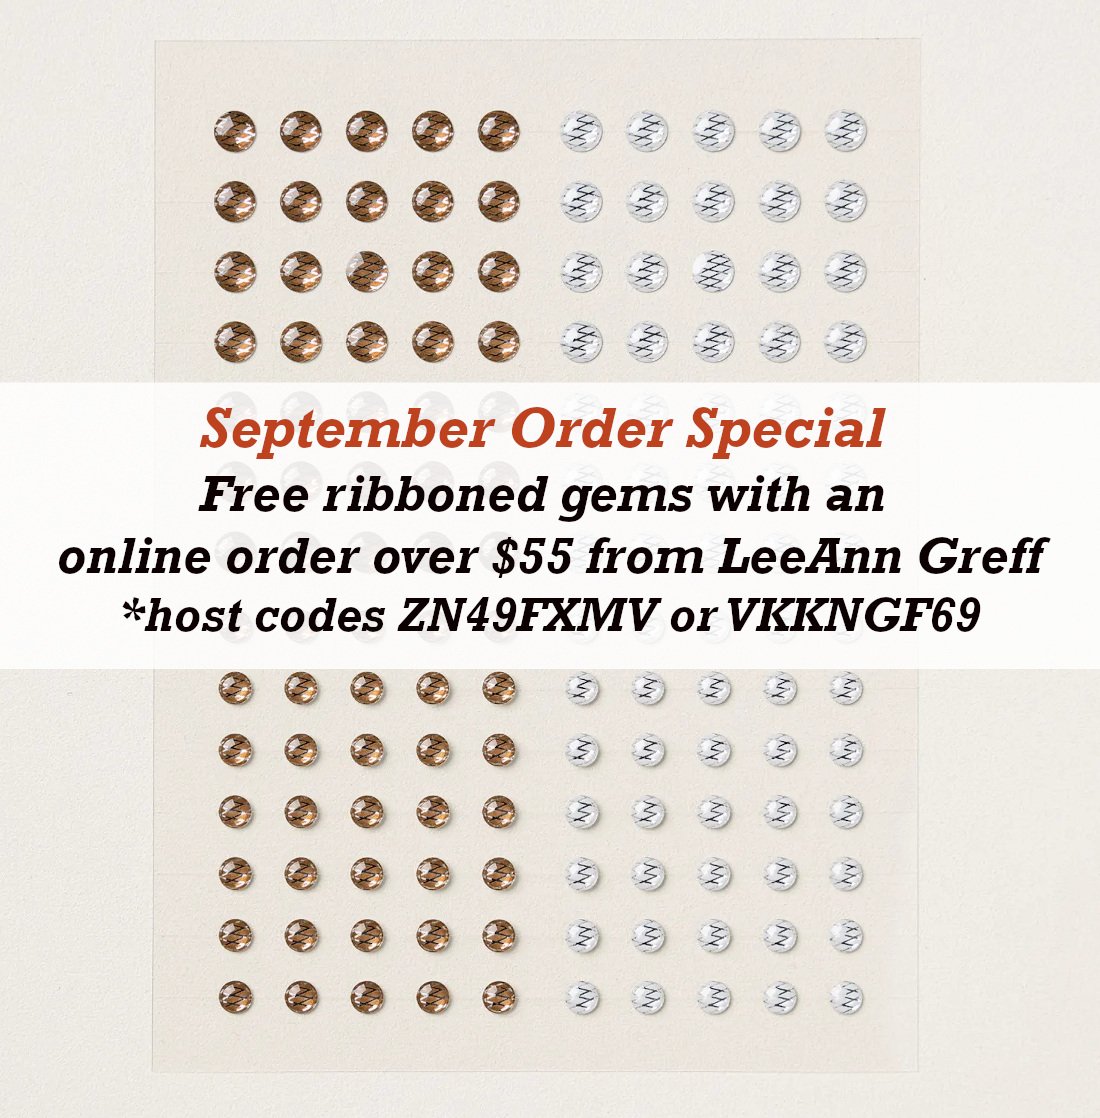
    September Specials:

    *current host code links: ENS36KE4 or ZN49FXMV


    ~~~

    Check out the new Scrapbooking Line from Stampin' Up! 

    See the Brochure here

    ~~~

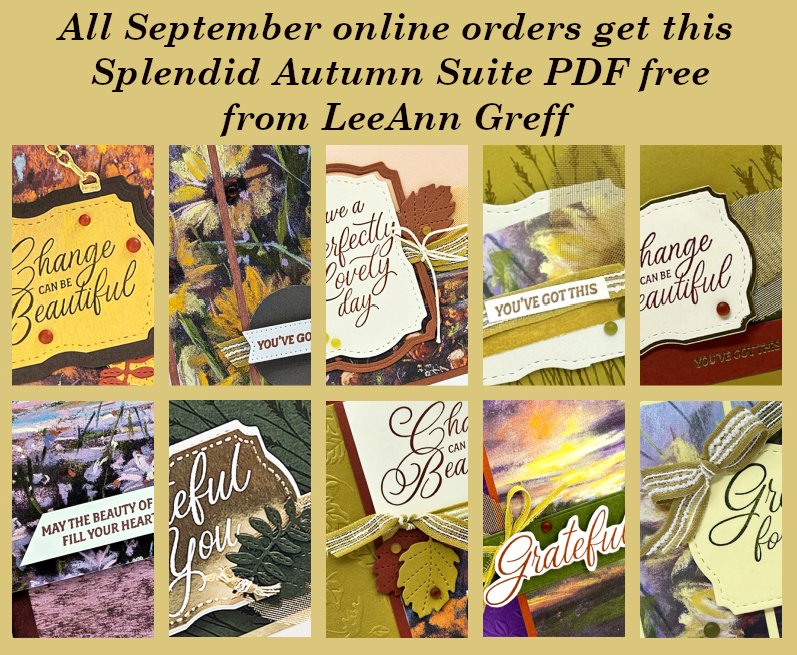
    All online orders will receive a free PDF tutorial featuring the

    Splendid Autumn suite

    Leave a Reply

    Your email address will not be published. Required fields are marked *

  • New, beautiful Splendid Autumn card kit to go; now with an exclusive video tutorial!


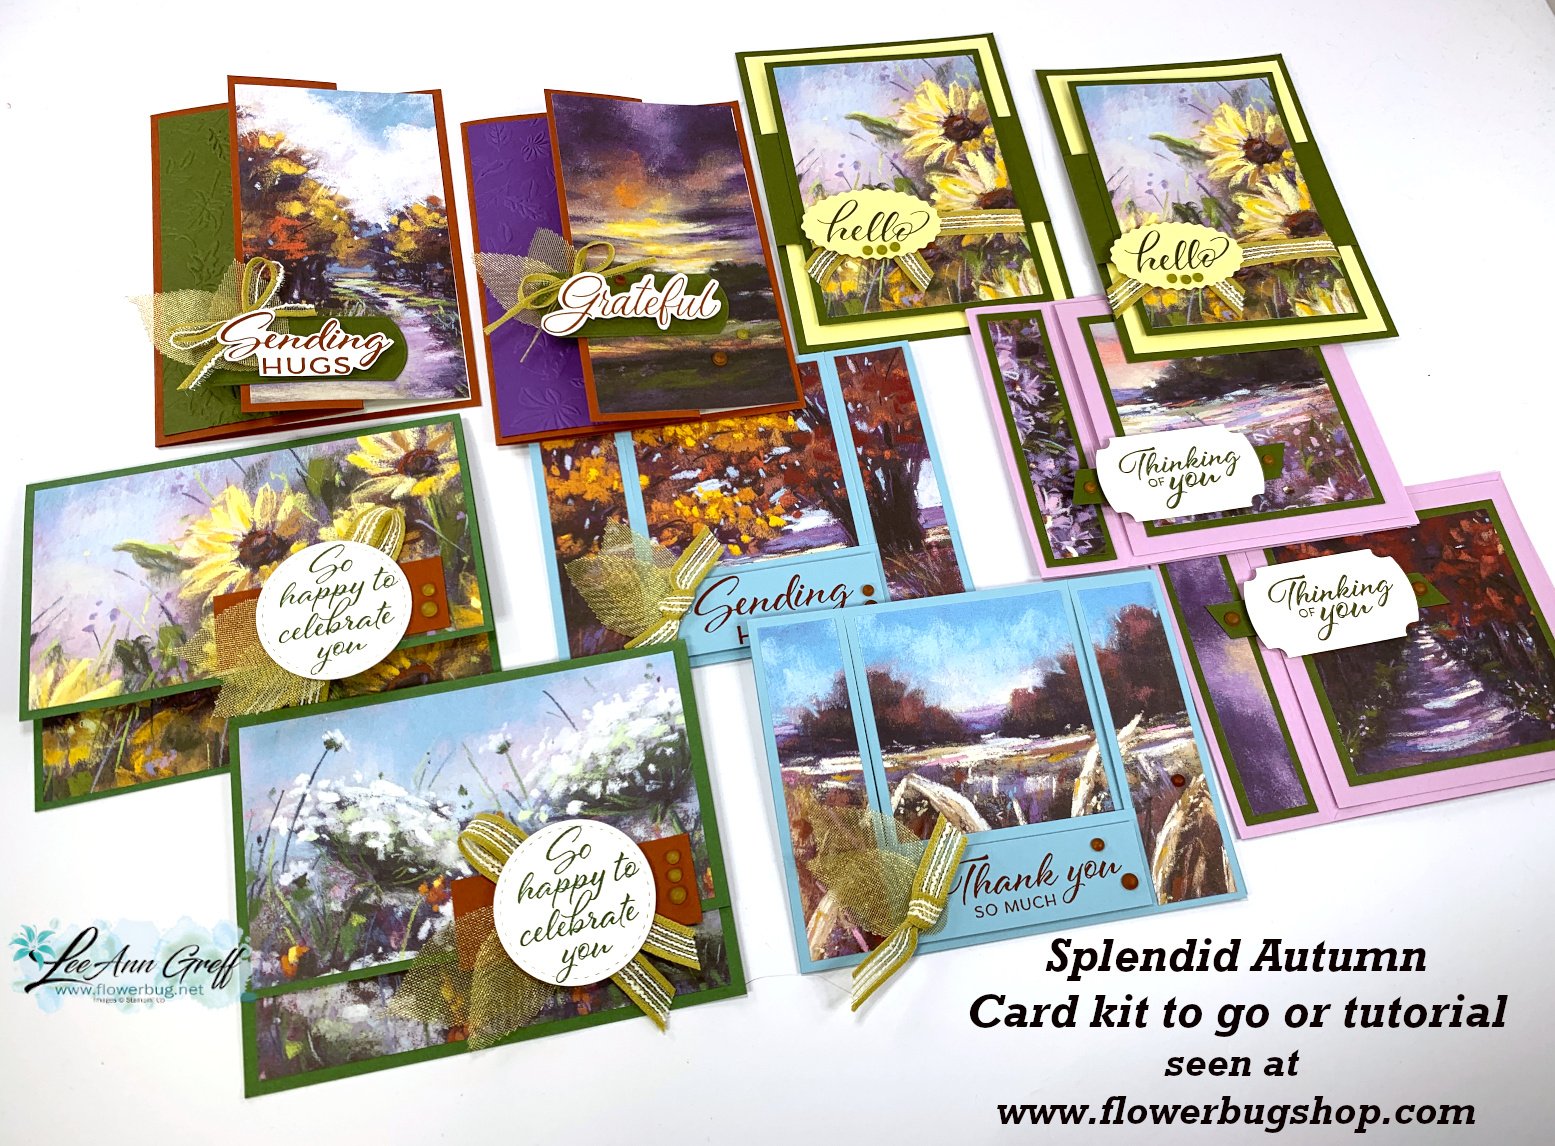
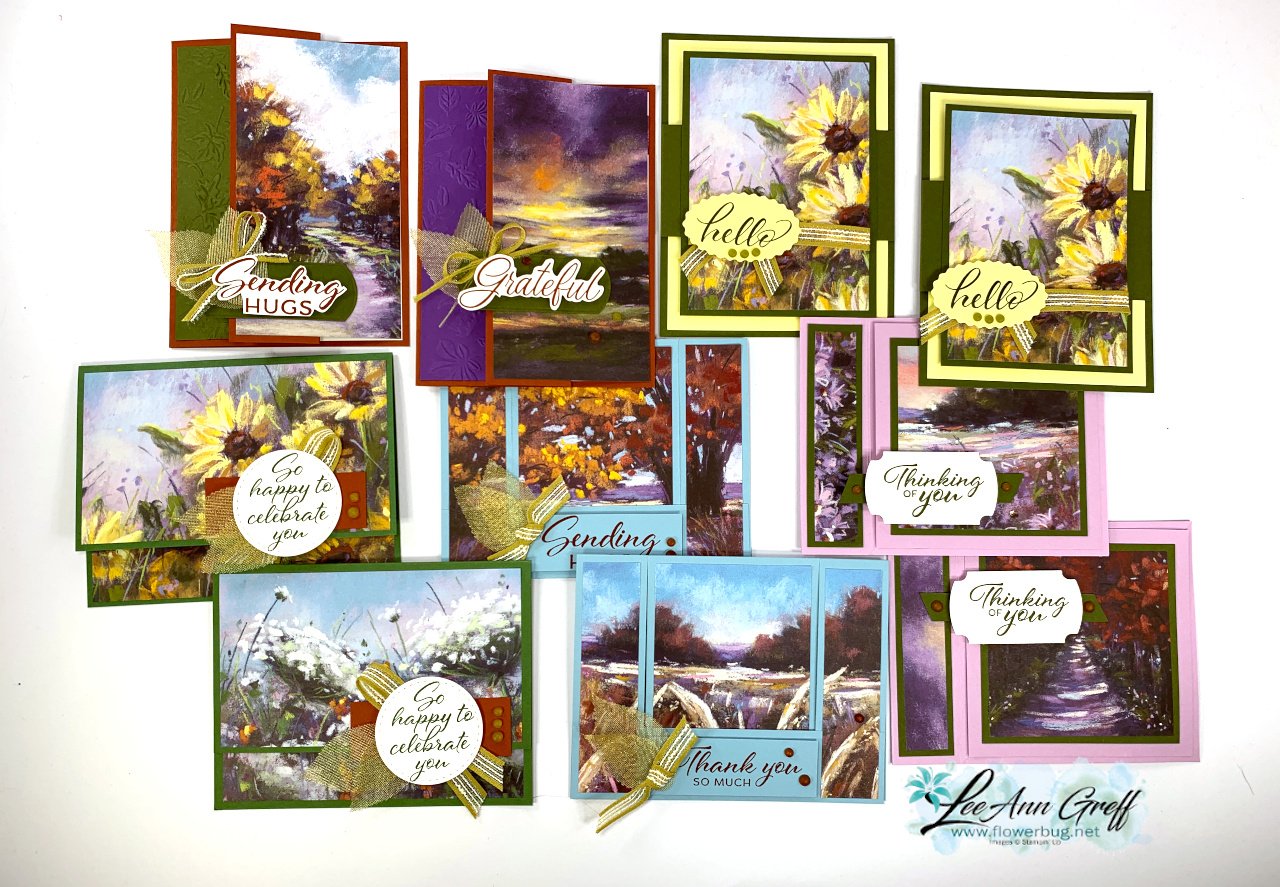
    Stampin' Up! knows we love scenic designer series paper and they created another winner with the Splendid Autumn DSP. I chose to feature it for one of my September card kits to go. 

    Each of the cards are a unique fun fold layout. I chose these designs specifically to show off the pretty papers. 

    I offer both a pre-cut kit with products or the PDF tutorial option.  Both include the tutorial and now an unlisted video on how to assemble each card!  The PDF tutorial is emailed to you immediately after purchase from my shop. The video link is emailed to you soon after.  The pre-cut card kit is mailed out at the end of September.

    This month's kit to go includes the following:

    • 1/2 pkg Splendid Autumn 6" Designer Series Paper
    • a share of Faux Glass gems and woven gold leaves
    • a share of Wild Wheat rustic ribbon
    • both the PDF tutorial and the video tutorial

    Click here to purchase the card kit to go for $31 plus shipping. Click here to get the PDF tutorial for $16.  *see all of the available kits or tutorials here. 

    *this is the kit my subscribers will receive.   Subscribe here if you're interested in receiving a card kit filled with both products AND a pre-cut card kit.  My subscribers get their kits at a reduced rate.

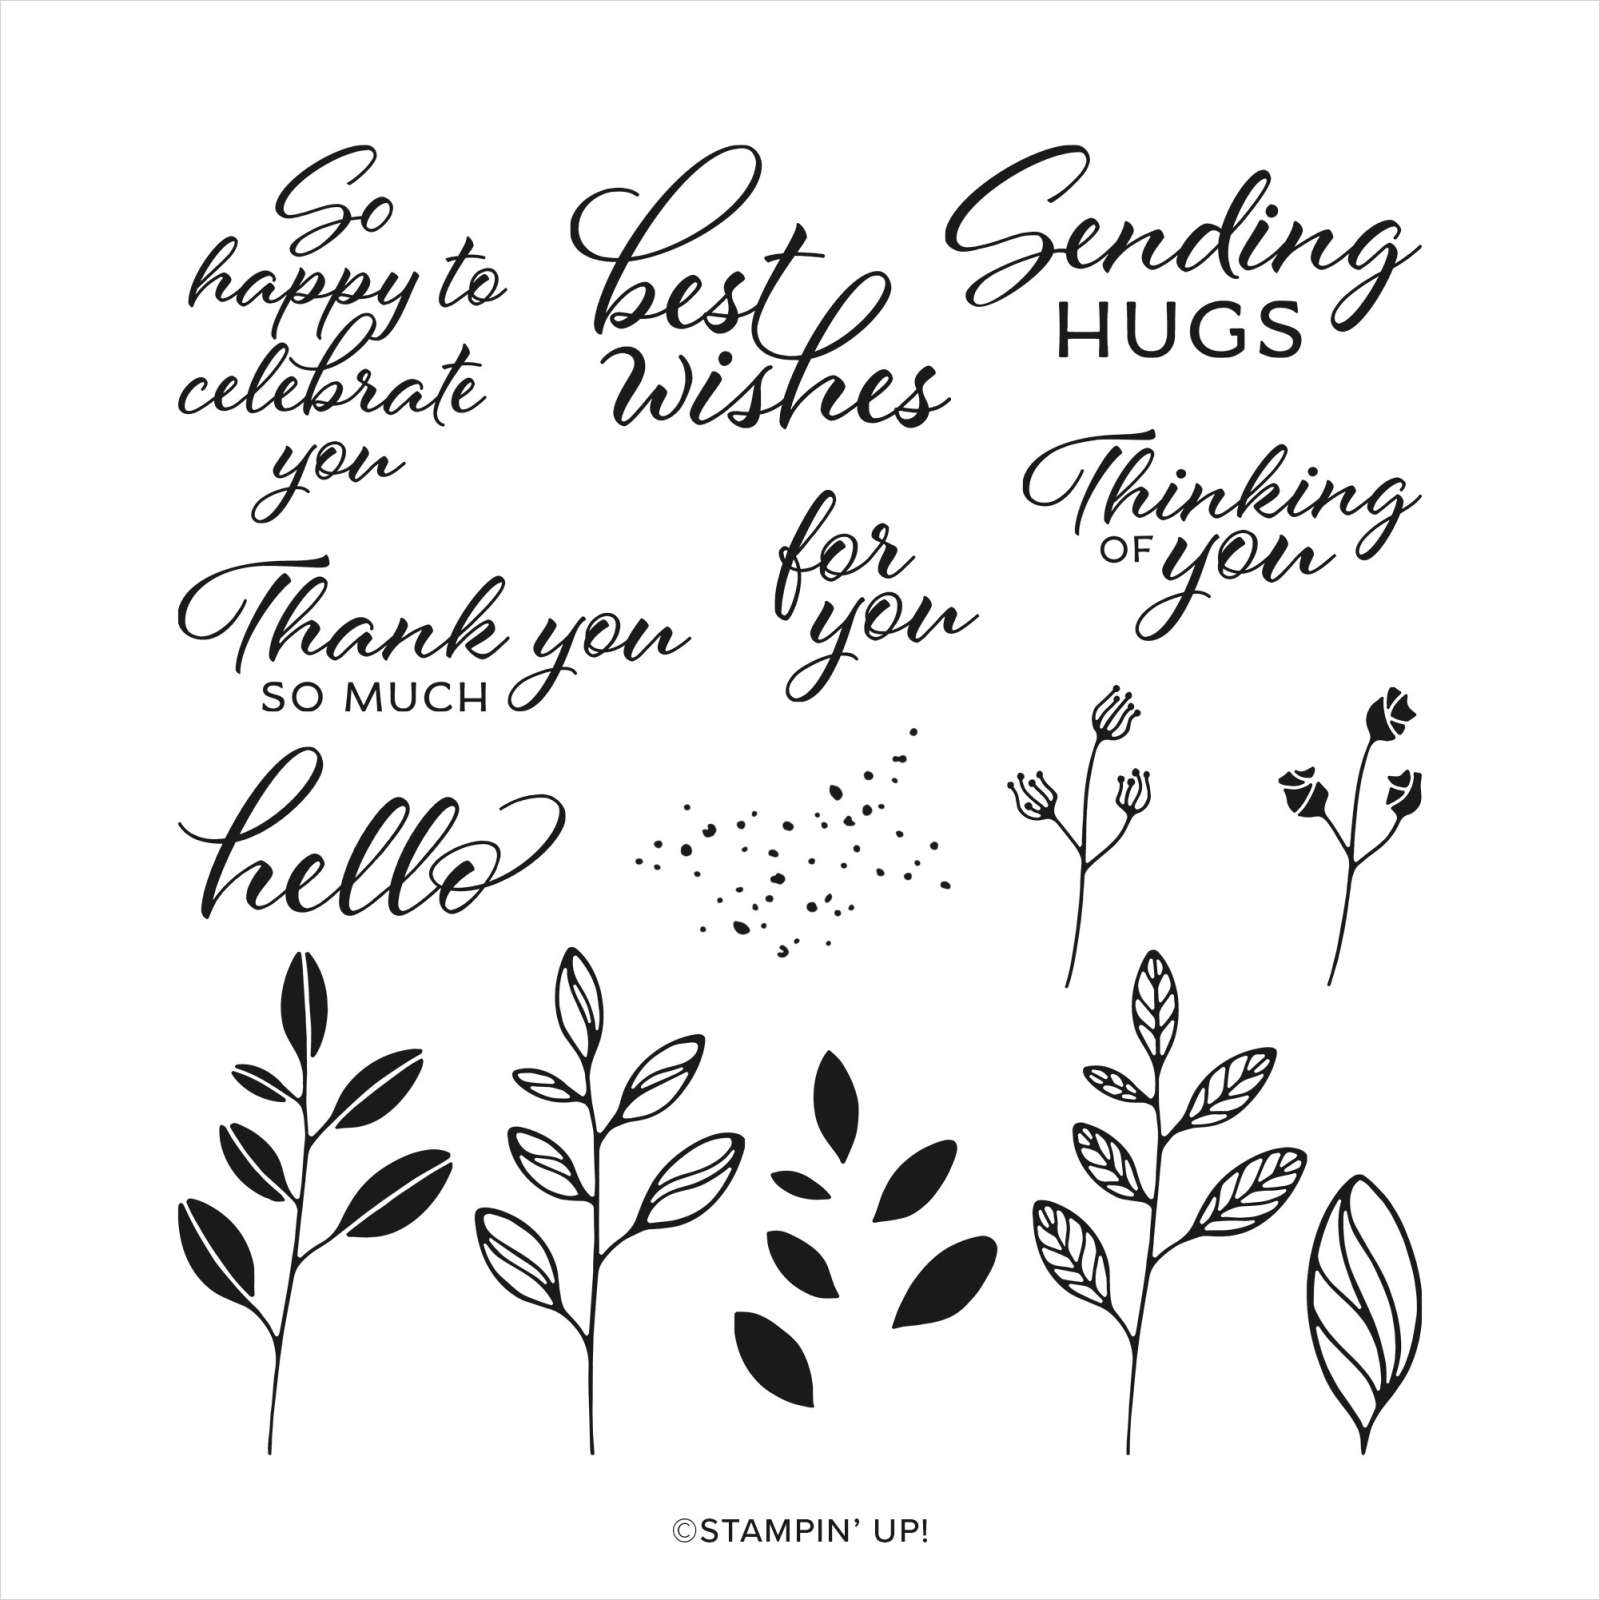
    I used the Layering Leaves stamp set for my greetings. I LOVE it; it's a go-to for an all occasions greeting set. 

    However you can substitute any greetings instead.  I specifically plan my cards kits so you only need greeting images; not a specific stamp set.

    *I'll share the other new kit for September tomorrow!

    ~~~

    September Specials:

    *current host code links: ENS36KE4 or ZN49FXMV


    ~~~

    Check out the new Scrapbooking Line from Stampin' Up! 

    See the Brochure here

    ~~~

    All online orders will receive a free PDF tutorial featuring the

    Splendid Autumn suite

    Leave a Reply

    Your email address will not be published. Required fields are marked *

  • A pretty Regal Winter Tent card with free project sheet & video tutorial. So easy!


    I haven't made a tent card in a long time! It can also be called an easel card too. 

    This card layout really shows off our pretty designer paper. And it's sooo easy too!  As you can see it's basically 3 layers and an embellishment.  See the Regal Winter DSP here. 

    My colors were inspired by the pretty DSP and include Pretty Peacock, Cherry Cobbler & White. That Cherry Cobbler gold edged ribbon is new; it's fine and easy to work with. 

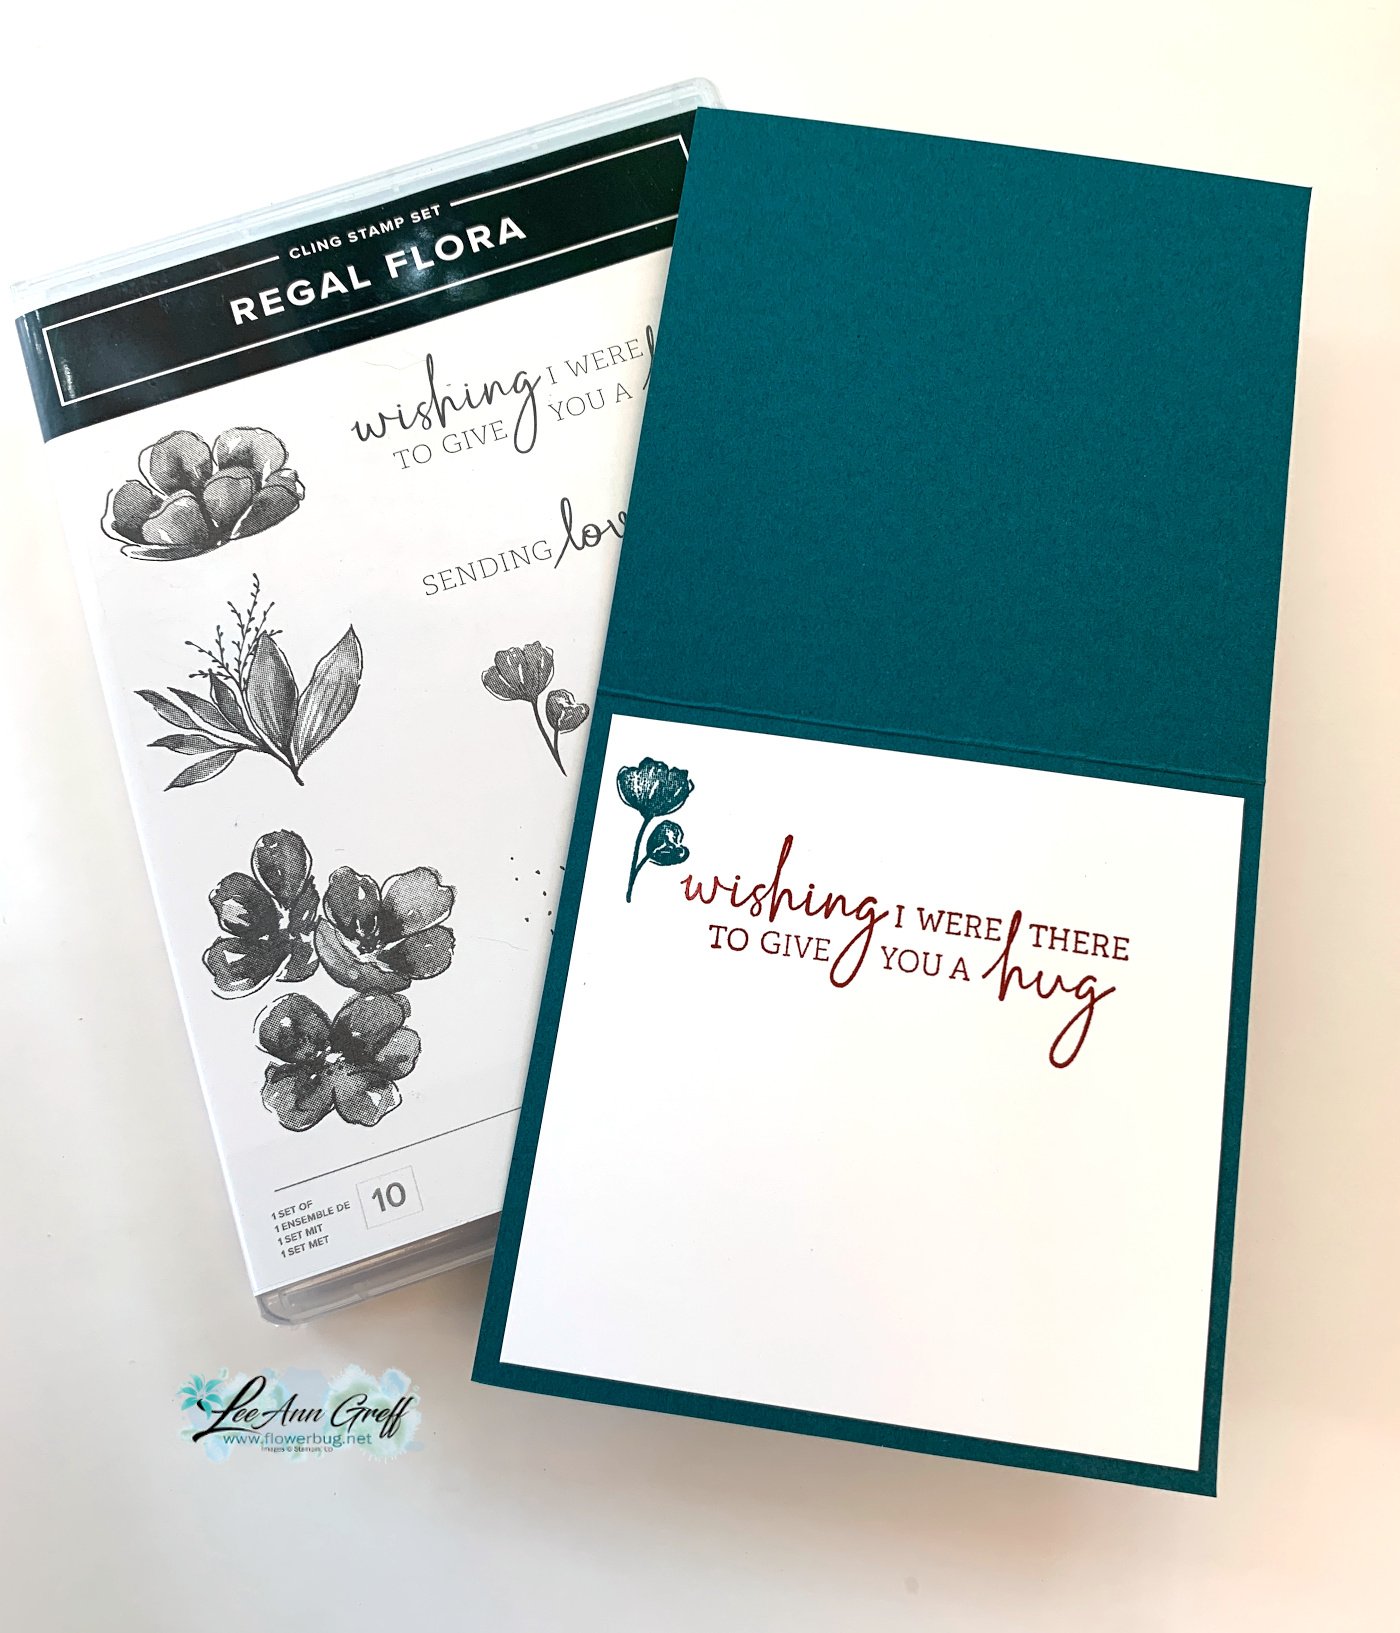
    The greeting is from the Regal Flora stamp set however the greeting is originally all in one row.  I cut it in half and stamped them separately to fit on my die-cut. They're easy to reposition back together like it came. 

    Here's a view of the inside: 

    Click on the following link to download or print the free project sheet: Download Regal Flora Easel card

    Below is the video for this card and another. Be sure to follow me on my YouTube channel here.  I shared another gorgeous card with this suite 2 weeks ago.  

    ~~~

    September Specials:

    *current host code links: ENS36KE4 or ZN49FXMV


    ~~~

    Check out the new Scrapbooking Line from Stampin' Up! 

    See the Brochure here

    ~~~

    All online orders will receive a free PDF tutorial featuring the

    Splendid Autumn suite

    Leave a Reply

    Your email address will not be published. Required fields are marked *


Notice: LeeAnn Greff, Independent Stampin’ Up! Demonstrator, Manager. The content of this website is my sole responsibility as an independent Stampin’ Up! demonstrator and the use of, and content of, the classes, services, or products offered on this website is not endorsed by Stampin’ Up! Copyright 2025