/


Latest Post

Create a mountain scene with the In the Grove bundle; video & free project sheet too!


I shared this card on last week's Live video. I made a bunch of them for an online swap I participated in.  I just love creating a scene on my cards!  

It features the In the Grove bundle; from the new Annual Catalog.  You can see it here.  

My colors include Smoky Slate, Balmy Blue, Shaded Spruce and the new Shy Shamrock. 

Tips: I heat embossed the clouds in clear embossing on the White layer; then used a blending brush with Balmy Blue ink over it for the sky. When you do this I recommend wiping off the excess ink with a slightly damp tissue or cloth. That removes the blue ink from the embossed clouds. 

That pretty mountain image is all one stamp! One color of ink and one stamp. I stamped the green trees multiple times in Shaded Spruce ink, varying the height each time.  

I hope you like it! Be sure to watch the video below to see how quickly it comes together. 

Here's a free project sheet for this pretty card; it has photos, directions, measurements and products listed.  Download In the Grove Mountain scene

You can see this card being made on my video below plus another pretty card made with the In the Grove bundle. 

~~~

May Specials: 

*current host code link:  FCJ937QT or 9AWSF9T9

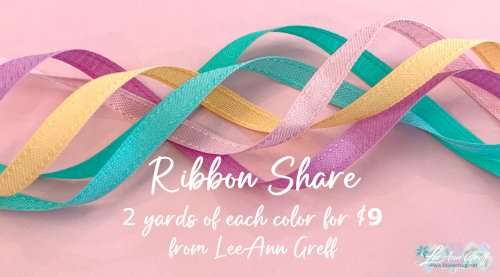
Click on the pictures above or below to get to my new catalog shares – choose from designer papers or a ribbon share. 
~~~
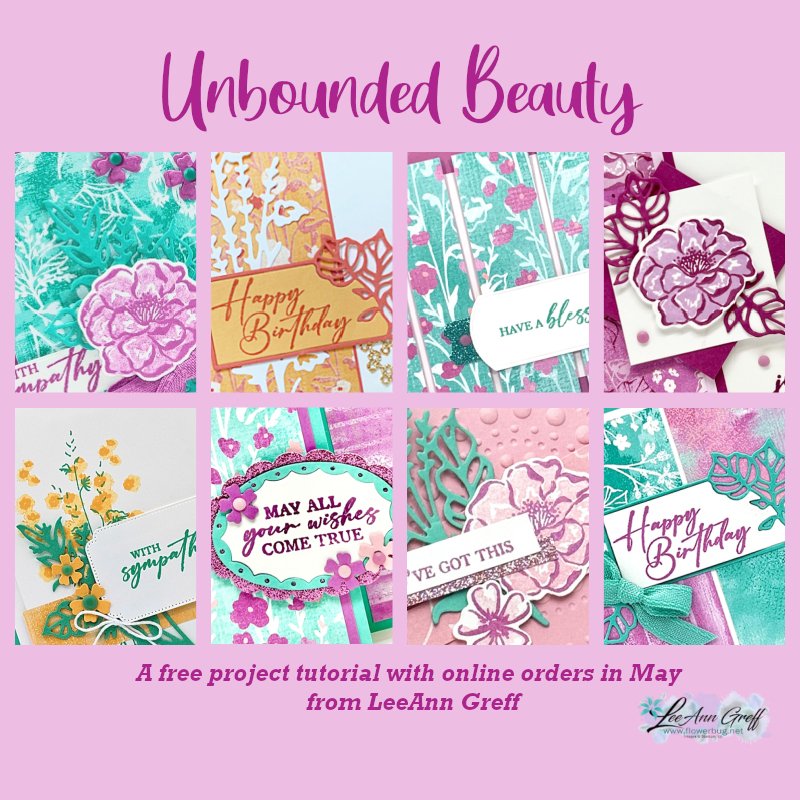
All online orders in May will receive a free project tutorial and if your order is over $50 I'll also send you a pre-cut card kit!

All Posts

  • NEW and Amazing 12 Days of Crafting Calendar kit available today


    Introducing the 12 Days of Crafting Advent Calendar, a brand-new calendar full of products you can craft with all year long!

    Every day of this calendar contains never-before-seen dies, paper, embellishments, and even more items you won’t find in any of our catalogs or in our online store. Once these calendars are sold out, they’ll be gone for good, so make sure you buy one before they’ve disappeared. It’s $99 and the item # is 167335. Go here to shop.

    Here’s why I’m so excited about this product based kit. Each of the 12 ‘windows’ includes NEW product ready to craft with. Plus there’s a stamp set too! So that’s 13 new products plus the beautiful box. I’ve seen two of the items so far….. If you want to be surprised don’t read the next sentence! Shhh – one is a set of dies to coordinate with the all occasion stamp set and the other is 20 sheets of new 6″ X 6″ designer series paper.

    Get a free PDF project tutorial when you order this kit from me for FREE (team members always get my tutorials free of course).

    Details:

    Item: 12 Days of Crafting Advent Calendar (167335)

    Price: $99 USD | $136 CAD

    Ordering Begins: September 23, 2025

    Includes: Exclusive dies, paper, embellishments, and more

    *Available only while supplies last.

    ~~~

      To see all of the new Online items click here.  Or download & save the Download Online Exclusives flyer 

    Get a free project tutorial with any online order in September! 

    Leave a Reply

    Your email address will not be published. Required fields are marked *

  • A fun way to add color to the Happy Place stamp with video tutorial


    I shared how to add color to the large ‘Happy’ from the Happy Place stamp set on last week’s Live video. What do you think?

    We made this cute card at my September card clubs. The colors include Lost Lagoon, Calypso Coral & White. You might wonder how I achieved the two-toned inking on the Happy image. I used inks – Lost Lagoon for the water and Calypso Coral for the sky. For this sample I used large ink pads. But for my Clubs we used smaller ink spots. It was a lot easier this way!

    You might also wonder where I got the rectangle Perennial Postage die shape. I had to die-cut a larger rectangle twice to get this size. It was pretty easy and I share how in the video below.

    We textured the Lost Lagoon layer with the Wave 3D embossing folder and the curvy leaf dies are from the Label Me Grateful dies seen here. I love them! The inside greeting is from the With You in Mind stamp set.

    It’s an easy fold that shows off the inside of the card and the designer paper we added. This DSP is the Subtles 6″ designer paper which has some great patterns.

    I really enjoyed playing with this fun stamp set. I’ll share another project from the video tomorrow. See the Happy Place set here.

    I created a free project sheet for you with measurements, photos, directions and a supply list with links. Click on this link to print or download it.

    Below is the video tutorial for this card and one more. Don’t forget to subscribe to my YouTube Channel while you’re there!

    ~~~

      To see all of the new Online items click here.  Or download & save the Download Online Exclusives flyer 

    Get a free project tutorial with any online order in September! 

    Leave a Reply

    Your email address will not be published. Required fields are marked *

  • More beautiful Team swaps for Autumn


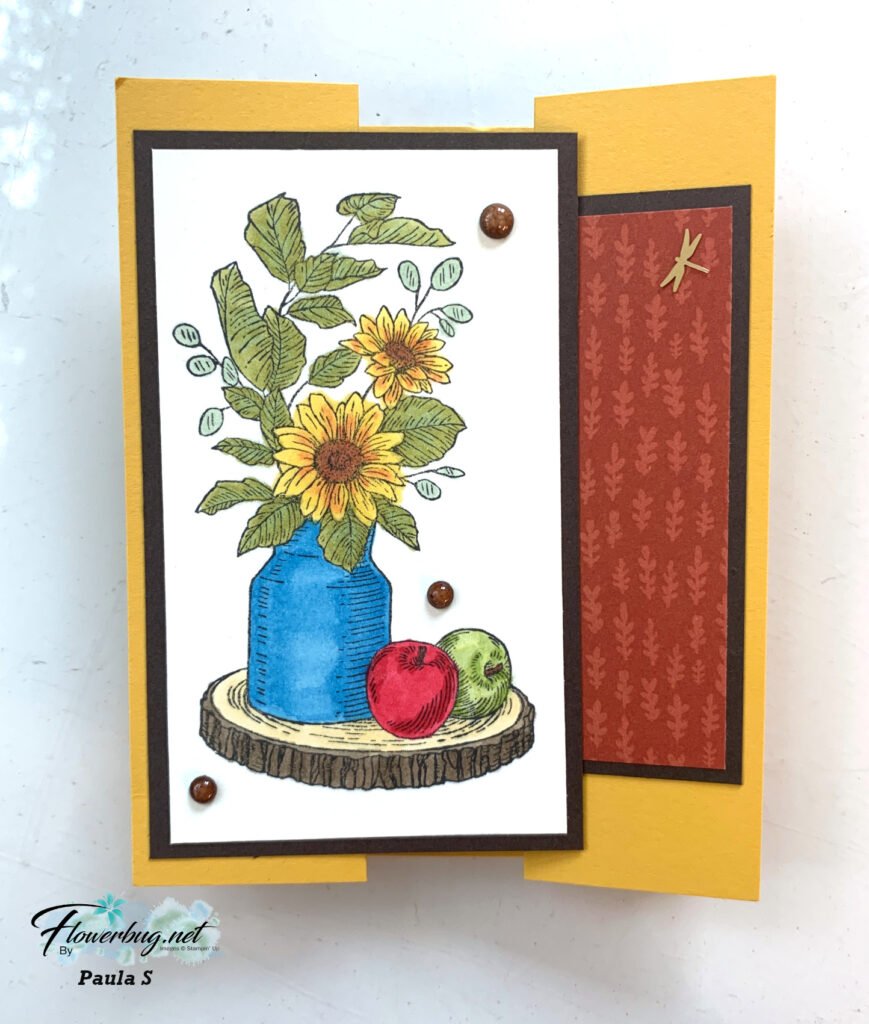
    First up is a fun fold card made by Paula:

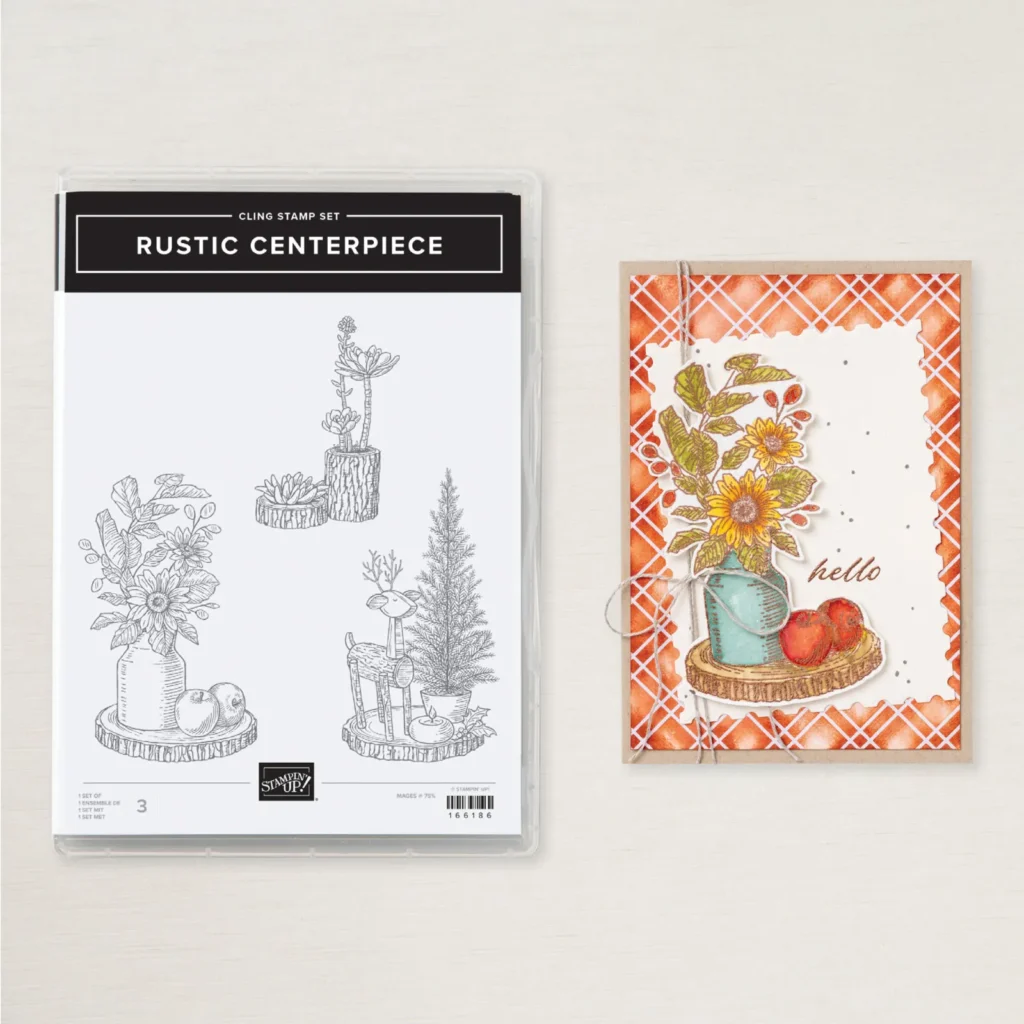
    This pretty stamp is part of the Rustic Centerpiece stamp set seen here. She colored the image in with Blends markers. Beautiful work Paula!

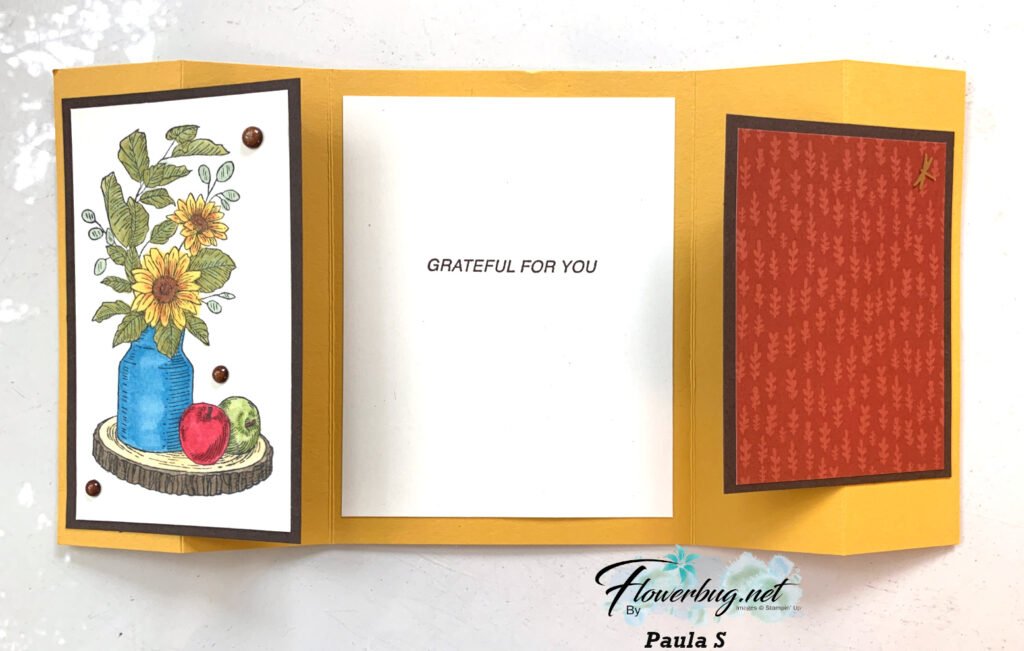
    I don’t remember seeing a fold like this card before. I love that the main panel on the left is accented by the DSP panel on the right.

    Here are her measurements:
    – card base 10 3/4″ X 5 1/2″ scored at 1 5/8″, 3 1/4″, 7 1/2″ & 9 1/8″
    – left panel – vanilla 2 3/4″ X 4 3/4″, Early Espresso 3″ X 5″
    – right panel – DSP 2 3/4″ X 3 3/4″, Early Espresso layer 3″ X 4″
    – Vanilla inside 3 3/4″ X 5″

    ~~~

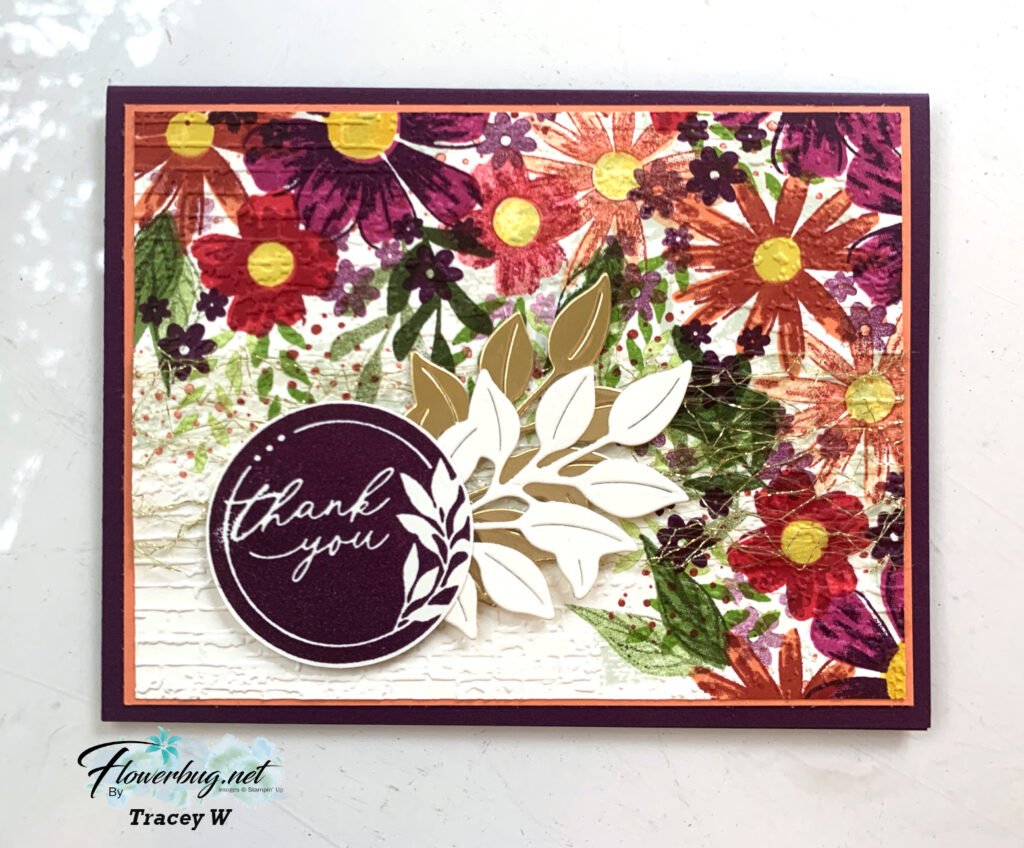
    Next is a gorgeous card made by Tracey:

    Isn’t it stunning?! Tracey loves to create her own background with stamps. It looks like printed paper! She says she stamped the flowers & leaves in 12 different ink colors!! Wow!

    She used the following stamps: Encircled with Love, Blooming Phrases, Impressions Abloom, With You in Mind & You are Remarkable.

    The leaves are from the Thankful Garden dies; the embossing folder is Exposed Brick. What a fabulous card!

    ~~~

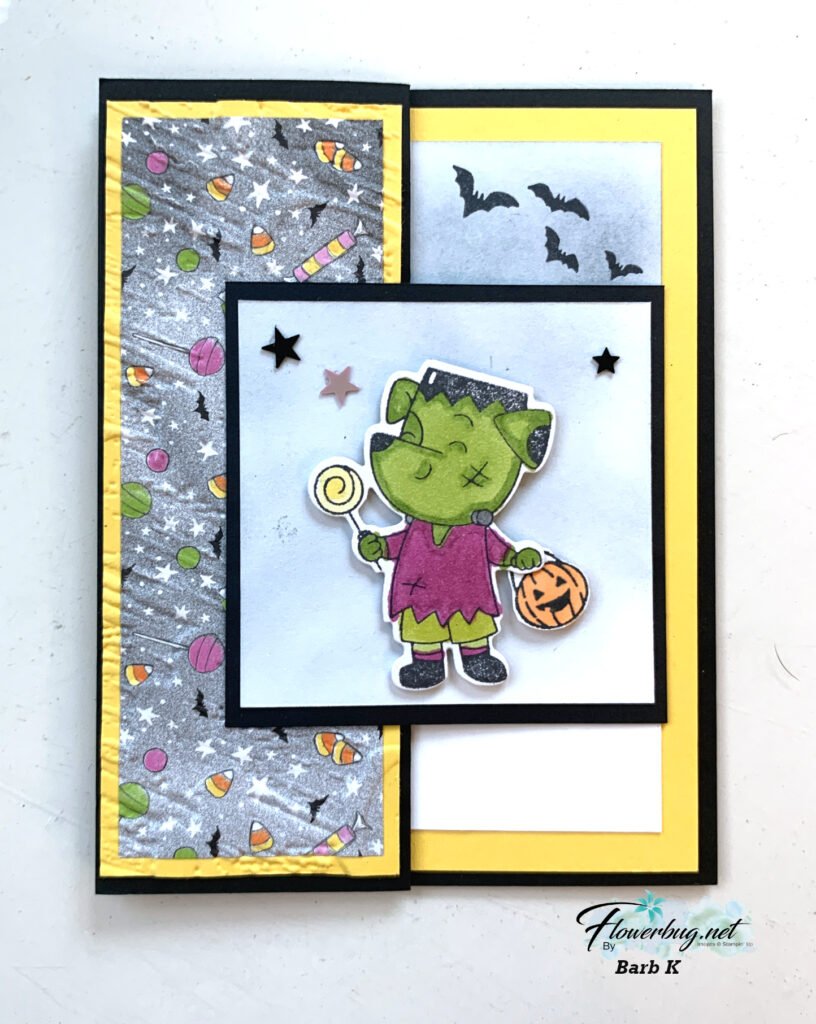
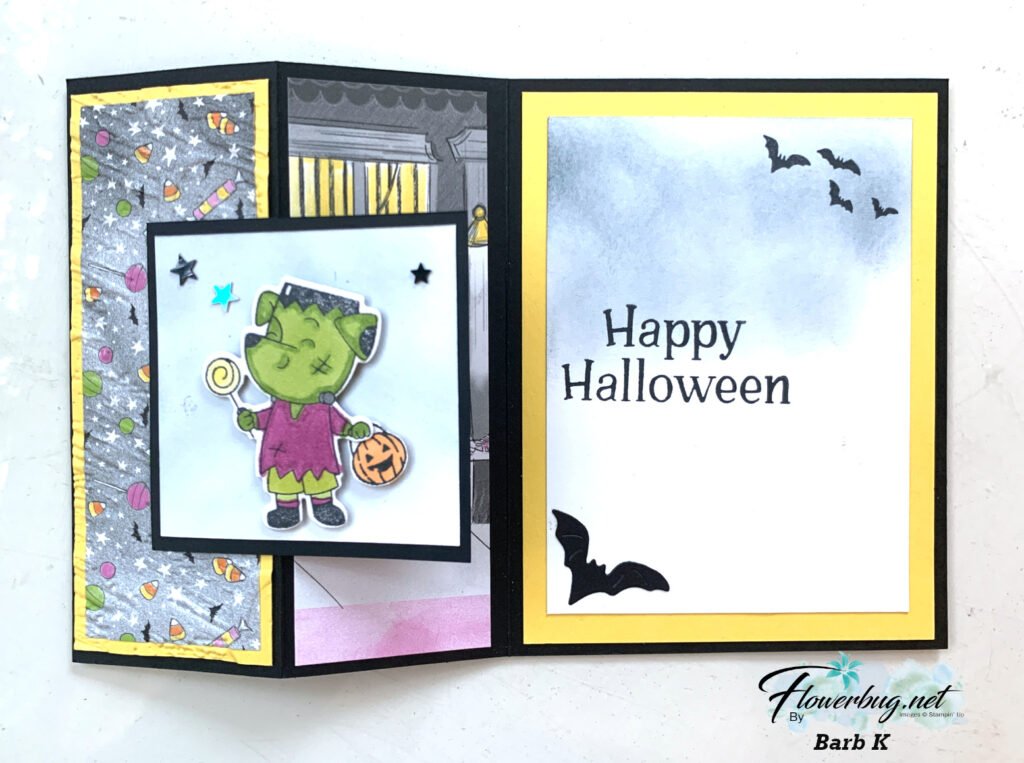
    Lastly today is a fun Halloween card made by Barb:

    She used the Spooky Halloween bundle & Halloween designer paper. See this suite here.

    Her colors include Black with Daffodil Delight. She did a ton of extra work to make her card a bit spooky; notice all of her sponging….

    She colored the main image in with Blends markers and textured the left panel too.

    Measurements:
    – Black card base 8 1/2″ X 5 1/2″ score at 2 1/8″ & 4 1/4″
    – Daffodil Delight 2″ X 5 1/4″ for the left panel, inside is 4″ X 5 1/4″
    – Black square 3″
    – White front square 2 3/4″, Inside is 3 1/2″ X 4 3/4″

    ~~~

    ~~~

      To see all of the new Online items click here.  Or download & save the Download Online Exclusives flyer 

    Get a free project tutorial with any online order in September! 

    Leave a Reply

    Your email address will not be published. Required fields are marked *


Notice: LeeAnn Greff, Independent Stampin’ Up! Demonstrator, Manager. The content of this website is my sole responsibility as an independent Stampin’ Up! demonstrator and the use of, and content of, the classes, services, or products offered on this website is not endorsed by Stampin’ Up! Copyright 2025