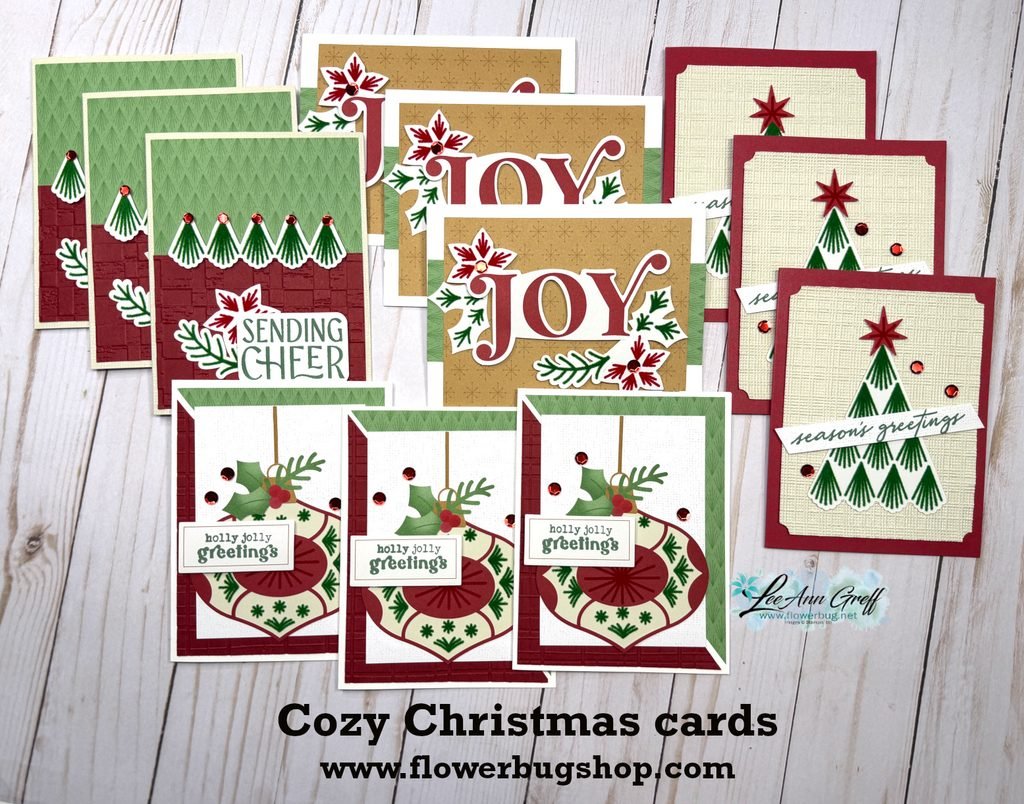
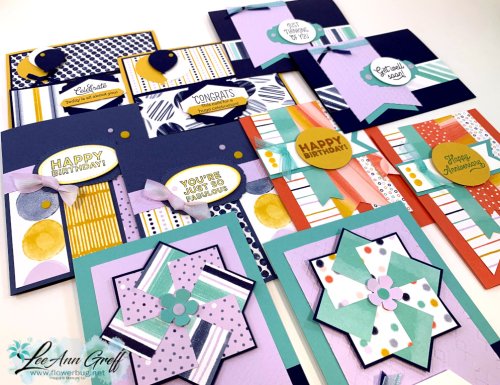
I had fun creating these fantastic Christmas cards with a former Paper Pumpkin kit from last year. I have a limited quantity of these available this month in a kit to go.
There are 12 cards with envelopes in this kit. I was able to change the kit from 9 to 12 cards. There are so many fantastic die-cut elements included in this one.
This kit includes the pre-cut kit, envelopes, adhesives and gems. You will need a few greetings, inks and embossing folders if you choose to make them like I did.
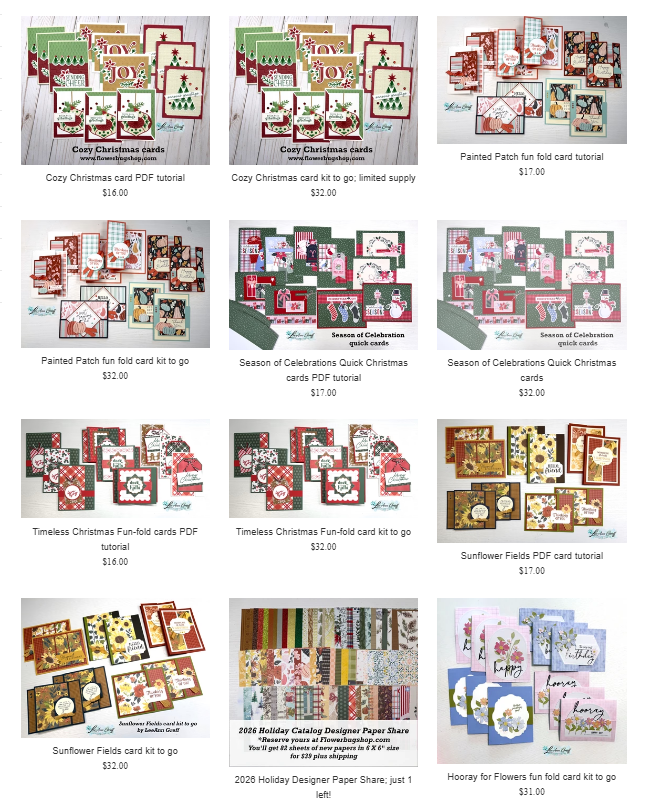
See it here in my store. It’s $31 plus shipping. The PDF tutorial is $17 and is seen here. The tutorial is emailed to you immediately after payment. The pre-cut kit is mailed out at the end of October.
Remember that if you order more than one kit shipping is combines and you’ll save $$.
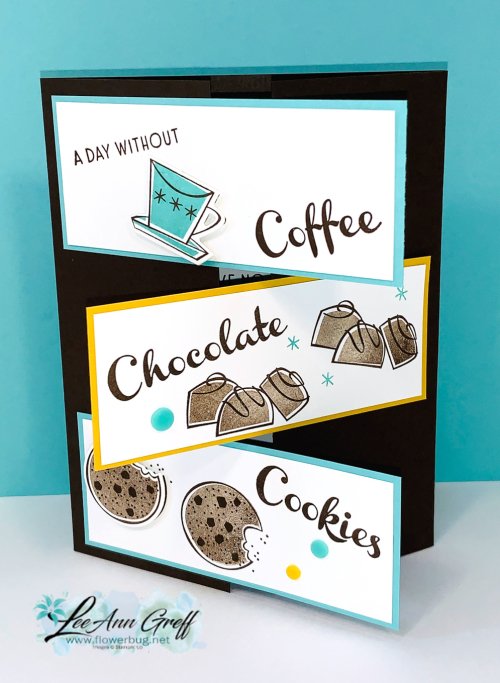
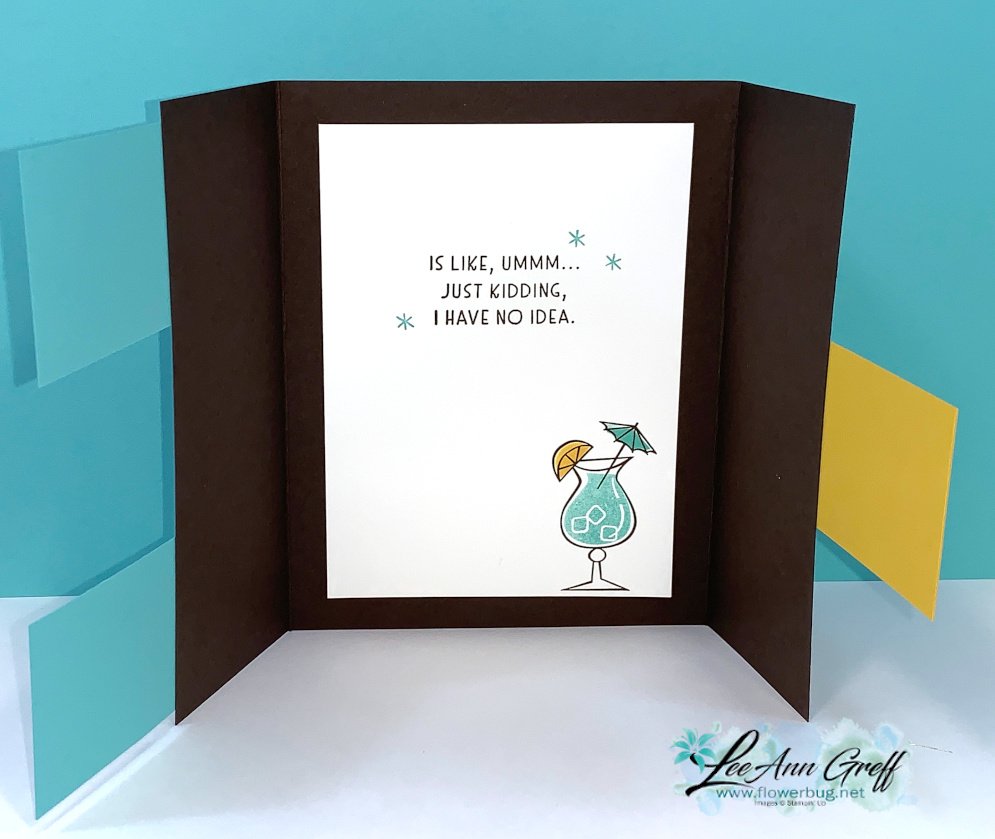
It's a triple flap gate-fold card! It's super easy to make and fun to open too. Check out the measurements AND the video below. Be sure to read the front AND the inside below. This stamp set is just plain FUN!
I chose to use Early Espresso with Coastal Cabana and Crushed Curry. To get a lighter hue for the chocolate and cookies images I stamped off the Early Espresso ink first. Is it just me or do some of these images remind you of the Jetsons cartoon show?
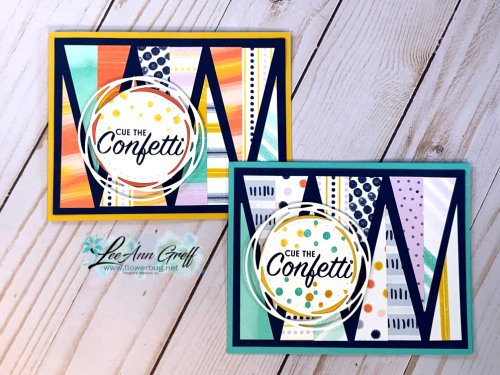
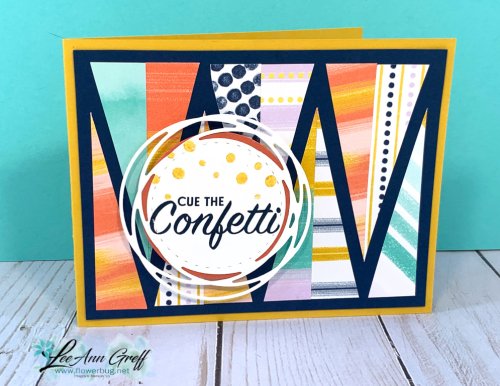
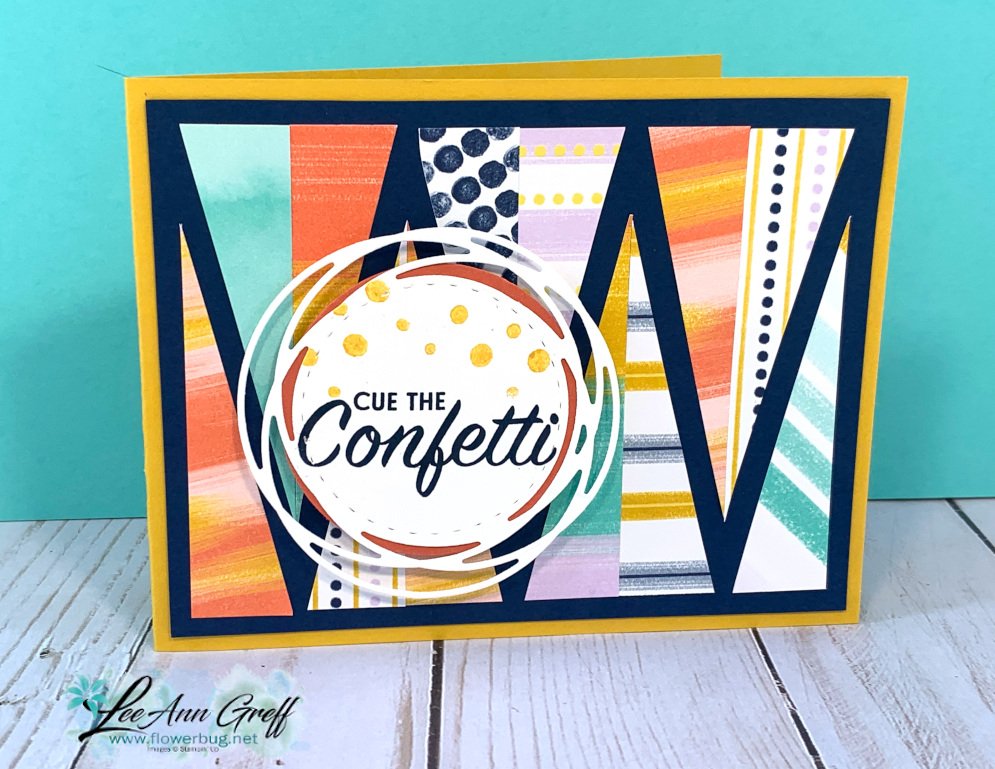
Cut 6 pieces of Designer Paper at 3/4" X 3" and then cut each one from one corner to the opposite one. Now you can piece these together on a contrasting piece of card stock measuring 4" X 5 1/4". Be sure to watch the video below to see how it's done.
The greeting circle is from the Painted Label dies and the greeting is from the Pattern Play stamp set. See the entire suite of Playing with Patterns products here.
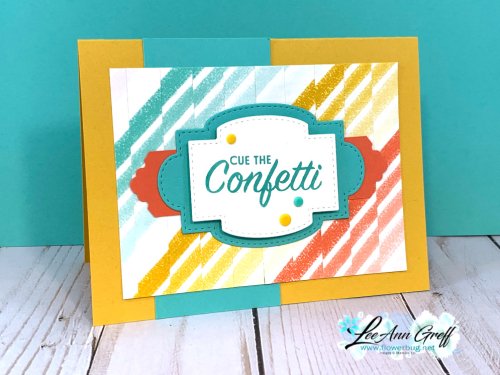
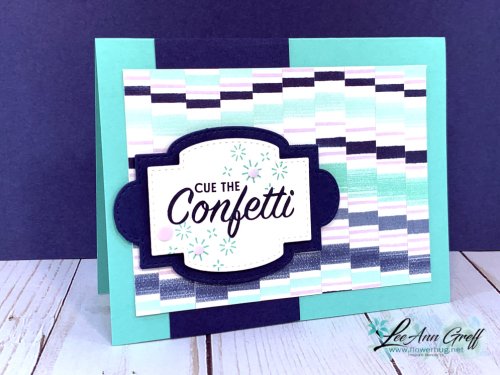
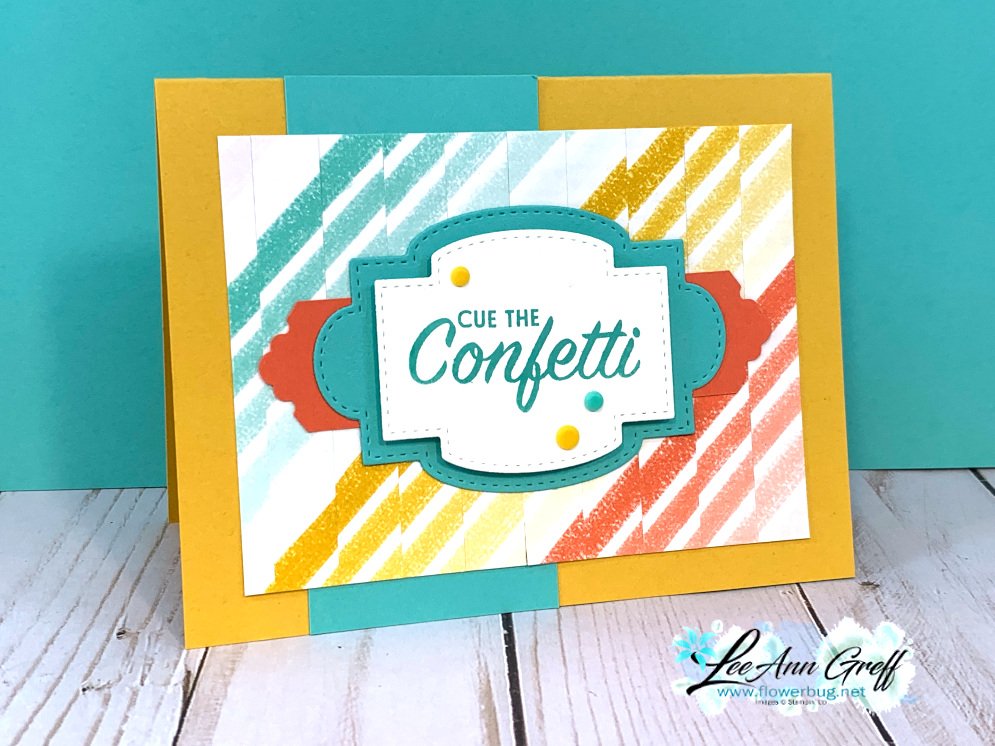
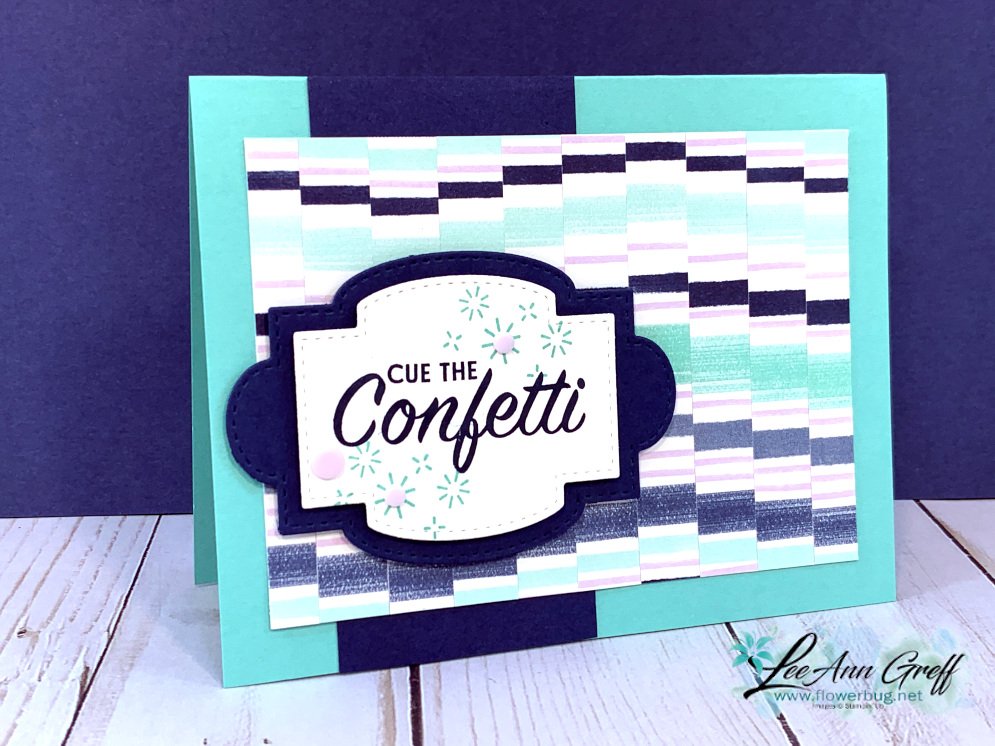
Next is a fun card where you cut narrow strips of designer paper and piece them onto a background sheet. Just offset them slightly to create a 'Bargello' look. This is a quilting technique perfect for striped paper!
I like the one below as the Bargello look is more apparent with the dark Navy strips. The greeting dies are from one of my favorites; the Stitched So Sweetly dies in the annual catalog seen here.
Get the details on creating these techniques in the video below.
Remember I host Facebook Live videos 6 times a month! Each Tuesday at 11 am Central Time and the 2nd & 4th Monday's at 7:30 pm CT. Check them out here:
This video is from a few weeks ago and the card kits mentioned are sold out. The pdf tutorials are still available however. Click here to see them.
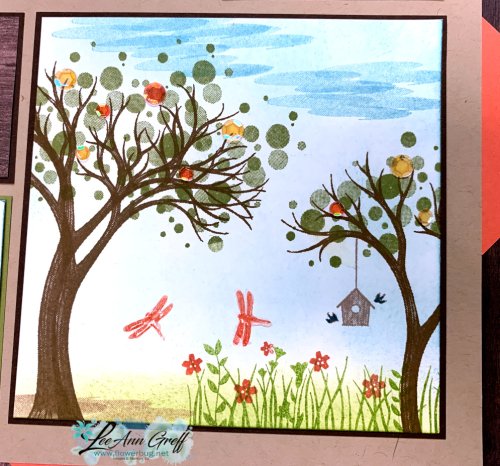
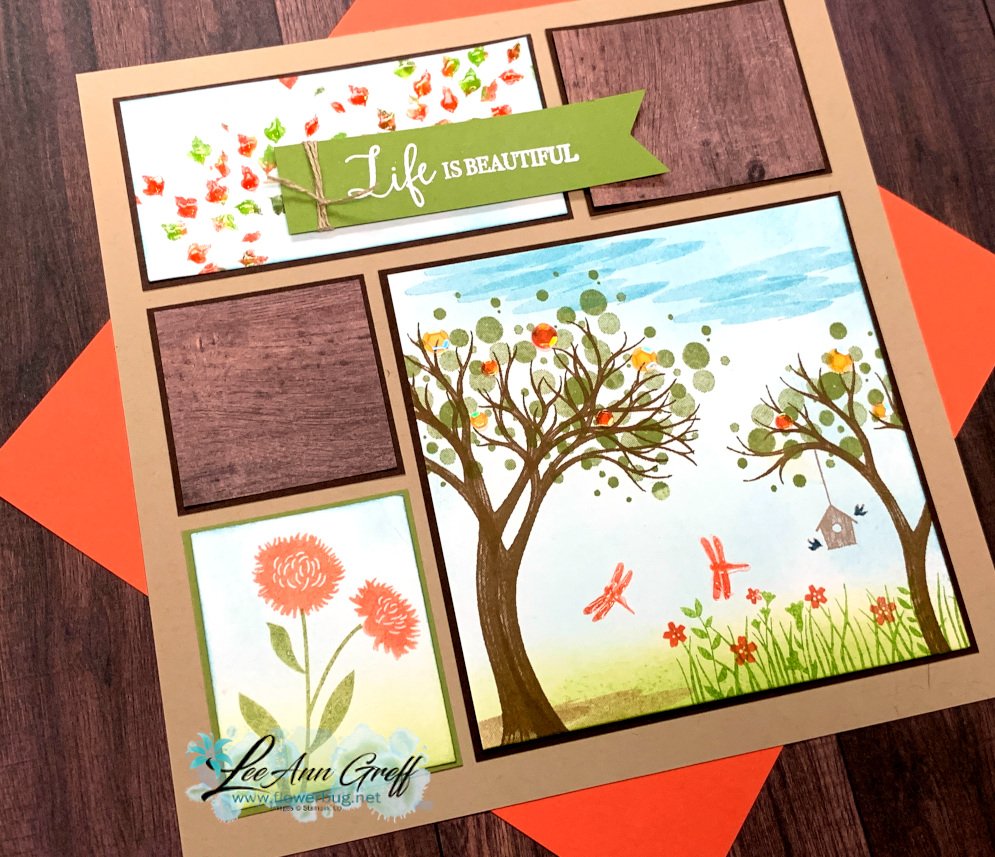
I did use the Field of Flowers stamp set for the grass, flowers & dragonflies. I sponged the white card stock with Balmy Blue to remove the 'white' background. I added Shimmery Crystal Effects on the dragonflies and leaves on the top greeting piece.
Colors used: Soft Suede, Granny Apple Green, Calypso Coral, Old Olive, Balmy Blue
Products: In Good Taste Designer Paper, sponges, Linen Thread, Heat embossing in White, Shimmery Crystal Effects, Artistry Blooms adhesive backed sequins, 2 shades of Brown markers for bird house,
Notice: LeeAnn Greff, Independent Stampin’ Up! Demonstrator, Manager. The content of this website is my sole responsibility as an independent Stampin’ Up! demonstrator and the use of, and content of, the classes, services, or products offered on this website is not endorsed by Stampin’ Up! Copyright 2025




























Leave a Reply