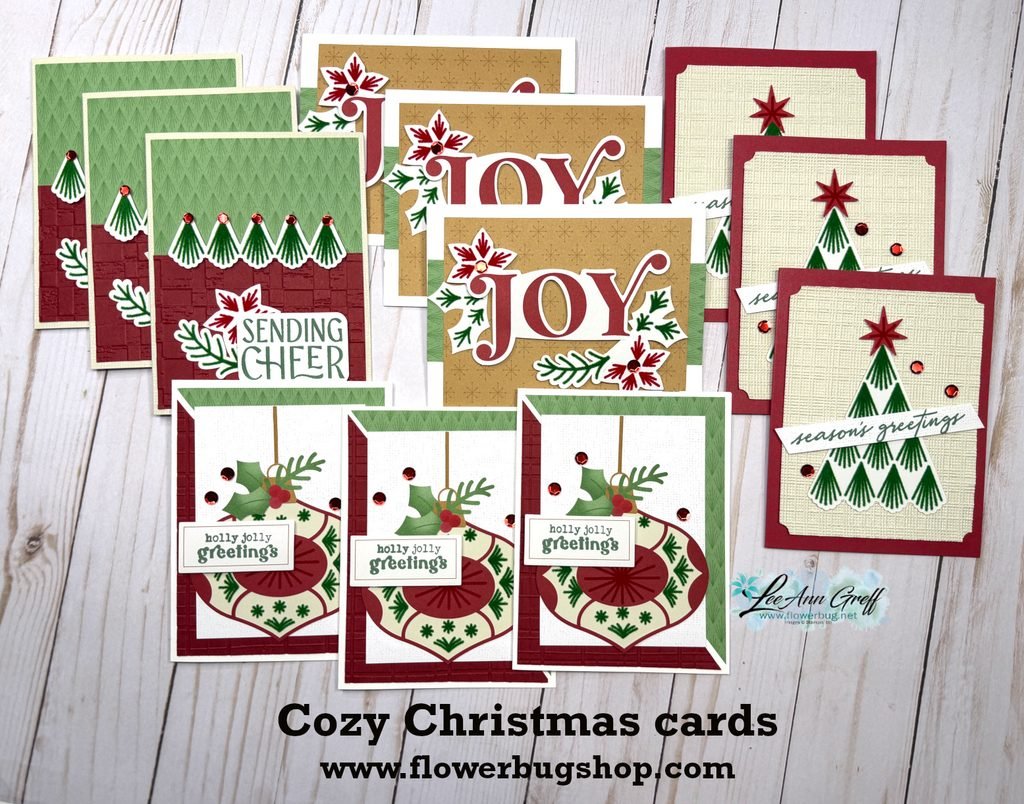
I had fun creating these fantastic Christmas cards with a former Paper Pumpkin kit from last year. I have a limited quantity of these available this month in a kit to go.
There are 12 cards with envelopes in this kit. I was able to change the kit from 9 to 12 cards. There are so many fantastic die-cut elements included in this one.
This kit includes the pre-cut kit, envelopes, adhesives and gems. You will need a few greetings, inks and embossing folders if you choose to make them like I did.
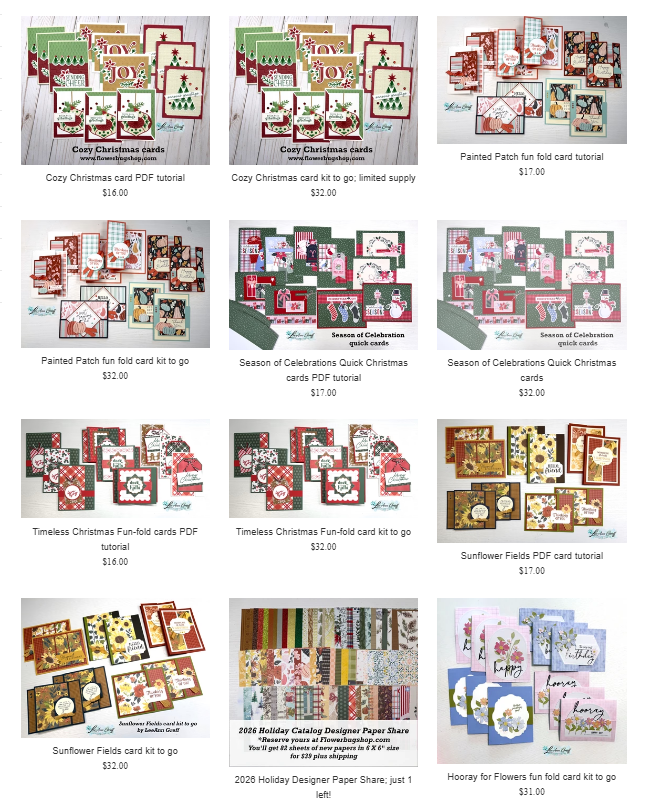
See it here in my store. It’s $31 plus shipping. The PDF tutorial is $17 and is seen here. The tutorial is emailed to you immediately after payment. The pre-cut kit is mailed out at the end of October.
Remember that if you order more than one kit shipping is combines and you’ll save $$.
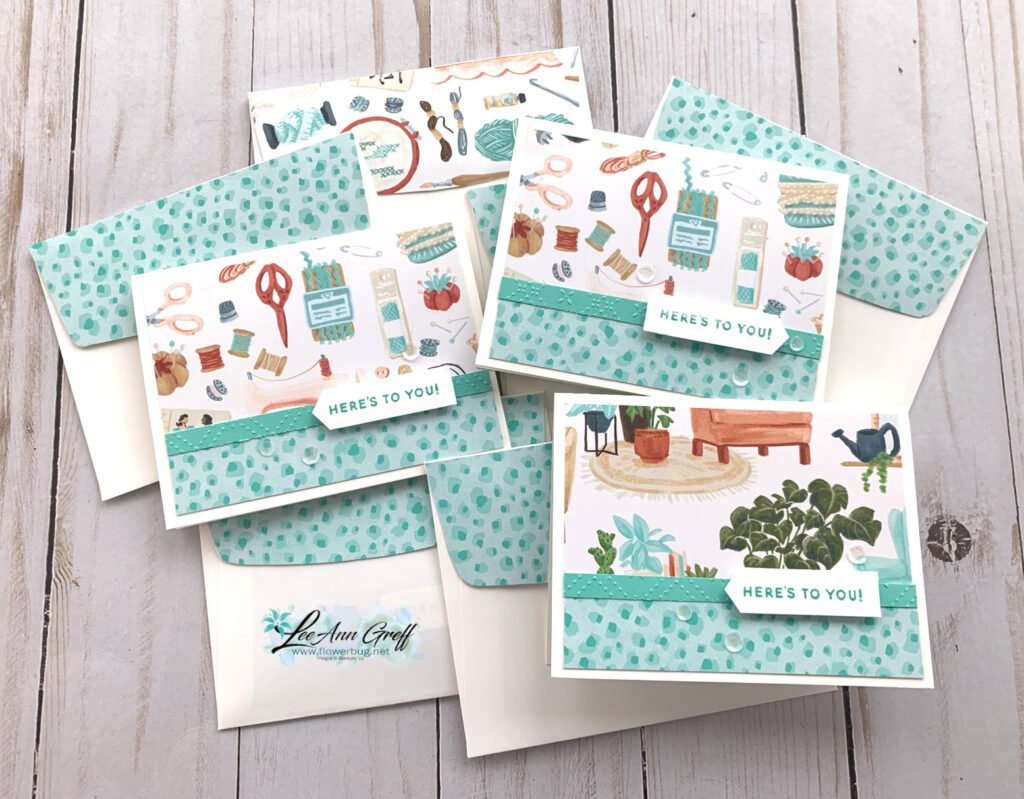
The large piece of designer paper is 4″ X 3″ and the bottom strip is 4″ X 1″. I added a 1/4″ strip of textured Coastal Cabana between them (I found it in my scraps).
I chose to make notecards because the package I was sending their prizes in was narrow and these fit perfectly. Did you know we carry pre-scored notecards with envelopes? The package includes 20 cards and 20 envelopes for just $10. You can see them here.
I chose the Hobby Haven designer paper because of it’s colors and ‘hobby’ themed prints. See it here. It’s part of our Online product selection.
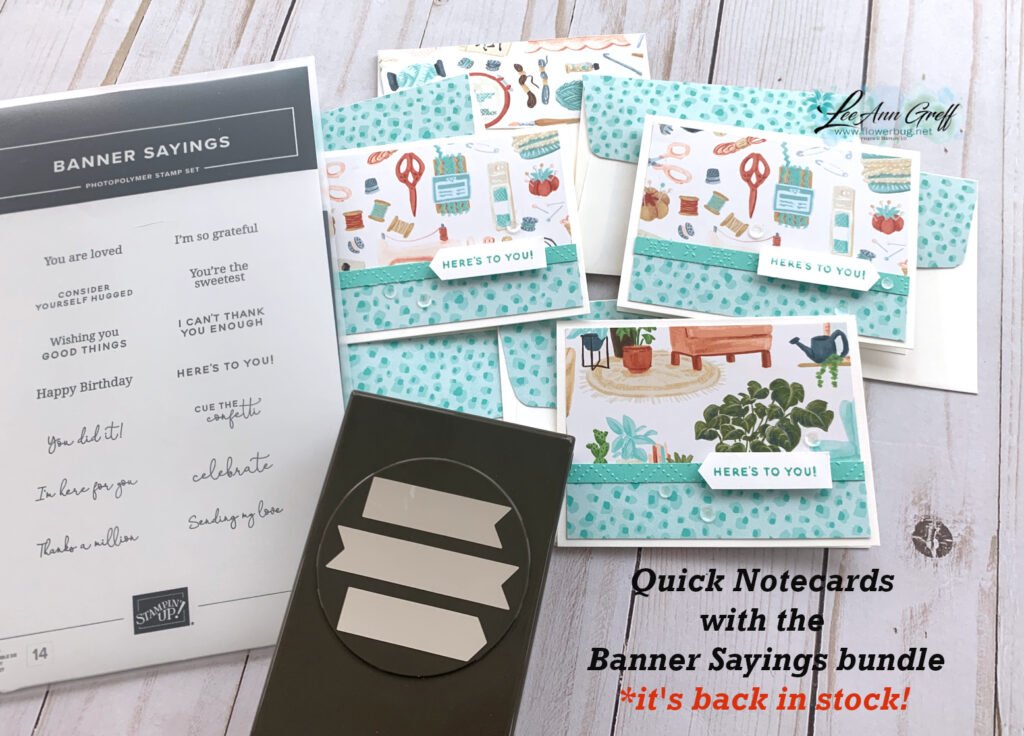
I decided to feature the Banner Sayings bundle for a few reasons. It’s quick with the coordinating punch and the greeting I chose fit my needs perfectly. Click here to see it. The new Triple Banner punch was out of stock for weeks! But now it’s back.
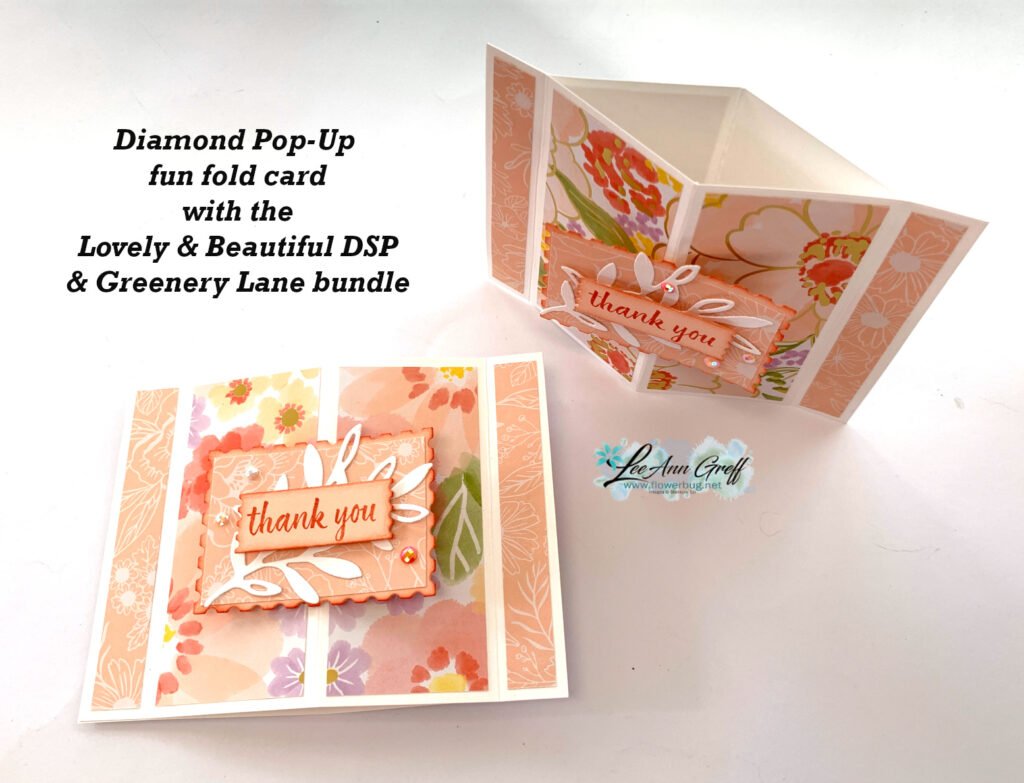
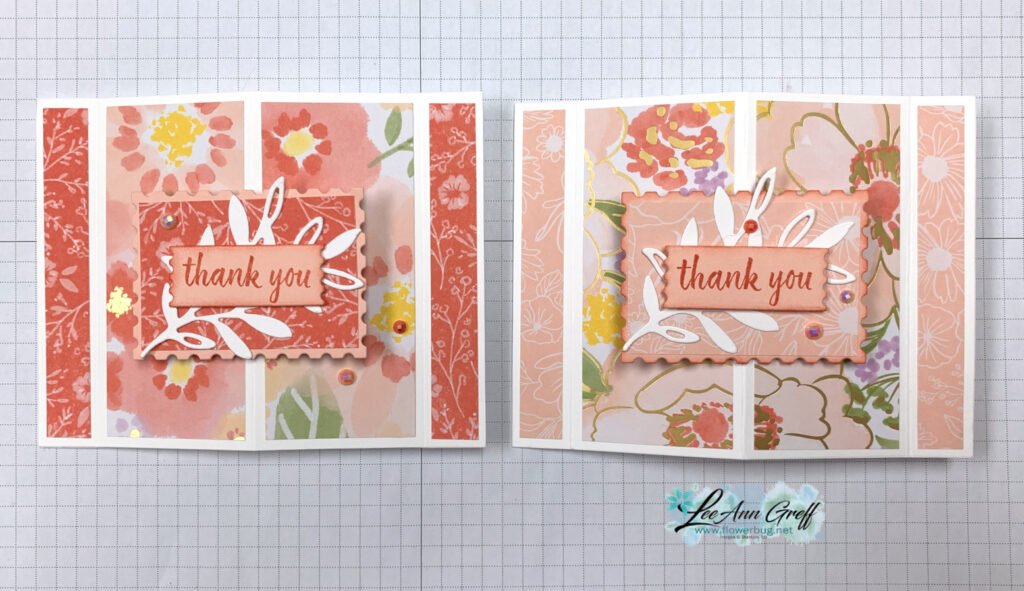
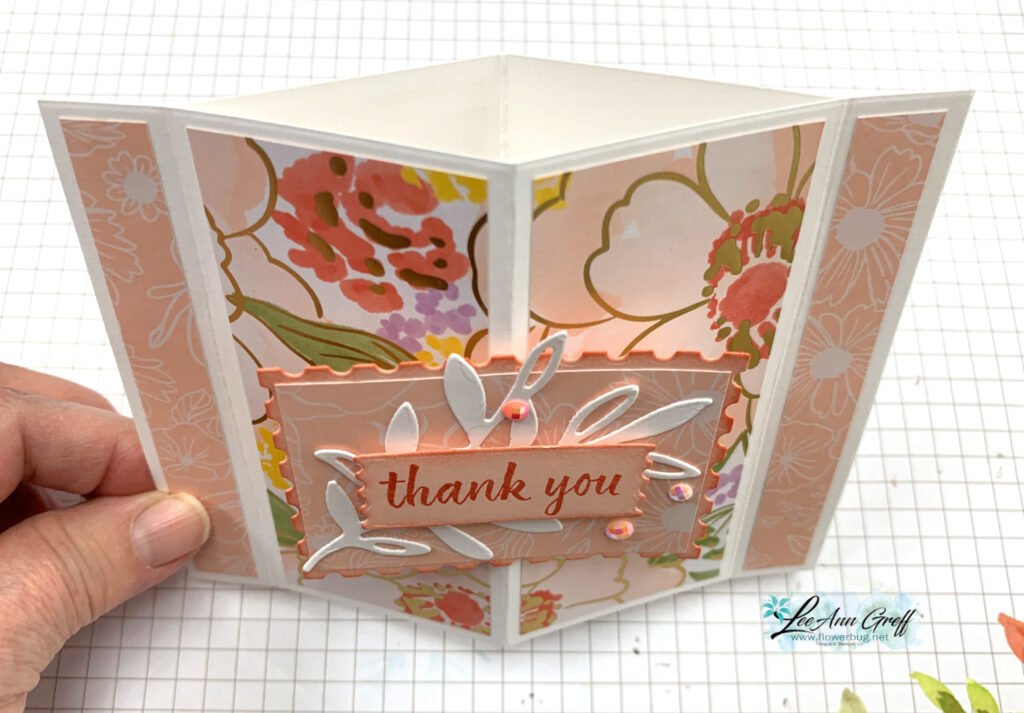
Isn’t it a neat card fold? And it’s super easy to make. I also love that it shows off our coordinating designer series paper so well. Here I used the Lovely & Beautiful Specialty DSP seen here. It’s gorgeous prints include gold foil accents.
I made two different versions because I needed multiples of them for our January Team swap with my Flowerbug’s.
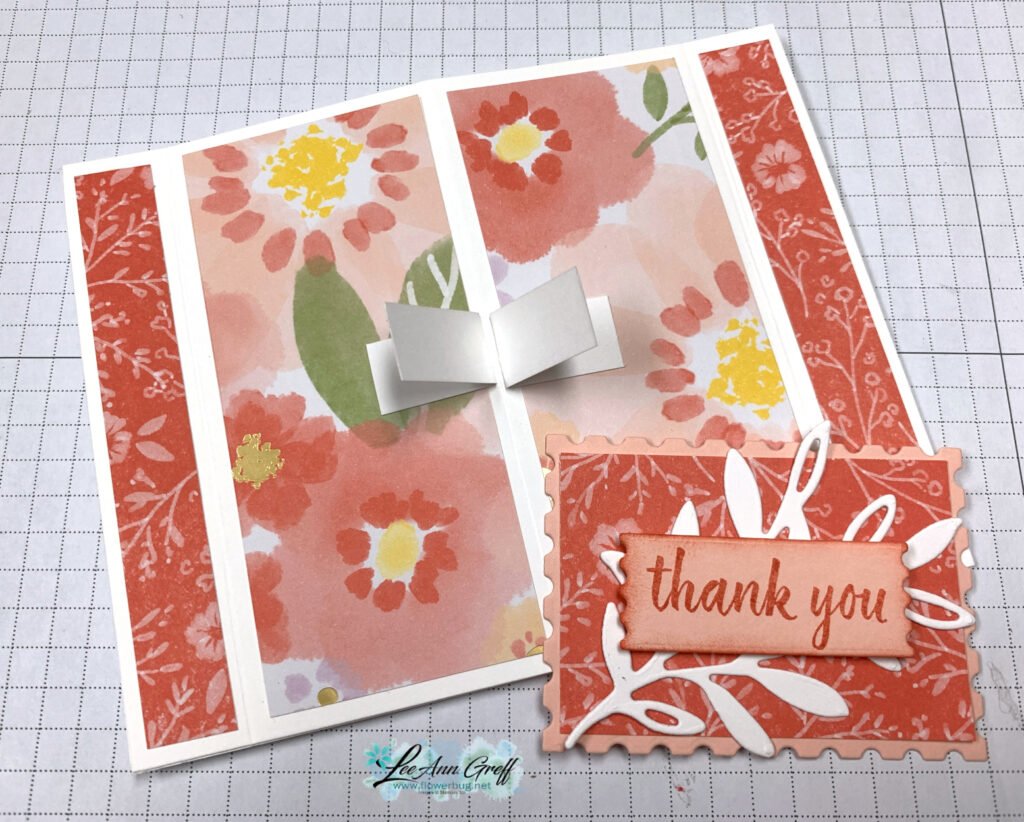
The center greeting layer is added with two folded strips of paper positioned next to the center score line. This allows the greeting to pivot and pop-up when you flex the card. These are about 1 1/2″ X 1/2″ and I simply fold them in half and placed with the score lines next to each other.
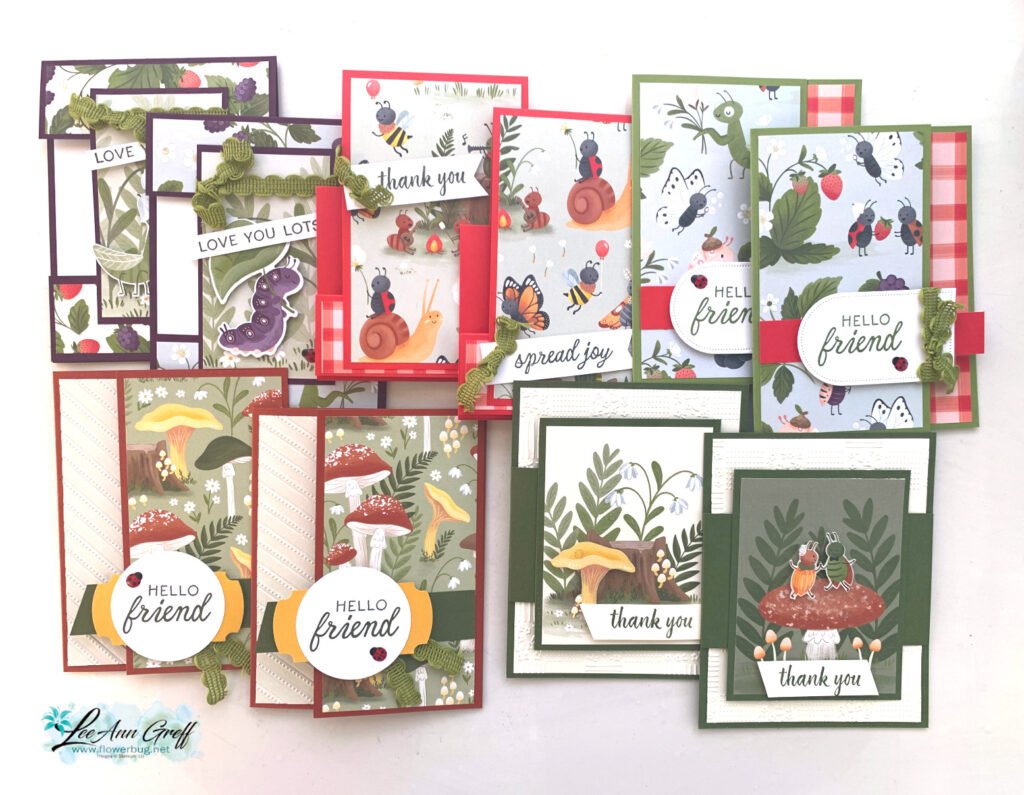
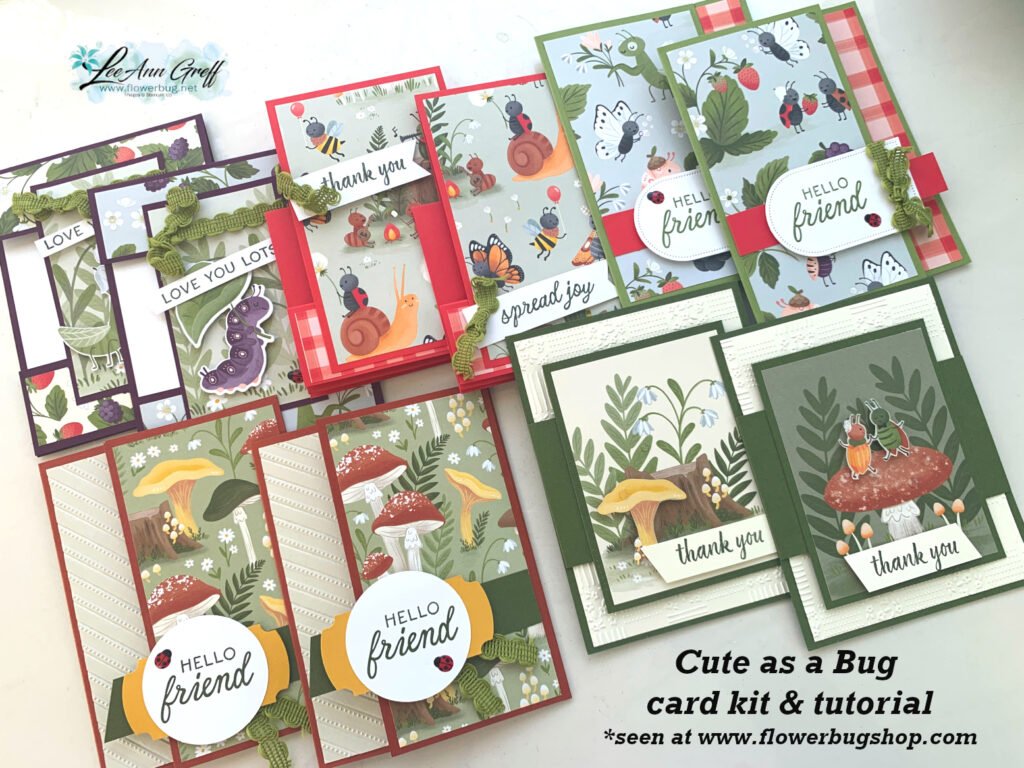
Stampin’ Up! knocked it out of the park with this CUTE designer series paper! *see it online here It’s unique color combinations and whimsical critters make creating with it so enjoyable.
I created 5 different fun fold layouts and doubled them for a total of 10 unique cards.
The PDF tutorial includes step by step directions, photos, measurements and a supplies list. I also recorded a video tutorial exclusively to those who purchase it or the kit to go. This tutorial is just $16 and can be seen here.
The pre-cut kit to go can be seen here. Reserve it now and it will be mailed out later this month (likely around the 22nd of January).
The kit includes the following: 1/2 pkg of the Cute as a Bug DSP, a share of the Ladybug Garden epoxy gems, the Old Olive rick-rack ribbon and exclusive video link. It also includes 10 pre-cut cards! Everything is cut for you except your new designer paper. You’ll use the measurements in the PDF tutorial to do that; it’s easy! Then just assemble and add your stamped images to the greeting pieces provided. (Any greetings will work; feel free to use what you have).
My kits are super easy to complete. I get tons of compliments and repeat customers each month.
Notice: LeeAnn Greff, Independent Stampin’ Up! Demonstrator, Manager. The content of this website is my sole responsibility as an independent Stampin’ Up! demonstrator and the use of, and content of, the classes, services, or products offered on this website is not endorsed by Stampin’ Up! Copyright 2025















Leave a Reply