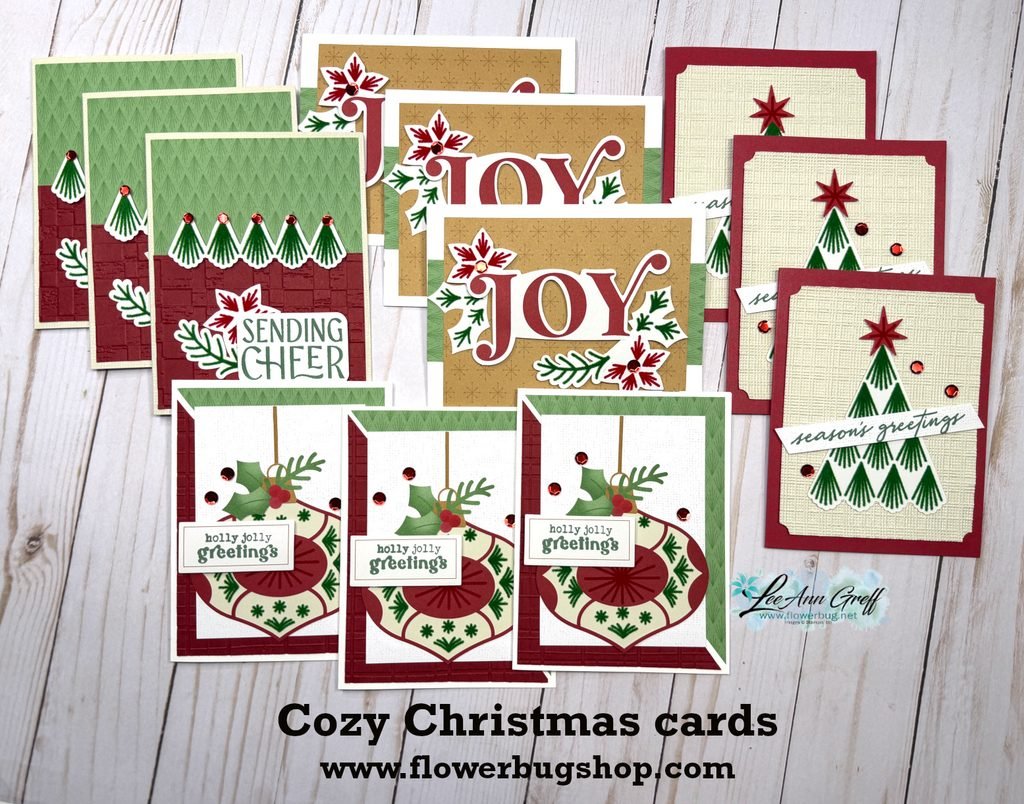
I had fun creating these fantastic Christmas cards with a former Paper Pumpkin kit from last year. I have a limited quantity of these available this month in a kit to go.
There are 12 cards with envelopes in this kit. I was able to change the kit from 9 to 12 cards. There are so many fantastic die-cut elements included in this one.
This kit includes the pre-cut kit, envelopes, adhesives and gems. You will need a few greetings, inks and embossing folders if you choose to make them like I did.
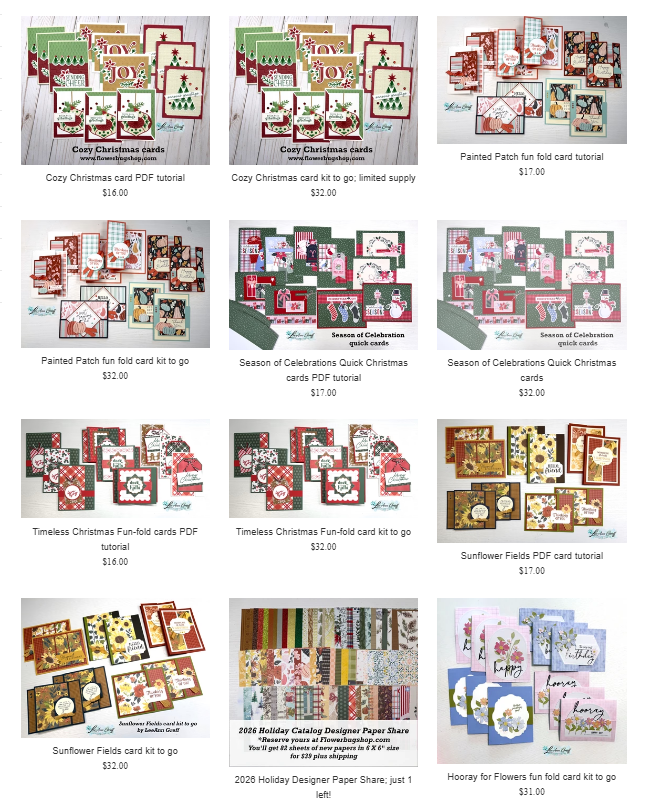
See it here in my store. It’s $31 plus shipping. The PDF tutorial is $17 and is seen here. The tutorial is emailed to you immediately after payment. The pre-cut kit is mailed out at the end of October.
Remember that if you order more than one kit shipping is combines and you’ll save $$.
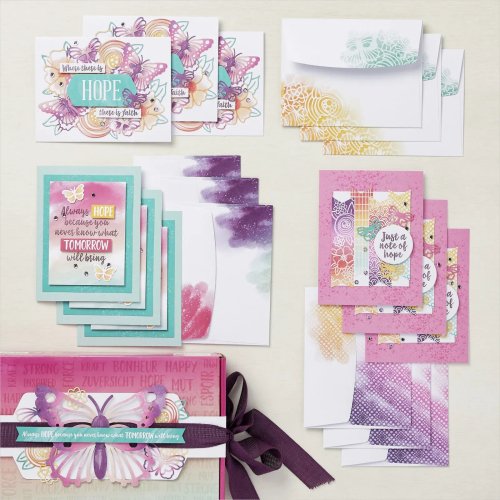
Are you disappointed that you didn't order the August Paper Pumpkin kit? Well if you still want it they're offering the entire kit for a limited time! From 24 August–31 August, you can get the Shelli Hope Box or the refills (current subscribers only)!
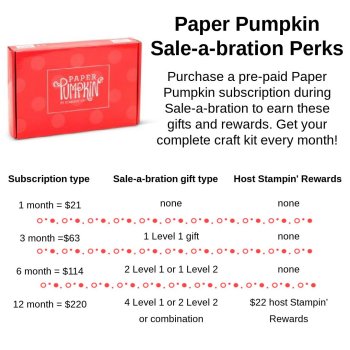
Did you know that you get a free Paper Pumpkin choice if you choose a pre-paid 3 month subscription? And it only gets better from there! I always purchase a pre-paid subscription during Sale-a-Bration. Love getting something free with my purchase!
Get a Free Bundle from the Holiday Catalog when you choose the Starter kit! Pick out $125 in product of your choice for just $99 and shipping is free! You also receive a free Paper Pumpkin kit in addition to catalogs & business supplies.
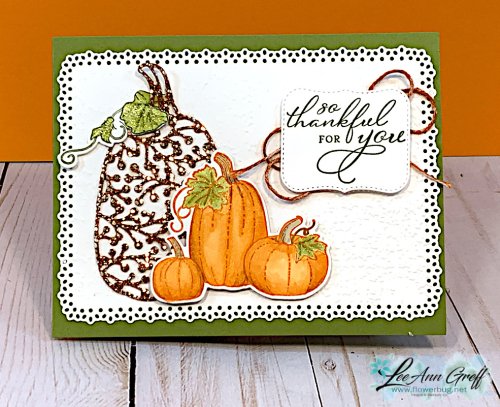
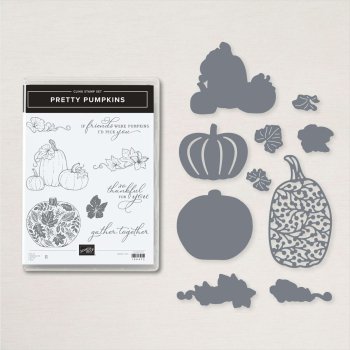
I stamped the large pumpkin image in Pumpkin Pie ink and colored them and the leaves with Blends markers using both Pumpkin Pie & Olive markers plus light Crumb Cake for the stem & light Cajun Craze for the darkest areas on the pumpkins.
I was playing around with the Be Dazzling specialty paper and decided to try to color it. I had a spritzer filled with rubbing alcohol & either Pumpkin Pie or Cajun Craze ink refill. So I spritzed it on to a piece of the glittery paper. It worked beautifully! I did have to let it sit for a few minutes to set well. Then I rubbed it with tissue to get any excess off before I die-cut the pretty filigree pumpkin with it.
I also spritzed my White twine to color it as well.
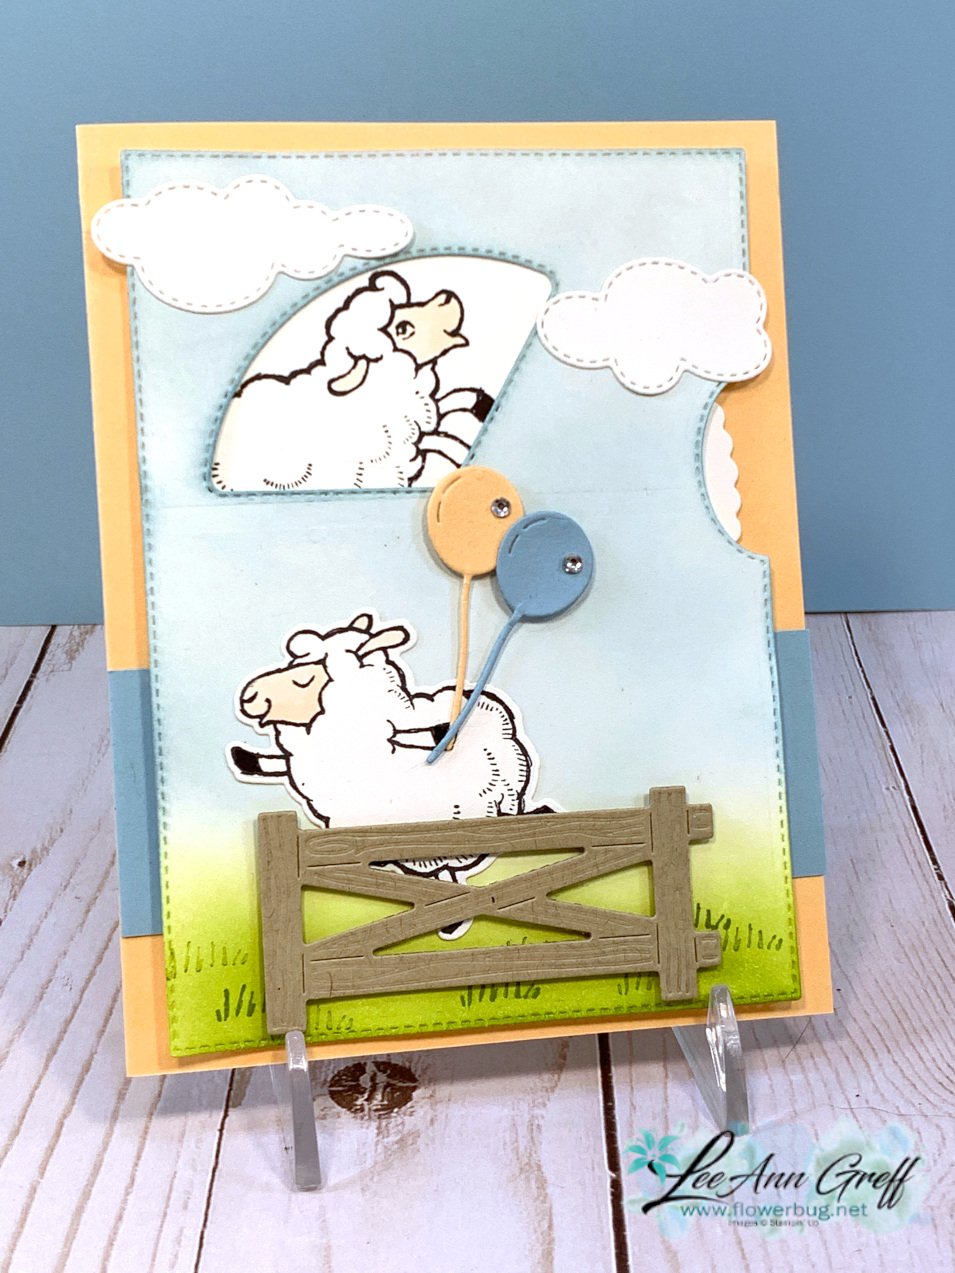
Counting Sheep with the Give it a Whirl dies interactive card
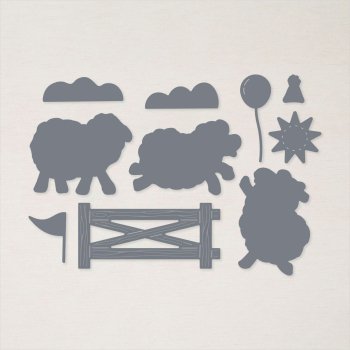
We made this adorable card at my August card clubs this month. It features the new Counting Sheep & the Sheep dies from the Sale-a-Bration catalog.
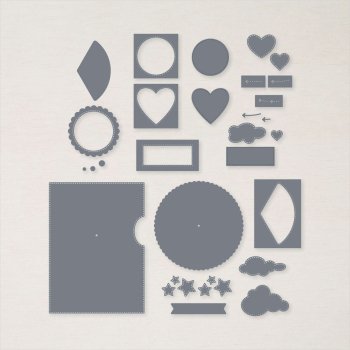
Plus it's a view-master card! Remember those? The Give it a Whirl dies (seen here)on page 163 of the annual catalog are incredible! I was hesitant to even try using these dies because I thought it would be so complicated to figure out. But I was pleasantly surprised at how easy and intuitive they are to use. Stampin' Up! really did these up smart!
Please watch my video below to catch my quick tips for a successful view-master card.
The colors here are Pale Papaya, Balmy Blue, White, Crumb Cake & Granny Apple Green. We created a background using the Blending Brushes with Balmy Blue & Granny Apple Green ink.
***Heads up on the Sheep dies – Stampin' Up! has a limited supply of these and does expect to run out before Sale-a-Bration is over. So if you're wanting both the stamp set & dies, get the dies first!
Notice: LeeAnn Greff, Independent Stampin’ Up! Demonstrator, Manager. The content of this website is my sole responsibility as an independent Stampin’ Up! demonstrator and the use of, and content of, the classes, services, or products offered on this website is not endorsed by Stampin’ Up! Copyright 2025



























Leave a Reply