/


Latest Post

Cool technique with the Wink of Stella pen!


There are times I like to color and others that I don't. I came up with this cool technique using the Wink of Stella pen and White Craft ink to highlight my main image. 

I pressed a clear block directly onto my White Craft ink pad and used that to pick up the ink with my Wink of Stella pen. You sure don't have to use a clear block but I didn't want to get Wink of Stella in my ink pad. You could use a paper plate or any other non porous surface.   

I used Purple Posy, Pool Party and Seaside Spray on the cards below. 
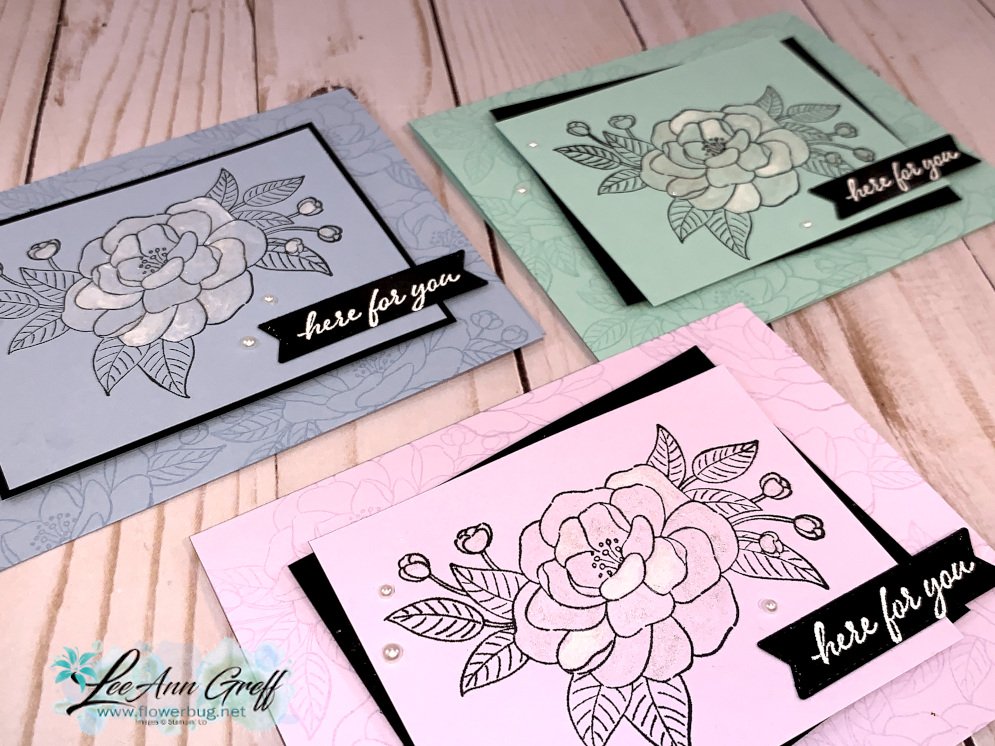
Technique tips:

  • Light colored card stock works best here; the White ink can obscure the stamped image on dark card stock.
  • Squeeze out a bit of the Wink of Stella liquid to make a small puddle to mix with the White ink for easier painting. 
  • Paint the image once and go back and highlight parts of it if you want more 'lightness'. 
  • Black Memento ink works fine to stamp your image
  • This should work nicely on a heat embossed image! 
  • You can use the White Craft ink refill instead of an ink pad but a little drop goes a long way! 

I also used Versamark to create a background effect on the card base, stamping the main image multiple times. I love how soft a Versamark background is and I don't use it near enough.  This repetitive stamping could be very busy if done in black or a darker color.  

Here's the video with 3 different coloring techniques! 

Click on the photo below to get this stamp set and the Queen Anne's Lace set and an 8 cards pre-cut kit for each one; free! 
~~~

Current Host code is 7VPEDARH

Get a free package of All the Trimming embellishments in September with an

online order over $55. 

*Remember that if your order is over $150 do not use the host code above.  You'll get your own host benefits!  

And if it is over $99 I recommend you choose the Starter kit instead!  It just makes sense! 

Order online here

 Get my Beautiful Autumn pdf tutorial free with any online order in September!


It includes directions, photos and measurements for 13 cards!
All Posts

  • Reserve your Holiday designer paper share now!


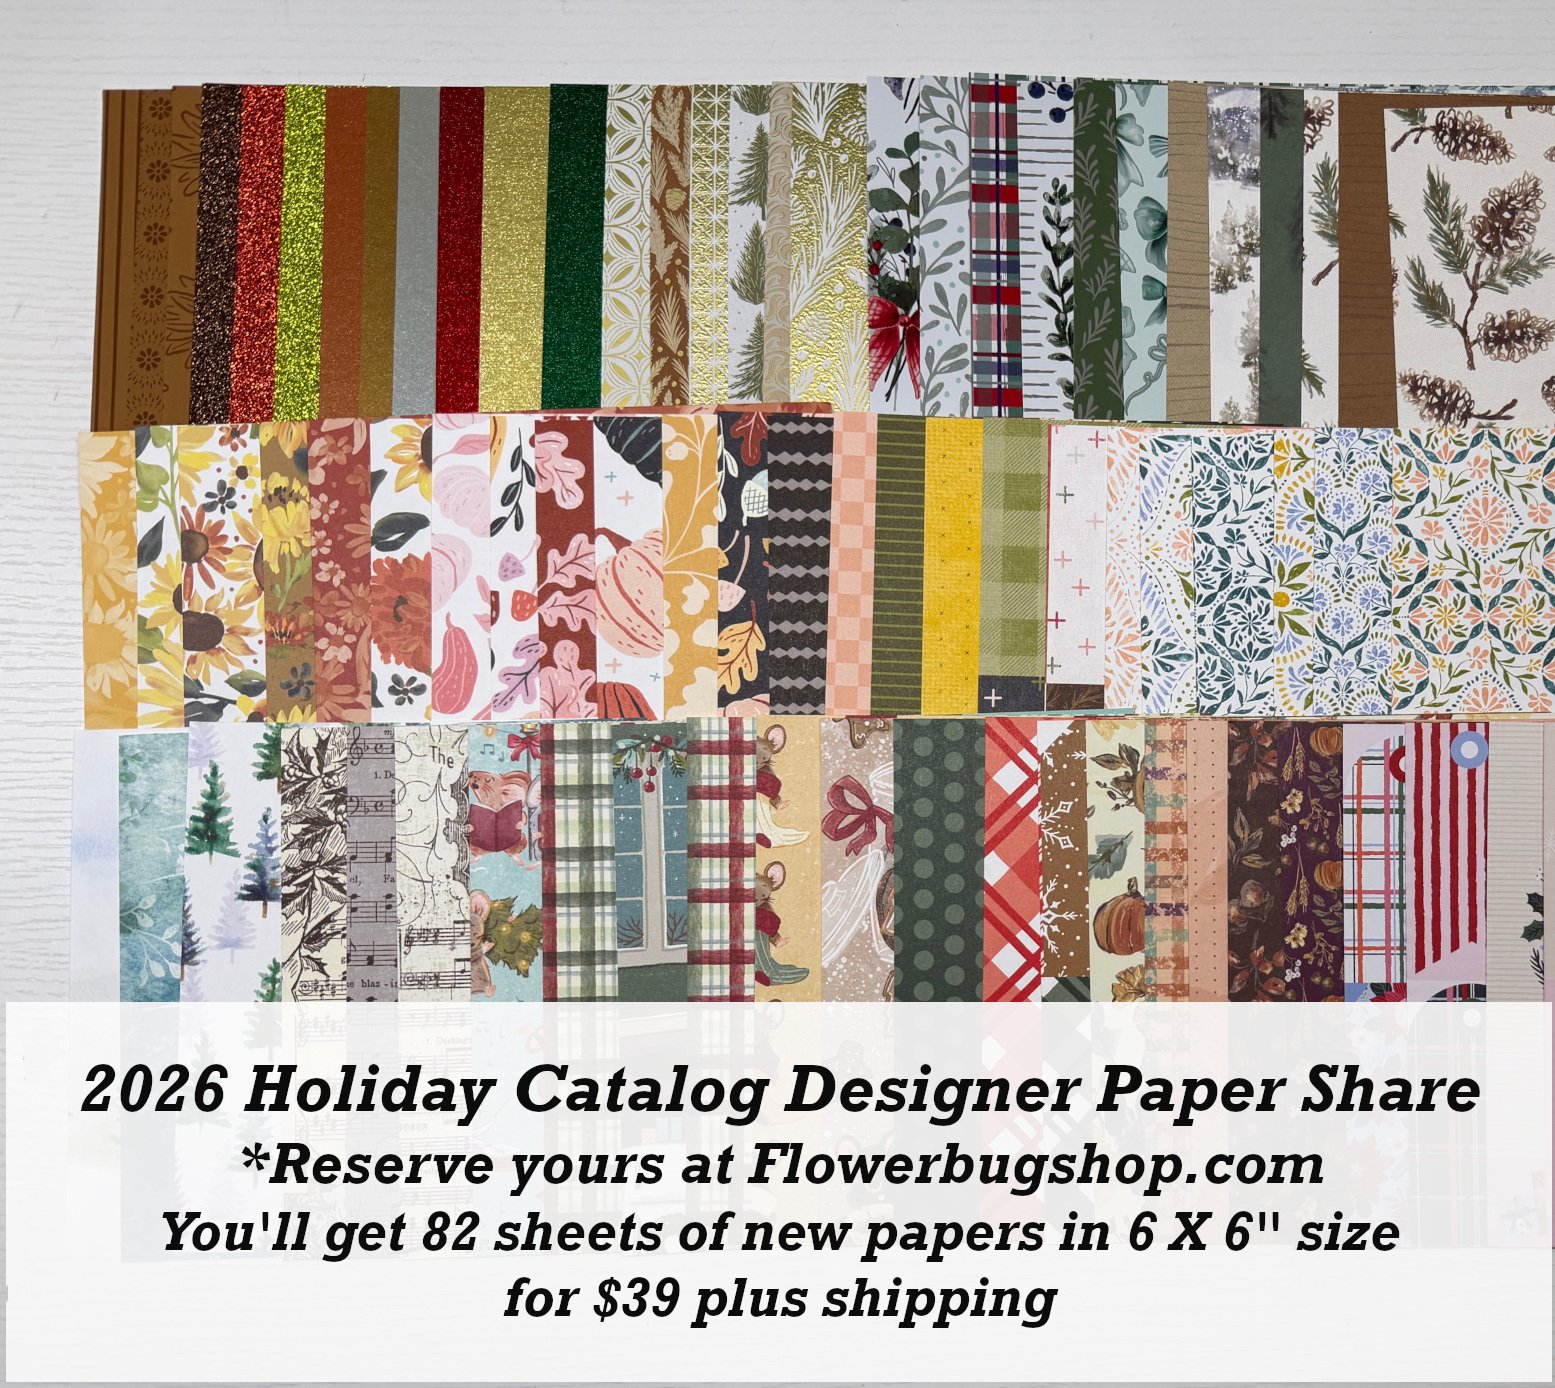
    The designer papers in the upcoming 2016 Holiday catalog & newest Online Exclusives are amazing! I had a few requests to offer a share of them. If you like getting a sample of all of the new papers a share is a great option. Then you can decide if you want to order a full pack.

    The photo below shows all but one set of papers included. It’s a big bunch!

    I’m including specialty papers, new Online Exclusive papers and of course every new DSP in the catalog! There will be 82 sheets of 6 X 6″ paper in this share.

    Reserve yours here; it will be open for a few weeks into September. It’s $39 plus approximately $10 shipping in the US. *I am not offering a ribbon or embellishment share this time.

    Once the catalog goes live in early September I will order the shares. It can take up to a few weeks for it to arrive, prepped and mailed.

    Leave a Reply

    Your email address will not be published. Required fields are marked *

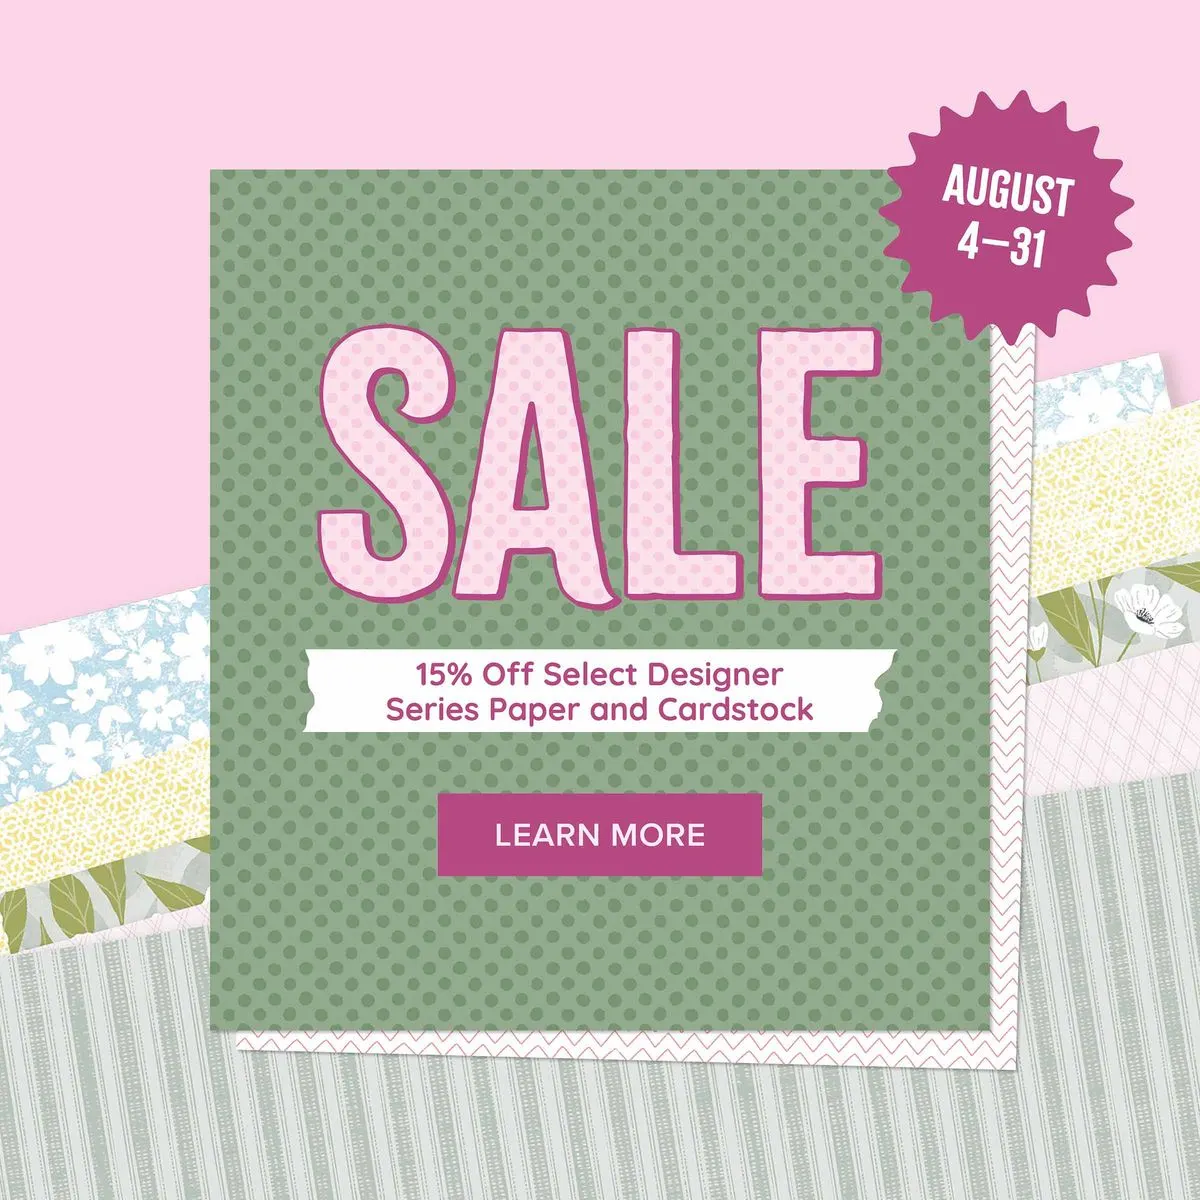
  • Just a few days left of the Designer Paper & Card stock sale! Don’t miss out!


    I love it when a staple like our card stock and beautiful Designer Papers are discounted. It’s something that we use all of the time in paper crafting.

    The fact that ALL of our colors coordinate is what makes Stampin’ Up! stand out from the rest. We are known for our color coordination! It’s what keeps me creating and in love with our products.

    Click here or below to see the entire line of discounted papers. This sale ends August 31st!

    Leave a Reply

    Your email address will not be published. Required fields are marked *

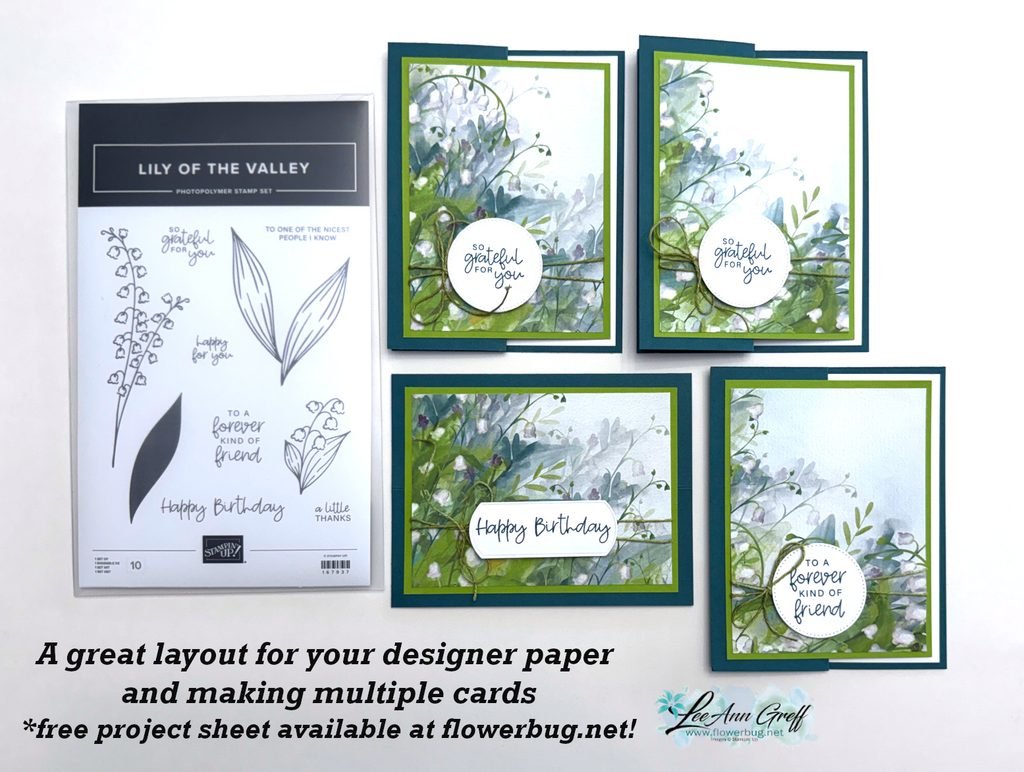
  • Get multiple cards from one sheet of Designer Paper! Video & free project sheet too.


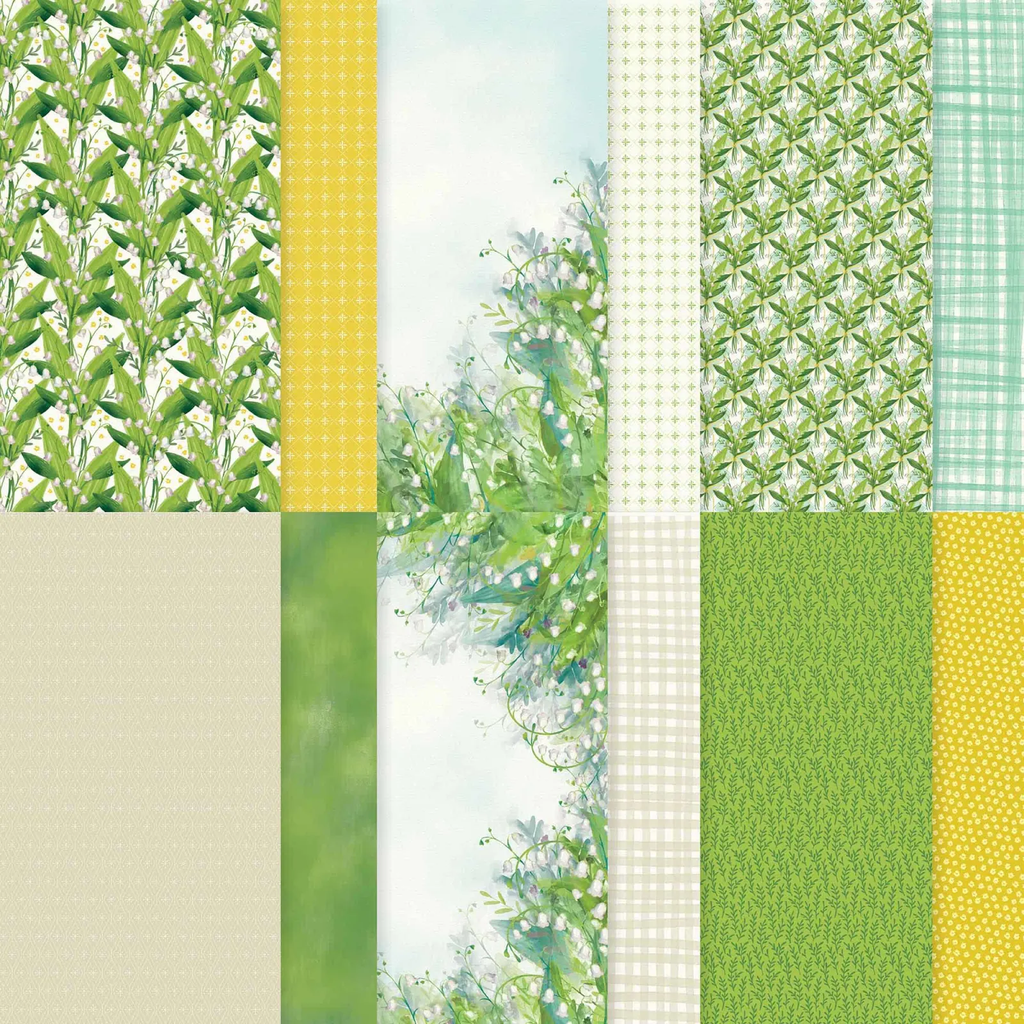
    I shared these beautiful cards on a Live video a few weeks ago. I wanted to make the most of one of my favorite sheets of the Valley in Bloom designer series paper. It’s discounted through August!

    You can get more cards than I show above but I mistakenly cut in the wrong place and missed out on more. This pack of Valley in Bloom DSP has many beautiful sheets in it. Get some while it’s on sale.

    I recommend cutting the 12 X 12″ sheet into 6 pieces at 3 1/2″ X 4 3/4″. The two center pieces won’t have as much greenery on them but you could change the layout up a bit to reflect that.

    My colors include Pretty Peacock with Old Olive & White. I used a variety of punches for my greetings; mostly from my stash of White elements.

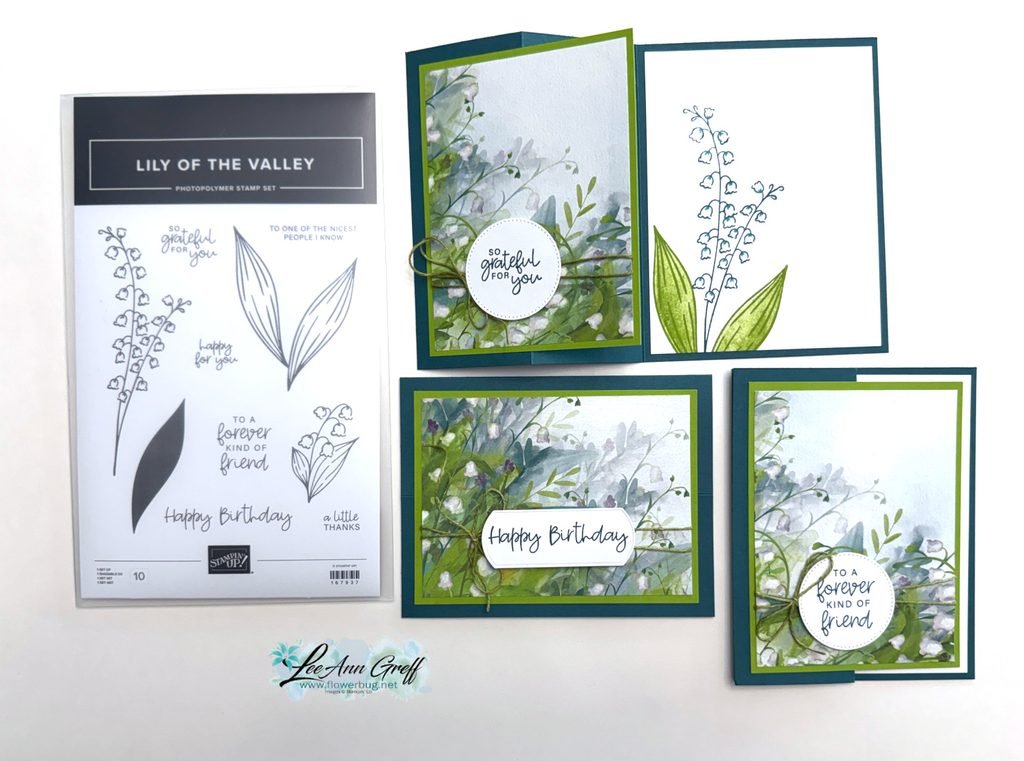
    The card bases are 8 1/2″ X 5 1/2″ scored at 2 1/8″ & 4 1/4″. I made sure the Olive layer was small enough that the White inside piece shows as an inside layer. You can see the free project sheet with measurements, photos and supplies when you click here.

    I stamped the inside of the cards with the Lily of the Valley stamp set and colored the flowers in with a Blender pen. I love this bundle so much. You can see it here.

    You can see the video for this card and one more below. Don’t forget to subscribe to my YouTube channel!

    August Specials

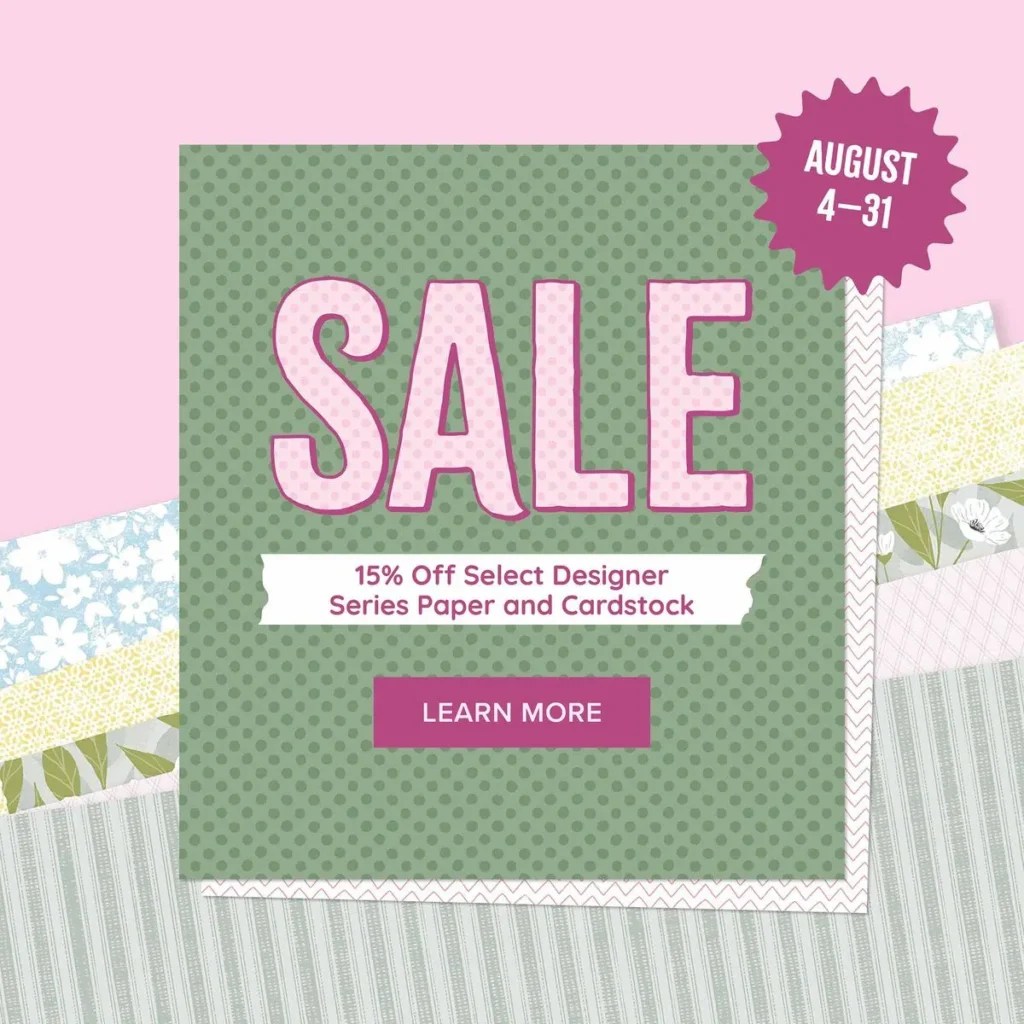
    Don’t miss out on the Designer Paper & Cardstock sale! Click here to shop and save.

    Leave a Reply

    Your email address will not be published. Required fields are marked *


Notice: LeeAnn Greff, Independent Stampin’ Up! Demonstrator, Manager. The content of this website is my sole responsibility as an independent Stampin’ Up! demonstrator and the use of, and content of, the classes, services, or products offered on this website is not endorsed by Stampin’ Up! Copyright 2025