/


Latest Post

Control Freaks New Catalog Blog Hop


It's time for our monthly Freak's blog hop!!  Our focus today is the new Annual Catalog.  We have lots of amazing projects to share with you using brand new products. 

You may have arrived from Tami's blog; I'm sure you loved her projects!  Or maybe you just started here.  To see all 12 posts be sure to click on the icon at the bottom of each post. 
It's been so fun to play with exciting new products from the 2020 Annual Catalog!  Are you ready for some glitz & shine?

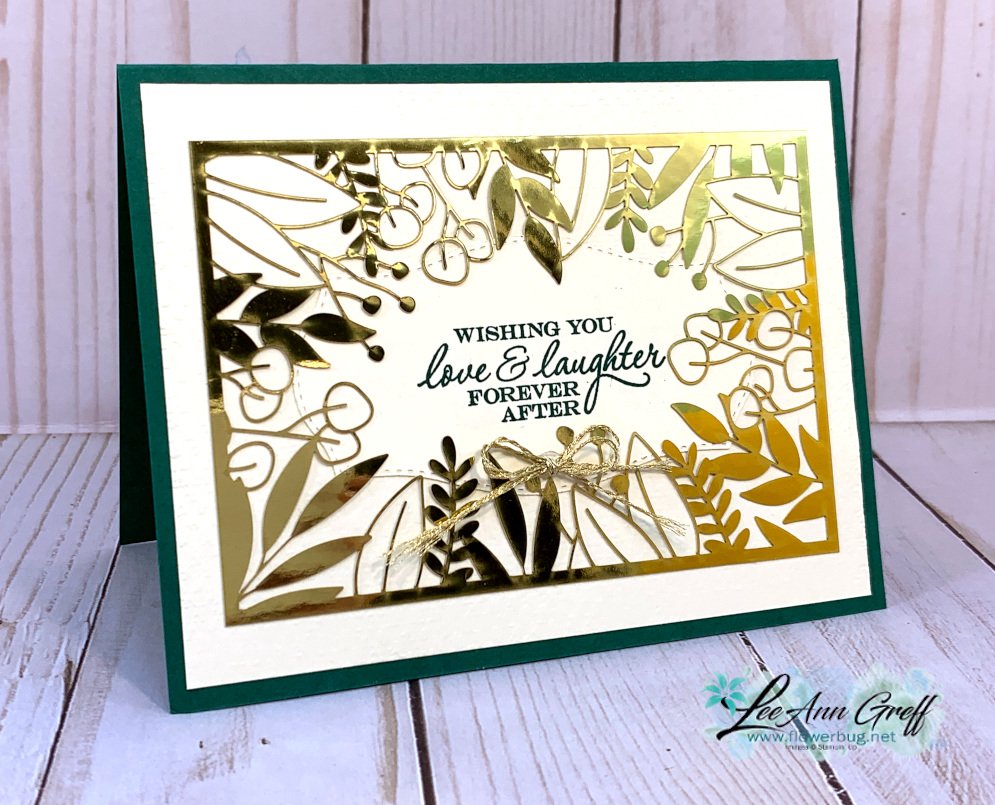
I chose to play with the Forever Gold Laser-cut Specialty Paper today.  It's part of the Forever Greenery suite of products.  You can see it best on page 152 of your annual catalog. It has 6 sheets; 3 each of 2 single sided designs. One side is gold and the other is white which you can color, spritz or sponge.  I chose to use the gold sides for my projects here.  

You can see the details & measurements for each one under the photo. 

I chose to use jewel toned card stock for each card; I think it looks rich & regal with these colors.  The card above is Blackberry Bliss with Very Vanilla.  The pretty golden leafy medallion is all one piece; just punched out from the pack.  I added a 1" X 4 1/4" strip of Vanilla under it and a stamped die cut above with a few metallic pearls.  The stamped image is from Dandelion Wishes and the die is from the Stitched So Sweetly dies. 
This card is Shaded Spruce with Vanilla.  It's hard to see but the large 4" X 5 1/4" vanilla is textured with our Tasteful Textile embossing folder. The greeting is stamped on a die from Tasteful Labels using the Heart to Heart stamp set.

Once I had these pieces adhered I could add the laser cut piece on top. I added a bit of liquid multipurpose adhesive to the edges and a few leaves and it's done!

The laser cut card front pops out so easily from the rest in the sheet. No fussy cutting or die-cutting with these! 

This is probably my favorite one of the three. This laser-cut piece is delicate and leafy; it leaves a perfect area for a greeting in the stitched center. The card is Night of Navy with a 2" strip of the World of Good designer paper across the middle. 

I stamped the 'Always' greeting (Field of Flowers set) on a 1 1/2" X 2 1/4" piece of Very Vanilla card stock and sponged the edge with Misty Moonlight ink.  The 'In My Heart' greeting is embossed with Gold embossing powder on Misty Moonlight card stock and punched out with the Classic Label punch. 

Did you spy the cute little flowers on this card?  They're from the new Confetti Flowers Border punch. Each one has a Metallic pearl on it.  

I hope you enjoyed seeing these pretty cards with the beautiful Forever Gold Laser-cut Specialty Paper.  If you like shine and glitz you'll love it! 

~~~

Thanks for stopping in to see my projects.  Now you're off to see what Cindy has to share.  I know you'll love it; I always do.
 

All Posts

  • Need a new Stampin’ Up! Catalog? Plus an accordion fun fold card with video & free project sheet!


    It's an exciting time for those who love Stampin' Up! products….. the new 2023-24 Annual Catalog can be seen online tomorrow (Wednesday) by current Demonstrators.  

    We get to see the newest 2023-25 In Colors, which current colors are leaving, which colors are filling in our color lines (it usually includes some returning In Colors and some brand new colors)! 


    Wednesday I'll be announcing which colors are leaving along with the retiring list of the current/retiring Annual catalog products so you stay informed.  Remember that these retiring items are while supplies last.  Do NOT WAIT to order.  I have many people who are disappointed that they missed ordering items they really, really wanted. 

    *If you do not have a current Stampin' Up! Demonstrator and want a new Annual Catalog let me know by Thursday, March 30th.  They are free to my current customers (those who've ordered from me within the past 6 months) or just $5 for me to send you one.  You can pay via PayPal or Venmo. 

    ~~~

    The last Monday of each month I have a 'Stamp with Me' Live on my Facebook page here.  A day or so before the Live I share the project we're making so those who want to stamp along with me can do so.  Others can watch and create later.  

    After the video I provide a post where everyone who makes the project can share their version.  All who do are entered in a drawing for a free prize from me.  Click here to see all of the Floating Panel cards from February's Live.  

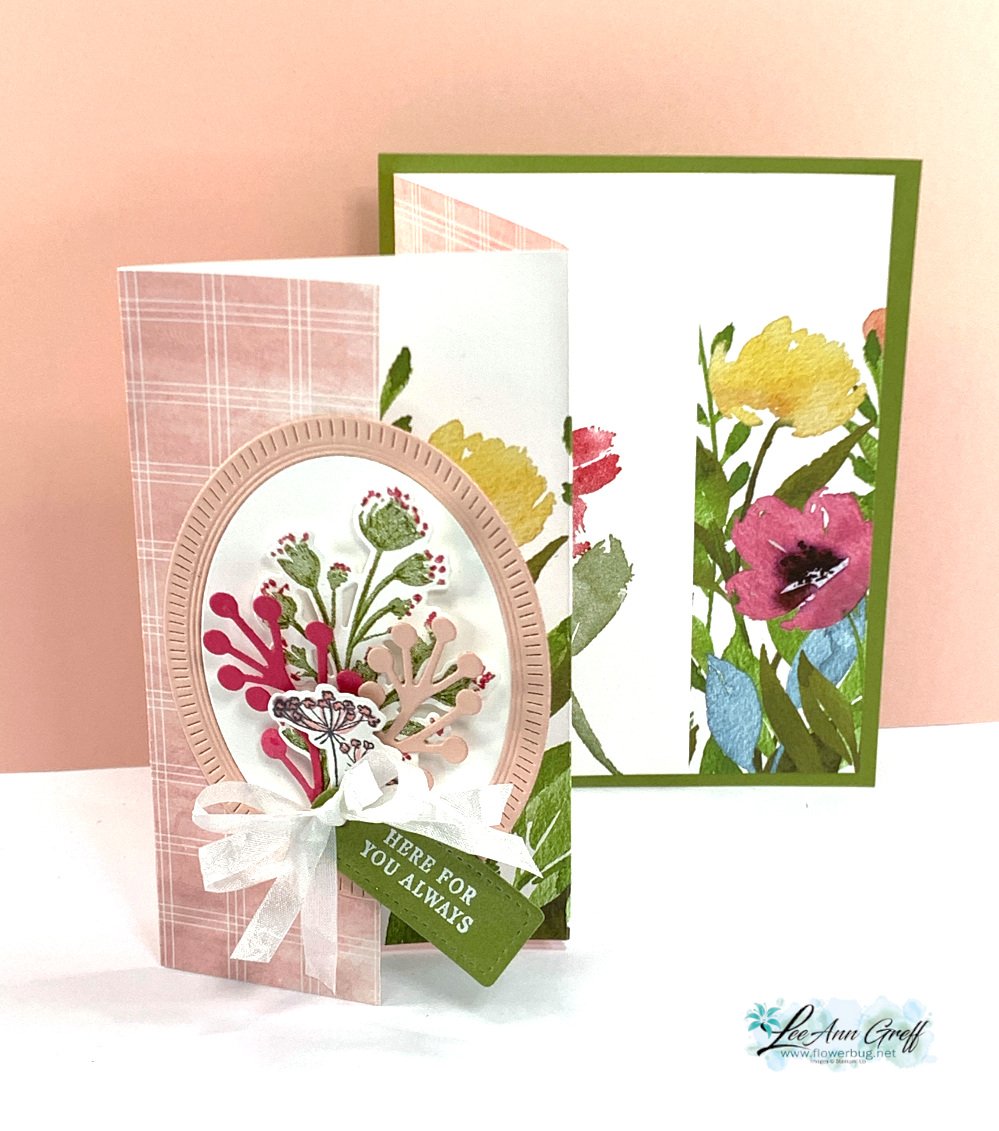
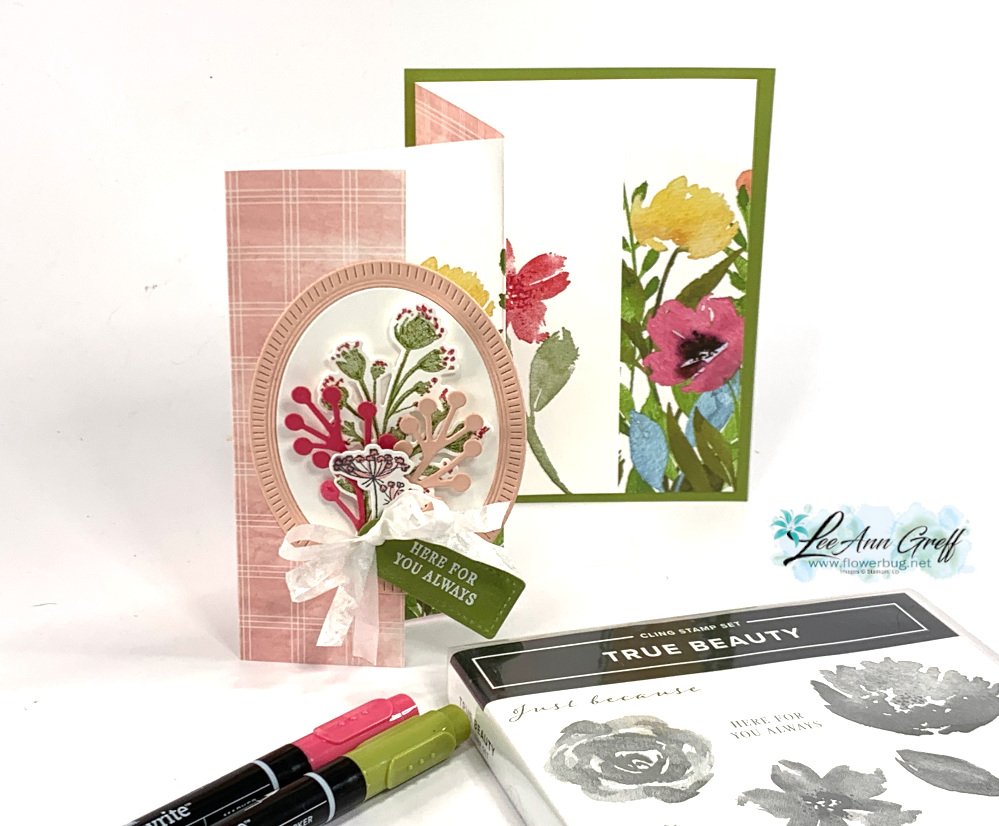
    This month I chose another fun fold card – an accordion card that really shows off both sides of your Designer Paper!  

    I used the Awash in Beauty designer paper seen here.  I also used the True Beauty bundle as well. See it here. 

    The greeting tag is a die-cut from the Tailor Made Tags seen here.  The ovals are from the Framed Florets dies seen here.  

    I created a free project sheet for this card too. Download Accordion DSP card project; March 2023

    Here are the measurements:

    • DSP 5 1/4" X 11 3/4" – score at 1 3/4", 4 3/4" and 7 3/4".  
    • Card base 4 1/4" X 5 1/2" 
    • inside stamped layer 2" X 5 1/4" 


    I added an inside White layer to stamp and sign on. I used Melon Mambo & Old Olive markers to ink the flower bud image before I stamped and die-cut it.  


    Click here or on the photo below to watch the video.  

    ~~~

    March Specials:

    See the new Online Exclusives here! 

    *current host code: BFE4C2KM or EWJYEGFV

    Get a free class kit with online orders over $55 when using the host code above!

    Earn free products with my loyalty rewards! 

    Click here to download yours and earn a $50 shopping spree!

    Leave a Reply

    Your email address will not be published. Required fields are marked *

  • Growth Takes Time with Radiating Stitches dies; & free project sheet!


    On last week's FB Live I shared three cards featuring the new Online Exclusive products. A few are already out of stock but they are ordering more. You can see them all here.  

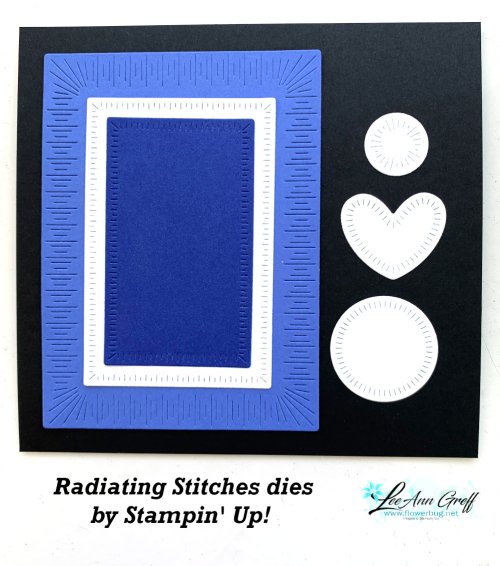
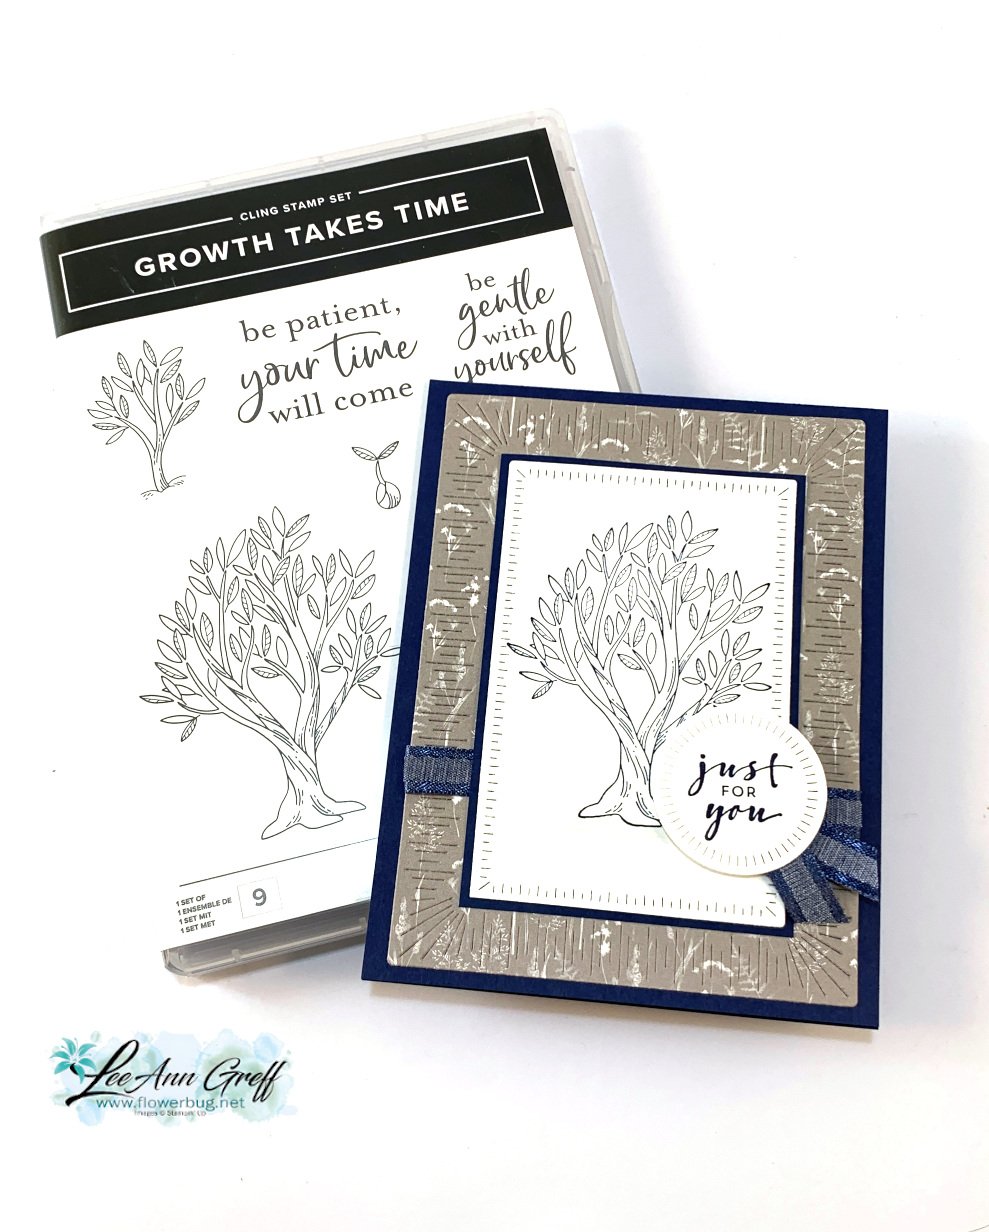
    Today's project features two of them.  Radiating Stitches dies and Growth Takes Time stamp set.  

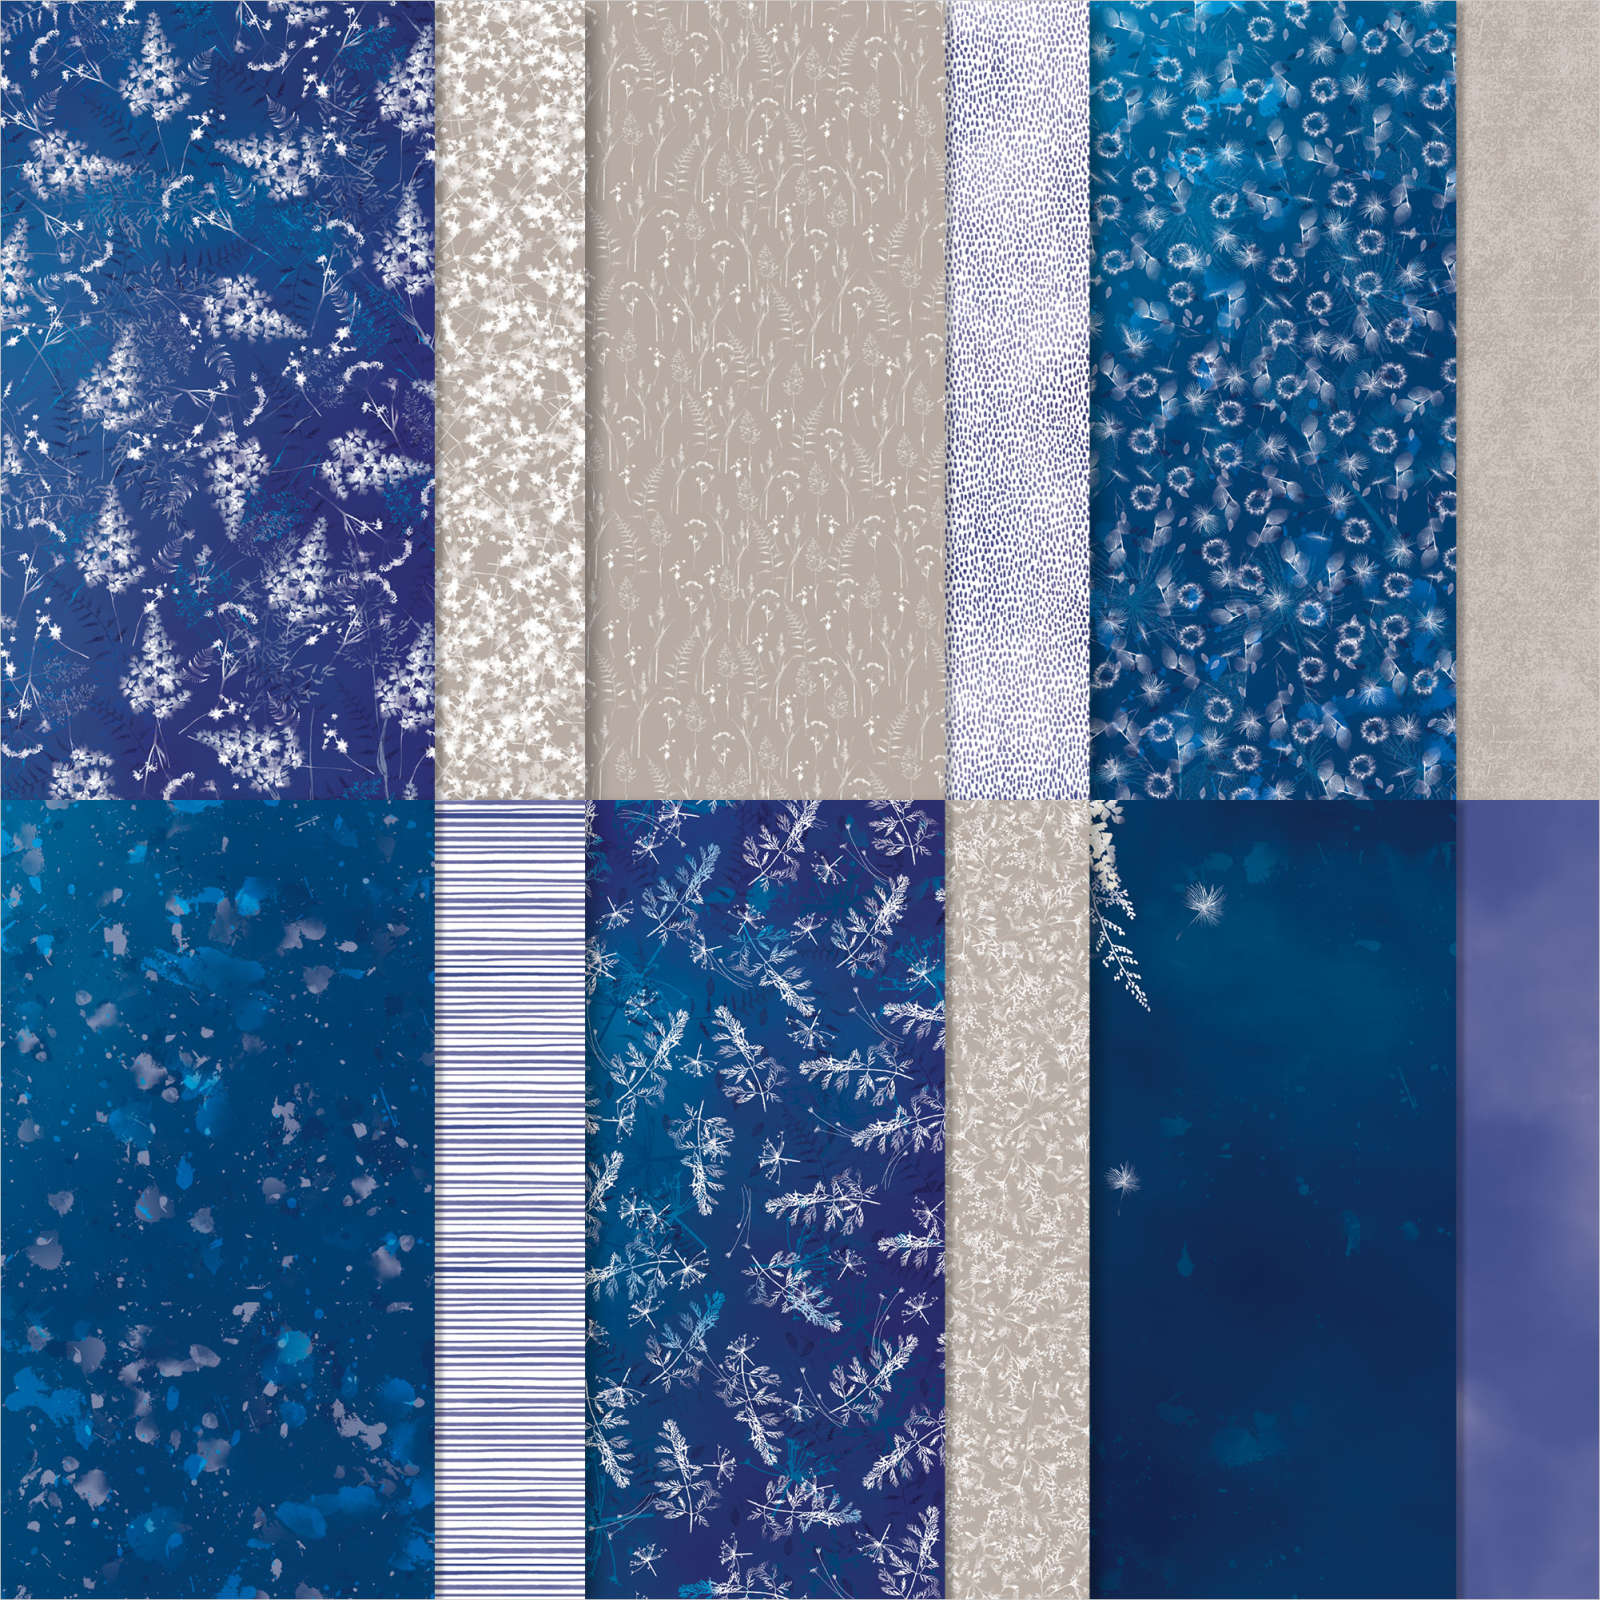
    I chose to use the Sun Prints designer paper along with a Navy, Gray Granite & White color theme.

    Heads up! The Sun Prints Designer Paper is on low inventory; I wonder if they'll run out of stock soon.  

    I stamped the tree and greeting (Charming Sentiments) using Night of Navy ink.  I did not color in the tree; sometimes it's okay to keep it simple. The ribbon here is the Navy bordered ribbon in the Spring catalog; seen here.  It's soft and easy to work with. 

    I used three of the Radiating Stitches dies on this card. See them here. 

    I love trees so it was an easy decision to purchase the Growth Takes Time stamp set.  See it here. 

    Here's a free project sheet for you with measurements and products used. Download Growth Takes Time with Sun Prints

    In the video below I demonstrate this pretty card; Click here or on the photo below to watch the video.

    ~~~

    March Specials:

    See the new Online Exclusives here! 

    *current host code: BFE4C2KM or EWJYEGFV

    Get a free class kit with online orders over $55 when using the host code above!

    Earn free products with my loyalty rewards! 

    Click here to download yours and earn a $50 shopping spree!

    Leave a Reply

    Your email address will not be published. Required fields are marked *

  • Two-Tone Flora with Elegant Borders dies & a FREE project sheet!


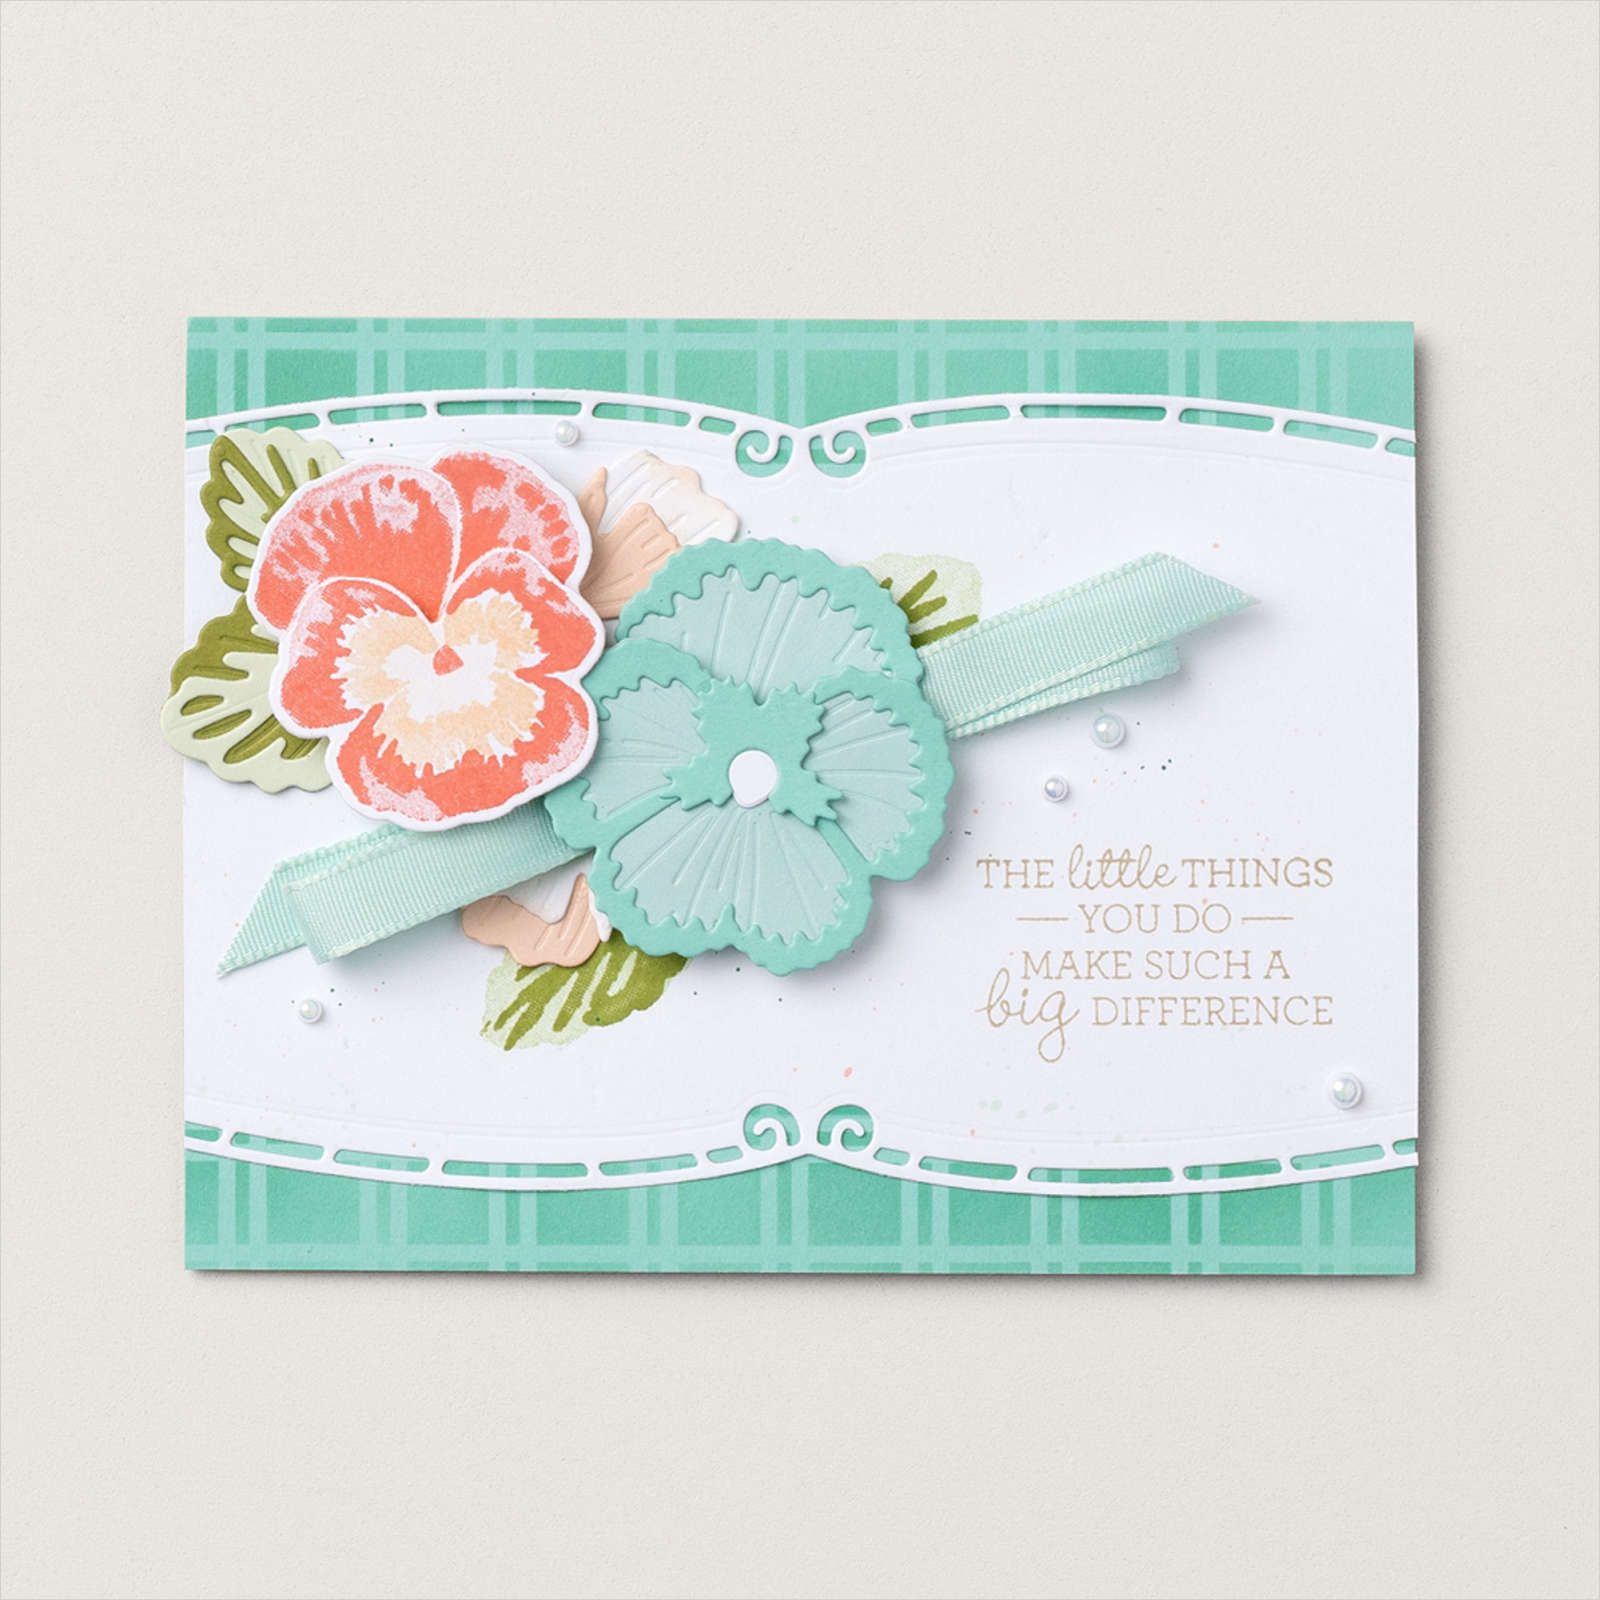
    In preparing my make & takes for my March Team meeting I knew I wanted to focus on the new Online Exclusives. I looked at the samples online for the Elegant Borders dies seen here and found this card made by Stampin' Up!'s artists:


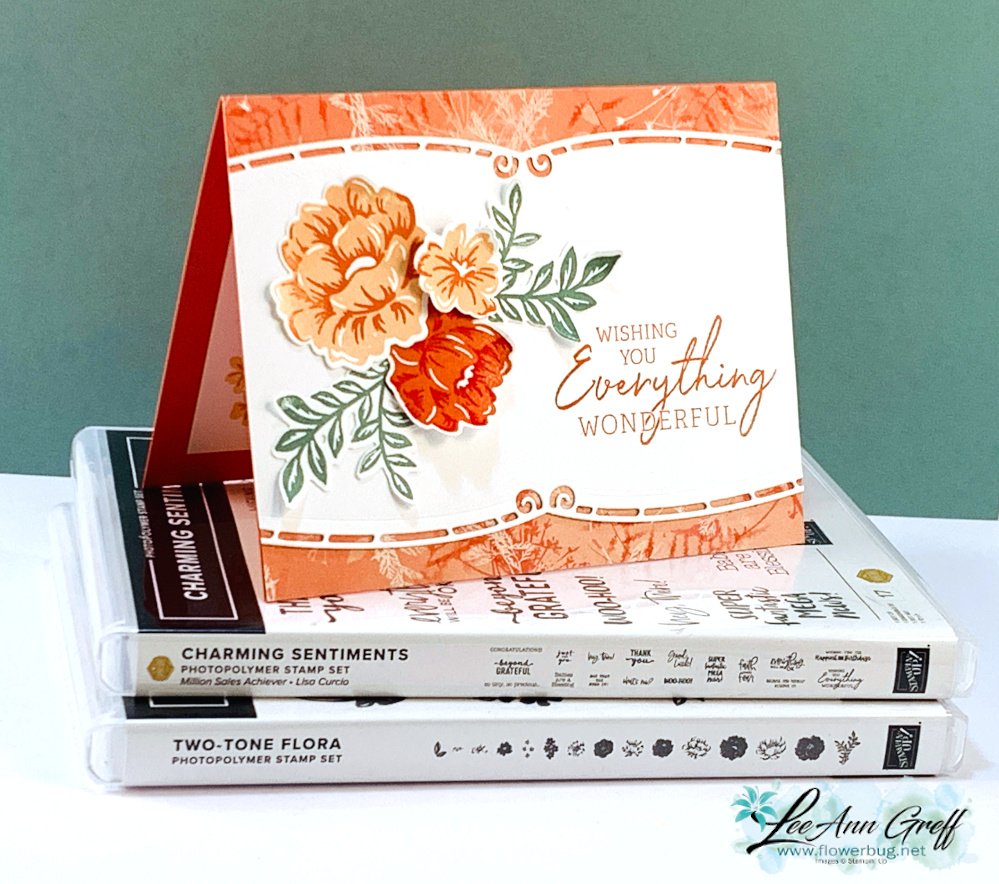
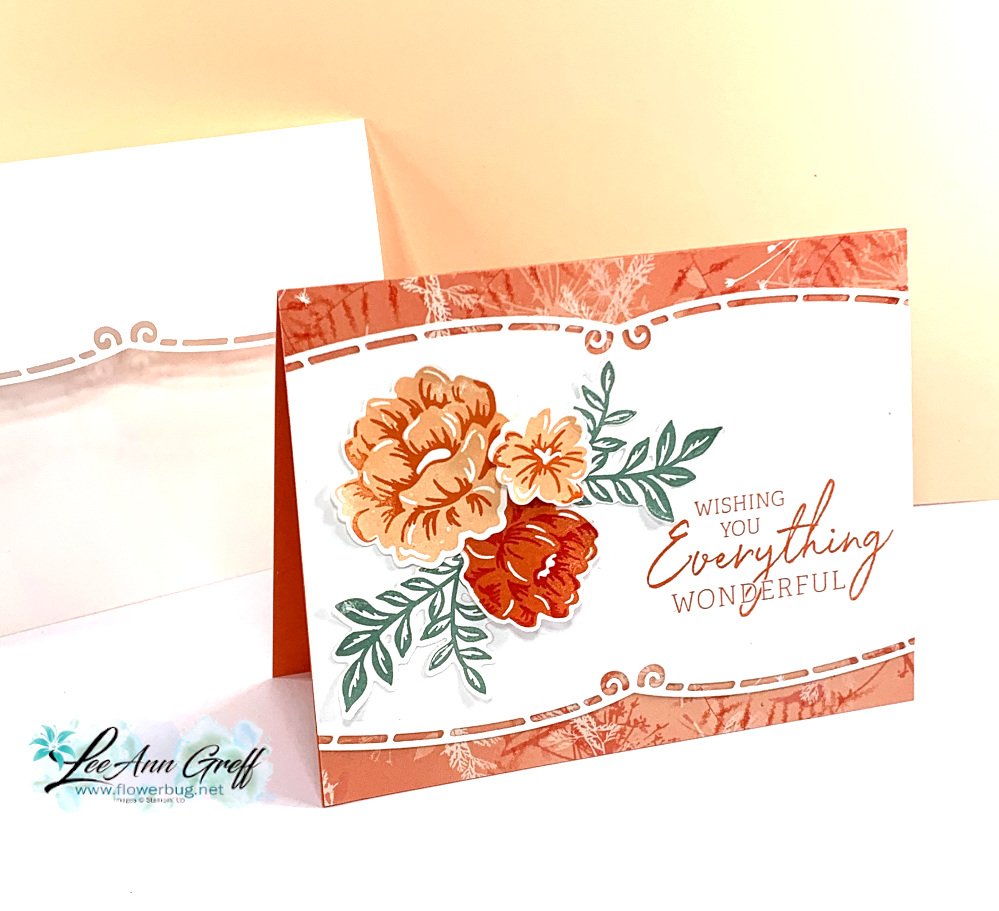
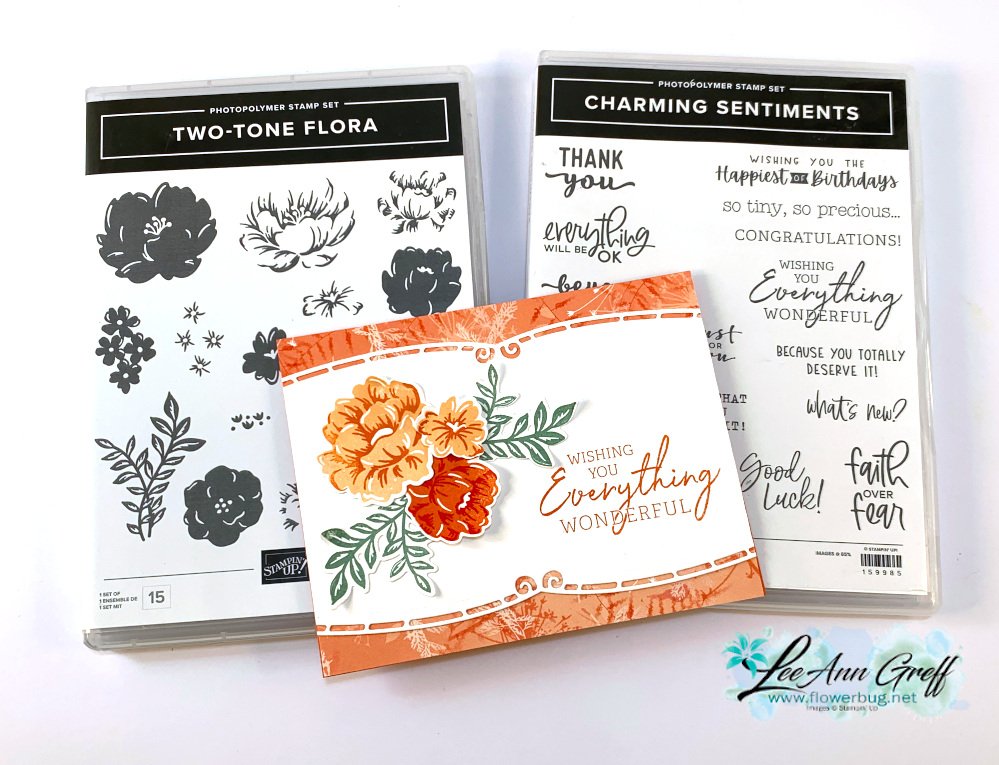
    I decided to use the Two-Tone Floral bundle instead of the Pansies and came up with this card: 

    Using samples from our printed catalog or online store can make stamping easier. Use a layout, technique or color combo as your inspiration.  My colors include Calypso Coral, Petal Pink, Soft Succulents and Poppy Parade. 

    Isn't that elegant border die gorgeous?!   I also used to for the envelope flap edge. See the Elegant Border dies here. 

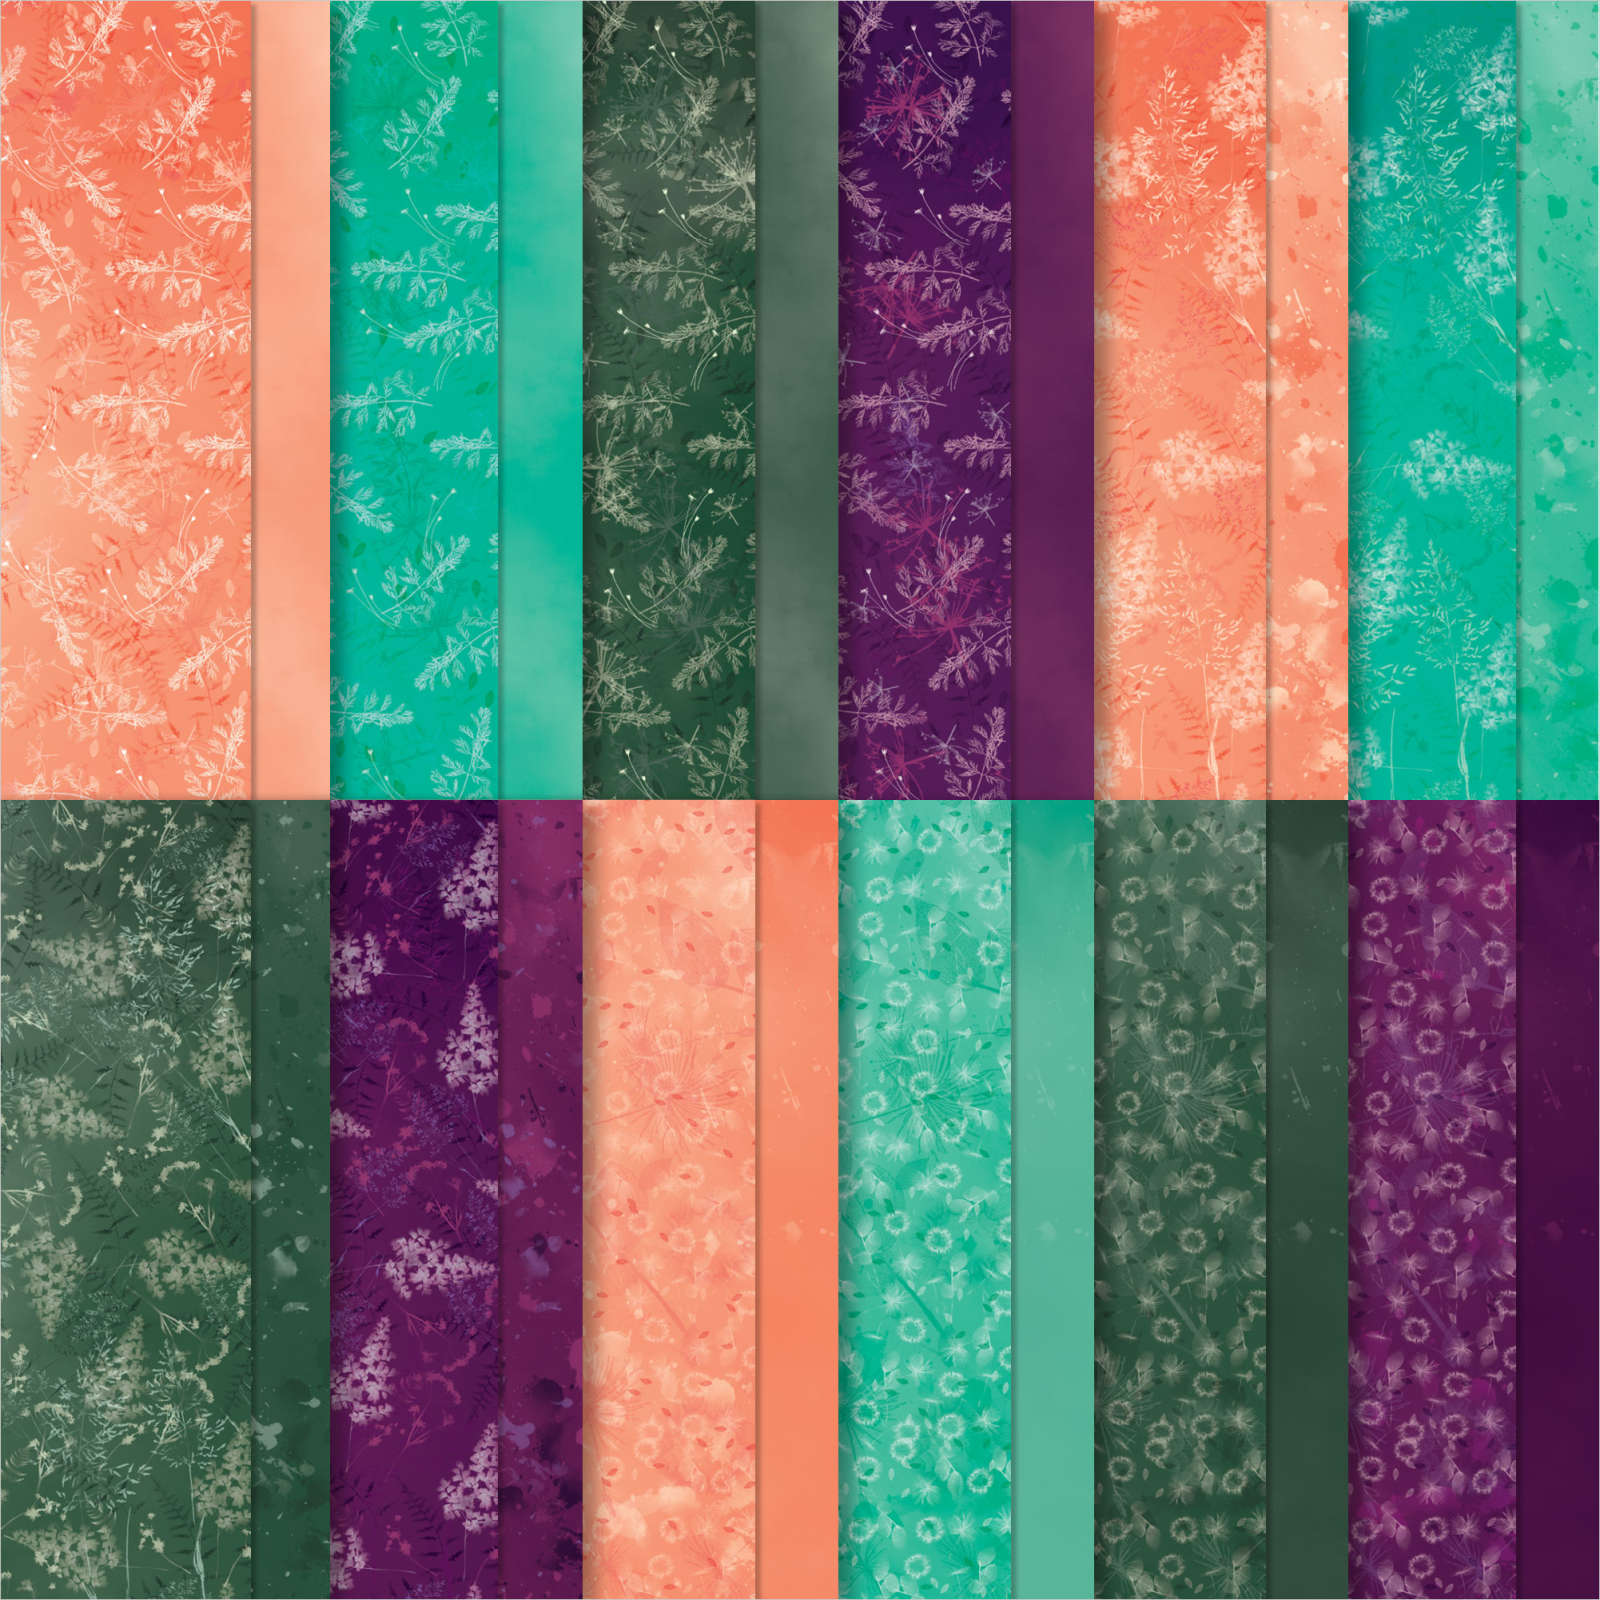
    The upper and lower pieces of DSP are from the Pretty Prints; soon to retire from the Annual catalog.  See it here. 

    It includes some of my favorite colors – Bermuda Bay, Blackberry Bliss, Calypso Coral and Evening Evergreen.  

    I used the Stamparatus to stamp the die-cut flowers and leaves from the Two-Tone Flora bundle. Be sure to watch the video to see how. 

    Download the project sheet.

    Measurements: 

    • Calypso Coral card base 5 1/2" X 8 1/2"
    • White 5 1/2" X 4", inside 4 3/4" X 3 1/2", scrap for die-cuts
    • Pretty Prints DSP 5 1/2" X 1" – 2 pieces

    In the video below I demonstrate this pretty card. Click here or on the photo below to watch the video.

    ~~~

    March Specials:

    See the new Online Exclusives here! 

    *current host code: BFE4C2KM

    Get a free class kit with online orders over $55 when using the host code above!

    Earn free products with my loyalty rewards! 

    Click here to download yours and earn a $50 shopping spree!

    Leave a Reply

    Your email address will not be published. Required fields are marked *


Notice: LeeAnn Greff, Independent Stampin’ Up! Demonstrator, Manager. The content of this website is my sole responsibility as an independent Stampin’ Up! demonstrator and the use of, and content of, the classes, services, or products offered on this website is not endorsed by Stampin’ Up! Copyright 2025