/


Latest Post

Control Freaks New Catalog Blog Hop


It's time for our monthly Freak's blog hop!!  Our focus today is the new Annual Catalog.  We have lots of amazing projects to share with you using brand new products. 

You may have arrived from Tami's blog; I'm sure you loved her projects!  Or maybe you just started here.  To see all 12 posts be sure to click on the icon at the bottom of each post. 
It's been so fun to play with exciting new products from the 2020 Annual Catalog!  Are you ready for some glitz & shine?

I chose to play with the Forever Gold Laser-cut Specialty Paper today.  It's part of the Forever Greenery suite of products.  You can see it best on page 152 of your annual catalog. It has 6 sheets; 3 each of 2 single sided designs. One side is gold and the other is white which you can color, spritz or sponge.  I chose to use the gold sides for my projects here.  

You can see the details & measurements for each one under the photo. 

I chose to use jewel toned card stock for each card; I think it looks rich & regal with these colors.  The card above is Blackberry Bliss with Very Vanilla.  The pretty golden leafy medallion is all one piece; just punched out from the pack.  I added a 1" X 4 1/4" strip of Vanilla under it and a stamped die cut above with a few metallic pearls.  The stamped image is from Dandelion Wishes and the die is from the Stitched So Sweetly dies. 
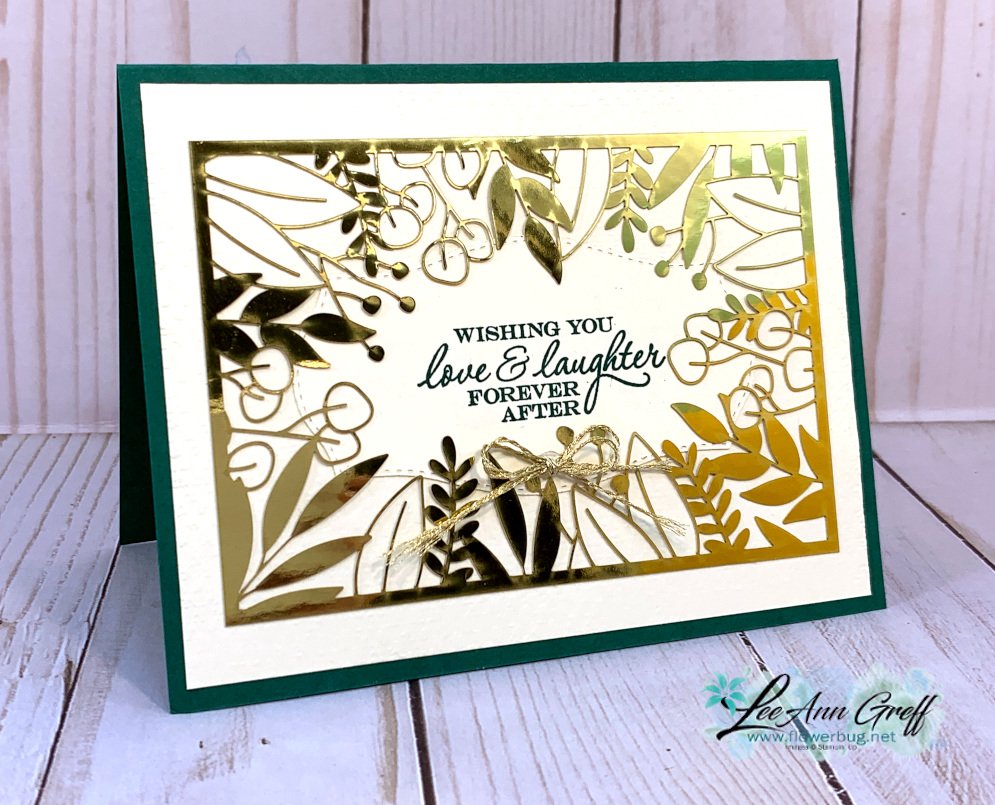
This card is Shaded Spruce with Vanilla.  It's hard to see but the large 4" X 5 1/4" vanilla is textured with our Tasteful Textile embossing folder. The greeting is stamped on a die from Tasteful Labels using the Heart to Heart stamp set.

Once I had these pieces adhered I could add the laser cut piece on top. I added a bit of liquid multipurpose adhesive to the edges and a few leaves and it's done!

The laser cut card front pops out so easily from the rest in the sheet. No fussy cutting or die-cutting with these! 

This is probably my favorite one of the three. This laser-cut piece is delicate and leafy; it leaves a perfect area for a greeting in the stitched center. The card is Night of Navy with a 2" strip of the World of Good designer paper across the middle. 

I stamped the 'Always' greeting (Field of Flowers set) on a 1 1/2" X 2 1/4" piece of Very Vanilla card stock and sponged the edge with Misty Moonlight ink.  The 'In My Heart' greeting is embossed with Gold embossing powder on Misty Moonlight card stock and punched out with the Classic Label punch. 

Did you spy the cute little flowers on this card?  They're from the new Confetti Flowers Border punch. Each one has a Metallic pearl on it.  

I hope you enjoyed seeing these pretty cards with the beautiful Forever Gold Laser-cut Specialty Paper.  If you like shine and glitz you'll love it! 

~~~

Thanks for stopping in to see my projects.  Now you're off to see what Cindy has to share.  I know you'll love it; I always do.
 

All Posts

  • Last set of swaps made by my Team using the new In Colors


    Here are the last of this month's Team swaps:

    Mary made this pretty card using two new In Colors – Petunia Pop & Summer Splash.

    She used the new Unbounded Love bundle and the Unbounded Beauty designer paper.  The bundle is not available right now and the DSP is in low inventory. Popular items for sure!! The embossing folder is Distress Tile 3D. 

    Measurements:

    • White card base 5 1/2" X 8 1/2" score/fold at 4 1/4".
    • Petunia Pop 5 1/4" X 4" & 3 1/2" X 2 3/4"
    • Summer Splash 5" X 3 3/4"
    • DSP 3 1/4" X 2 1/2" 

    Rita made this cute card with the 2024-26 In Color designer paper. 

    Her card base is White as is her textured layer although it's hard to see here.  She added a Nested Essentials DSP die-cut vertically that adds some fun interest to the card.  

    ~~~

    Lastly is Paula's pretty card; she used the same colors and designer papers as Mary's card above. Petunia Pop is beautiful with Summer Splash. 

    She used the Unbounded Beauty suite here; see it on page 54 of your new Annual catalog. It starts out as a center gate-fold card but turns into so much more when you open it!  

    It's a center fold pop up card!  I was amazed by it and thought it looked super hard to make.  She assured me it wasn't so I took on the challenge and made one on my Tuesday Live video seen here.  

    Isn't this an amazing card?  It looks so challenging to make! 

    I'm not going to share measurements for this card today since it's very similar to the card I shared on the Tuesday video.  I will post the video & free project sheet for my card on Monday.

    Thank you so much for the inspiration & encouragement Paula.  You were right; this card was easier than I thought! 

    ~~~

    May Specials: 

    *current host code link:  9AWSF9T9 or FERX3EKC

    ~~~

    Get over $200 in products for just $99 in May! 

    You'll get tons of new In Color products plus choose $125 in products of your choice! 

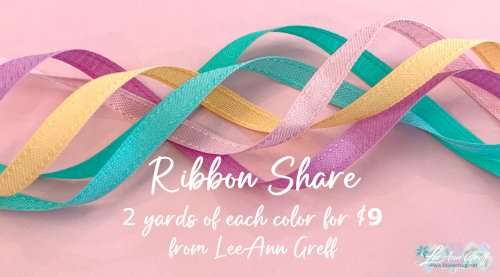
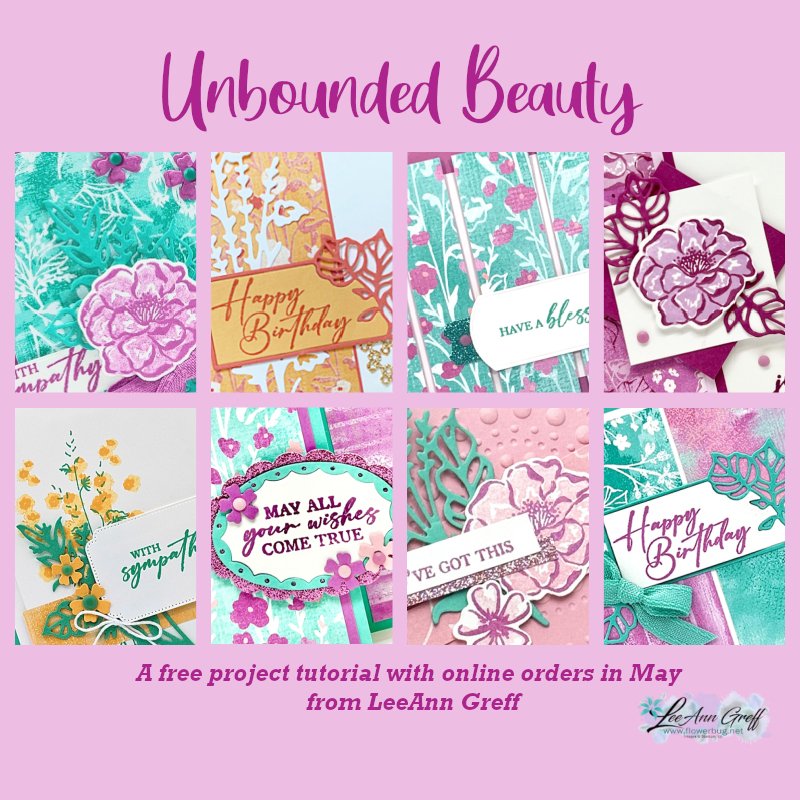
    Click on the pictures above or below to get to my new catalog shares – choose from designer papers or a ribbon share. 

    ~~~

    All online orders in May will receive a free project tutorial and if your order is over $50 I'll also send you a pre-cut card kit!

    Leave a Reply

    Your email address will not be published. Required fields are marked *

  • Neat card layouts you’ll love on these Team swaps!


    Today I'm sharing more of our Team swaps from our latest gathering.  

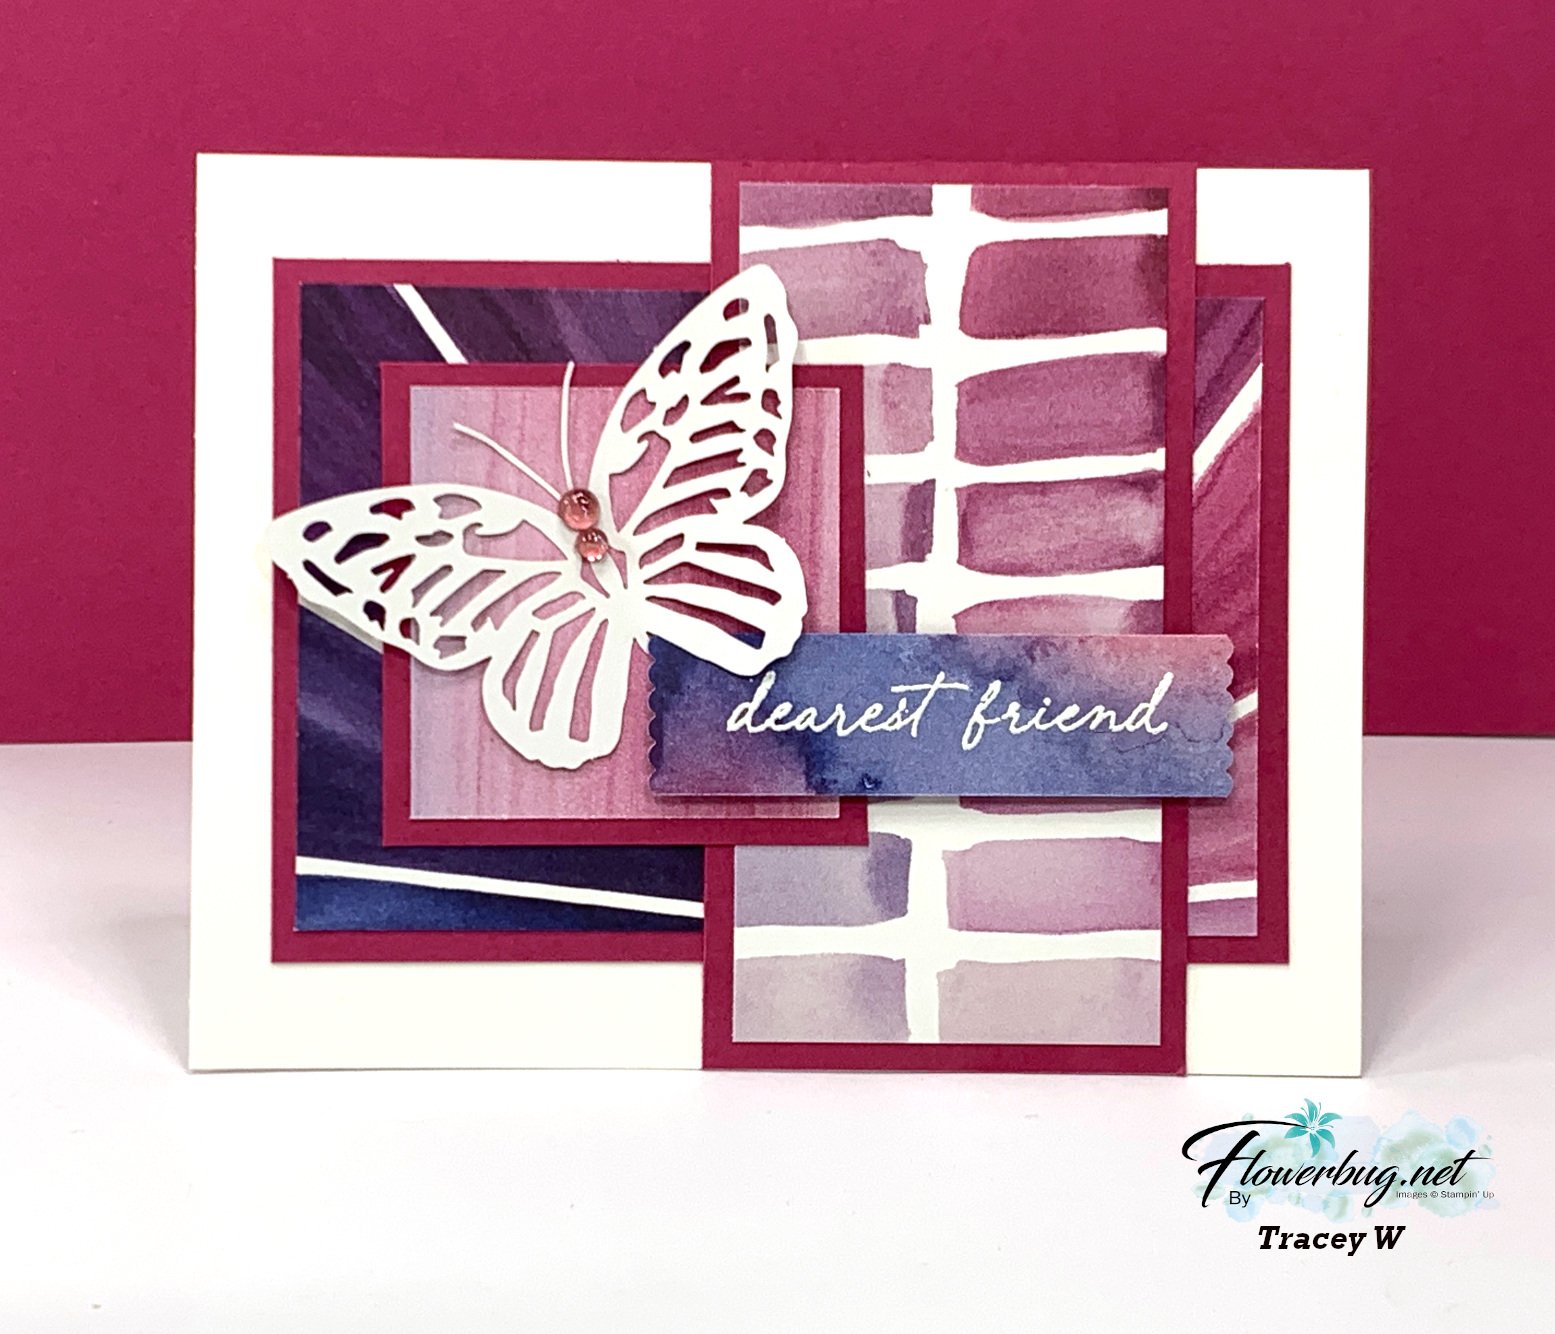
    First up is Tracey's swap featuring the Full of Life designer paper.

    This pack of paper is filled with bold patterns and bright colors; see it here.  She layered 3 pieces of designer paper with Berry Burst card stock. The greeting is heat embossed on the back side of one of these patterns.  

    The butterflies are from the Paper Butterfly Accents seen here. They are available in the online store now. 

    Measurements:

    • White card base 5 1/2" X 8 1/2" score/fold at 4 1/4"
    • DSP – largest 4 1/2" X 3", tall 2" X 4", 2" square
    • cardstock layers – largest 4 3/4" X 3 1/3", tall 2 1/4" X 4 1/4", 2 1/4" square
    • Greeting is 3/4" X 2 3/4" (used the Happy Labels Pick a Punch on the ends) 

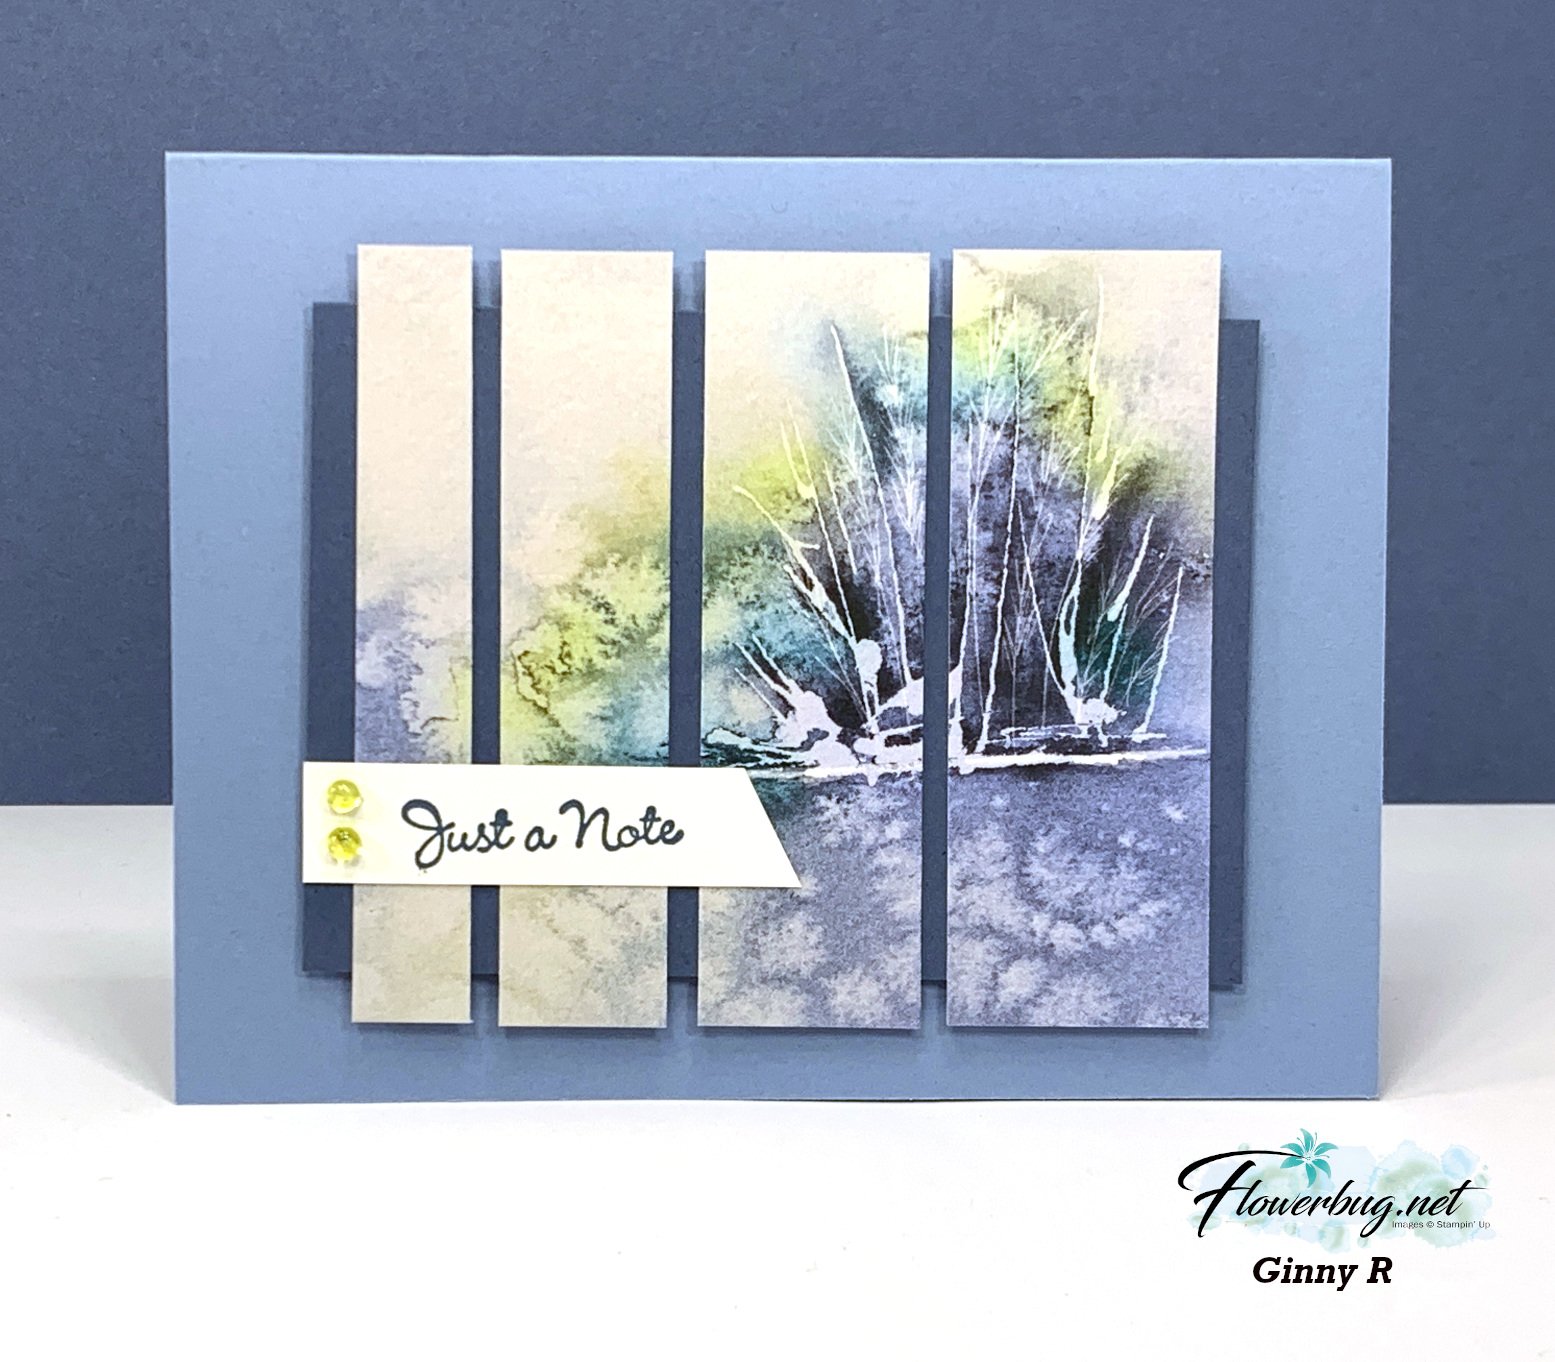
    Next is a beautiful card made by Ginny; she chose the incredible Thoughtful Journey designer paper (out of stock & unavailable until the week of May 27th).

    I shared another version of this card here last week.  

    To make this card you need just a few pieces of paper to start with, plus your greeting. 

    • Card base 5 1/2" X 8 1/2" score/fold at 4 1/4"
    • DSP 3 1/2" square – cut from the left side at 1/2", 3/4", 1" and 1 1/4"
    • Misty Moonlight card stock is 4 1/4" X 3" 

    Next is a soft & pretty card made by Jonna. She chose to feature the Cheerful Daisy stamp set & coordinating dies seen on page 75 of the Annual Catalog. 


    Her fresh color combination is Lemon Lolly with Soft Sea Foam. She added this pretty soft yellow ink to the daisy centers and layered the dies so nicely they look super realistic!  The embossing folder is the Exposed Brick 3D which is currently out of stock; but it will be back! 

    Measurements:

    • Card base 5 1/2" X 8 1/2" score/fold at 4 1/4", upper layer is 5" X 2 1/4"
    • Lemon Lolly layer 5 1/4" X 4"
    • White textured is 5" X 3 3/4", stamped White is 5" X 2"

    I'll be back with more swaps tomorrow! 

    ~~~

    May Specials: 

    *current host code link:  9AWSF9T9 or FERX3EKC

    ~~~

    Get over $200 in products for just $99 in May! 

    You'll get tons of new In Color products plus choose $125 in products of your choice! 

    Click on the pictures above or below to get to my new catalog shares – choose from designer papers or a ribbon share. 

    ~~~

    All online orders in May will receive a free project tutorial and if your order is over $50 I'll also send you a pre-cut card kit!

    Leave a Reply

    Your email address will not be published. Required fields are marked *

  • Fabulous Team Swaps!


    We held our monthly Flowerbug's Team Meeting on Saturday and I wanted to share the card swaps they made. 

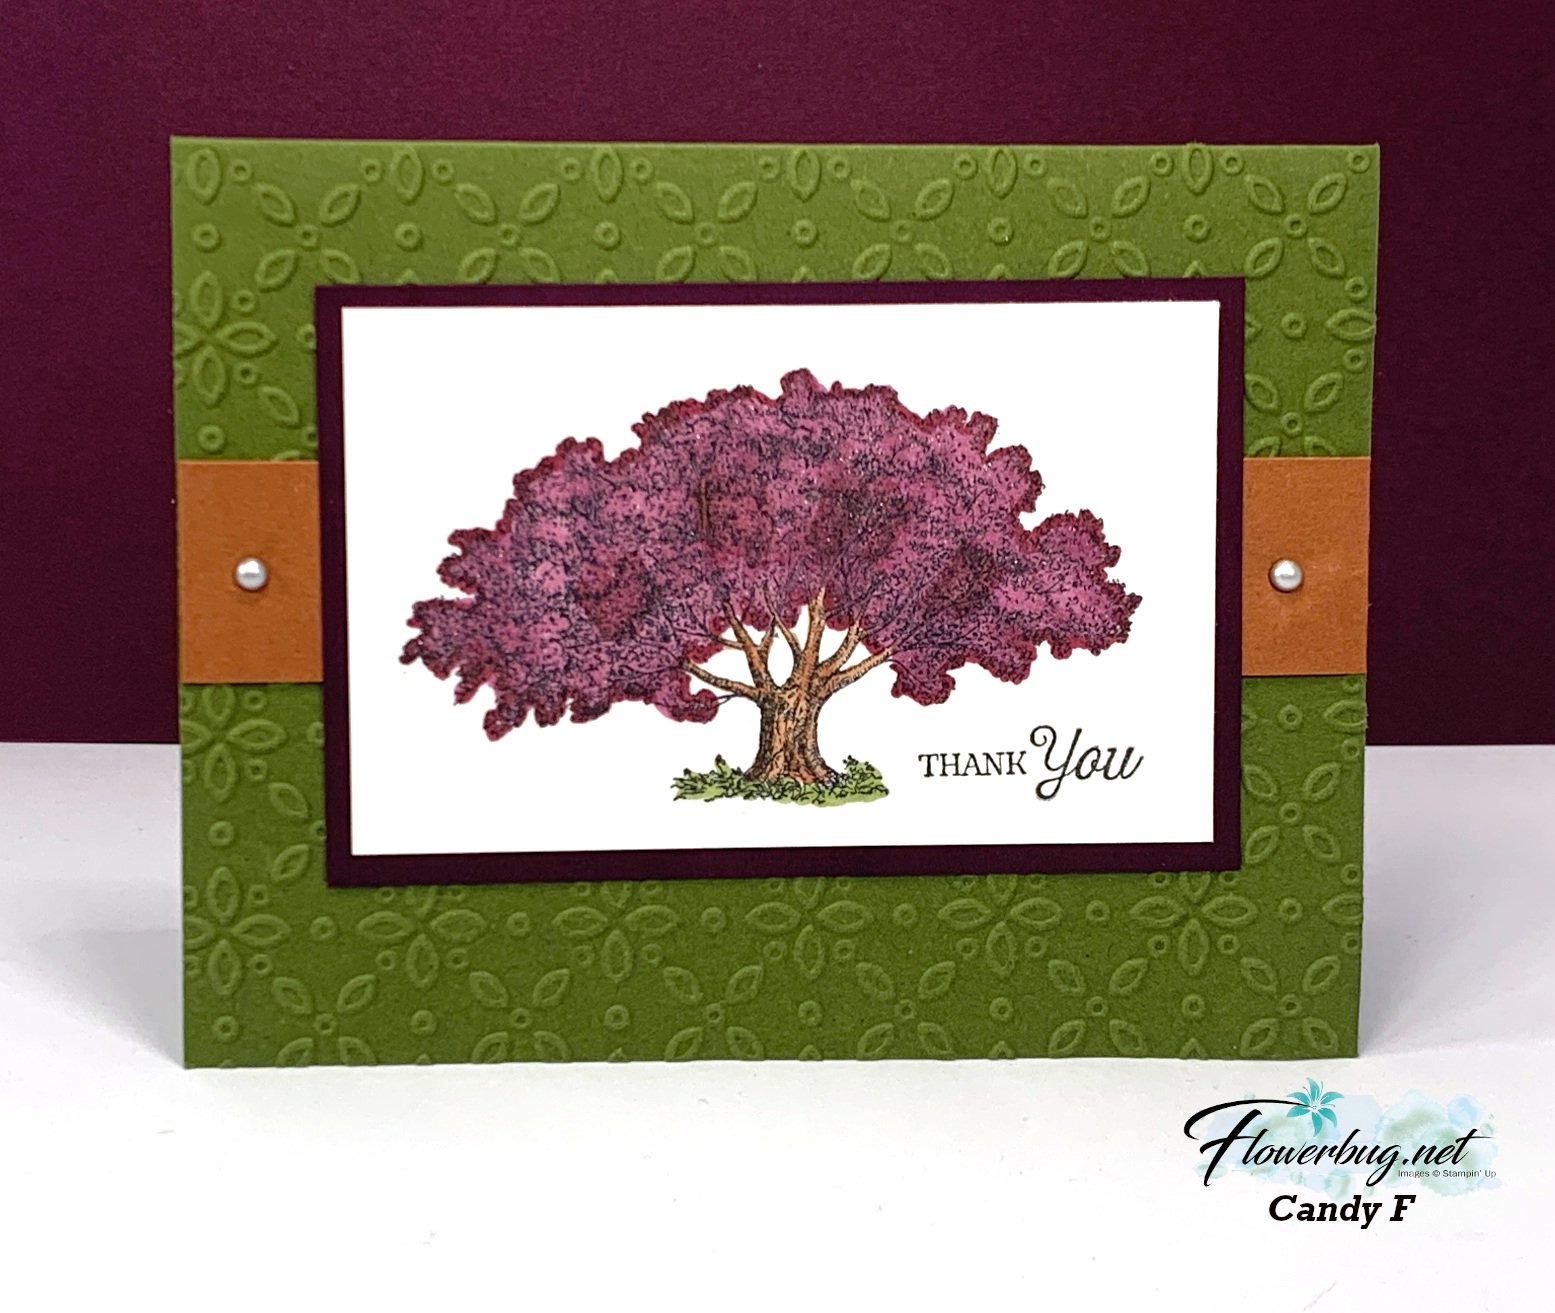
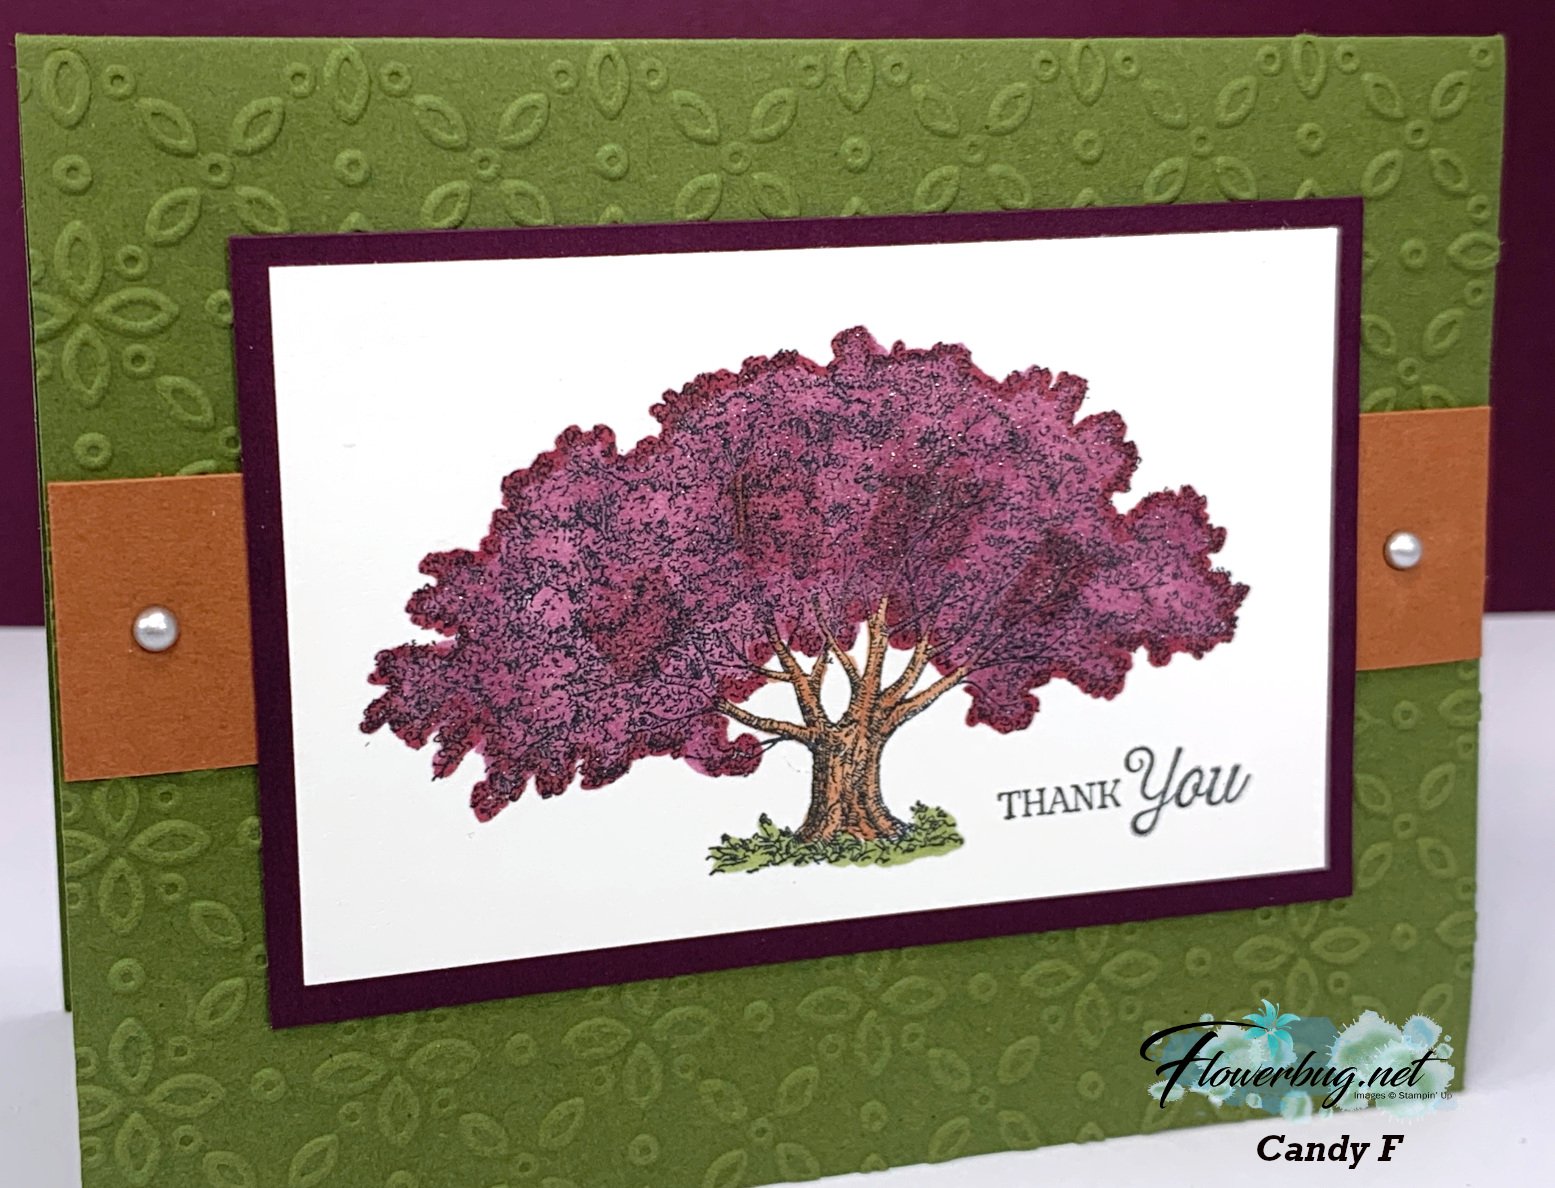
    First is a beautiful card made by Candy who featured the new Loveliest Tree stamp set seen here.  

    Her colors include Mossy Meadow, Blackberry Bliss and Cajun Craze.  Gorgeous!!  The embossing folder is the Eyelet 3D folder seen here.

    There are dies that go with it too. I believe she colored the tree in with Blends markers. She also used Wink of Stella on the tree image – it shows up very well in person but not as much in person.

    ~~~

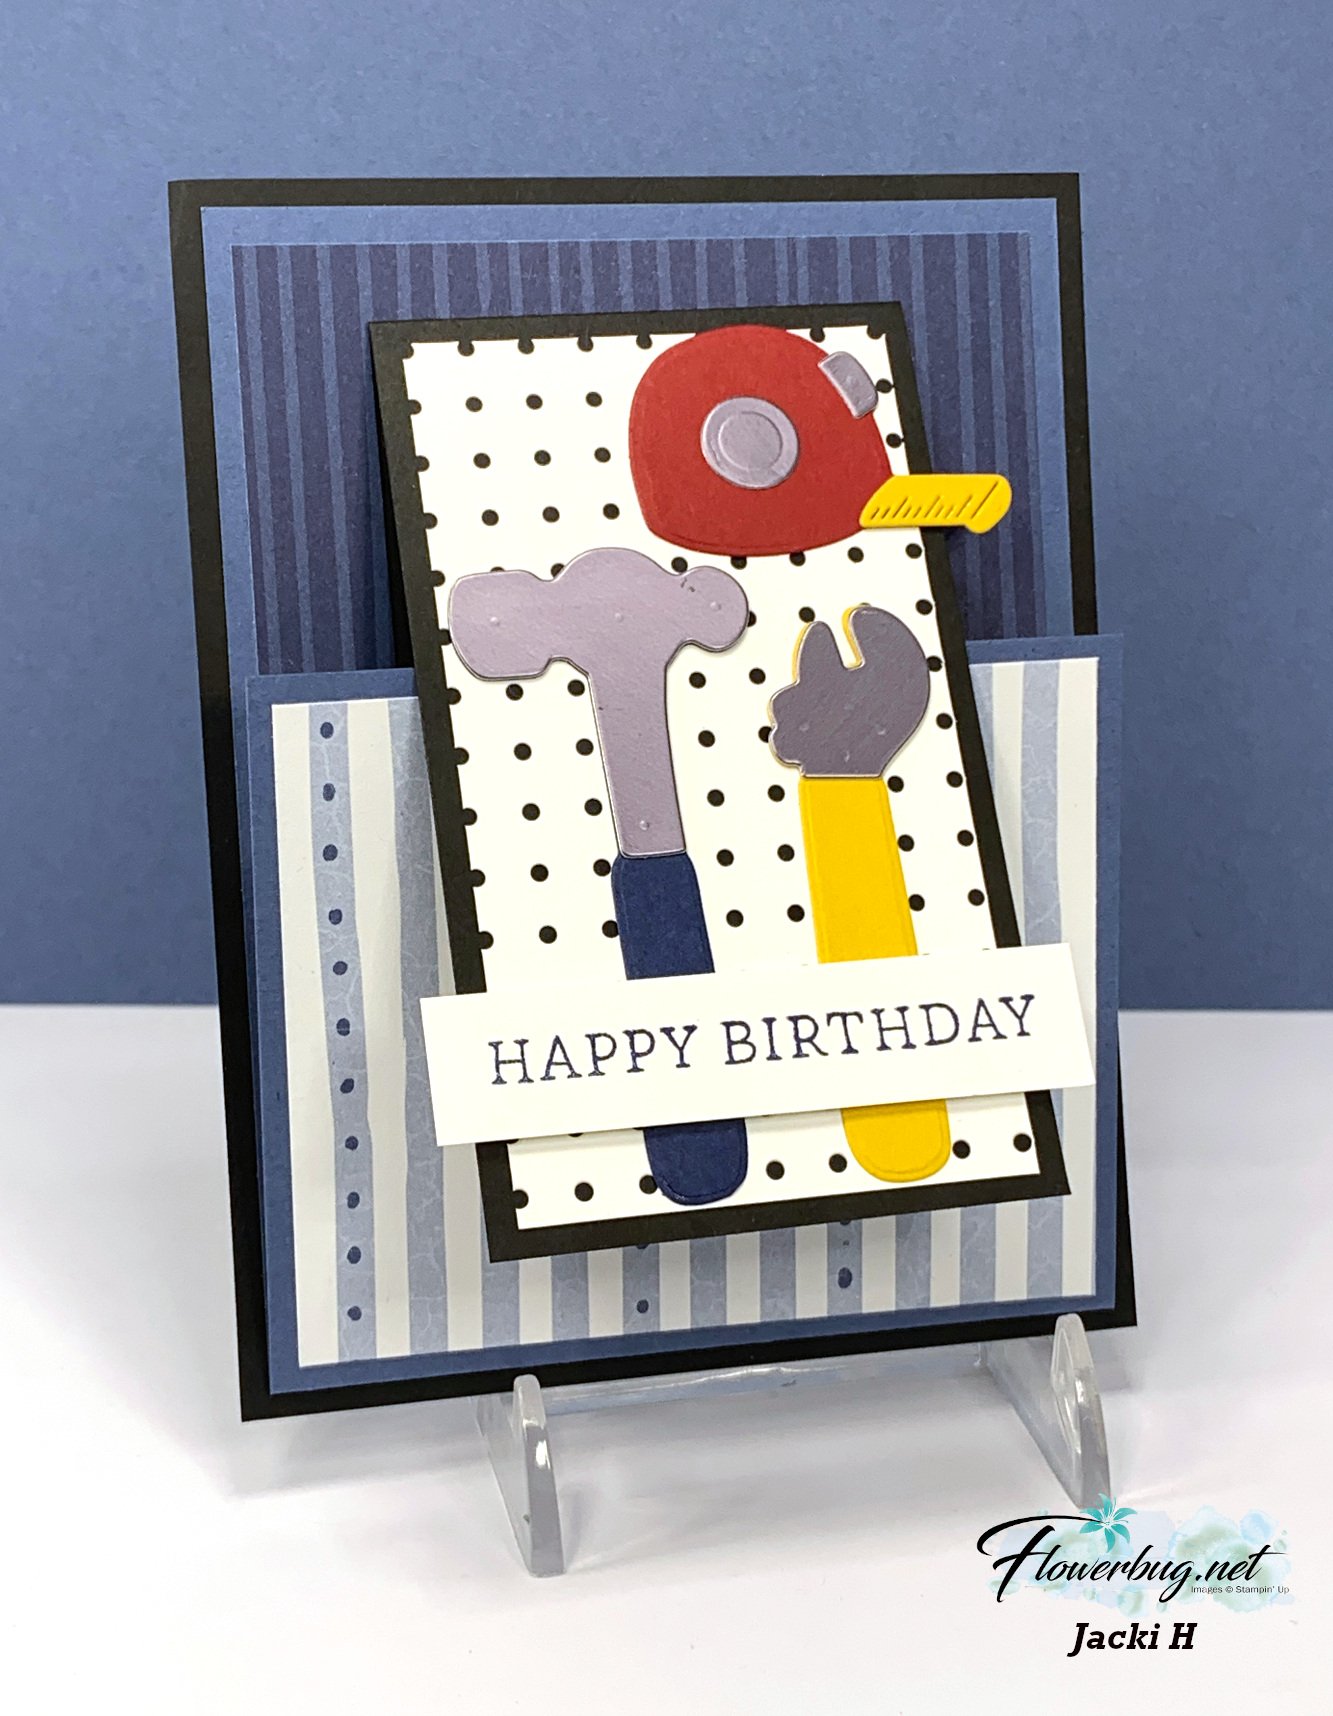
    Next is a neat fun fold card made by Jacki. She chose the Trusty Tools stamp set & dies.  

    See the stamp set here and the dies here.  They were a bundle in the Spring catalog and carried over into the new Annual Catalog. 

    The designer paper is the Countryside Inn DSP seen here that carried over and is now online. 

    Measurements:

    • Black card base 4 1/4" X 5 1/2"
    • Misty Moonlight – 4" X 8 1/2" score at 5 1/4"
    • Black center fold 2 1/2" X 8" score at 4"
    • White 2 1/4" X 4" front and inside; greeting banner 3" X 5/8" 
    • Assorted card stock for tools 
    • DSP – front 3 3/4" X 3" and inside is 3 3/4" X 5" 

    ~~~

    May Specials: 

    *current host code link:  9AWSF9T9 or FERX3EKC

    ~~~

    Get over $200 in products for just $99 in May! 

    You'll get tons of new In Color products plus choose $125 in products of your choice! 

    Click on the pictures above or below to get to my new catalog shares – choose from designer papers or a ribbon share. 

    ~~~

    All online orders in May will receive a free project tutorial and if your order is over $50 I'll also send you a pre-cut card kit!

    Leave a Reply

    Your email address will not be published. Required fields are marked *


Notice: LeeAnn Greff, Independent Stampin’ Up! Demonstrator, Manager. The content of this website is my sole responsibility as an independent Stampin’ Up! demonstrator and the use of, and content of, the classes, services, or products offered on this website is not endorsed by Stampin’ Up! Copyright 2025