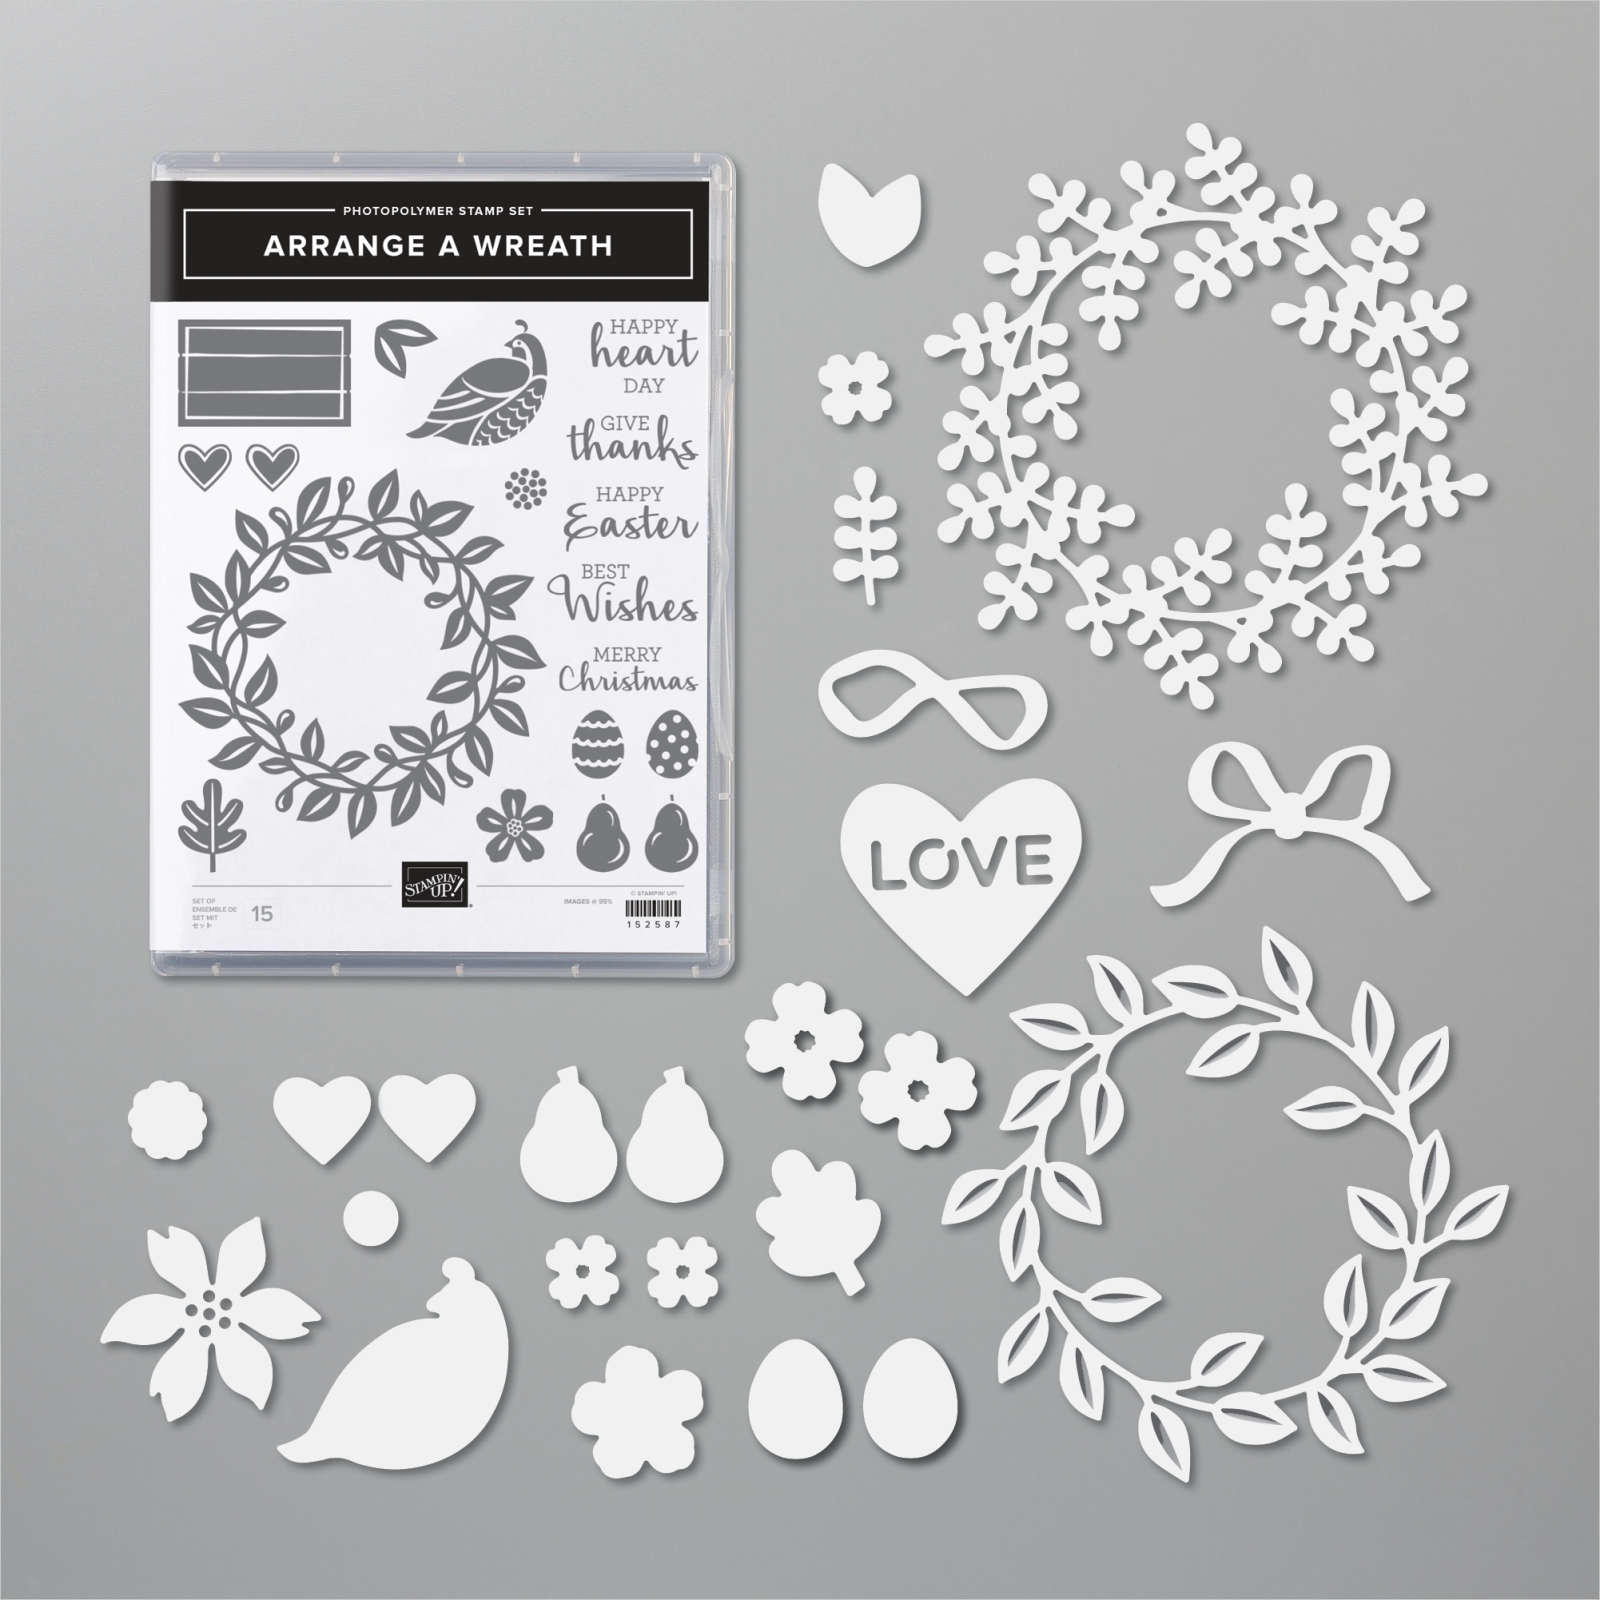
/


Latest Post

Lots to see in this month’s Control Freak’s Blog hop!


The theme for February's Blog Hop is projects for our friends! 

There's a lot of talent in the Control Freaks group; be sure to click on each icon at the end of each post to see it all.   
If you just stopped in from Bree's blog I'm sure you enjoyed her projects. She is uber creative!

My first card features the Floating Technique. It gives the illusion that your paper is floating on the card.  
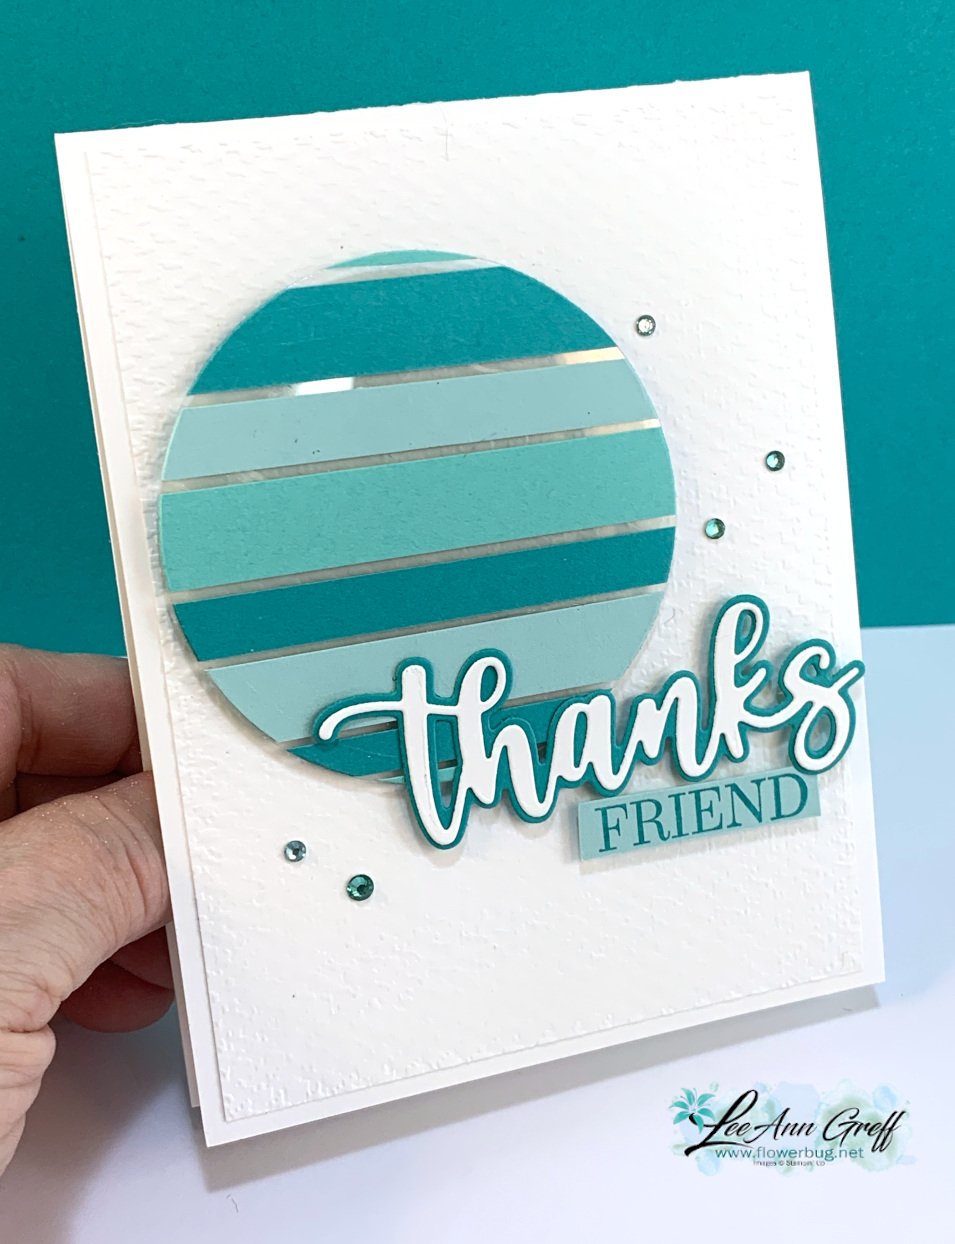
I adhered random sizes of card stock strips onto a piece of Window Sheet and used our largest circle in the Layering Circles dies  to die-cut it out.  I've been making monochromatic cards lately and chose my favorite blue/green hues of Bermuda Bay, Pool Party & Coastal Cabana.  

Details:

  • This circle is added with Stampin' Dimensionals onto White CS that's been embossed with the Tasteful Textile embossing folder. 
  • The 'Thanks' is made with our Amazing Thanks dies from the January-June catalog. 
  • The 'Friend' greeting was fussy cut from the Special Moments stamp set.
  • Those pretty rhinestones are from a new release coming out in March called the Wave Collection.  Rhinestones in blues & greens!! 

~~~

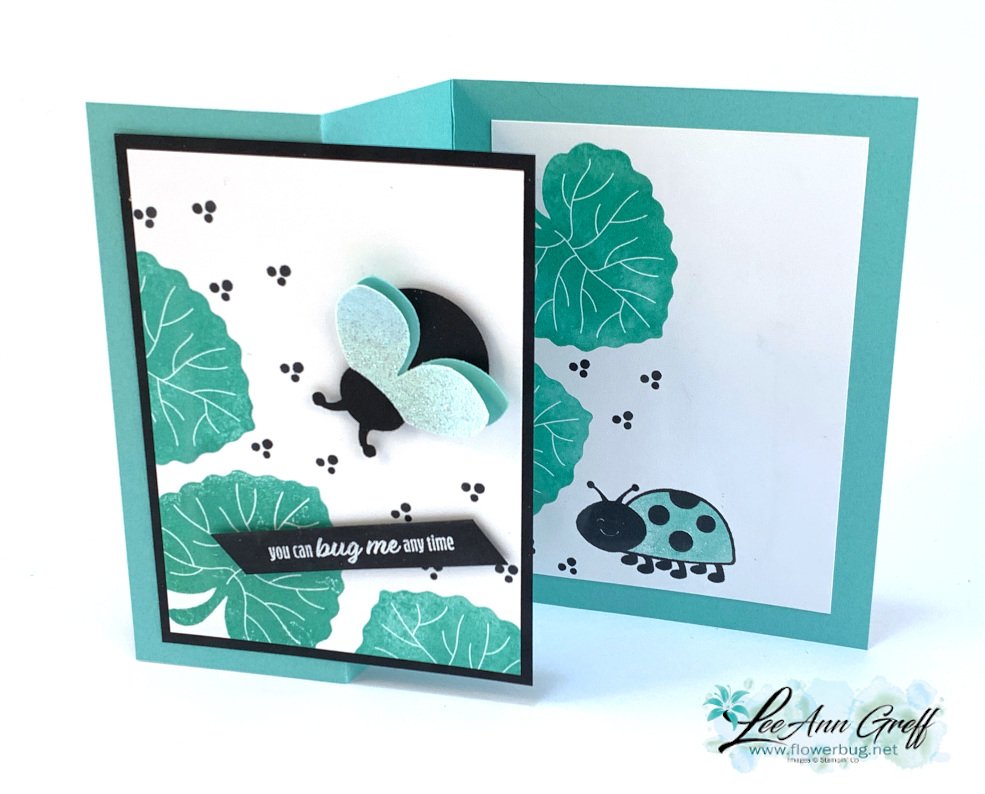
I recently made a card with the Hello Ladybug using Magenta Madness with Black and wanted to try it out with Coastal Cabana too. I found out that our new Supple Shimmer specialty paper works great for wings! It's pretty & iridescent.
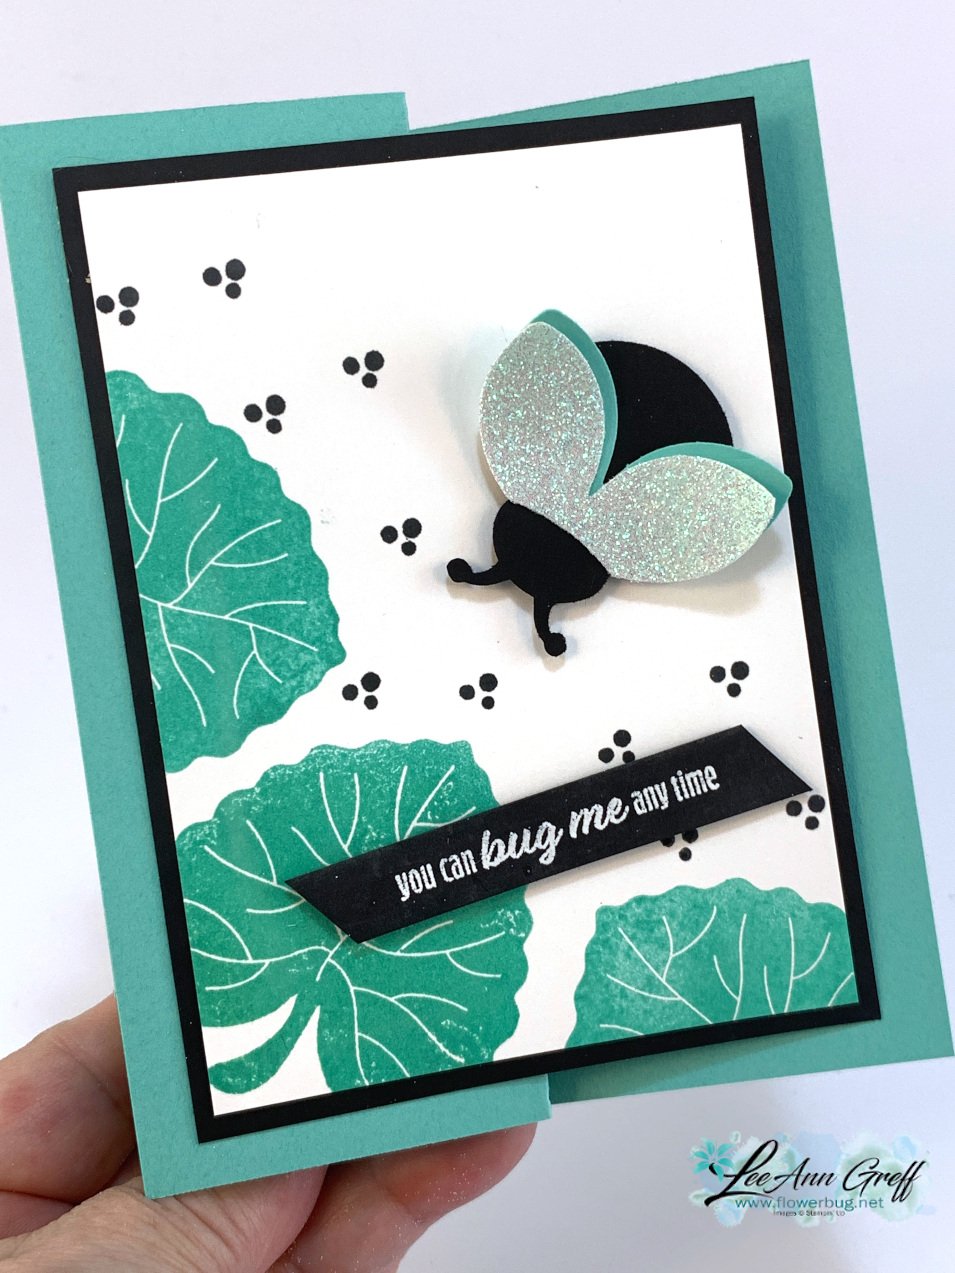

It's also what I like to call Black & White with a 'pop' of color.  A bit of black on a card makes other colors 'show up' and be noticed. 

This card is an easy fun fold.  Turn any basic card into a fun fold with these measurements: 

  • Card base 5 ½” X 8 ½”, score at 2 1/8” & 4 ¼”
  • White (X 2) 3 ½” X 4 ¾”
  • 3 ¾” X 5” Black


The stamped images are all from the Hello Ladybug stamp set.  It's in a bundle with the punch at 10% off when purchased together.  


Thanks so much for stopping in today. Click on the icon below to see what Cindy has created for you. You won't want to miss it! 
All Posts

  • Curvy Celebration ideas!


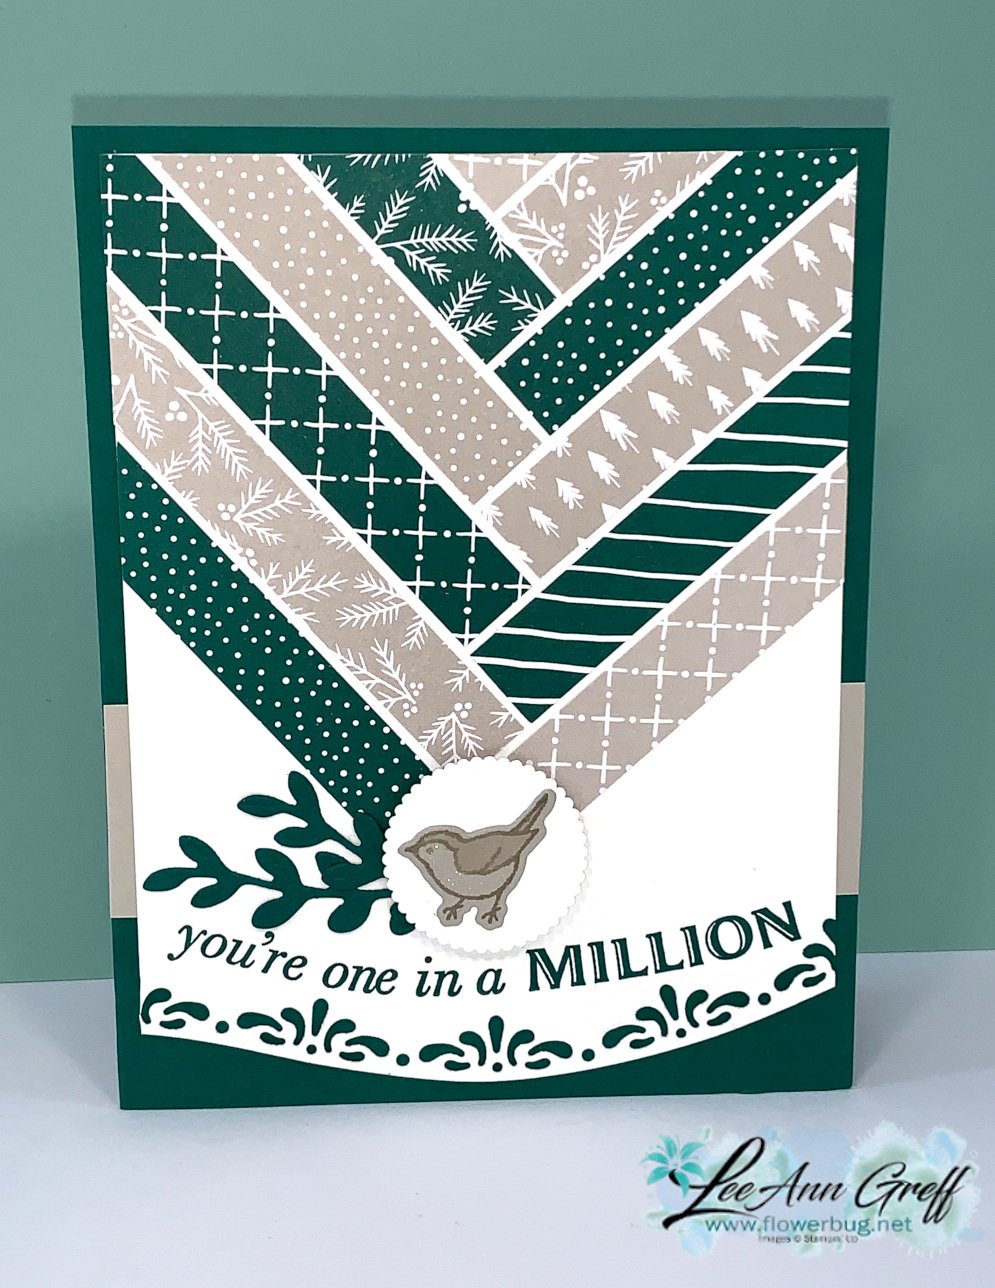
    Here are a few more projects I made with the Curvy Celebrations products. 

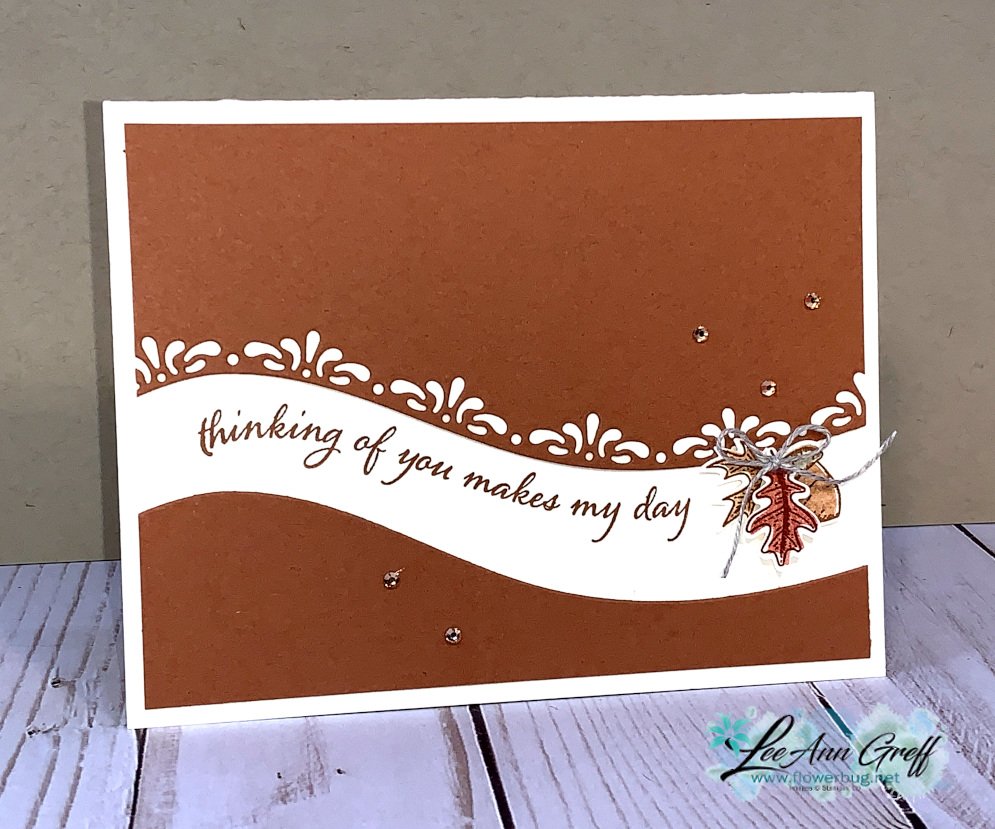
    Above is a super simple card made by cutting just one piece of Cinnamon Cider card stock in half with one of the Curvy dies.  Separate them on the Vanilla card and add a curvy greeting.  Finish with a few punched leaves from the Beautiful Autumn punch bundle. 

    On this card I added the White curvy die-cut layer to a piece of Artistry Blooms designer paper and finished it with a few Blossom punches and Artistry Blooms sequins.  Easy!

    The card above features my strips technique I shared here in this video.  So fun and a great way to use scraps of Designer Paper! 

    Here's another great reason to get any of these items now; everyone who places an online order (or orders any of the Curvy Celebrations items) will receive a free 22 project PDF full of ideas for their new products! 

    I chose to get it all at once with the entire Curvy Celebrations bundle seen here.  

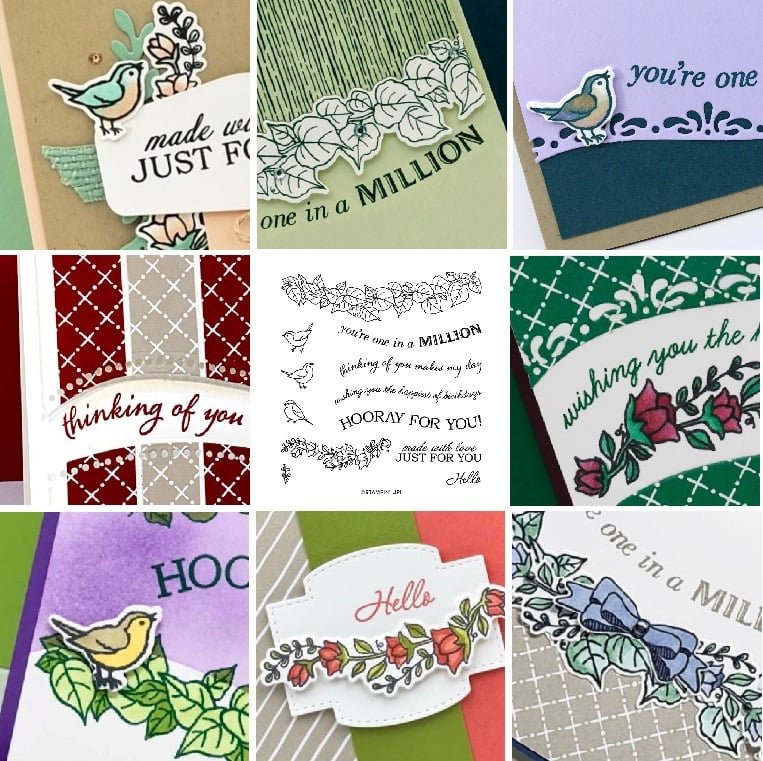
    Here are some sneak peaks of the projects in the free PDF: 

    Above are ideas featuring the Quite Curvy set and below are projects with the Curvy Christmas set. 

    ~~~

    November Specials!

    Current Host code is JRZFR4QU


    All online orders receive my FREE Curvy Celebrations 22 project PDF Tutorial! 

    Leave a Reply

    Your email address will not be published. Required fields are marked *

  • Order your 2021 Coaster Calendar this week!


    Happy Veterans Day! 

    We have a ton of family and friends who have sacrificed to keep us all free and safe. I want to sincerely thank everyone who has served our country, both past and present. And today let's be sure to thank them, honor them and also those who've passed on. 

    ~~~

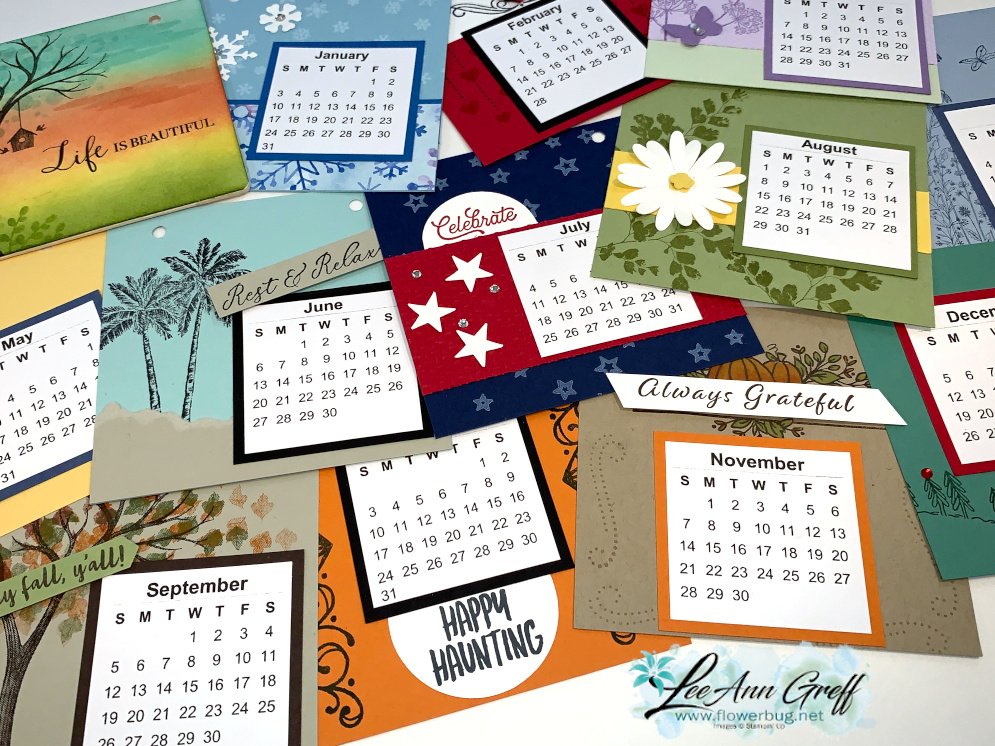
    My new 2021 Coaster Calendar is ready!  

    I wanted to get these out in time for Christmas gifts.  They're perfect for those people who don't need a thing!  Everyone uses a calendar!  And when each page is hand stamped for the month or season they're extra special.  

    I had to use my Life is Beautiful stamp set on the cover!! Below you can see the variety of months included in this flip style, easel calendar. Each page is 4 X 4" square and on 1" metal rings.  

    How does this kit to go work?  Here's what you'll receive:

    • the PDF tutorial with photos, directions, products and measurements
    • Pre-cut card stock including punched or die-cut pieces
    • pre-cut, printed calendars for each page
    • Two 4" coasters for the front and back and two metal rings

    What it does not include are stamped images, gems or adhesive.  To finish the calendar you will need a variety of stamps, inks, gems and adhesives. 

    You have two options here; order the pre-cut kit here or order the PDF tutorial here. 

    The kits will be mailed out at the end of November.  The tutorial is emailed to you immediately and includes both 2021 and 2022 calendars!!

    **They're $15 each but add on shipping for the kit.  Be sure to order your kit by November 19th to get one. 


    You can add on any of my other pre-cut card kits and I can combine shipping.  Email me at lagreff60@gmail.com  

    ~~~

    November Specials!

    Current Host code is JRZFR4QU


    All online orders receive my FREE Curvy Celebrations 22 project PDF Tutorial! 

    Leave a Reply

    Your email address will not be published. Required fields are marked *

  • All Around Wreath for Christmas


    Have you noticed the All Around Wreath bundle in the annual catalog? Click here; it's quite the gem!  So many occasions are covered in the greetings and die-cuts.  

    Marilyn made this pretty Christmas themed wreath for our Team Christmas card swap. 

    She chose to use two shades of green here; Mossy Meadow with Pear Pizzazz along with a few touches of Gold.  The pears are heat embossed in Gold powder as well as the shimmery thread.  

    Other details:

    • The greeting is die-cut with the Hippo & Friends dies seen here
    • The Vanilla layer is textured with the Pinewood Planks embossing folder
    • She used the same wreath die-cut but in two colors, separating them slightly on the card. 

    ~~~

    November Specials!

    Current Host code is GRC9VVUU


    All online orders receive my FREE Curvy Celebrations 22 project PDF Tutorial! 


    Leave a Reply

    Your email address will not be published. Required fields are marked *


Notice: LeeAnn Greff, Independent Stampin’ Up! Demonstrator, Manager. The content of this website is my sole responsibility as an independent Stampin’ Up! demonstrator and the use of, and content of, the classes, services, or products offered on this website is not endorsed by Stampin’ Up! Copyright 2025