/


Latest Post

Lots to see in this month’s Control Freak’s Blog hop!


The theme for February's Blog Hop is projects for our friends! 

There's a lot of talent in the Control Freaks group; be sure to click on each icon at the end of each post to see it all.   
If you just stopped in from Bree's blog I'm sure you enjoyed her projects. She is uber creative!

My first card features the Floating Technique. It gives the illusion that your paper is floating on the card.  
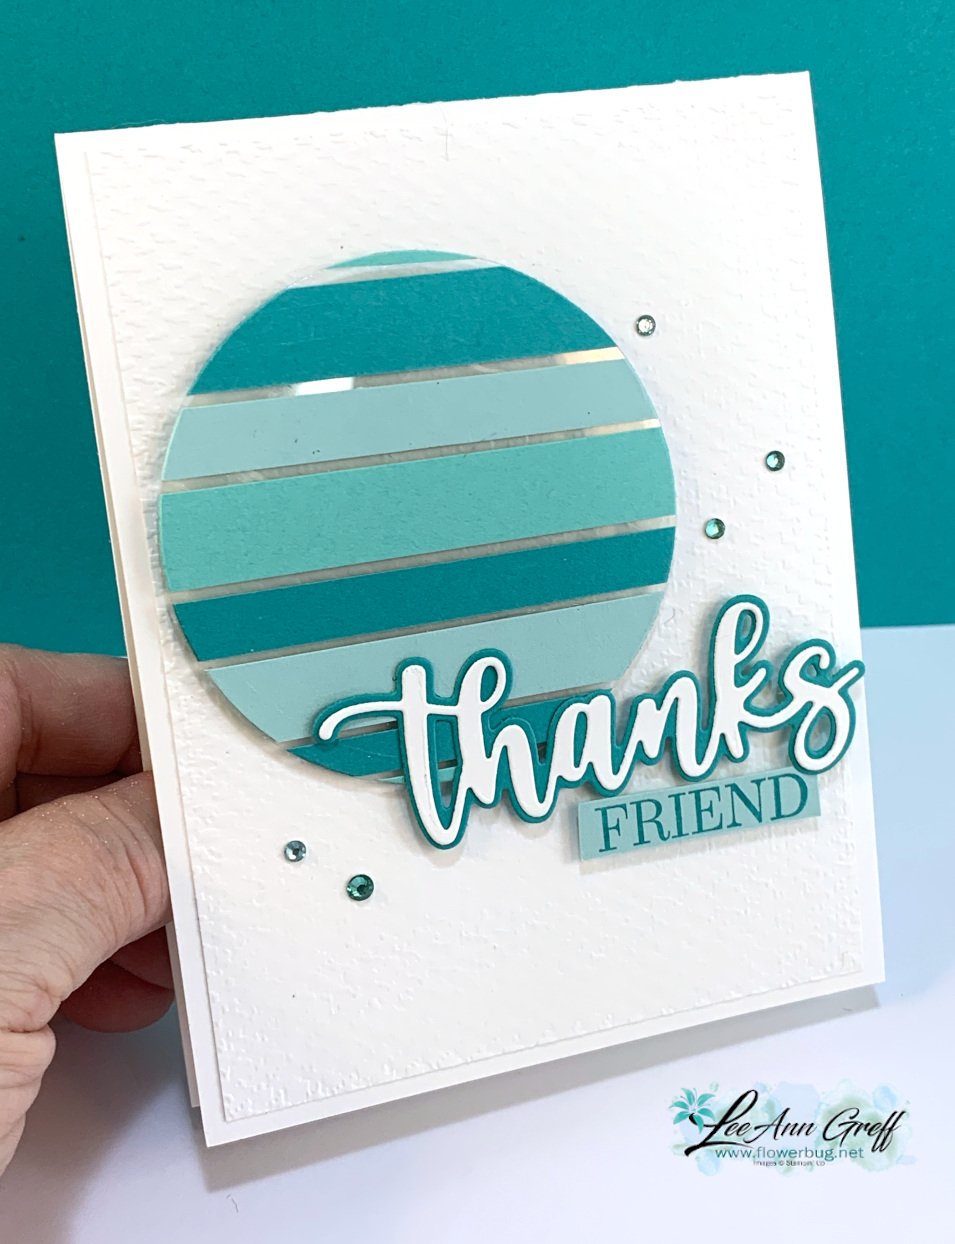
I adhered random sizes of card stock strips onto a piece of Window Sheet and used our largest circle in the Layering Circles dies  to die-cut it out.  I've been making monochromatic cards lately and chose my favorite blue/green hues of Bermuda Bay, Pool Party & Coastal Cabana.  

Details:

  • This circle is added with Stampin' Dimensionals onto White CS that's been embossed with the Tasteful Textile embossing folder. 
  • The 'Thanks' is made with our Amazing Thanks dies from the January-June catalog. 
  • The 'Friend' greeting was fussy cut from the Special Moments stamp set.
  • Those pretty rhinestones are from a new release coming out in March called the Wave Collection.  Rhinestones in blues & greens!! 

~~~

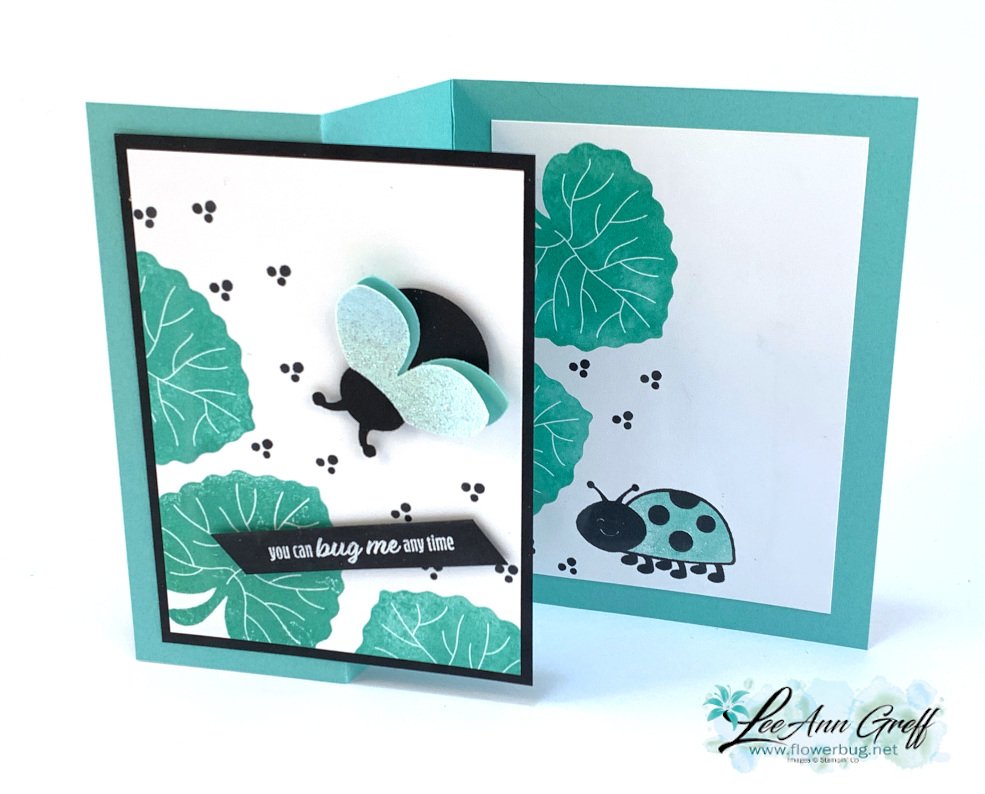
I recently made a card with the Hello Ladybug using Magenta Madness with Black and wanted to try it out with Coastal Cabana too. I found out that our new Supple Shimmer specialty paper works great for wings! It's pretty & iridescent.
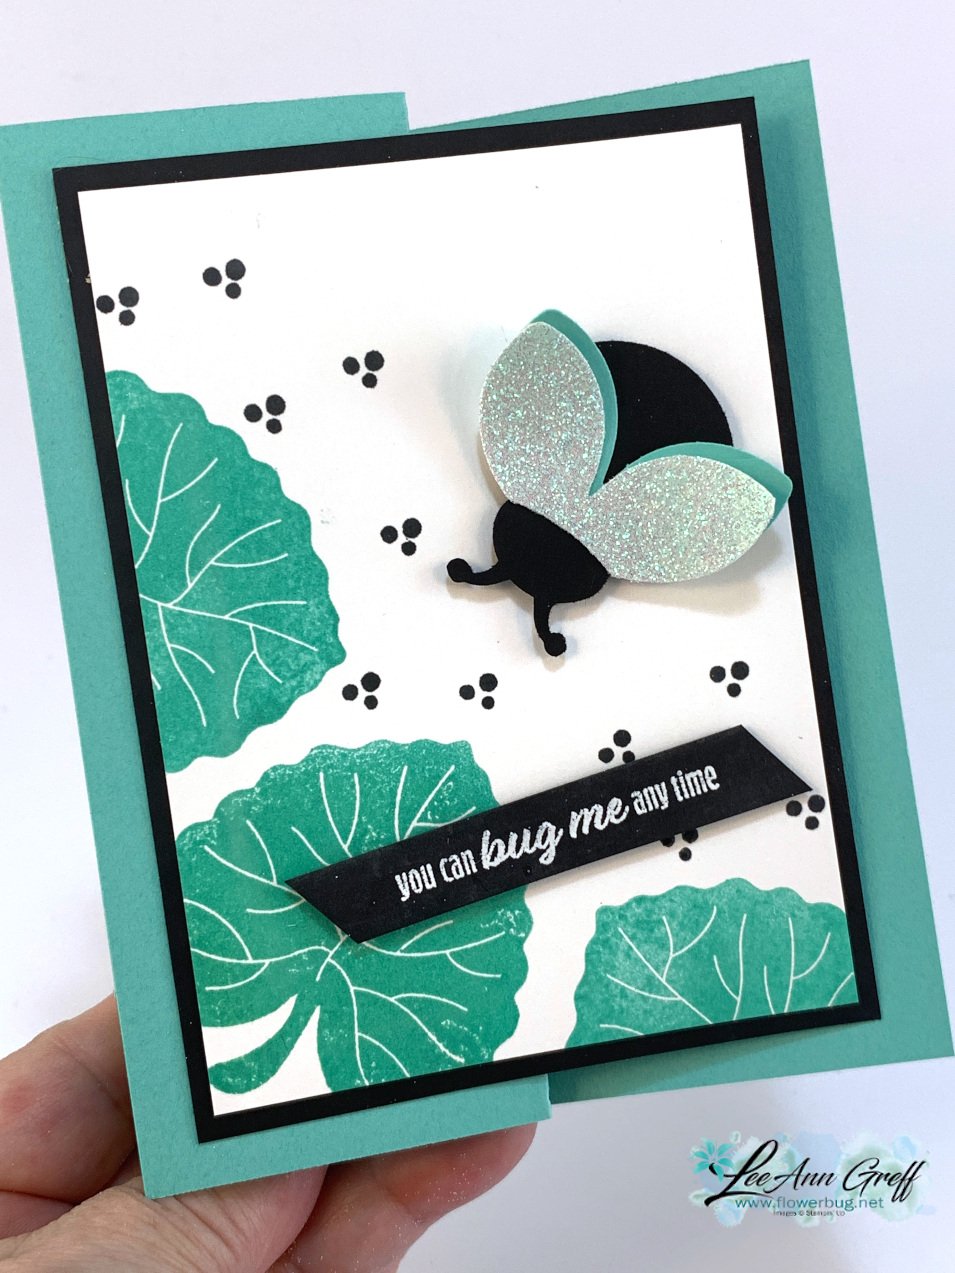

It's also what I like to call Black & White with a 'pop' of color.  A bit of black on a card makes other colors 'show up' and be noticed. 

This card is an easy fun fold.  Turn any basic card into a fun fold with these measurements: 

  • Card base 5 ½” X 8 ½”, score at 2 1/8” & 4 ¼”
  • White (X 2) 3 ½” X 4 ¾”
  • 3 ¾” X 5” Black


The stamped images are all from the Hello Ladybug stamp set.  It's in a bundle with the punch at 10% off when purchased together.  


Thanks so much for stopping in today. Click on the icon below to see what Cindy has created for you. You won't want to miss it! 

All Posts

  • Growth Takes Time with Radiating Stitches dies; & free project sheet!


    On last week's FB Live I shared three cards featuring the new Online Exclusive products. A few are already out of stock but they are ordering more. You can see them all here.  

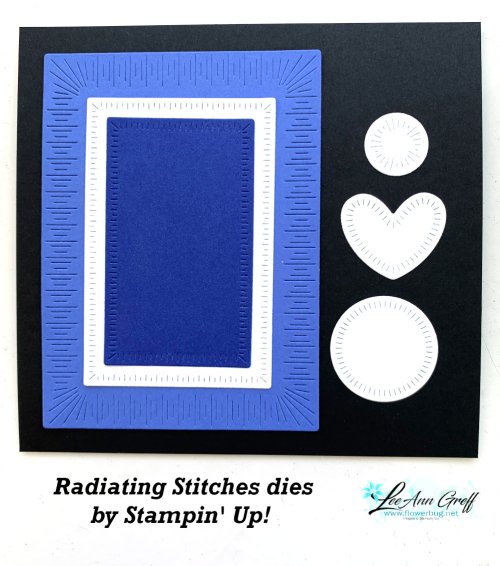
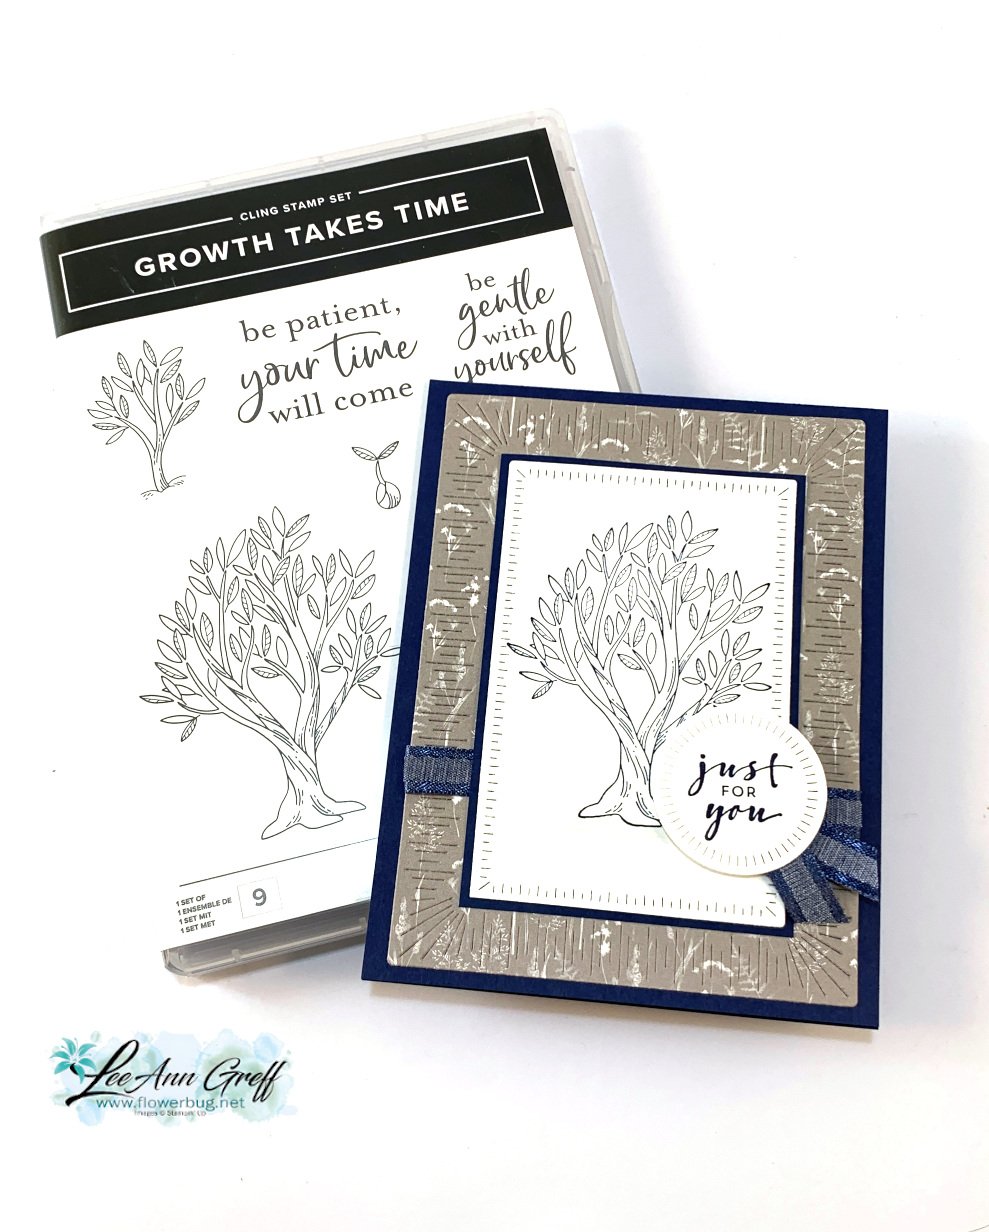
    Today's project features two of them.  Radiating Stitches dies and Growth Takes Time stamp set.  

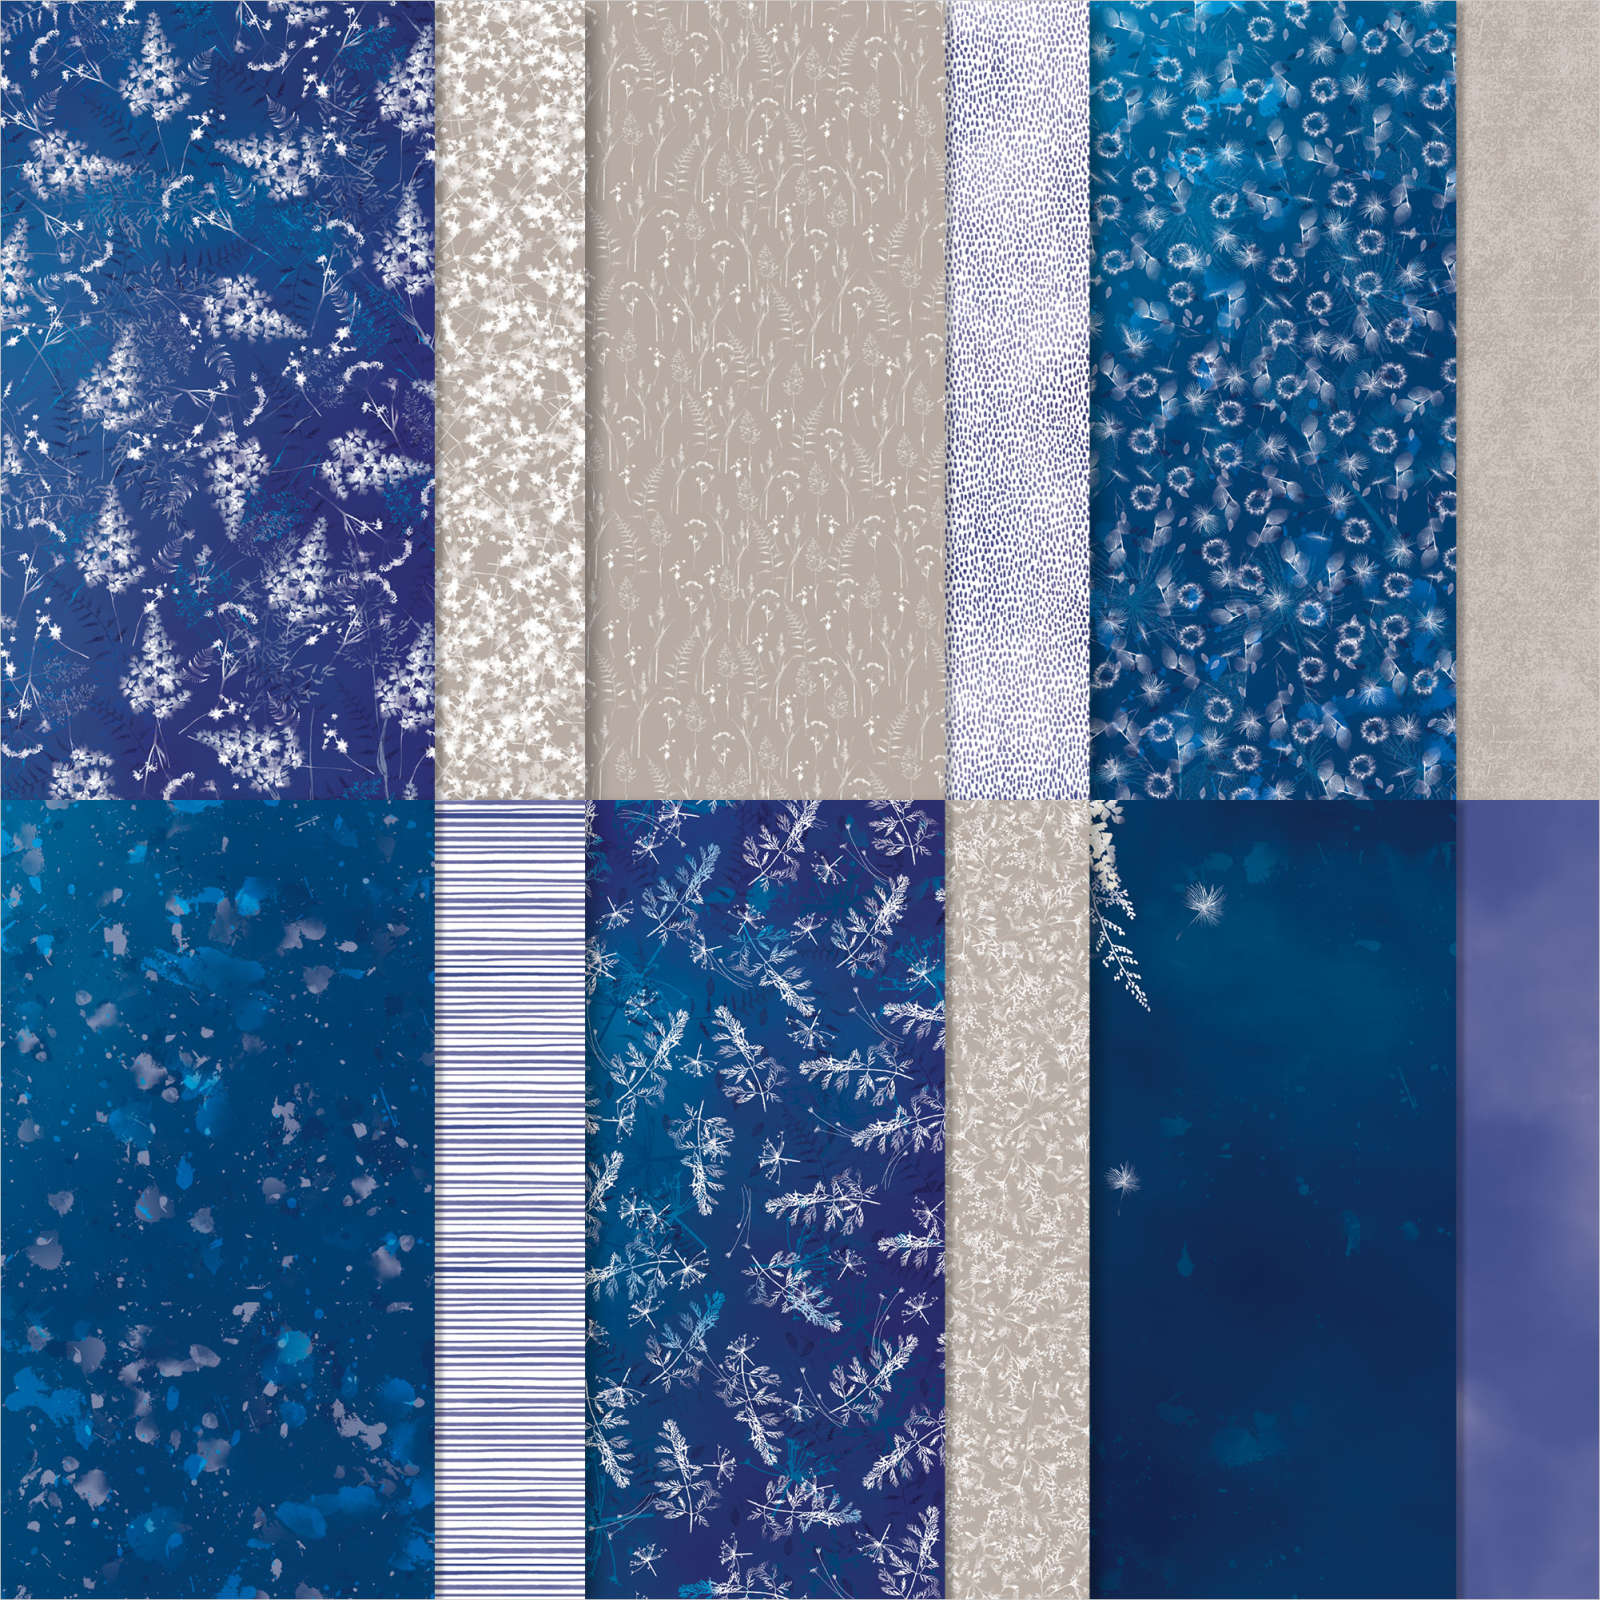
    I chose to use the Sun Prints designer paper along with a Navy, Gray Granite & White color theme.

    Heads up! The Sun Prints Designer Paper is on low inventory; I wonder if they'll run out of stock soon.  

    I stamped the tree and greeting (Charming Sentiments) using Night of Navy ink.  I did not color in the tree; sometimes it's okay to keep it simple. The ribbon here is the Navy bordered ribbon in the Spring catalog; seen here.  It's soft and easy to work with. 

    I used three of the Radiating Stitches dies on this card. See them here. 

    I love trees so it was an easy decision to purchase the Growth Takes Time stamp set.  See it here. 

    Here's a free project sheet for you with measurements and products used. Download Growth Takes Time with Sun Prints

    In the video below I demonstrate this pretty card; Click here or on the photo below to watch the video.

    ~~~

    March Specials:

    See the new Online Exclusives here! 

    *current host code: BFE4C2KM or EWJYEGFV

    Get a free class kit with online orders over $55 when using the host code above!

    Earn free products with my loyalty rewards! 

    Click here to download yours and earn a $50 shopping spree!

    Leave a Reply

    Your email address will not be published. Required fields are marked *

  • Two-Tone Flora with Elegant Borders dies & a FREE project sheet!


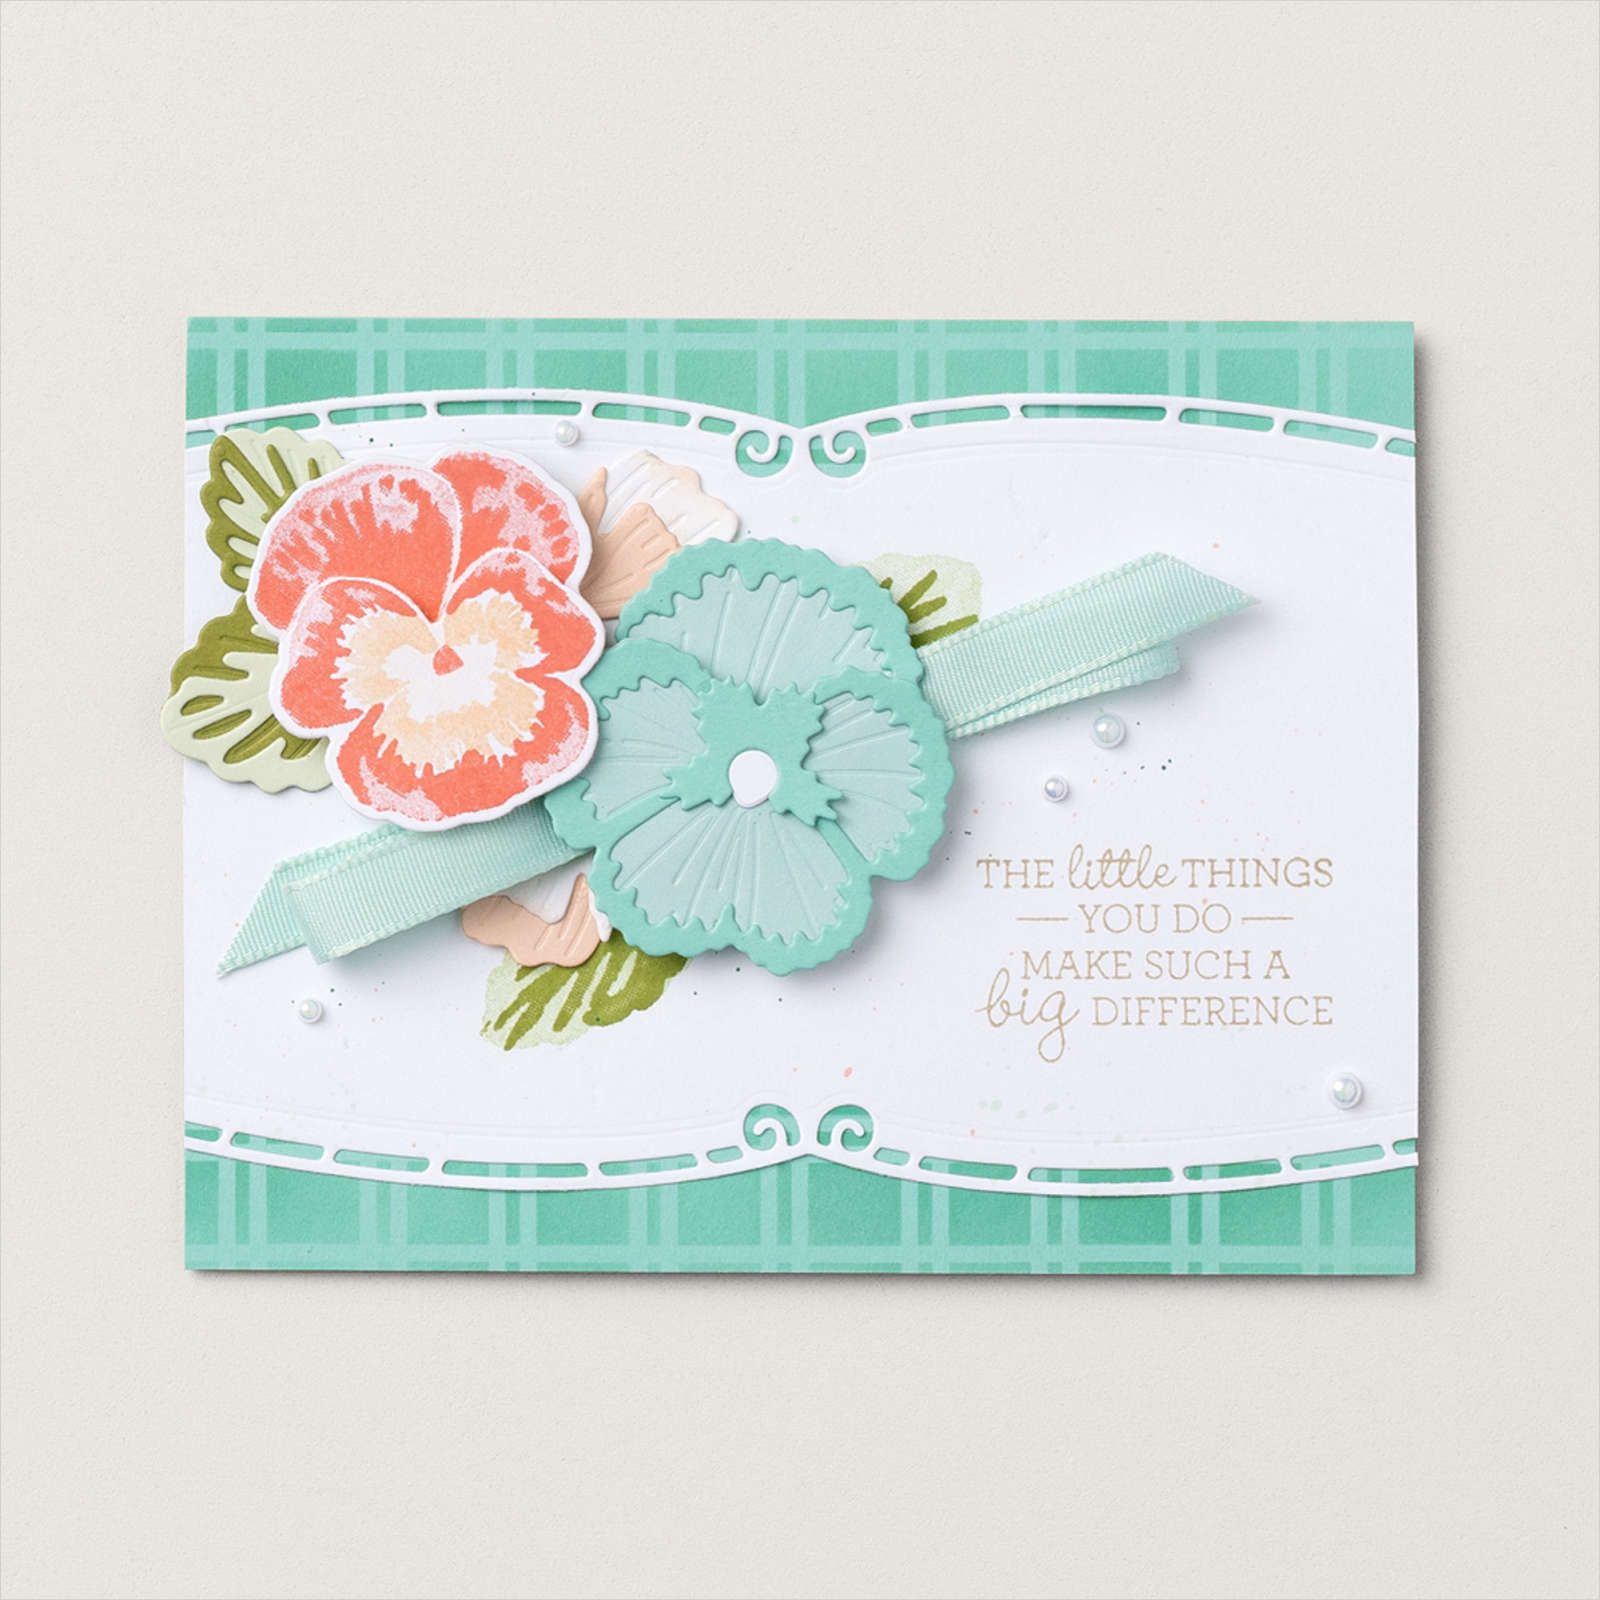
    In preparing my make & takes for my March Team meeting I knew I wanted to focus on the new Online Exclusives. I looked at the samples online for the Elegant Borders dies seen here and found this card made by Stampin' Up!'s artists:


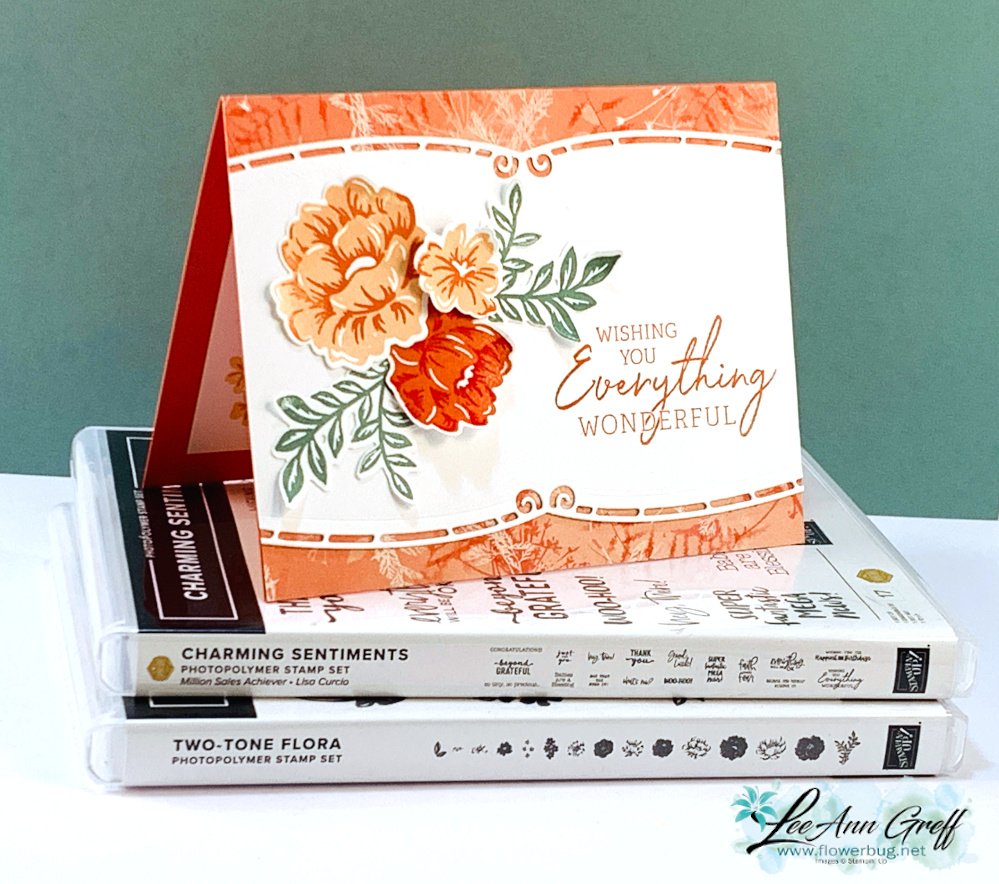
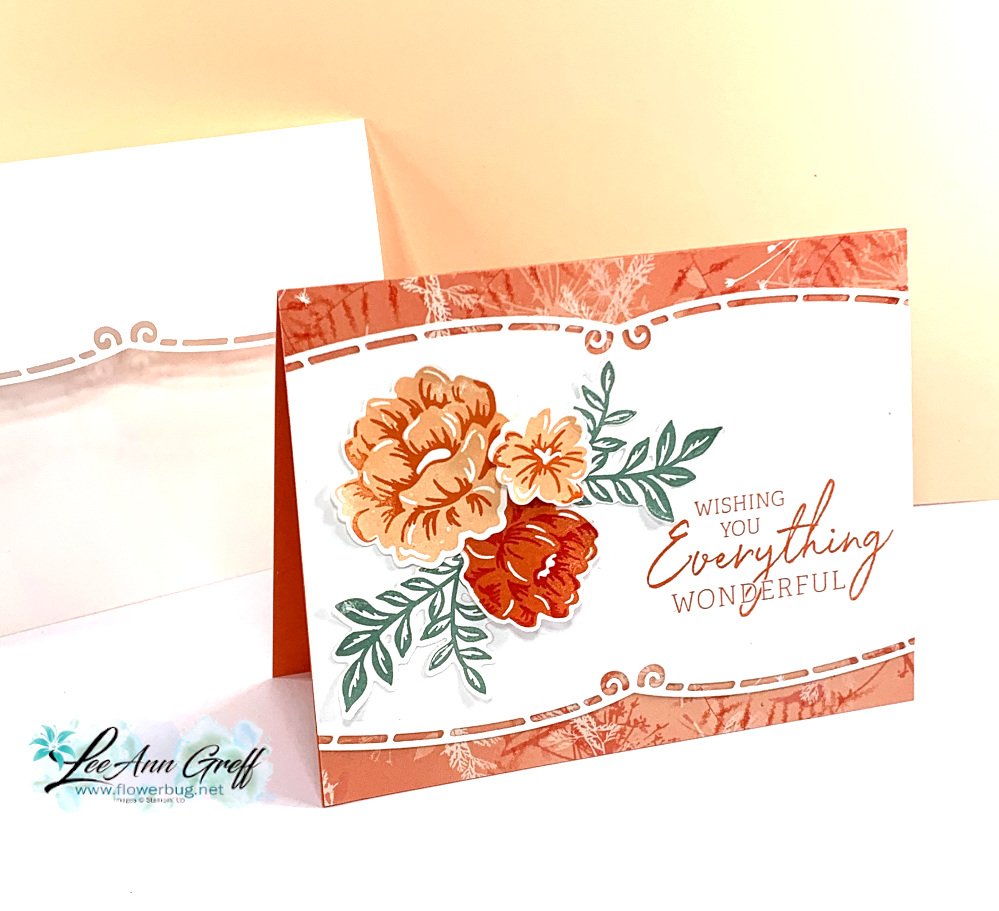
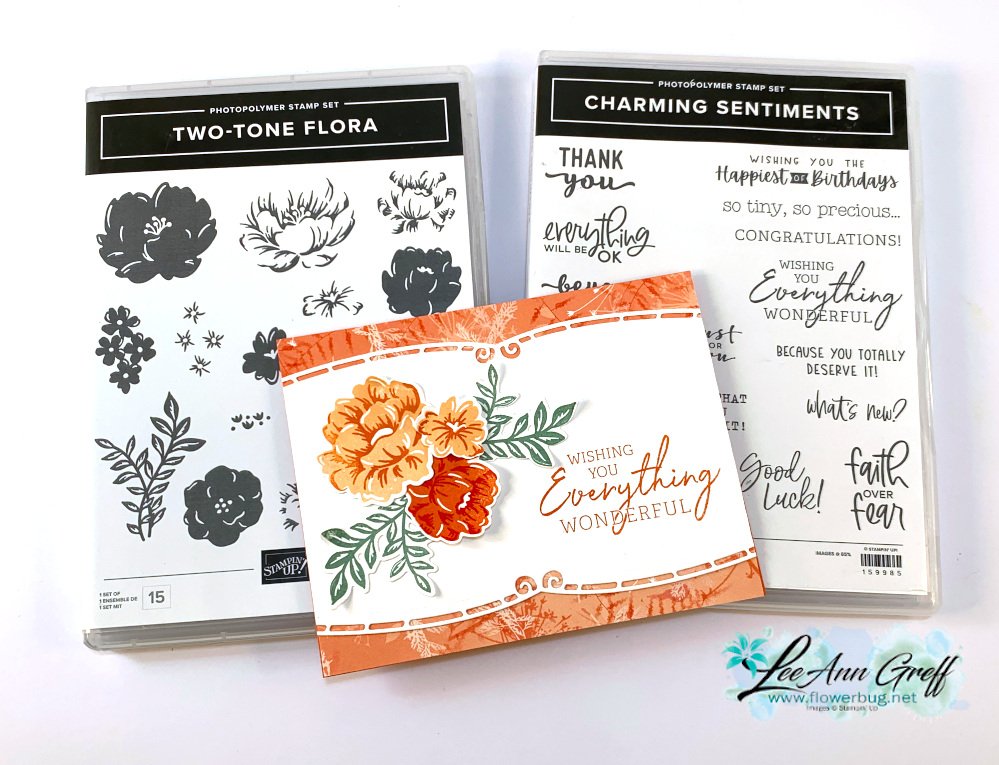
    I decided to use the Two-Tone Floral bundle instead of the Pansies and came up with this card: 

    Using samples from our printed catalog or online store can make stamping easier. Use a layout, technique or color combo as your inspiration.  My colors include Calypso Coral, Petal Pink, Soft Succulents and Poppy Parade. 

    Isn't that elegant border die gorgeous?!   I also used to for the envelope flap edge. See the Elegant Border dies here. 

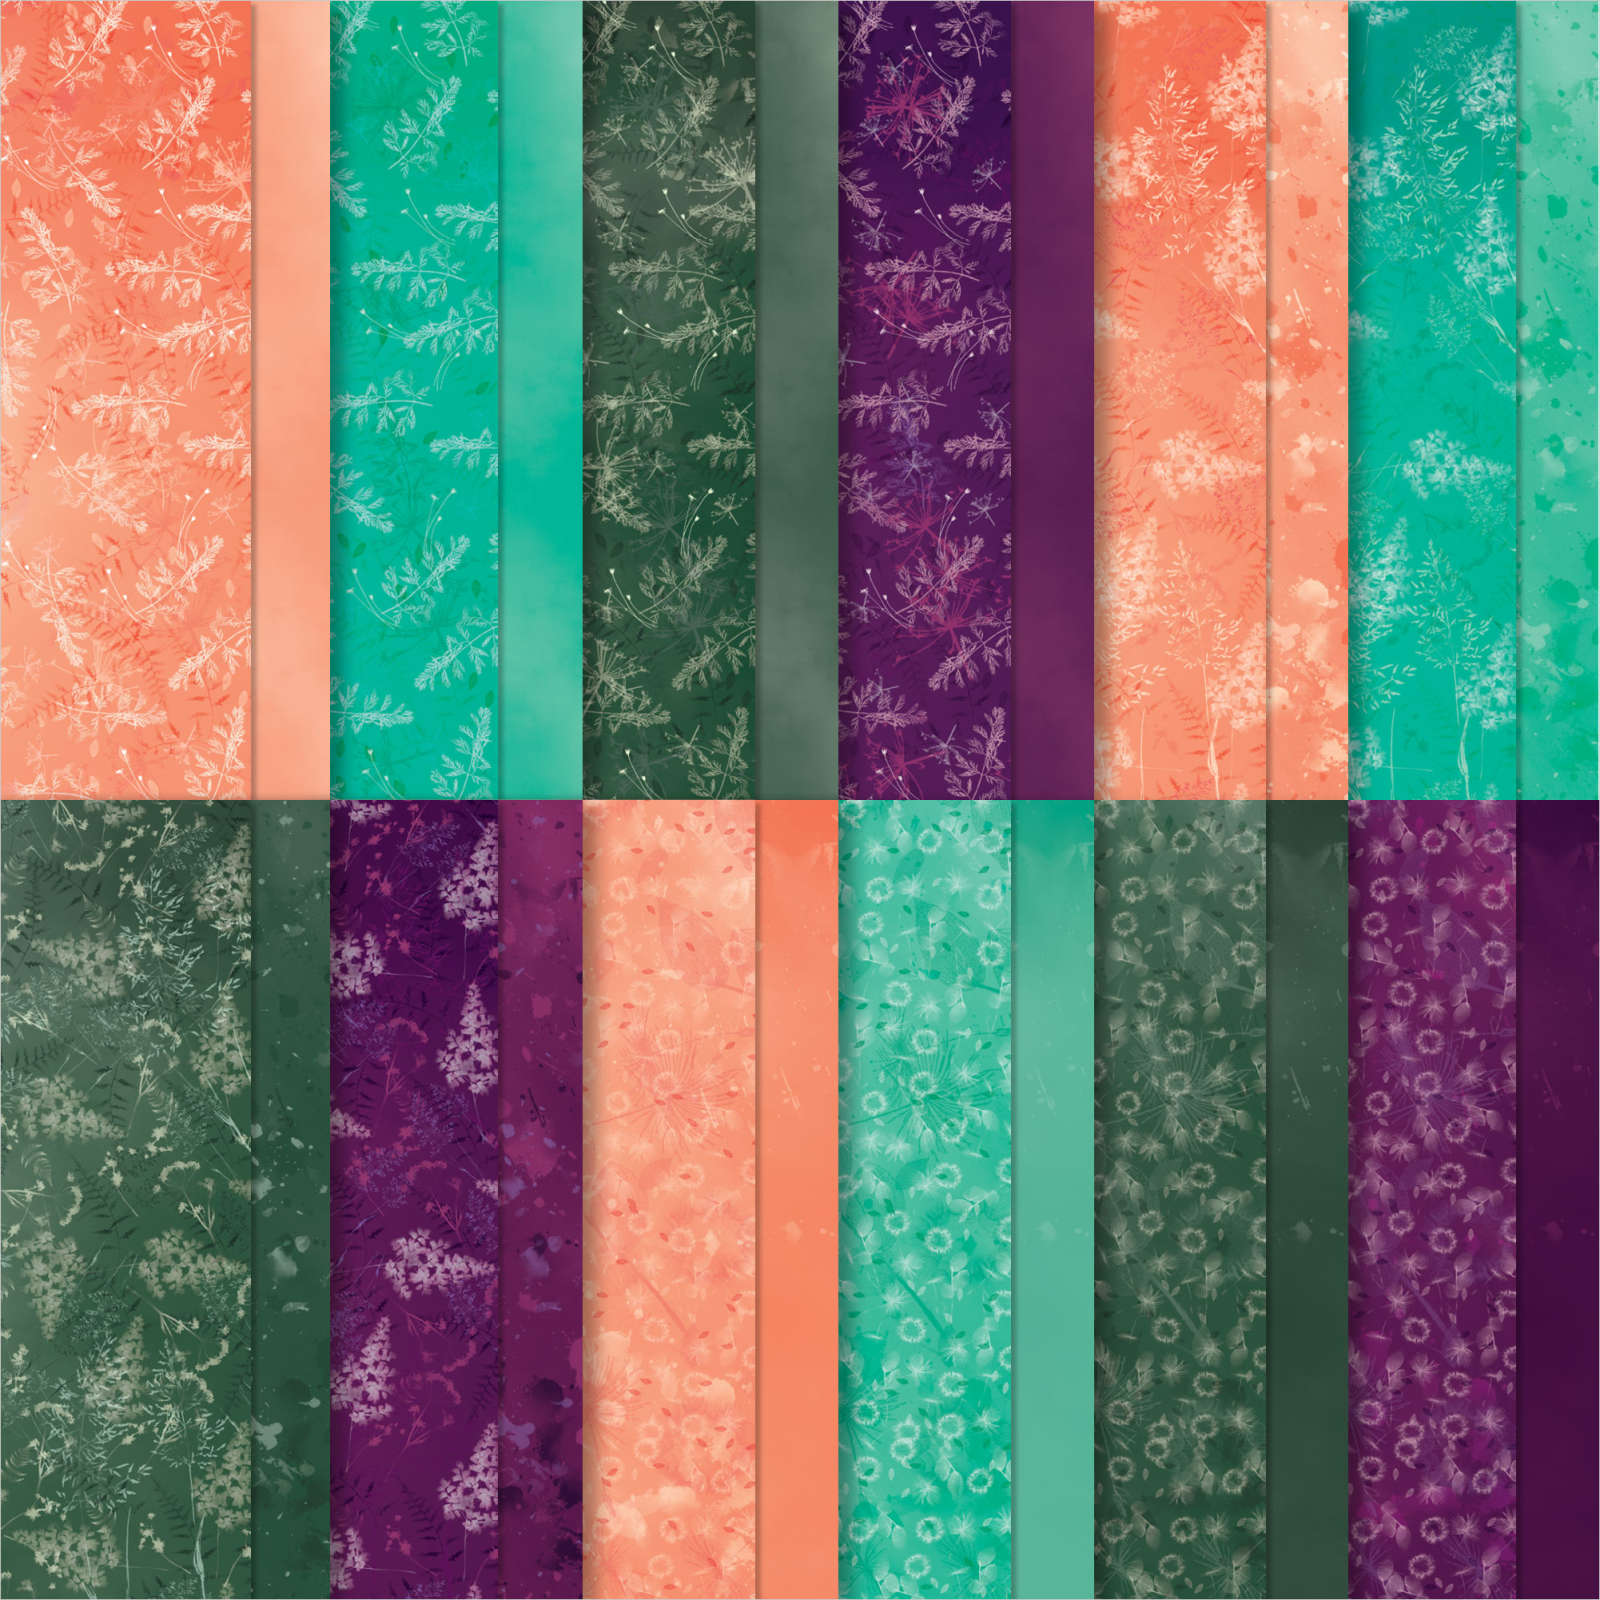
    The upper and lower pieces of DSP are from the Pretty Prints; soon to retire from the Annual catalog.  See it here. 

    It includes some of my favorite colors – Bermuda Bay, Blackberry Bliss, Calypso Coral and Evening Evergreen.  

    I used the Stamparatus to stamp the die-cut flowers and leaves from the Two-Tone Flora bundle. Be sure to watch the video to see how. 

    Download the project sheet.

    Measurements: 

    • Calypso Coral card base 5 1/2" X 8 1/2"
    • White 5 1/2" X 4", inside 4 3/4" X 3 1/2", scrap for die-cuts
    • Pretty Prints DSP 5 1/2" X 1" – 2 pieces

    In the video below I demonstrate this pretty card. Click here or on the photo below to watch the video.

    ~~~

    March Specials:

    See the new Online Exclusives here! 

    *current host code: BFE4C2KM

    Get a free class kit with online orders over $55 when using the host code above!

    Earn free products with my loyalty rewards! 

    Click here to download yours and earn a $50 shopping spree!

    Leave a Reply

    Your email address will not be published. Required fields are marked *

  • Baby Wipe technique and the easiest Shaker Card ever! Tips for success & Video Tutorial


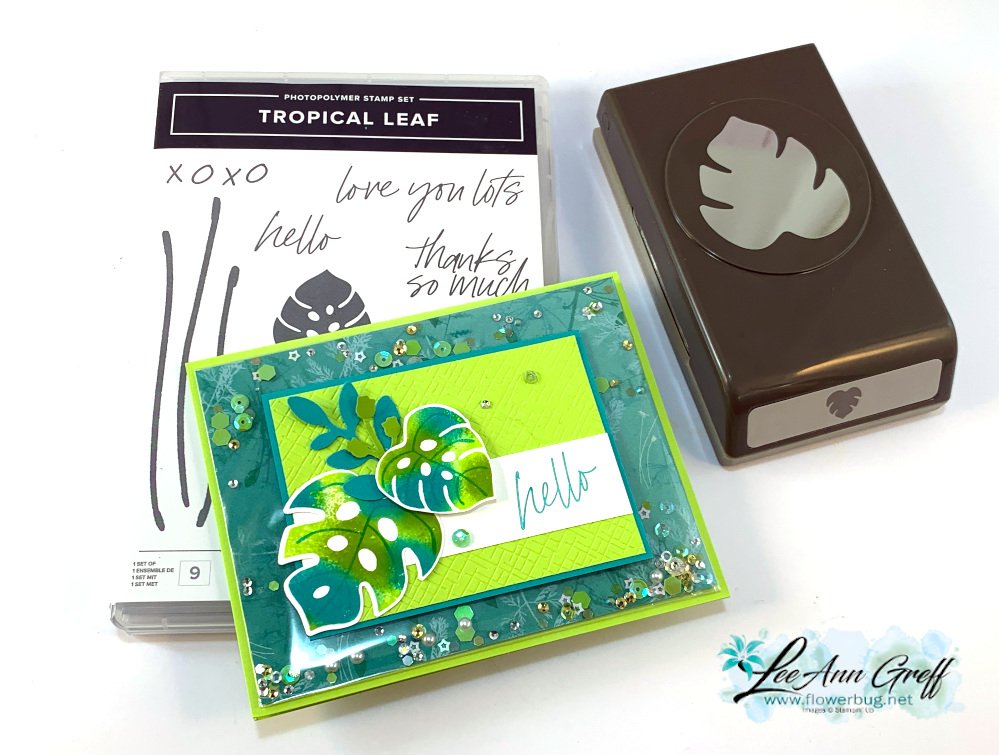
    This card was cased from my good friend Susie Wood; creating comes naturally to her.  She's fast and super talented.  See her cute card here.  

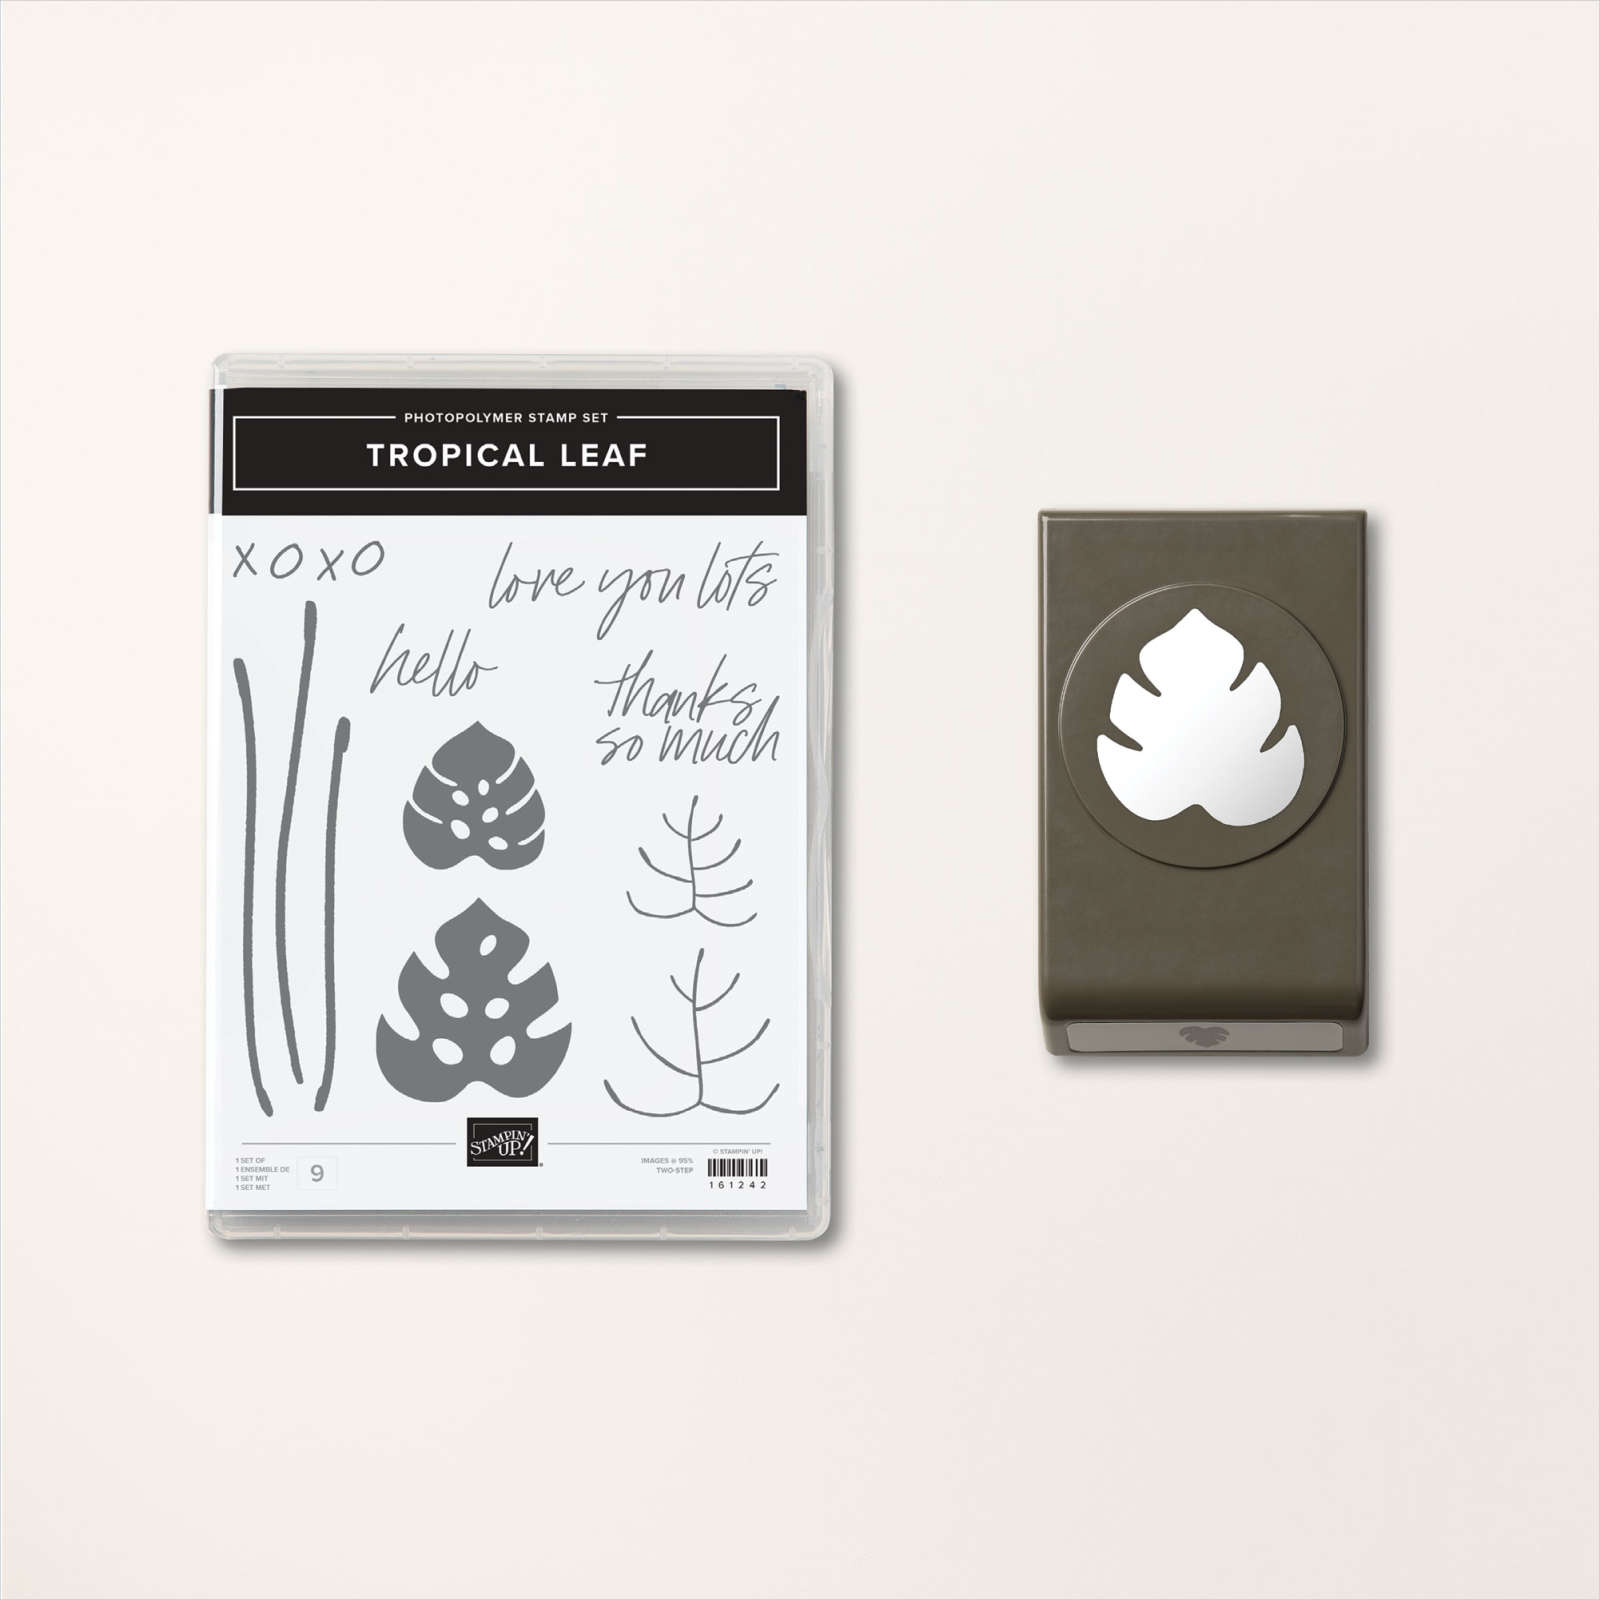
    I used the Tropical Leaf bundle in the Online Exclusives section of our online store.  I also wanted to feature the baby wipe technique. 

    The colors include Parakeet Party, Bermuda Bay and a tiny bit of Granny Apple Green.  The designer paper inside the clear envelope is Pretty Prints.  Here's how I created the clear envelope shaker:

    My Pretty Prints designer paper layer is 5 1/4" X 4" and our clear envelopes are about 1/2" larger.  For the shaker elements to stay on the front side of the envelope it has to be tight and smaller.  So I added tear & tape to the back edge and folded the extra over tightly. Now, insert your shaker elements on the front pocket and fold down the end flap. Wallah!  You have a shaker card front!  

    This DSP is from the Pretty Prints; soon to retire from the Annual catalog.  See it here. 

    It includes some of my favorite colors – Bermuda Bay, Blackberry Bliss, Calypso Coral and Evening Evergreen.  

    The CS layers on the front are added on top of this shaker element so you still get the feel of a real card; not all slippery.  Watch the video here or below to see how it's done.  It's the 2nd project of 3. 

    You can see this unique Tropical Leaf bundle here: The font of the greetings in this Tropical Leaf stamp set are so unique; love it! 

    Now to create the baby wipe leaves I made my own ink pad with a folded baby wipe.  

    Tips for success of the baby wipe technique:

    1. Fold a baby wipe into a thick layer; at least 4 layers thick. Make your 'pad' as large as your largest stamp image.  Place it on a plate.
    2. Drop multiple drops of each color of ink refill onto the baby wipe, leaving room between colors for another color.
    3. I recommend at least 2 colors and up to 4 at the most. 
    4. Choosing colors?  Find complimentary colors in similar shades – blues/greens, yellows/oranges, oranges/pinks etc.  
    5. Choosing stamps? Solid images work best; outline images will not show off your colors well. 
    6. Ink your stamp in the new colored pad by tapping up and down in the same approximate place. Traveling while inking may muddy your colors. 
    7. Huff on the image and stamp.
    8. Depending on how much ink you added you can use your new 'ink pad' multiple times. Add more ink drops as needed.  

    Here's how the inside was stamped:

    Products used:

    • Tropical Leaf bundle
    • Pretty Prints DSP
    • Parakeet Party, Bermuda Bay and Granny Apple card stock and ink refills
    • For Everything and Sparkle & Shine sequins (Annual Catalog)
    • Clear envelopes (Annual Catalog)
    • baby wipe 
    • Bough Punch a big favorite!
    • Basics 3D embossing folder 

    In the video below I demonstrate this fun baby wipe technique; Click here or on the photo below to watch the video.

    ~~~

    March Specials:

    See the new Online Exclusives here! 

    *current host code: BFE4C2KM

    Get a free class kit with online orders over $55 when using the host code above!

    Earn free products with my loyalty rewards! 

    Click here to download yours and earn a $50 shopping spree!

    Leave a Reply

    Your email address will not be published. Required fields are marked *


Notice: LeeAnn Greff, Independent Stampin’ Up! Demonstrator, Manager. The content of this website is my sole responsibility as an independent Stampin’ Up! demonstrator and the use of, and content of, the classes, services, or products offered on this website is not endorsed by Stampin’ Up! Copyright 2025