/


Latest Post

Choose to get Stampin’ Up! products at a discount… and help me achieve my goal


Many people love being a Stampin’ Up! customer. And that’s absolutely fine! But did you know you can be a Demonstrator without doing anything more than you do as a customer? Yes, it’s true!

  • Place orders whenever you wish
  • There’s no need to hold classes or events. There’s no need to run a business unless you want to.
  • When you’re done ordering you simply stop; it’s that simple!
  • Enjoy the discount on all future purchases!

I have a personal goal and need 4 more people to join in October. Can you help me out and start saving on each order you place?

Here’s a graphic with the details:
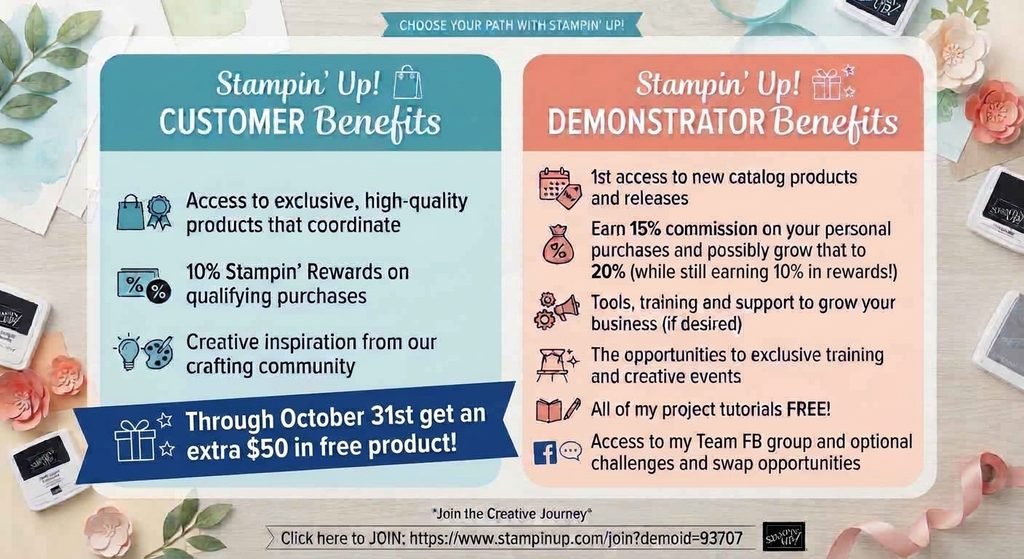
Right now, through October 31st you can grab the starter kit deal and get up to $75 in FREE product of your choice!

The kit costs $100 and you’ll receive a coupon for your starter kit purchase of $125 or less. Then you’ll receive an additional $50 in free product rewards! Click here to get started

Details:

  • You get 15% discount on all products and can increase that to 20%.
  • There’s a minimum purchase of $300 a quarter to stay active. 
  • But your first quarter is waived so you have until March 31st to get that $300 in and each order counts towards that first $300.
  • And, when you order Stampin’ Up! counts your purchase at full price but you only pay at the discounted price.  For example, order $100 and pay just $85.  Tax and shipping is added to the discounted price.
  • In addition to your 15-20% discount you still earn 10% in product rewards; just like customers!  *your customer earned rewards transfers to your demo account.
  • You can stop ordering as a demo at any time.  There’s no pressure to continue.  It’s totally up to you on how long you stay. 
  • Get ALL of my project tutorials in my Team newsletter each month!

I hope you’ll consider getting the Starter kit this month; you will not regret it!
All Posts

  • Beautiful swaps with NEW products!


    We held out Team card swap Saturday and I want to share some of these awesome swaps they made. Our theme was to use new catalog products. This swap was ‘shoebox’ style so we made each other’s cards in person. I love shoebox swaps!

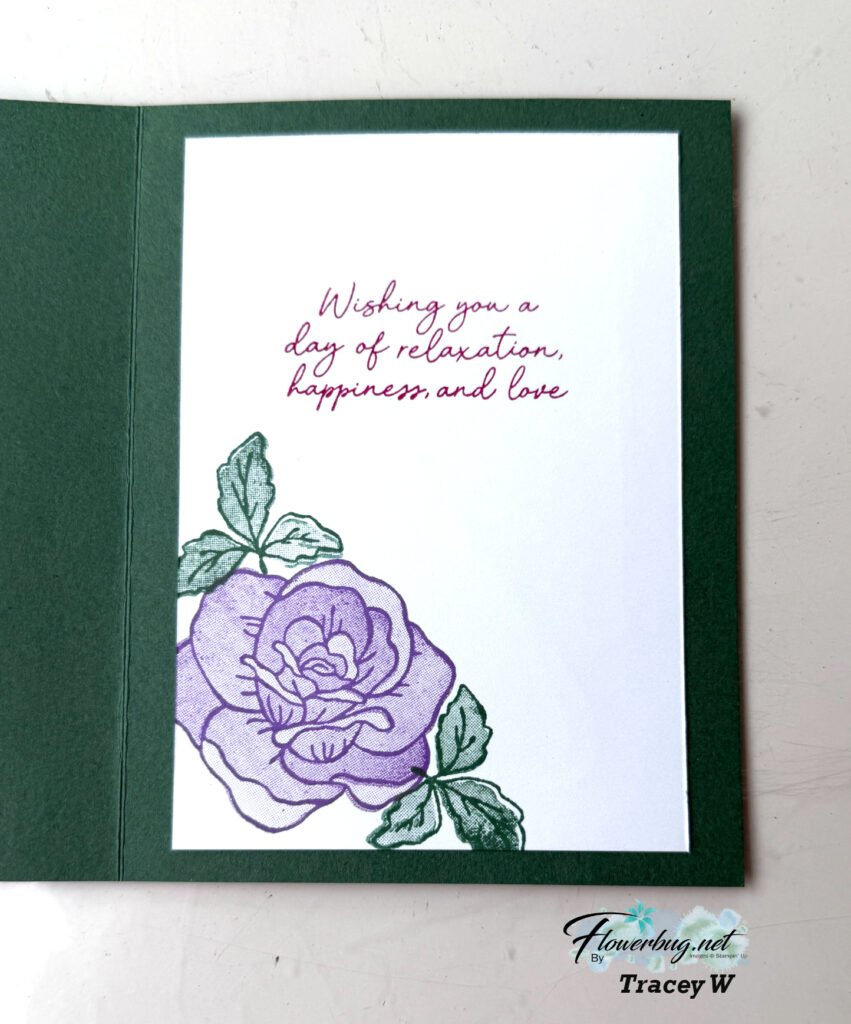
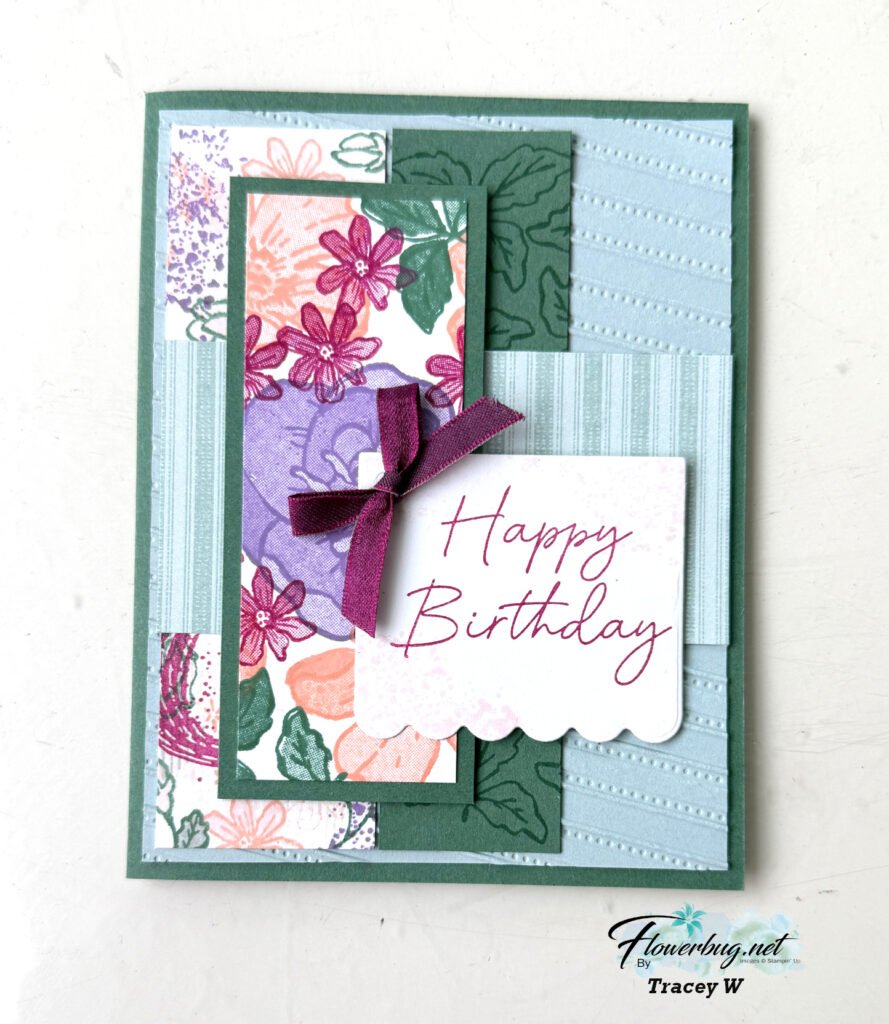
    Tracey created this special card using the new Peaceful Pine in color. She paired it with Cloud Cover and Berry Burst here.

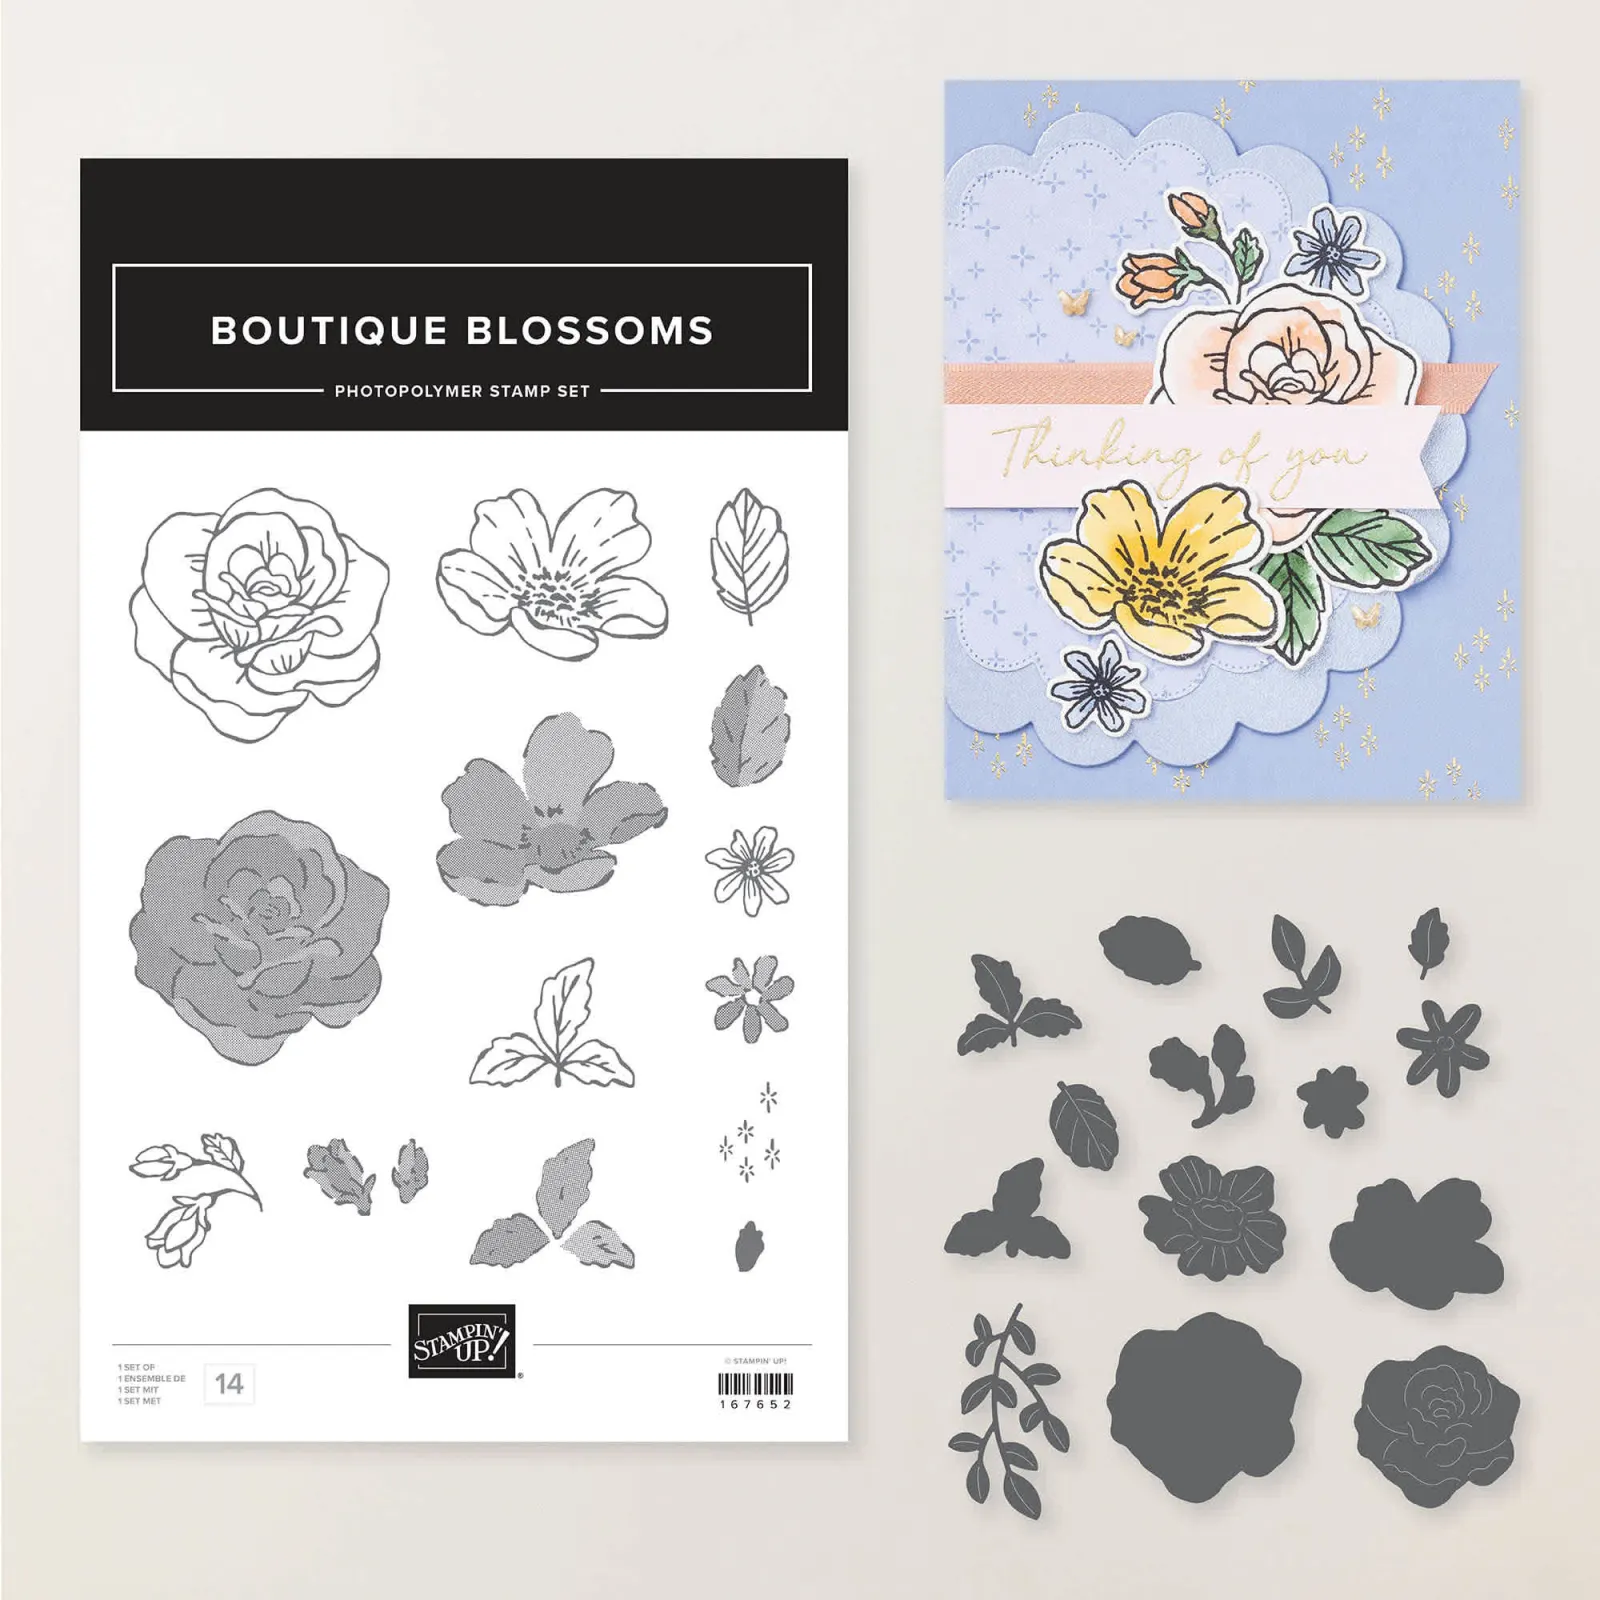
    Look at that stamped panel; it is NOT designer paper! She stamped it because she loves to create with our stamps. And she finds it fun to create unique color combos too. She used the stamps from the Boutique Blossoms bundle seen here.

    The Heirloom Boutique suite is one that Stampin’ Up! says will remain current for a year! I love knowing this; it helps when you join swaps and post projects for customers.

    Here I stamped the outline image in 1st generation ink and the inside of the flower and leaves in 2nd generation ink. *that means stamped off once.

    A fabulous card Tracey!

    ~~~~

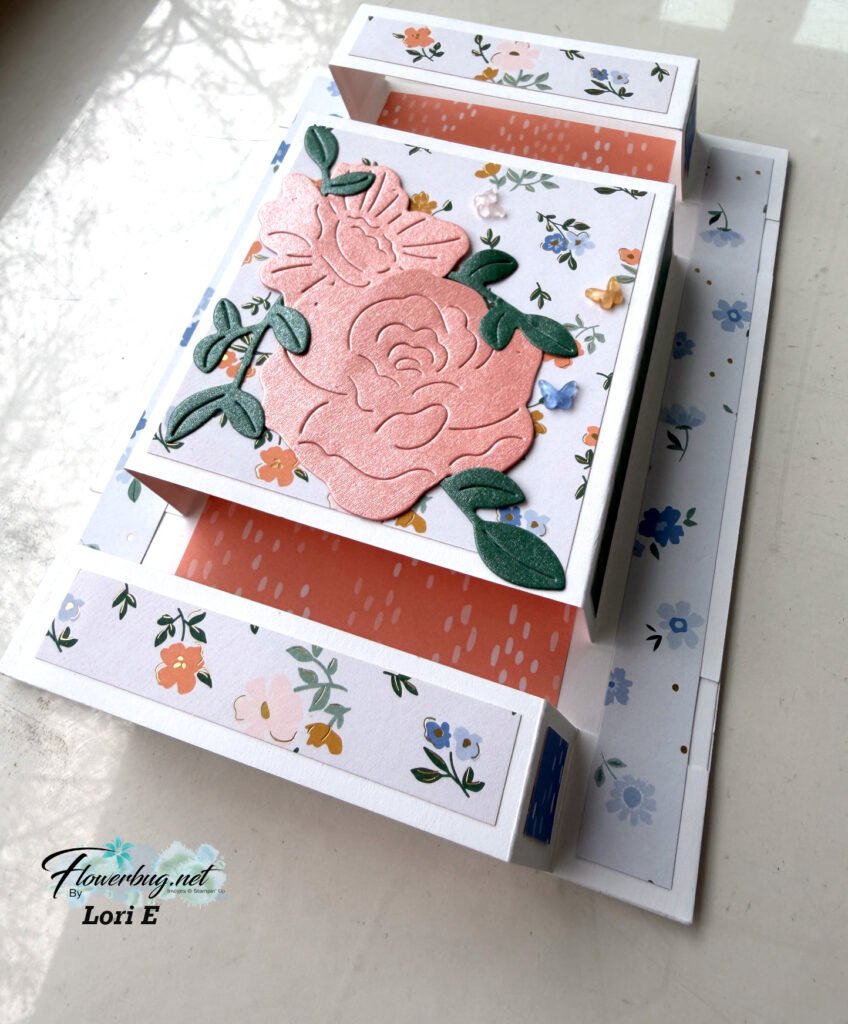
    And here is Lori’s neat pop-up fun fold card:

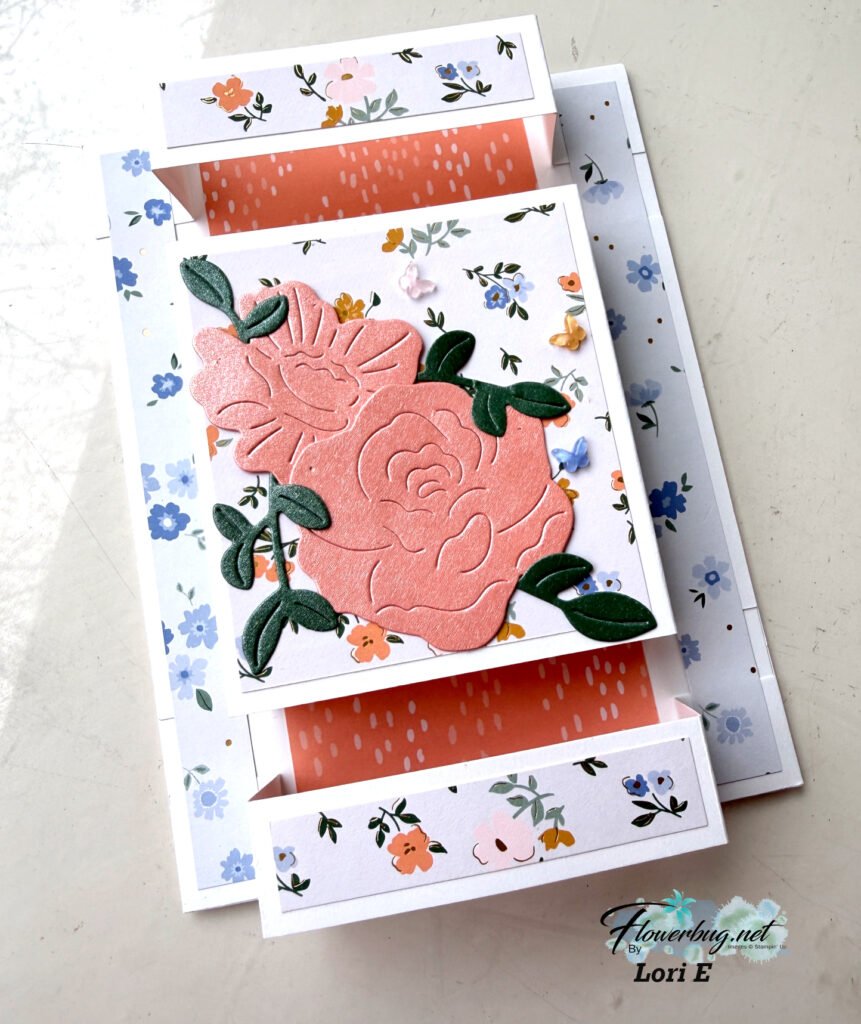
    It had three layered panels that pop up from the card front. Very cool!
    It also features the Bloom Boutique suite seen here. It was hard to get a good photo of this fun fold card that she cased from Susan Campfield. The die-cuts on the front are cut from the new 2026-28 In Color Pearlized Specialty paper seen here.

    Here are the measurements:

    Card Base 8 1/2″ X 5 1/2″ score at 4 1/4″
    Flaps – center is 3″ X 5 3/4″ score at 3/4″, 1 1/2″, 4 1/4″, 5″
    top & bottom flaps 3/4″ X 5 3/4″ score at 3/4″, 1 1/2″, 4 1/4″, 5″
    Inside panel of DSP 2 1/2″ X 5 1/4″
    DSP – middle is 2 3/4″ X 2 1/2″, top & bottom 1/2″ X 2 1/2″, left & right 1/2″ X 5 1/4″, sides 1/2″ X 2 3/4″, corners 1/2″ square

    What a special card she made!

    ~~~~

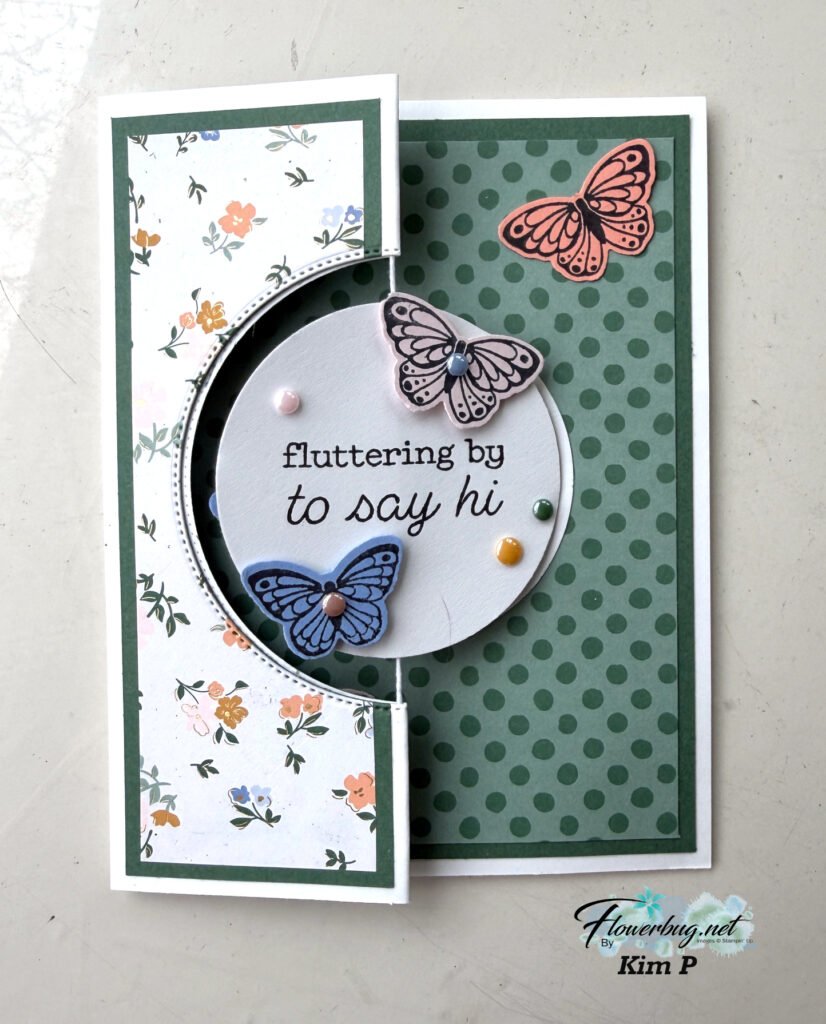
    Next is another special fancy fold card featuring the Bloom Boutique specialty designer paper; this one is created by Kim.

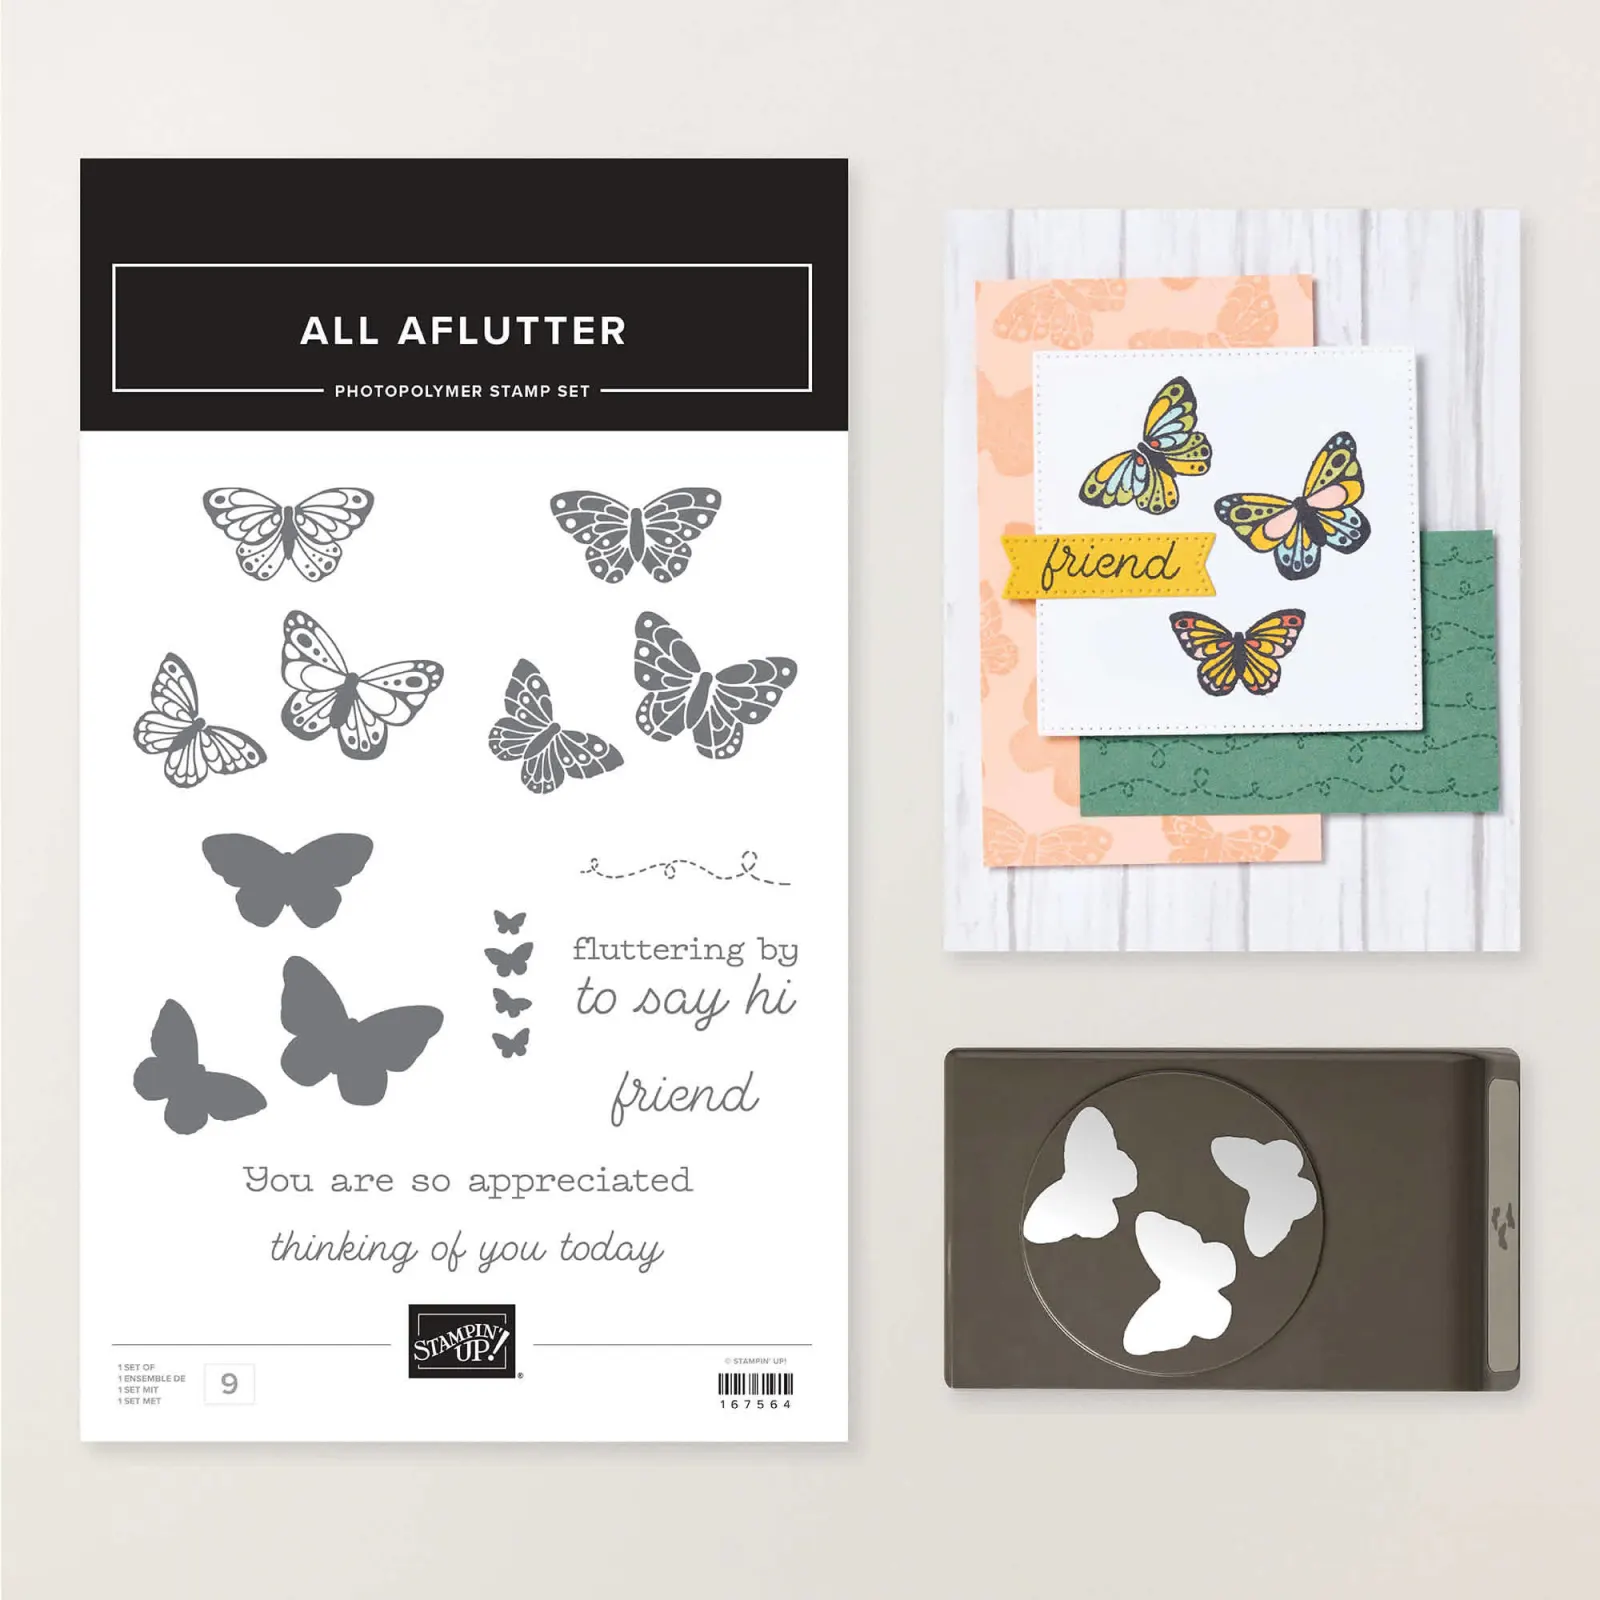
    She featured the All Aflutter punch bundle seen here. I’m so happy we have a new butterfly punch again!

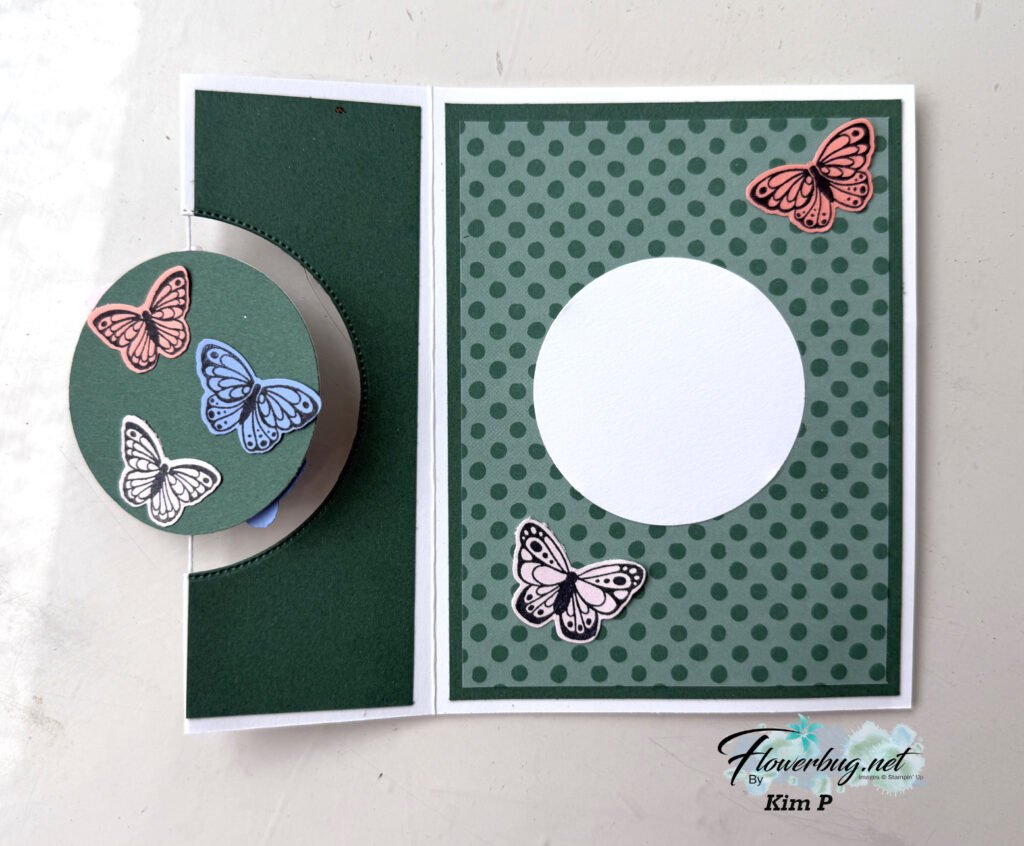
    Her card is a spinner card using Baker’s Twine. It’s fun to set up a card like this so when the recipient removed the card from the envelope the circle spins. You simply wind it up before inserting it in your envelope. So cool!

    We added stamped & punched butterflies all over this card; using the newest In Colors. The inside polka dot DSP panel is from the new Painted Patterns 12 X 12″ DSP seen here. It’s available in most of our color families!

    Before the string is added to the crease of the fold you’ll cut the larger circle from the front. She has so many layers on her card; it can be tricky to get the circle die-cut ‘cut’ through the layers. We ran it back and forth the Cut & Emboss machine but it did cut!

    It’s an amazing card Kim!

    ~~~~~

    Need a few new things from the Summer Catalog?
    Be sure to tack on one of the Product of the Month choices for just $5 (once the order is over $75).

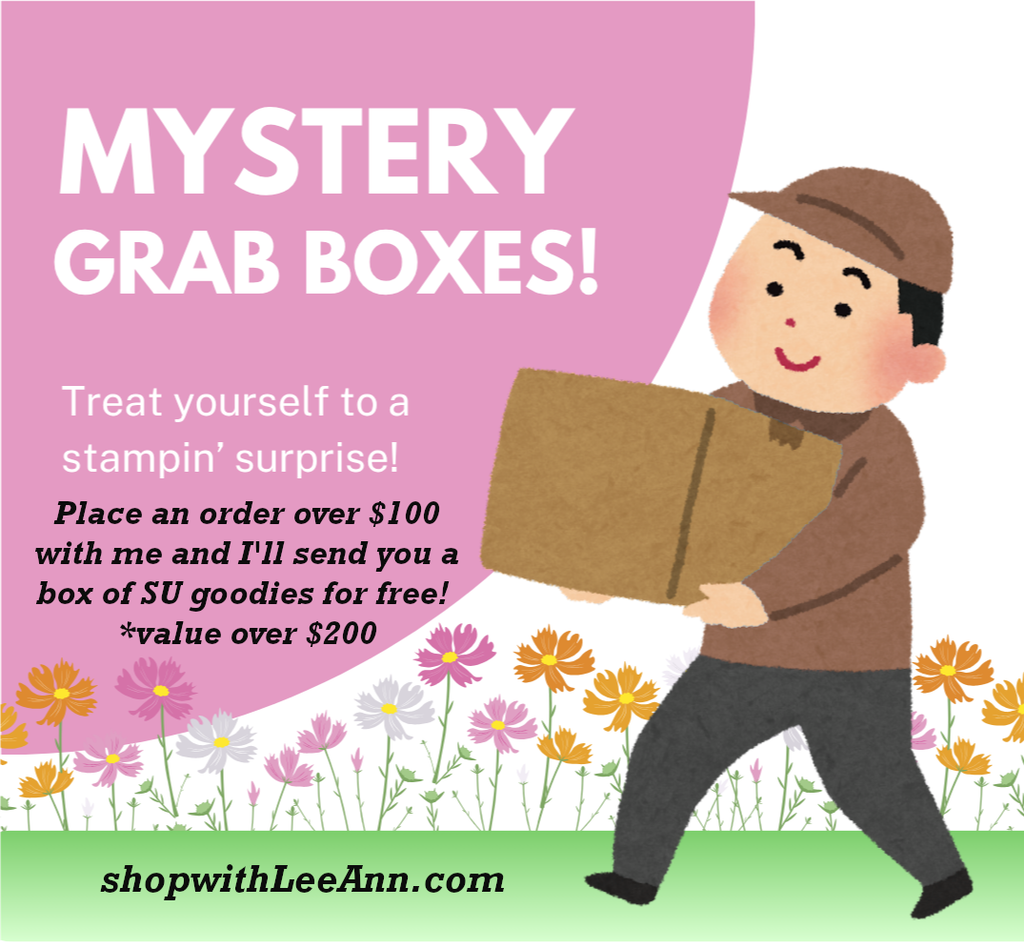
    And if you’re already at $75 bump it up to $100 and earn a FREE Mystery Box from me! I have a few left and they’re stocked up with recently retired Stampin’ Up! products valued at over $200! Shop here.

    Leave a Reply

    Your email address will not be published. Required fields are marked *

  • Another way to feature your embossing folder…..


    Yesterday I shared one way to use ink on an embossed layer. Today I’m sharing another.

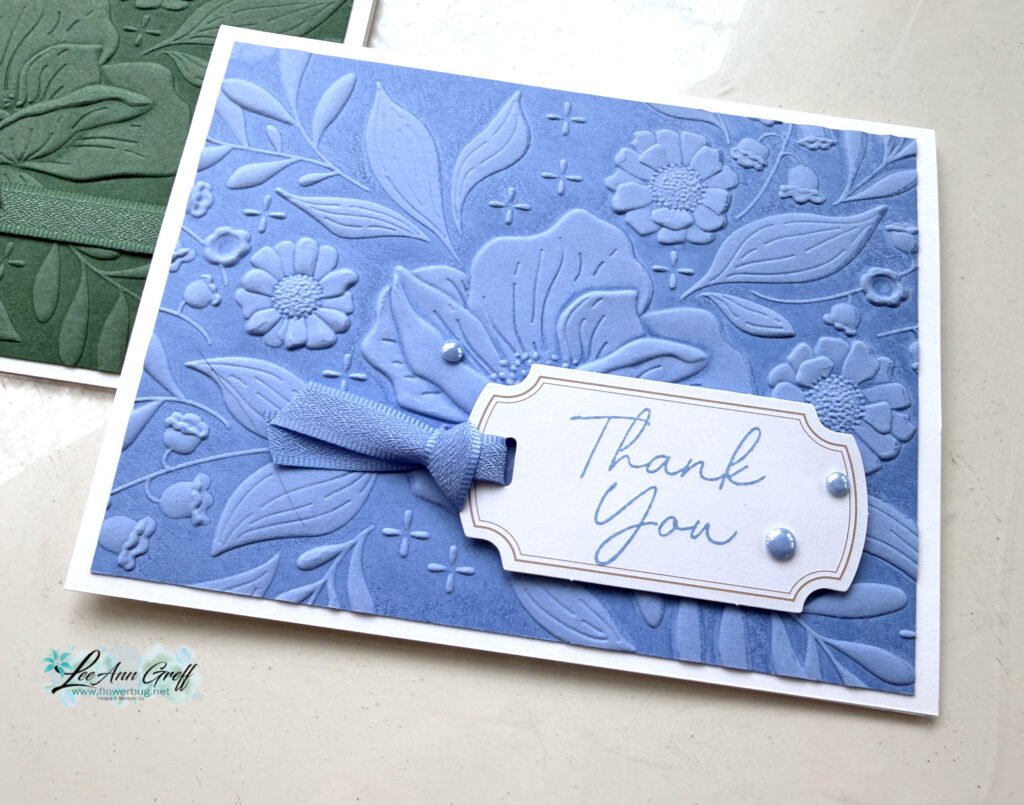
    Look closely at the card below. See how there are two different colors on this textured surface? I shared how to do this on last week’s video (see below).

    This is the Floral Spray 3D embossing folder seen here. It just ran out of stock and may be a month or more before it returns. Please add your email so you’re notified when it’s back.

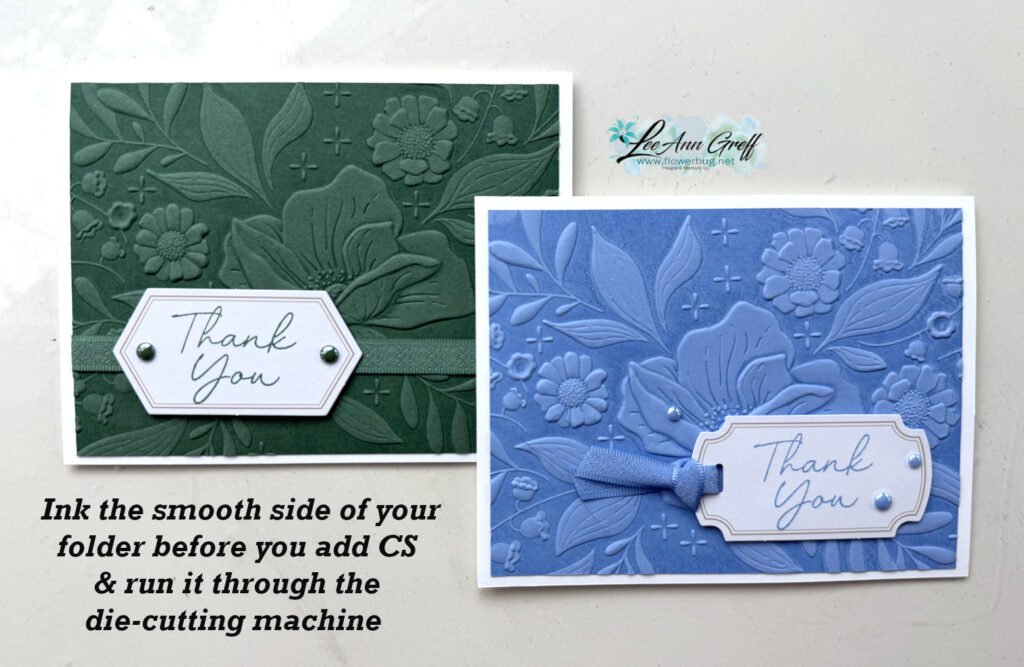
    Here’s how to do this: I inked the smoother side of my folder (the textured areas are recessed) with Hydrangea Hue ink. I then placed my CS on the opposite side of the folder, closed it and ran it through my Cut & Emboss Machine.
    It leaves the raised areas with the original CS color and the rest darker. It’s truly beautiful.

    Here are both cards; with the addition of Peaceful Pine:

    Simple & gorgeous! These cards will seem like you went above and beyond but they’re so simple!

    I used the Classic Labels Mix & Match Ephemera for my greetings as well as the new stamp set called Scalloped Blooms seen here.

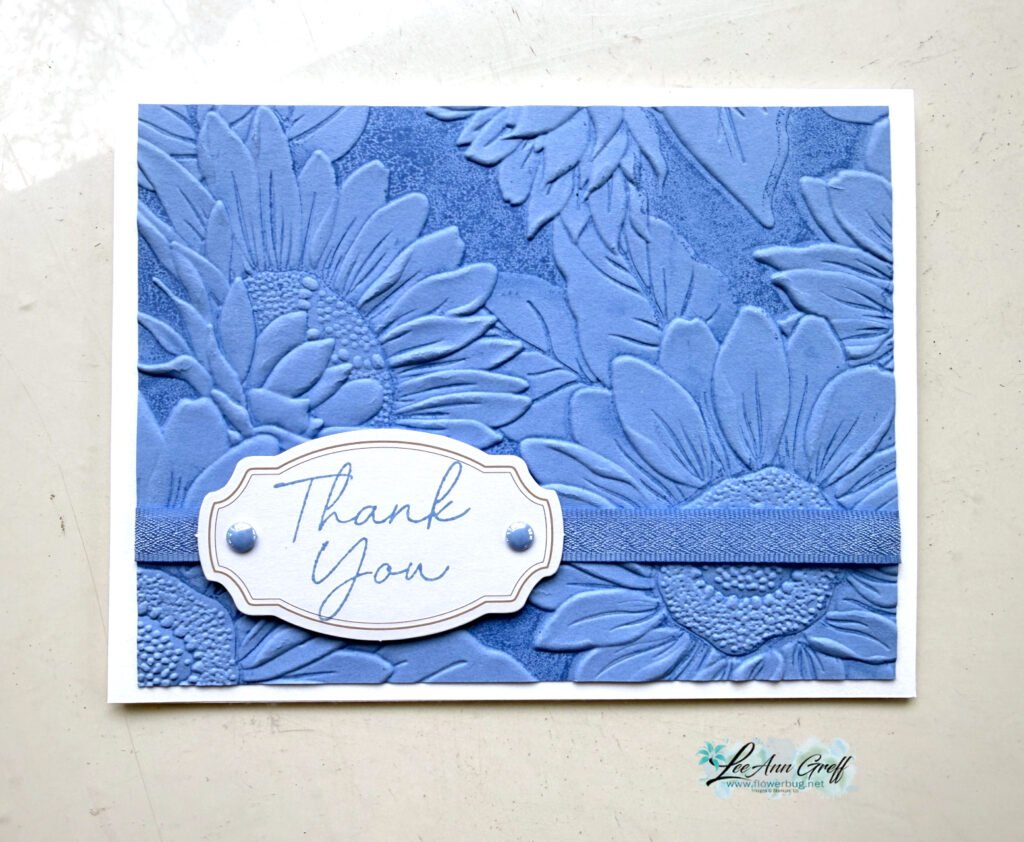
    I also tried it with the Sunflower 3D embossing folder too.

    Below is the video tutorial where I share how to achieve this technique. I hope you watch it and try it!

    Want our BEST DEAL on Stampin’ Up! products? Well that is always the Starter Kit.

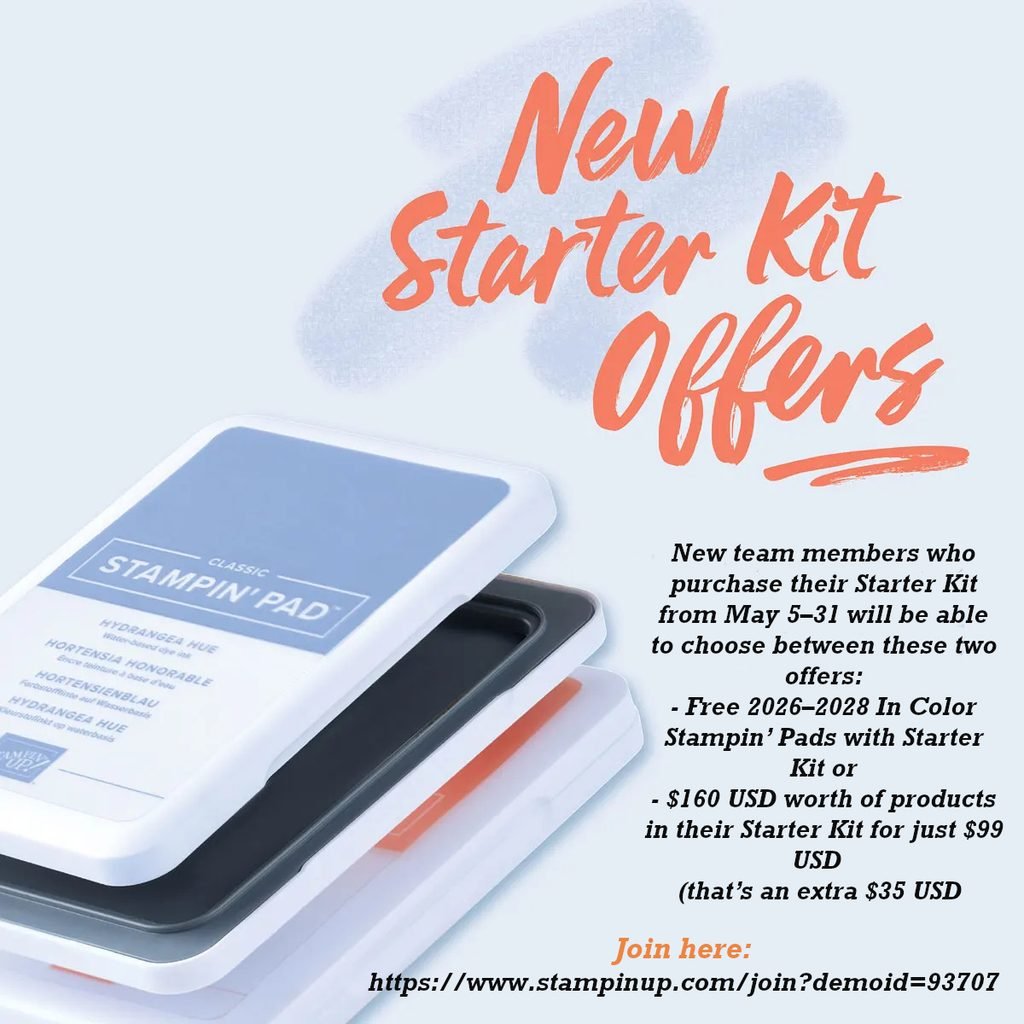
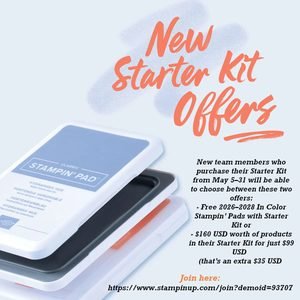
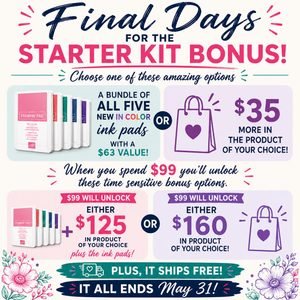
    Right now you get to choose from 2 options with the $99 kit. Get either all 5 new Magnetic Ink pads or an extra $35 in product of your choice. That makes it $160 in products for just $99 plus free shipping. It’s a no brainer! Click here.

    Leave a Reply

    Your email address will not be published. Required fields are marked *

  • Get all 5 New Magnetic Ink Pads FREE in May!


    During May you can grab the Starter Kit deal where you get to choose from either the 5 new In Color ink pads or an extra $35 in free product.

    There are so many benefits to joining as a Stampin’ Up! Demonstrator.

    First of all you get 20-25% off all future SU purchases.
    Second is a favorite of many – you can see and pre-order new products before anyone else.
    Third – be on my Flowerbug’s Team! We have a wonderful group of talented, kind and sharing people!

    Thinking about joining my team? New demonstrators now get 50% off their first Paper Pumpkin kit—which is a great way to try this monthly crafting subscription! It’s just one of the perks of getting started.

    Click here to get this deal!

    Enjoy the discount while you can. Or make a little money on the side while enjoying your hobby!

    Leave a Reply

    Your email address will not be published. Required fields are marked *


Notice: LeeAnn Greff, Independent Stampin’ Up! Demonstrator, Manager. The content of this website is my sole responsibility as an independent Stampin’ Up! demonstrator and the use of, and content of, the classes, services, or products offered on this website is not endorsed by Stampin’ Up! Copyright 2025