/


Latest Post

Choose to get Stampin’ Up! products at a discount… and help me achieve my goal


Many people love being a Stampin’ Up! customer. And that’s absolutely fine! But did you know you can be a Demonstrator without doing anything more than you do as a customer? Yes, it’s true!

  • Place orders whenever you wish
  • There’s no need to hold classes or events. There’s no need to run a business unless you want to.
  • When you’re done ordering you simply stop; it’s that simple!
  • Enjoy the discount on all future purchases!

I have a personal goal and need 4 more people to join in October. Can you help me out and start saving on each order you place?

Here’s a graphic with the details:
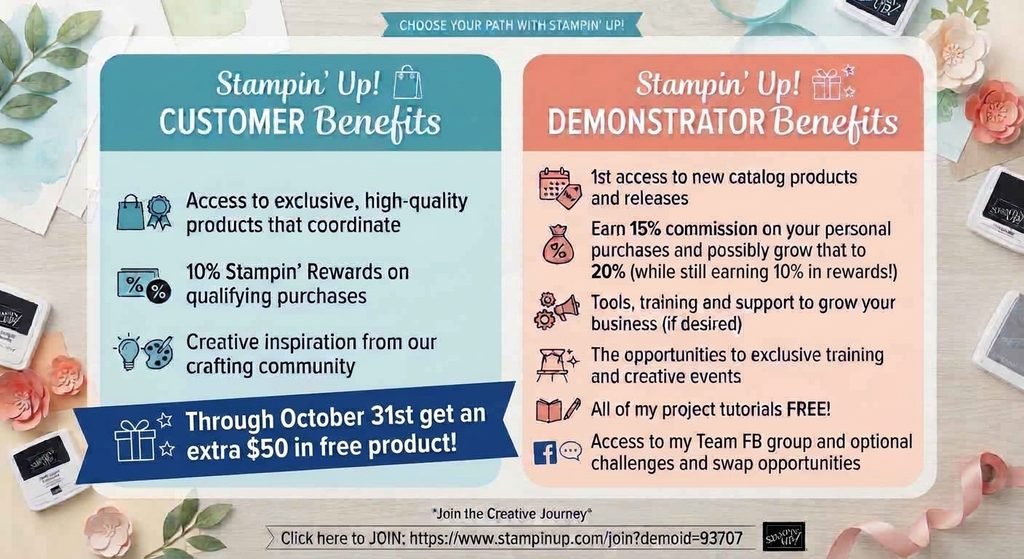
Right now, through October 31st you can grab the starter kit deal and get up to $75 in FREE product of your choice!

The kit costs $100 and you’ll receive a coupon for your starter kit purchase of $125 or less. Then you’ll receive an additional $50 in free product rewards! Click here to get started

Details:

  • You get 15% discount on all products and can increase that to 20%.
  • There’s a minimum purchase of $300 a quarter to stay active. 
  • But your first quarter is waived so you have until March 31st to get that $300 in and each order counts towards that first $300.
  • And, when you order Stampin’ Up! counts your purchase at full price but you only pay at the discounted price.  For example, order $100 and pay just $85.  Tax and shipping is added to the discounted price.
  • In addition to your 15-20% discount you still earn 10% in product rewards; just like customers!  *your customer earned rewards transfers to your demo account.
  • You can stop ordering as a demo at any time.  There’s no pressure to continue.  It’s totally up to you on how long you stay. 
  • Get ALL of my project tutorials in my Team newsletter each month!

I hope you’ll consider getting the Starter kit this month; you will not regret it!

All Posts

  • Team Card swaps with a Clean & Simple theme


    This week I'm sharing our Team card swaps from March.  Our theme was Clean & Simple which can be a challenge for some. We also couldn't use any designer series paper! 

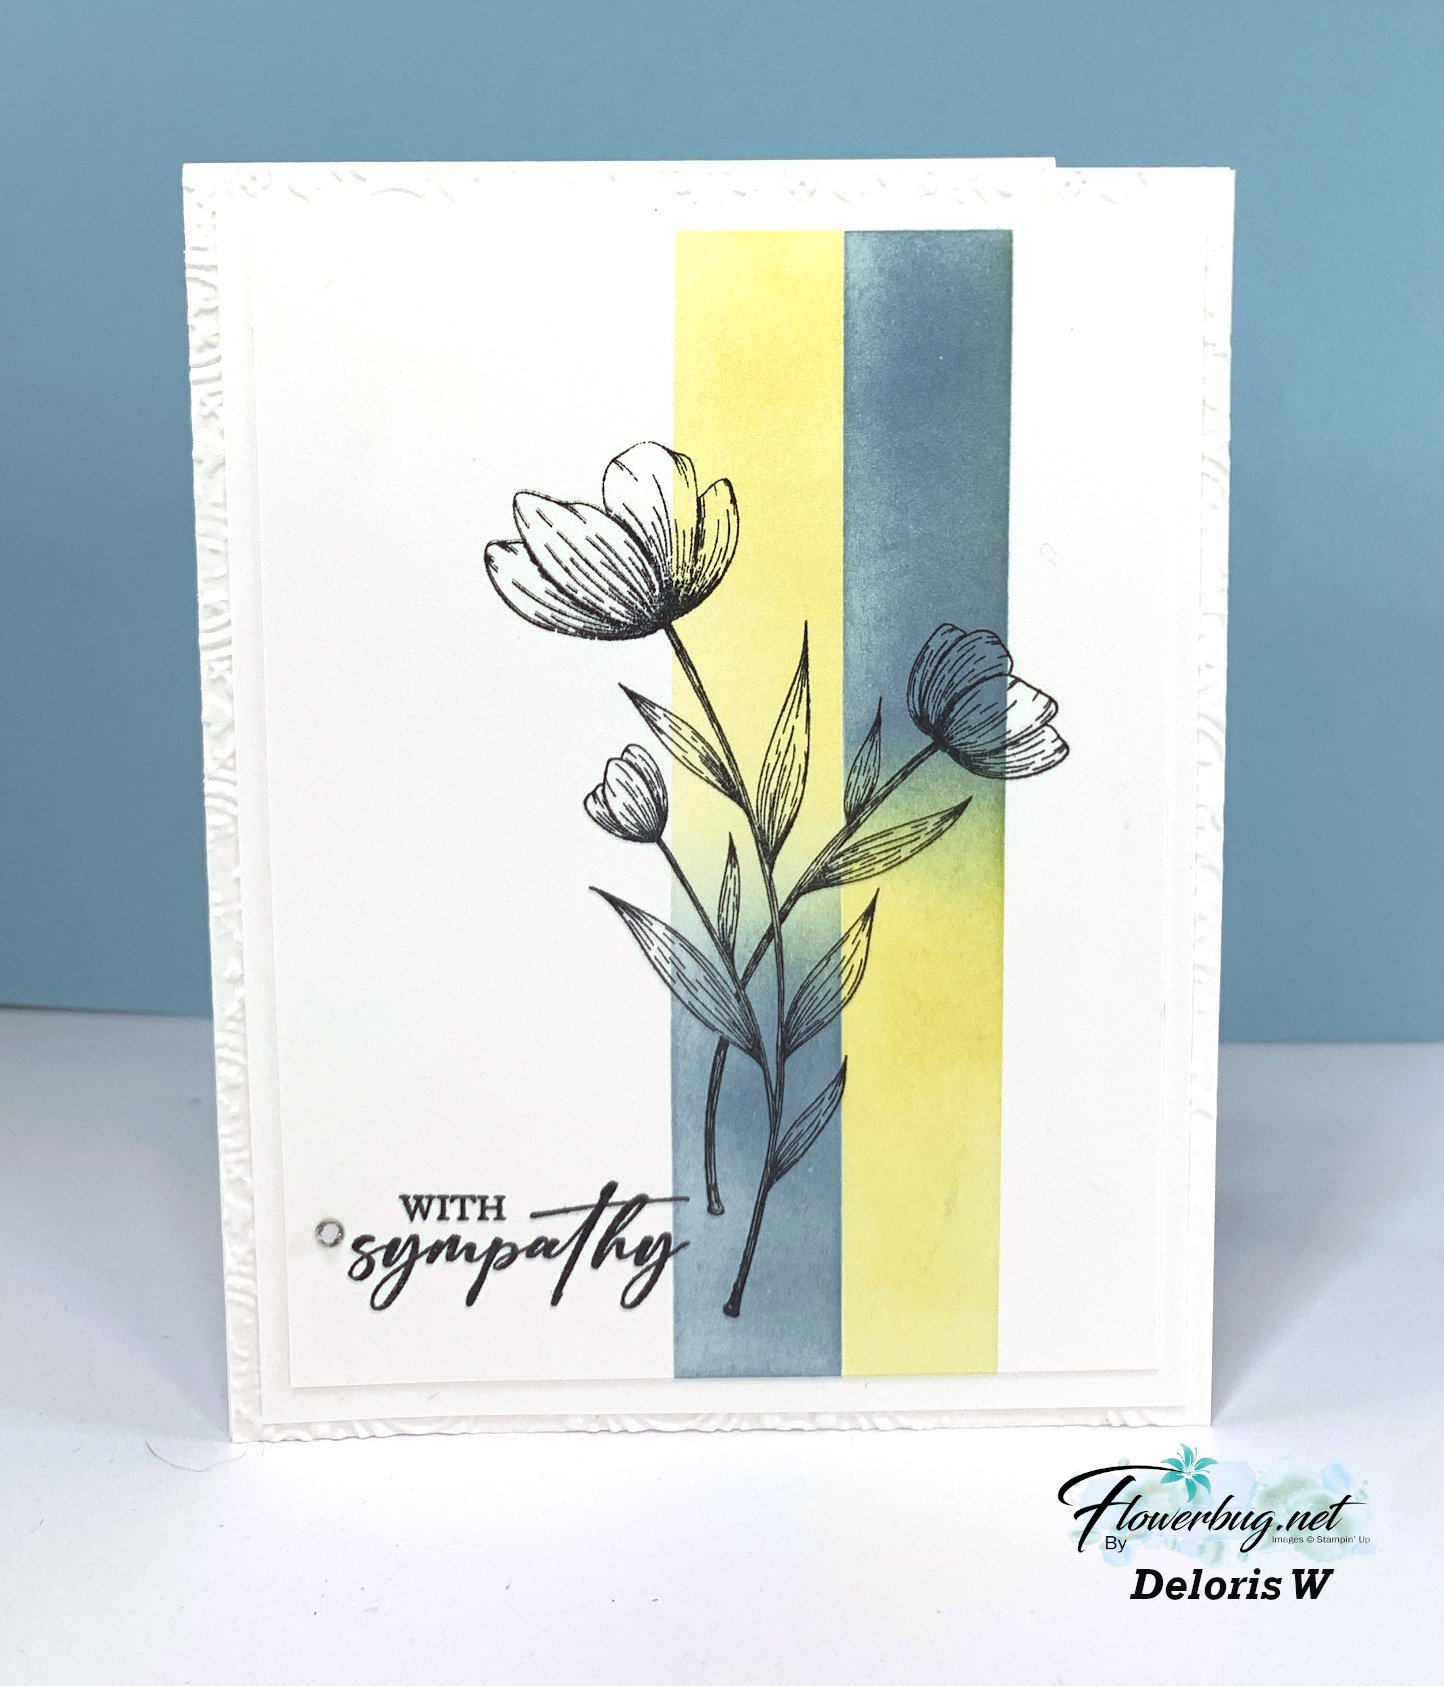
    First up is a stunning card made by Deloris.  

    She masked her White card stock to sponge yellow & blue ink to create a pretty background for the floral stamp.  This flower is from the Spotlight on Nature stamp set.  Her card also has 3 layers of White – the bottom layer is textured.  Gorgeous!

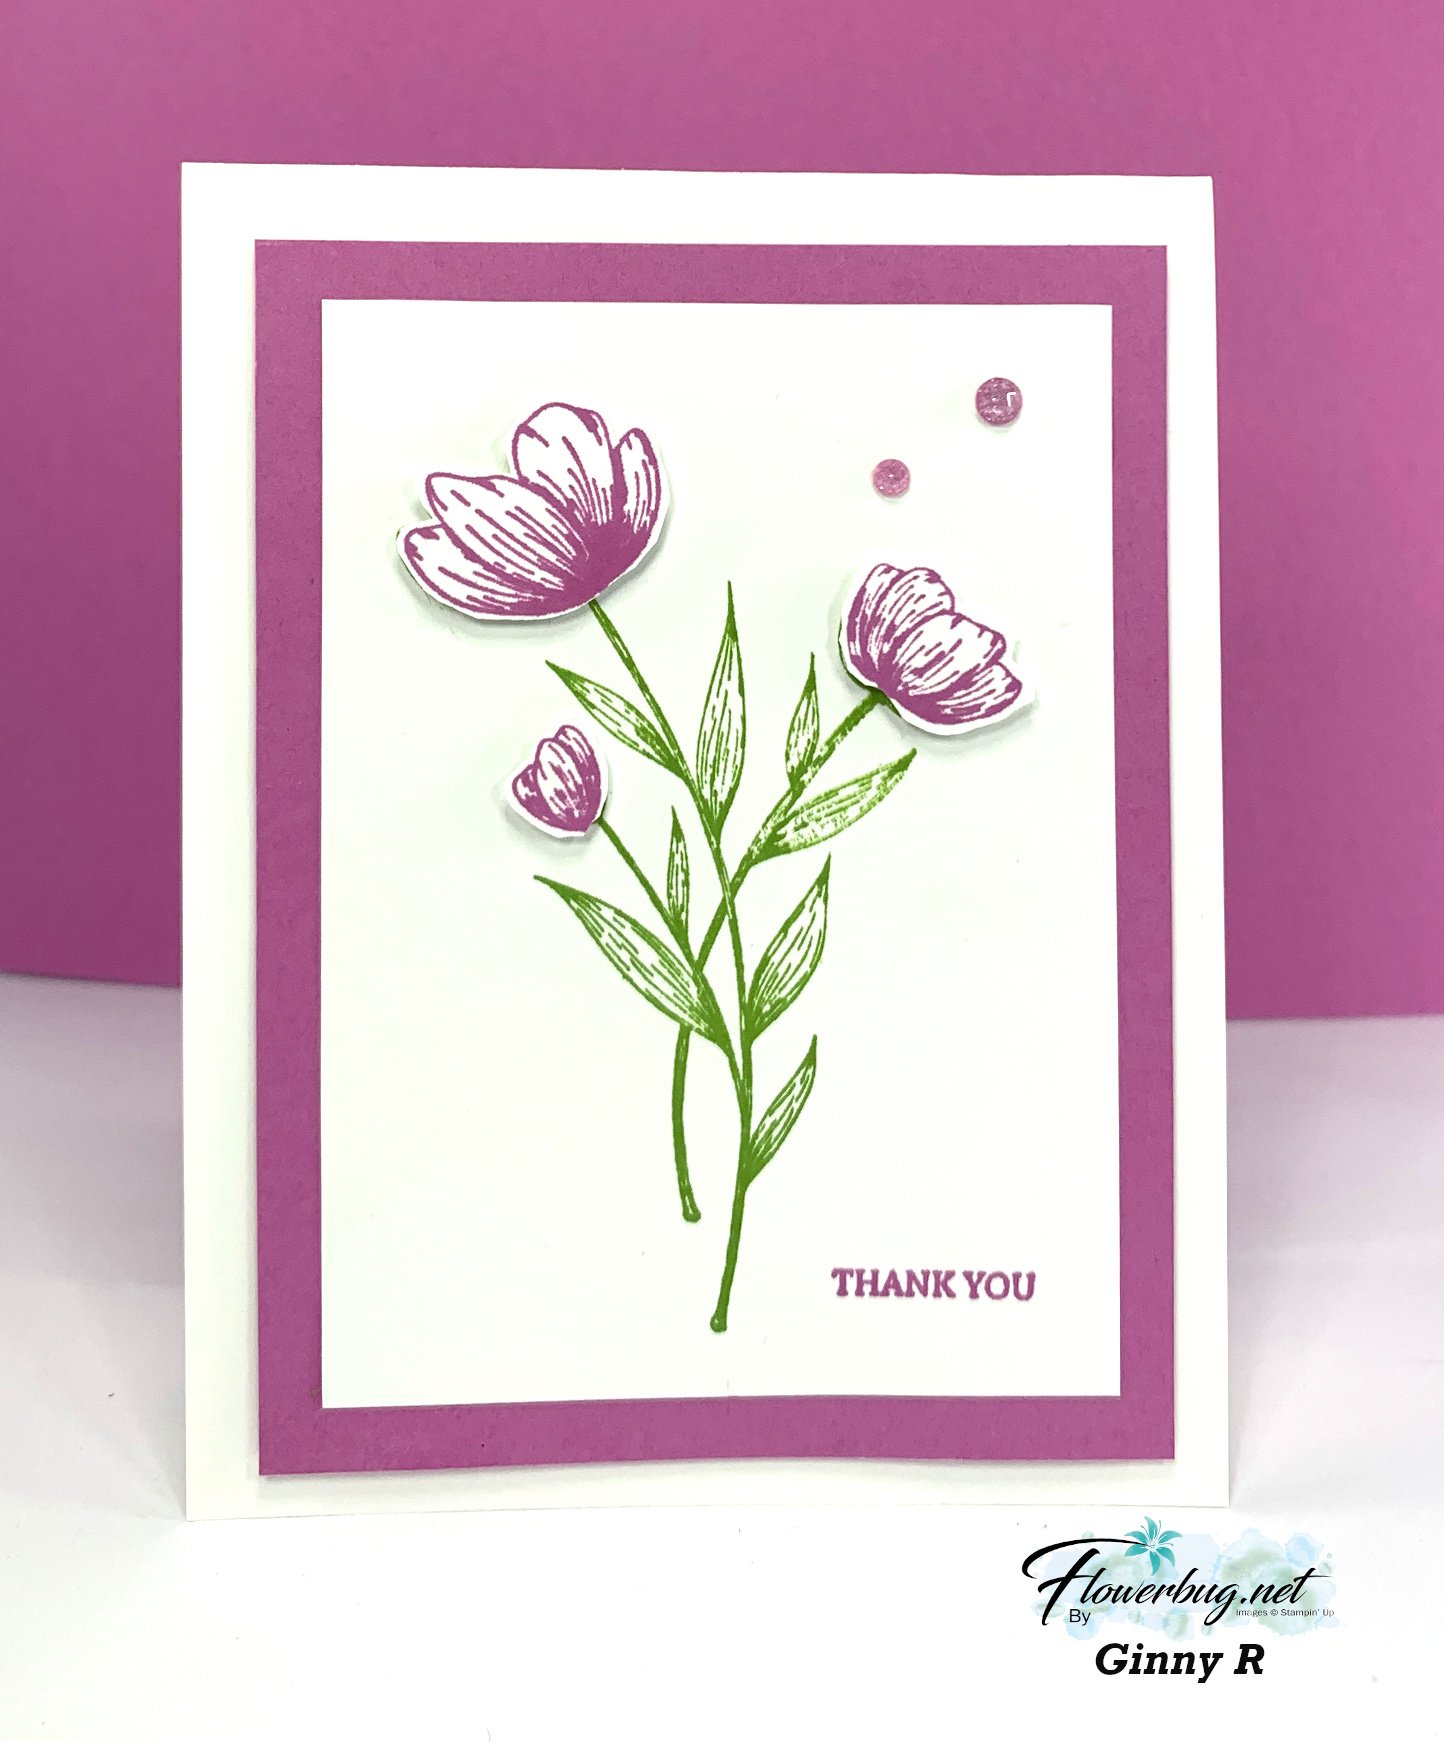
    Ginny also used the Spotlight on Nature stamp set on her beautiful card:

    She used Petunia Pop with Granny Apple green and popped up her flowers on Dimensionals.  Well done!  

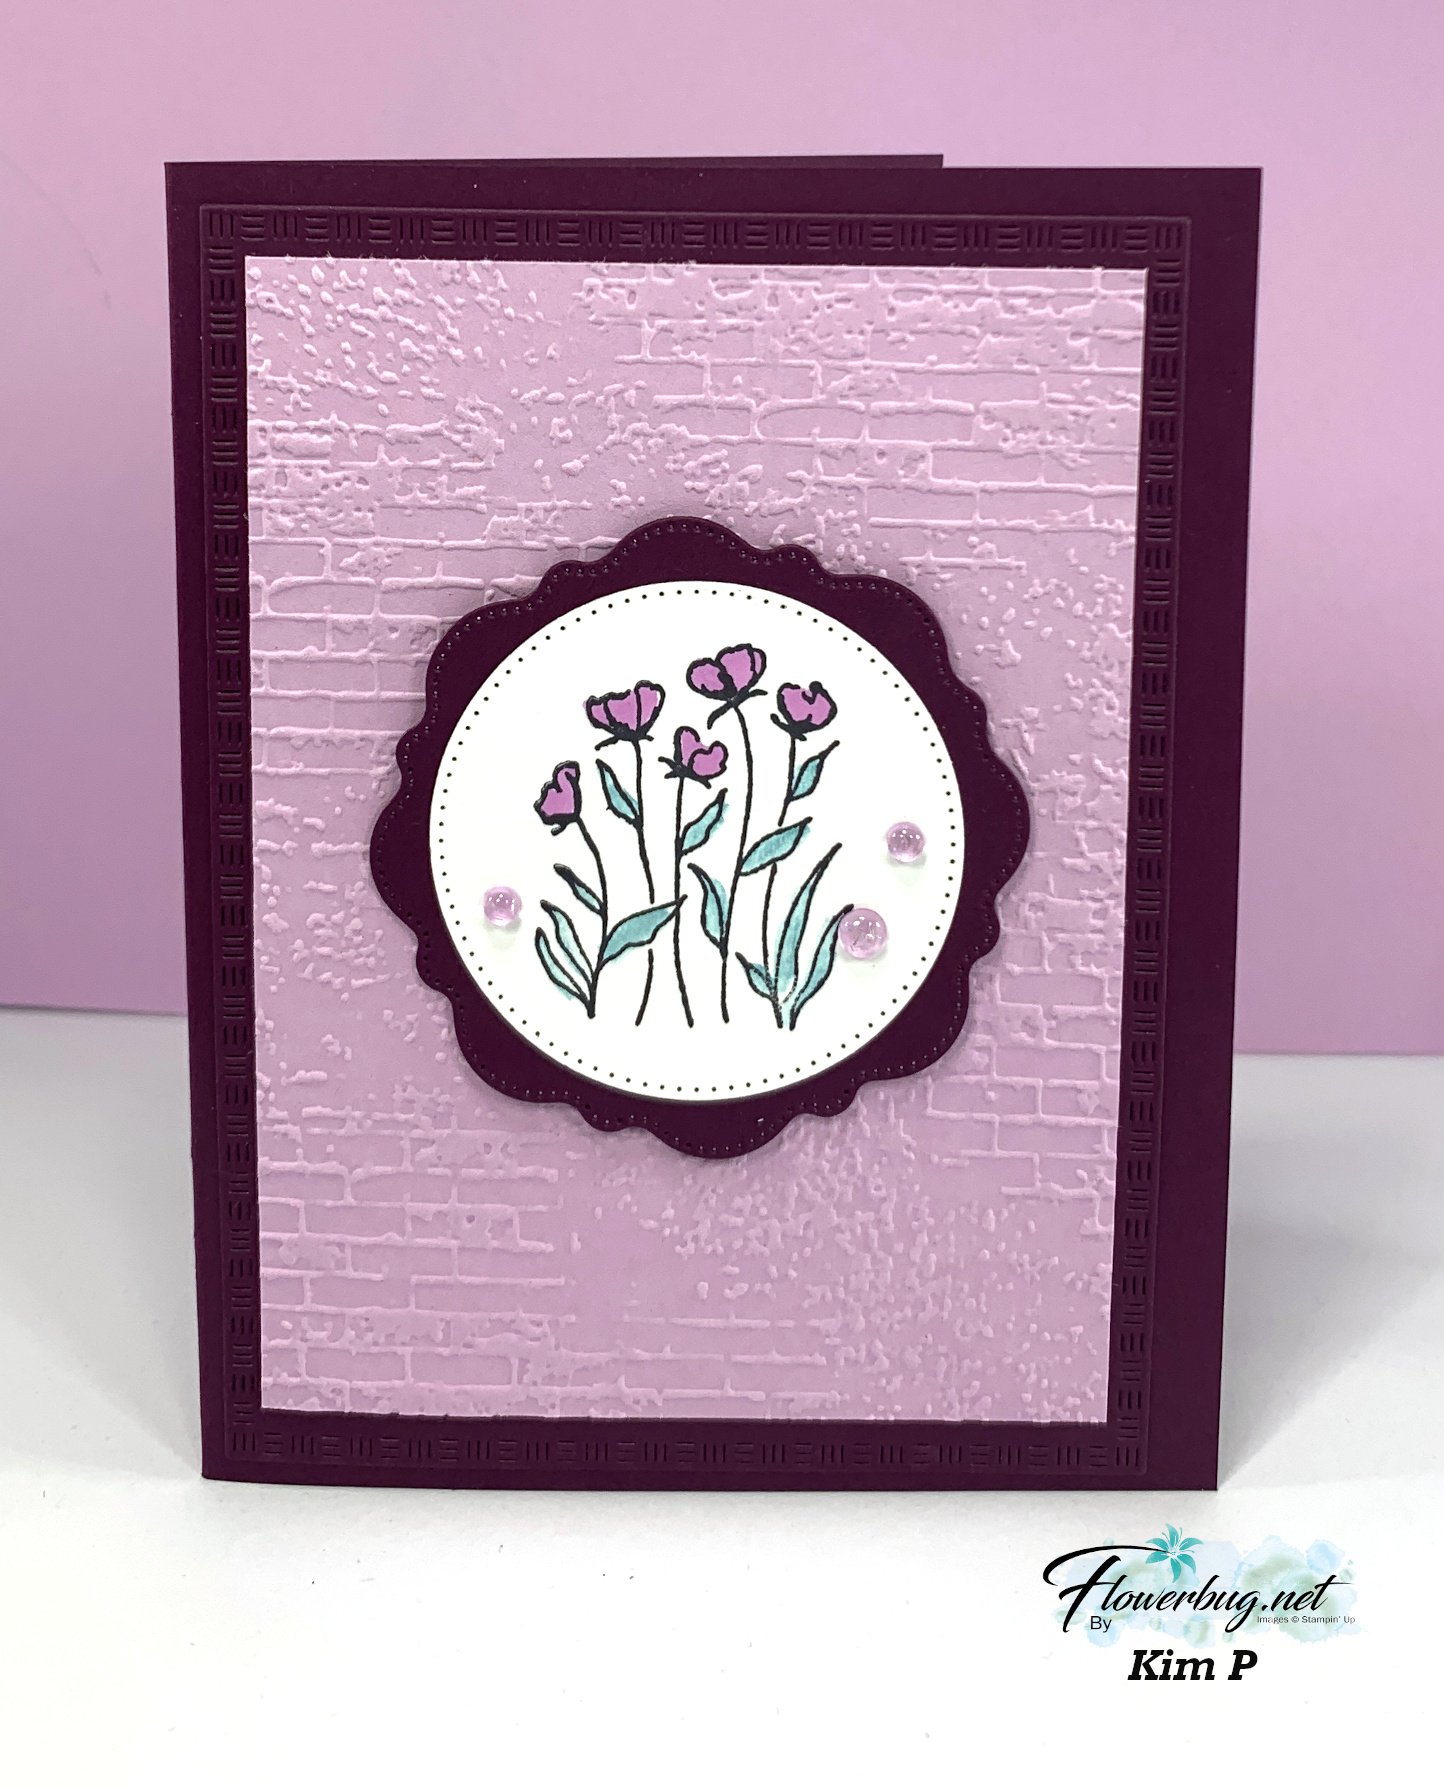
    Kim is a first time swapper in our group and did a great job on her card: 

    She used the Thoughtful Wishes stamp set and the Exposed Brick 3D embossing folder here.  Her colors include Fresh Freesia and Blackberry Bliss. Sweet & simple!  Good job Kim!

    Candy made this adorable card with the Resourceful Rusty stamp set.  

    Her colors include Gray Granite, Real Red, & Balmy Blue.  She trimmed off half of her card front so the circle dies & main image hang over. 

    Other products include: New Mini Corrugated embossing folder, New Textured Notes dies, Stylish Shapes and Spotlight on Nature dies. Blends markers for coloring.  Love that tail!  

    More swaps will be shared tomorrow! 

    ~~~

    March Specials:

    *current host code link:  

    PNQMAWXD

    Get a free Floral Delight tutorial with any online order in March!

     Free Iridescent Foil gems!

    Leave a Reply

    Your email address will not be published. Required fields are marked *

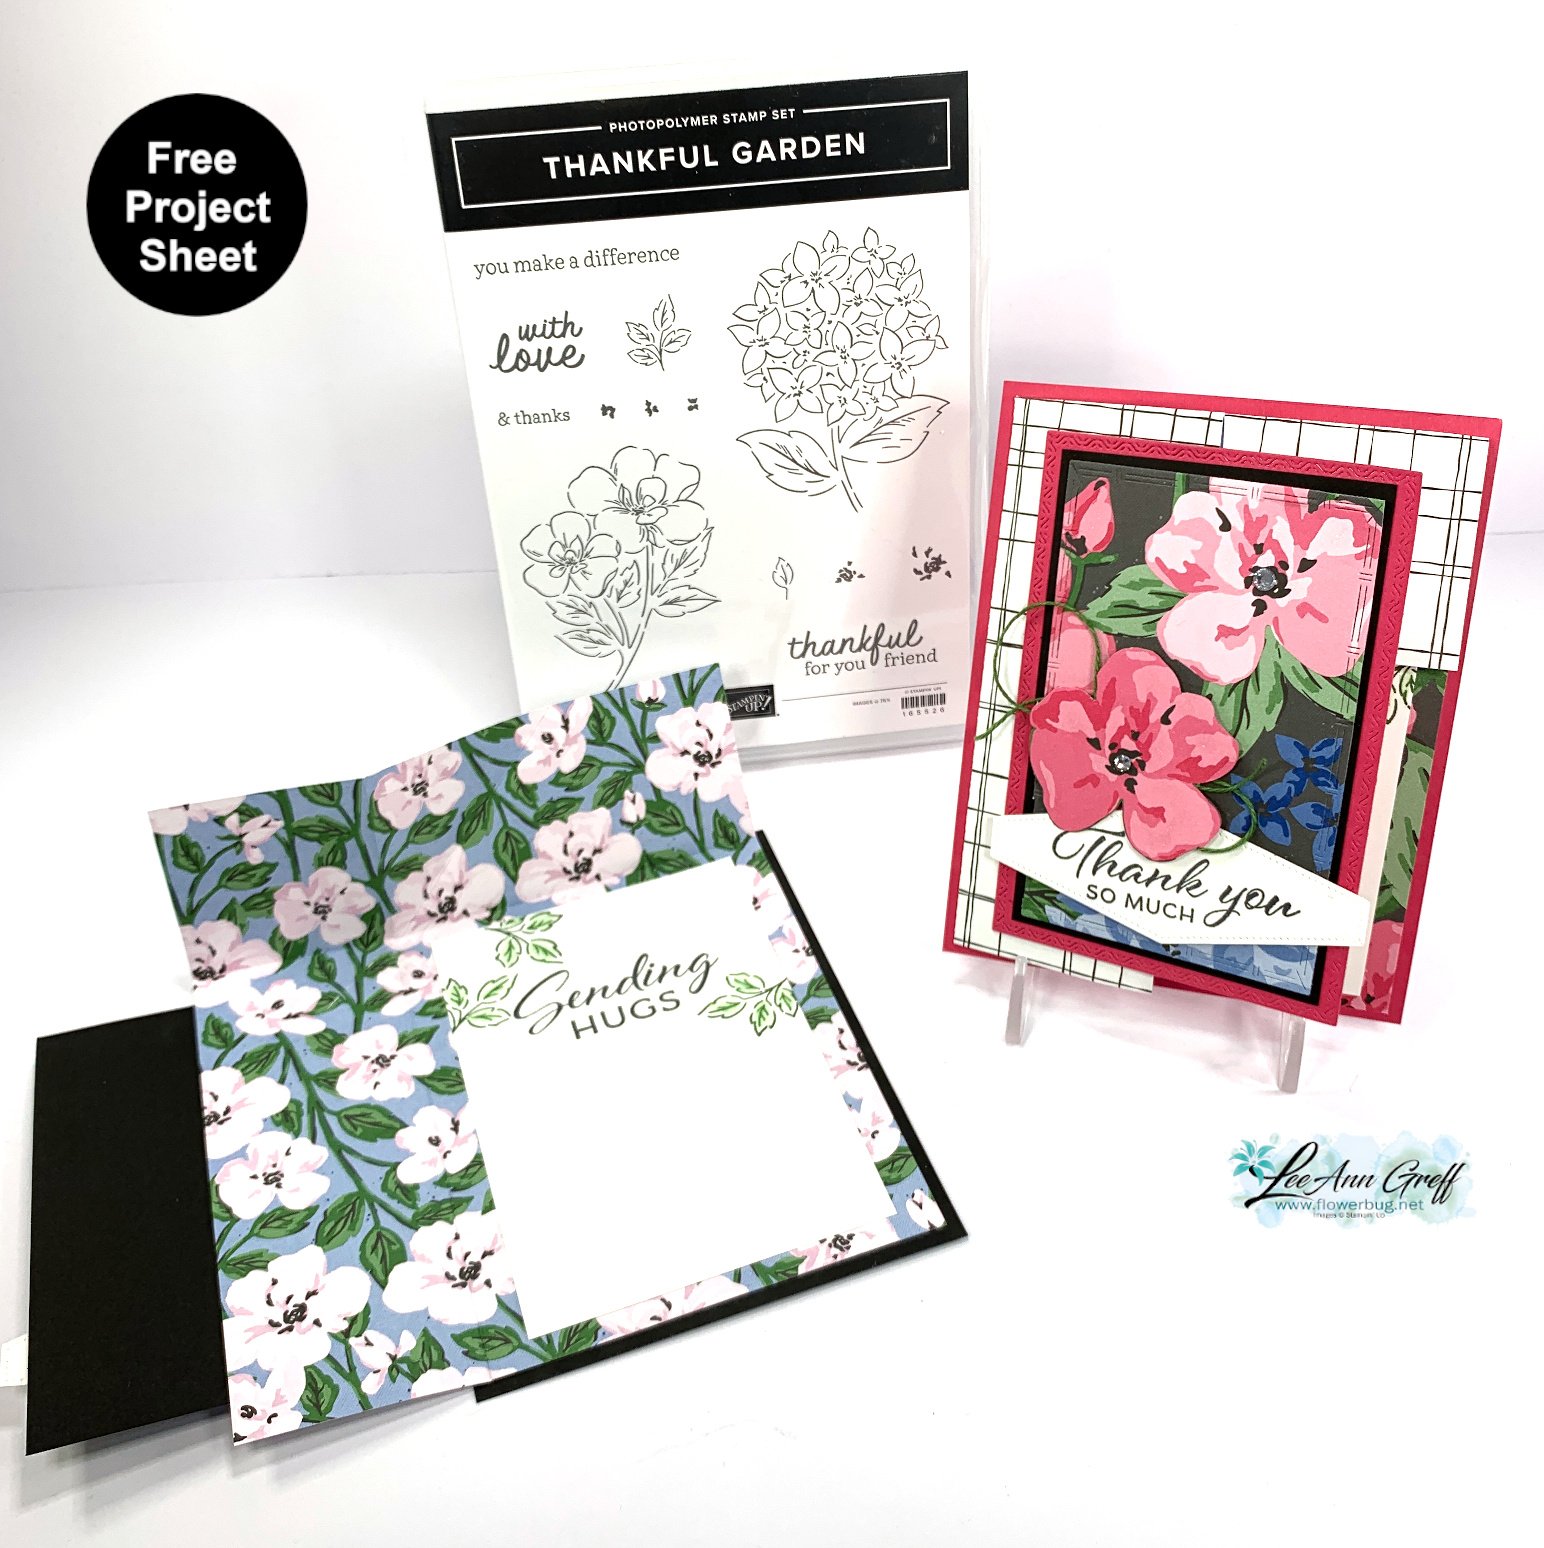
  • Corner DSP pop up fun fold card with video tutorial & free project sheet


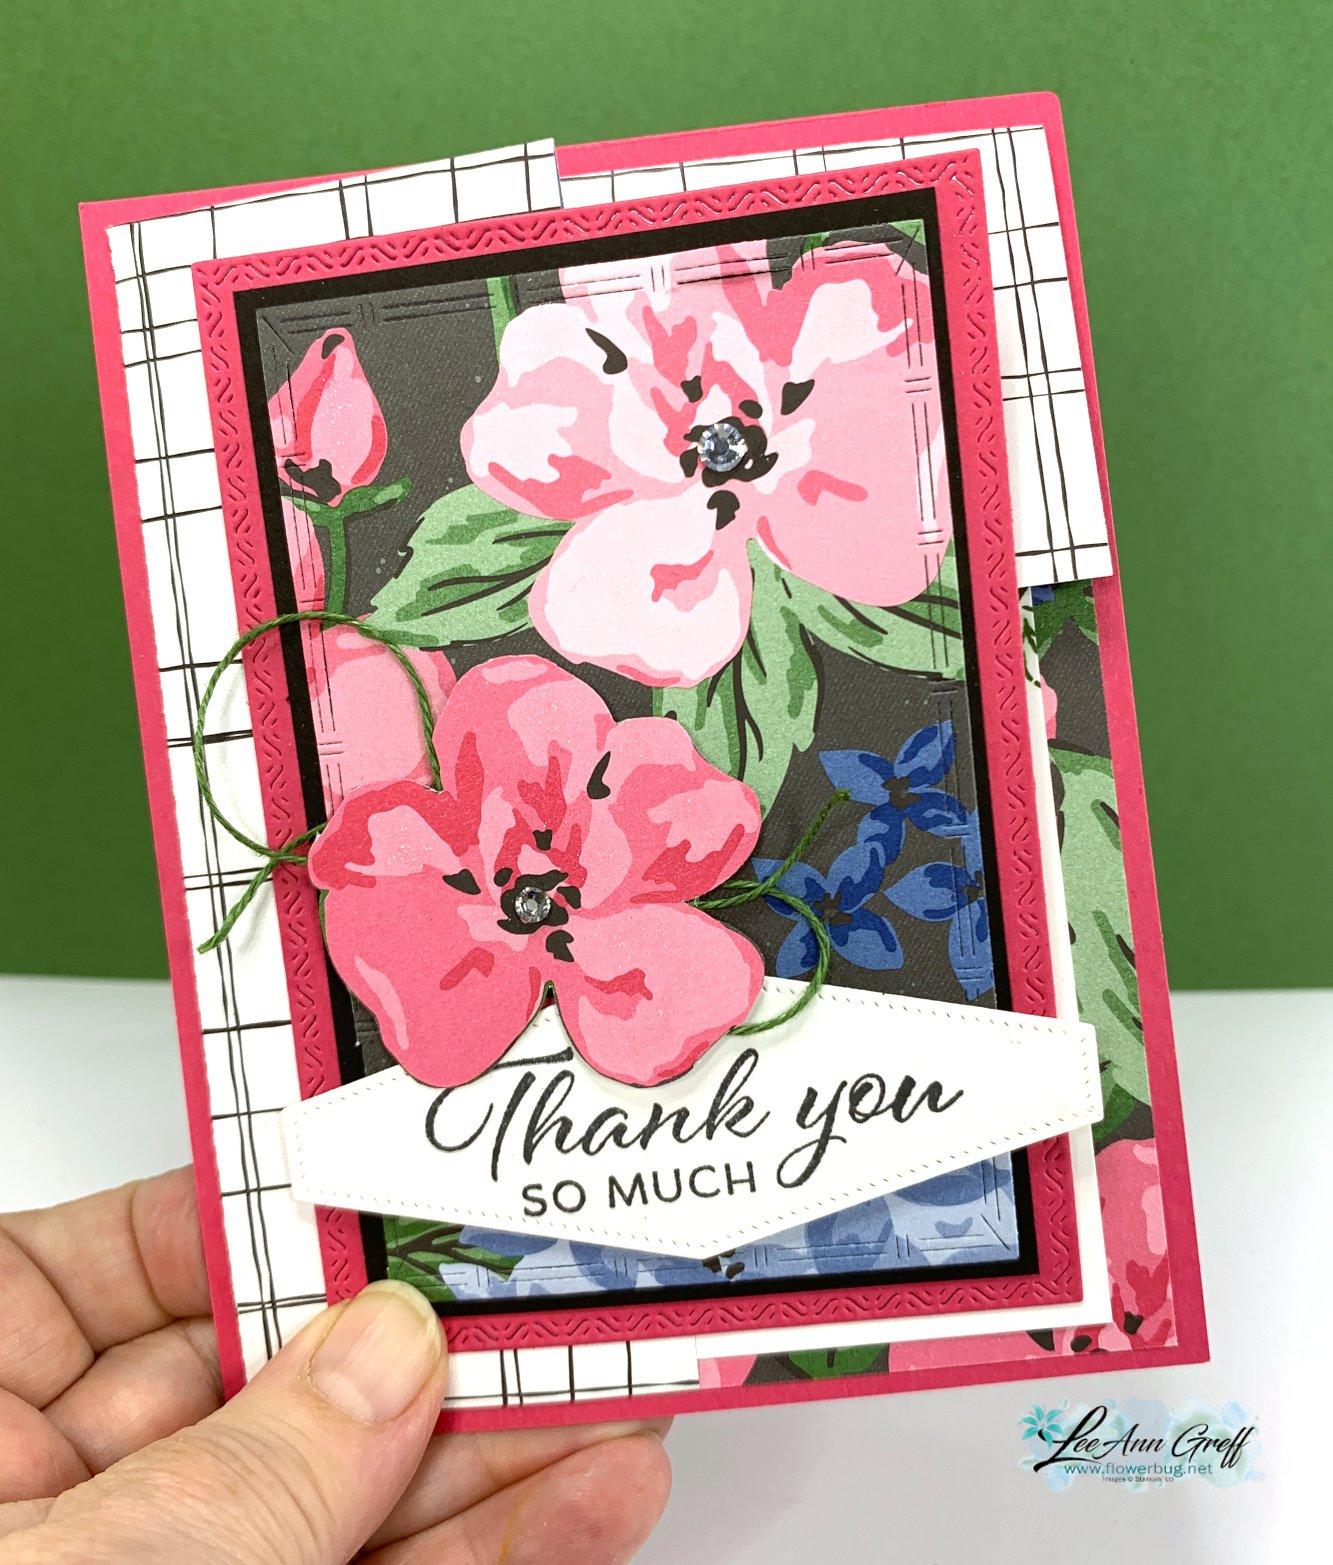
    I shared this card on last week's video and am happy to share it with you here today.  I also have a free project sheet below too. 

    It features the Lovely Garden designer paper seen online here.  

    My card base is Melon Mambo with Black, White & Garden Green accents. The greeting is from the Layering Leaves stamp set and the Stylish Shapes dies. 

    I made a second version during the video (seen here) in different colors.  

    The stitched die-cut I used on the DSP is from the new Textured Notes dies seen here.  I love these!  I bet they'll sell fast!

    I fussy cut extra flowers to pop up over the printed flower in the DSP.

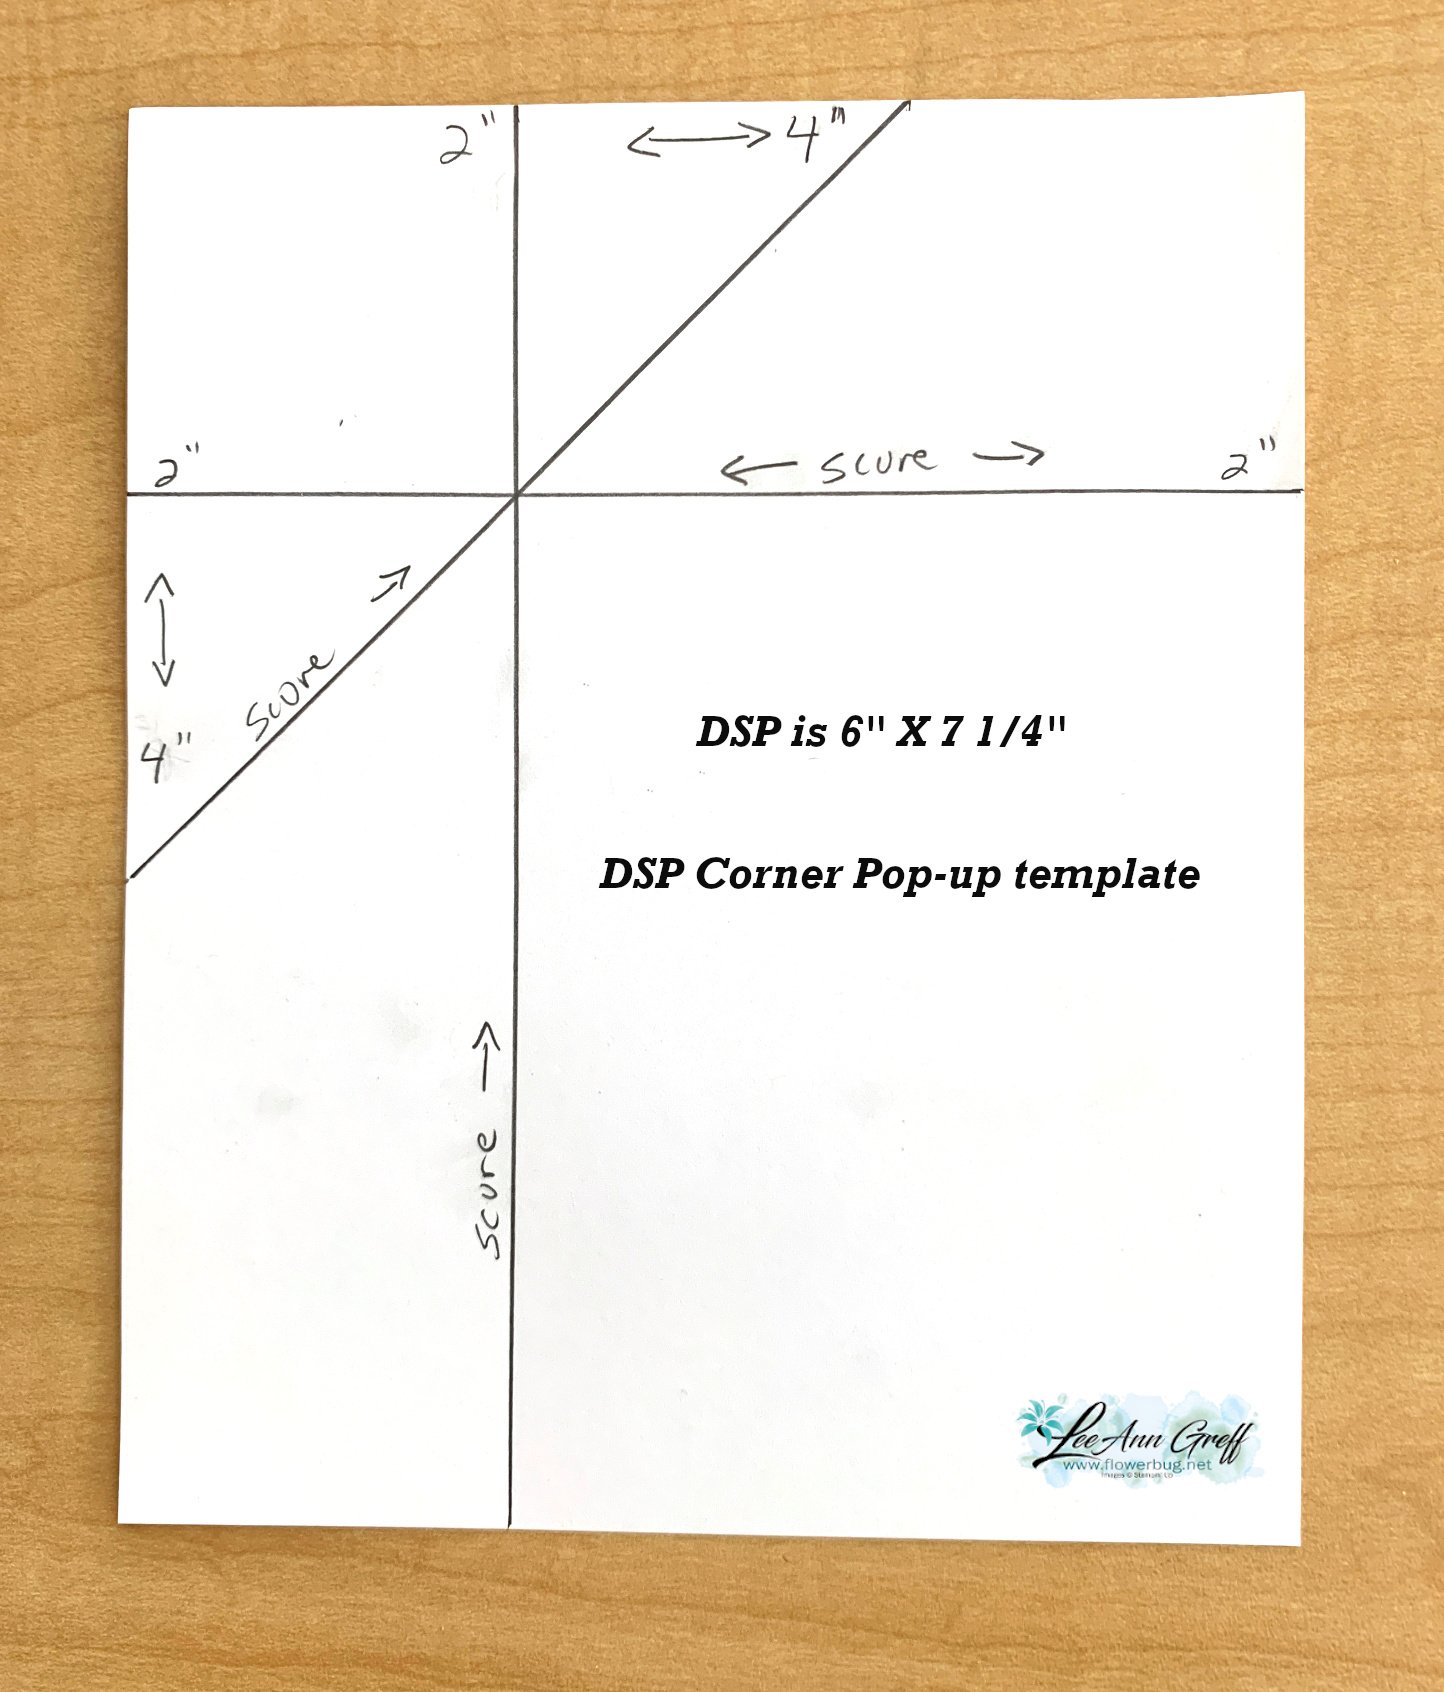
    Here's the template for the DSP part of this card.  My generous friend Susie Wood shared this with me. 

    In the photo below you can see how this card opens. The DSP measures 6" side and 7 1/4" tall and is scored at 2" from the upper and left sides.  Then fold it at an angle matching up the score lines.  Watch the video below to understand this. 

    Here is the free project sheet for this card. Click on the following link to print or download it. Download Lovely Garden Corner pop up

    Below is the video tutorial for this card and another unique fun fold using the Lovely Garden designer series paper.  

    ~~~

    March Specials:

    *current host code link:  

    PNQMAWXD

    Get a free Floral Delight tutorial with any online order in March!

     Free Iridescent Foil gems!

    Leave a Reply

    Your email address will not be published. Required fields are marked *

  • Pretty Center pop-out fun fold card with free project sheet & video tutorial


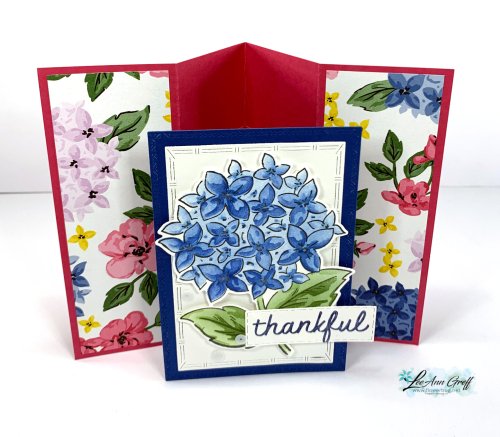
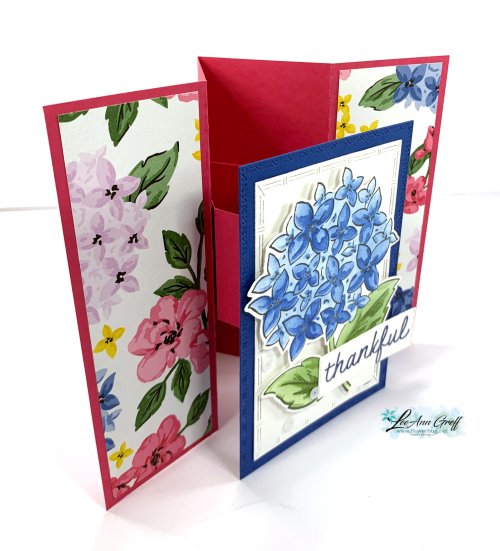
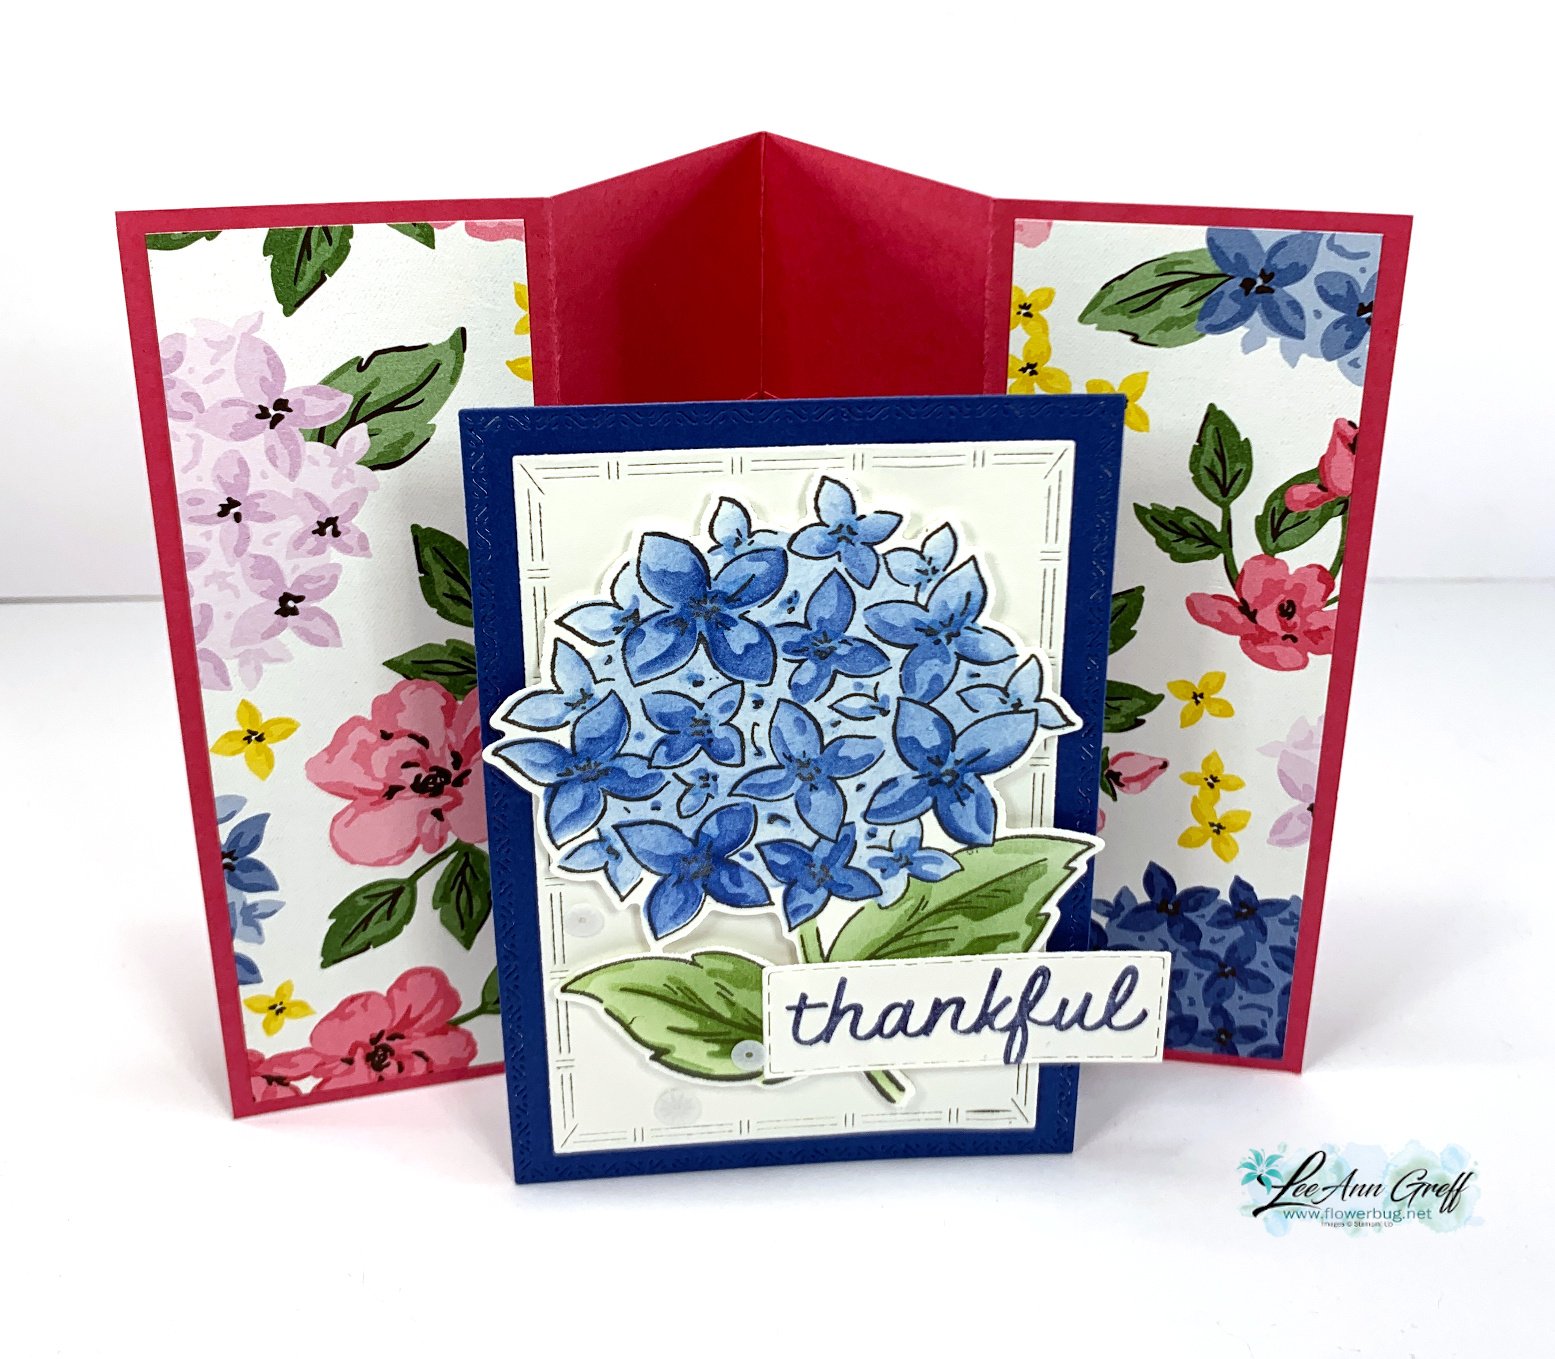
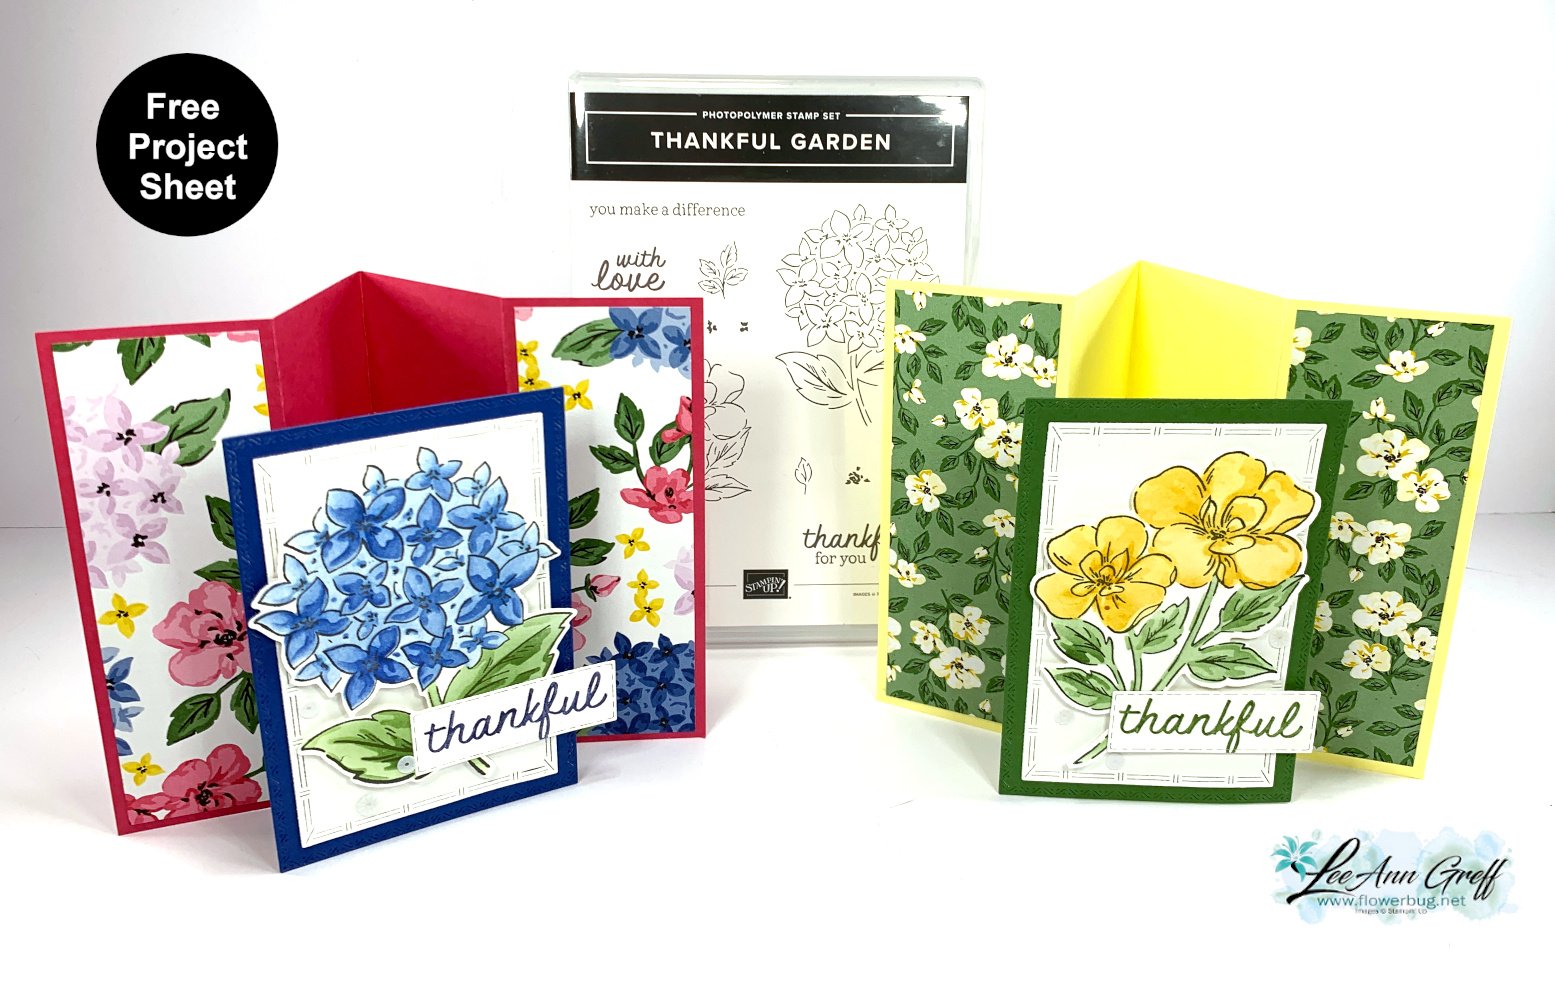
    I'm so excited to share this super neat fun fold card with you today!  It's called a Center Pop-out fun fold.  I found this neat fold from my friend Terri Gaines. 

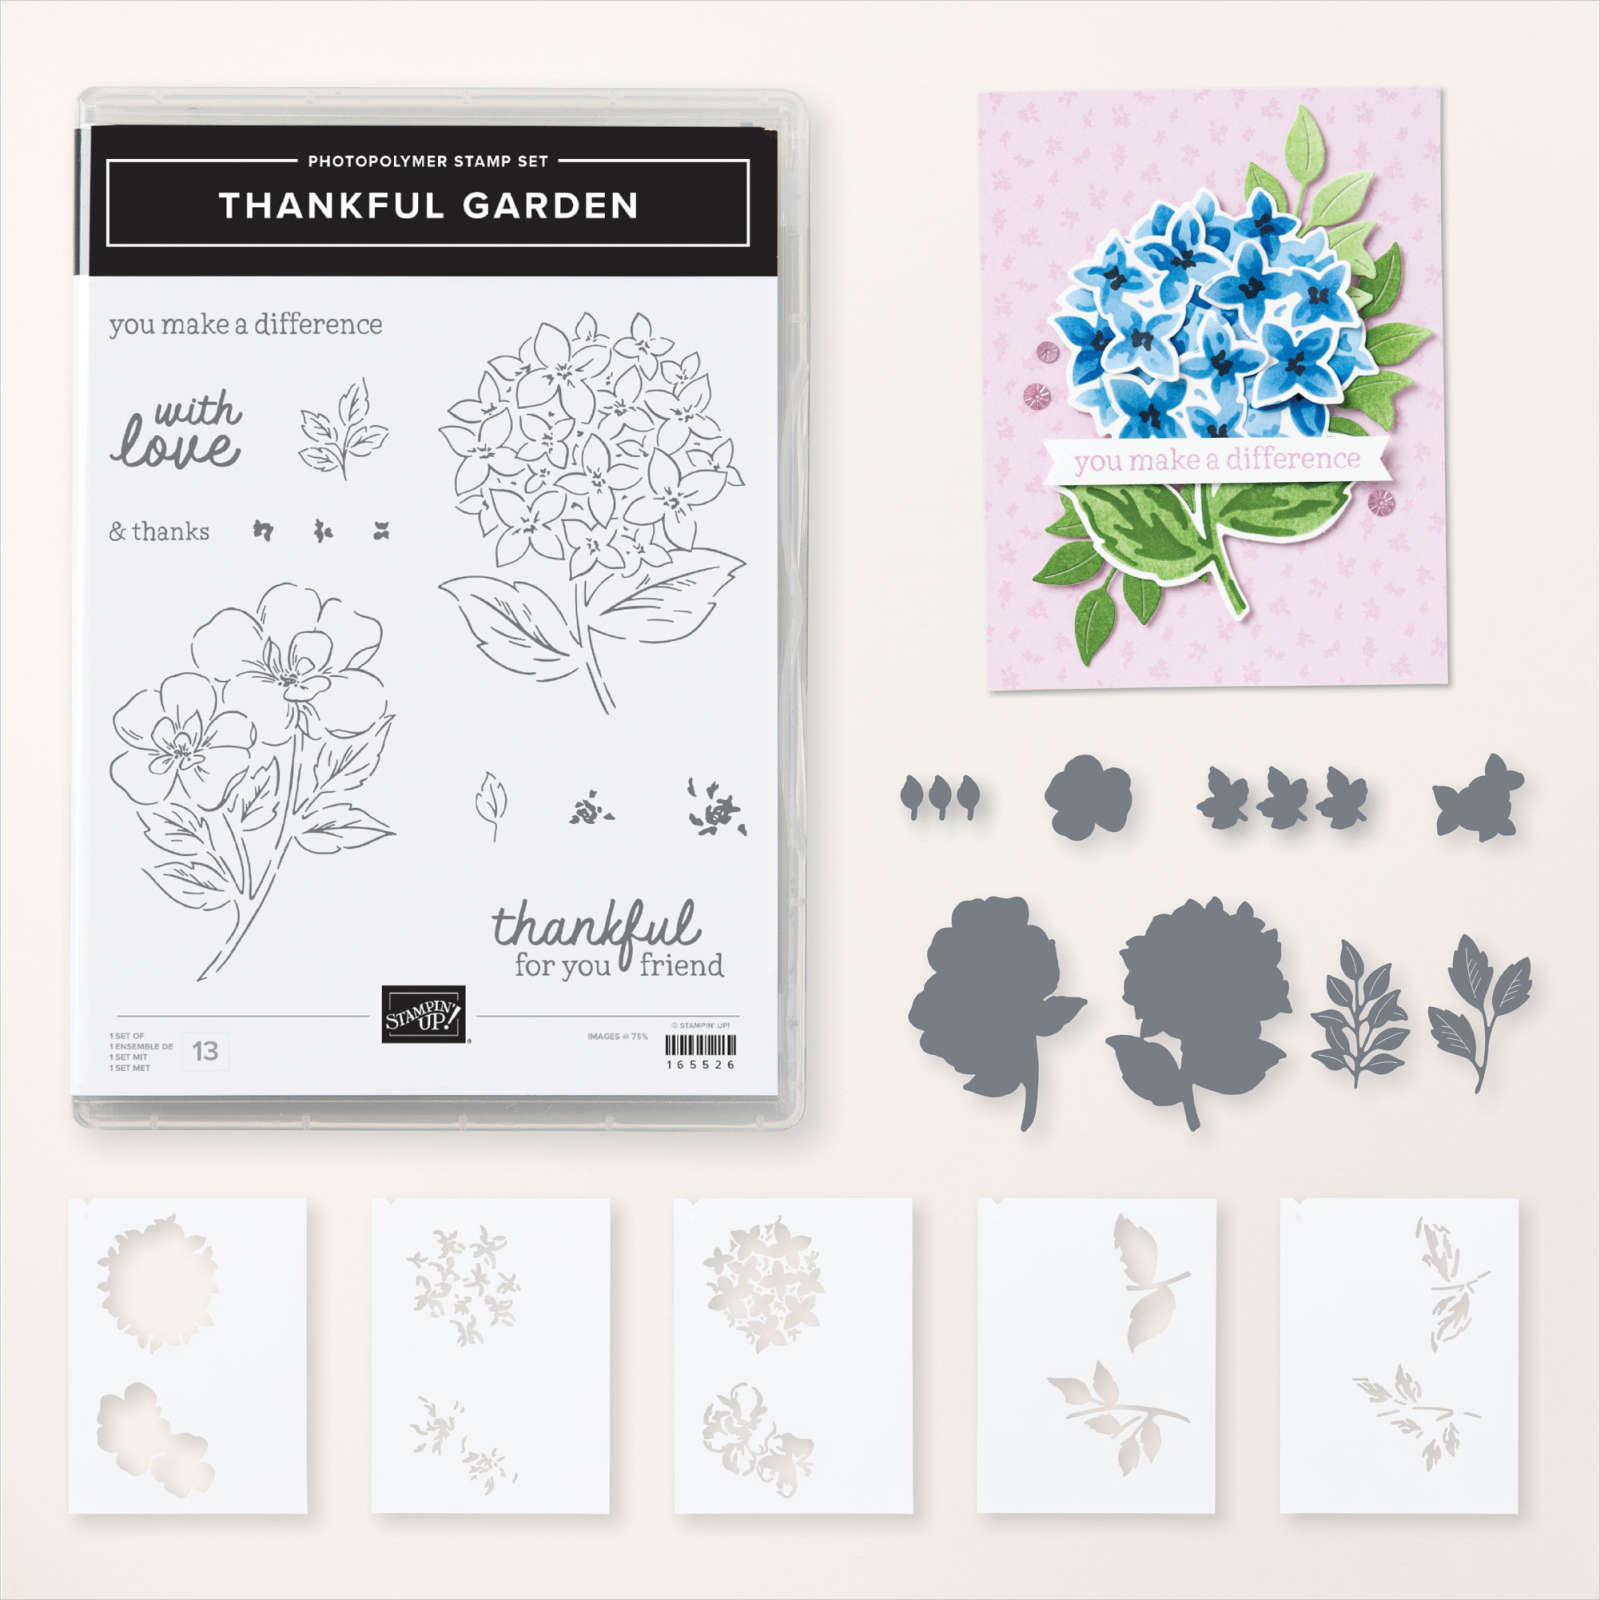
    I chose to feature the Thankful Garden bundle seen here and the Lovely Garden Designer paper seen here. 

    I love these stencils!  They are so easy to work with. Watch the video below for a special tip on lining them up.

    This card looks like it might be hard to assemble but with the center 'brace' that helps the center panel pop out it's quite simple.  It will really help you understand how to make it if you watch the video tutorial below. 

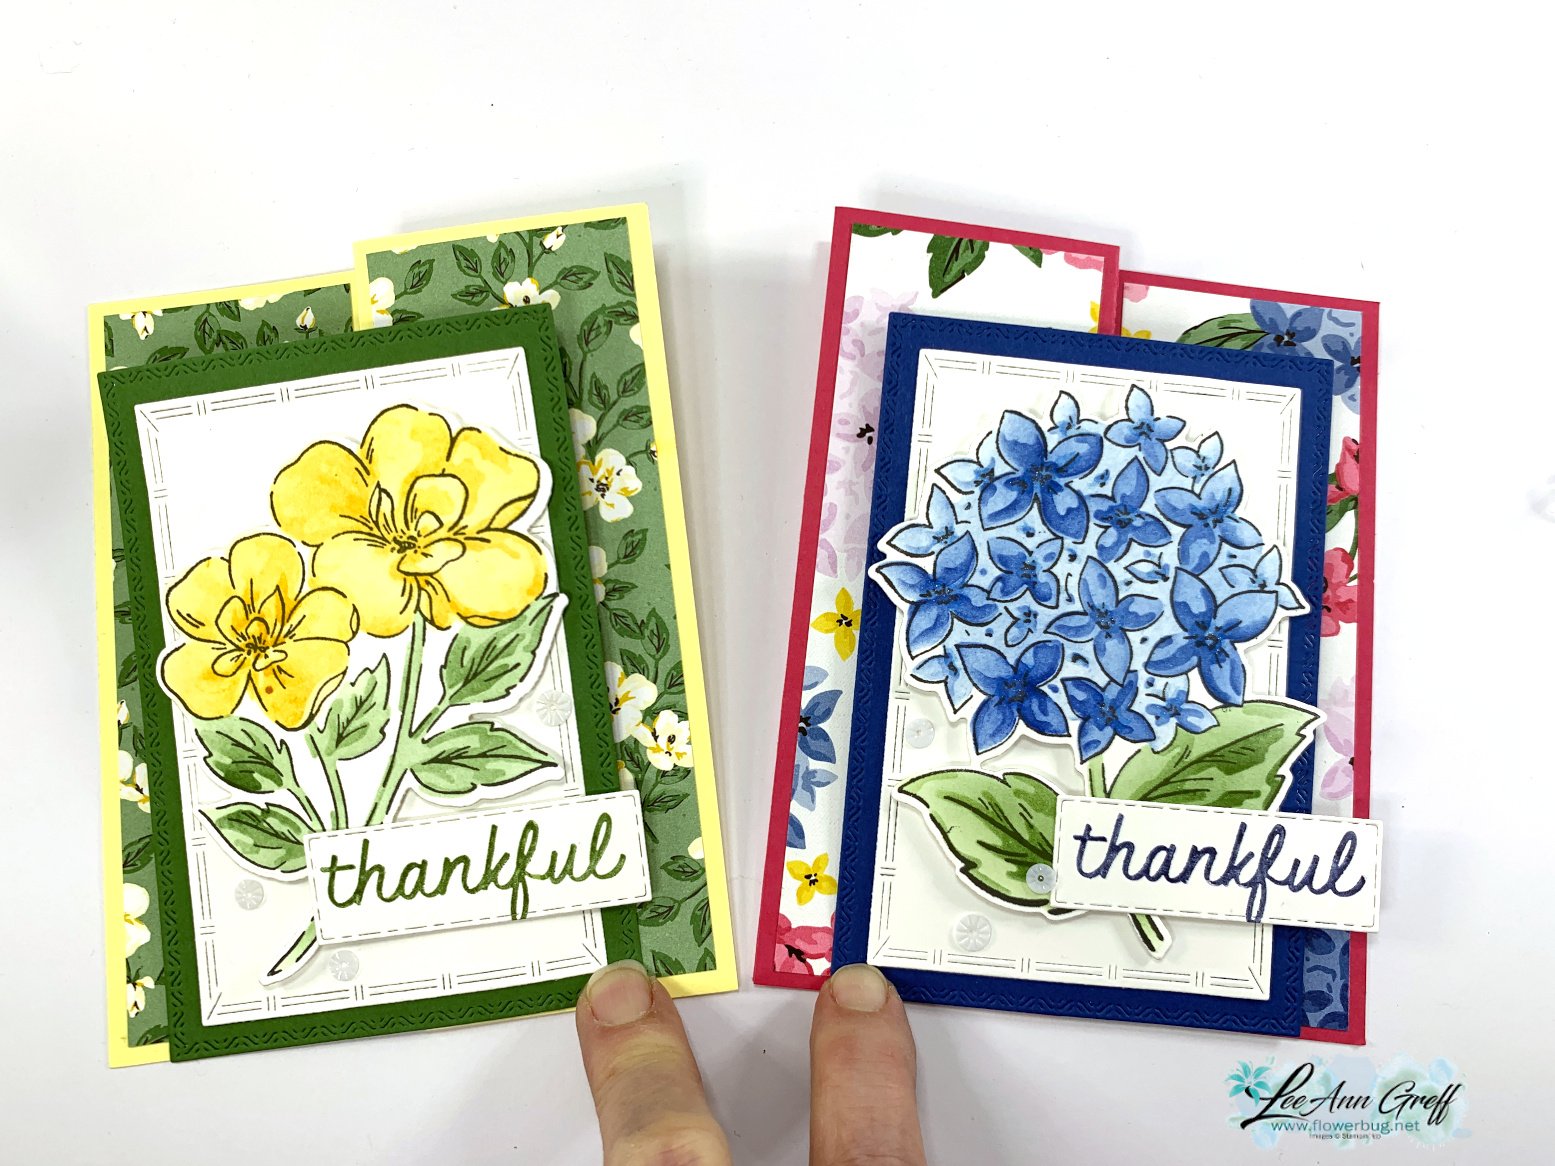
    My colors include Melon Mambo with Blueberry Bushel. Here's how the card looks with the inside brace added before I adhered the center panel: 

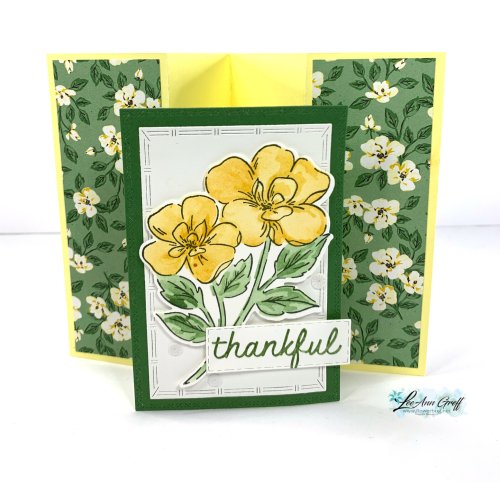
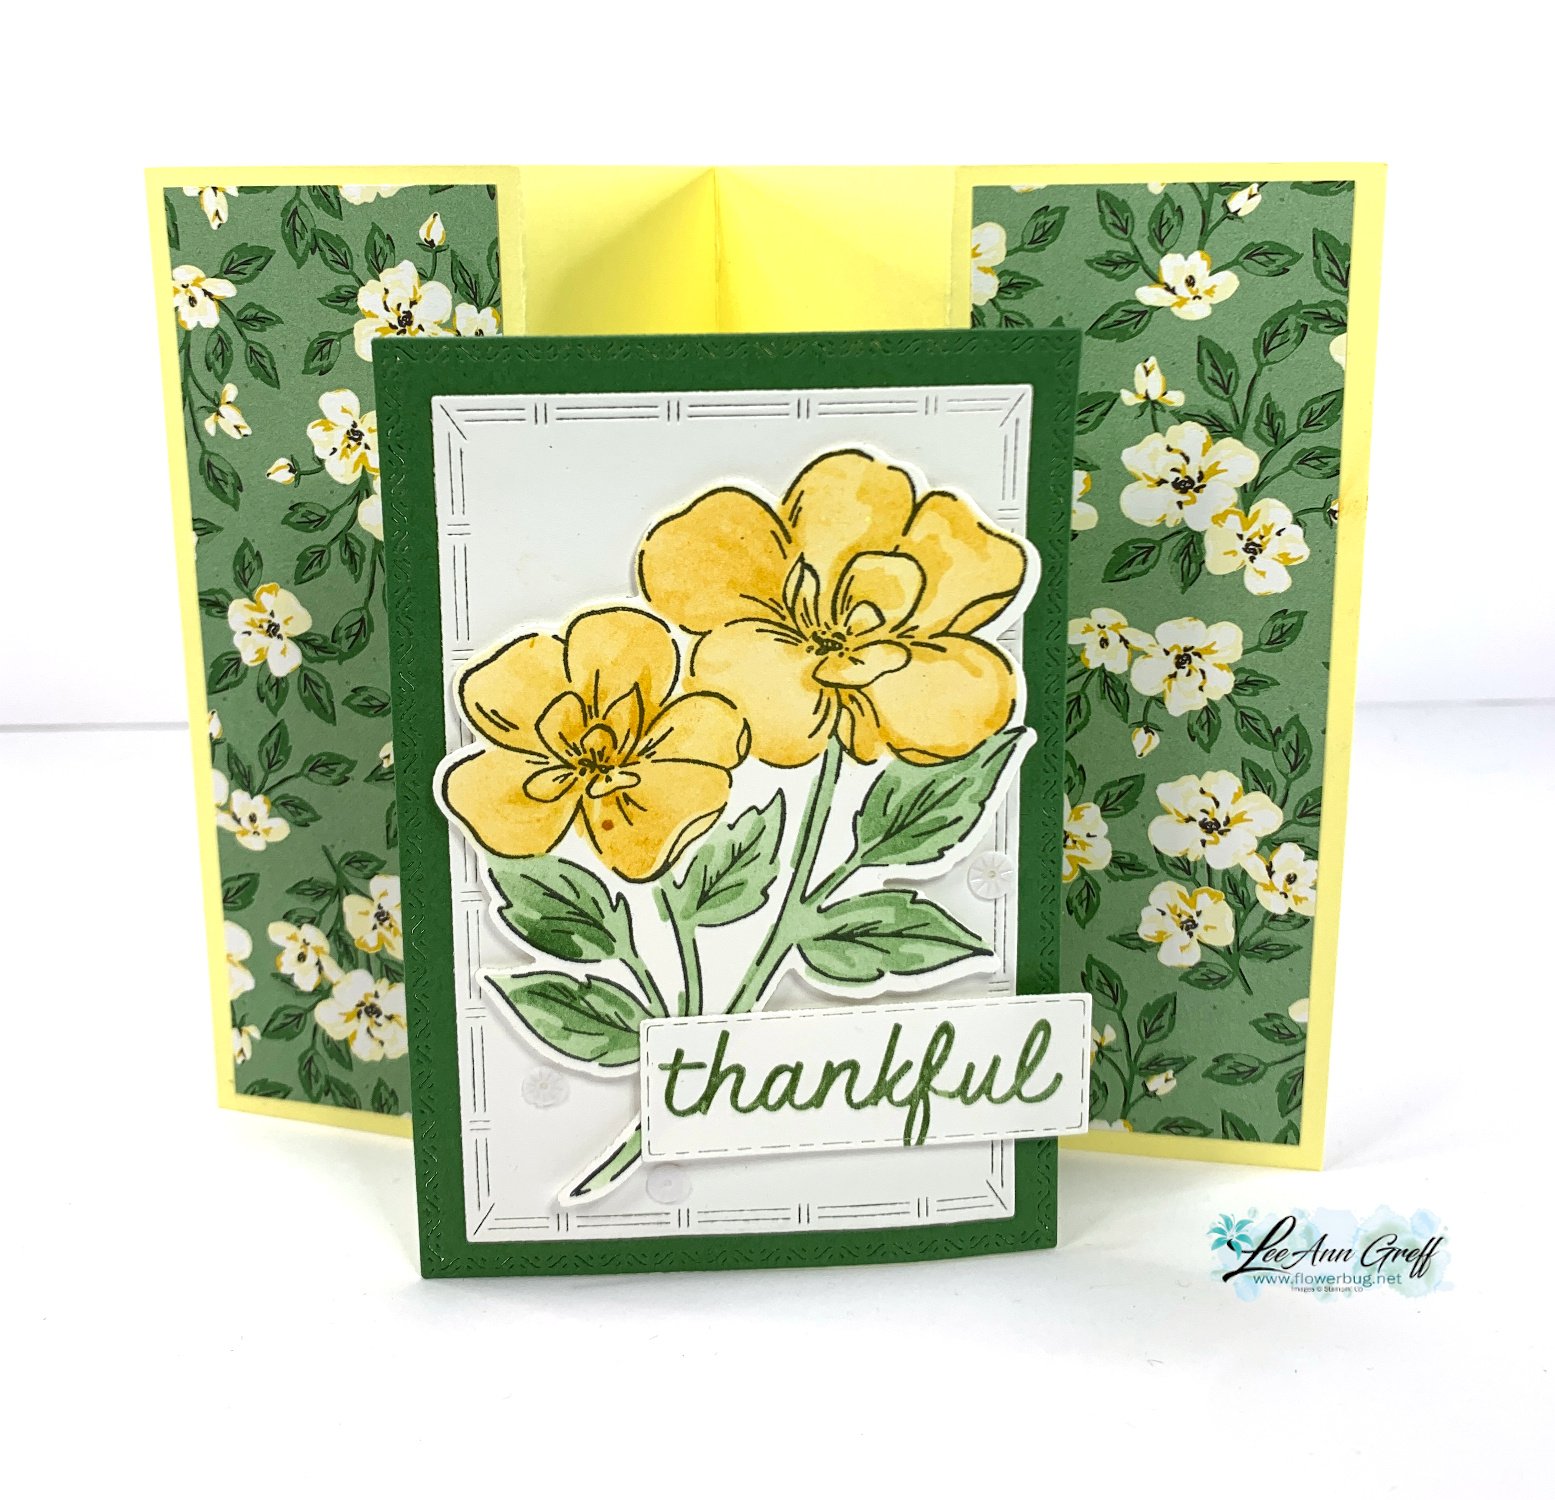
    I made the yellow/green version on the video to show a different color combo.  

    I colored the flowers by using the stencils included in the bundle. So easy and makes you look like a true artist with the high and low lights added with blending brushes.  

    Here's the free project sheet with measurements & step by step directions.  Click on the following link to download or print it.  Download Thankful Garden Center pop up card 

    Which one do you prefer?  

    Below is the video tutorial for this card and another unique fun fold using the Lovely Garden designer series paper.  

    ~~~

    March Specials:

    *current host code link:  

    PNQMAWXD

    Get a free Floral Delight tutorial with any online order in March!

     Free Iridescent Foil gems!

    Leave a Reply

    Your email address will not be published. Required fields are marked *


Notice: LeeAnn Greff, Independent Stampin’ Up! Demonstrator, Manager. The content of this website is my sole responsibility as an independent Stampin’ Up! demonstrator and the use of, and content of, the classes, services, or products offered on this website is not endorsed by Stampin’ Up! Copyright 2025