/


Latest Post

Choose to get Stampin’ Up! products at a discount… and help me achieve my goal


Many people love being a Stampin’ Up! customer. And that’s absolutely fine! But did you know you can be a Demonstrator without doing anything more than you do as a customer? Yes, it’s true!

  • Place orders whenever you wish
  • There’s no need to hold classes or events. There’s no need to run a business unless you want to.
  • When you’re done ordering you simply stop; it’s that simple!
  • Enjoy the discount on all future purchases!

I have a personal goal and need 4 more people to join in October. Can you help me out and start saving on each order you place?

Here’s a graphic with the details:
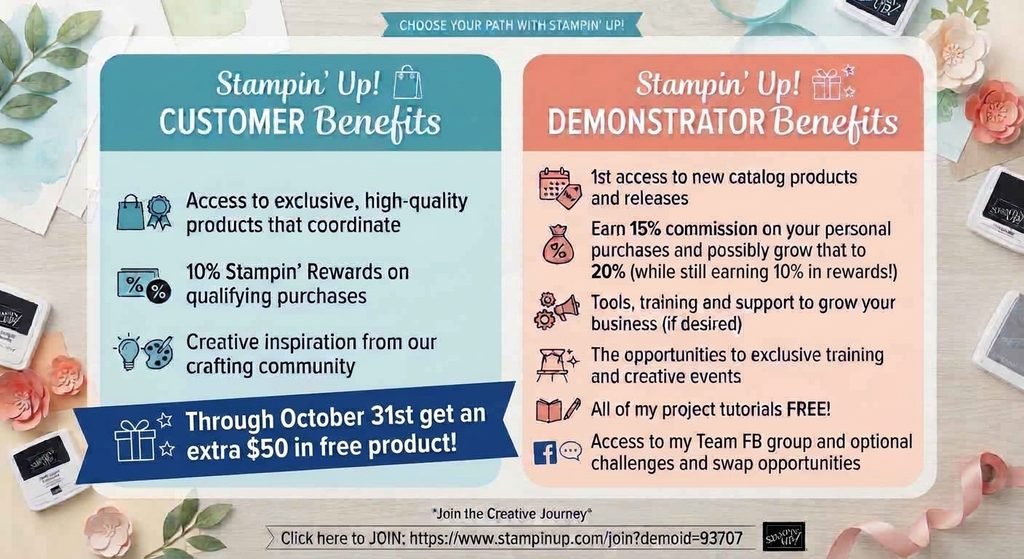
Right now, through October 31st you can grab the starter kit deal and get up to $75 in FREE product of your choice!

The kit costs $100 and you’ll receive a coupon for your starter kit purchase of $125 or less. Then you’ll receive an additional $50 in free product rewards! Click here to get started

Details:

  • You get 15% discount on all products and can increase that to 20%.
  • There’s a minimum purchase of $300 a quarter to stay active. 
  • But your first quarter is waived so you have until March 31st to get that $300 in and each order counts towards that first $300.
  • And, when you order Stampin’ Up! counts your purchase at full price but you only pay at the discounted price.  For example, order $100 and pay just $85.  Tax and shipping is added to the discounted price.
  • In addition to your 15-20% discount you still earn 10% in product rewards; just like customers!  *your customer earned rewards transfers to your demo account.
  • You can stop ordering as a demo at any time.  There’s no pressure to continue.  It’s totally up to you on how long you stay. 
  • Get ALL of my project tutorials in my Team newsletter each month!

I hope you’ll consider getting the Starter kit this month; you will not regret it!

All Posts

  • Beautiful Gallery Suite in an ‘over the top’ card


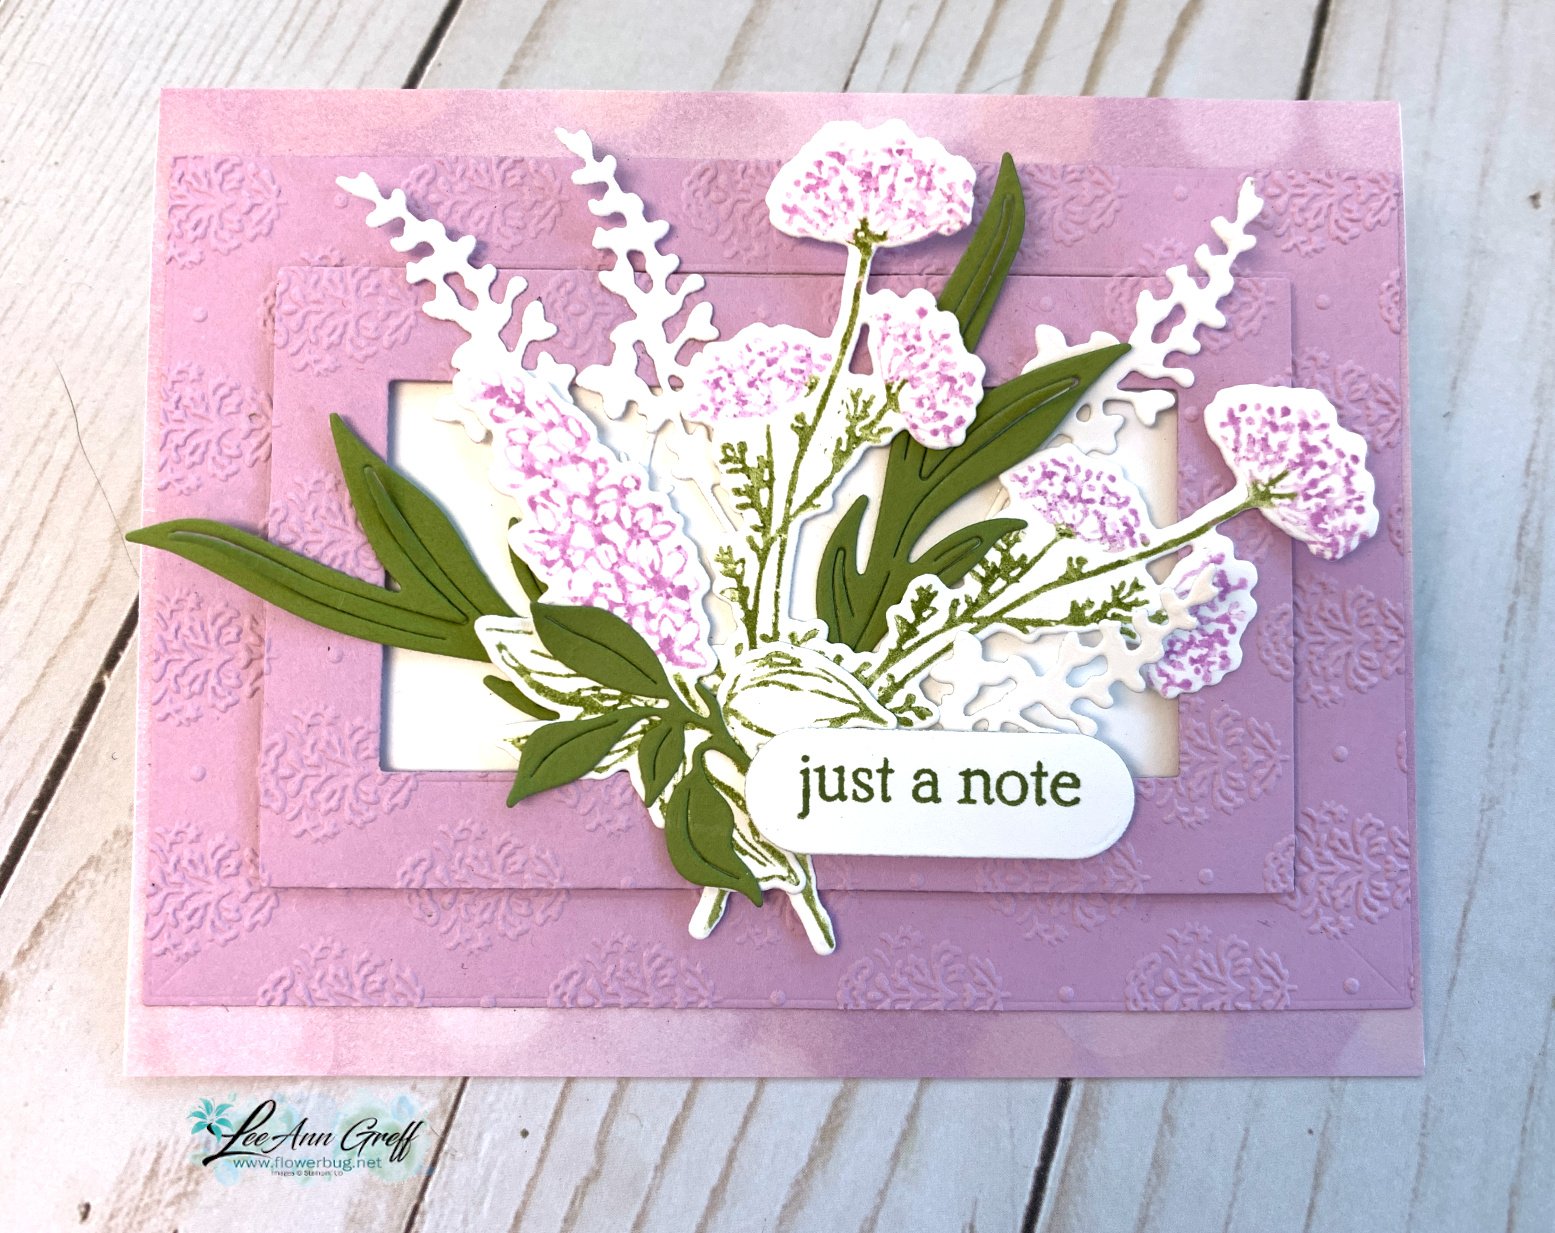
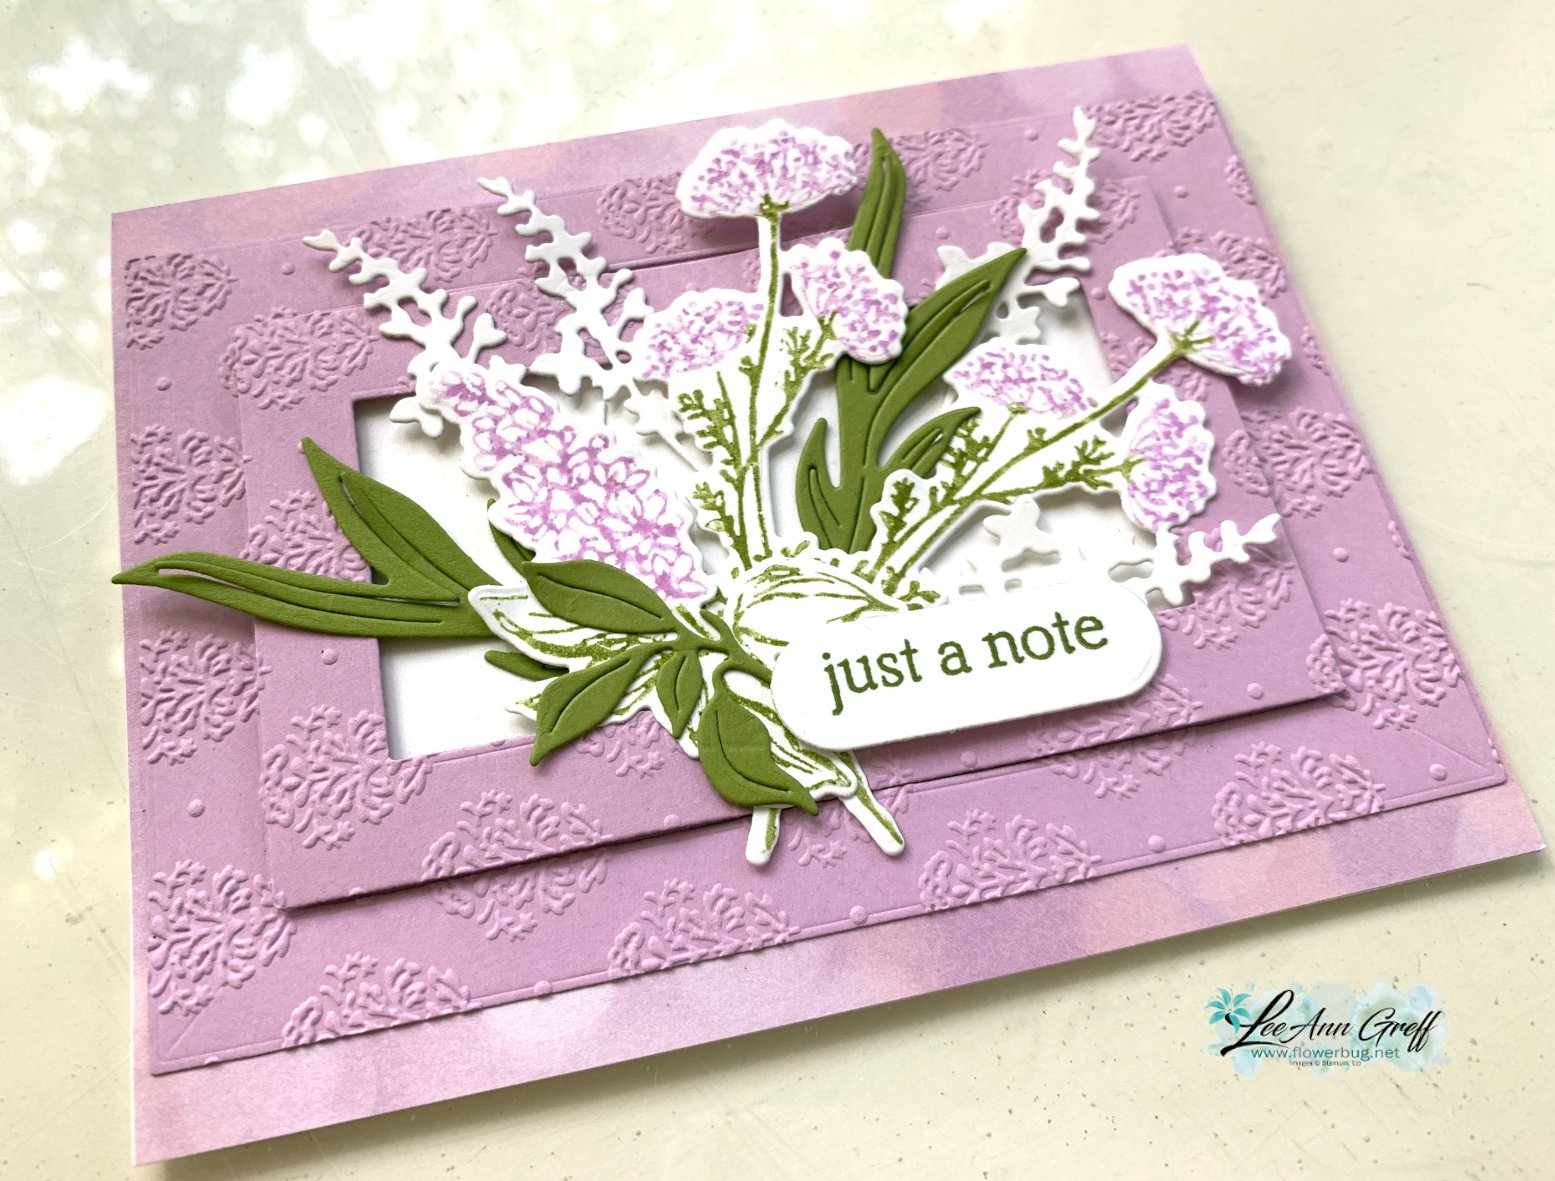
    I was playing with the Beautiful Gallery suite for last week's Live video and came up with this card.  

    It has tons of die-cuts and layers I am calling it 'over the top'.  It's not my normal style at all.  But I do like it; probably because it has just a few colors in it. That helps it not seen too busy.  

    The textured 'frames' are done with the Damask Designs folder; both are die-cut frames in the Gallery Bloom dies (which are out of stock right now unfortunately). The smaller frame is popped up with Stampin' Dimensionals. The DSP in the background is the Beautiful Bokeh paper. 

    My colors include Fresh Freesia with White and Old Olive.  

    I inked the two different floral stamps with Stampin' Write markers, coloring directly onto the stamp before stamping on my White CS.  Watch the video below to get a tip or two on this technique.   The rest of the pretty die-cuts are from this Suite seen here. 

    Remember this suite and both bundles are both BOGO Through June – Buy 1 Get 1 50% off. Unfortunately I saw that the Gallery Bloom dies are out of stock right now.  

    Below is the video tutorial for this card and another.  I hope you'll watch it; and subscribe to my YouTube Channel! 
    ~~~

    June Specials:

    The Suite Sale is on! 

    Buy one get 50% the second item – on all available suite products. 

    Shop here or see products below: 

    ~~~

    Last Chance List has been updated!  see it all here. Don't miss out on the deals!

    ~~~

    Earn free card kits in June with online orders! Get 4 kits with a $50 order and orders over $80 receive all 6 cards. All you need are greetings, gems and adhesives to assemble. 

    Order here 

    ~~~

    Get my Celebratory Sips PDF tutorial free with any online order in June!

    Leave a Reply

    Your email address will not be published. Required fields are marked *

  • Gorgeous Gallery Blooms card with video tutorial & free project sheet


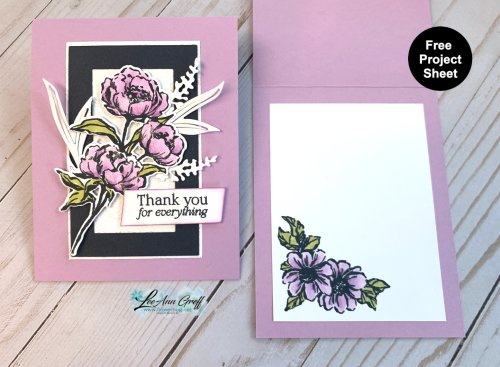
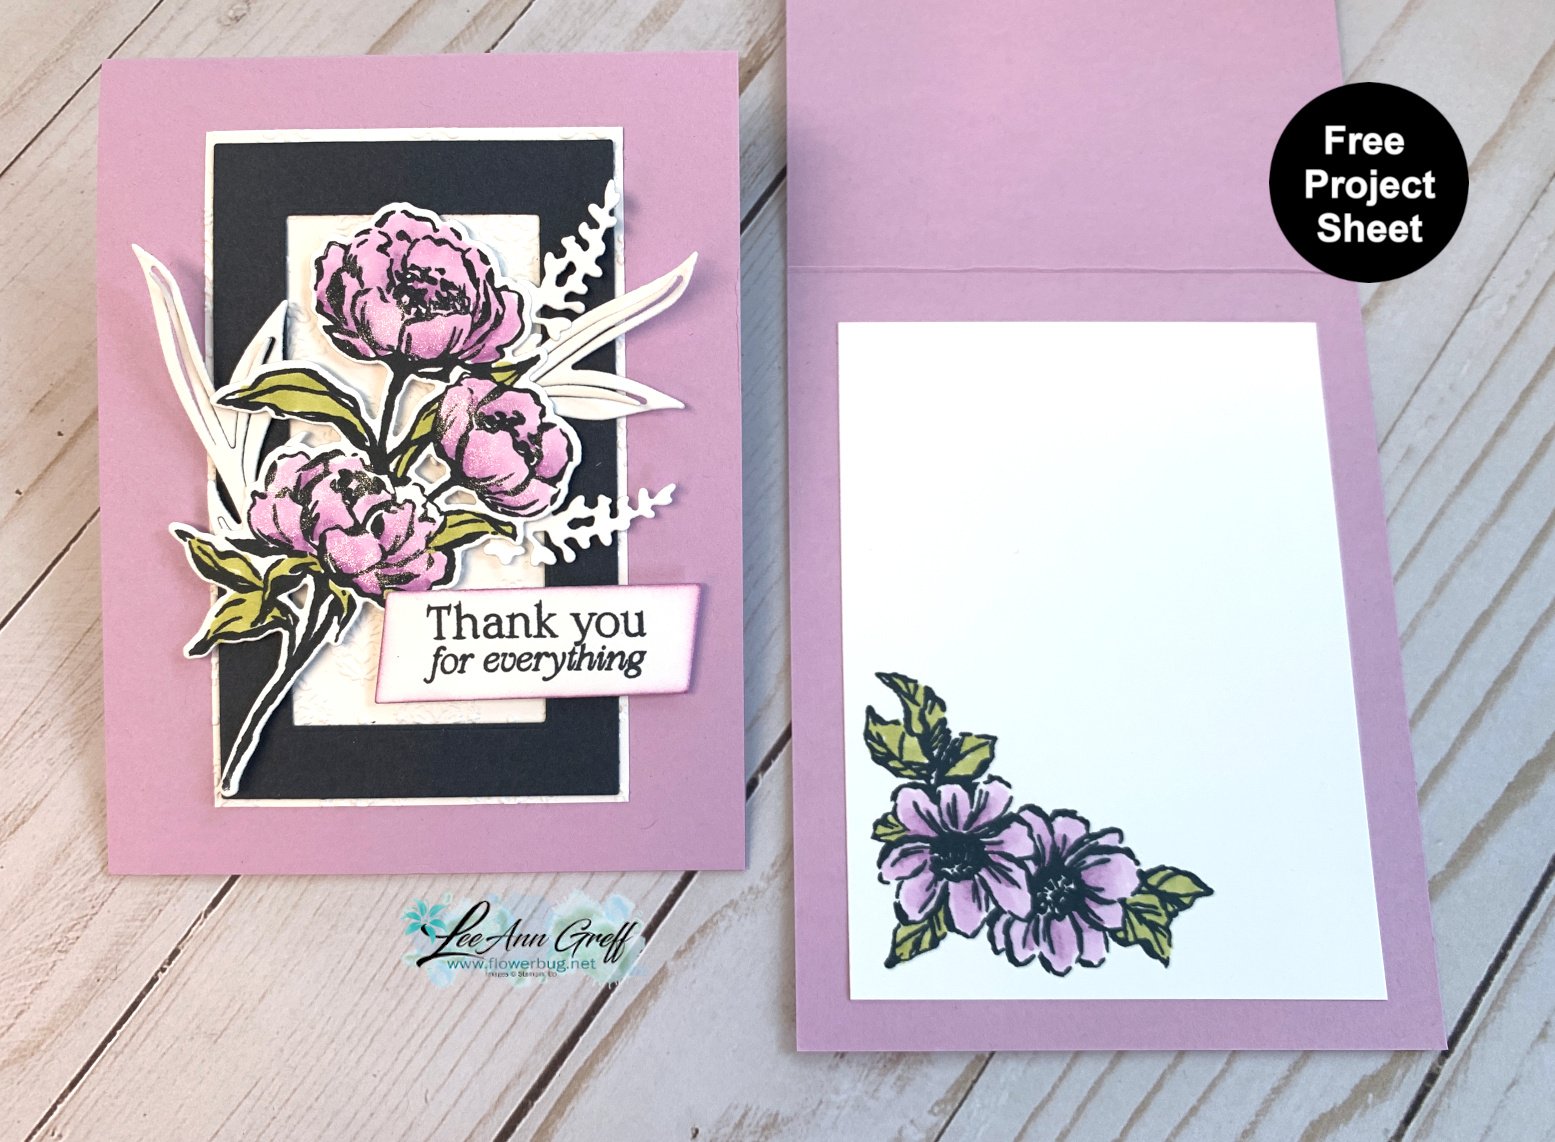
    I shared this beautiful card on last week's video.  It features the Gallery Blooms bundle in our 2025-26 Annual Catalog. 

    My colors include Fresh Freesia, Secret Sea and White.  The die-cuts here include the frame and the flower.  The greeting is die-cut with the More Messages die.  

    I did texture the largest White layer with the Damask Designs folder; which is included in the Beautiful Gallery Suite seen here.  All of these items are included in the Suite BOGO sale this month.  Buy any Suite item and get the second at half off.  What a great deal; especially if you buy either two suites or two bundles.  See all of the Suite products here. 

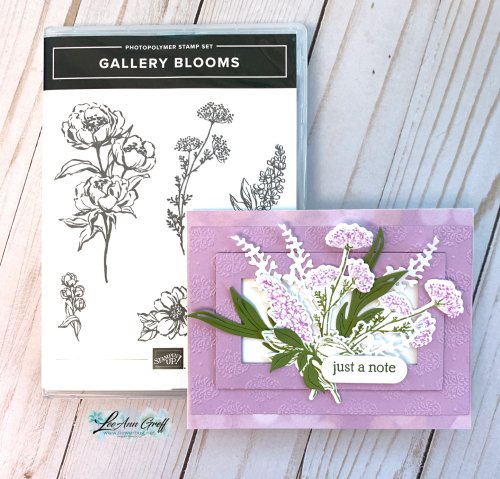
    This Gallery Blooms bundle comes with the stamp set seen above and the coordinating dies.  See it here. 

    I created a free project sheet for this card. Click on the following link to print or download it.  Download Gallery Blooms Framed flower

    Below is the video tutorial for this card and another.  I hope you'll watch it; and subscribe to my YouTube Channel! 

    ~~~

    June Specials:

    The Suite Sale is on! 

    Buy one get 50% the second item – on all available suite products. 

    Shop here or see products below: 

    ~~~

    Last Chance List has been updated!  see it all here. Don't miss out on the deals!

    ~~~

    Earn free card kits in June with online orders! Get 4 kits with a $50 order and orders over $80 receive all 6 cards. All you need are greetings, gems and adhesives to assemble. 

    Order here 

    ~~~

    Get my Celebratory Sips PDF tutorial free with any online order in June!

    Leave a Reply

    Your email address will not be published. Required fields are marked *

  • The Arches dies are back in stock! An Arched Wishes easy card idea in a fresh color combo


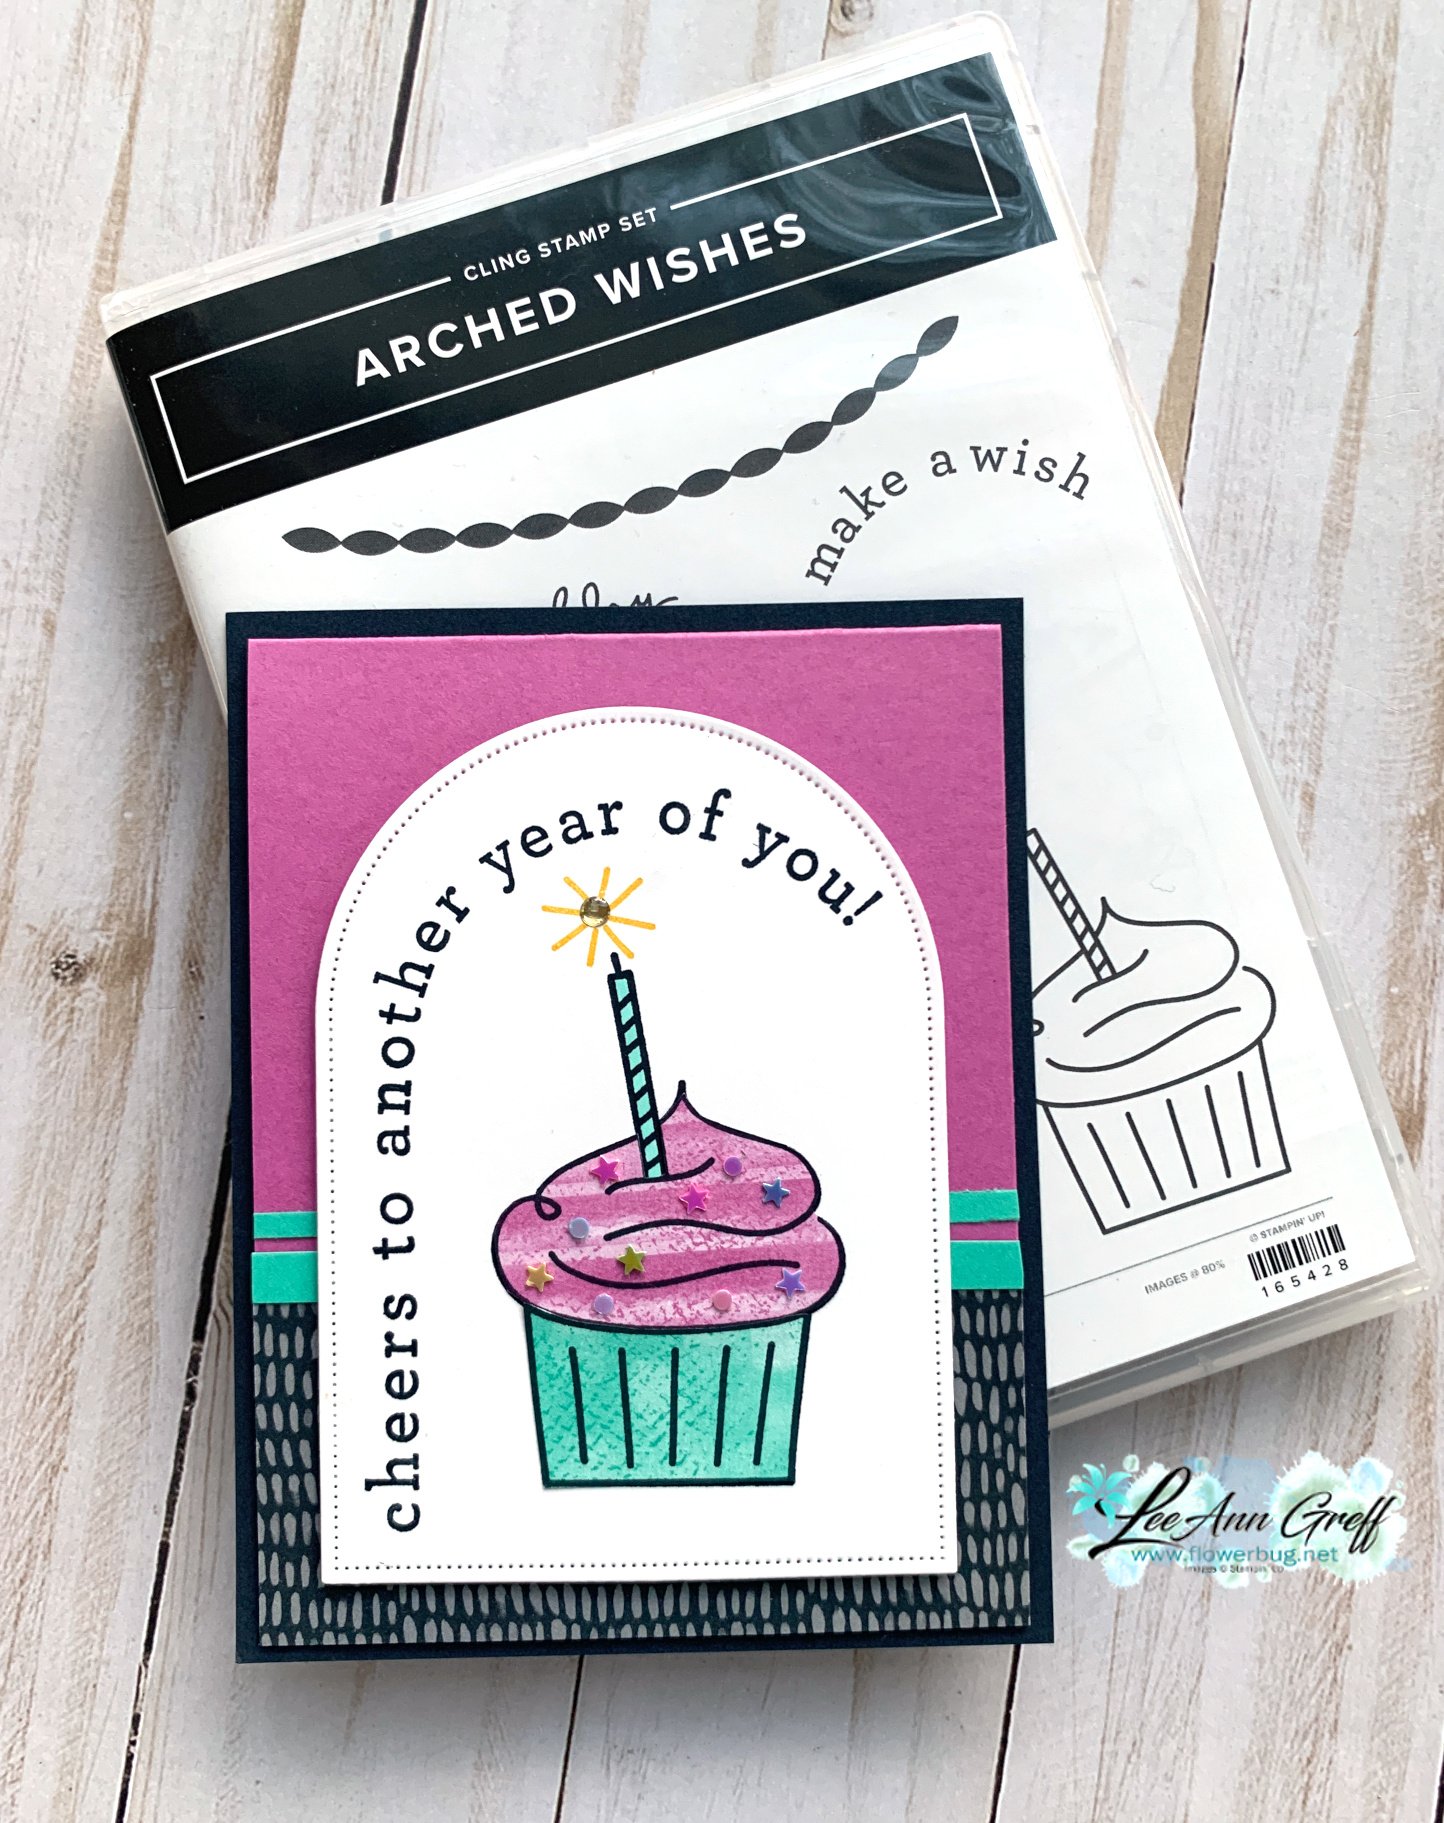
    I created this cute card for a Demo swap I participated in.  

    The Arched Wishes stamp set coordinates with the Arches dies which are back in stock.  See the stamp set here and the Arches dies here.  

    My colors include Petunia Pop with Summer Splash and the new Secret Sea. I love them together!  

    This stamp set is super fun and includes great celebration images. 

    Do you see how it's a bit of a fun fold?  Basically the Secret Sea back is 4 1/4" X 5 1/4" and the Petunia Pop is 4" X 10 1/2" and the card layer that flips up. Score it at 5 1/4" and add to the larger layer.  

    Technique Tip: If you're wondering how I colored the cupcake I used designer series paper for both the liner and the frosting. This is called paper piecing – where you stamp the image onto DSP and fussy cut it out. 

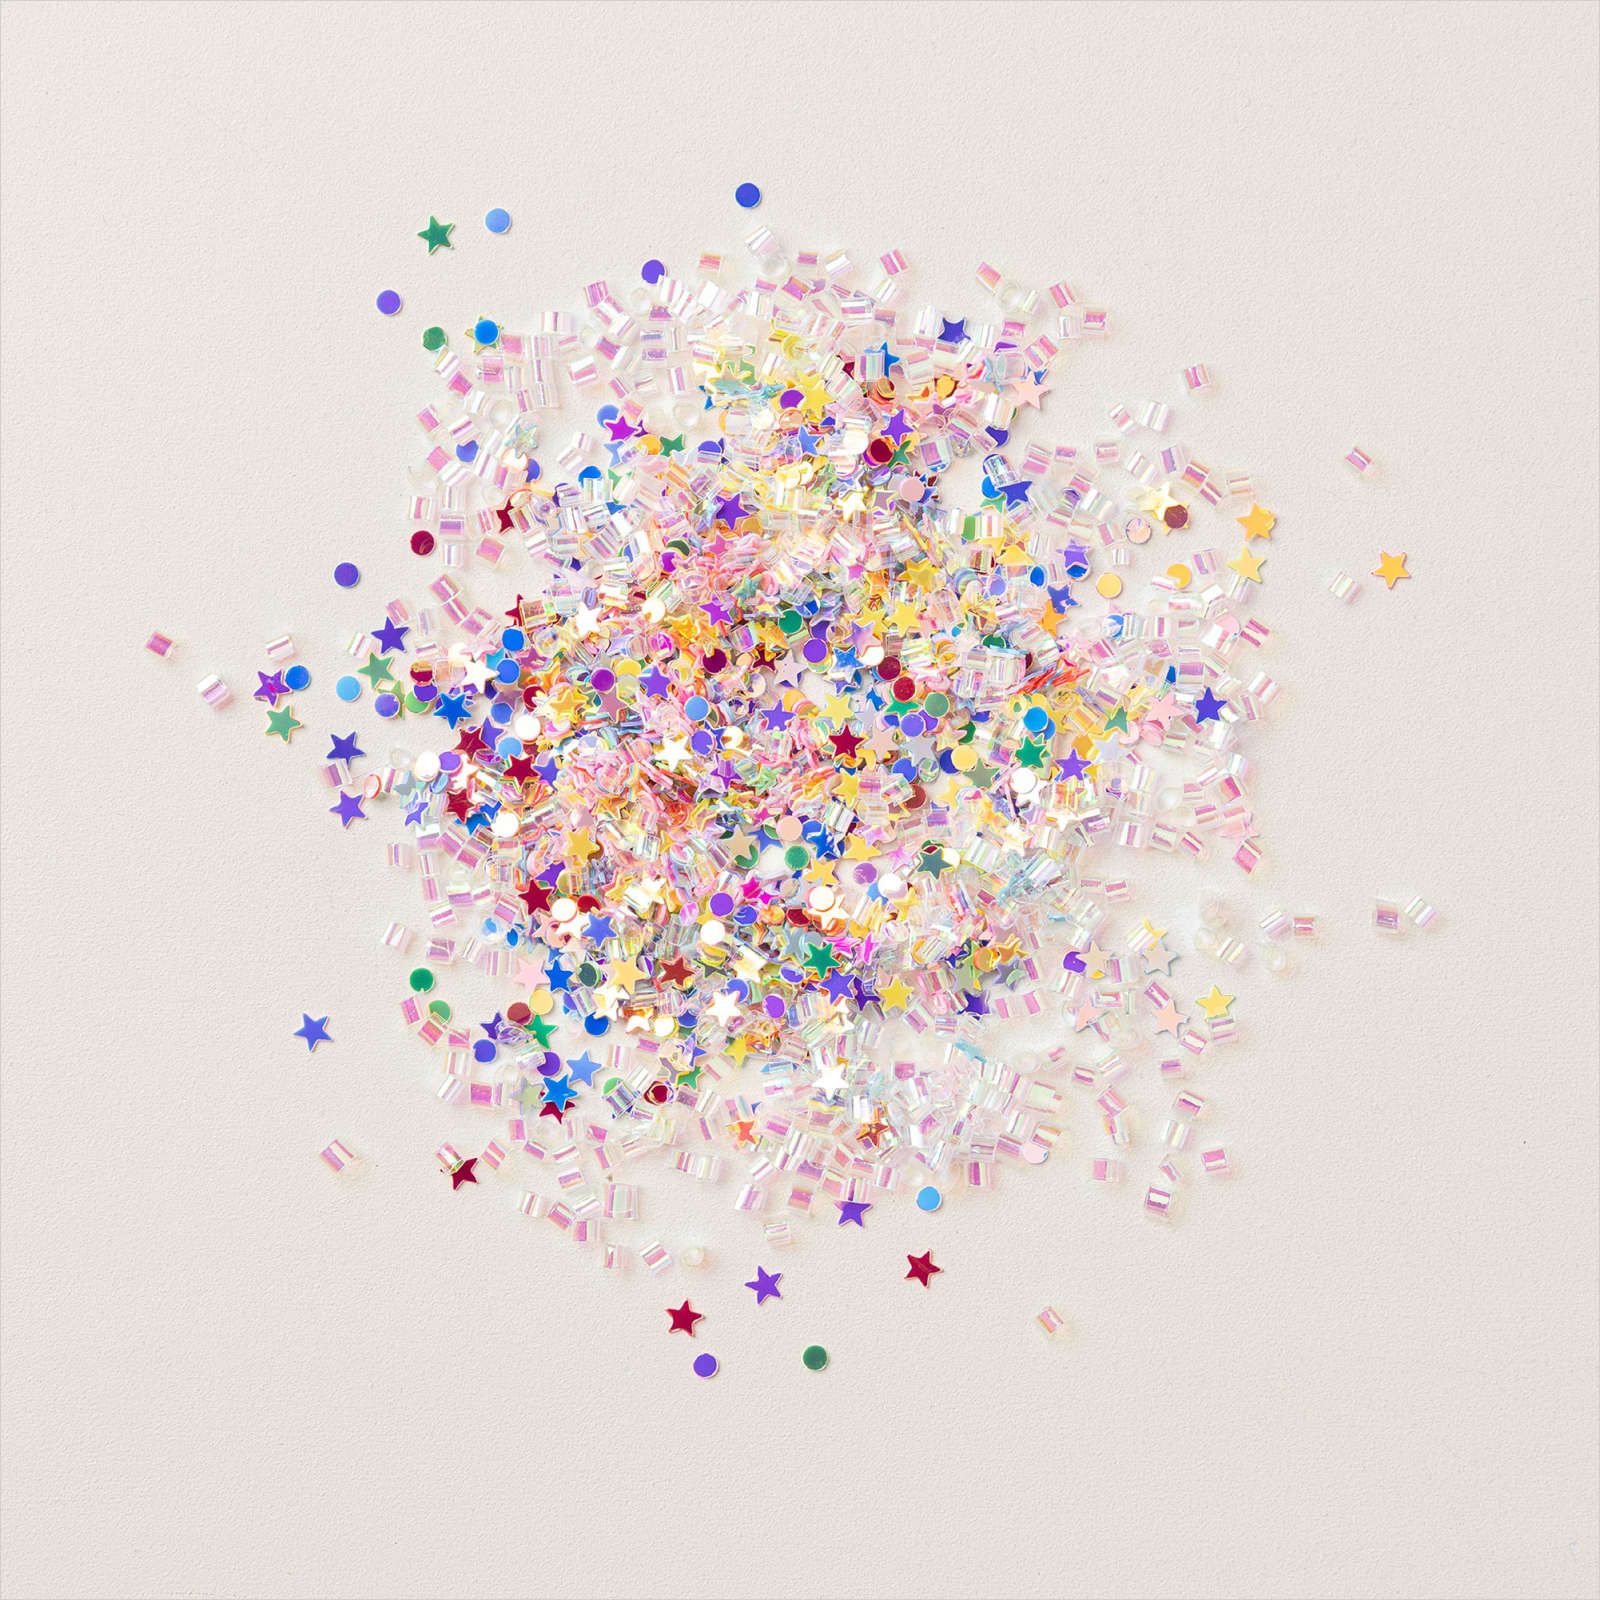
    Check out the confetti on the frosting.  I used the Loose Shaker elements seen here. Simply add a tiny dot of liquid glue and drop the sparkle on top! 

    ~~~

    June Specials:

    The Suite Sale is on! 

    Buy one get 50% the second item – on all available suite products. 

    Shop here or see products below: 

    ~~~

    Last Chance List has been updated!  see it all here. Don't miss out on the deals!

    ~~~

    Earn free card kits in June with online orders! Get 4 kits with a $50 order and orders over $80 receive all 6 cards. All you need are greetings, gems and adhesives to assemble. 

    Order here 

    ~~~

    Get my Celebratory Sips PDF tutorial free with any online order in June!

    Leave a Reply

    Your email address will not be published. Required fields are marked *


Notice: LeeAnn Greff, Independent Stampin’ Up! Demonstrator, Manager. The content of this website is my sole responsibility as an independent Stampin’ Up! demonstrator and the use of, and content of, the classes, services, or products offered on this website is not endorsed by Stampin’ Up! Copyright 2025