/


Latest Post

Check out this neat Botanical Expressions fun fold card


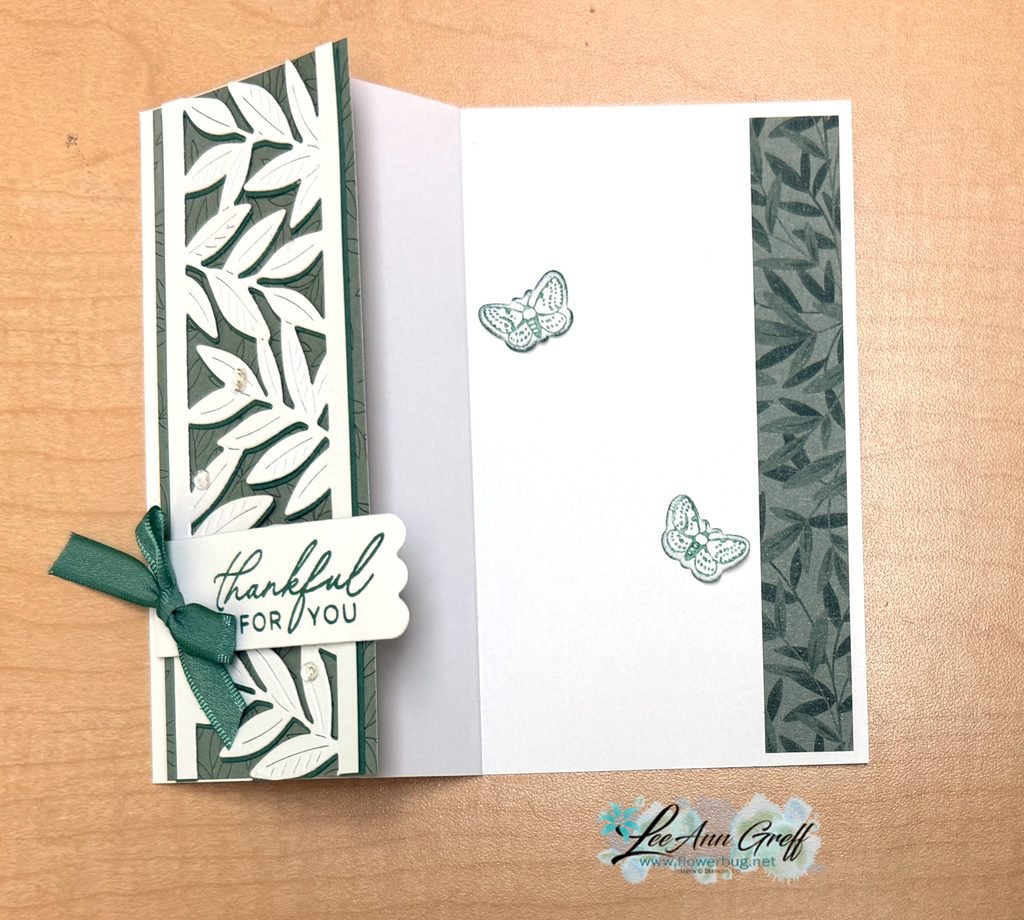
I shared this pretty card on last week’s Live video. It features a new die from the Online store called Botanical Expressions:
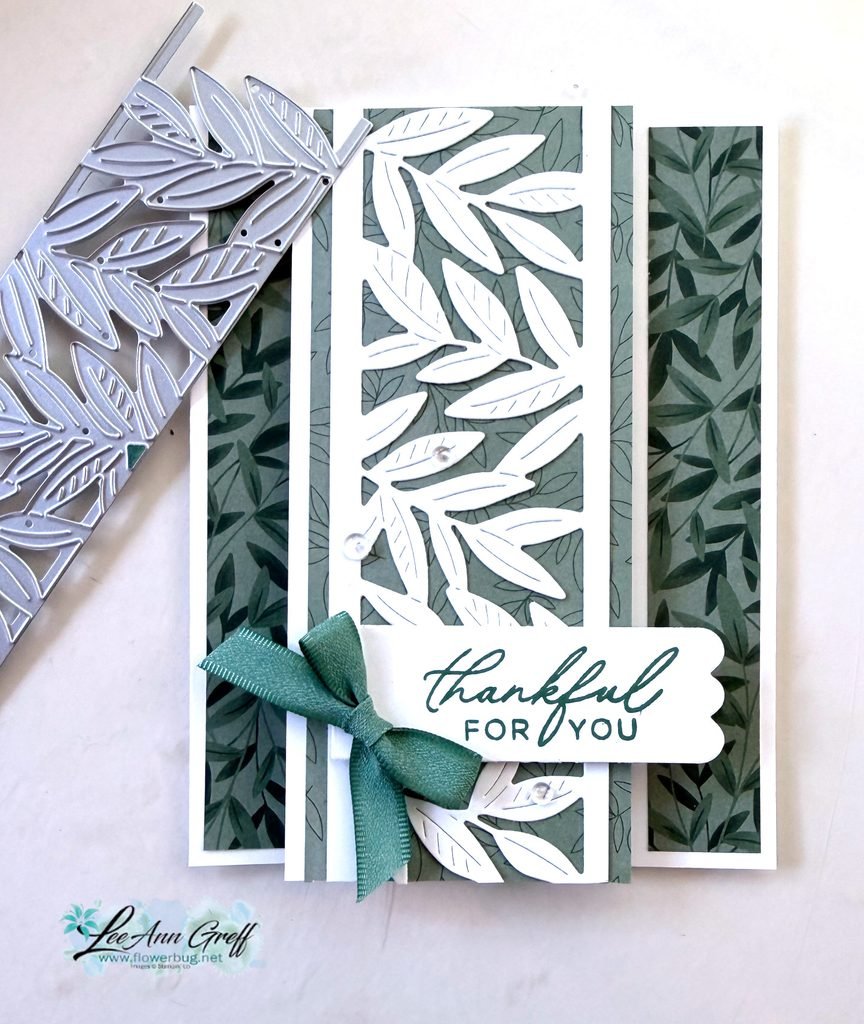
You can see a glimpse of the die in the photo above. It cuts the leaves out but not the edge, so you can make the leaf element as wide as you’d like. See this die here.

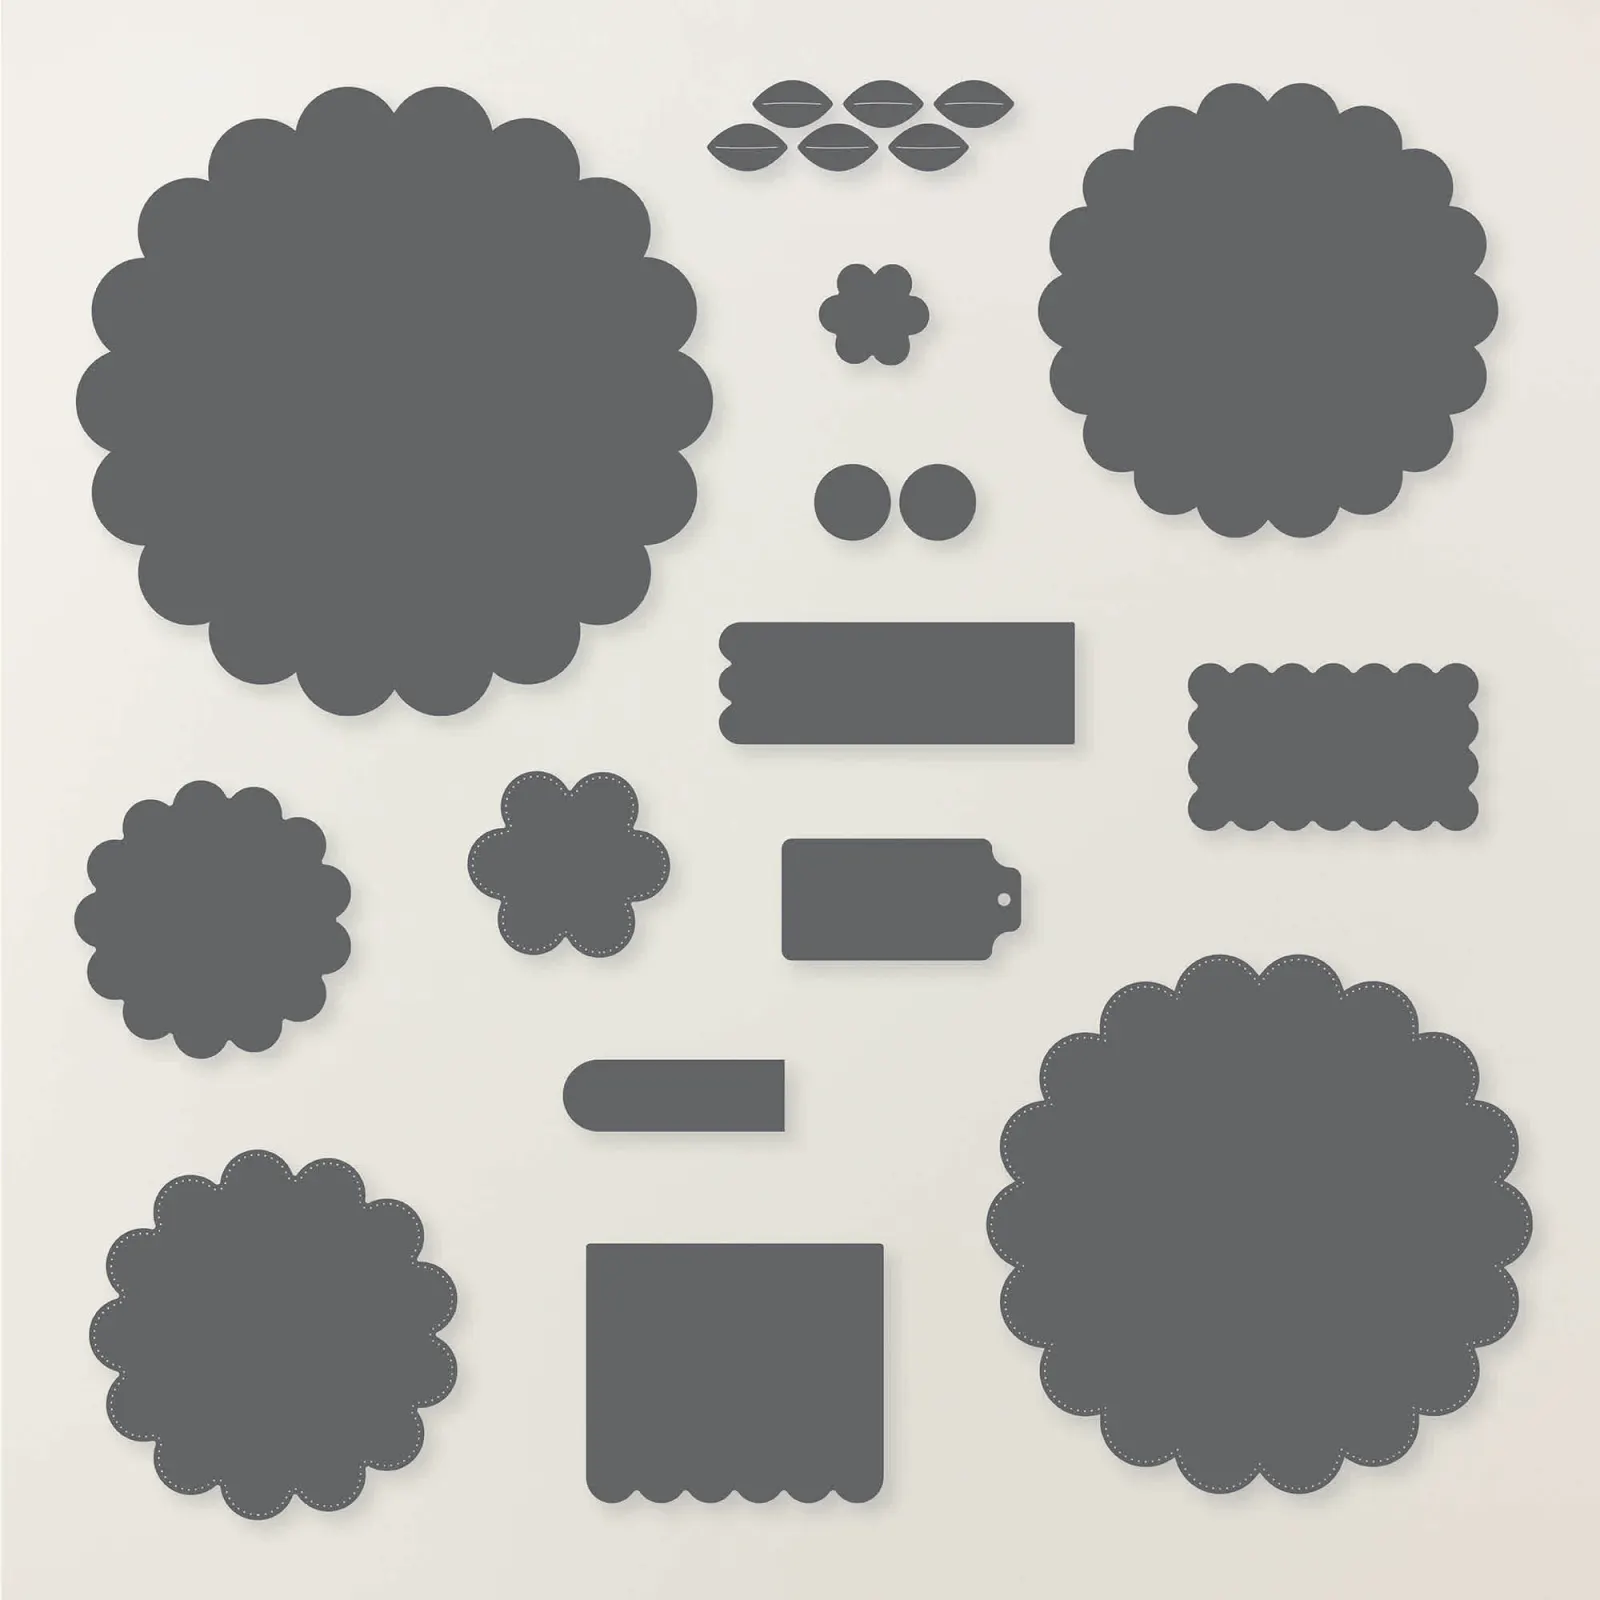
My colors include White with Peaceful Pine. The designer paper is the Moonlit Flora DSP seen here. The greeting tag is from the Scalloped Blooms dies. I’ve been using the greeting tags in this set of dies a lot.
This card fold is what I’m calling a Vertical Book-binding Z-fold.
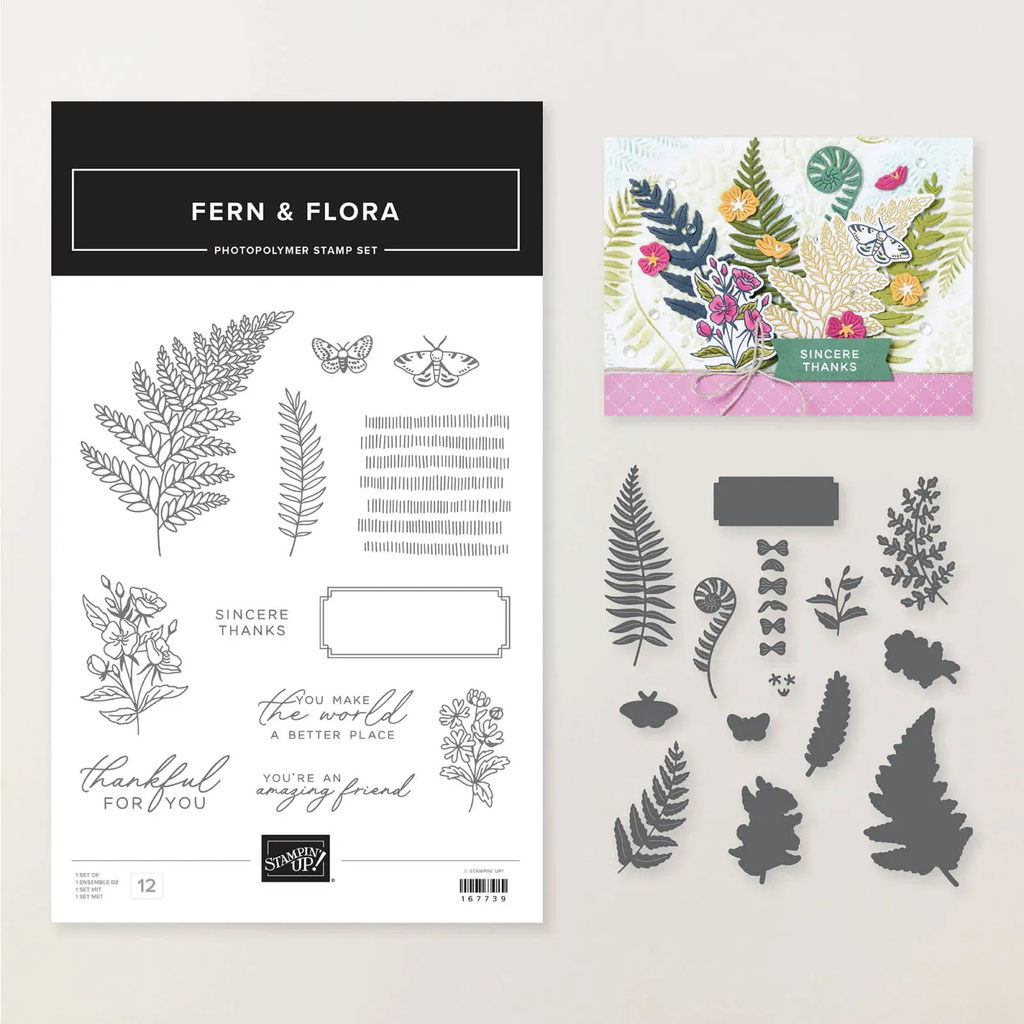
The greeting and butterflies are from the Fern & Flora bundle seen here
Here’s the free project sheet for this card with measurements & directions. Click here.

And below is the video showing you how to assemble this card plus my newest tutorials & card kits to go.

Don’t forget about the July Specials!
July Stampin’ Up! specials:

There are new Online Exclusives out this month! They include florals, Fall, Halloween and Christmas! See them all here.

Here are a few links & graphics of two of the suites:
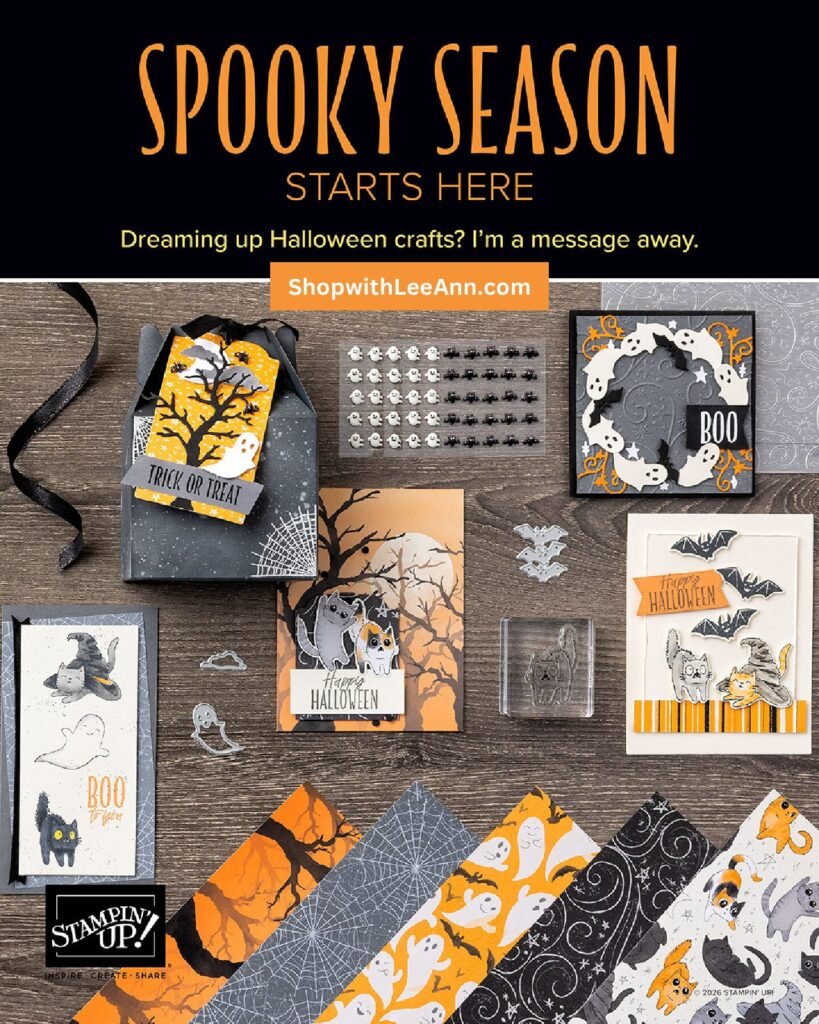
You can see the Spooky Season suite here.
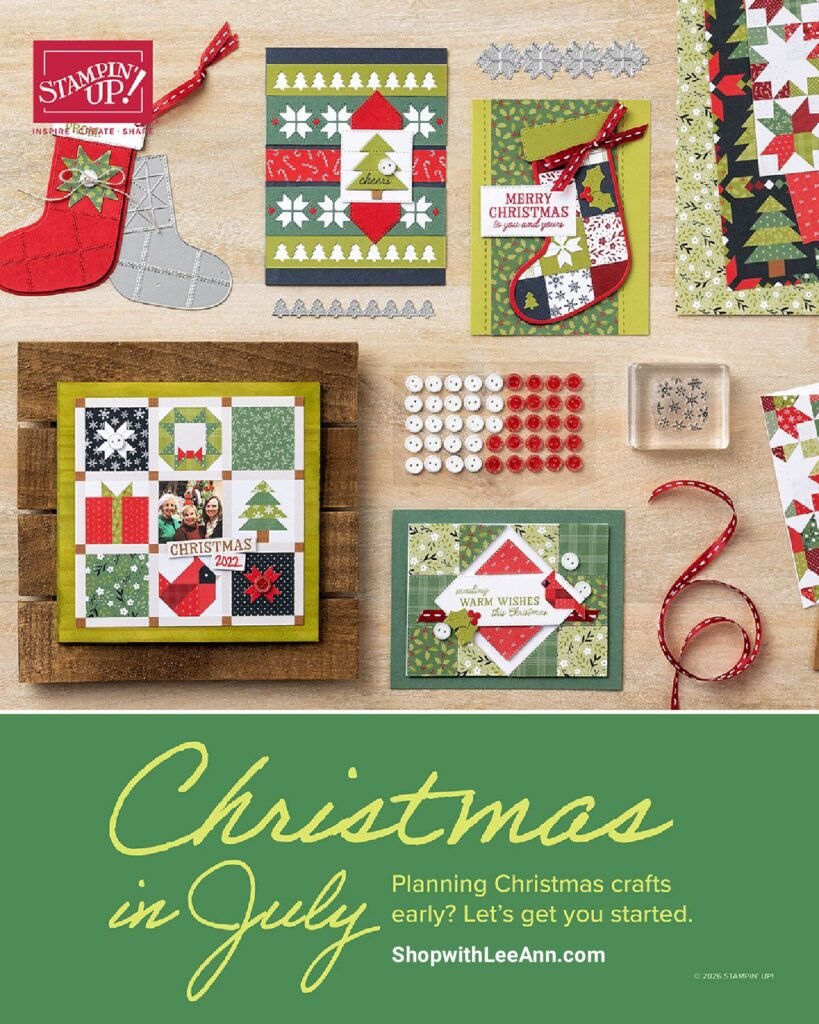
See all of our Christmas products here!

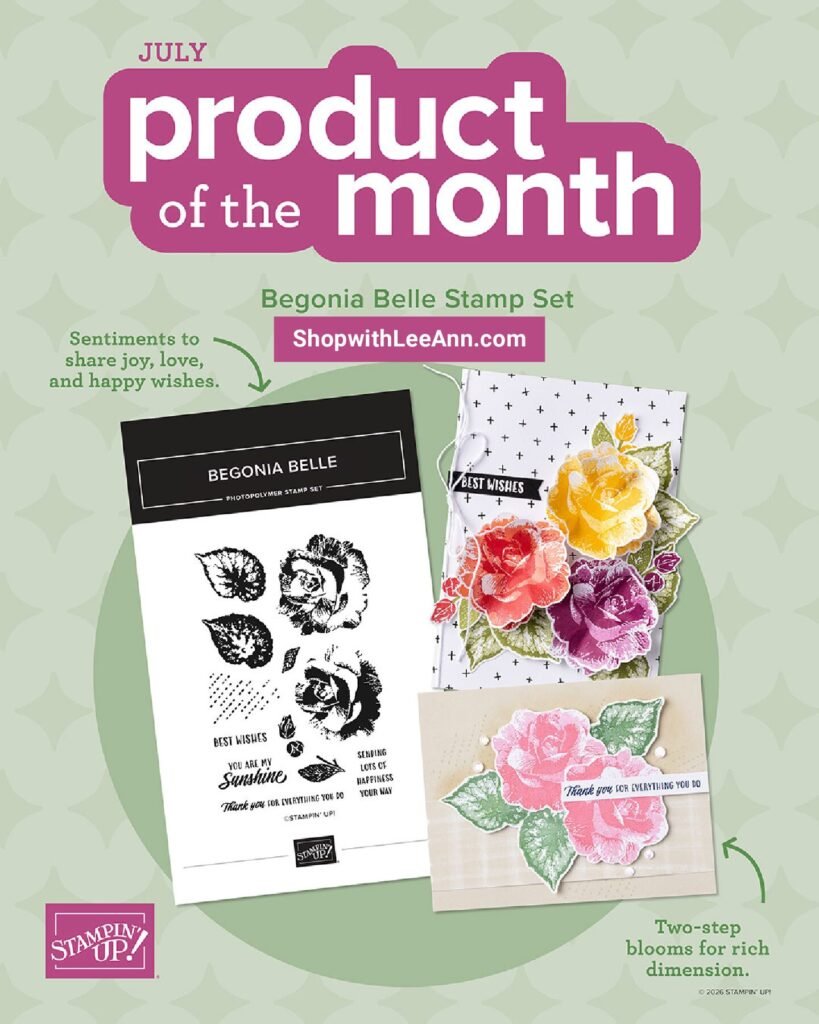
Our newest Product of the Month is this beautiful Begonia Belle stamp set: It’s just $5 once you hit the $75 mark in your shopping cart!
See it here
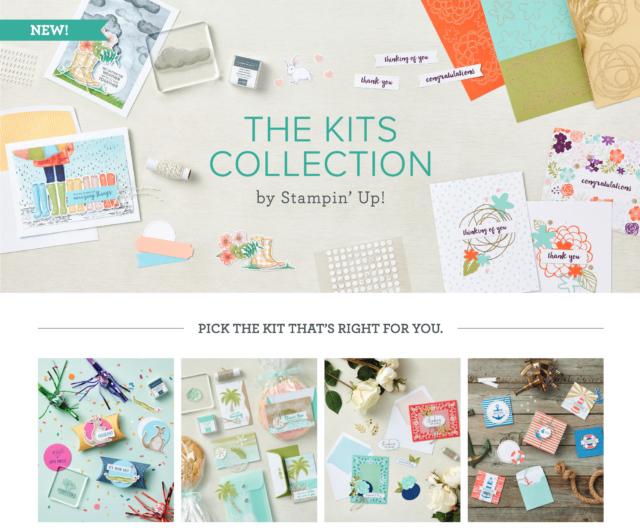
We have two new kits in our Kit Collection:
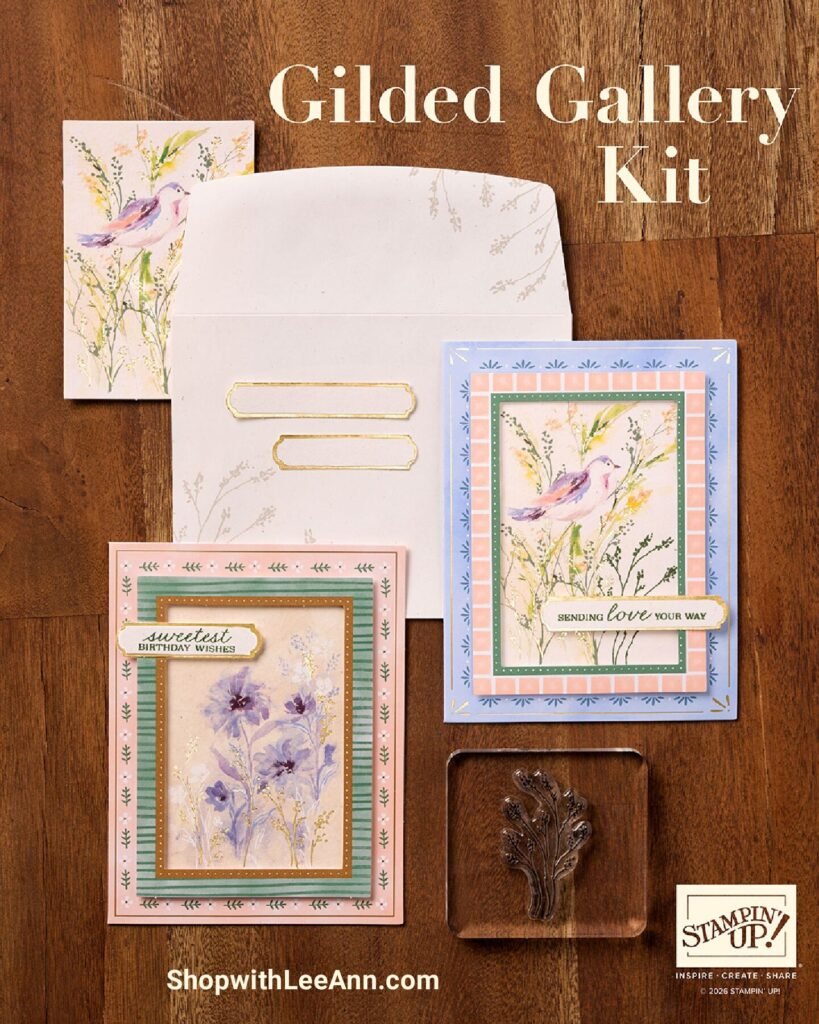
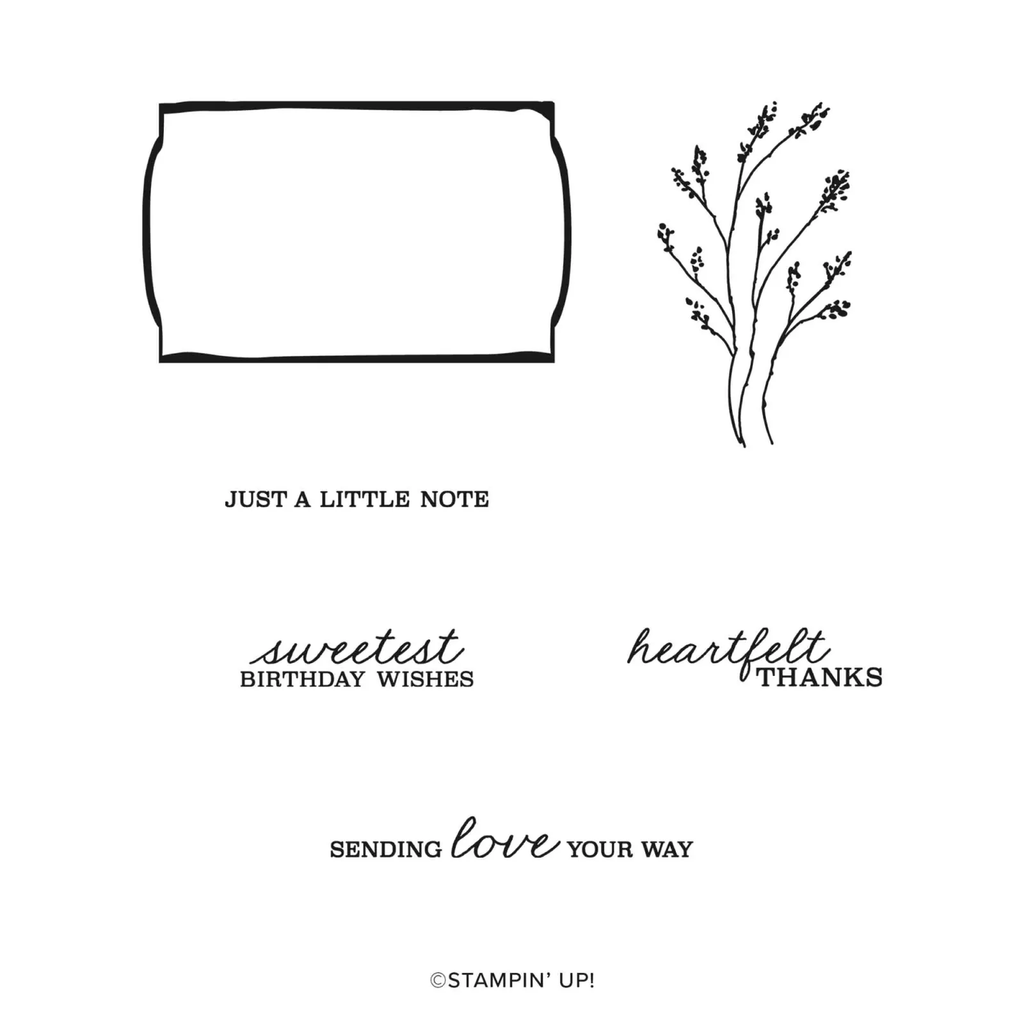
The Gilded Gallery card kit can be seen here. It’s $25, makes 10 cards with envelopes and includes a beautiful stamp set and ink spot.
The other kit is a fun scrapbook album called Daisy Days:
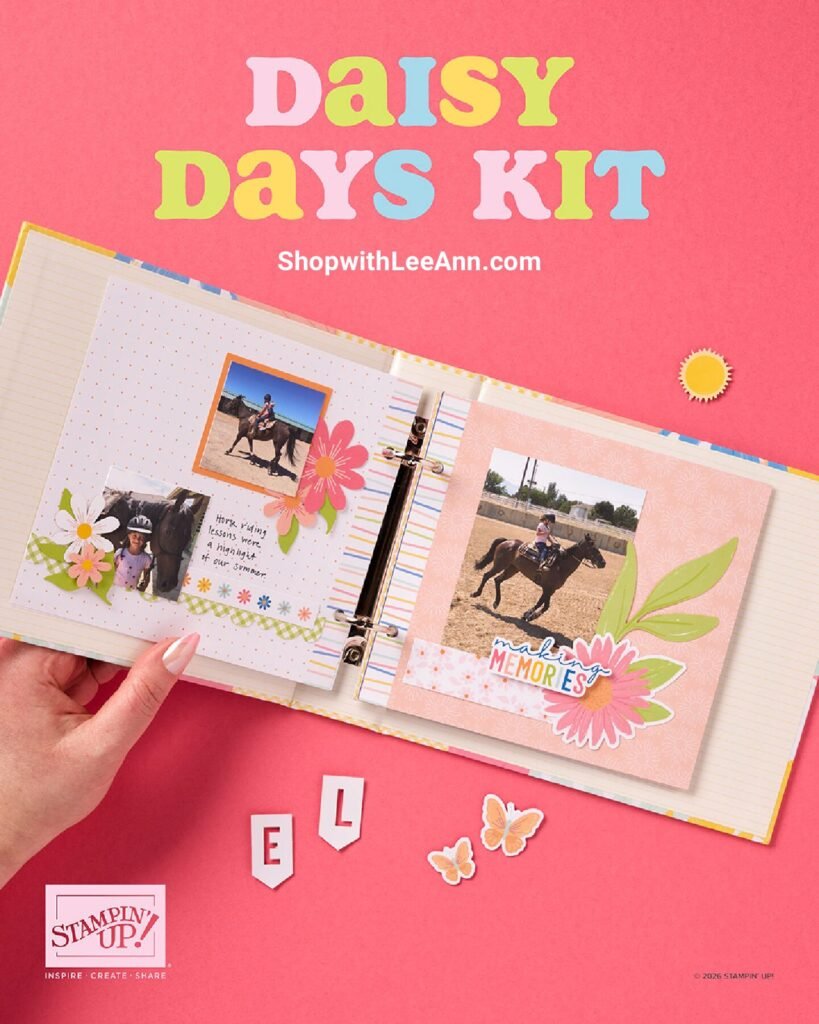
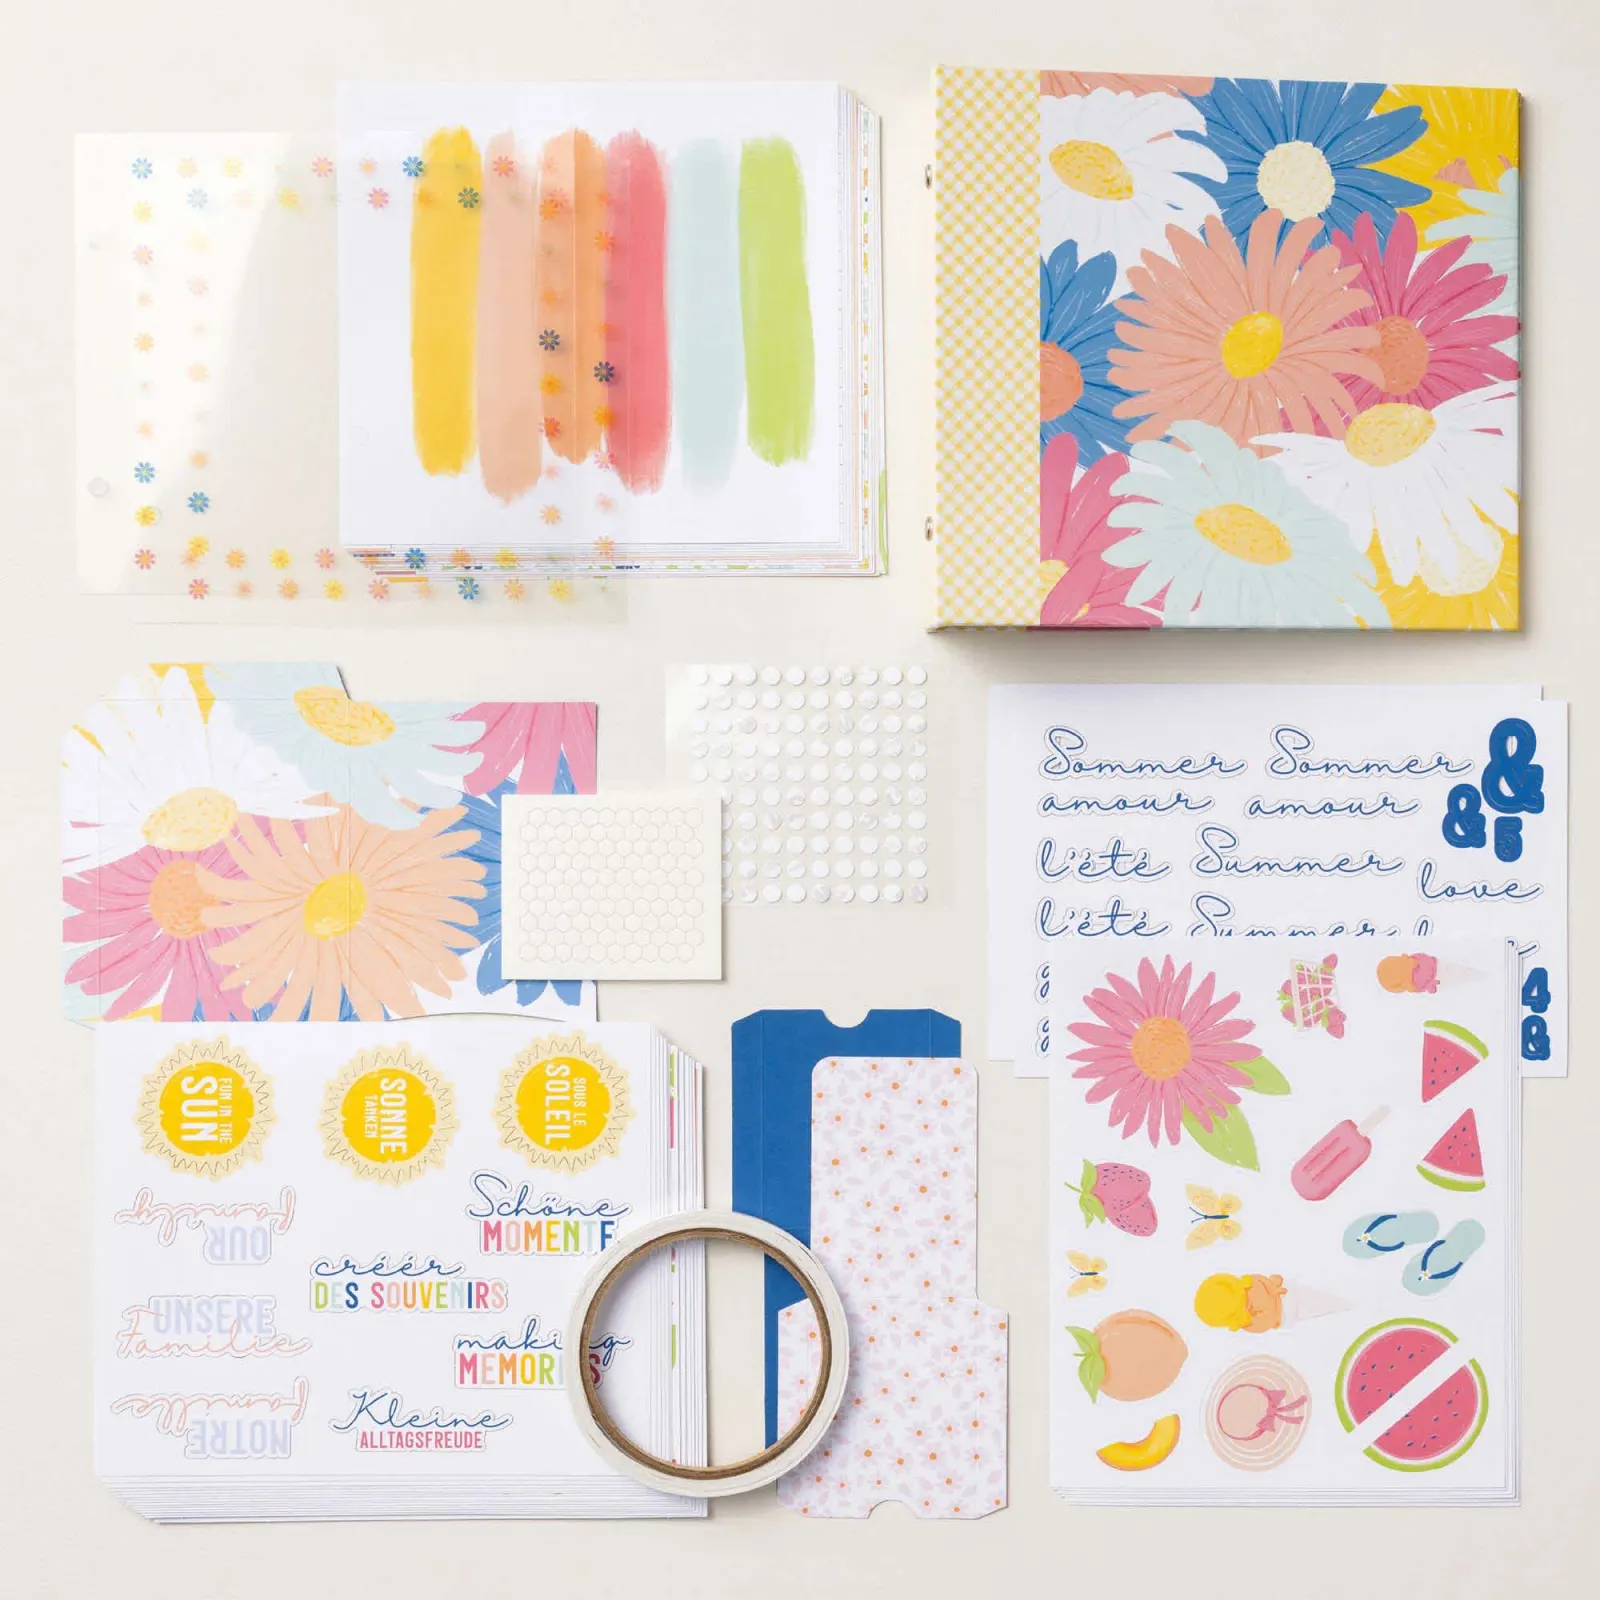
See it here. It includes the following:

DETAILS
– Makes 1 album with 28 pages
– Album size: 7-3/4″ x 7″ x 1-7/8″
– Page size: 6.5″ x 6″
– Colors: Blueberry Bushel, Crisp Cantaloupe, Crushed Curry, Granny Apple Green, Pool Party, Strawberry Slush, Timid Tiger
– Sentiments printed in English, French, and German

– Step-by-step instructions
– Precut images and sentiments
– Printed pockets
– Acetate sheets
– Adhesive
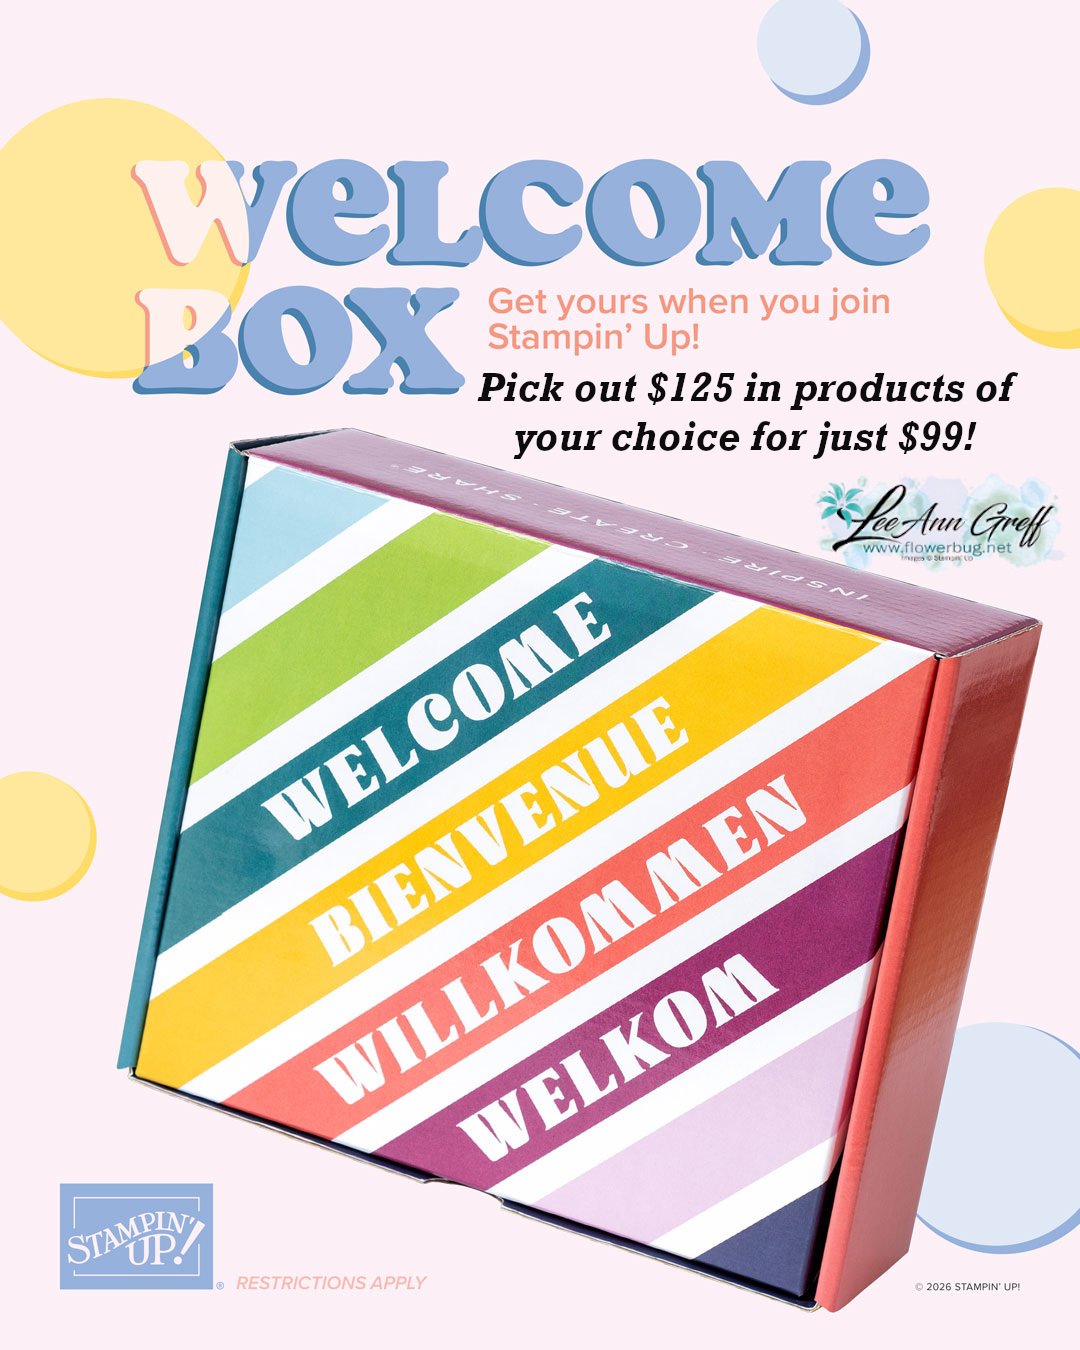
And lastly is the new Welcome box!

This is super exciting news! All first-time demonstrators (beginning July 1, 2026) will receive a surprise Welcome Box—a gesture of appreciation and a warm welcome into the global Stampin’ Up! creative community.
Here is a video that shows what’s inside. But here are the details:

What’s Inside the Welcome Box

  • A handwritten welcome letter from Sara
  • Stampin’ Up!-branded swag:
    • Pen
    • Pop-up pencil case
    • Pop-up waste basket
  • An exclusive card kit including:
    • Kit-sized stamp set
    • Full-size clear block
    • Classic Stampin’ Spot
    • Supplies to create eight “hello” cards

Here’s the link to join my Team; it’s just $99 and you can choose up to $125 in products of your choice!

Important Notes

  • The Welcome Box is exclusive to first-time demonstrators. Beginning July 1, 2026, anyone joining for the first time will receive a Welcome Box.
  • Current demonstrators have a one-time opportunity to order a Welcome Box after it launches. See below for details.
  • Rejoining demonstrators will receive all other joining perks (including the coupon code) but not a Welcome Box.

All Posts

  • Nature’s Prints 5 sheet wonder; these 5 templates make creating so easy!


    It's been awhile since I made a group of cards with my 5 sheet wonder templates.  The Nature's Prints stamp set was a perfect choice for it.  

    And playing with three of our newest In Colors paired with Navy & White helped create these beautiful cards. 

    I'm holding a class on Wednesday, May 25th at 6 pm here in Minot, ND for my local customers. RSVP to attend by May 22nd. You can see my PDF tutorial on my shop here.  I am not offering it as a kit to go at this time. 

    I chose the new colors of Starry Sky, Parakeet Party & Orchid Oasis to start with.  I needed a 4th color and wanted to stick with the blues and greens so I added Navy to the mix.  

    My greetings and images are all from the Nature's Prints stamp set seen here.  

    How do my 5 sheet wonder templates work?  Here are the steps:

    1. Choose at least 4 colors of ink and card stock for your cards.  
    2. Choose a stamp set that has a variety of images, from large to small. It helps if they are non directional (okay stamped in different directions). 
    3. Print out Template A on White CS and stamp the non printed side with the images and inks you chose creating your own paper. *You could use DSP but you'll want to print on the reverse side. Here is mine below: 

    3. Turn the stamped piece over and cut on the printed lines.  (I print my card stock with a printer but if your printer will not work with card stock you can have a copy place print them for you.  Or just use the template measurements as a guide. 

    4. You'll also print templates B-E on four other colors of card stock.  Cut on the printed lines (you'll use the reverse side for your cards).  

    5. You'll need 10 card bases in the colors you chose.  Place them on the table and add all of the cut pieces over each card base.  Tip; Use contrasting colors.  If there are many dark pieces I use a light card base and if there are mostly light pieces like the examples below, I'll use a dark card base.  

    6.  Now you'll assemble the cards using my finished samples as a guide. 

    7.  You'll stamp your greetings using a variety of punched or die-cut pieces and finish your cards, adding ribbon or gems as desired.  

    Easy, no measuring cards that are BEAUTIFUL and multi-layered.  You can see my 5 sheet wonder PDF tutorial here on my Shop site.  The PDF tutorial includes multiple card and color examples. 

    ~~~

    Get a bunch of NEW In Color products FREE in your Starter Kit! 

    It's $99 for $213 in products!!!  And Free Shipping! Click here. 


    Host codes: HUNR9DB6

     *click here to order 

    If your order is over $50 you'll receive a set of NEW embellishments from me.

    Don't forget about my loyalty rewards! 

    Click here to download yours and earn a $50 shopping spree!  

    Leave a Reply

    Your email address will not be published. Required fields are marked *

  • An easy double flap fun fold layout with Pretty Prints DSP. A video, measurements and a gift card option!


    I love fun fold cards that stay closed AND are easy for the recipient to figure out.  This double flap fancy fold card is just that!

    We made them on Monday night's Stamp with Me Live.  You can watch the video here. 

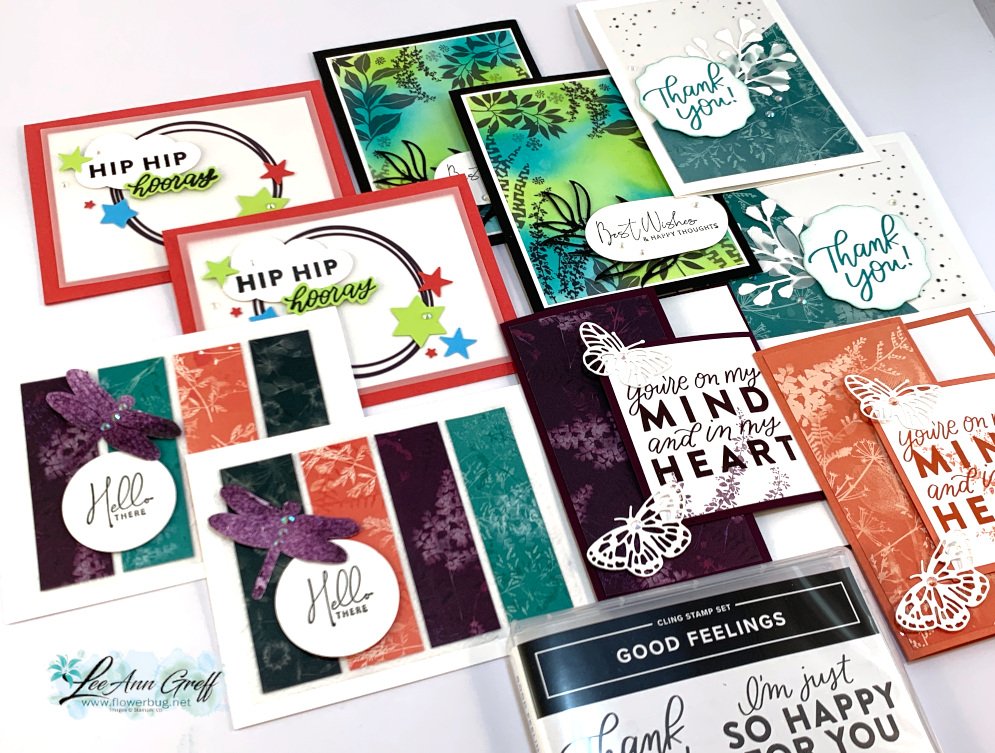
    These cards feature the Pretty Prints designer paper seen here.  It's NEW in the 2022-23 Stampin' Up! Annual catalog.  There are multiple prints all in these 4 colors – Blackberry Bliss, Calypso Coral, Bermuda Bay and Evening Evergreen.  

    I used two stamp sets here; both new in the new Annual catalog.  Good Feelings seen here and Botanical Layers seen here.  

    One of my favorite things about this fun fold layout is that you can choose to fold or trim it off at the 1 1/2" mark.  Folding it inside creates a pocket for a gift card.  Trimming it off shortens it.  Your choice!  Or make a few of each like I did.  

    The die-cut butterflies from Brilliant Wings dies add a pretty touch to these botanical cards. The lower butterfly is added just beyond the outside corner flap to anchor it closed.  So easy and keeps the card laying flat.  

    Here's the video; just click on the photo below to watch it.  

    ~~~

    Get a bunch of NEW In Color products FREE in your Starter Kit! 

    It's $99 for $213 in products!!!  And Free Shipping! Click here. 


    Host codes: HUNR9DB6

     *click here to order 

    If your order is over $50 you'll receive a set of NEW embellishments from me.

    Don't forget about my loyalty rewards! 

    Click here to download yours and earn a $50 shopping spree!  

    Leave a Reply

    Your email address will not be published. Required fields are marked *

  • Colorful Hope Box card kit; limited supply! Opt in ASAP


    I have a 2nd card kit to go during May (see the card kit I posted yesterday here)

    This kit includes a new Hope Box kit – formerly a beautiful, colorful Paper Pumpkin kit.

    I jazzed up the card designs to include 12 new cards and added extra items too! I have a limited supply of these and expect to sell out quickly. 

    In this kit you'll also receive a new photopolymer stamp set, ink spot, adhesives, spool of ribbon, a clear block and a Wink of Stella.
    • This kit includes all pre-cut pieces for the 12 cards shown plus you'll have 3 extra card bases and kit elements left to make more!
    • The PDF tutorial includes step by step directions, photos, measurements and a supplies list. It is emailed to you immediately upon payment when you purchase it from my Shop here.
    • The kit is mailed out at the end of May via Priority Mail.
    • To finish the cards like mine you'll use the stamps and Blackberry Bliss ink spot from the kit. You'll also need Melon Mambo, Bermuda Bay and Crushed Curry ink pads and sponges or blending brushes.

    Again, be sure to get this kit here ASAP; they are while supplies last.  

    See my other May card kit here; it's includes 10 beautiful floral cards featuring the Hues of Happiness designer paper and Happiness Abounds bundle.  

    ~~~

    Get a bunch of NEW In Color products FREE in your Starter Kit! 

    It's $99 for $213 in products!!!  And Free Shipping! Click here. 


    Host codes: HUNR9DB6

     *click here to order 

    If your order is over $50 you'll receive a set of NEW embellishments from me.

    Don't forget about my loyalty rewards! 

    Click here to download yours and earn a $50 shopping spree!  

    Leave a Reply

    Your email address will not be published. Required fields are marked *


Notice: LeeAnn Greff, Independent Stampin’ Up! Demonstrator, Manager. The content of this website is my sole responsibility as an independent Stampin’ Up! demonstrator and the use of, and content of, the classes, services, or products offered on this website is not endorsed by Stampin’ Up! Copyright 2025