/


Latest Post

Check out this ‘Tackle box’ with the Gone Fishing bundle! Amazing!!


Today I'm sharing the last projects Candace made with the Gone Fishing and Let's Go Fishing designer paper.  She was our Artist of the Month for June and created some incredible projects!  

I was blown away by this 'tackle box' full of candy.  She told me she made it up herself!  AMAZING!! 
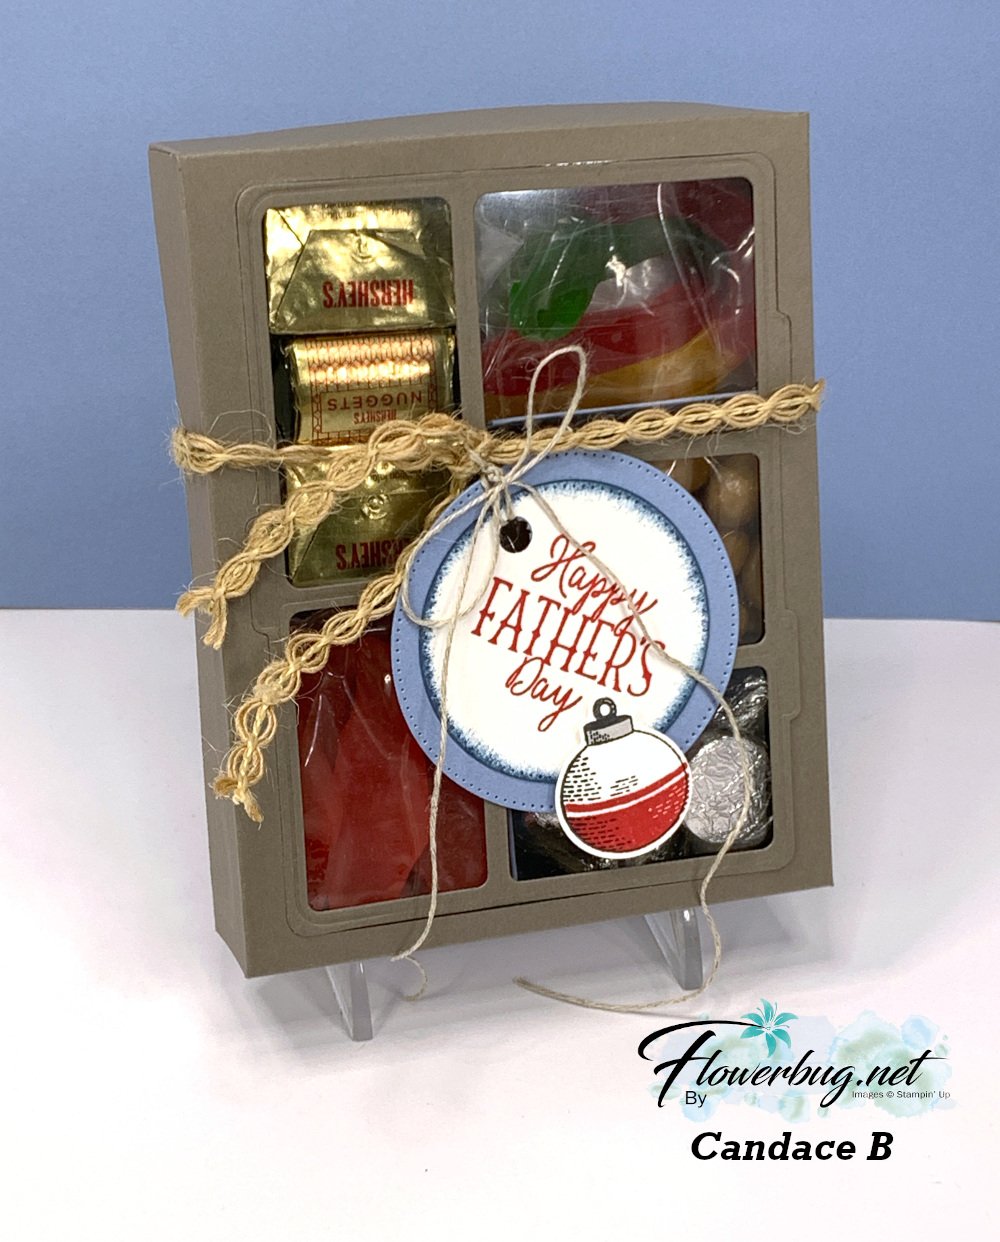
She added gummy fish & worms, kisses, candy 'rocks' and nuggets inside.  I believe she first scored her box front then used the Gone Fishing large die to cut the windows for the front panel. Scoring first would help you center the die. Then she added the window sheet to the underside.  The window sheet holds the die-cut frame and the box front in place. 

Measurements for the box: *corrected

  • top of box 6 1/4 X 7 1/2" score 1" on all sides
  • bottom of box 6 1/8" X 7 3/8" score at 1" on all sides
  • window sheet 4 1/8" X 5 1/4" 
  • left inside divider (two compartments) is 1 7/8" X 6 3/4" score at 2 3/4", 3 1/2" & 4 1/4" 
  • right inside divider (three compartments) is 2 1/8" X  8 1/4" scored at 2", 2 3/4", 3 1/2", 5 1/8", 5 7/8" & 6 5/8" 
  • inside bottom (under the two divided sections) 5 1/4" X 5 5/8" score at 1 7/8", 2 5/8" & 3 3/8"

To assemble this you'd add the long vertical divided piece first and then the two scored strips after that.  

I made a birthday version of this box. You can watch the video here.  

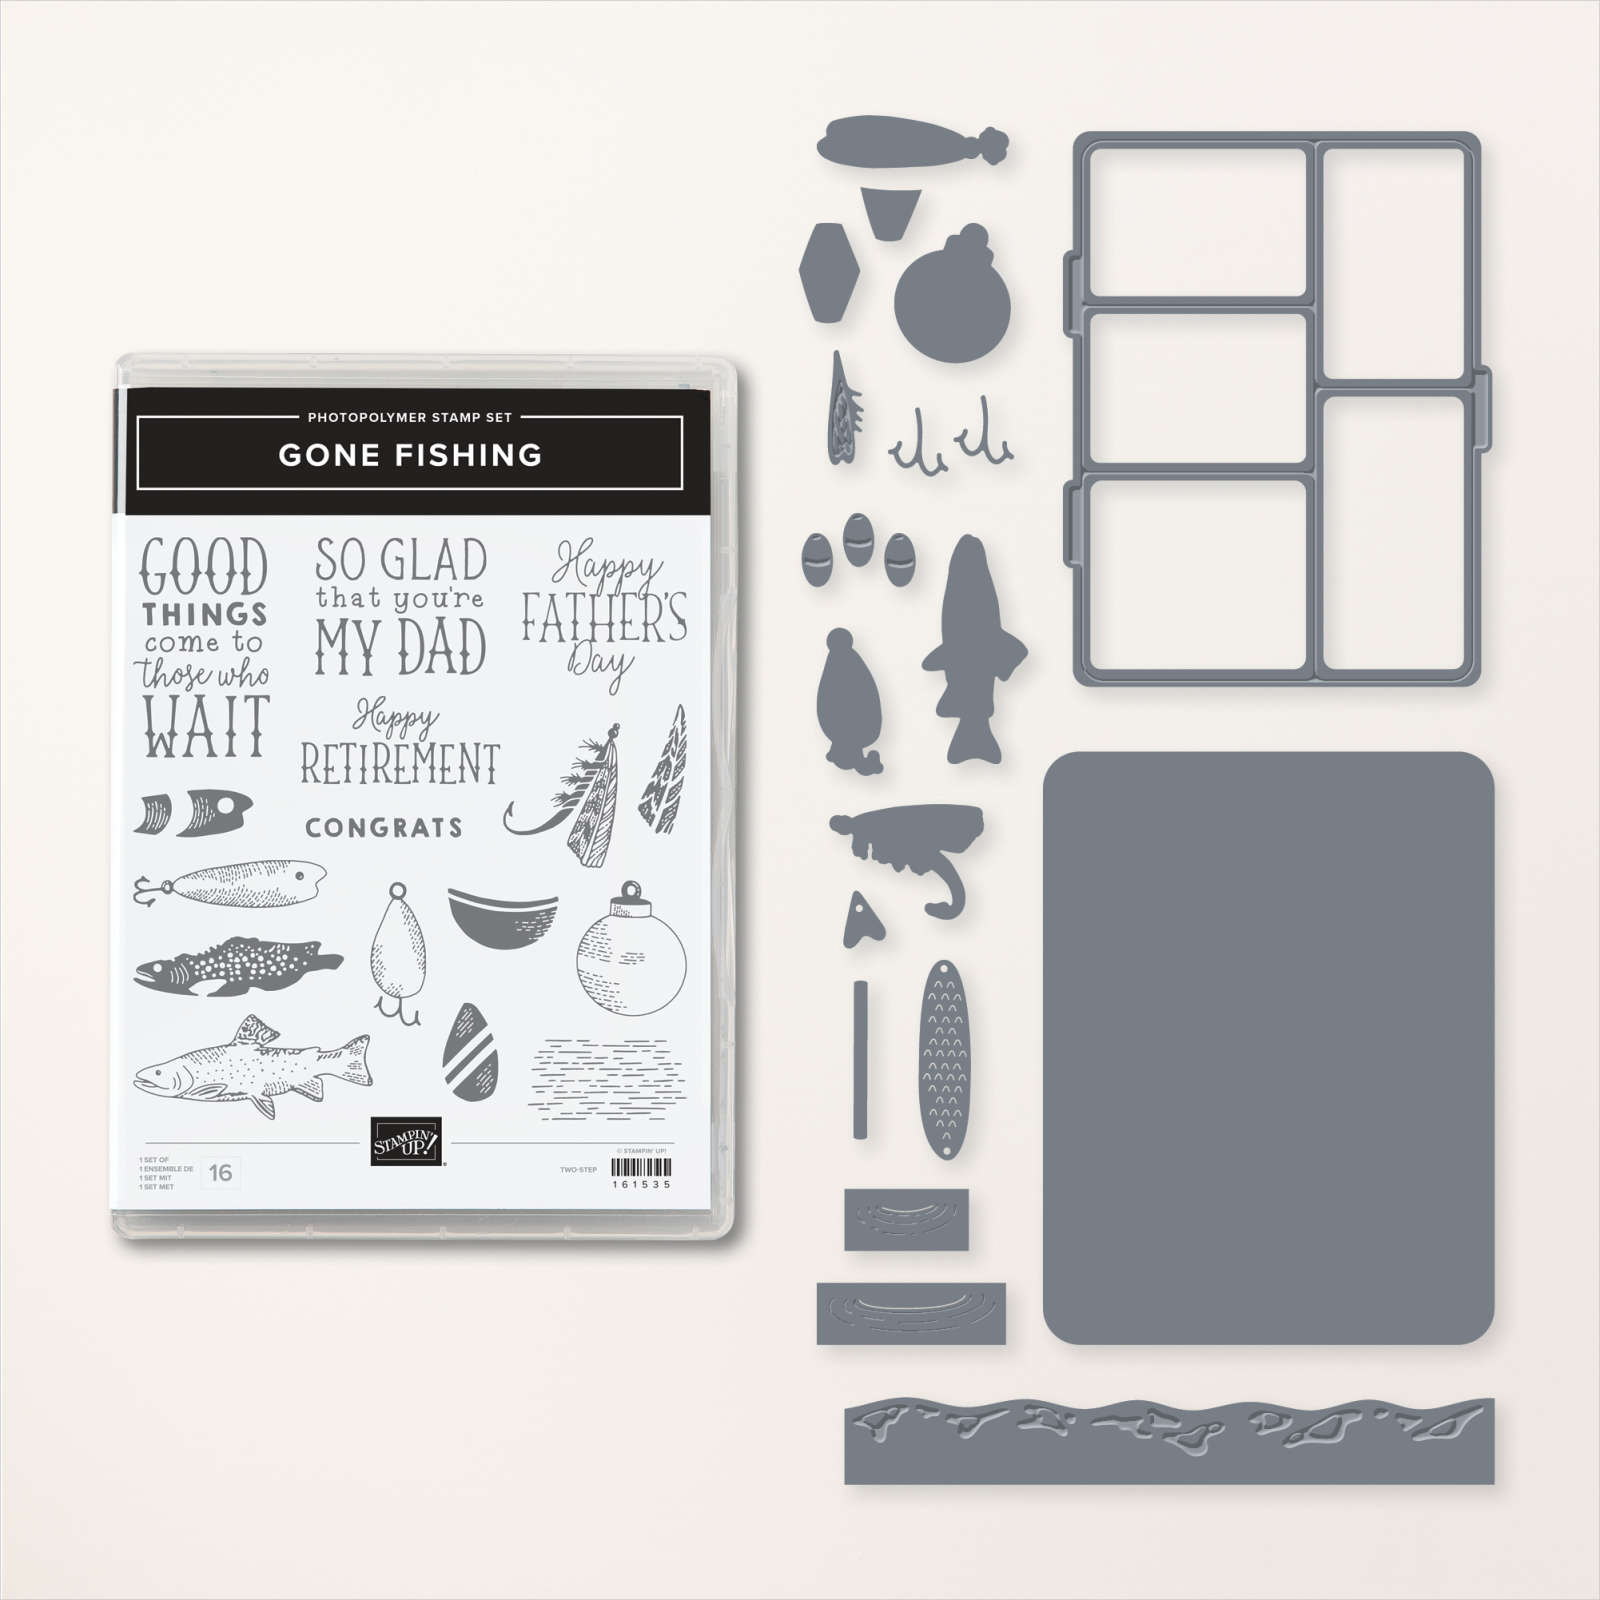
You can see the Gone Fishing bundle here. 
This last card is another fun fold; she made lots of them in her array of cards.  

It's a pocket card that could also include a gift card inside it. Be sure to note the rhinestone 'fish bubbles' on the sentiment.  


I love the wavy detail she added to the inside piece; it's from the Gone Fishing dies.

Measurements:

  • Misty Moonlight card base 5 1/2" X 8 1/2" scored at 2 3/4" & 6 3/4"
  • DSP 5 1/4" X 2 1/2" for front, bottom layer is 5 1/4" X 1"
  • Vanilla inside pull-out is 4 1/2" X 3 1/2"

And last but certainly not least is this fabulous shaker card:
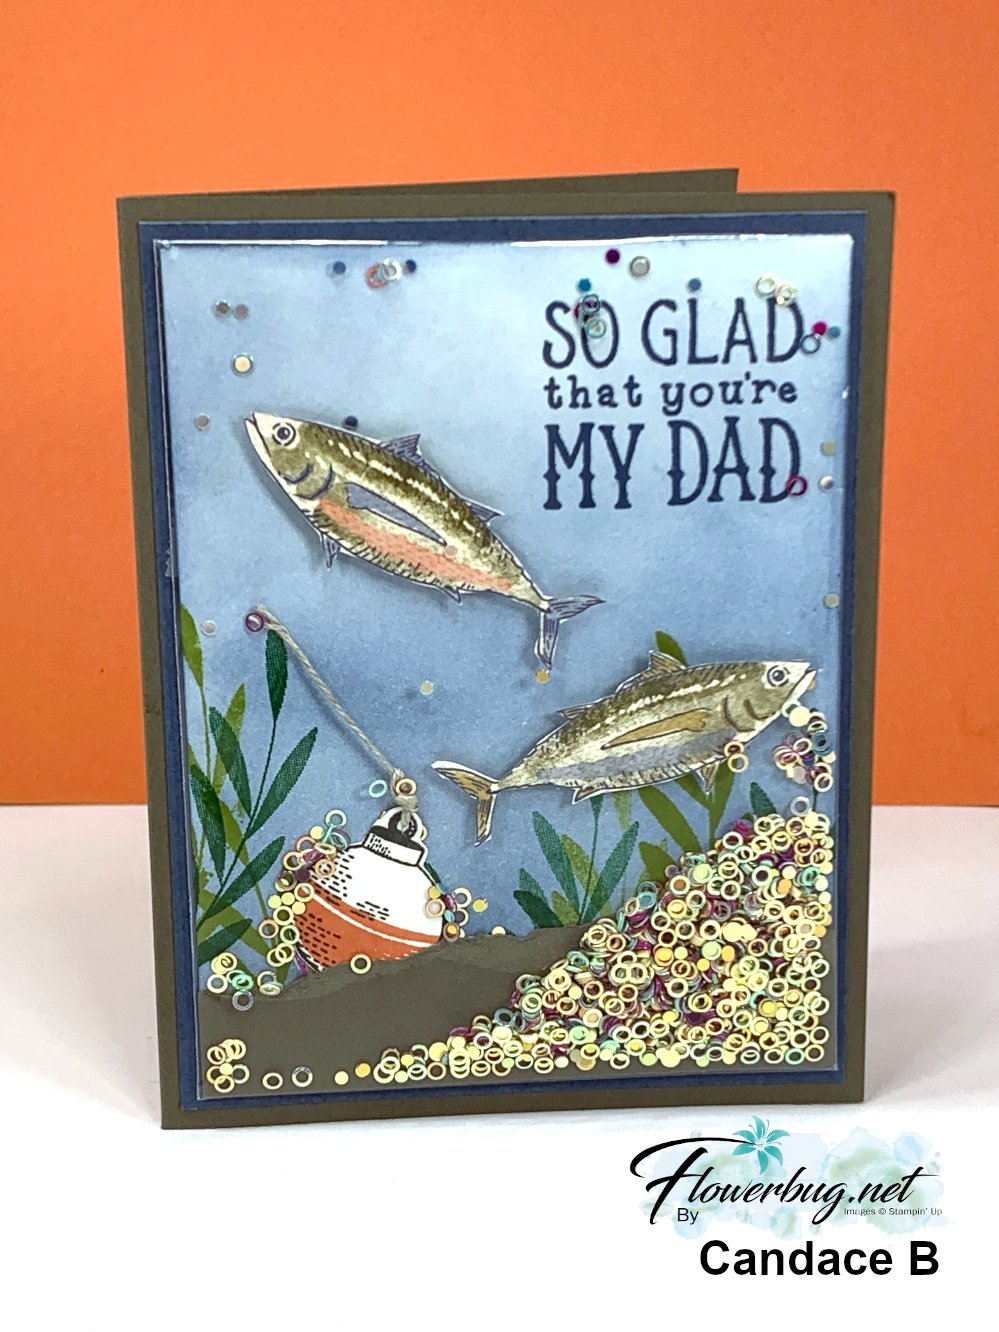

It's hard to tell but the colored and stamped panel is placed in one of our clear envelopes so she could add the new Iridescent shaker circles seen here. She added Boho Blue ink to the neutral card front using a Blending Brush, then stamped the greeting and leaves. She also fussy cut the fish from the Let's Go Fishing designer series paper and added them with Dimensionals. Then came the torn card stock layer and the bobbin and linen thread. 

Now she placed the entire piece inside a clear envelope, folded over the excess and secured it with adhesive. Now she added the shaker circles from the top open edge before closing it off to seal.  Add it to your card base layers and you're done! 

You can see these clear envelopes here.  I use them for card swaps, storing & protecting my finished cards and of course for easy shaker cards. They're $7 for 50 envelopes! 

This is such a fun card to make AND receive! It's hard to stop shaking it! 

~~~

July Specials: 

Bonus Days!

Get a $5 coupon for each $50 order you place in July.  Use the coupon in August!

2. PAPER PUMPKIN 48-HOUR SALE!

3. Next is a Clearance Rack update!

See all items available here

4. NEW Online Exclusives will be available

See them all here

~~~

Plus my monthly special for online orders:

Get a free card kit & a new Beautifully Happy stamp set 

with online orders over $65; must use a host code.

*current host codes: BKEARDMW or GGDRKFQR

All Posts

  • Gorgeous Garden dies & Blending Brushes; wow!


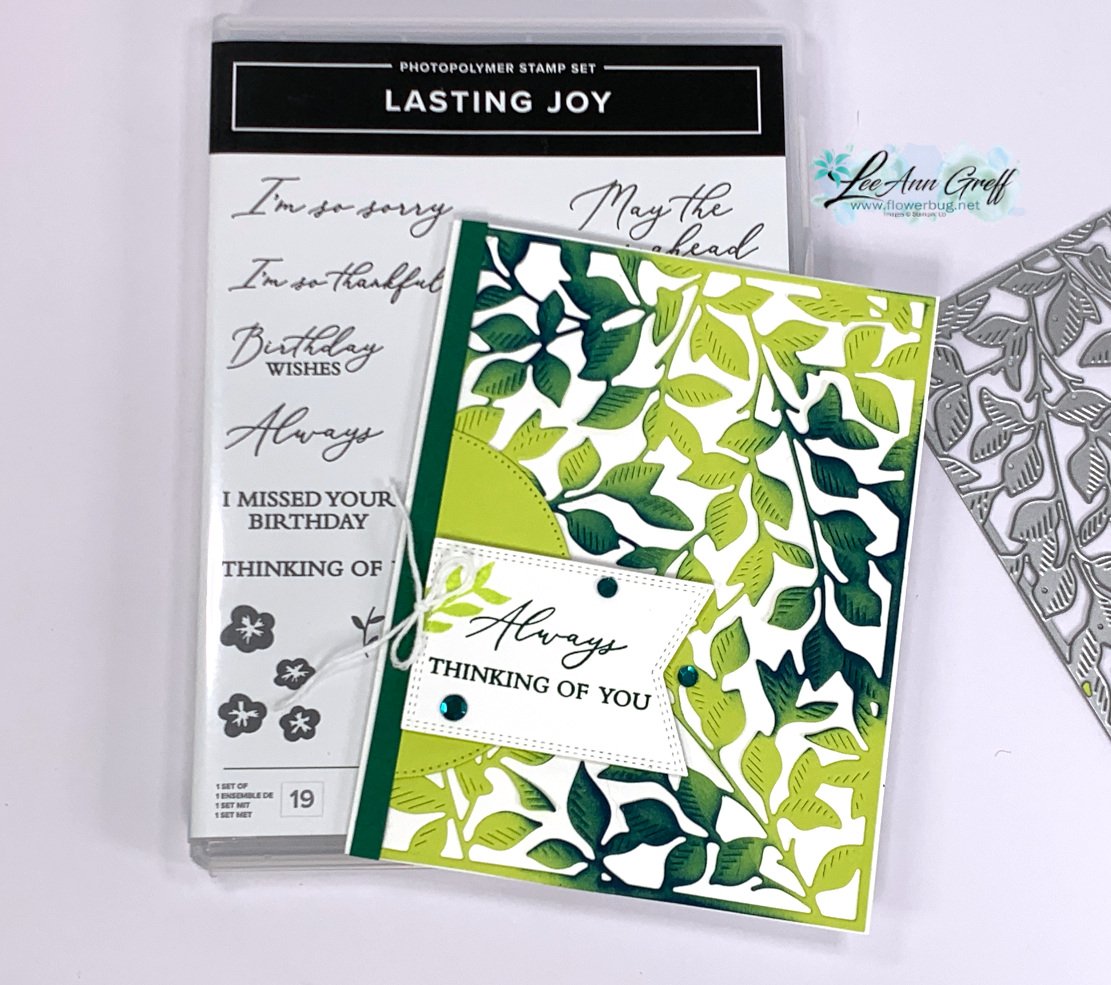
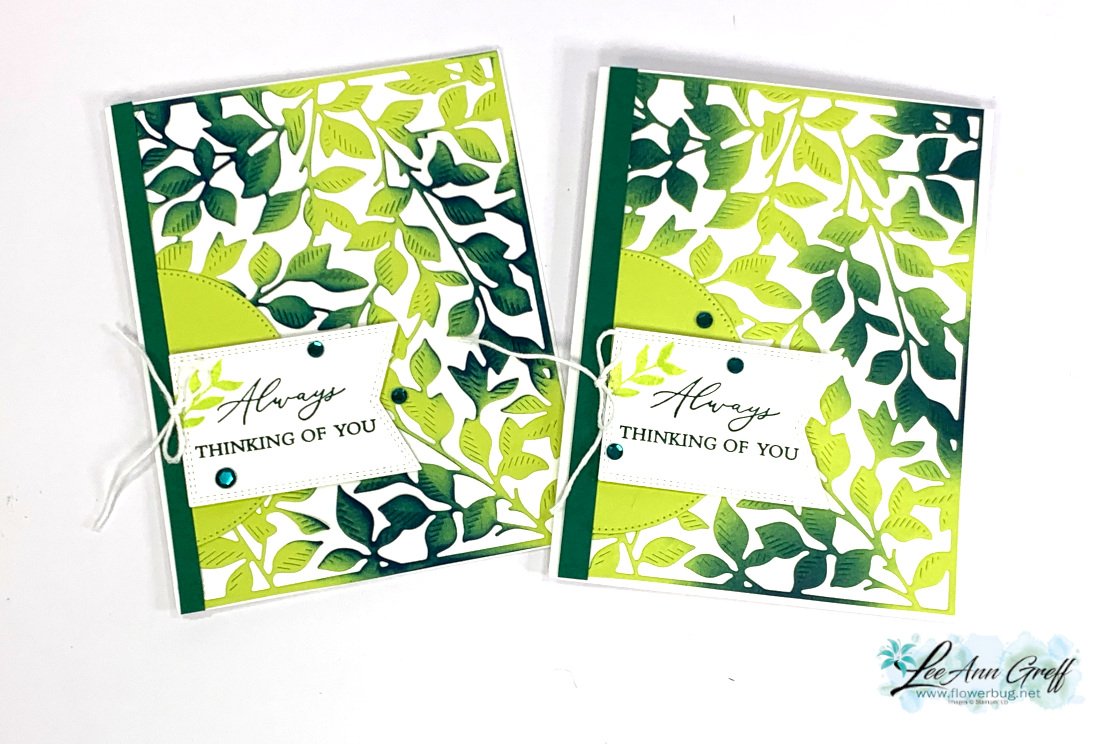
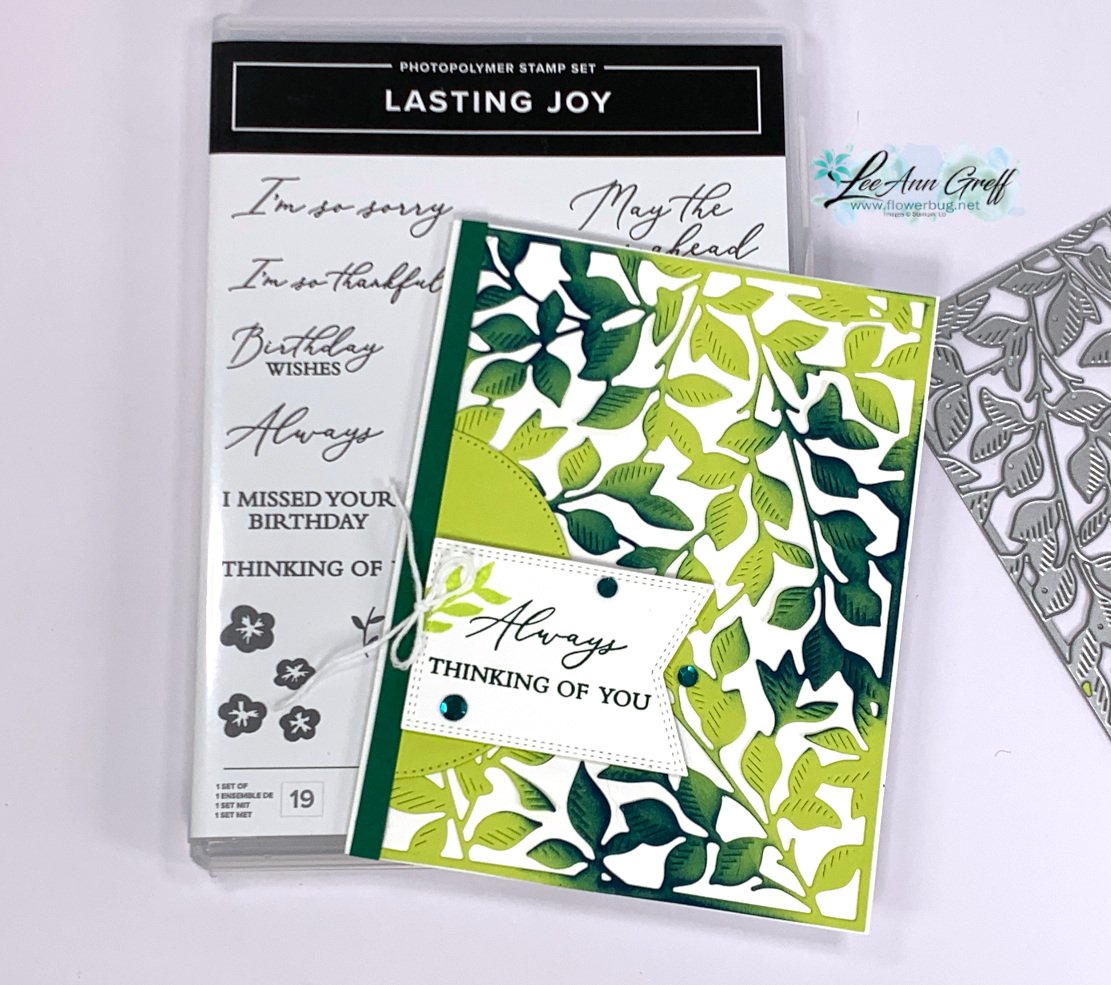
    Check out this beautiful card made with the Gorgeous Garden dies!  


    I think it's stunning.  Don't you love the pretty blending of the greens? I simply added one color to the finished die-cut.  I cut it out from Lemon Lime Twist cardstock and added Pretty Peacock ink with a blending brush in a few areas.  Easy!  

    I was surprised that the finished color (after adding Pretty Peacock to Lemon Lime Twist) was close to Shaded Spruce.  Who knew?!  So I added a 1/4" strip to the left edge of the card to bring in that color and also stamped the greetings in Shaded Spruce too.  

    Tip: Adding your colors in two or more ways to your project gives them a cohesive look. For example if I use green card stock I will add a layer of green or a stamped image. If you struggle with choosing color combinations stick with just two colors.  Or better yet try a monochromatic card – add one color to a neutral like white, browns or black.  

    I used the Lasting Joy set for my greetings.  I really love this set with the mixed fonts; I find I use it often.  

    I added a stitched circle to the left side to anchor the greeting.  Both of these dies are from the Stylish Shapes dies; they're a must have! See them here.  

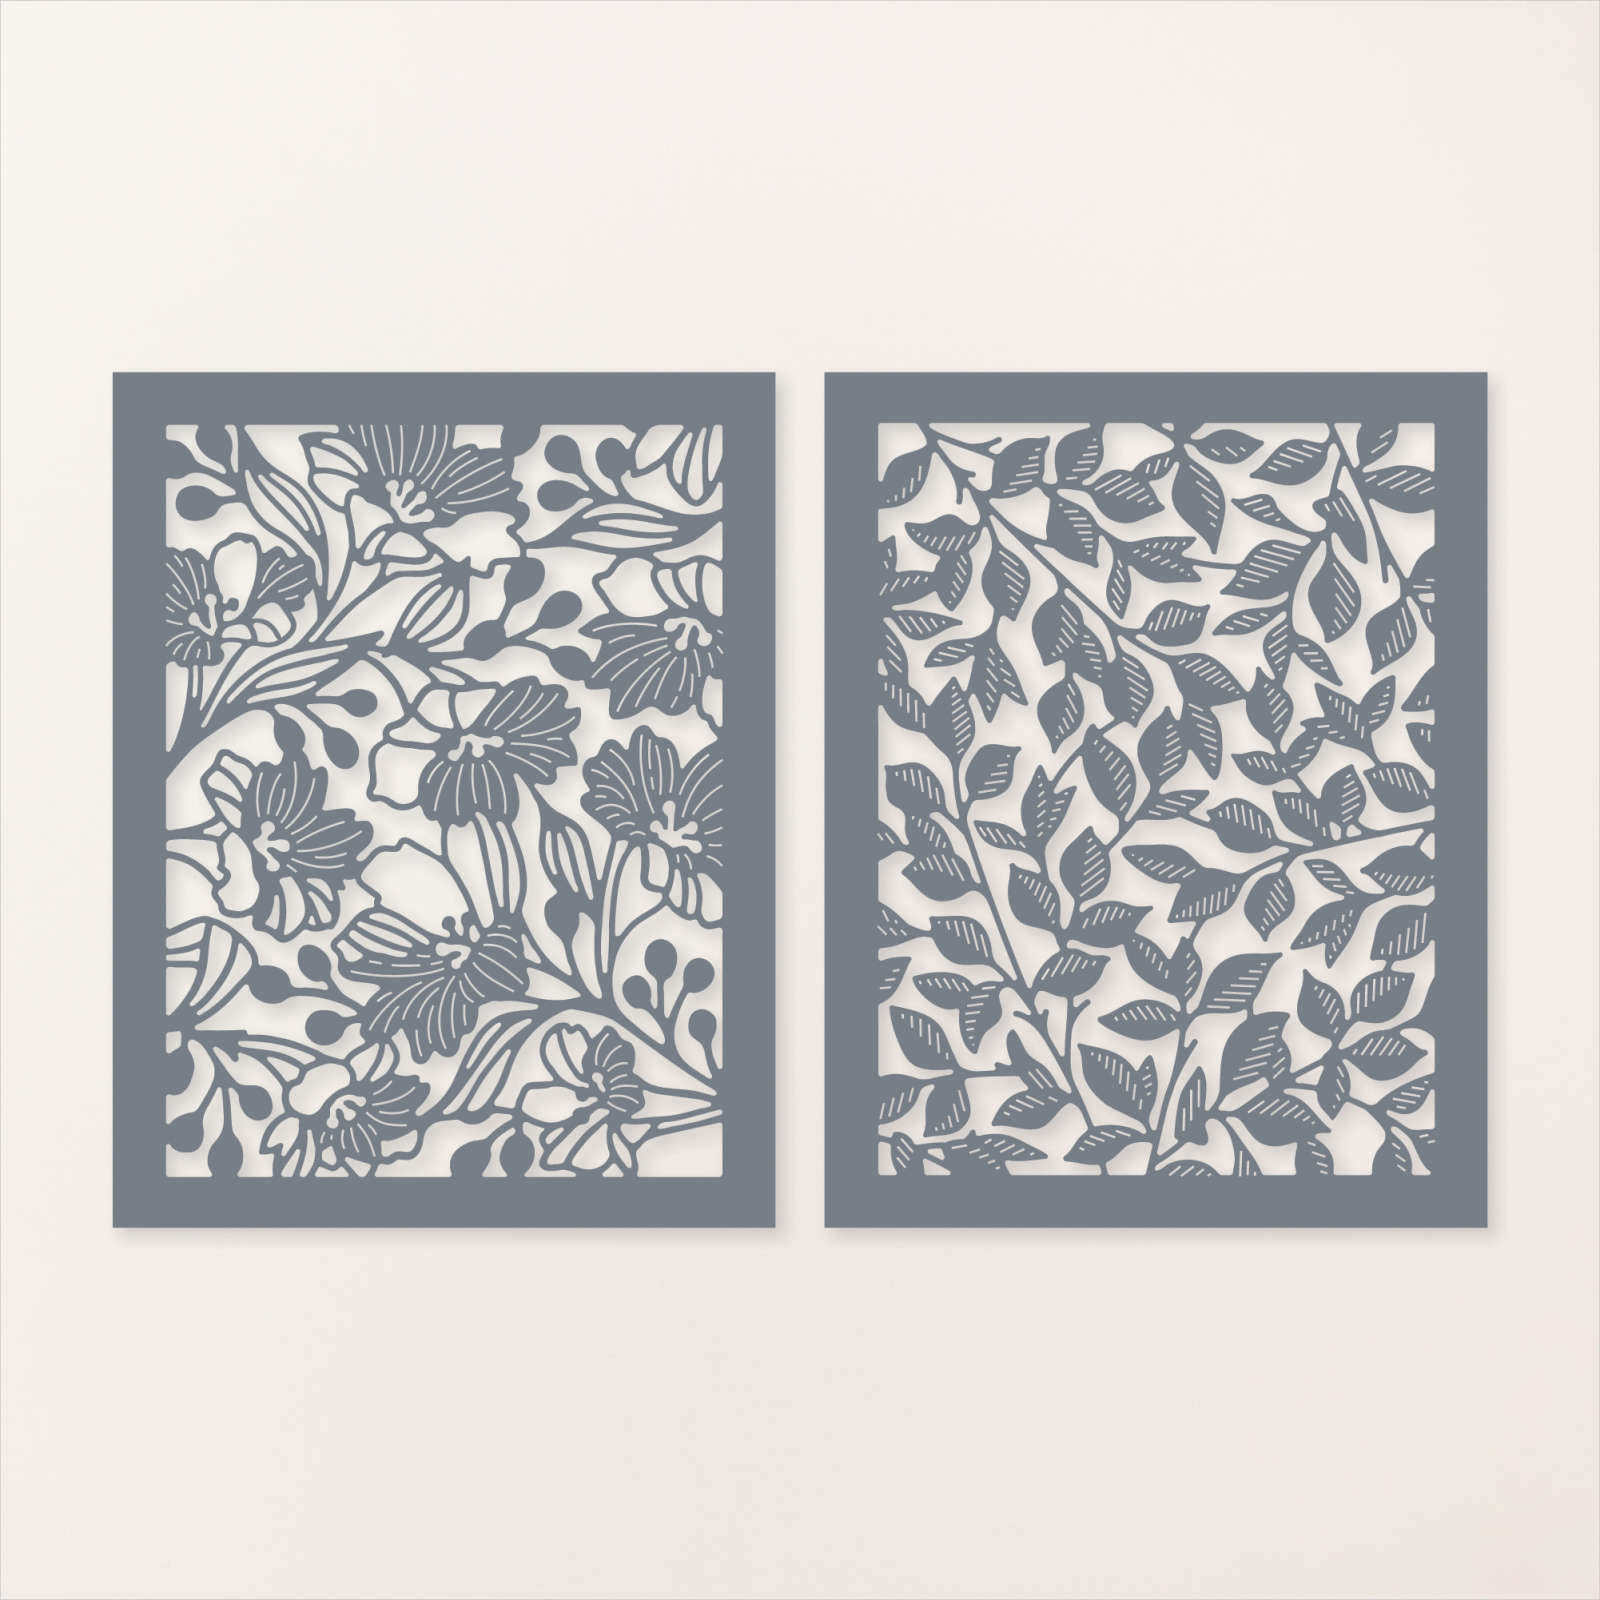
    Here are the Gorgeous Garden dies. 

    I made these cards on a recent video seen here.  Or click on the photo below to watch.  

    Don't forget to follow me on YouTube here or on Facebook here. 

     ~~~

    August Specials: 

     *current host codes: KY99RPXP 

    Free Gift with orders in August: 

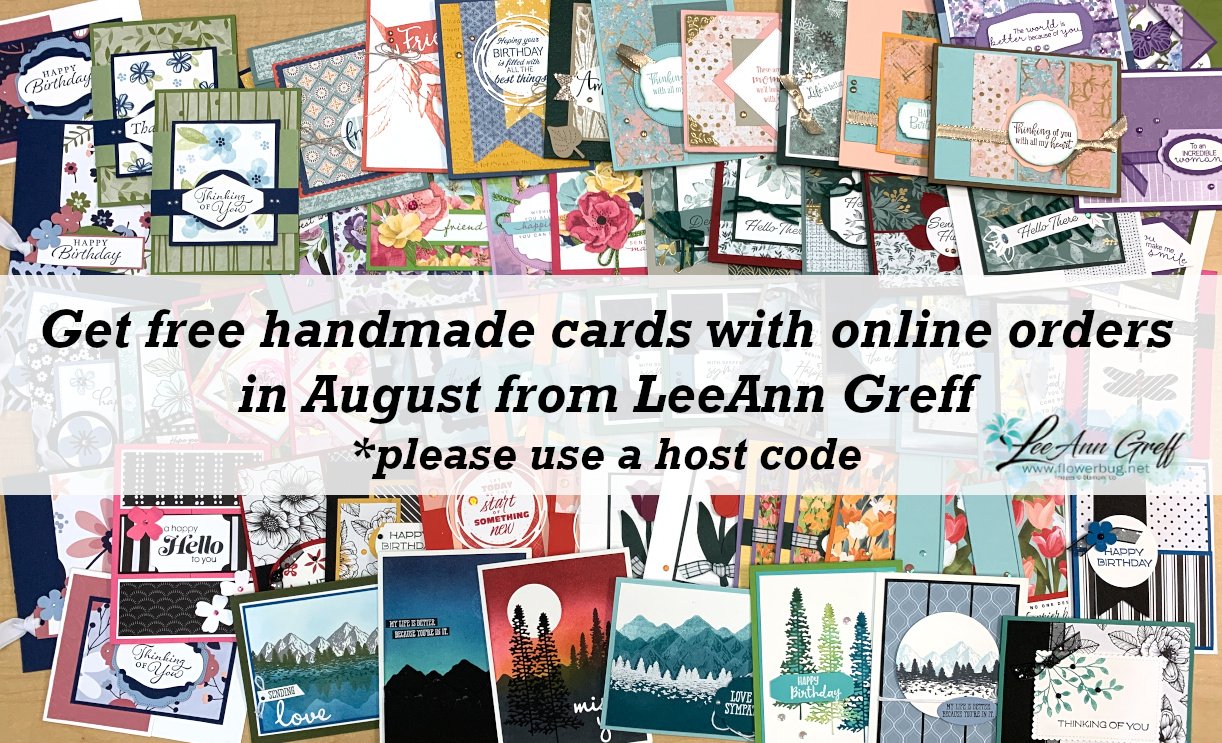
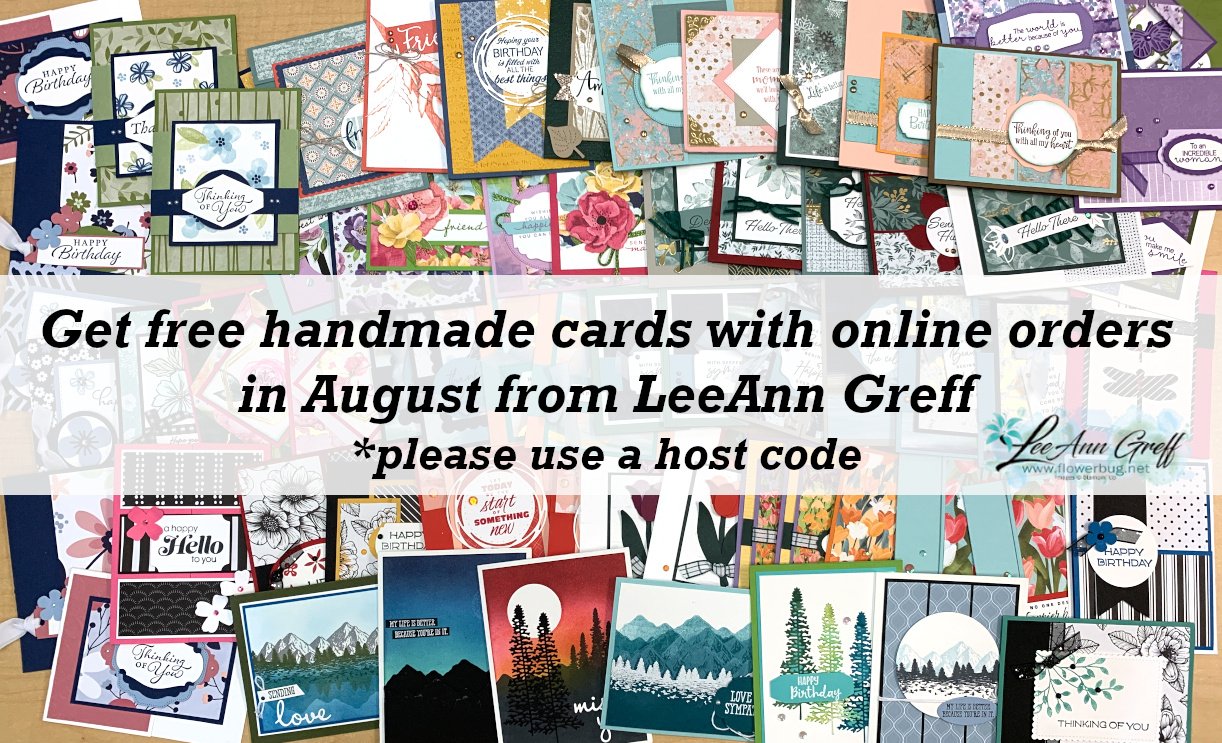
    Get a pack of at least 5 beautiful cards with orders over $50 this month. 

    The more you order the more cards you get!

    *cards are previous card kits to go; over the top and many fun folds.  

    Leave a Reply

    Your email address will not be published. Required fields are marked *

  • More Earthen Textures card ideas


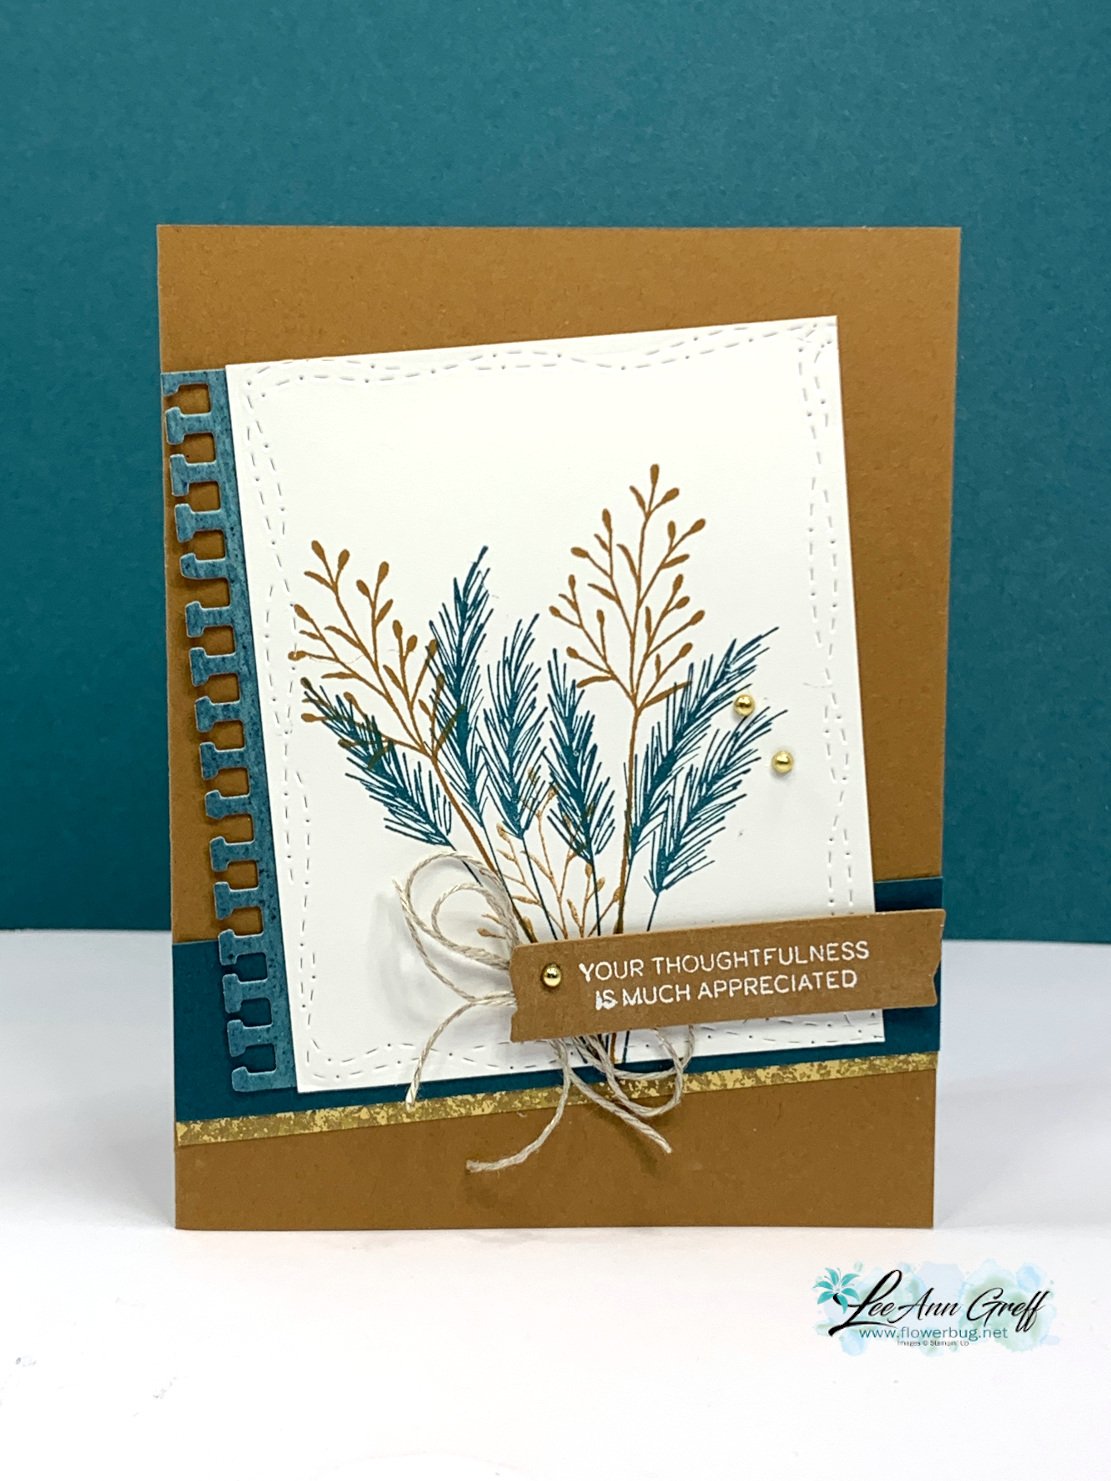
    Here is another simple but pretty card I made on last week's Live video. 

    It features the Earthen Textures stamp set & dies bundle.  Unfortunately the dies are in low inventory so they may be unavailable soon.   But they'll be back I'm sure.  You can see them here.  

    I'm not quite ready for fall yet but I do love this color combination of Pecan Pie & Pretty Peacock.  A little touch of gold adds some elegance with the Gold Distressed paper and Festive Pearls.  I added more detail with a stitched edge with the Stitched with Whimsy dies. That notebook die-cut edge is from the Gorgeously Made dies seen here.  

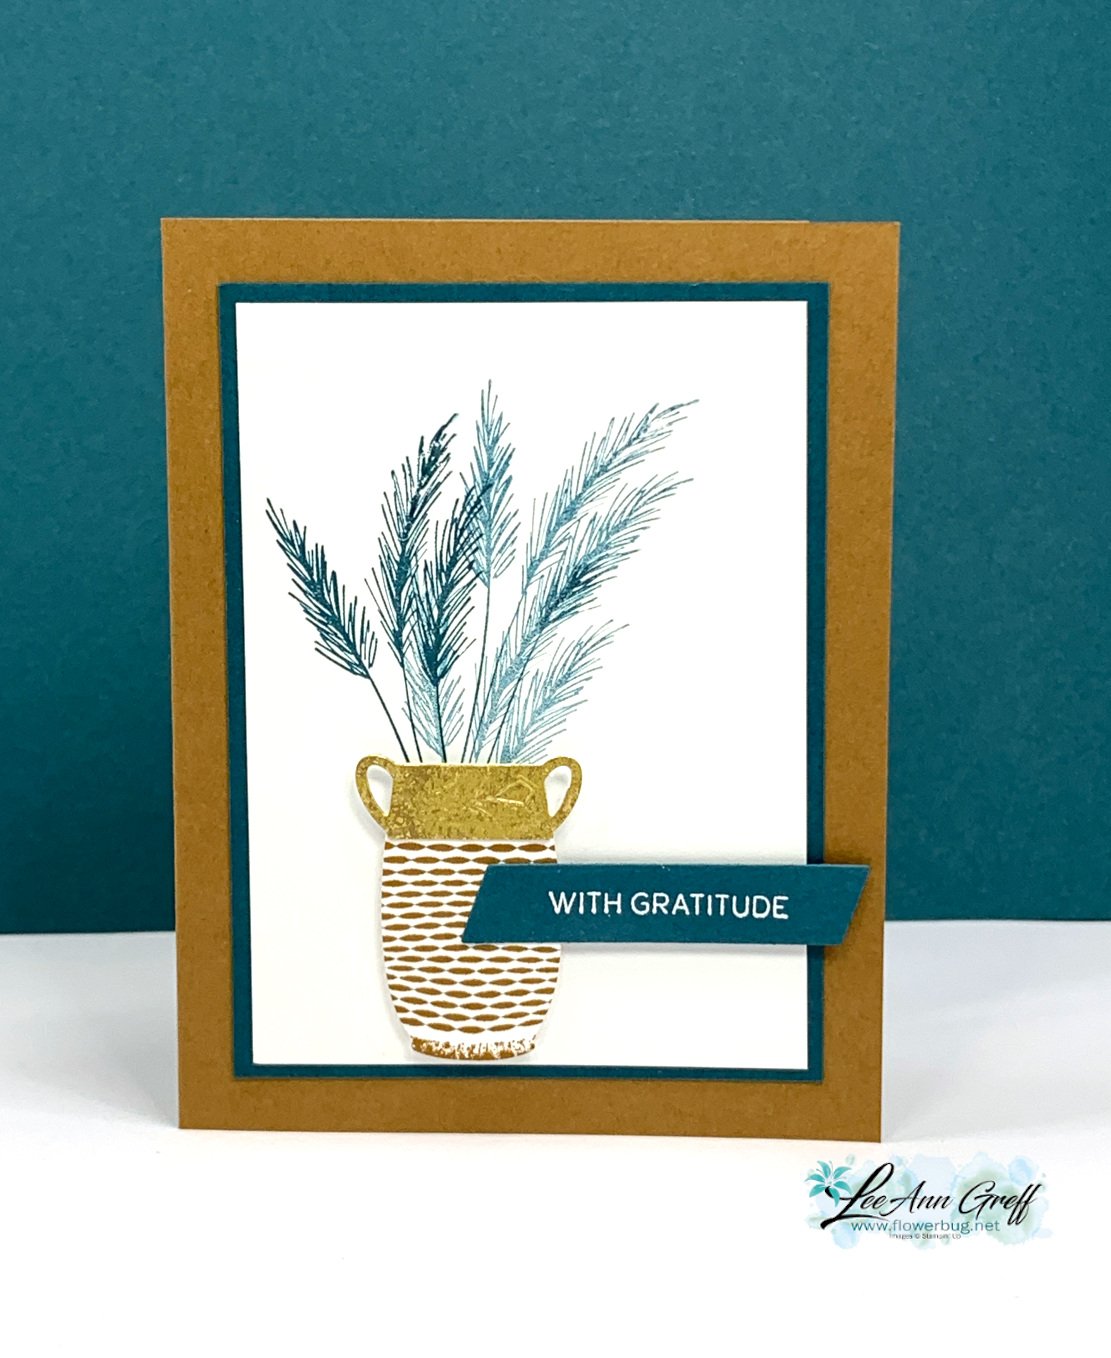
    And here's a very simple version with a similar layout: 

    I didn't even add any bling or embellishments to this one.  I think it needs something… maybe gold pearls? 

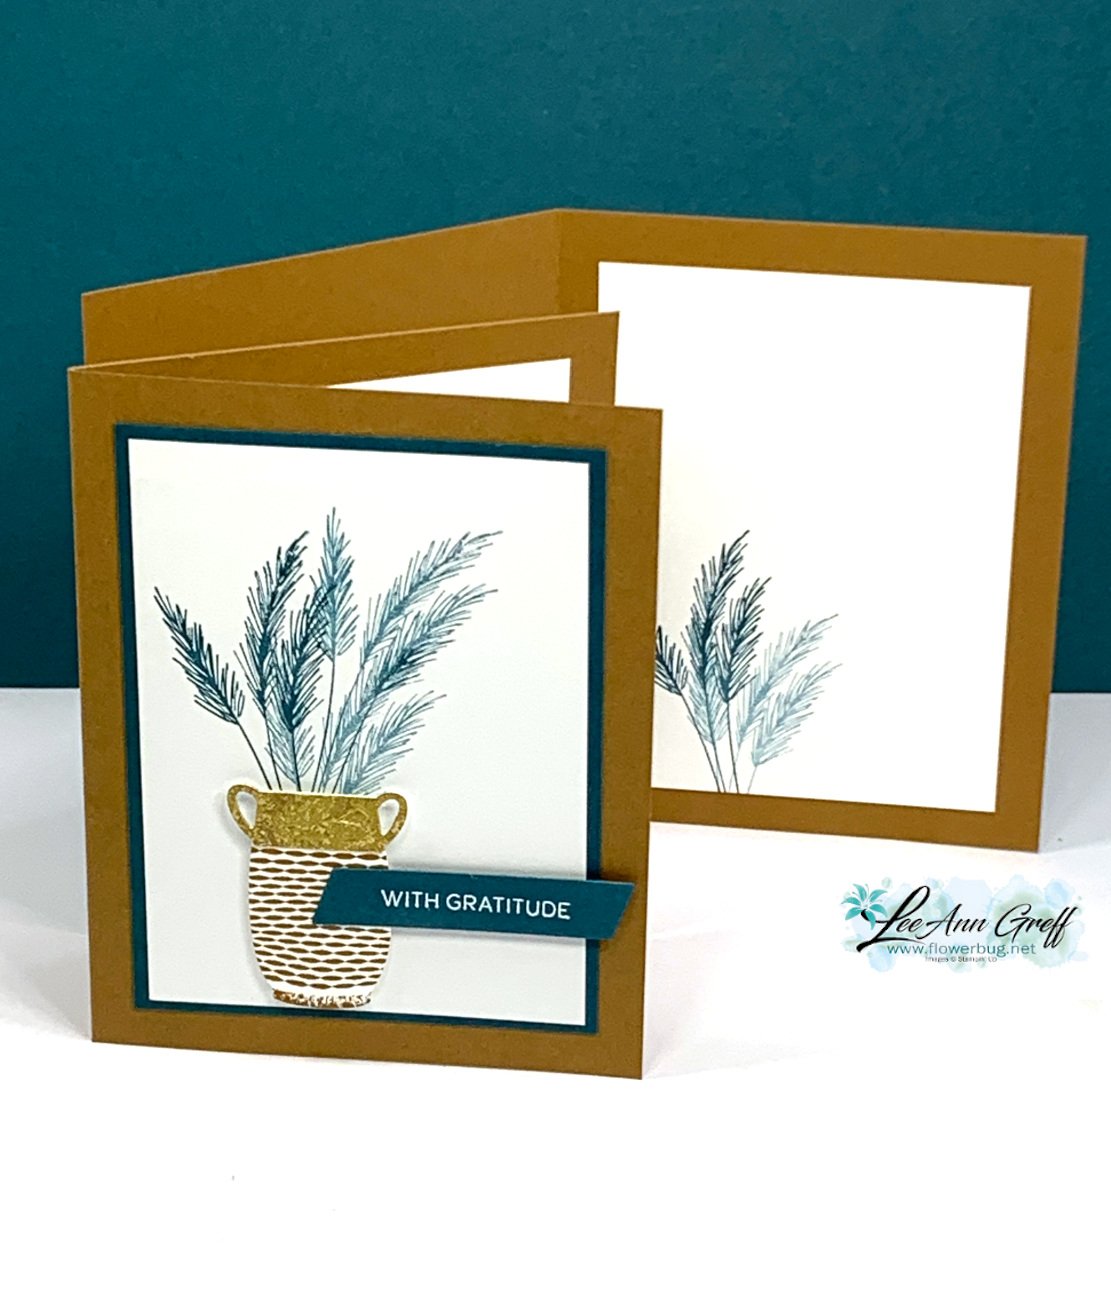
    I stamped the vase in Pecan Pie on Basic White and die-cut it out.  Then added another die-cut of the handles from our Gold Distressed paper. The greeting is heat embossed with White embossing powder on Pretty Peacock card stock. 

    The nice thing about this layout is you can get 5 card fronts from one 8 1/2" X 11" paper when using my 5 at a time layouts.  See them here on this post. 

    You can see more Earthen Textures cards on the video here.  Don't forget to subscribe to either my FB page here to join in the Live's each Tuesday morning.  Or follow me on YouTube here.  

    ~~~

    August Specials: 

     *current host codes: KY99RPXP 

    ShopwithLeeAnn.com

    Redeem your Bonus Days coupons in August!  

    Free Gift with orders in August: 

    Get a pack of at least 5 beautiful cards with orders over $50 this month. 

    The more you order the more cards you get!

    *cards are previous card kits to go; over the top and many fun folds.  

    Leave a Reply

    Your email address will not be published. Required fields are marked *

  • Alcohol blends technique with video tutorial


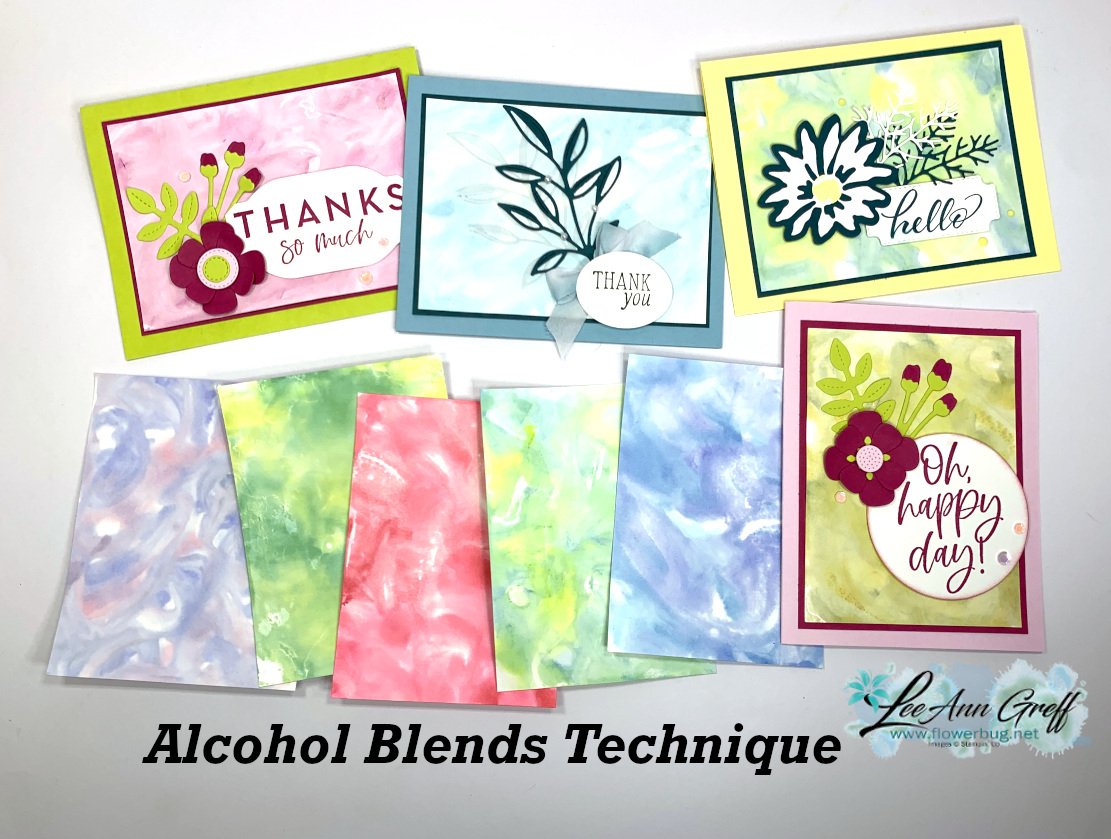
    I shared this fun technique on a recent video; I call it the Alcohol Blends Background.  

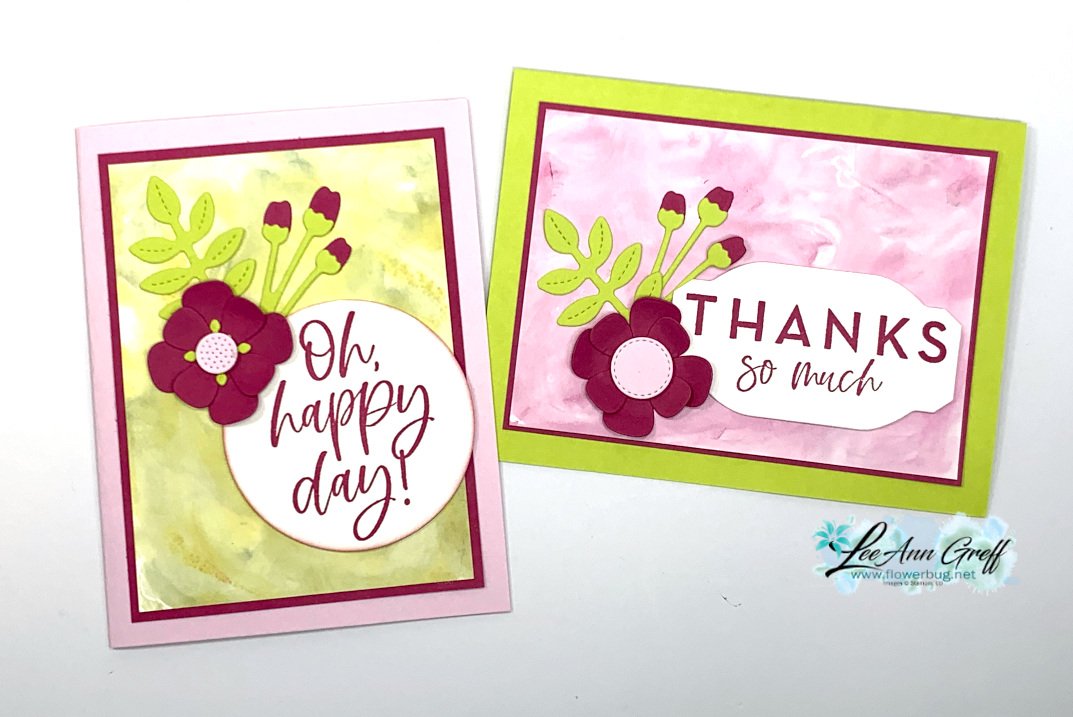
    For the cards above I added pretty floral die-cuts from the Paper Florist dies.  The greetings are from the Kindest Expressions stamp set.  The background colors were made with the following Blends: Left card Mossy Meadow & Lemon Lime Twist. Right card was Berry Burst & Blackberry Bliss.  

    To achieve this cool background you need Blends or alcohol markers and rubbing alcohol in a spritzer bottle. I used regular Basic White card stock and a clear plastic folder to work on. You can watch the video here.  

    I tried many color combinations; you can see some of the finished cards below plus the backgrounds too. 

    I shared this technique on Monday night's Live and challenge my followers to share a card featuring this technique on my Stamp & Share Facebook group.  Share yours here by August 27th to get in on the door prize drawing. 

    *Follow me on Facebook here or on YouTube here.  

    ~~~

    August Specials: 

     *current host codes: KY99RPXP 

    Free Gift with orders in August: 

    Get a pack of at least 5 beautiful cards with orders over $50 this month. 

    The more you order the more cards you get!

    *cards are previous card kits to go; over the top and many fun folds.  

    Leave a Reply

    Your email address will not be published. Required fields are marked *


Notice: LeeAnn Greff, Independent Stampin’ Up! Demonstrator, Manager. The content of this website is my sole responsibility as an independent Stampin’ Up! demonstrator and the use of, and content of, the classes, services, or products offered on this website is not endorsed by Stampin’ Up! Copyright 2025