/


Latest Post

Check out this ‘Tackle box’ with the Gone Fishing bundle! Amazing!!


Today I'm sharing the last projects Candace made with the Gone Fishing and Let's Go Fishing designer paper.  She was our Artist of the Month for June and created some incredible projects!  

I was blown away by this 'tackle box' full of candy.  She told me she made it up herself!  AMAZING!! 
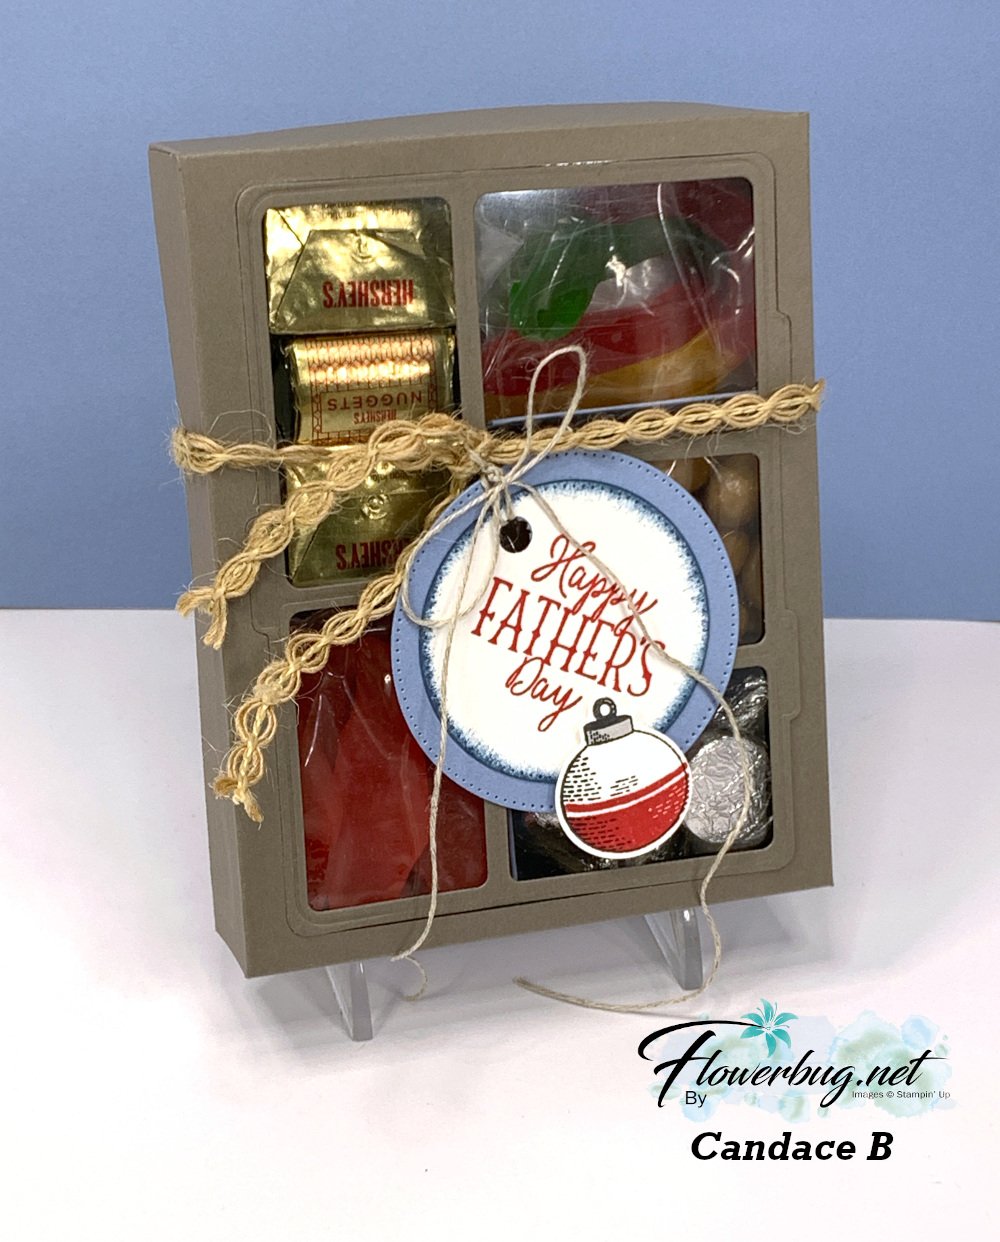
She added gummy fish & worms, kisses, candy 'rocks' and nuggets inside.  I believe she first scored her box front then used the Gone Fishing large die to cut the windows for the front panel. Scoring first would help you center the die. Then she added the window sheet to the underside.  The window sheet holds the die-cut frame and the box front in place. 

Measurements for the box: *corrected

  • top of box 6 1/4 X 7 1/2" score 1" on all sides
  • bottom of box 6 1/8" X 7 3/8" score at 1" on all sides
  • window sheet 4 1/8" X 5 1/4" 
  • left inside divider (two compartments) is 1 7/8" X 6 3/4" score at 2 3/4", 3 1/2" & 4 1/4" 
  • right inside divider (three compartments) is 2 1/8" X  8 1/4" scored at 2", 2 3/4", 3 1/2", 5 1/8", 5 7/8" & 6 5/8" 
  • inside bottom (under the two divided sections) 5 1/4" X 5 5/8" score at 1 7/8", 2 5/8" & 3 3/8"

To assemble this you'd add the long vertical divided piece first and then the two scored strips after that.  

I made a birthday version of this box. You can watch the video here.  

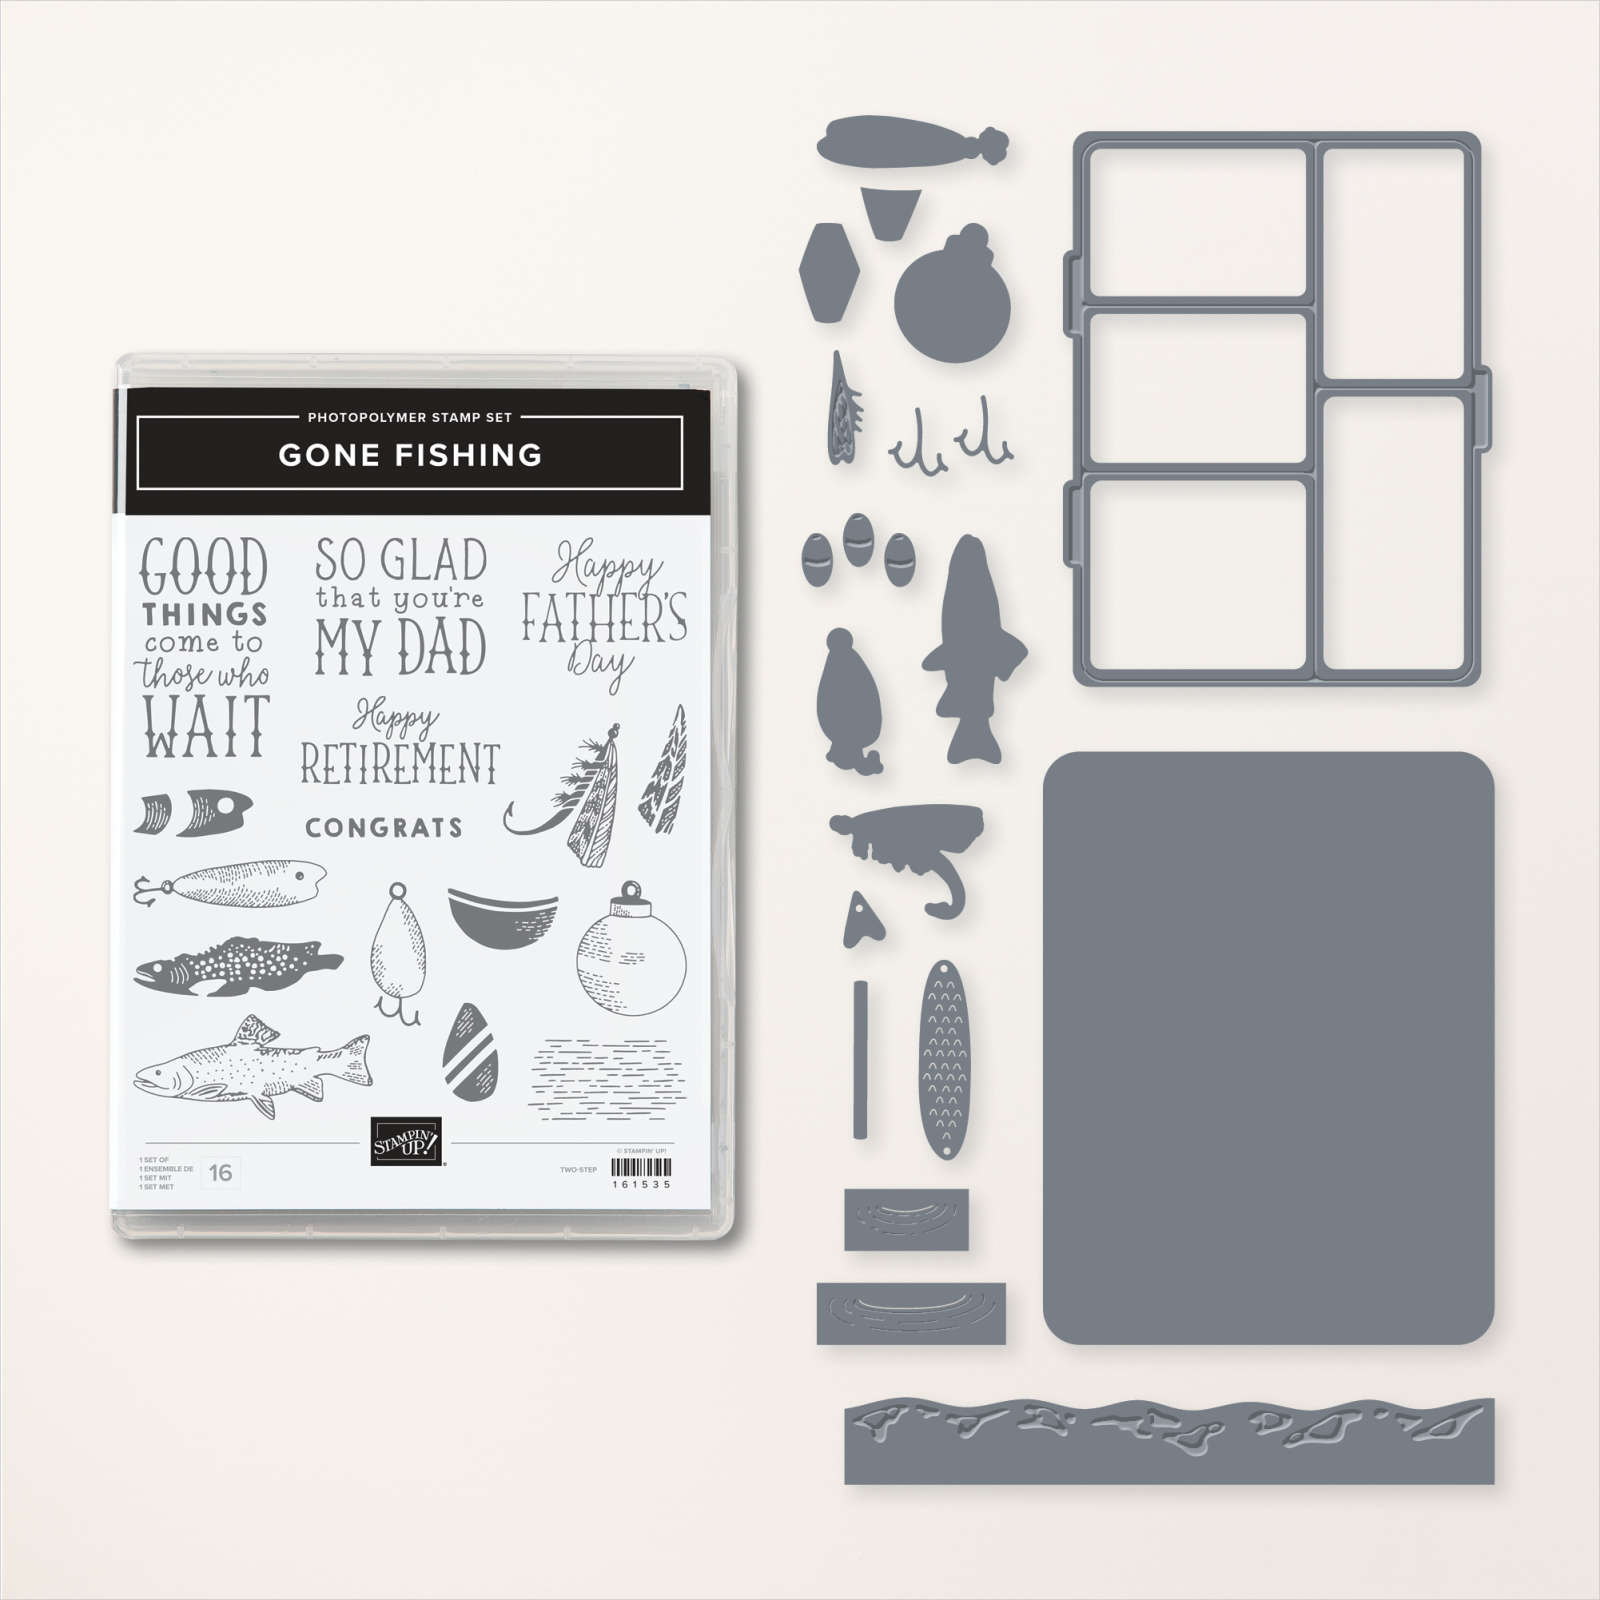
You can see the Gone Fishing bundle here. 
This last card is another fun fold; she made lots of them in her array of cards.  

It's a pocket card that could also include a gift card inside it. Be sure to note the rhinestone 'fish bubbles' on the sentiment.  


I love the wavy detail she added to the inside piece; it's from the Gone Fishing dies.

Measurements:

  • Misty Moonlight card base 5 1/2" X 8 1/2" scored at 2 3/4" & 6 3/4"
  • DSP 5 1/4" X 2 1/2" for front, bottom layer is 5 1/4" X 1"
  • Vanilla inside pull-out is 4 1/2" X 3 1/2"

And last but certainly not least is this fabulous shaker card:
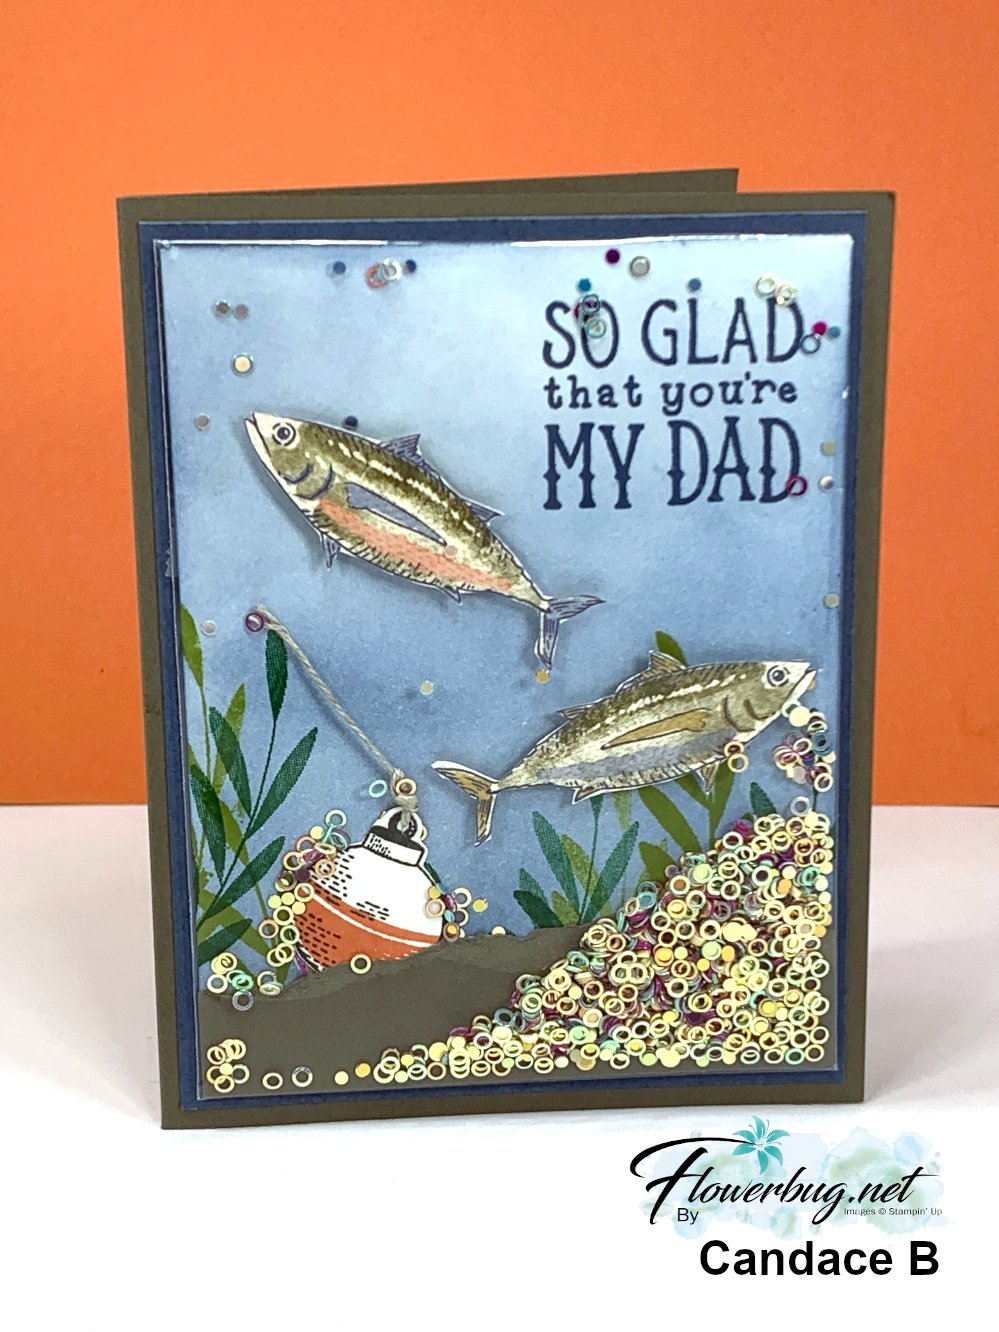

It's hard to tell but the colored and stamped panel is placed in one of our clear envelopes so she could add the new Iridescent shaker circles seen here. She added Boho Blue ink to the neutral card front using a Blending Brush, then stamped the greeting and leaves. She also fussy cut the fish from the Let's Go Fishing designer series paper and added them with Dimensionals. Then came the torn card stock layer and the bobbin and linen thread. 

Now she placed the entire piece inside a clear envelope, folded over the excess and secured it with adhesive. Now she added the shaker circles from the top open edge before closing it off to seal.  Add it to your card base layers and you're done! 

You can see these clear envelopes here.  I use them for card swaps, storing & protecting my finished cards and of course for easy shaker cards. They're $7 for 50 envelopes! 

This is such a fun card to make AND receive! It's hard to stop shaking it! 

~~~

July Specials: 

Bonus Days!

Get a $5 coupon for each $50 order you place in July.  Use the coupon in August!

2. PAPER PUMPKIN 48-HOUR SALE!

3. Next is a Clearance Rack update!

See all items available here

4. NEW Online Exclusives will be available

See them all here

~~~

Plus my monthly special for online orders:

Get a free card kit & a new Beautifully Happy stamp set 

with online orders over $65; must use a host code.

*current host codes: BKEARDMW or GGDRKFQR

All Posts

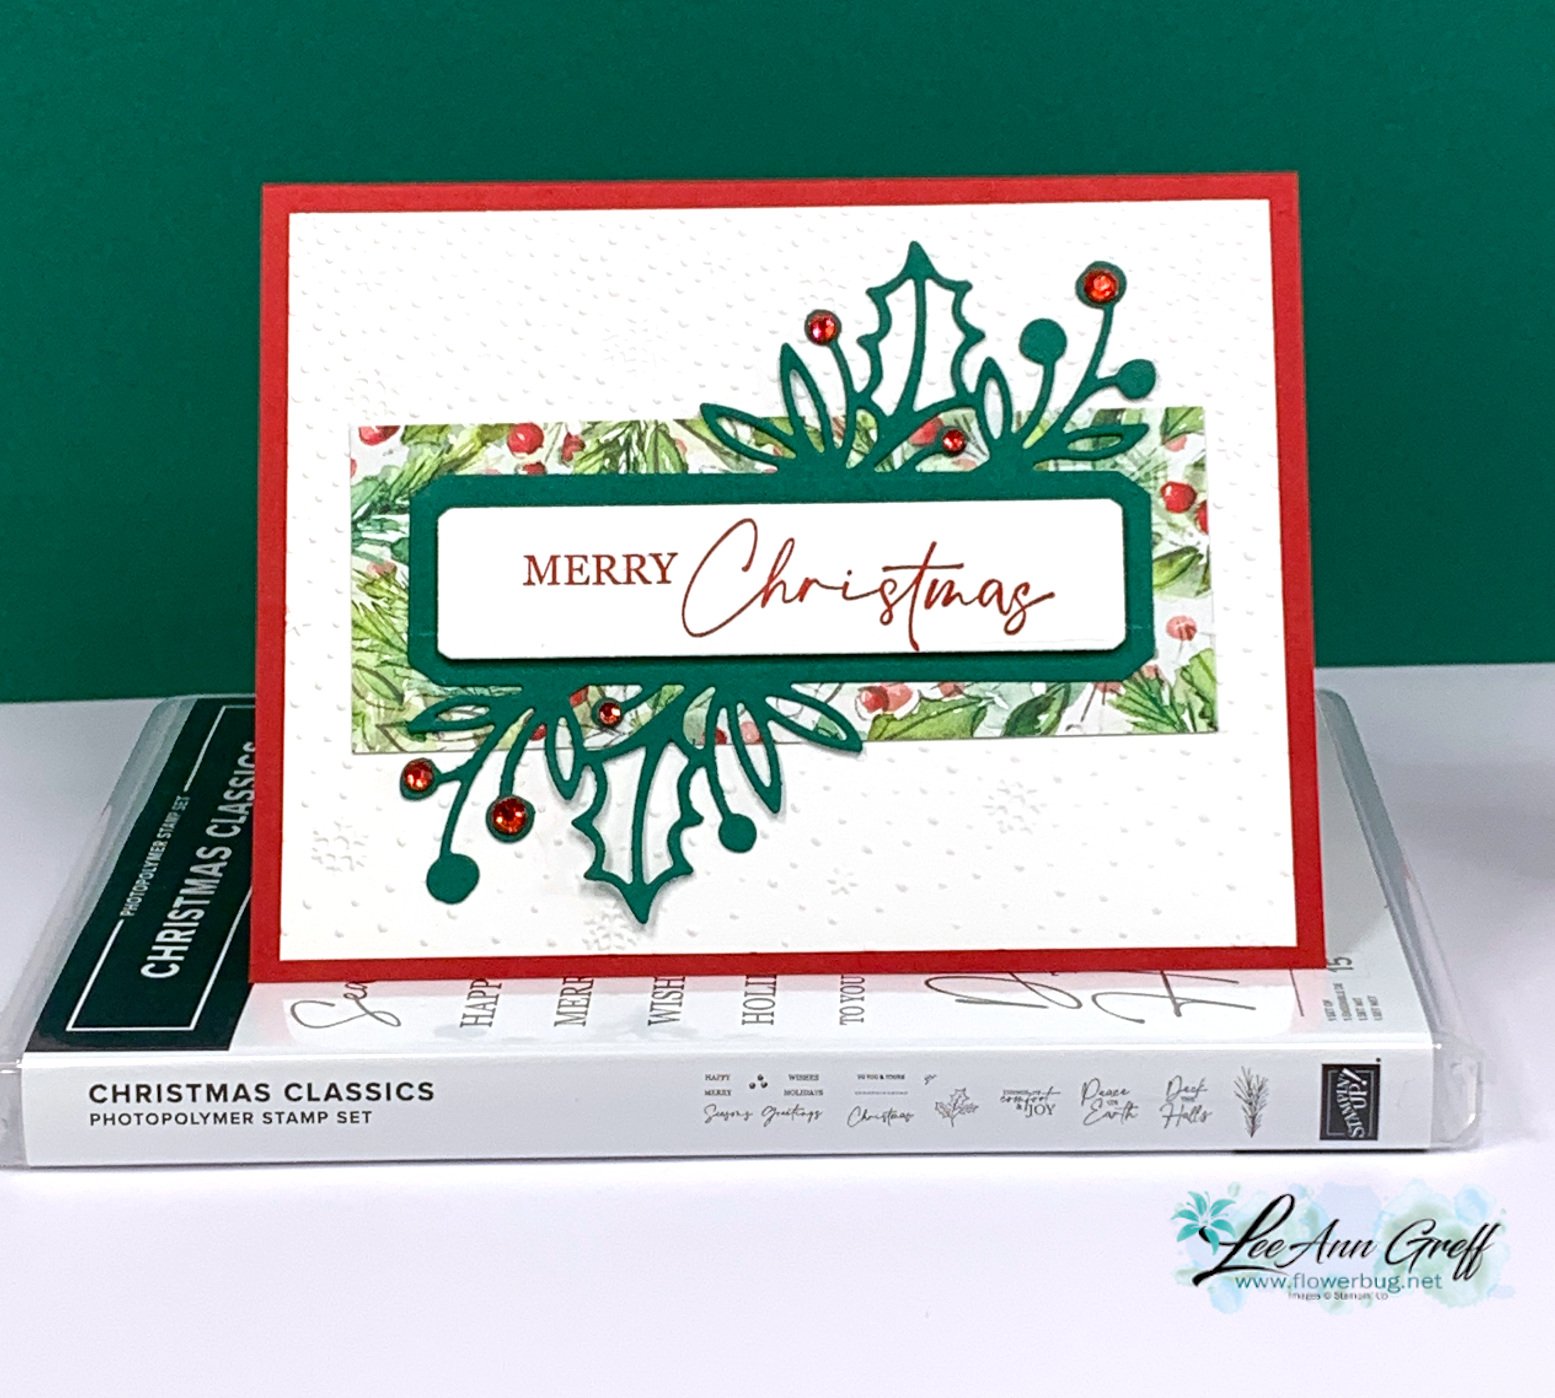
  • Pretty Christmas Classics card; video & free project sheet


    We made this pretty card at my November card clubs. I also featured it on last week's video too. 

    I feel the clean layout shows off the pretty die-cuts. A simple piece of designer paper and a textured background add all the details needed to make this stand out card.

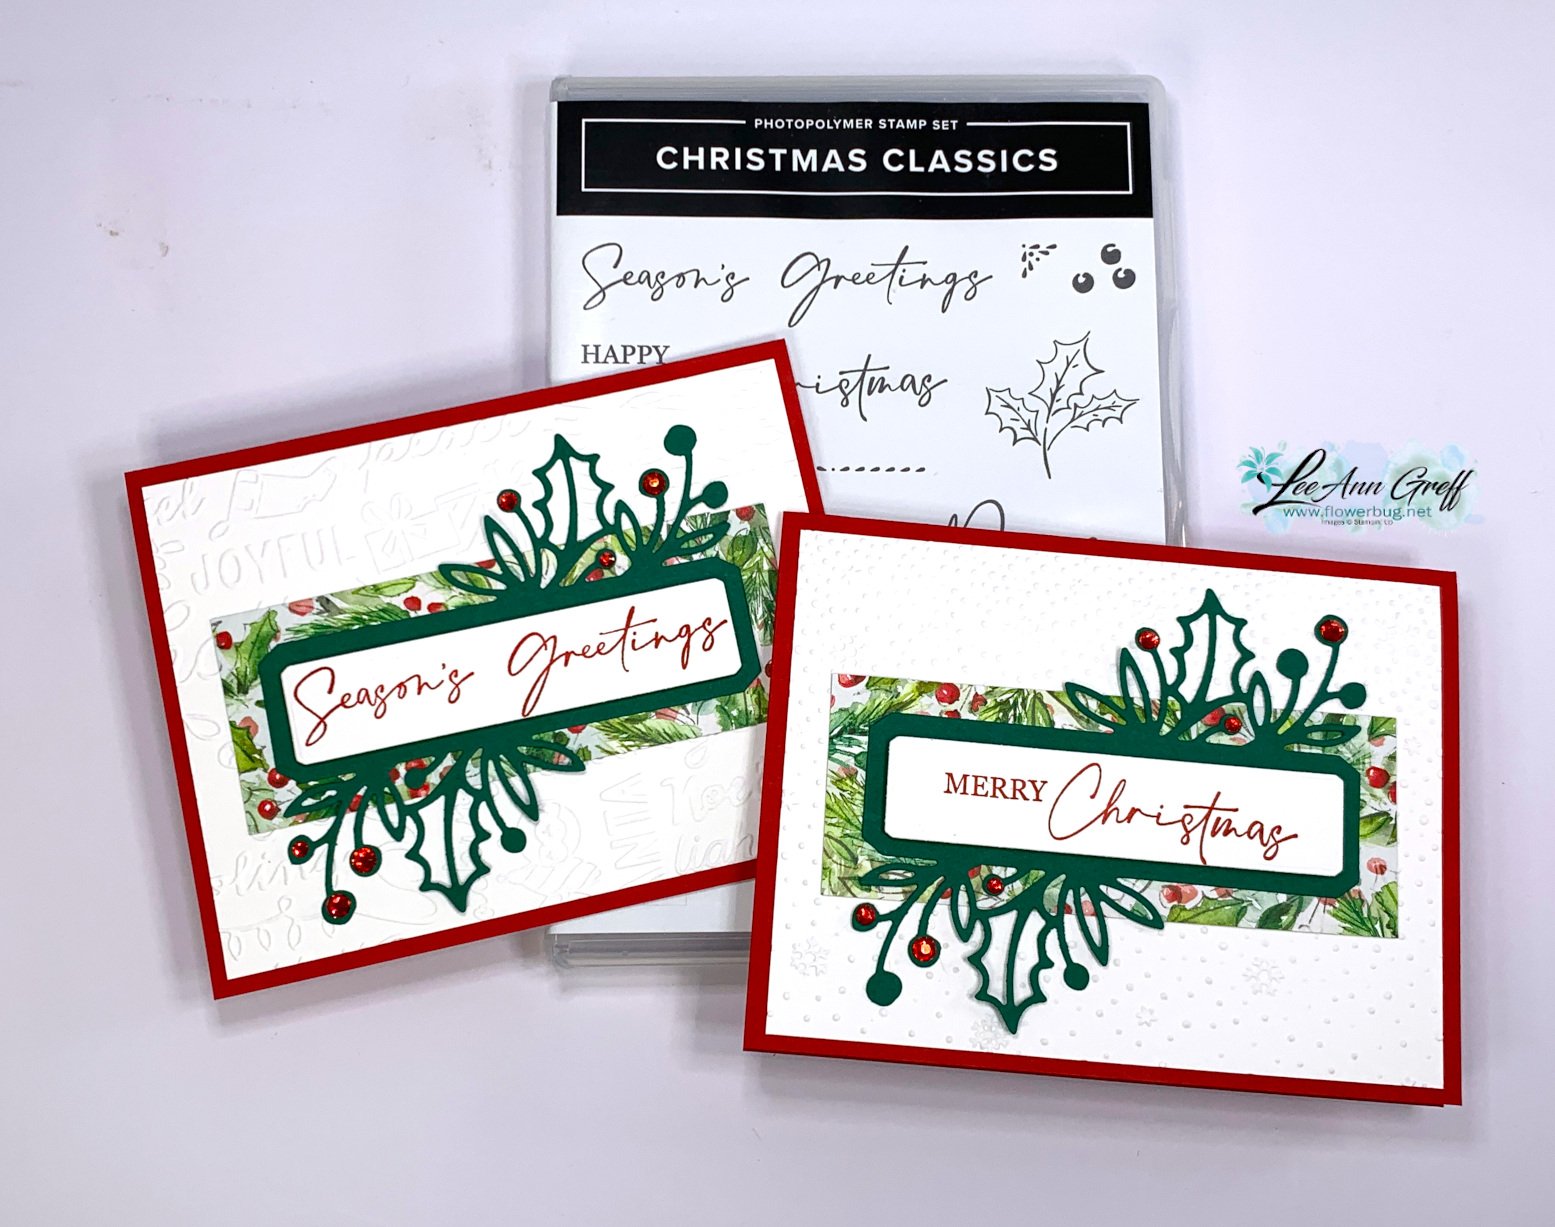
    I gave them a few choices on their cards – greetings and embossing folders. 

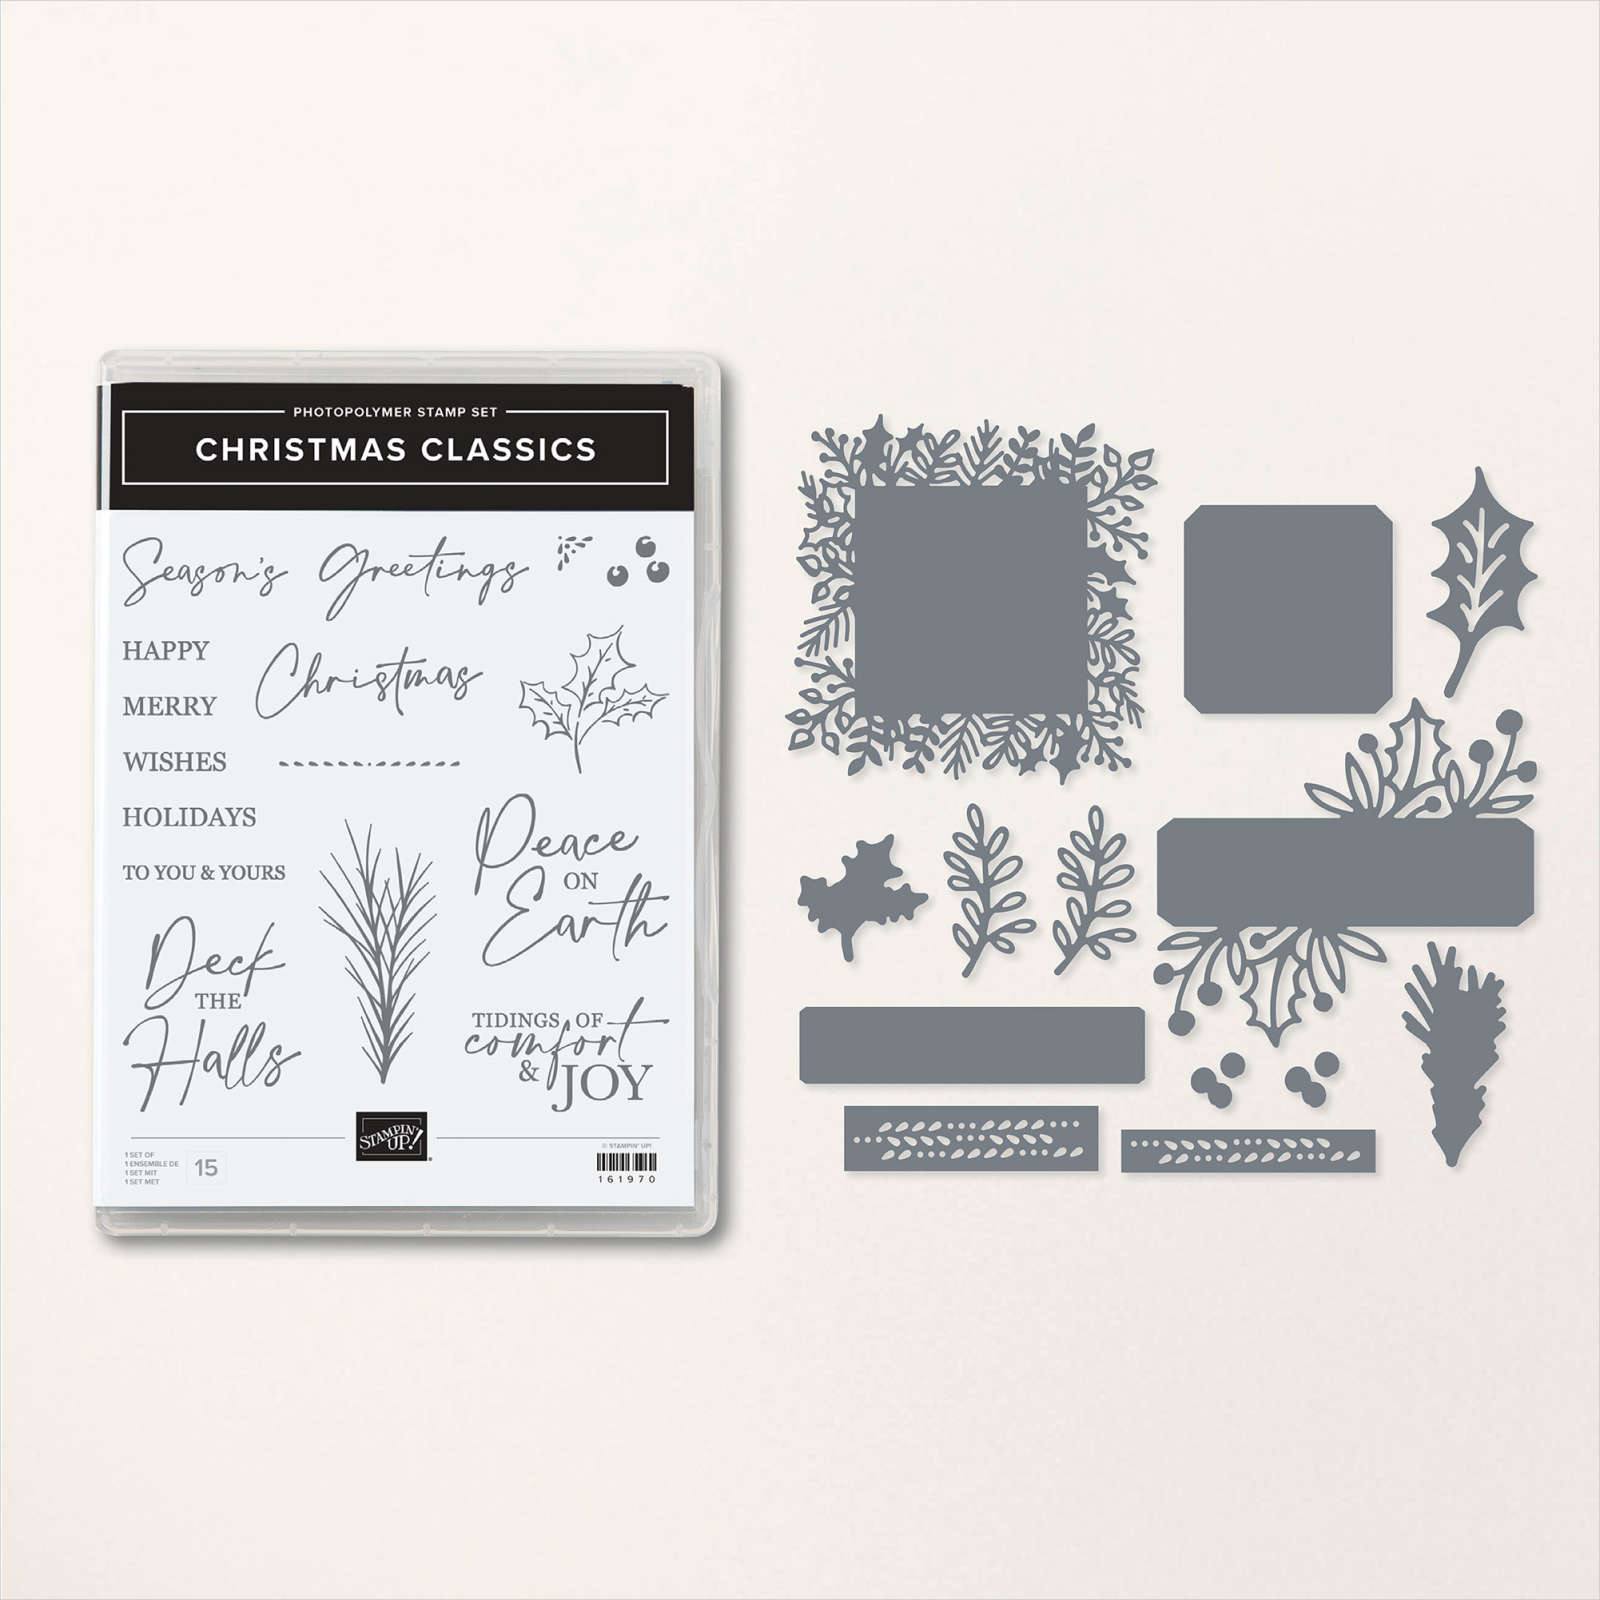
    I've found the Christmas Classics bundle to be my 'go to' for holiday cards this year.  Between the pretty dies and the wonderful greetings and botanical assortment it has it all! I love how the white greeting die-cut fits so perfectly on the detailed leaf die-cut. See this bundle here. 

    Did you know you can see all of my free project sheets in one place? Click here to see them all. Make sure you subscribe to my blog so you don't miss any. *right side column under 'get email updates'.

    **Get the free project sheet with measurements, supplies and directions here: Download Christmas Classics card

    Below shows the inside view: 

    Click on this link to watch the video or on the photo below; it's the second project. 


    : Download Christmas Classics Nov 23 Club

    I shared this card in a video along with the pretty snowflake cards.  Click here or on the picture below to watch it. 


    ~~~

    December Specials: 

    Get a free embellishment from the 2023 Holiday catalog with an

    online order over $50

    *current host codes:  4D2ZDS6Q or 77277NNH

    Click on the image below to see the Holiday Last Chance items 

    Leave a Reply

    Your email address will not be published. Required fields are marked *

  • 2 more Bee My Valentine projects with free project sheets & video


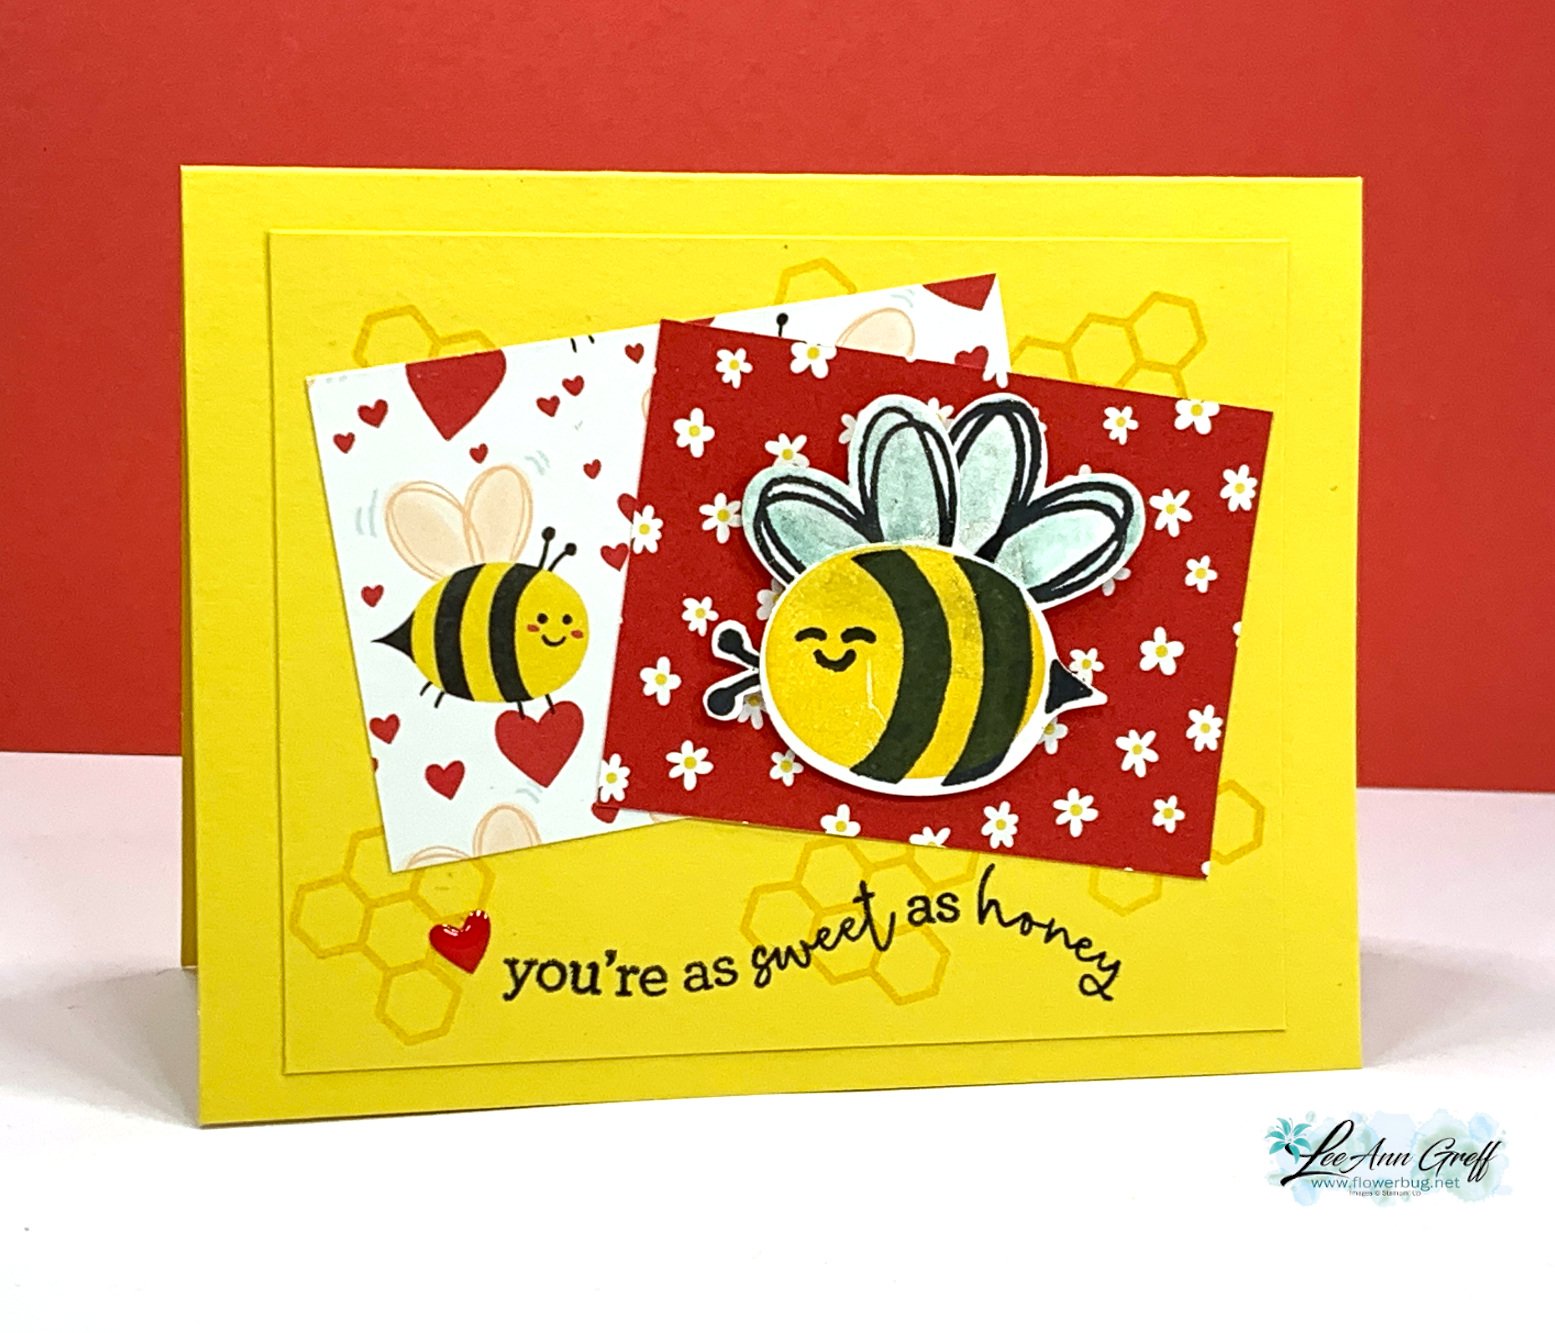
    We made these projects at a recent Stampin' Up! event called OnStage@Home. A virtual event filled with fun and demonstrations.

    This first card is bright & colorful.  Lively & fun.  

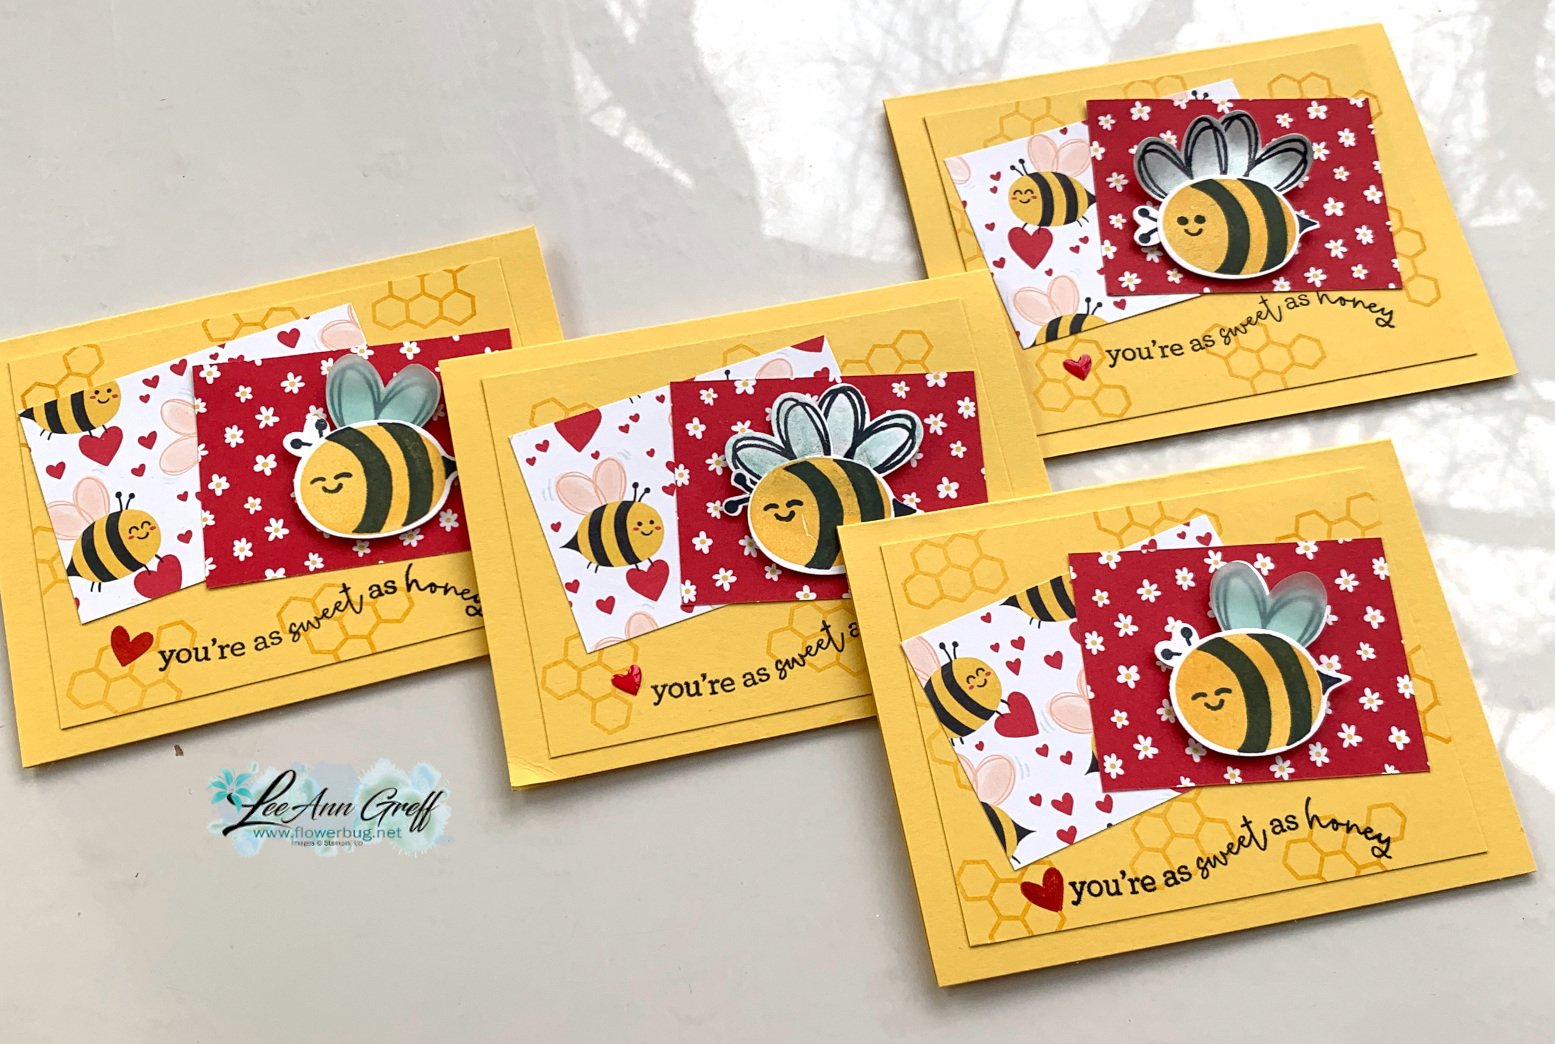
    The stamp set is photopolymer so I could bend the normally straight greeting  into a curve!  The colors are Daffodil Delight, Poppy Parade, black and a bit of Pool Party.  I made a bunch to use as thank you cards.

    *Click on this link to see & download the free, printable project sheet: Download Sweet as Honey Bee card

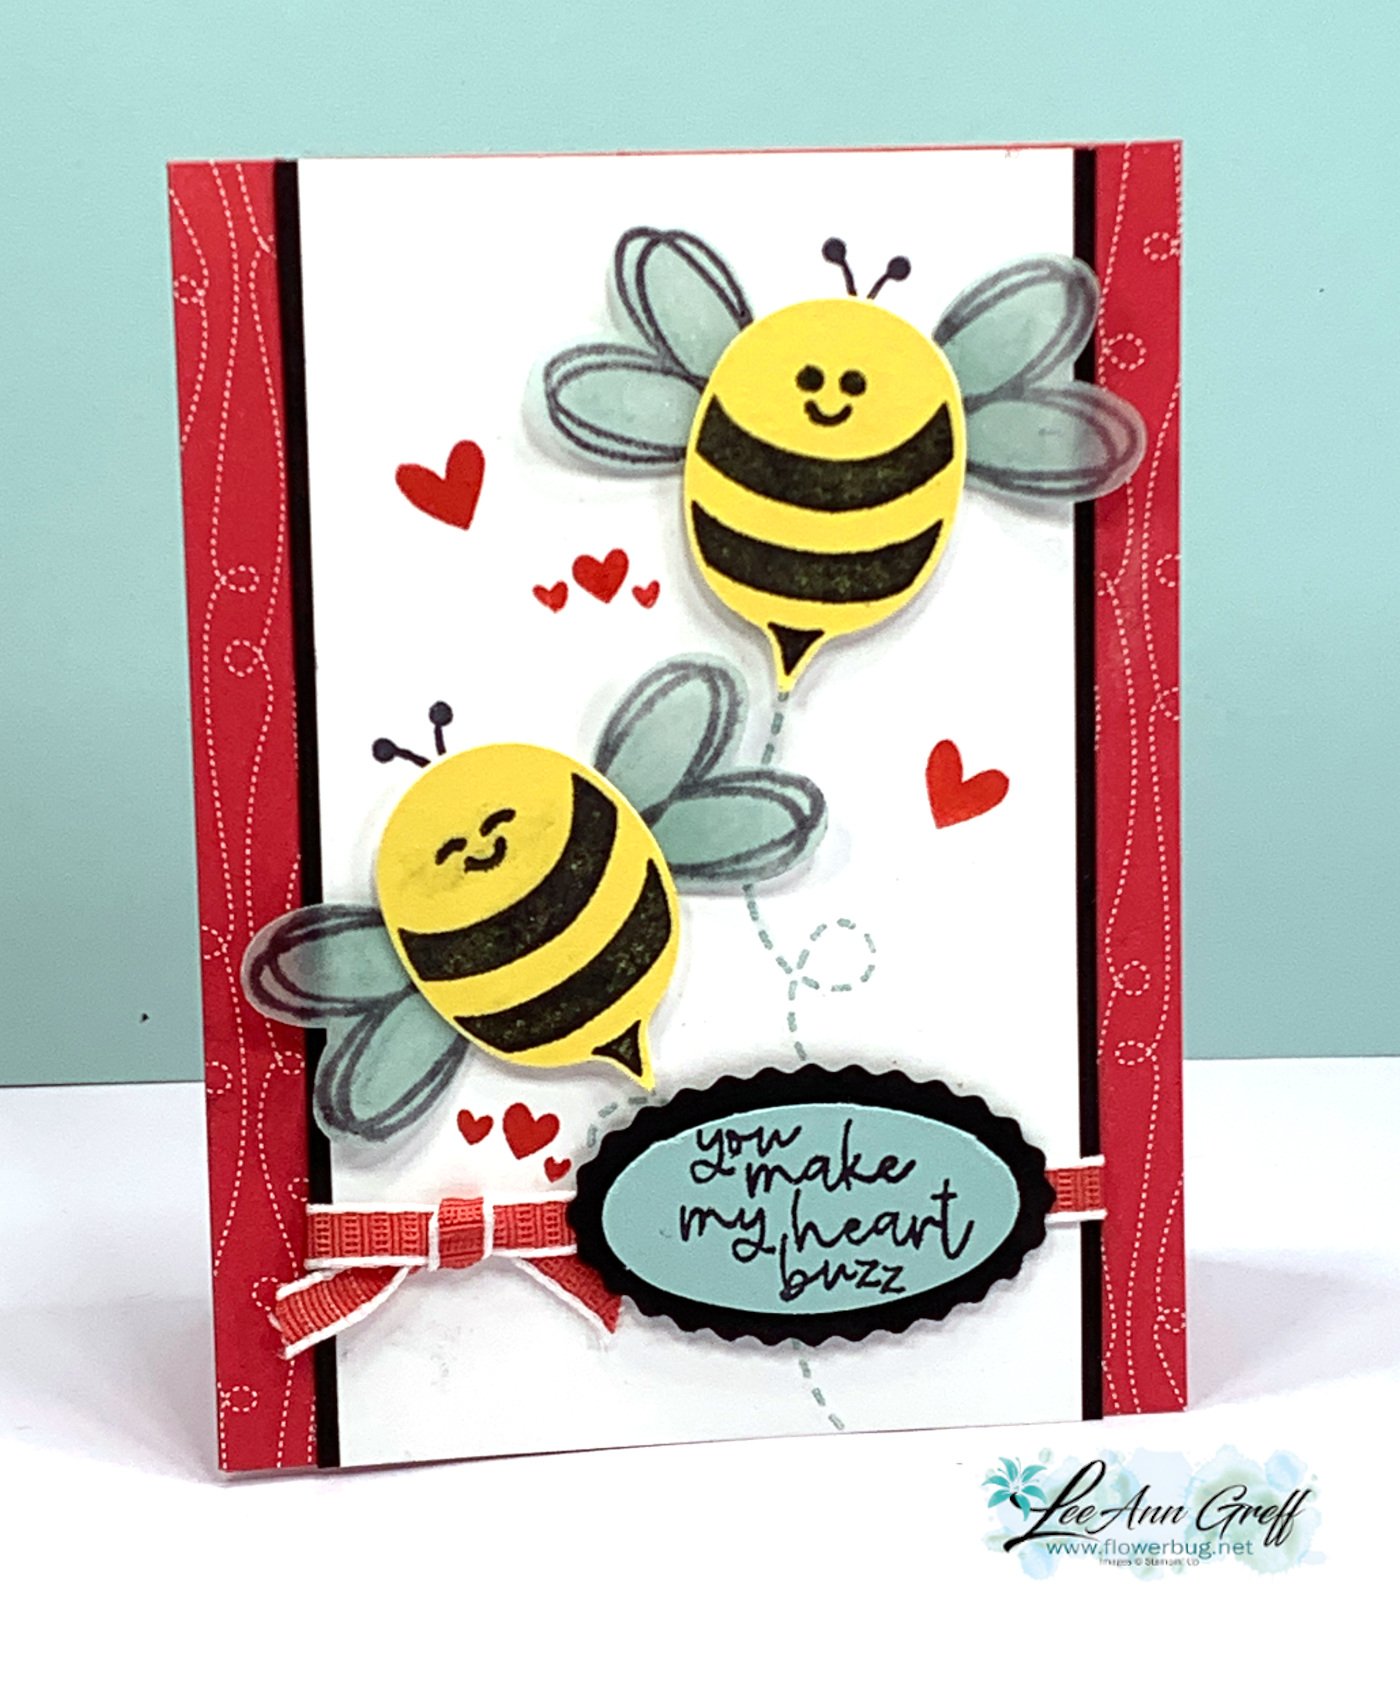
    Next is another card featuring Pool Party, Daffodil Delight, Black and Petal Pink. The designer paper is separated by a strip of card stock and used as the greeting layer. Neat idea!  

    This bundle comes out in the 2024 Spring catalog in early January. Demonstrators can pre-order it in December. We're grateful for a chance at upcoming products early! 

    *Get the free project sheet here; you can save it to a file or print it. Download Buzzing Bee card

    Below is the video with three more projects featuring this upcoming bundle. Or click here to see it. 

    *Don't forget to subscribe to my YouTube channel while you're there. 

    ~~~

    December Specials: 

    Get a free embellishment from the 2023 Holiday catalog with an

    online order over $50

    *current host codes:  4D2ZDS6Q or 77277NNH

    Click on the image below to see the Holiday Last Chance items 

    Leave a Reply

    Your email address will not be published. Required fields are marked *

  • Bee My Valentine sneak peak projects! With a free project sheet


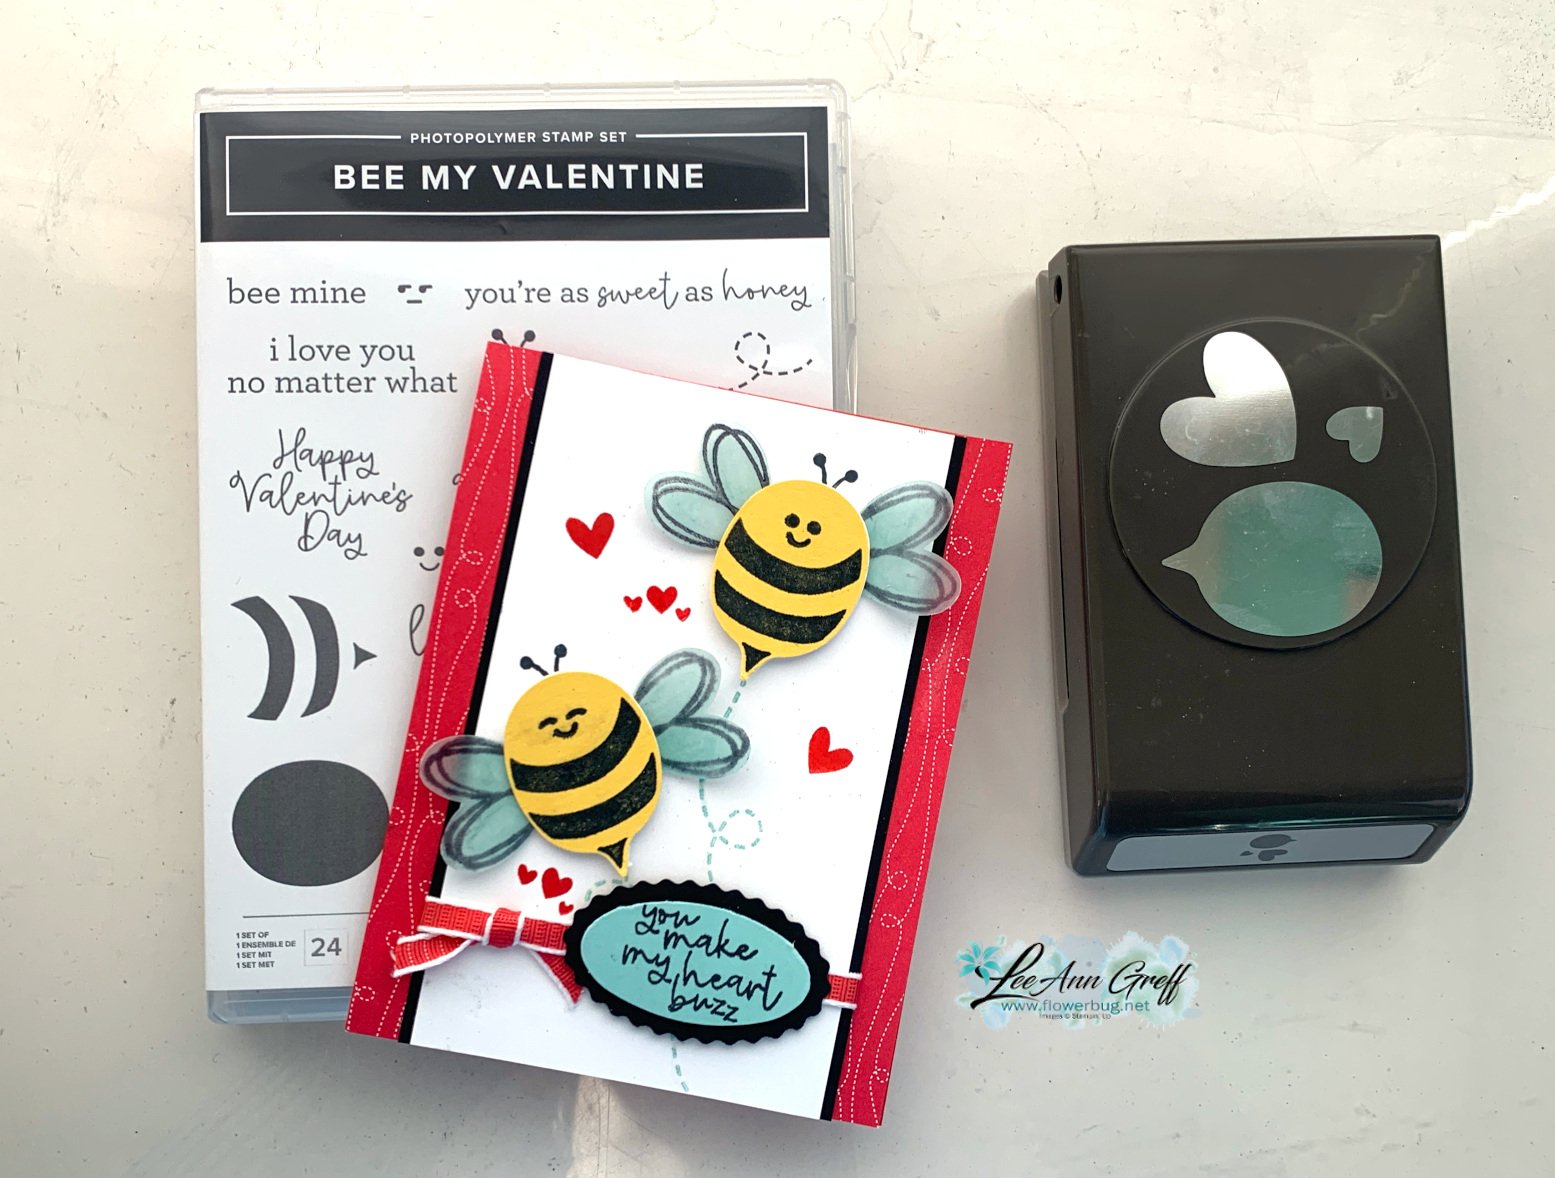
    There's a new bundle coming in January with the 2024 Spring catalog!  It's called 'Bee My Valentine' and it's super fun!

    I LOVE the builder punch and how versatile it is.  The large heart shape is for the wings, but could be used as a heart too. The small heart works on it's own or for the antenna. The bee body could be a word bubble!

    We made this adorable card at a recent Team gathering called OnStage @ Home. 

    The colors include Poppy Parade, Pool Party, Daffodil Delight, Black & White. The bee wings are made from our Vellum cardstock, colored with Pool Party ink by pressing the ink pad directly to the paper. I heat set the color with a heat tool before I stamped the wings in Black. Vellum does not absorb ink quickly so heat setting with a heat tool can be necessary.

    You can spy a few new products here – the Bee Mine designer paper (side strips) and the new Poppy Parade ribbon. 

    I made a bunch of them to use as thank you cards:

    *Get the free project sheet here; you can save it to a file or print it. Download Bee My Valentine card LA

    Below is the video I shared three more projects with this upcoming bundle. Or click here to see it. 

    *Don't forget to subscribe to my YouTube channel while you're there. 

    ~~~

    November Specials: 

    *current host code:  4D2ZDS6Q or 77277NNH

    Click on the image below to see the Holiday Last Chance items 


    Leave a Reply

    Your email address will not be published. Required fields are marked *


Notice: LeeAnn Greff, Independent Stampin’ Up! Demonstrator, Manager. The content of this website is my sole responsibility as an independent Stampin’ Up! demonstrator and the use of, and content of, the classes, services, or products offered on this website is not endorsed by Stampin’ Up! Copyright 2025