/


Latest Post

Check out this ‘Tackle box’ with the Gone Fishing bundle! Amazing!!


Today I'm sharing the last projects Candace made with the Gone Fishing and Let's Go Fishing designer paper.  She was our Artist of the Month for June and created some incredible projects!  

I was blown away by this 'tackle box' full of candy.  She told me she made it up herself!  AMAZING!! 
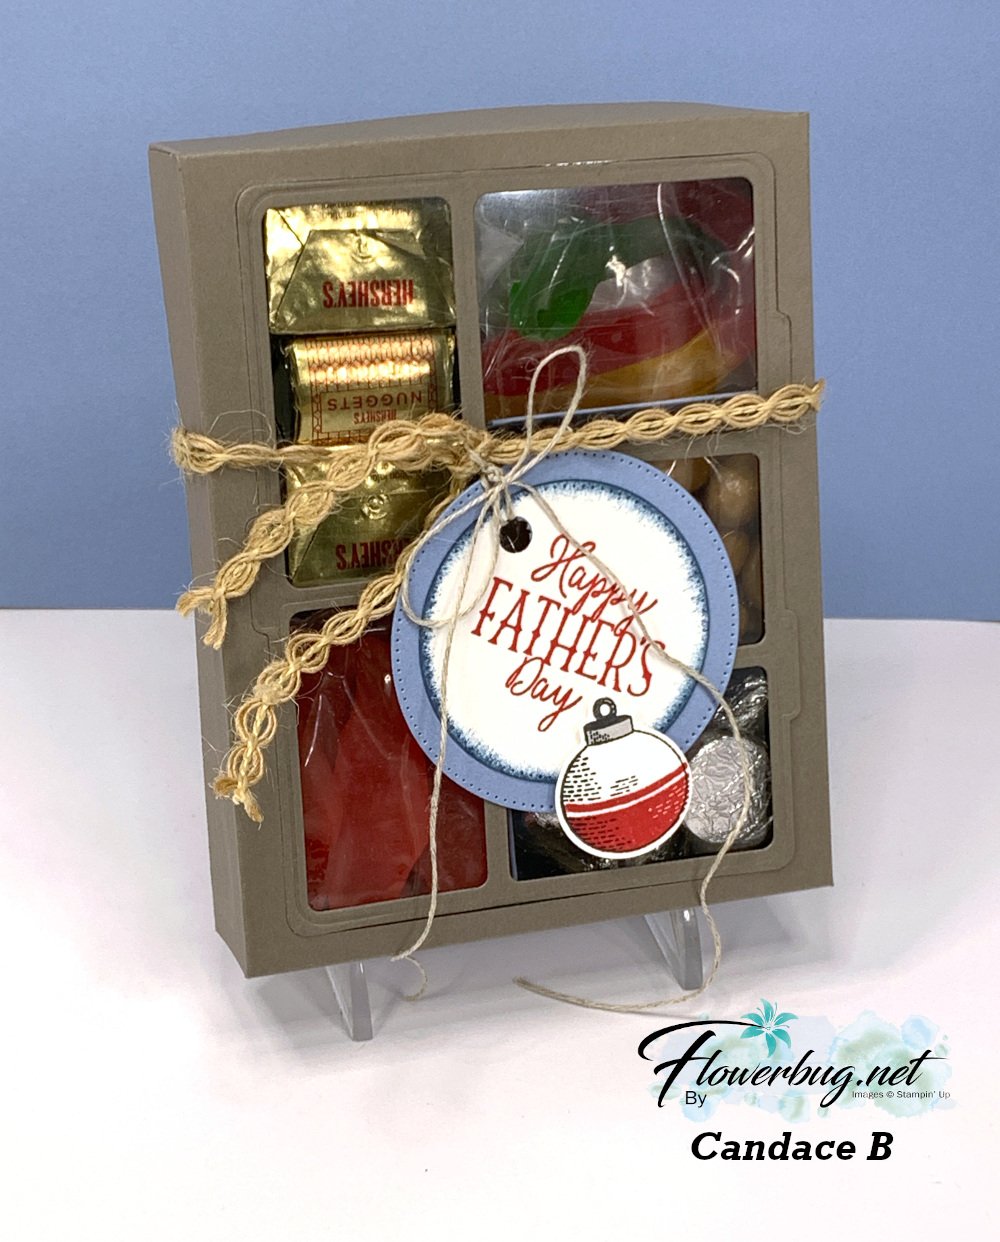
She added gummy fish & worms, kisses, candy 'rocks' and nuggets inside.  I believe she first scored her box front then used the Gone Fishing large die to cut the windows for the front panel. Scoring first would help you center the die. Then she added the window sheet to the underside.  The window sheet holds the die-cut frame and the box front in place. 

Measurements for the box: *corrected

  • top of box 6 1/4 X 7 1/2" score 1" on all sides
  • bottom of box 6 1/8" X 7 3/8" score at 1" on all sides
  • window sheet 4 1/8" X 5 1/4" 
  • left inside divider (two compartments) is 1 7/8" X 6 3/4" score at 2 3/4", 3 1/2" & 4 1/4" 
  • right inside divider (three compartments) is 2 1/8" X  8 1/4" scored at 2", 2 3/4", 3 1/2", 5 1/8", 5 7/8" & 6 5/8" 
  • inside bottom (under the two divided sections) 5 1/4" X 5 5/8" score at 1 7/8", 2 5/8" & 3 3/8"

To assemble this you'd add the long vertical divided piece first and then the two scored strips after that.  

I made a birthday version of this box. You can watch the video here.  

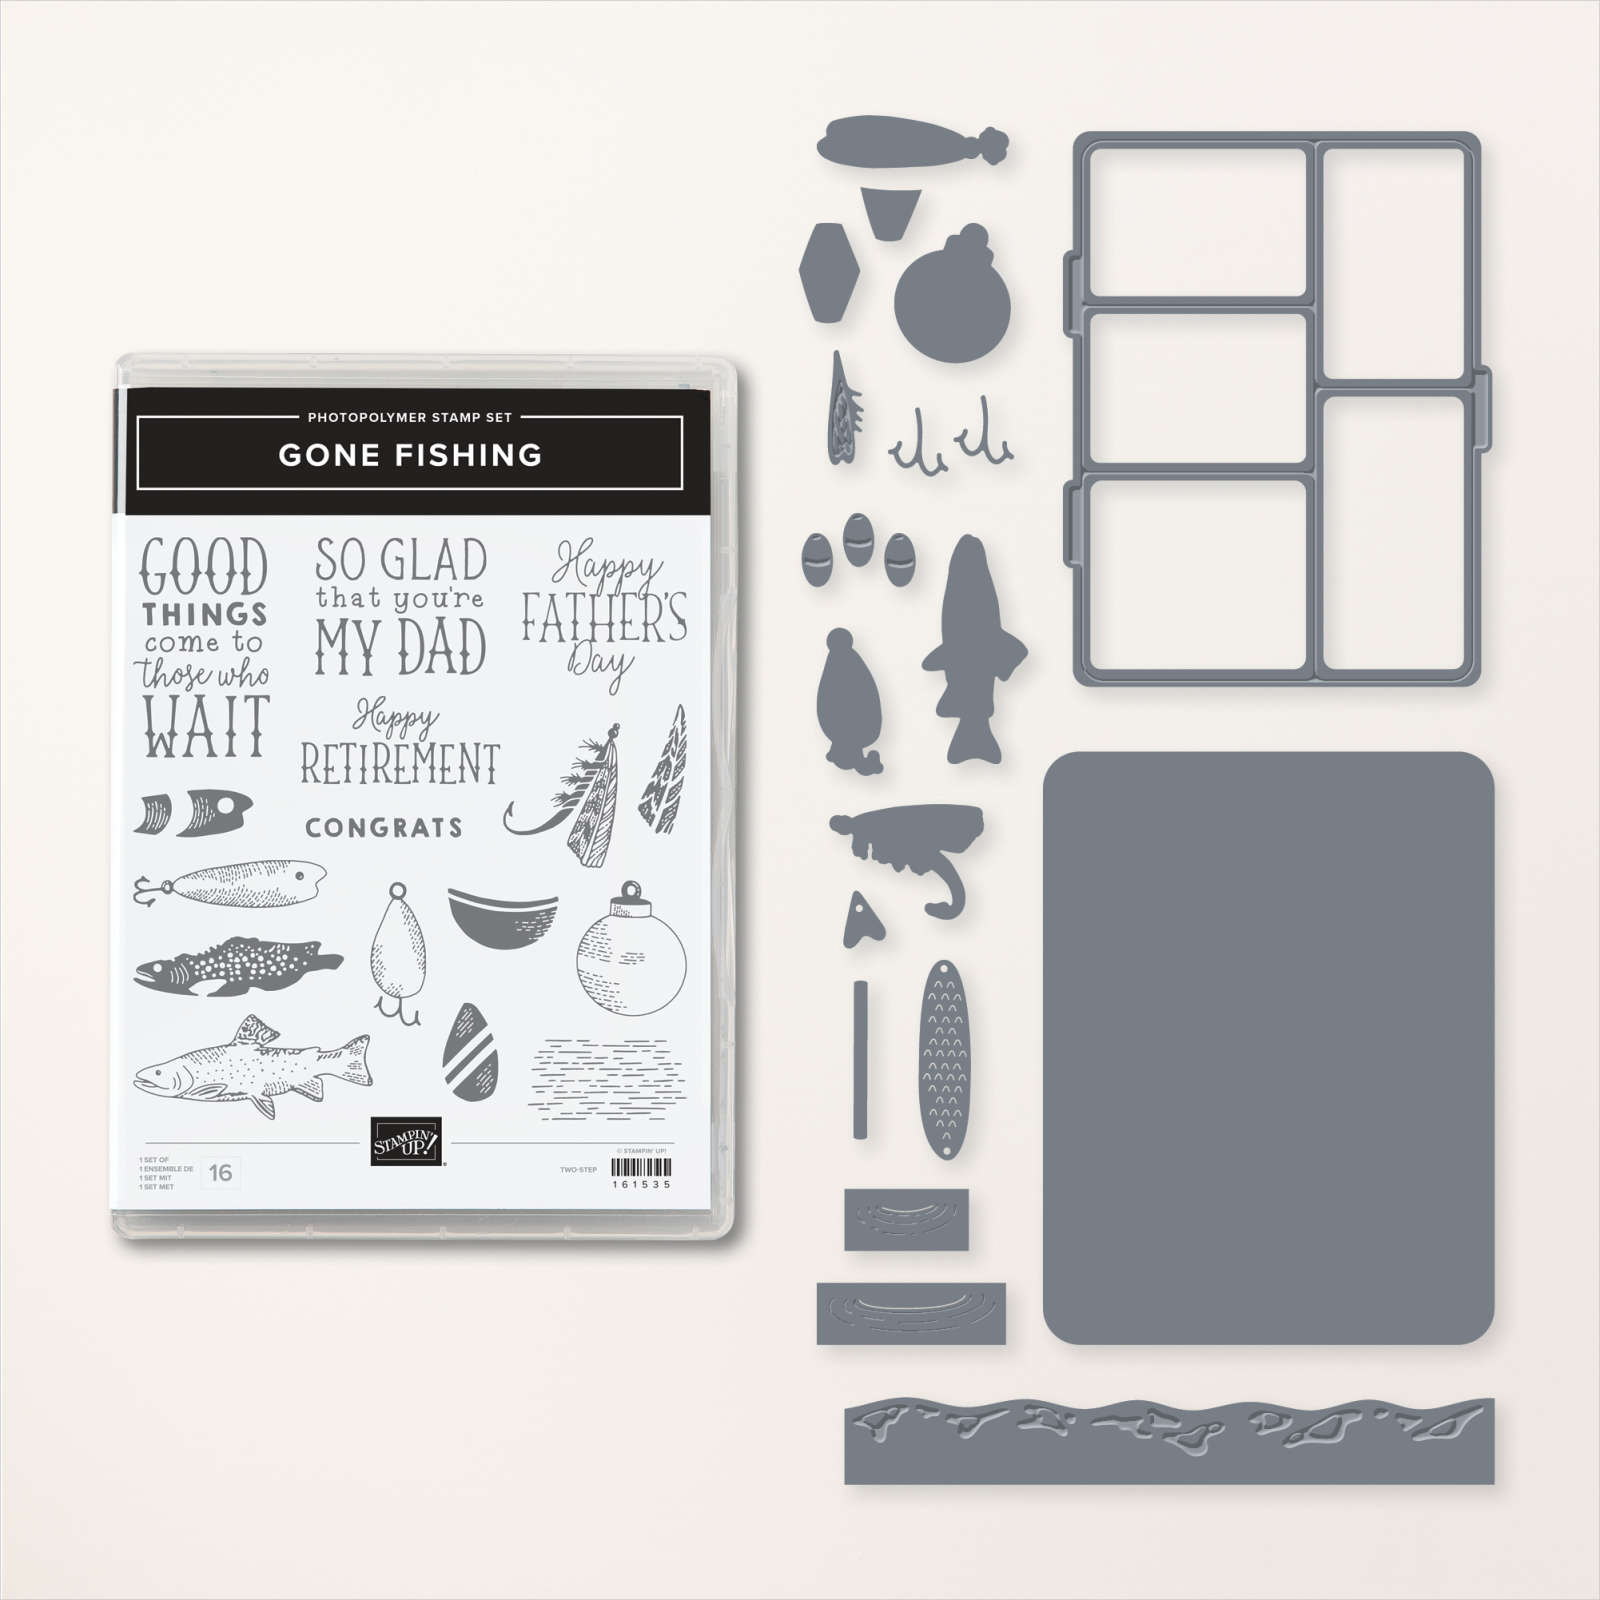
You can see the Gone Fishing bundle here. 
This last card is another fun fold; she made lots of them in her array of cards.  

It's a pocket card that could also include a gift card inside it. Be sure to note the rhinestone 'fish bubbles' on the sentiment.  


I love the wavy detail she added to the inside piece; it's from the Gone Fishing dies.

Measurements:

  • Misty Moonlight card base 5 1/2" X 8 1/2" scored at 2 3/4" & 6 3/4"
  • DSP 5 1/4" X 2 1/2" for front, bottom layer is 5 1/4" X 1"
  • Vanilla inside pull-out is 4 1/2" X 3 1/2"

And last but certainly not least is this fabulous shaker card:
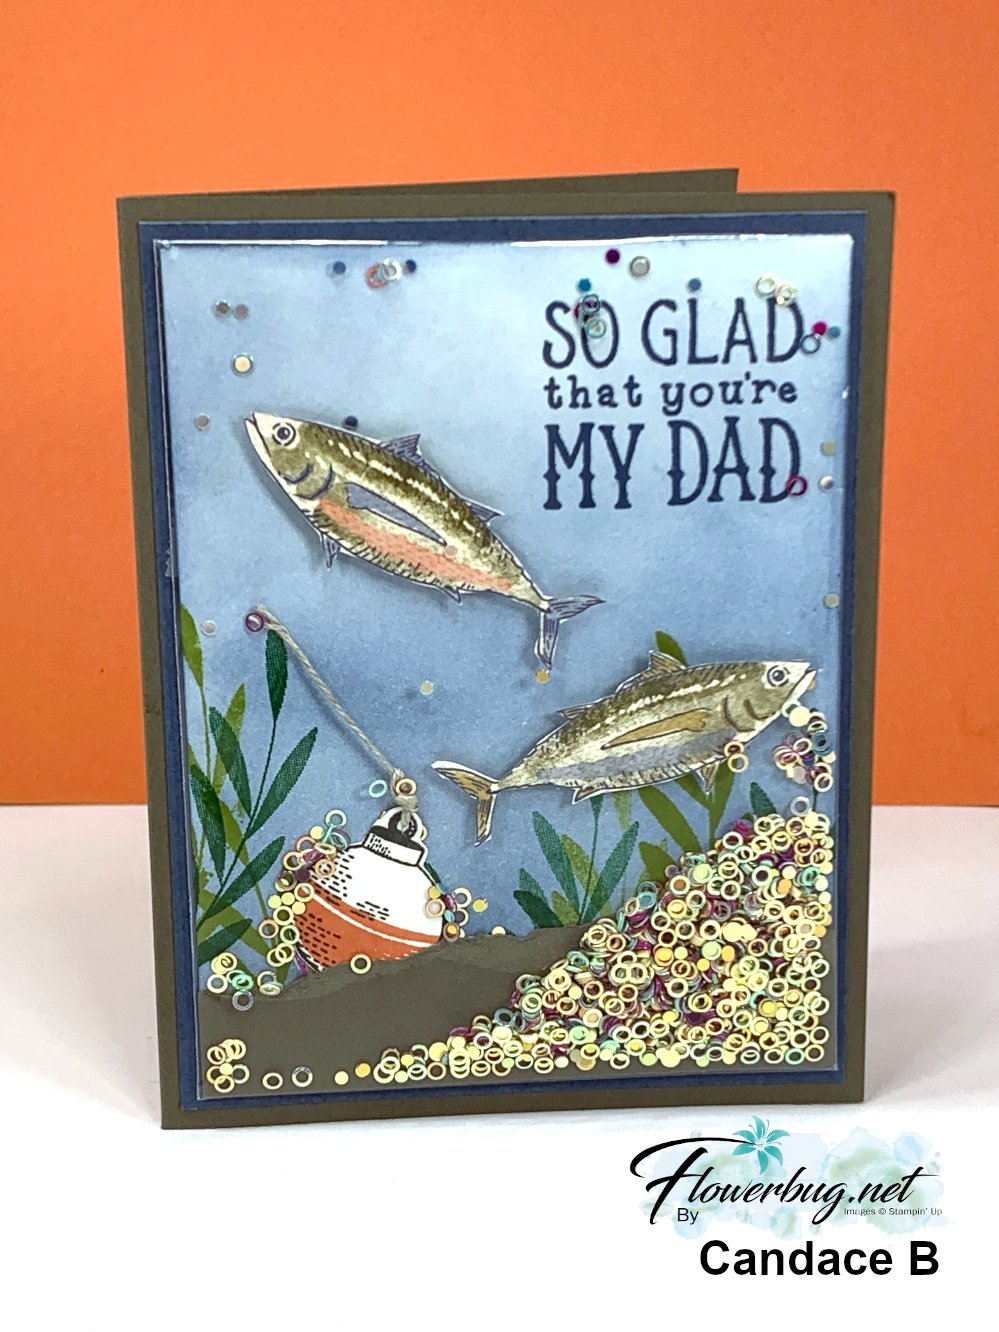

It's hard to tell but the colored and stamped panel is placed in one of our clear envelopes so she could add the new Iridescent shaker circles seen here. She added Boho Blue ink to the neutral card front using a Blending Brush, then stamped the greeting and leaves. She also fussy cut the fish from the Let's Go Fishing designer series paper and added them with Dimensionals. Then came the torn card stock layer and the bobbin and linen thread. 

Now she placed the entire piece inside a clear envelope, folded over the excess and secured it with adhesive. Now she added the shaker circles from the top open edge before closing it off to seal.  Add it to your card base layers and you're done! 

You can see these clear envelopes here.  I use them for card swaps, storing & protecting my finished cards and of course for easy shaker cards. They're $7 for 50 envelopes! 

This is such a fun card to make AND receive! It's hard to stop shaking it! 

~~~

July Specials: 

Bonus Days!

Get a $5 coupon for each $50 order you place in July.  Use the coupon in August!

2. PAPER PUMPKIN 48-HOUR SALE!

3. Next is a Clearance Rack update!

See all items available here

4. NEW Online Exclusives will be available

See them all here

~~~

Plus my monthly special for online orders:

Get a free card kit & a new Beautifully Happy stamp set 

with online orders over $65; must use a host code.

*current host codes: BKEARDMW or GGDRKFQR

All Posts

  • Paper Pumpkin update & bonus project for The Best There Is kit


    Even though I am a seasoned stamper I still enjoy receiving and playing with my Paper Pumpkin kits each month. Sometimes I make the projects as directed and other times I like to change them up. 

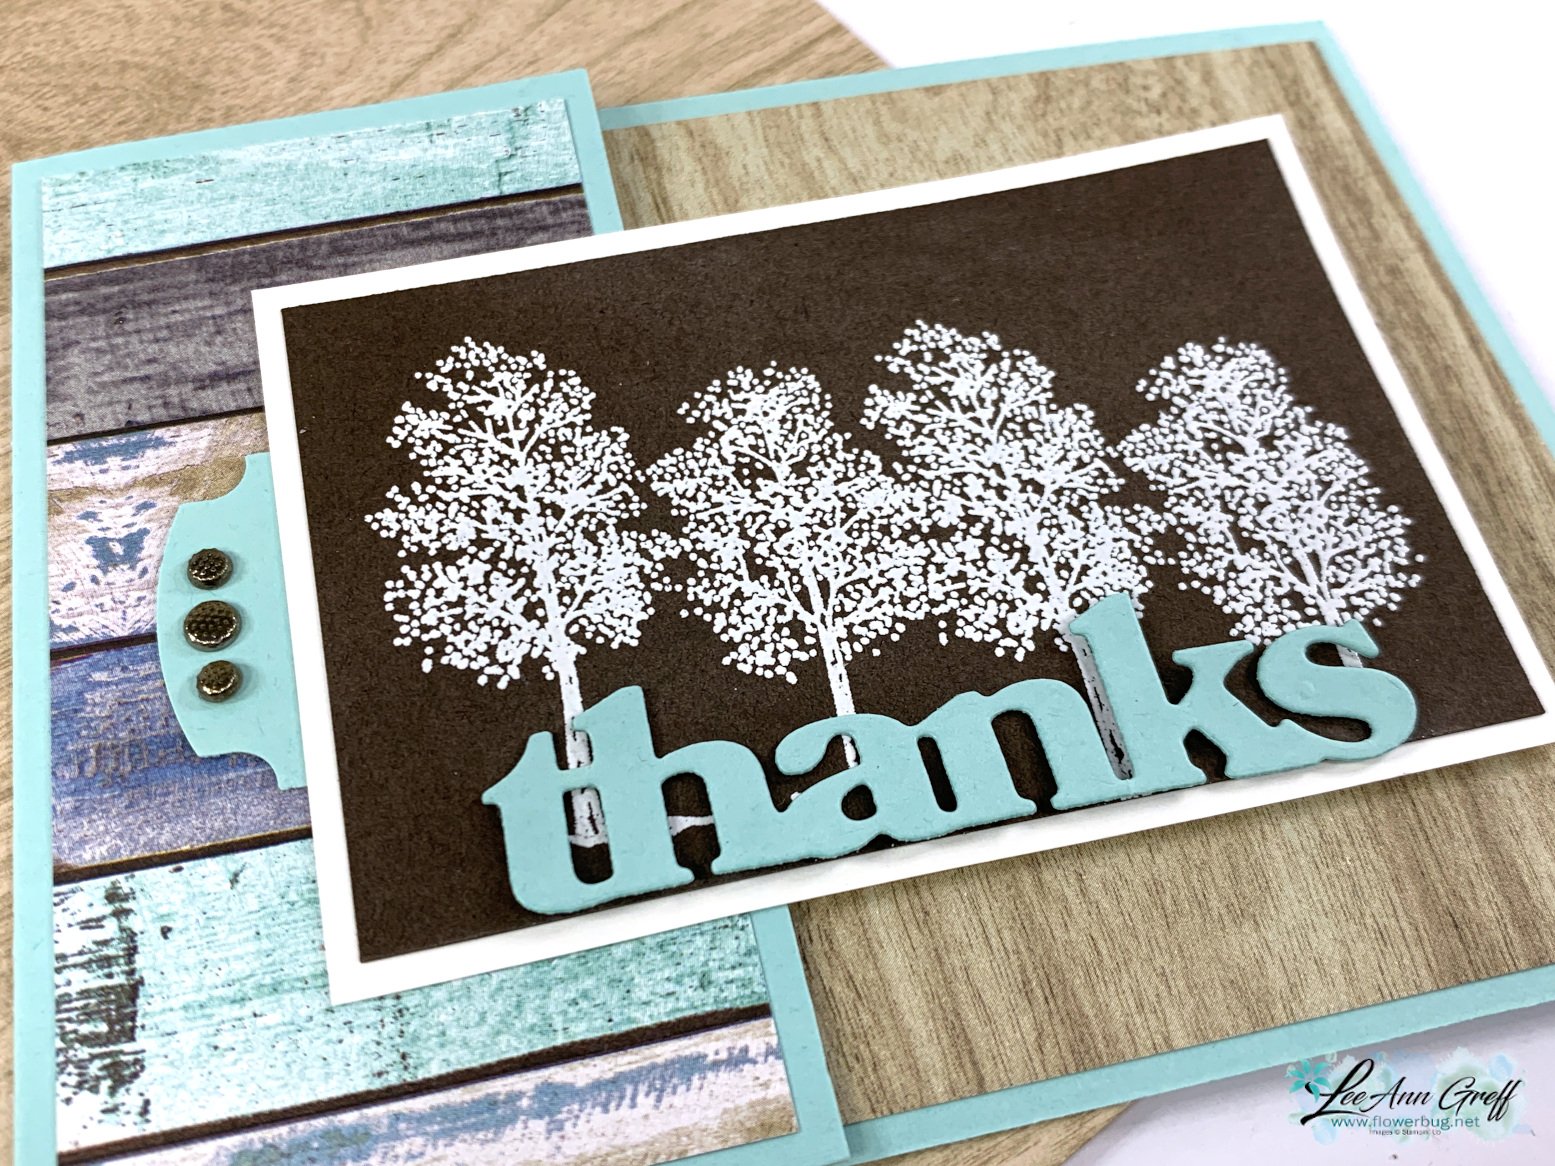
    Here's one of my 'change it up' projects from May's The Best There Is' kit. 

    I used the add on dies for the 'thanks' – heat embossing it in White on Early Espresso card stock. I added on a few pieces of the Country Woods designer paper to this fun fold card.  This card was one of the Bonus Projects included in my free tutorial my subscribers received in early June.  

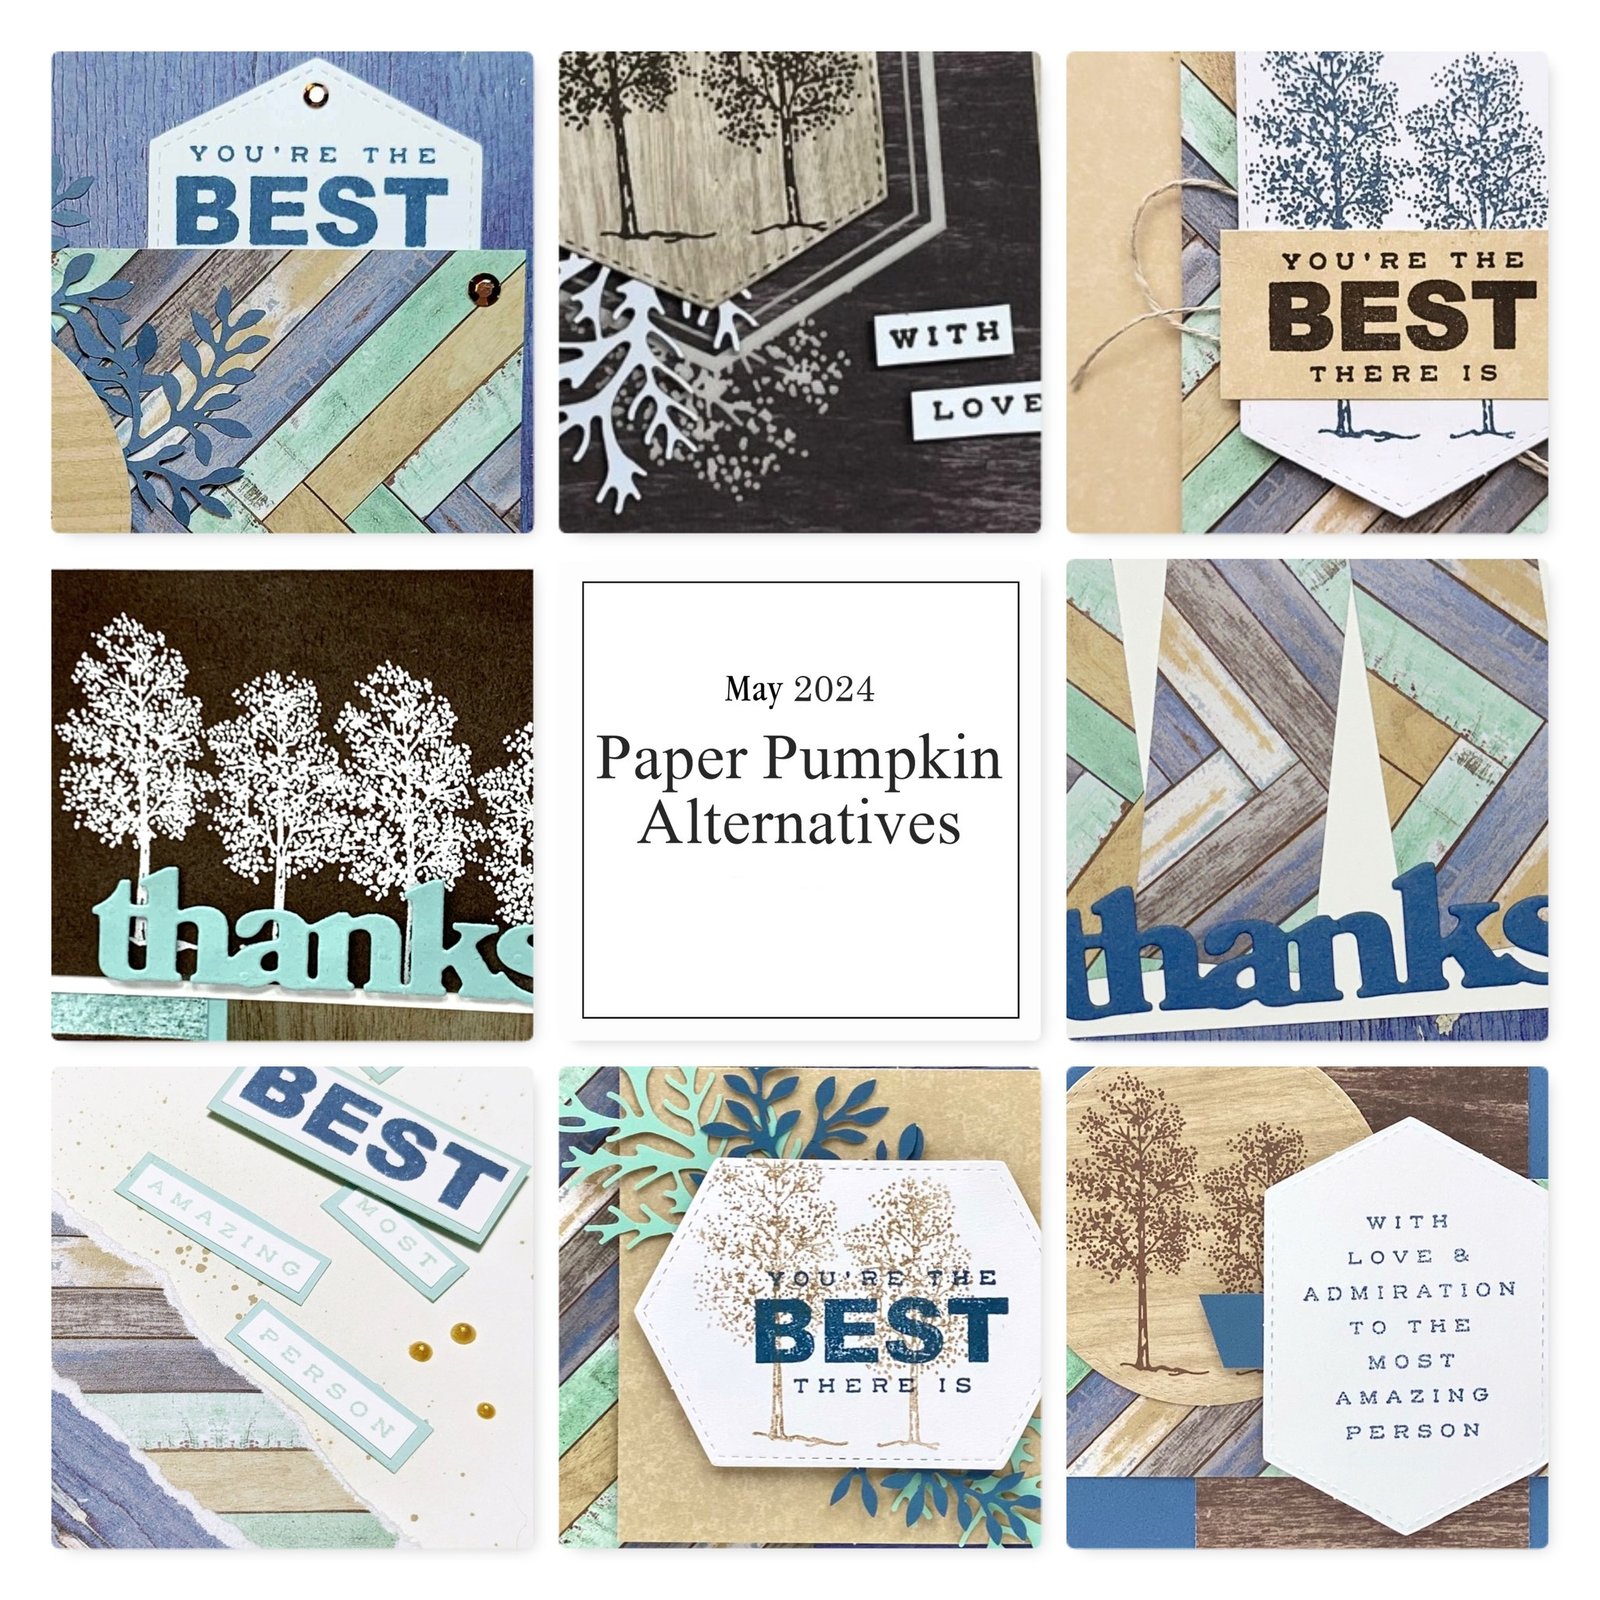
    Below is a peak at the bonus projects I send them each month. They receive at least 9 extra project ideas for the kits they received. 

    Click here to subscribe to receive a kit each month; read below for more details. 

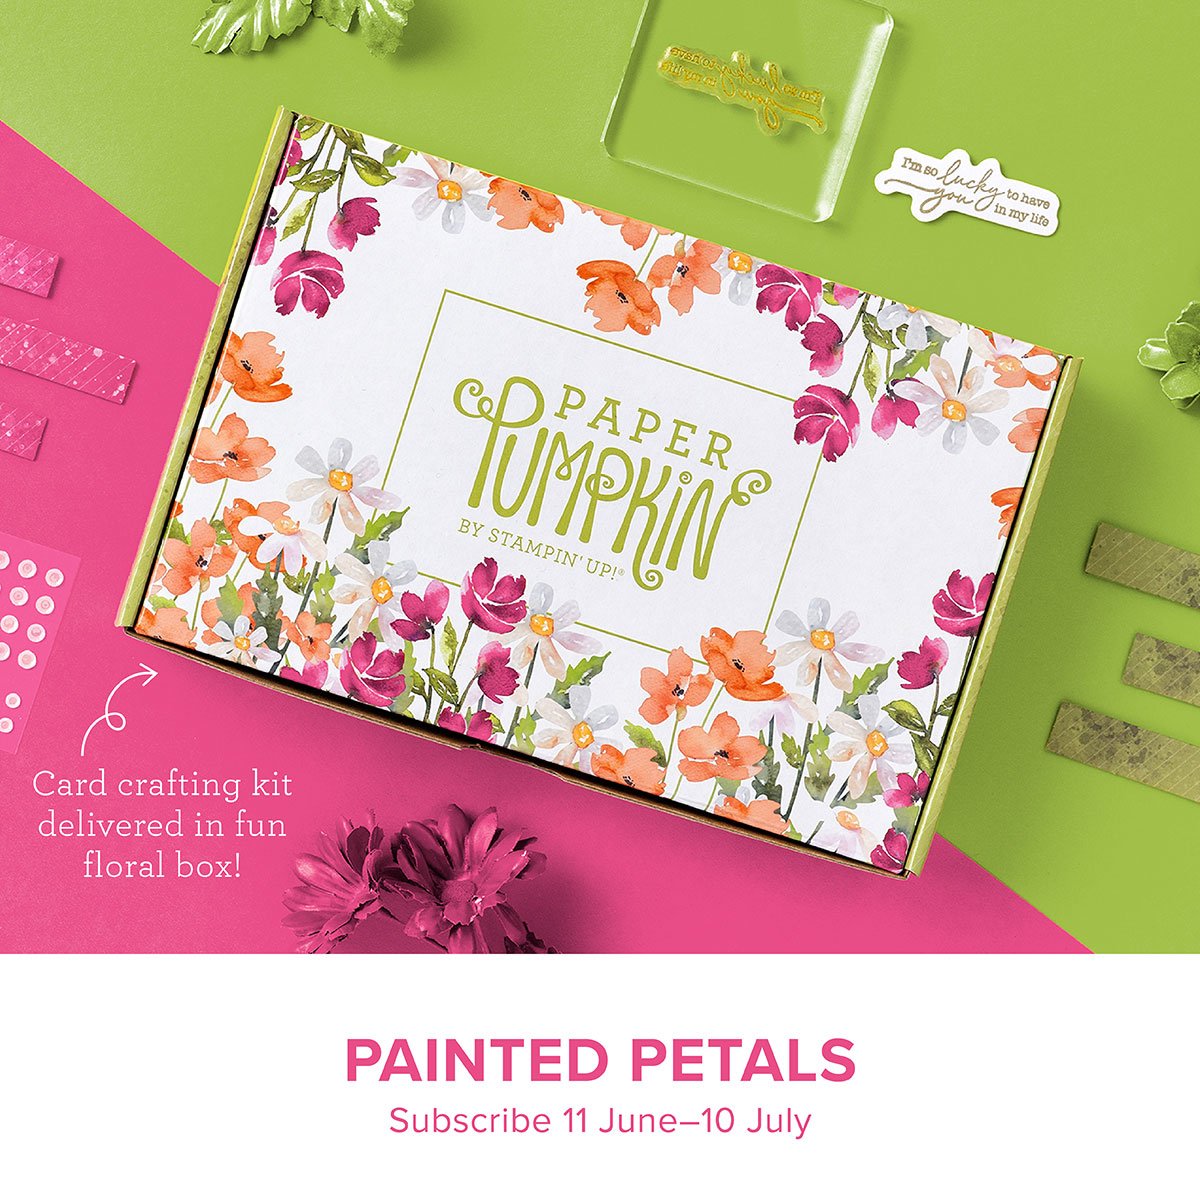
    July's kit should be a pretty one; here's a sneak peak.

    We always get a peak at what's in the next month's kit.  This helps subscribers decide if they want it or if they want to skip that kit.  You always have a choice!  

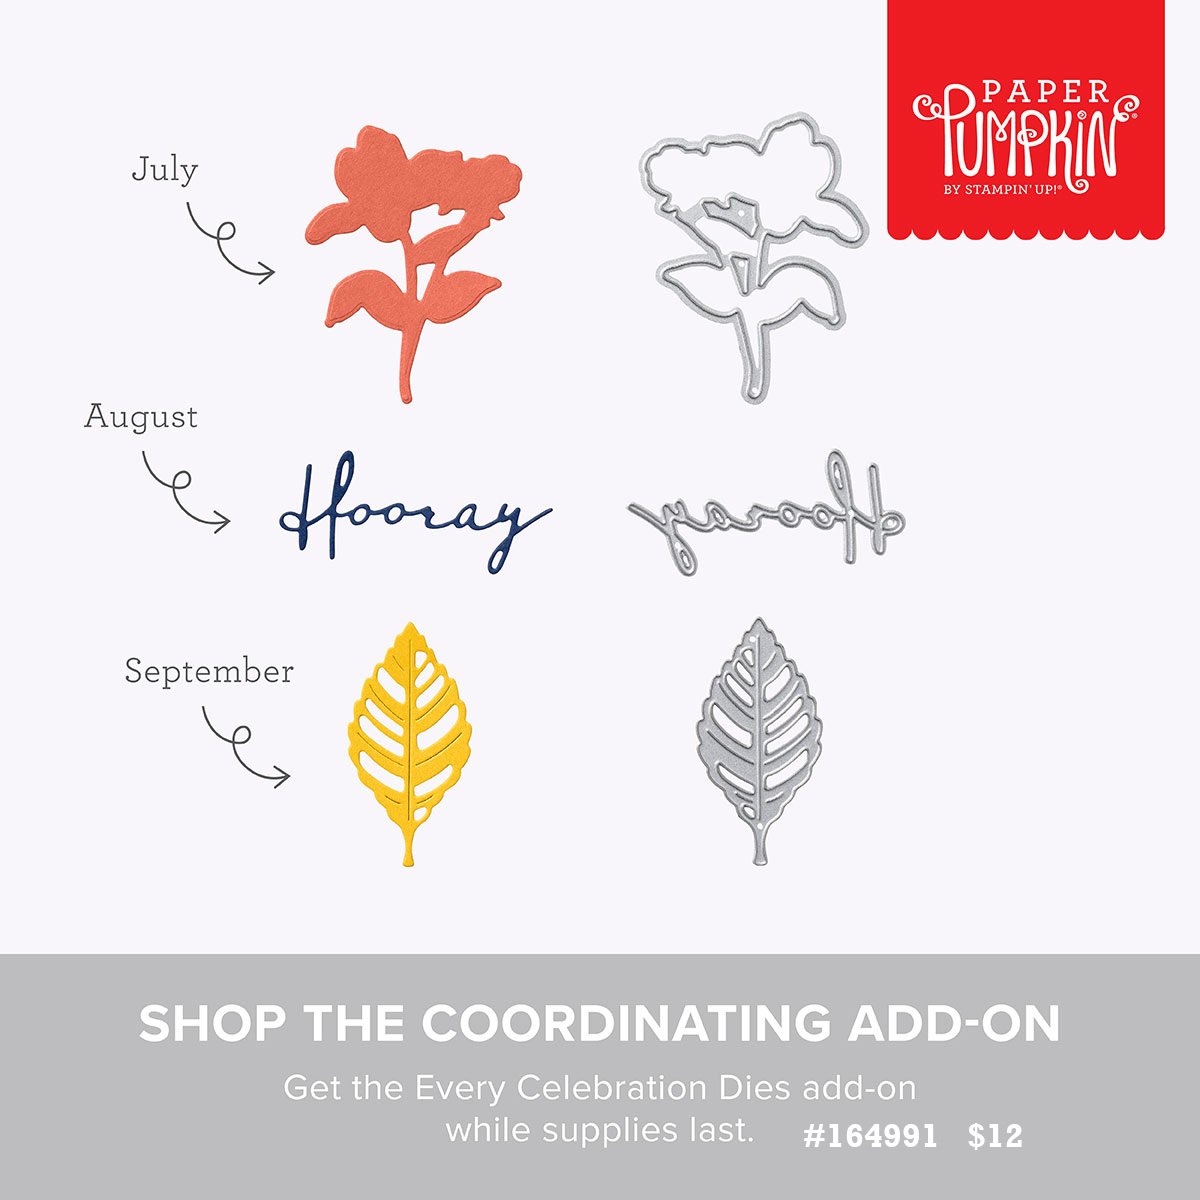
    They've released a special add on for the next 3 kits as well! These add-ons are available to current PP subscribers. They also get to choose from any other refill kits or available add on items!  

    Here are the benefits & tips for subscribing to Paper Pumpkin kits: 

    A MONTHLY CRAFTING SUBSCRIPTION

    If you’re looking for a fun and simple creative outlet paper crafting might be your best option! It’s fun, creative, and handmade projects bring joy to you and to others. And nothing makes paper crafting as fun, easy, and creative as Paper Pumpkin!

    EVERYTHING YOU NEED IN A CRAFT BOX

    One issue crafters often run into is feeling overwhelmed by their project. Lack of inspiration, proper supplies and crafty know-how might discourage you from even starting a project and unlocking your creative potential!

    This never happens with a craft subscription box from Paper Pumpkin. That’s because everything you need for your project is included in your monthly art box. All you have to do is open it up and get started. You’ll be able to make cards, treat bags, gift boxes and so much more with your monthly art box subscription.

    BUILD YOUR STAMP COLLECTION

    Among the items in each Paper Pumpkin monthly craft kit is a reusable rubber stamp set. So after you’re done creating your monthly craft, you’ll have a valuable stamp to add to your collection. You even get a free clear stamping block with your first craft box. Plus, you get a different color ink pad every month as well.

    PRINT & VIDEO INSTRUCTION MAKE CRAFTING EASY

    Even the craftiest among us worry that we’ll have trouble understanding how to do a project, or that we’ll make a mistake. You never have to worry about that with Paper Pumpkin! That’s because not only does each monthly arts and crafts box come with clear, easy-to-understand printed instructions, but we also upload a video to YouTube so you can watch a professional guide you through the craft.

    KIDS CAN HELP WITH MONTHLY CRAFT KITS

    Although Paper Pumpkin makes craft boxes for adults, they can be fun for the whole family! Use your monthly craft box subscription to introduce your kids to a fun and creative outlet. It’s truly a gift to instill a love of crafting and creativity in kids. You’ll be thrilled to see how their skills grow over time. One day your kids might have their own monthly craft subscription box!

    Subscribe here today and see for yourself! Or choose a pre-paid subscription here. 

    ~~~

    June Specials: 

    *current host code links: FERX3EKC or GF24T6XG

    ~~~

    All online orders receive my free tutorial of the month & if your order is over $55 you'll also receive a free gift from me


    Leave a Reply

    Your email address will not be published. Required fields are marked *

  • Gorgeous card kit and a new Travel Journal kit – both all inclusive!


    Stampin' Up! released two new kits to our Kit Collection every month.  This month they're above & beyond special! 

    First is the stunning Expressions of Kindness Kit. 

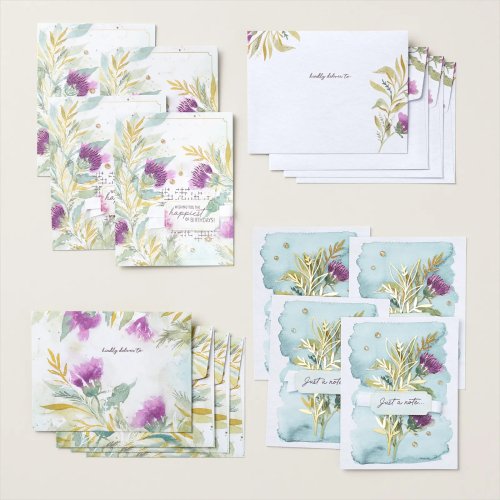
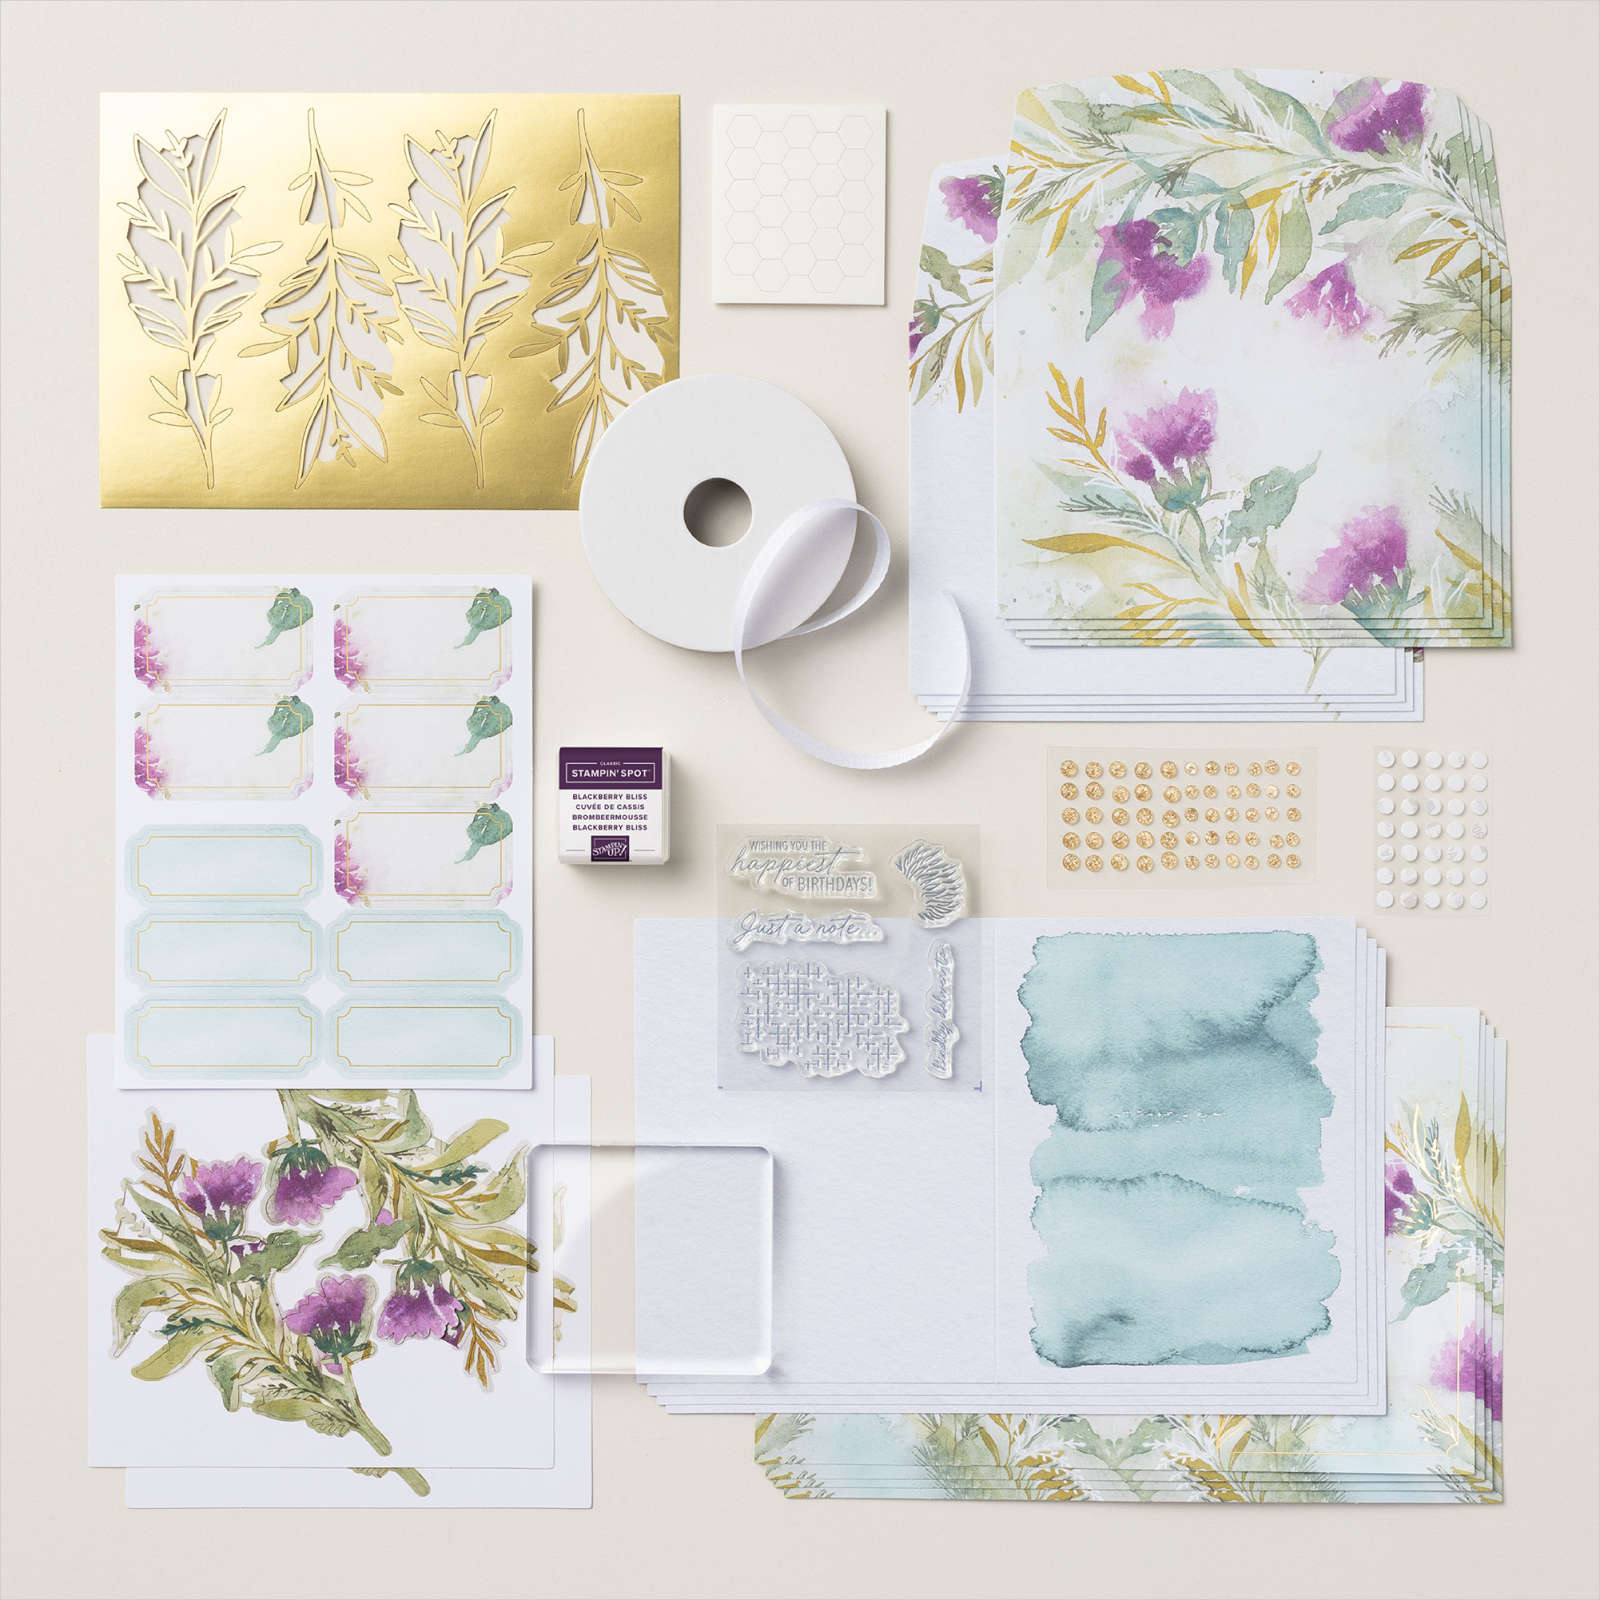
    It includes 8 beautiful cards along with gorgeous coordinating envelopes. I might be tempted to use the card bases as card fronts and create even more cards. Here's a snapshot of the product included:

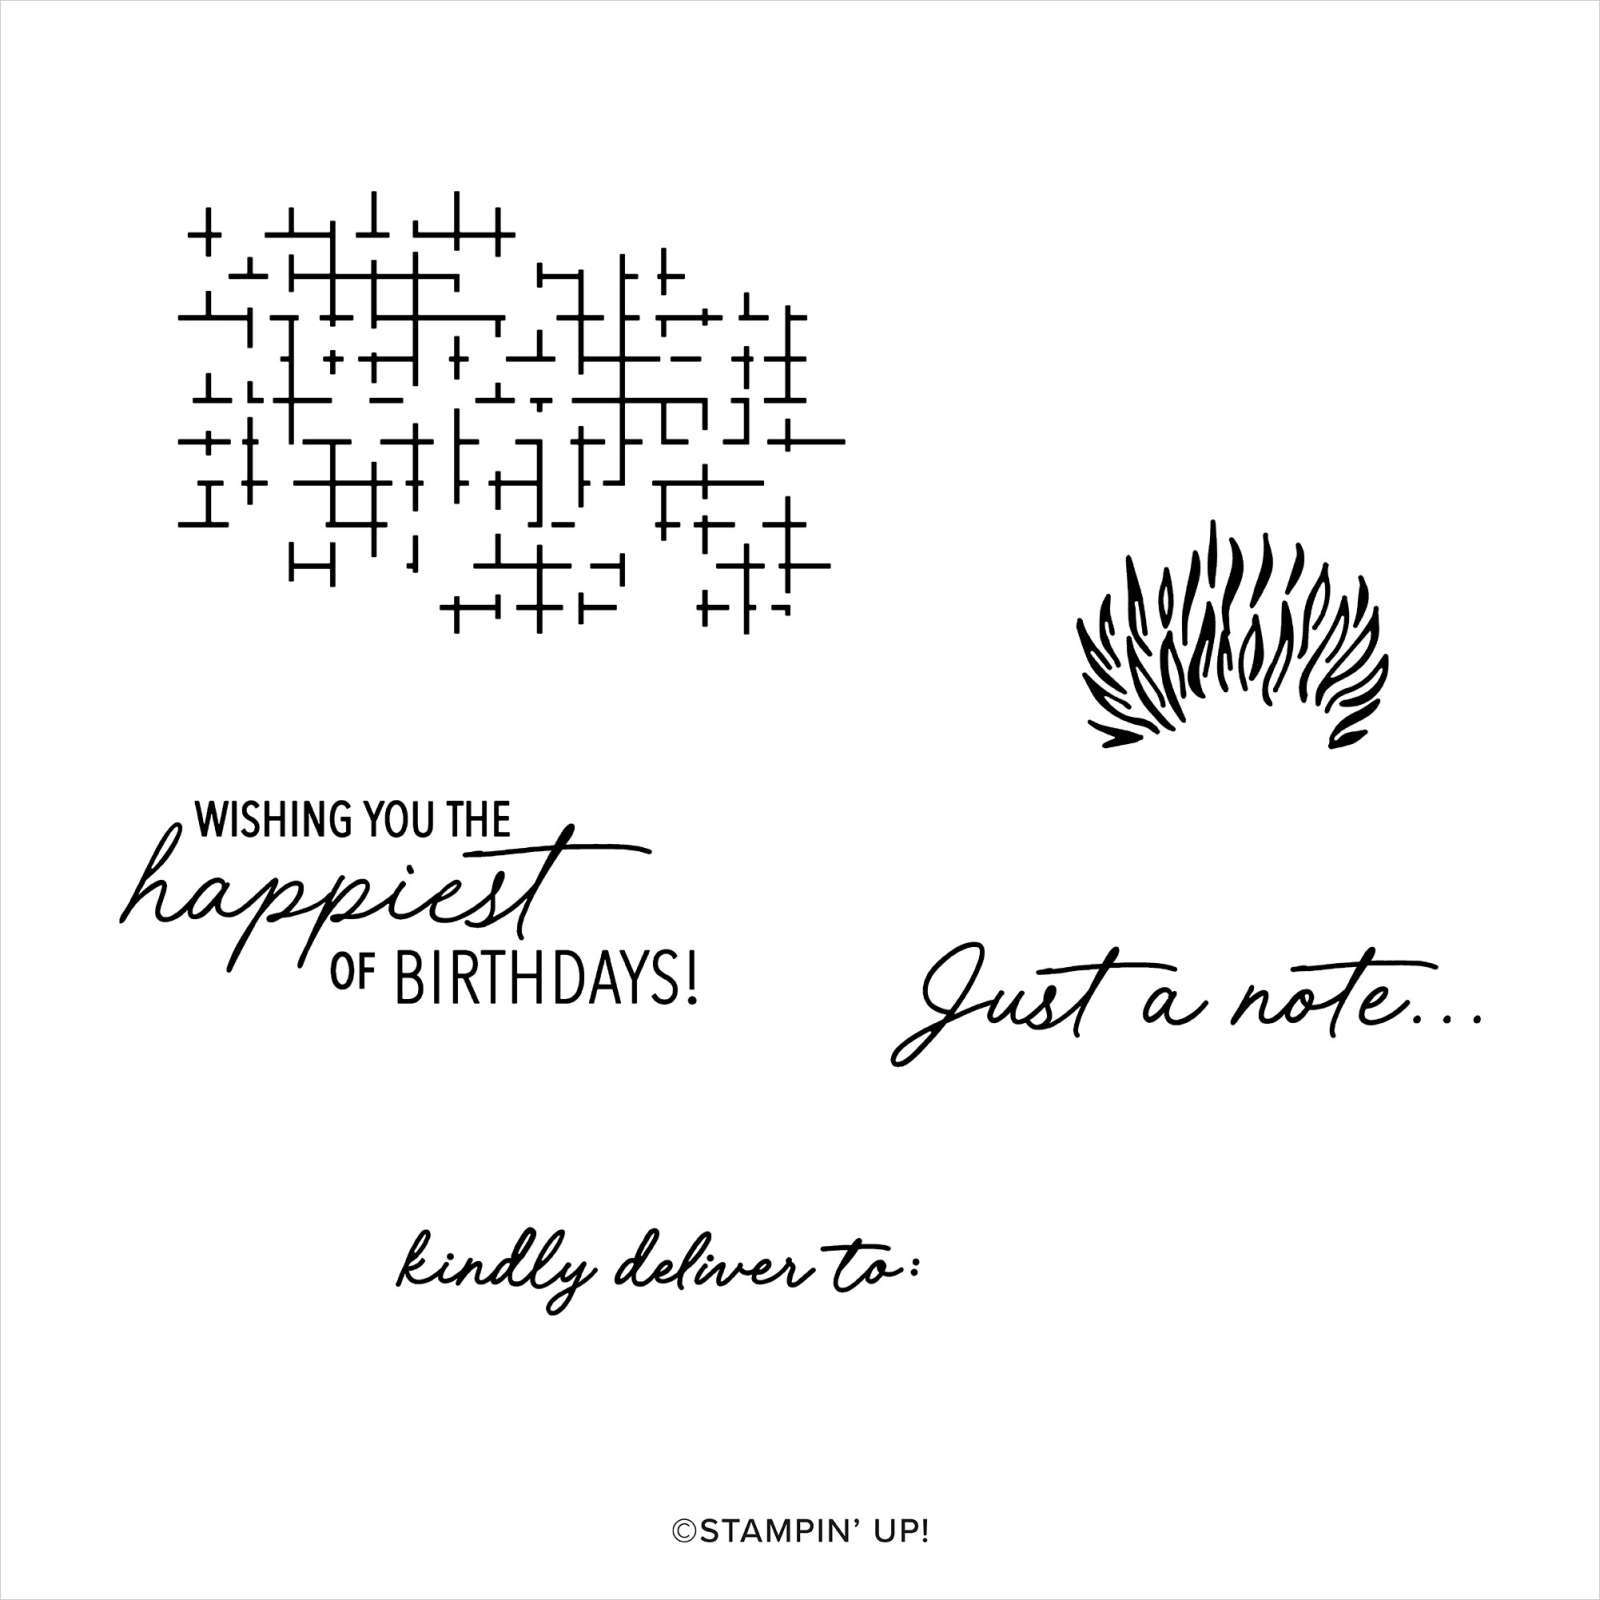
    This kit includes everything you need including a clear block, an ink spot, adhesives and a stamp set too. 

    This kit can be seen here.  It's $23 and the item # is 163905. 

    Next is the new Travel Journal – what a fabulous new product to showcase your travels via memory keeping.  

    It's $22 and can be seen here.  You can arrange the included fold-out pages the way you desire, as well as the sentiments and images, and create the words of your choice using the adhesive-backed alphabet sheets. 

    This kit includes:
    * Step-by-step instructions and guided layouts
    * Precut pieces (No prep work! Get right to crafting)
    * Make 1 travel journal
    * 2 fold-out pages with pockets
    * 2 tri-fold pages
    * Size of the travel journal: 5-3/4" x 9-1/4" x 7/8" (14.6 x 23.5 x 2.2 cm)
    * Printed adhesive-backed die-cut alphabets, sentiments, and images
    * Paper die-cut journaling pieces
    * Enough adhesive to complete projects

    ~~~

    June Specials: 

    *current host code links: FERX3EKC or GF24T6XG

    ~~~

    All online orders receive my free tutorial of the month & if your order is over $55 you'll also receive a free gift from me

    Leave a Reply

    Your email address will not be published. Required fields are marked *

  • Pretty Friends for Life card with video tutorial & free project sheet


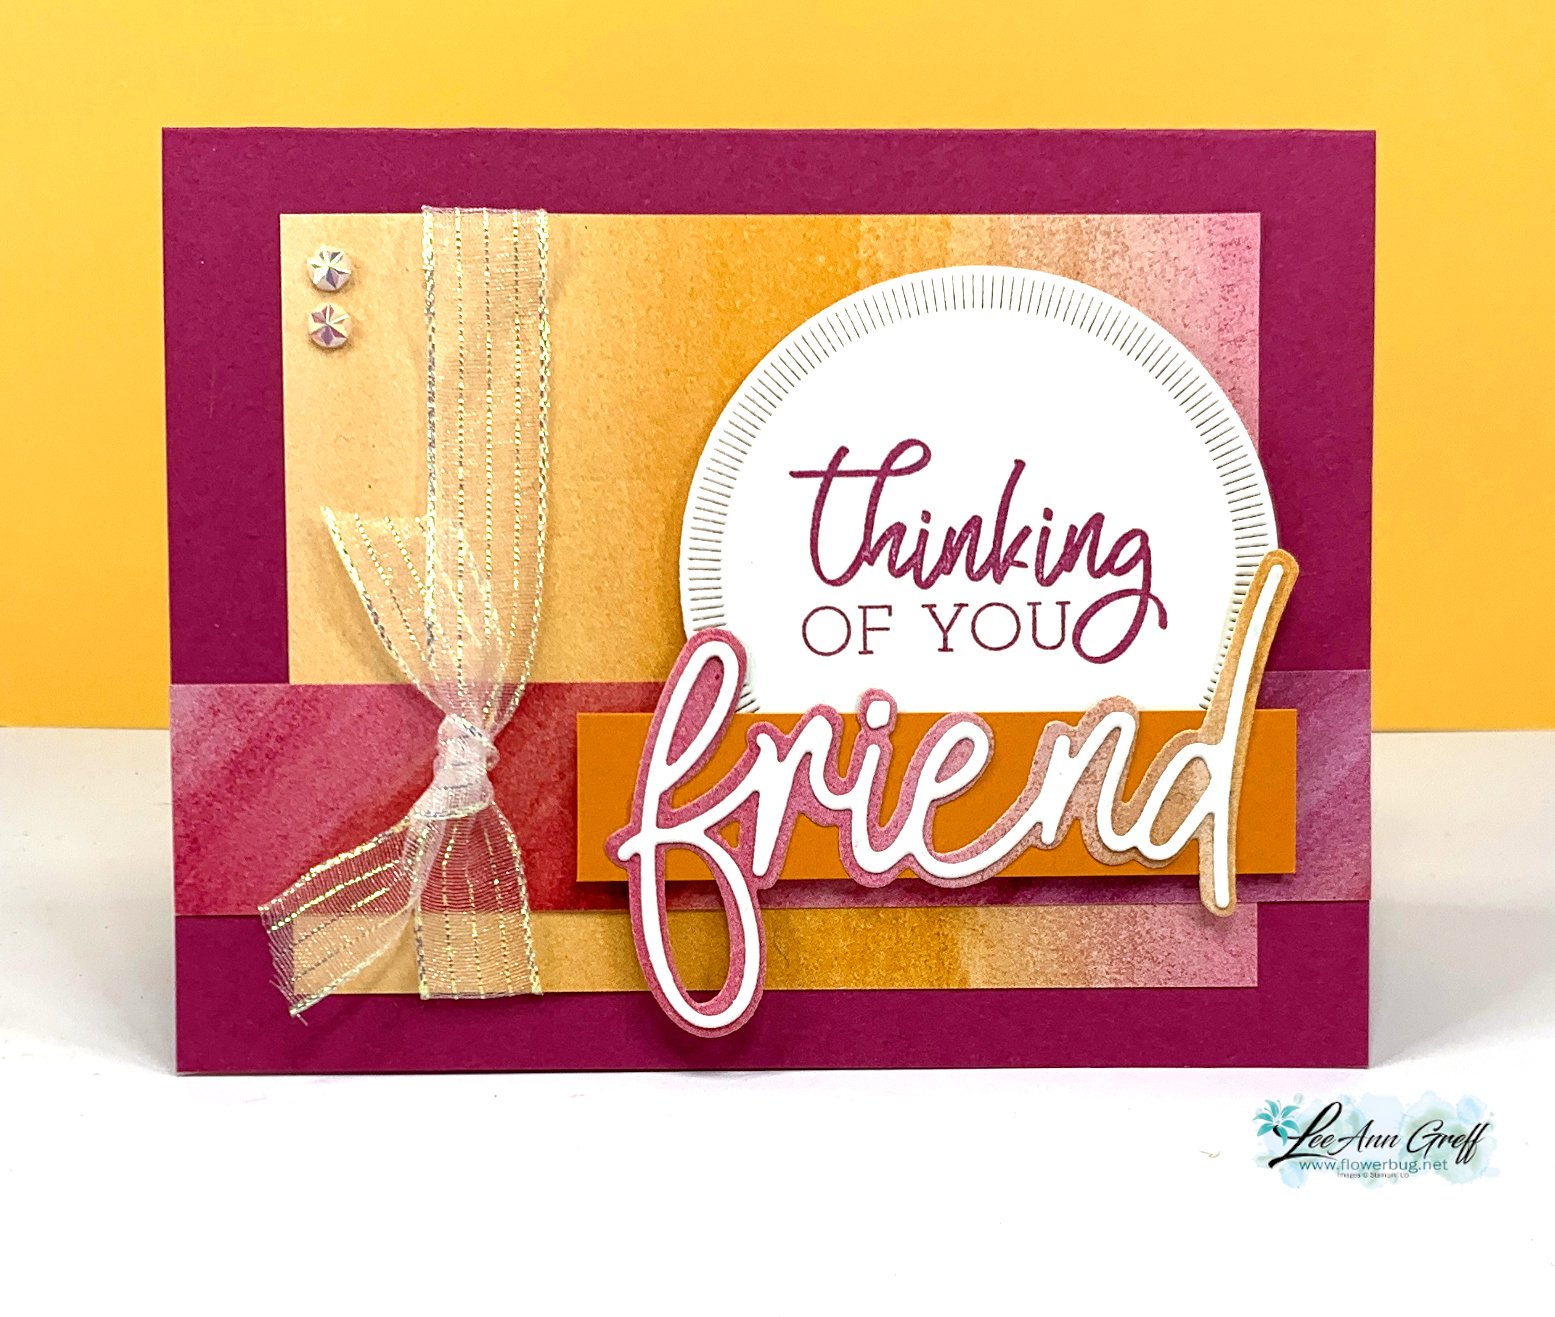
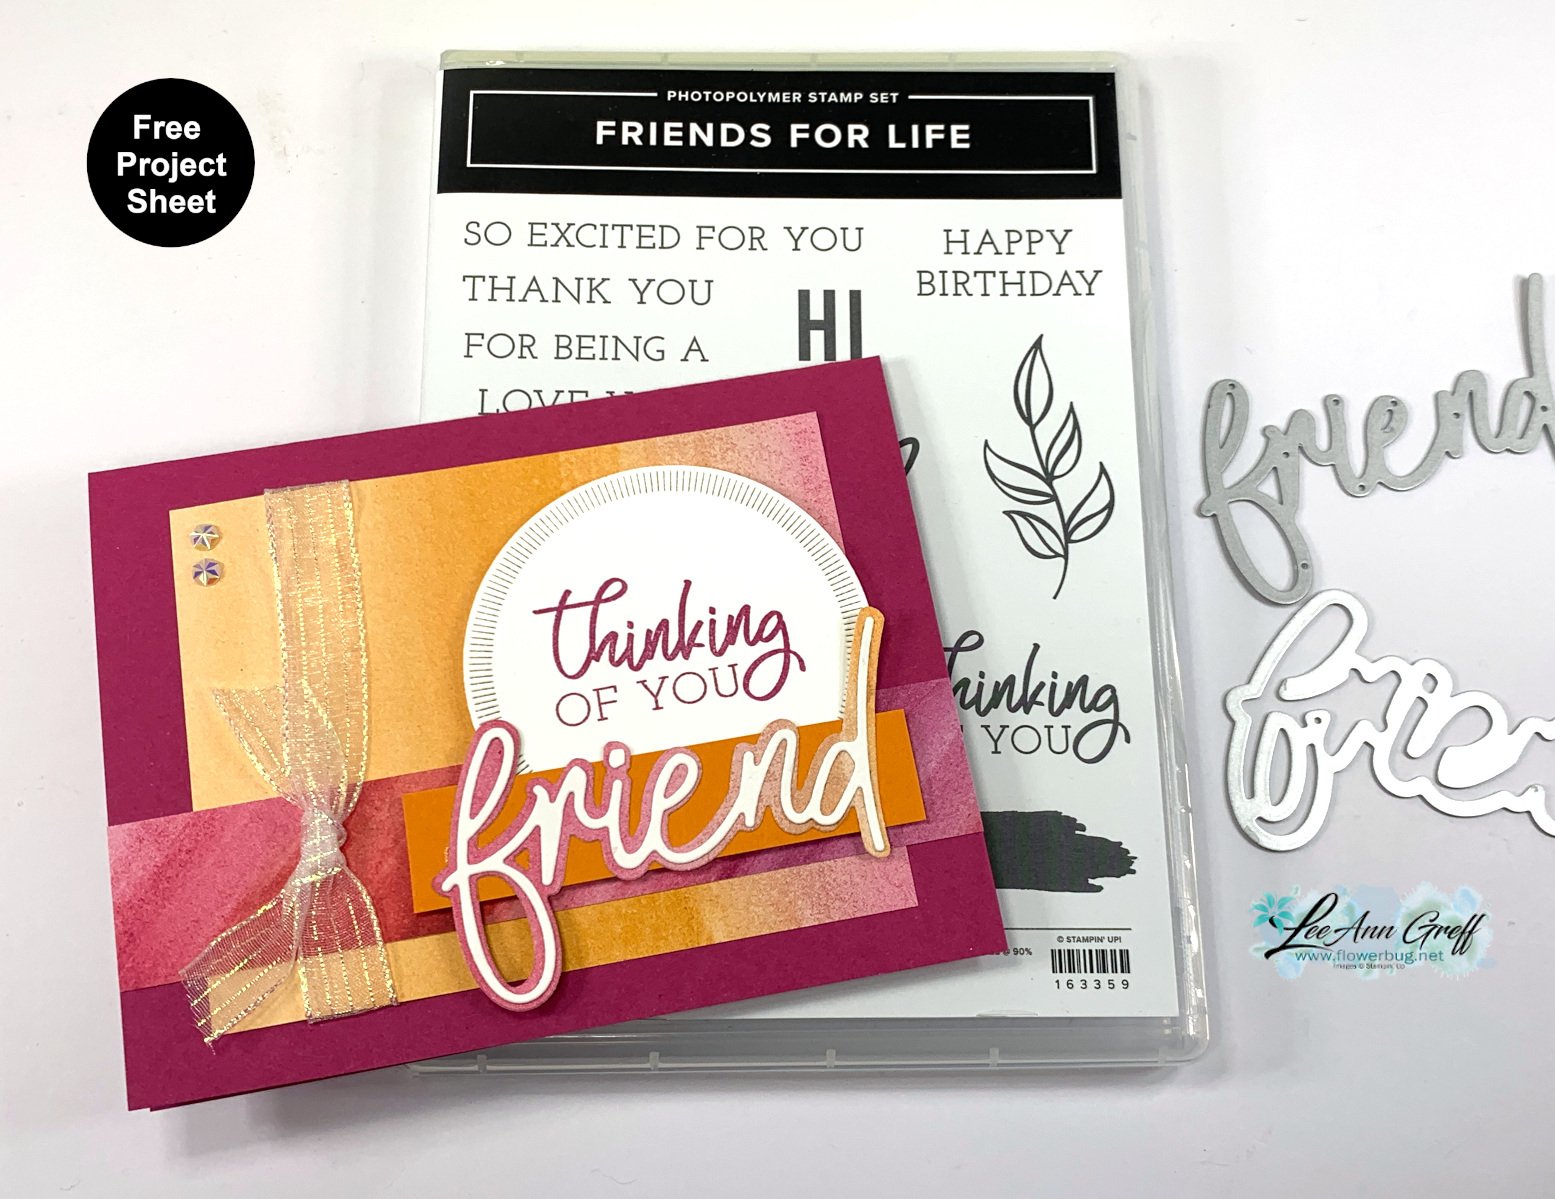
    Here's the 2nd card I made during last week's video with the Friends for Life bundle. 

    My colors include Berry Burst, Pumpkin Pie and White. I've always loved pink & orange together for some reason. The white circle die-cut is from the Spotlight on Nature dies seen here. They are in low inventory right now.

    Isn't this Full of Life designer paper stunning?! 

    The pretty designer paper can be seen here. 

    There are two 'friend' die-cuts. One layers over the other.  I cut the larger layer from the designer paper – it's an ombre effect.

    *Here's the free project sheet for you. Click to download or print it: Download Friends for Life 'Friend'

    During the video I shared a second card as well.  I had a great time creating with this bundle. There are so many options between the stamps & dies.  See the Friends for Life bundle here. It was $53 and is now $47. 

    Below is the video for this card and another; both featuring this Full of Life suite. I hope you watch it to get the many tips I like to share in my videos.  Don't forget to subscribe to my YouTube Channel while you're there!

    ~~~

    June Specials: 

    *current host code links: FERX3EKC or GF24T6XG

    ~~~

    All online orders receive my free tutorial of the month & if your order is over $55 you'll also receive a free gift from me

    Leave a Reply

    Your email address will not be published. Required fields are marked *


Notice: LeeAnn Greff, Independent Stampin’ Up! Demonstrator, Manager. The content of this website is my sole responsibility as an independent Stampin’ Up! demonstrator and the use of, and content of, the classes, services, or products offered on this website is not endorsed by Stampin’ Up! Copyright 2025