/


Latest Post

Check out these Team swap cards!


Today I'm sharing a few of our August Flowerbug's Team swaps.  Our theme was to create a card without a greeting on the front.  It was quite the challenge for some of us!!  

First is a fractured card made by Karen.  She shared how to make it and we were all blown away by how easy it is! 

I loved it so much I shared how to make it in a recent video.  See it here and my blog post here. 

She featured the Inked Botanicals designer paper and the Trucking Along bundle.  The Truck builder punch is unavailable at this time; it will be back in October.  Her card base & 1/4" strips are Calypso Coral.  Love that truck full of flowers!

~~~

Next is a sweet card made by Sharon who chose the Cheerful Daisies bundle seen here. 

She added lots of die-cut daisies & leaves; some are sponged. She added the circles image (from Timeless Arrangements) using the Baby Wipe method.  Love this look!  And after stamping the circles she textured it with one of the Basics 3D embossing folders (online exclusive).  Plus she colored the White glittered ribbon (another online exclusive) by sponging on color.  So many great details! 

~~~

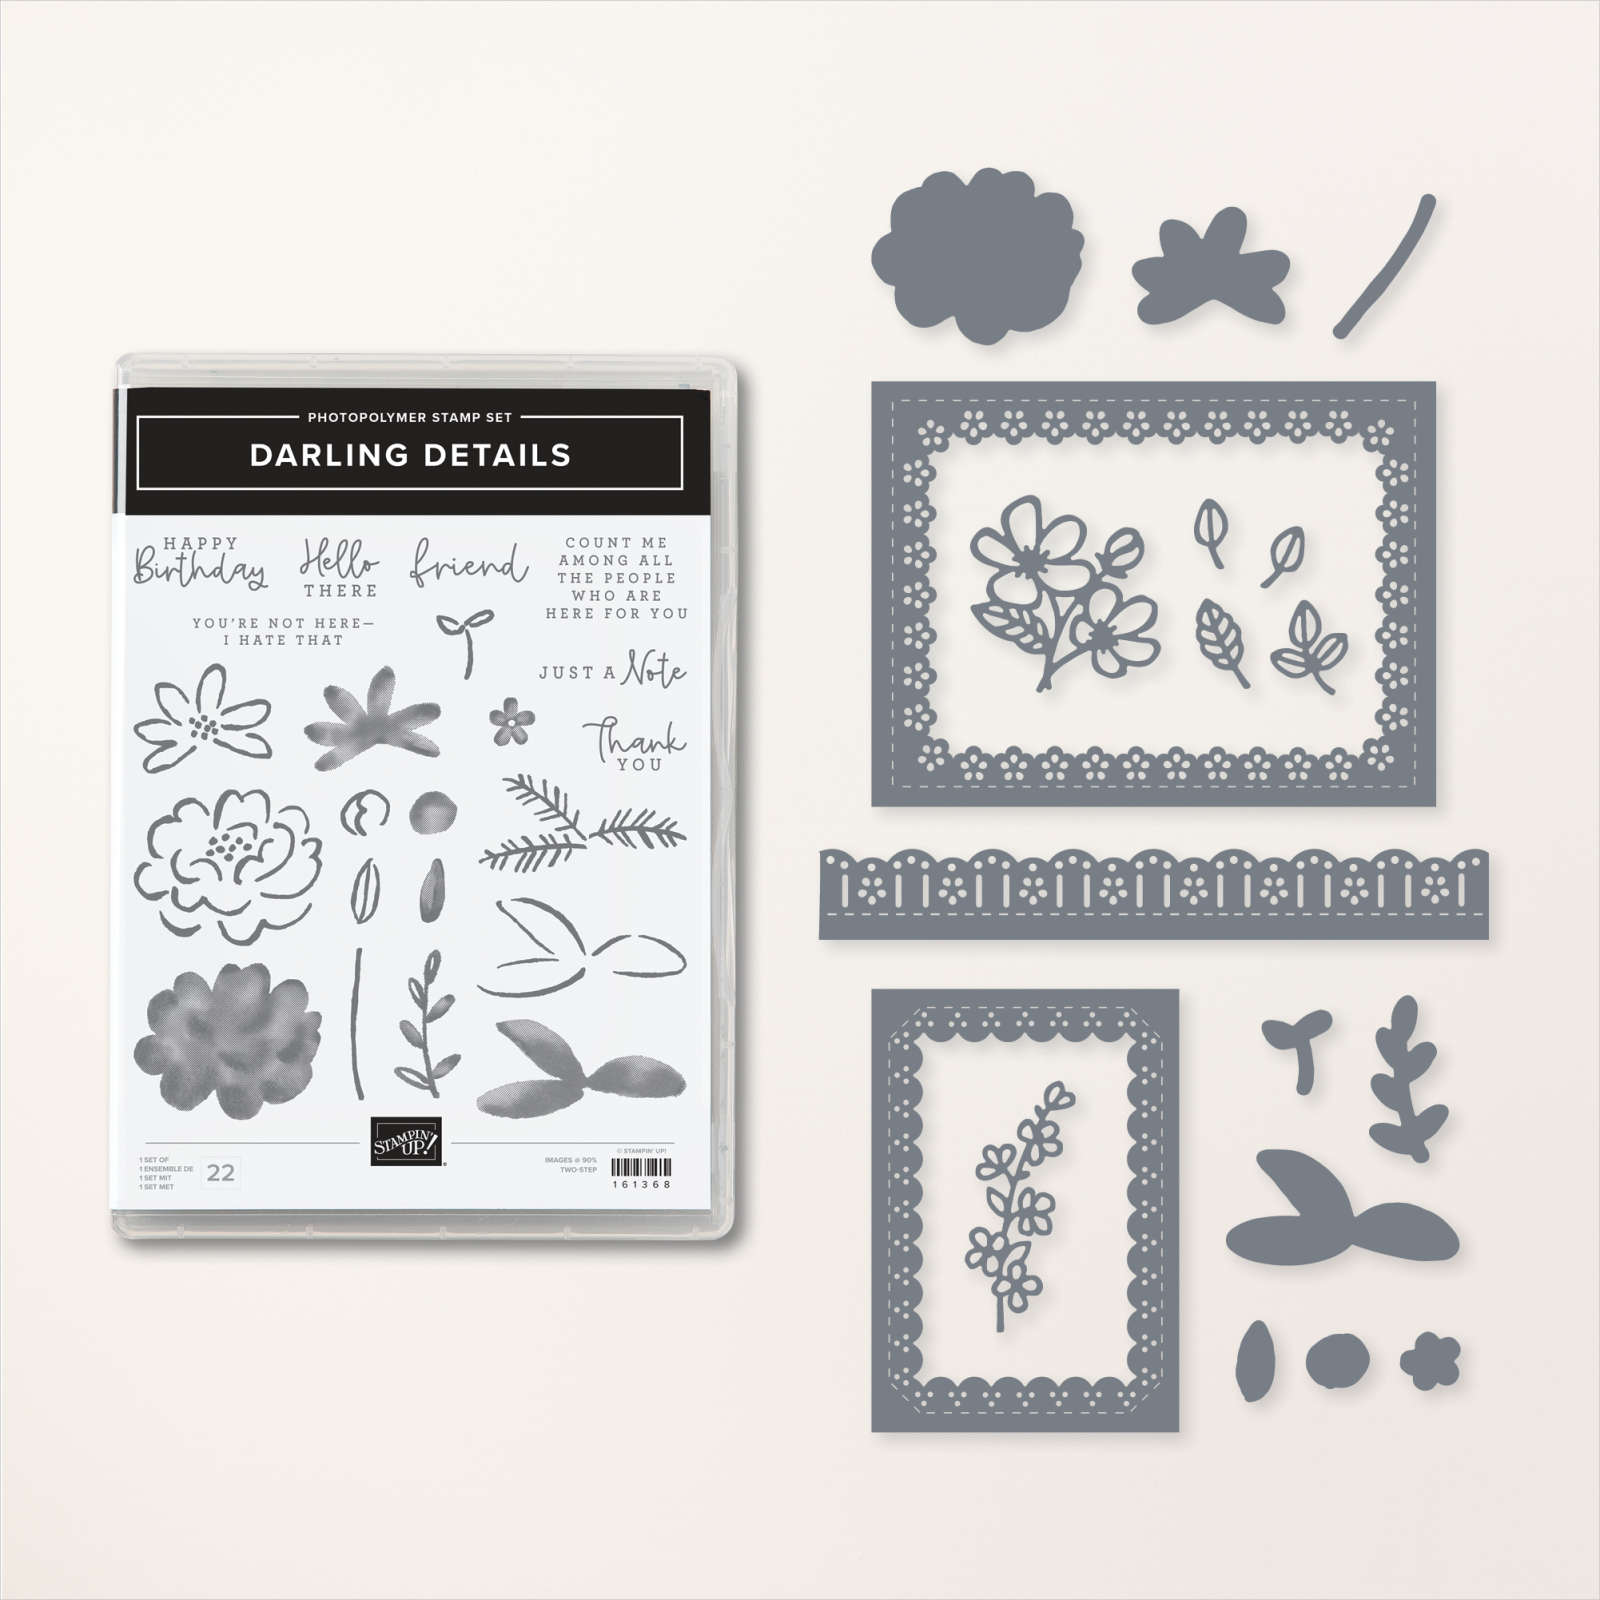
Next is a pretty card made by Mary who featured the Darling Details bundle seen here. 

The pretty & delicate frame adds beautiful detail to the Delightfully Eclectic designer paper in the center.  Her colors are Fresh Freesia, Night of Navy and Crushed Curry.  

This wonderful bundle may have slipped your notice; here's a photo of both the stamp set & dies:
 ~~~

August Specials: 

 *current host codes: KY99RPXP 

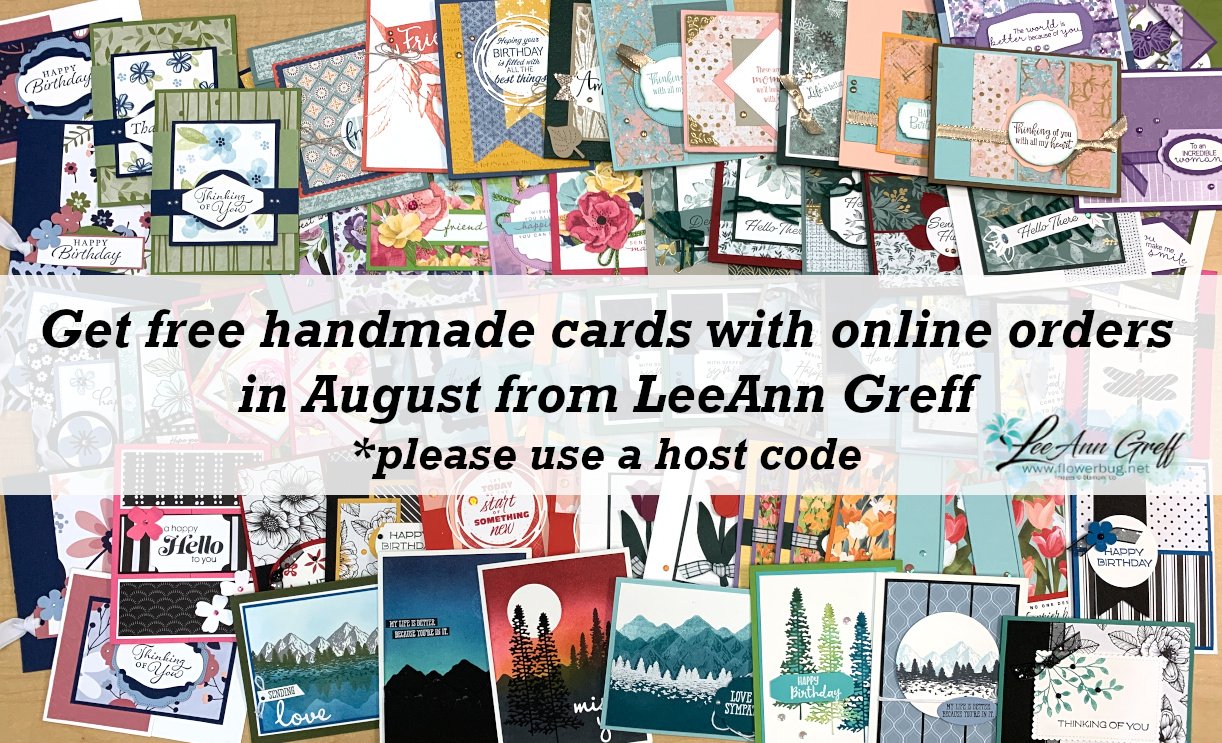
Free Gift with orders in August: 

Get a pack of at least 5 beautiful cards with orders over $50 this month. 

The more you order the more cards you get!

*cards are previous card kits to go; over the top and many fun folds.  
**Redeem your Bonus coupons in August! 

All Posts

  • Beautiful Earthen Elegance monochromatic card with video!


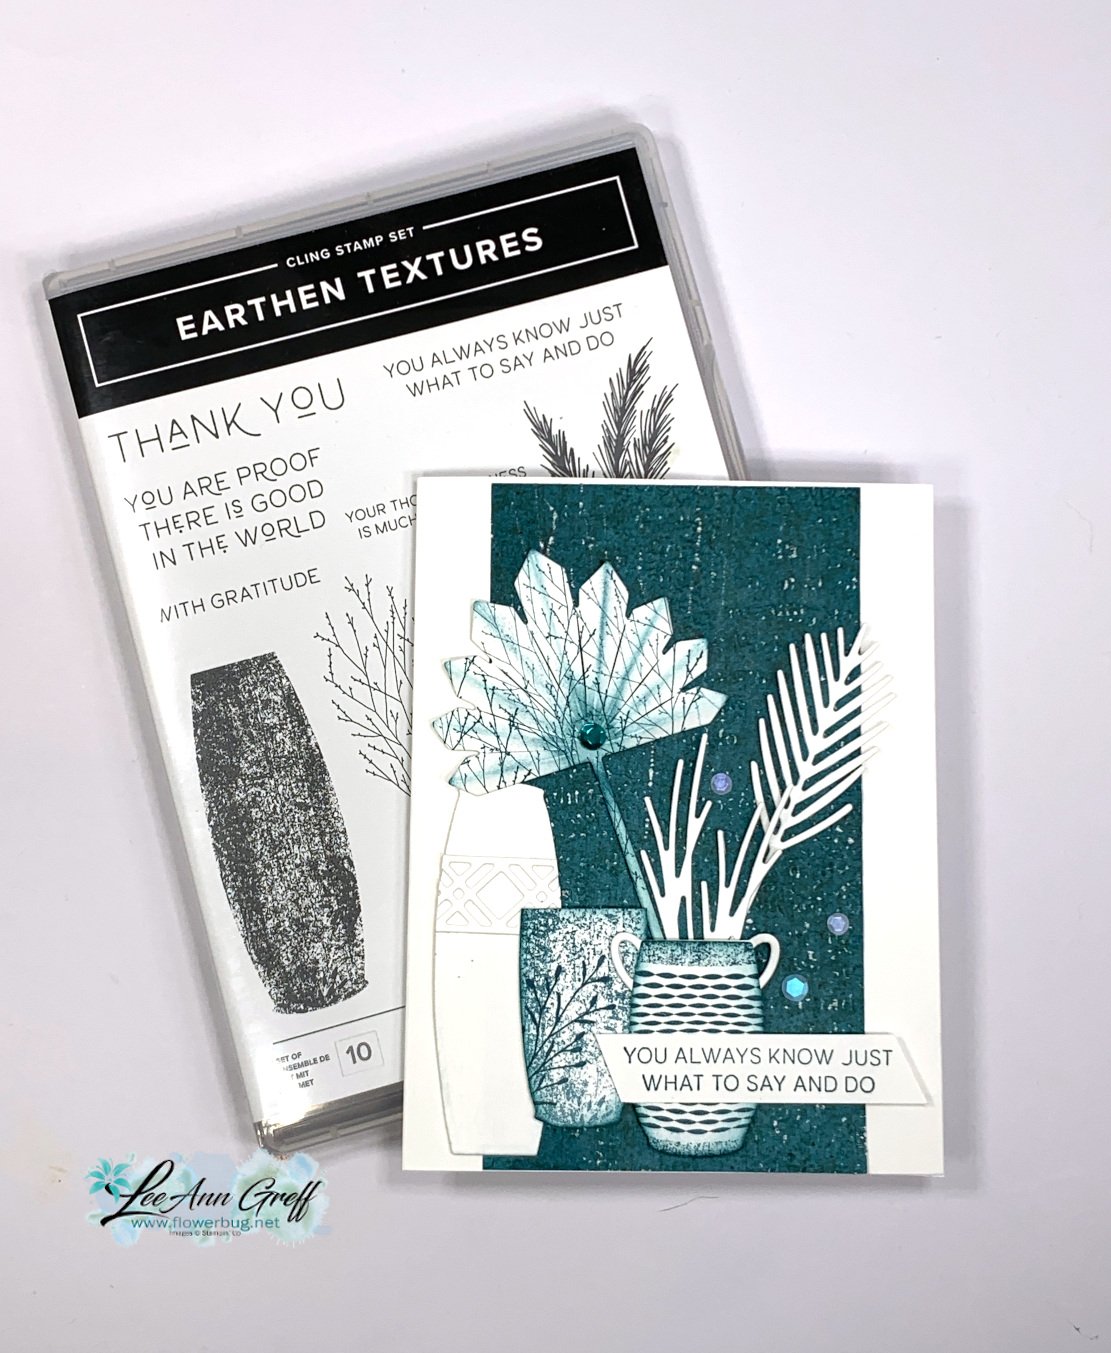
    I shared how to make this gorgeous card in a video a few weeks ago.  I liked it so much I decided to feature it at my August card clubs.  

    I featured the Earthen Elegance designer paper and the Earthen Textures set & dies bundle seen here.  It's all Pretty Peacock and white! 

    There are a ton of die-cuts on this card; all in white. After stamping the vases I sponged the edges with Pretty Peacock ink. 

    After we stamped one of the images in the set onto the large fan/leaf we folded it on the score lines and sponged ink onto the outer folds. 

    Another details – one one card I textured the DSP and then used a sanding block (or emery board) on the raised surface to show off the texture.  

    This stamp set is full of beautiful gratitude greetings. 

    You can see how this is made in the video here or click on the photo below to see it as well. I also share three other cards too. 

    ~~~

    August Specials: 

     *current host codes: KY99RPXP 

    Free Gift with orders in August: 

    Get a pack of at least finished, handmade cards with orders over $50 this month. 

    The more you order the more cards you get!

    *cards are previous card kits to go; over the top and many fun folds. 

    **Redeem your Bonus coupons in August! 

    Leave a Reply

    Your email address will not be published. Required fields are marked *

  • Another way to use the Gorgeous Garden dies in a fun fold card with video tutorial


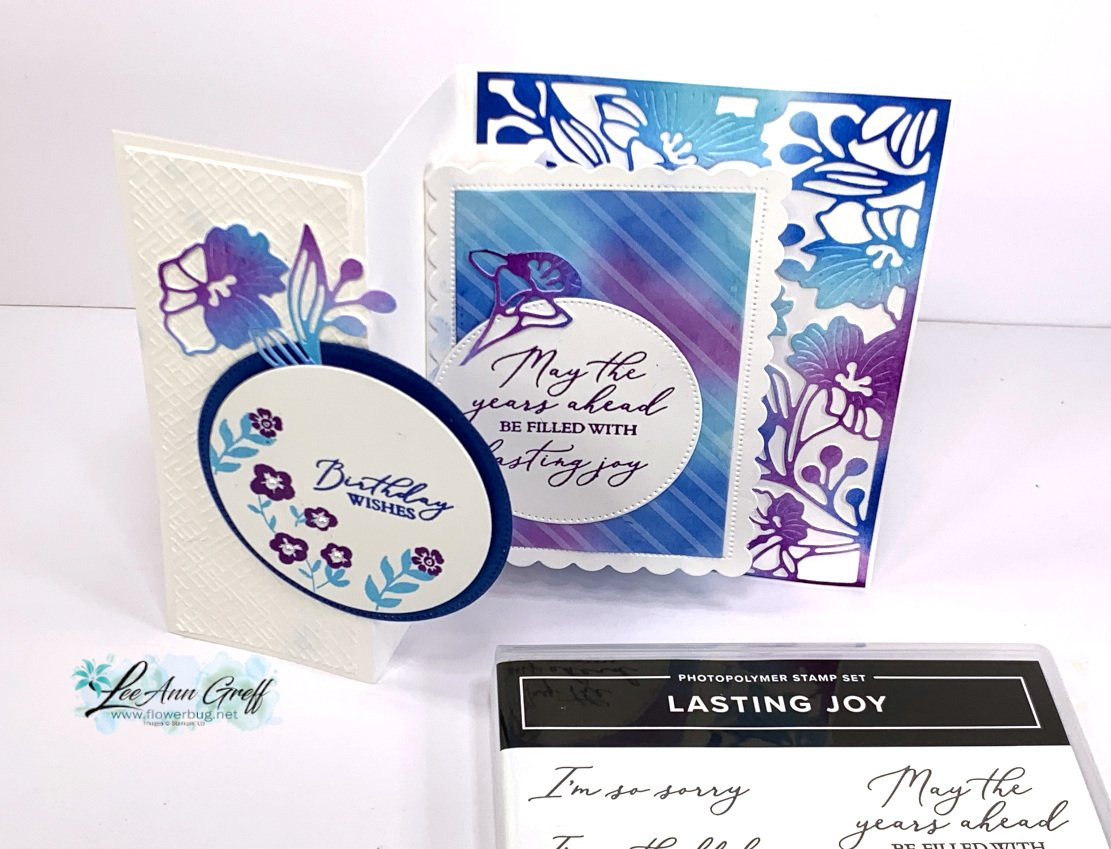
    I shared this beautiful card on a recent video.  I sure had fun with the colors on this card!

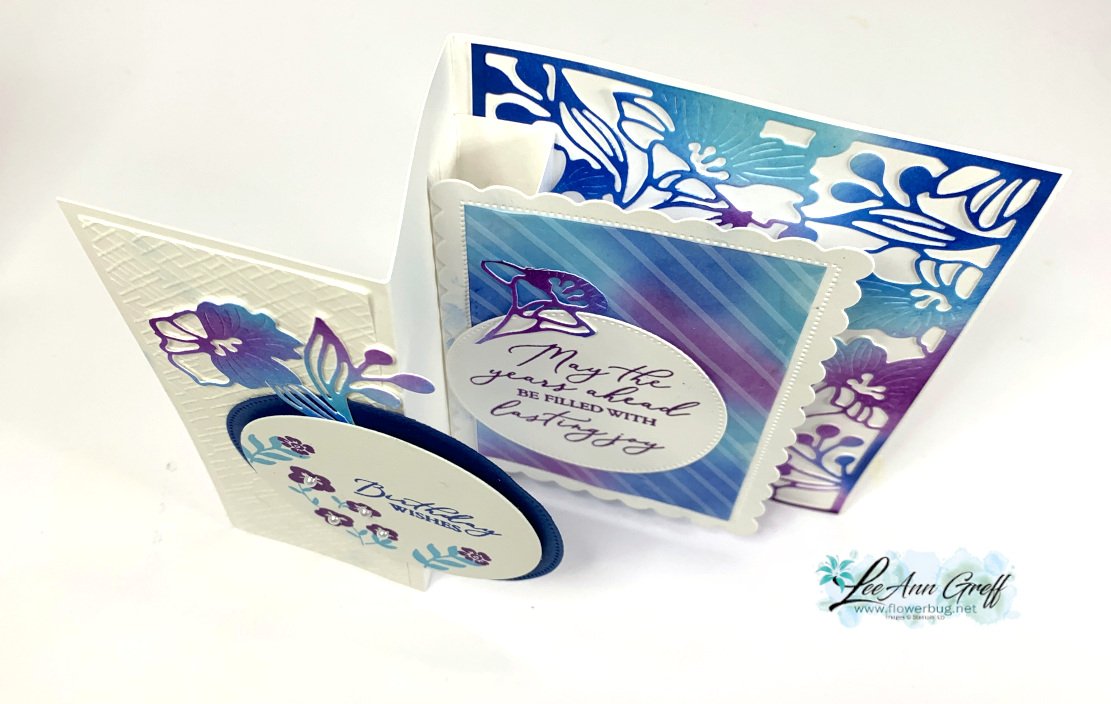
    It's a double-decker fun fold card.  It might look hard but it sure isn't!  All you need to add is a simple box between the middle layer and the inside back of the card.  Watch the video here to see how it's done.  

    Using our Blending Brushes I added the three colors (Tahitian Tide, Brilliant Blue & Gorgeous Grape) to a piece of White cardstock.  I then used the Garden dies to die-cut it out.  I adhered this to the back of the card base before adding the 'box' to create the double-decker fun fold card. 

    I created a second colorful die-cut so I could add extra details to the cards.   

    Supplies:

    • Basic White & Brilliant Blue card stock
    • Vellum Basics specialty paper seen here
    • Inks – Brilliant Blue, Gorgeous Grape & Tahitian Tide
    • Lasting Joy stamp set seen here
    • Gorgeous Garden dies
    • Basic 3D embossing folders seen here
    • Stylish Shapes dies for the circles
    • Scalloped Contours dies for the scalloped rectangle
    • Blending Brushes

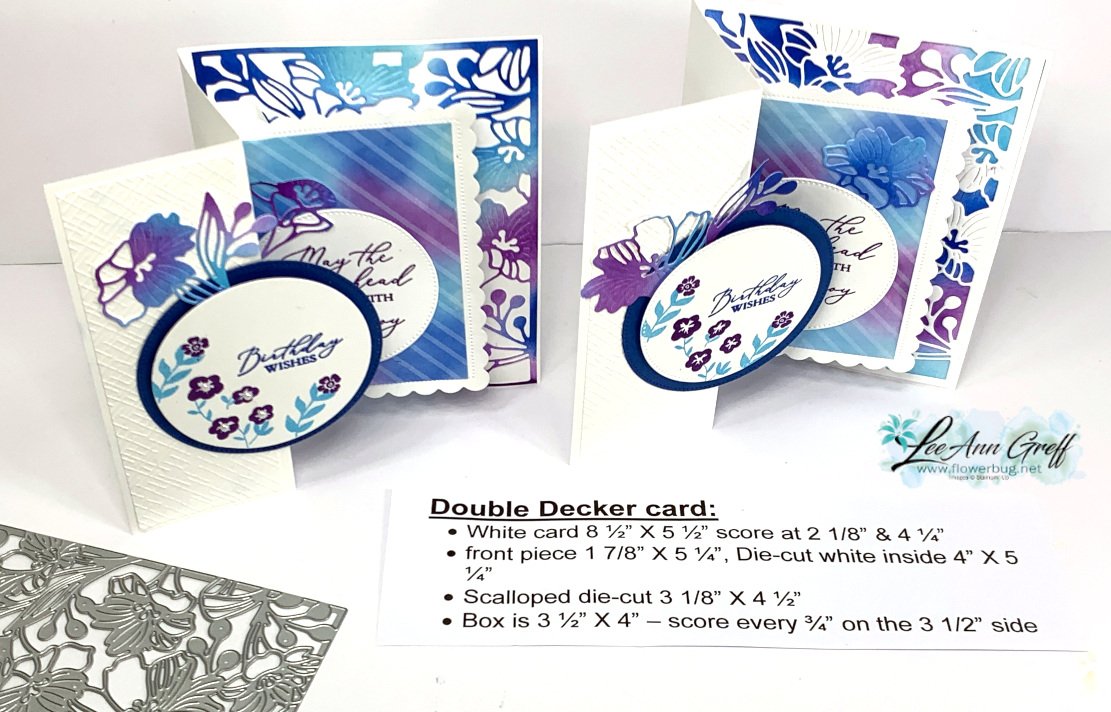
    Double-decker card measurements:

    • White card 8 ½” X 5 ½” score at 2 1/8” & 4 ¼”, front textured layer is 1 7/8” X 5 ¼”,
    • White for die-cut 4” X 5 ¼”, Scalloped die-cut 3 1/8” X 4 ½”
    • Box is 3 ½” X 4” – score every ¾”
    • Circle die-cuts – 2 3/4" white & 3" blue 

    Here are both cards shown in the video below. 

    See the Gorgeous Garden dies here. 

    I made these cards on a recent video seen here.  Or click on the photo below to watch.  

    Don't forget to follow me on YouTube here or on Facebook here. 

     ~~~

    August Specials: 

     *current host codes: KY99RPXP 

    Free Gift with orders in August: 

    Get a pack of at least 5 beautiful cards with orders over $50 this month. 

    The more you order the more cards you get!

    *cards are previous card kits to go; over the top and many fun folds.  

    Leave a Reply

    Your email address will not be published. Required fields are marked *

  • Gorgeous Garden dies & Blending Brushes; wow!


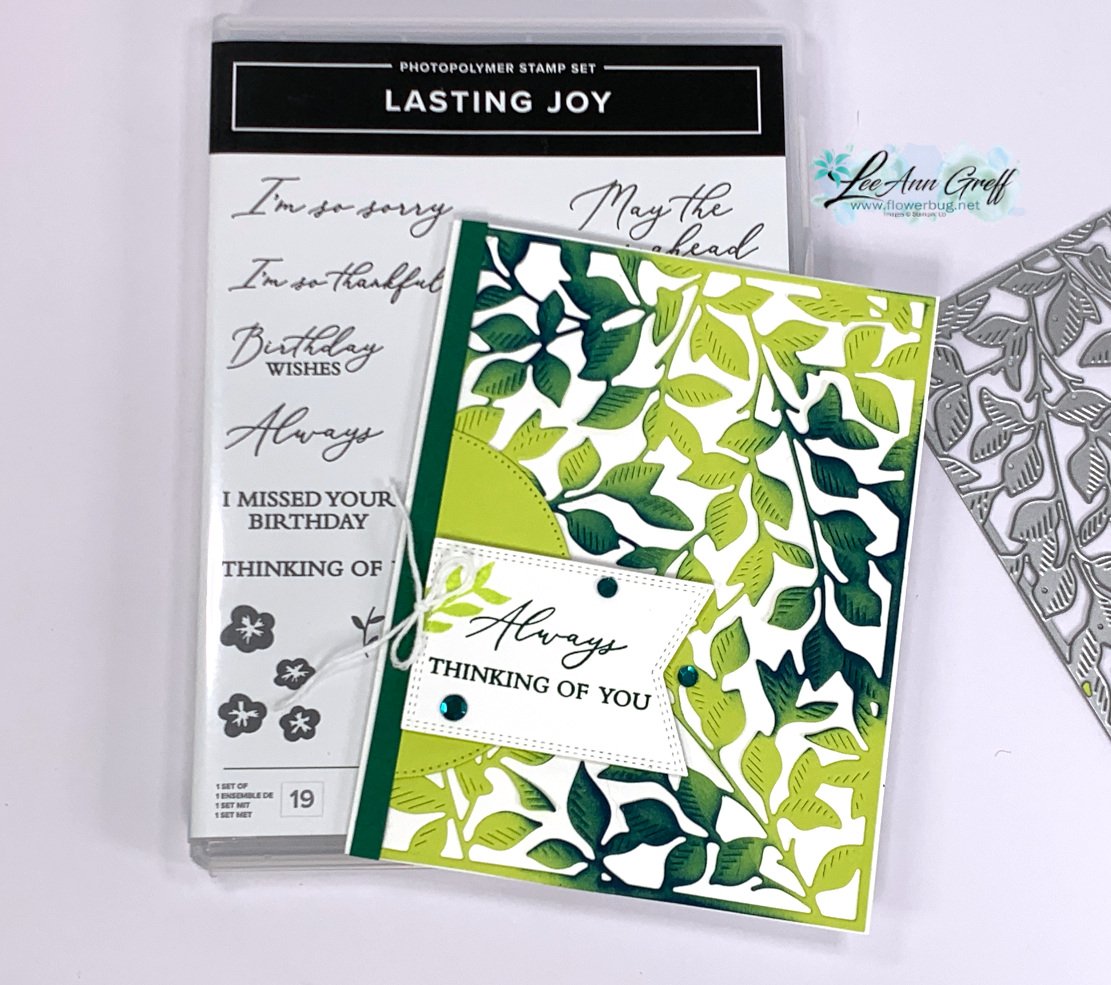
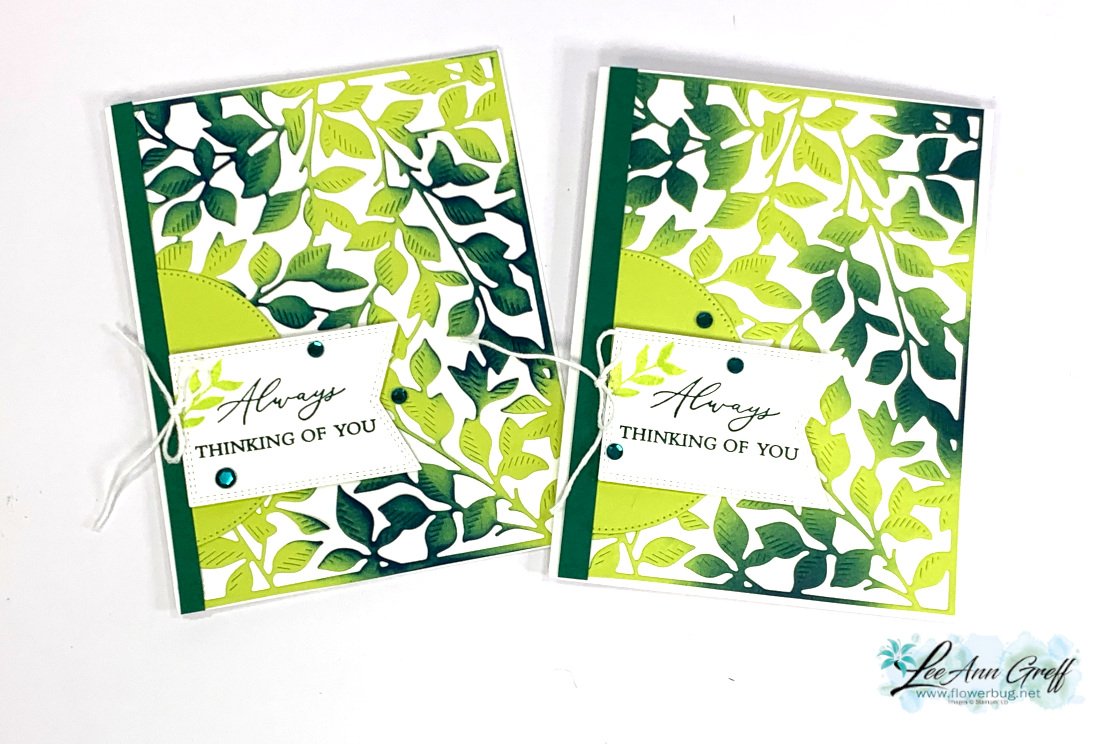
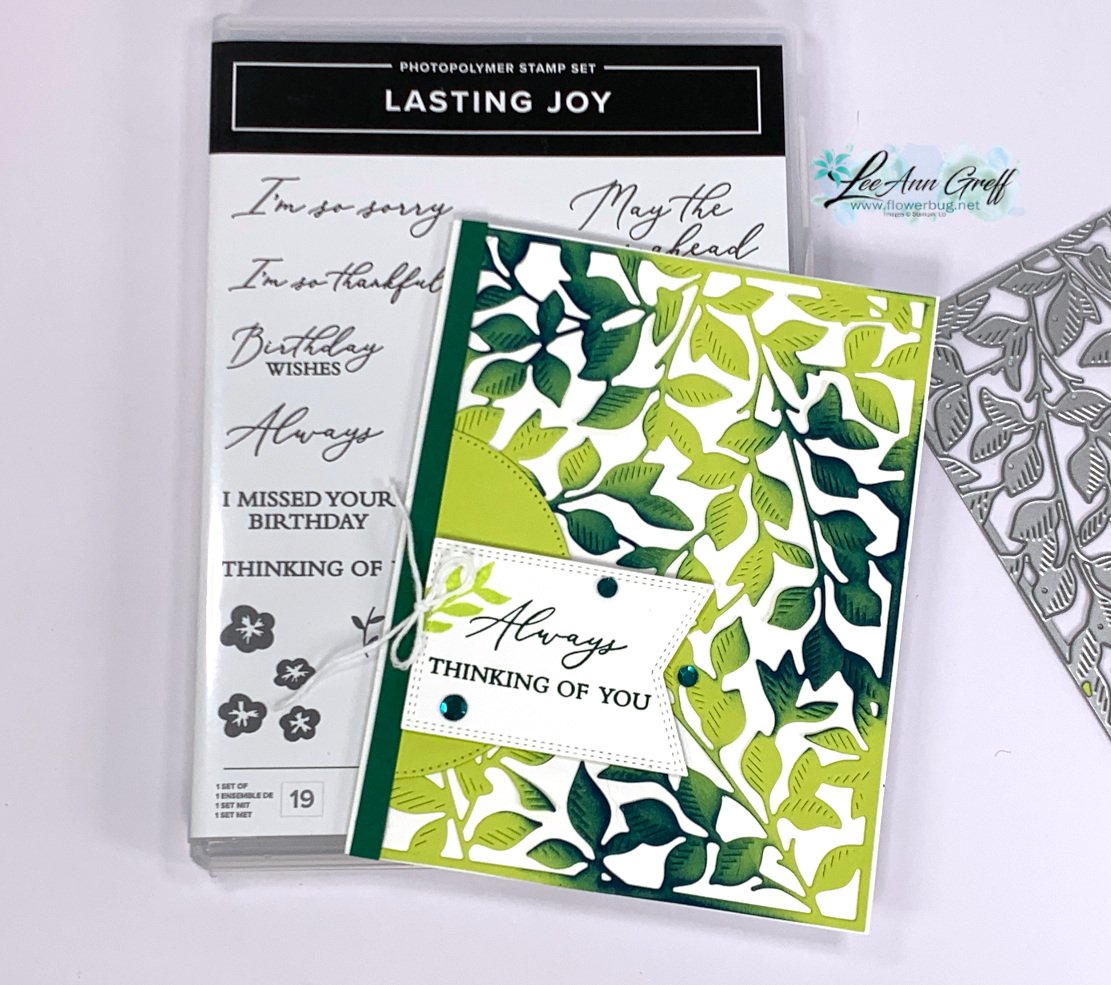
    Check out this beautiful card made with the Gorgeous Garden dies!  


    I think it's stunning.  Don't you love the pretty blending of the greens? I simply added one color to the finished die-cut.  I cut it out from Lemon Lime Twist cardstock and added Pretty Peacock ink with a blending brush in a few areas.  Easy!  

    I was surprised that the finished color (after adding Pretty Peacock to Lemon Lime Twist) was close to Shaded Spruce.  Who knew?!  So I added a 1/4" strip to the left edge of the card to bring in that color and also stamped the greetings in Shaded Spruce too.  

    Tip: Adding your colors in two or more ways to your project gives them a cohesive look. For example if I use green card stock I will add a layer of green or a stamped image. If you struggle with choosing color combinations stick with just two colors.  Or better yet try a monochromatic card – add one color to a neutral like white, browns or black.  

    I used the Lasting Joy set for my greetings.  I really love this set with the mixed fonts; I find I use it often.  

    I added a stitched circle to the left side to anchor the greeting.  Both of these dies are from the Stylish Shapes dies; they're a must have! See them here.  

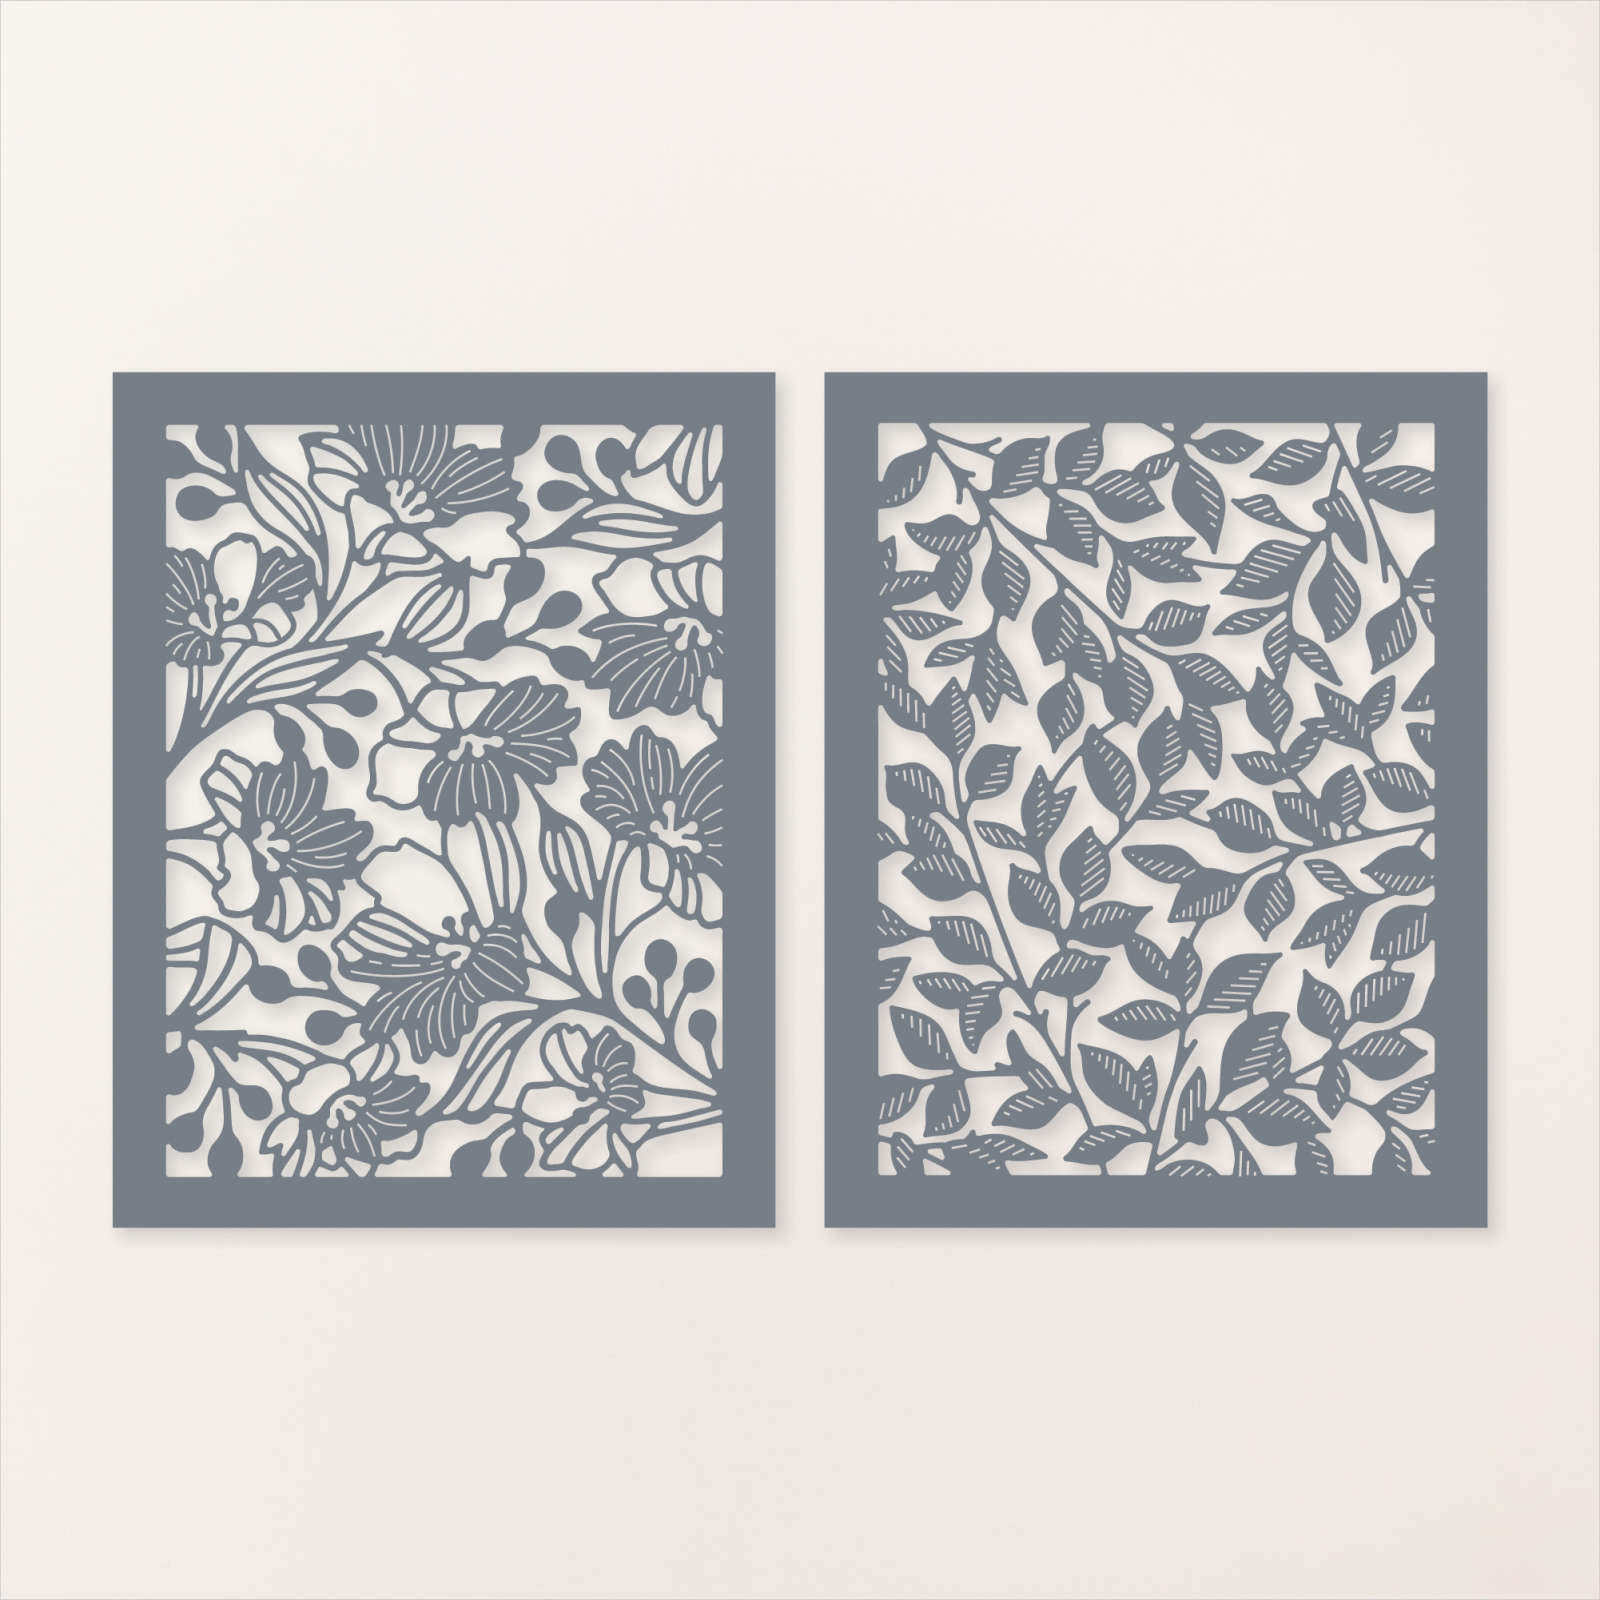
    Here are the Gorgeous Garden dies. 

    I made these cards on a recent video seen here.  Or click on the photo below to watch.  

    Don't forget to follow me on YouTube here or on Facebook here. 

     ~~~

    August Specials: 

     *current host codes: KY99RPXP 

    Free Gift with orders in August: 

    Get a pack of at least 5 beautiful cards with orders over $50 this month. 

    The more you order the more cards you get!

    *cards are previous card kits to go; over the top and many fun folds.  

    Leave a Reply

    Your email address will not be published. Required fields are marked *


Notice: LeeAnn Greff, Independent Stampin’ Up! Demonstrator, Manager. The content of this website is my sole responsibility as an independent Stampin’ Up! demonstrator and the use of, and content of, the classes, services, or products offered on this website is not endorsed by Stampin’ Up! Copyright 2025