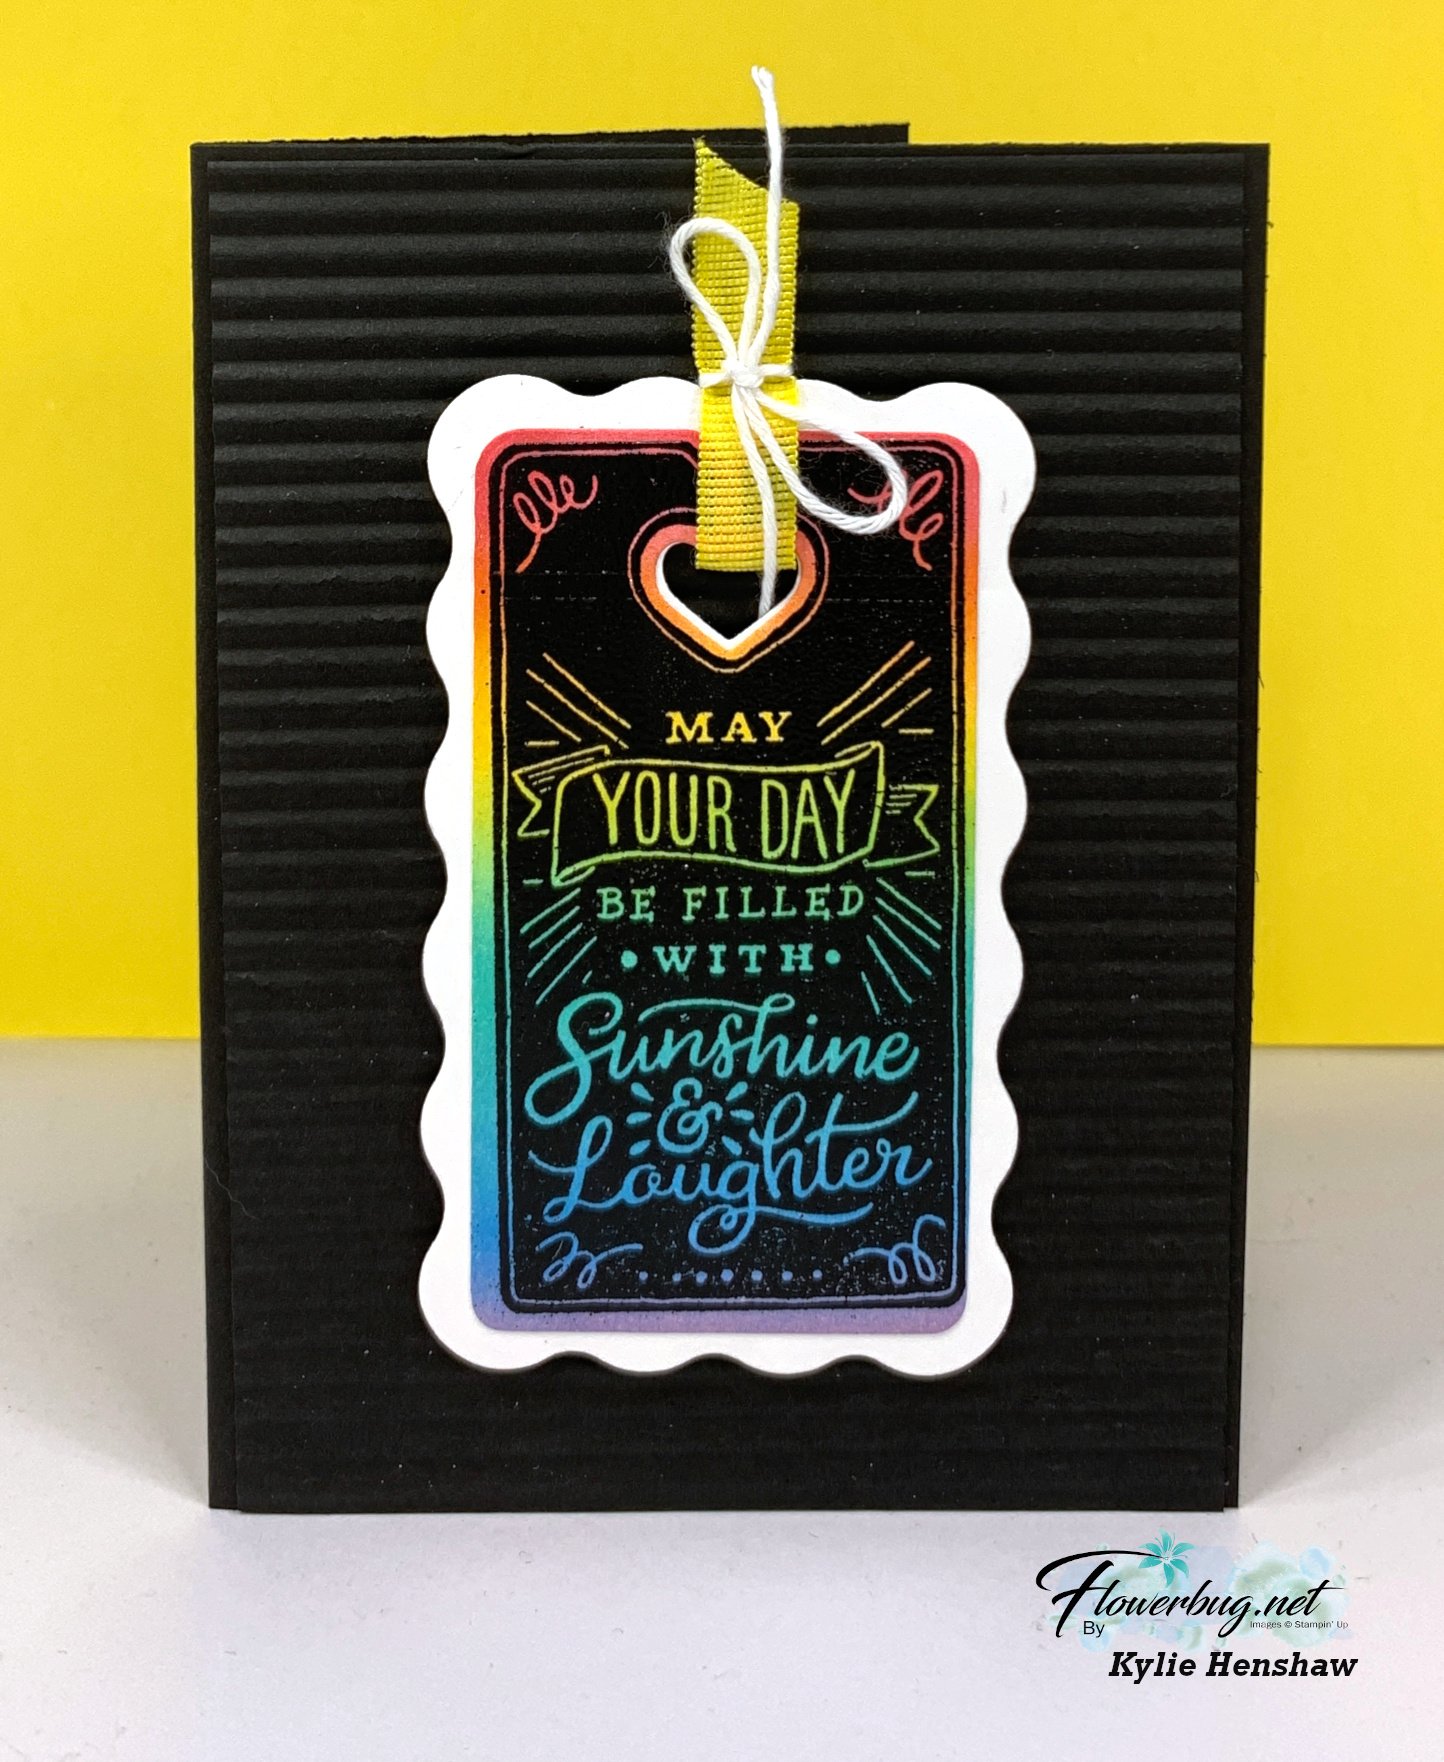
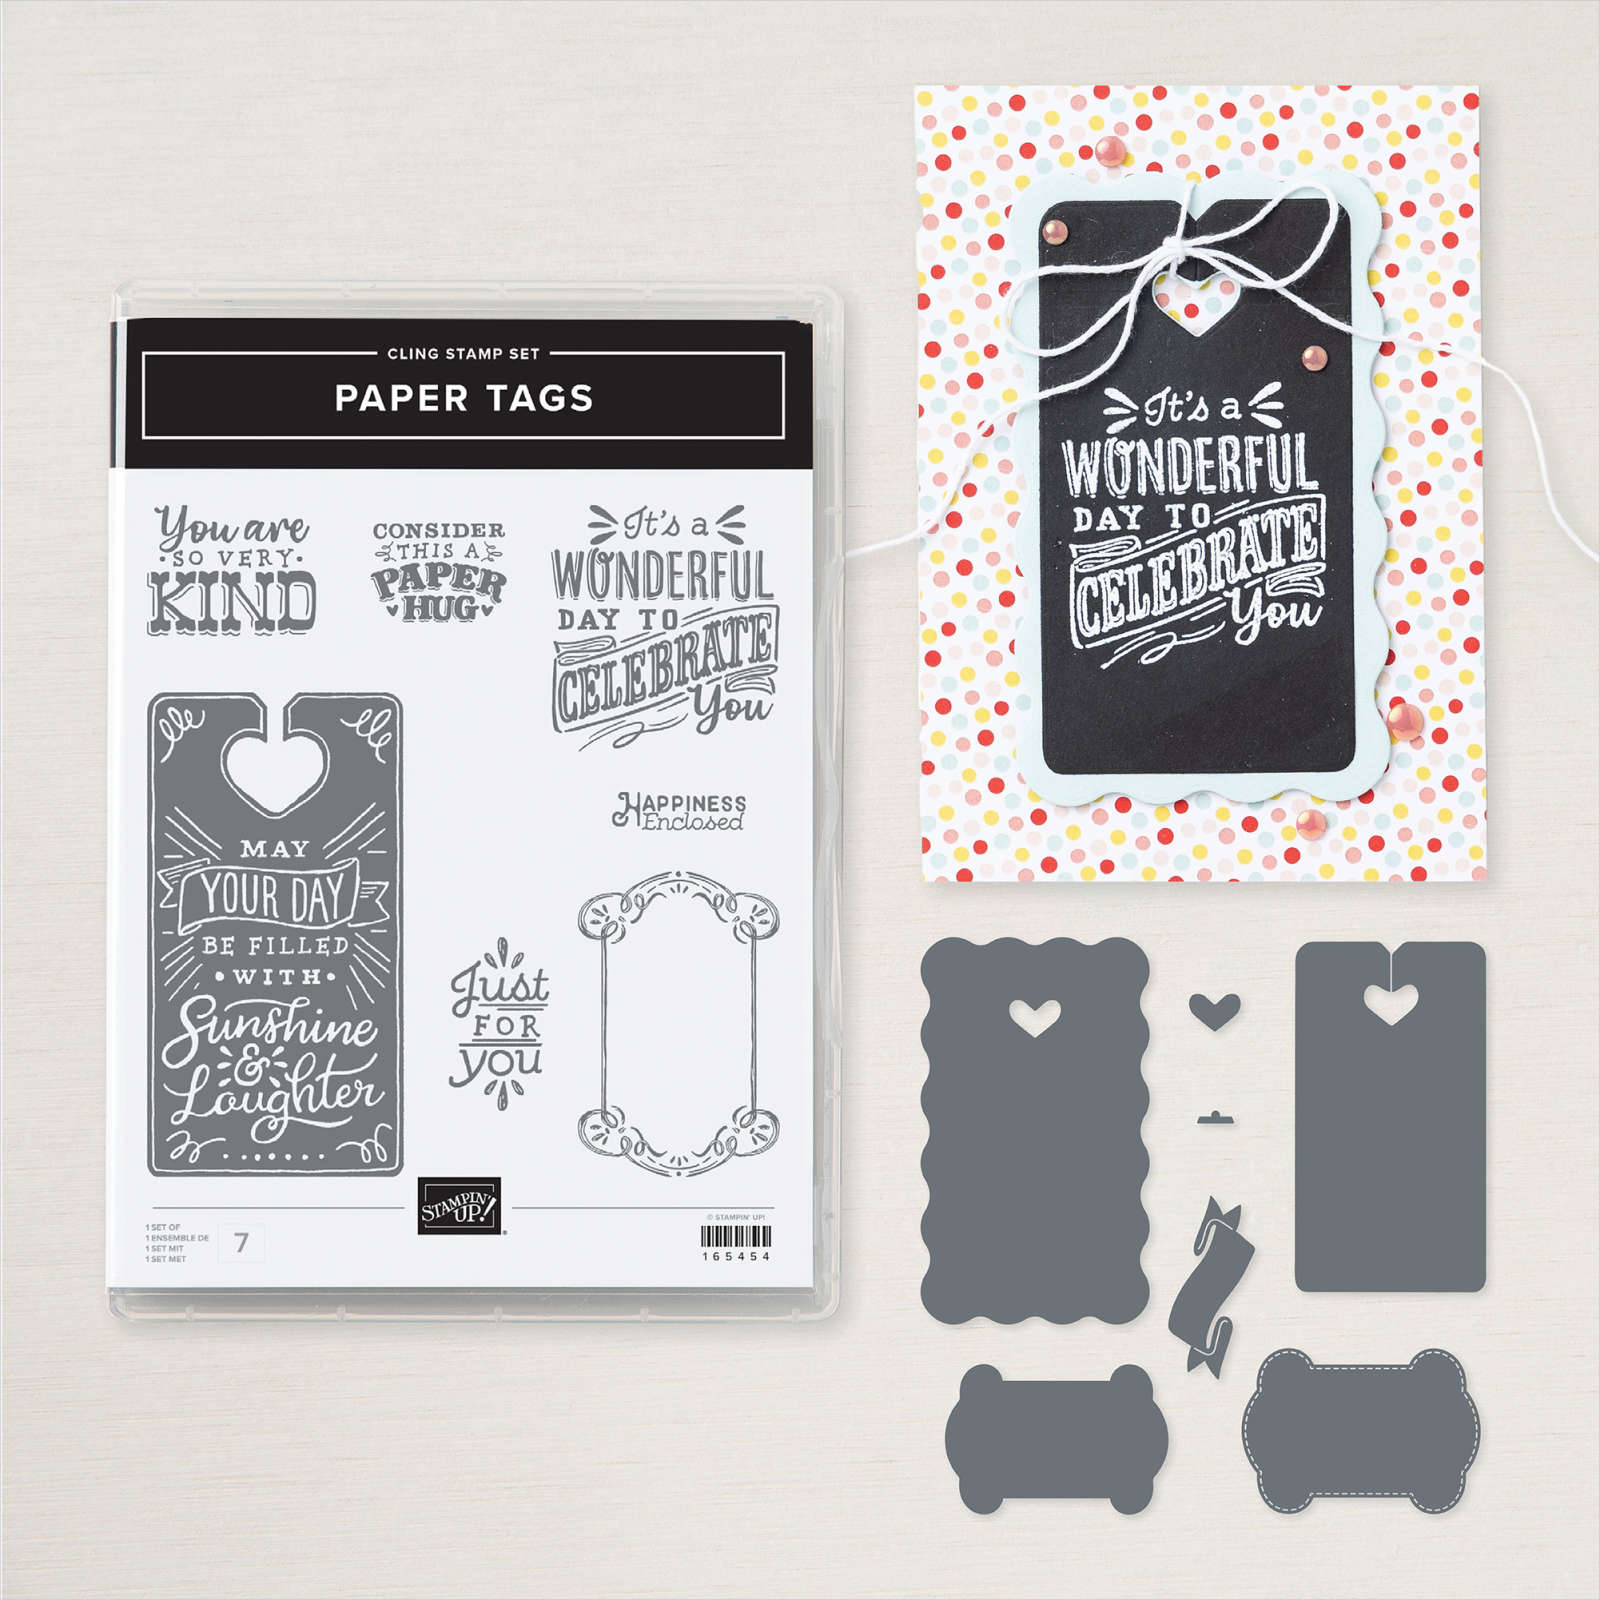
She used an embossing technique here; sponging colors on the white card stock first and then stamping and heat embossing the image in Black embossing powder. What a fun card! The bundle used here is the Paper Tags bundle seen below.
This next card was made by Sara, the CEO of Stampin' Up!
This card was attached to this neat tote (seen below) that was one of our extra gifts on our Disney trip. The colors include Pool Party, Lost Lagoon, Pretty Peacock and Strawberry Slush ribbon. The die-cut and greeting are from the Paper Tags bundle seen here.
The tote was filled with lots of snacks and beverages. But you know how cats are with boxes or totes! At the first opportunity Sadie jumped in and claimed it.
Earn free card kits in May with online orders! Get 4 kits with a $60 order and orders over $80 receive all 6 cards. All you need are greetings, gems and adhesives to assemble.
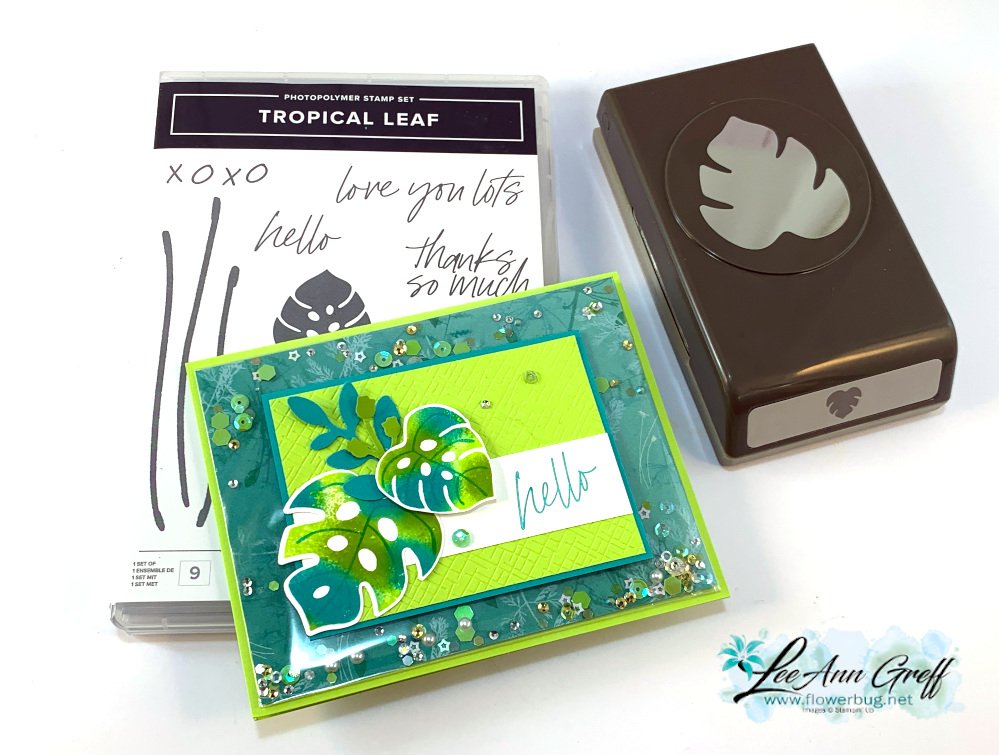
The colors include Parakeet Party, Bermuda Bay and a tiny bit of Granny Apple Green. The designer paper inside the clear envelope is Pretty Prints. Here's how I created the clear envelope shaker:
My Pretty Prints designer paper layer is 5 1/4" X 4" and our clear envelopes are about 1/2" larger. For the shaker elements to stay on the front side of the envelope it has to be tight and smaller. So I added tear & tape to the back edge and folded the extra over tightly. Now, insert your shaker elements on the front pocket and fold down the end flap. Wallah! You have a shaker card front!
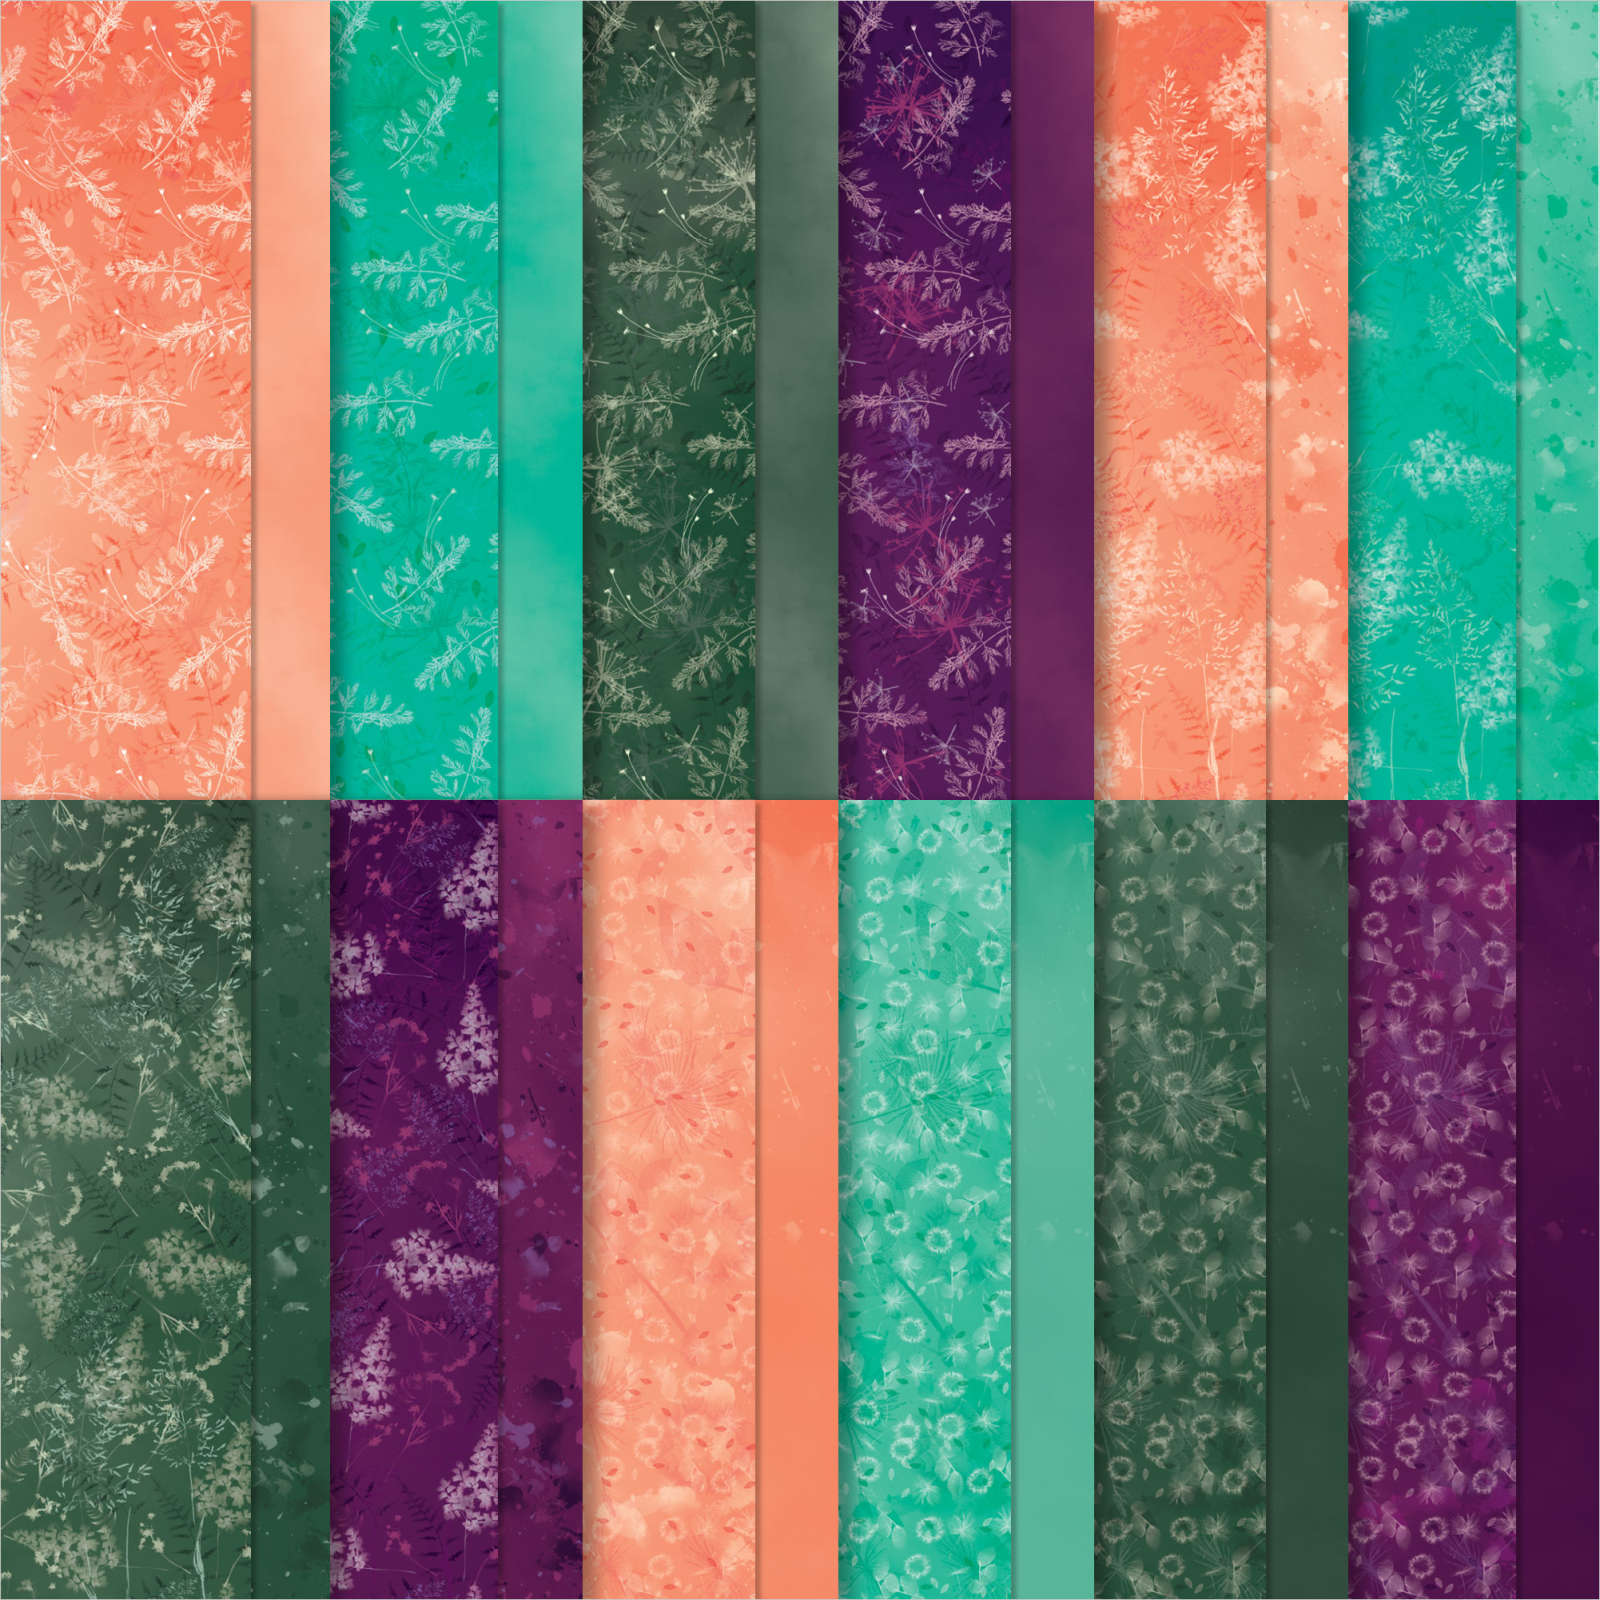
This DSP is from the Pretty Prints; soon to retire from the Annual catalog. See it here.
It includes some of my favorite colors – Bermuda Bay, Blackberry Bliss, Calypso Coral and Evening Evergreen.
The CS layers on the front are added on top of this shaker element so you still get the feel of a real card; not all slippery. Watch the video here or below to see how it's done. It's the 2nd project of 3.
Today I'm featuring two cards using a technique called 'Baby Swipe'. What is it? It's where you roll up a baby wipe and drop ink refill liquid on the edge and use it to swipe across your paper. Super fun to try.
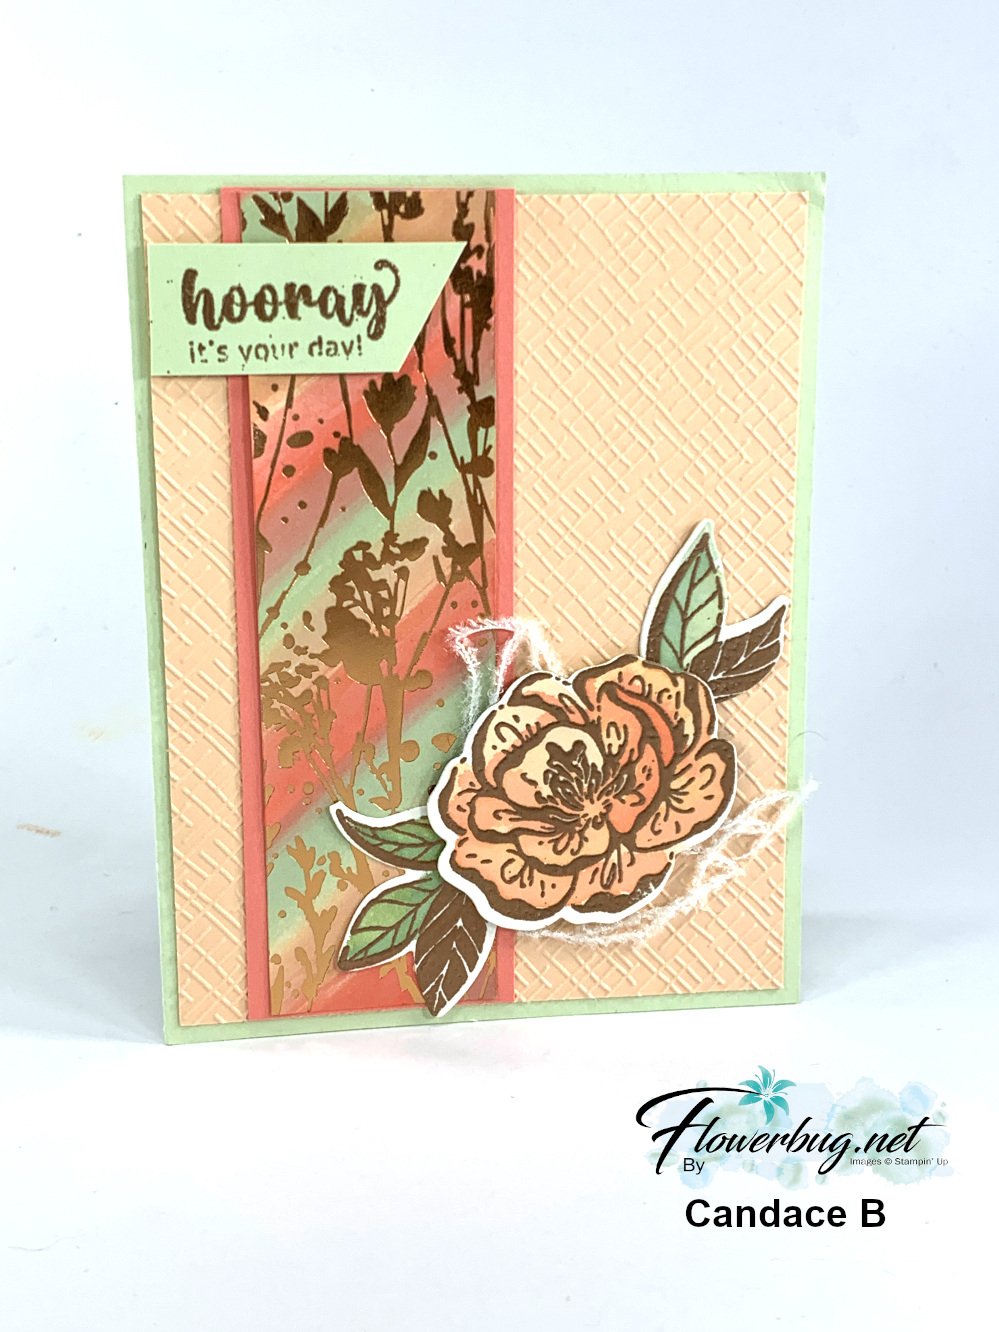
Candace chose to use the Irresistible Blooms bundle and the pretty Naturally Gilded specialty paper seen here. These items are on the Online Exclusives site and available for a limited time.
Her colors include Petal Pink, Soft Sea Foam and Flirty Flamingo. This specialty DSP works wonderfully for this because the surface is glossy. Once you're done adding ink use a tissue or soft cloth to wipe away the excess ink. It will not adhere to the foil areas.
She used Copper embossing powder on her flower, leaves and greeting. The texture is from the new Basics 3D embossing folder pack. These are currently out of stock but will be back in May or earlier.
~~~
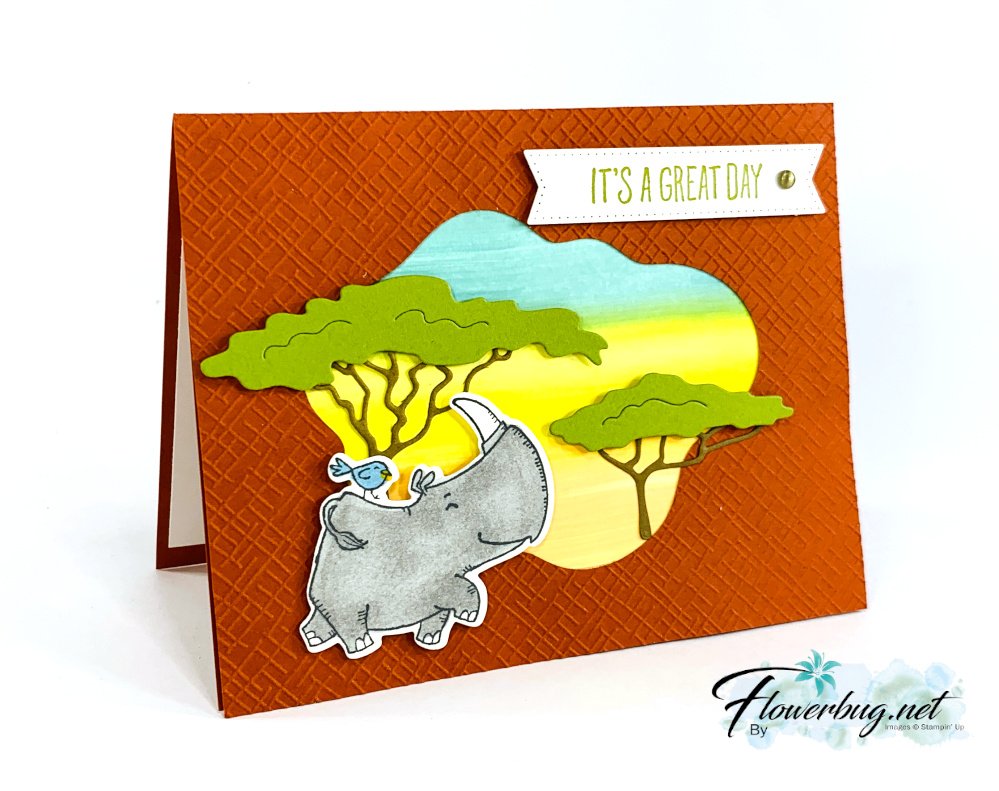
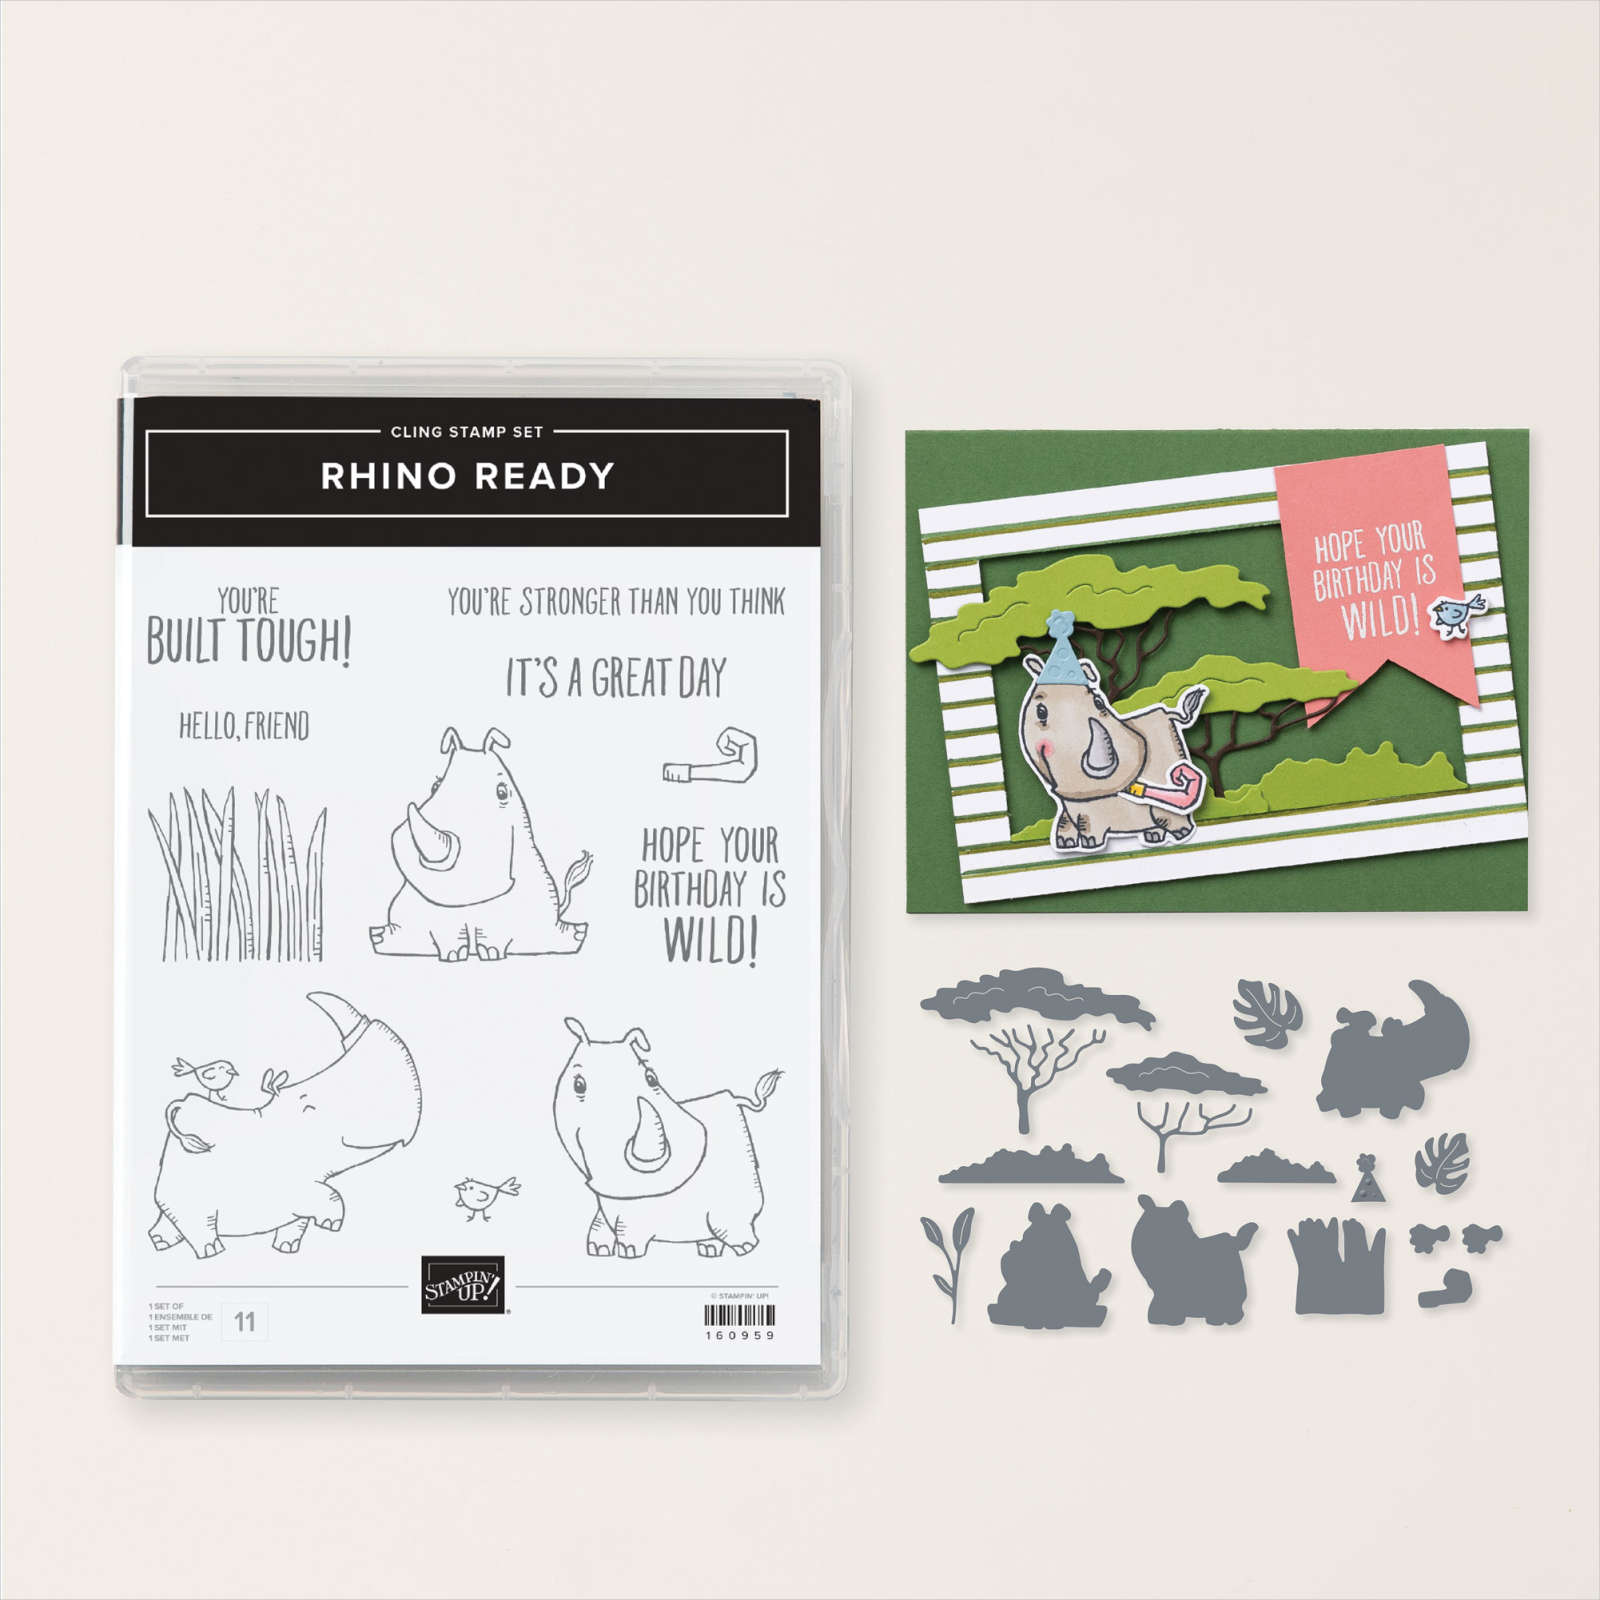
Next is a gorgeous scenic card made by Brenda. She also chose to use one of the new Online Exclusive products; the Rhino Ready bundle.
She used the same embossing folder on the Cajun Craze layer and die-cut a window using the Diorama dies seen here. I think her scene is stunning!
Baby Wipe technique – 2 great swaps by my Flowerbug’s
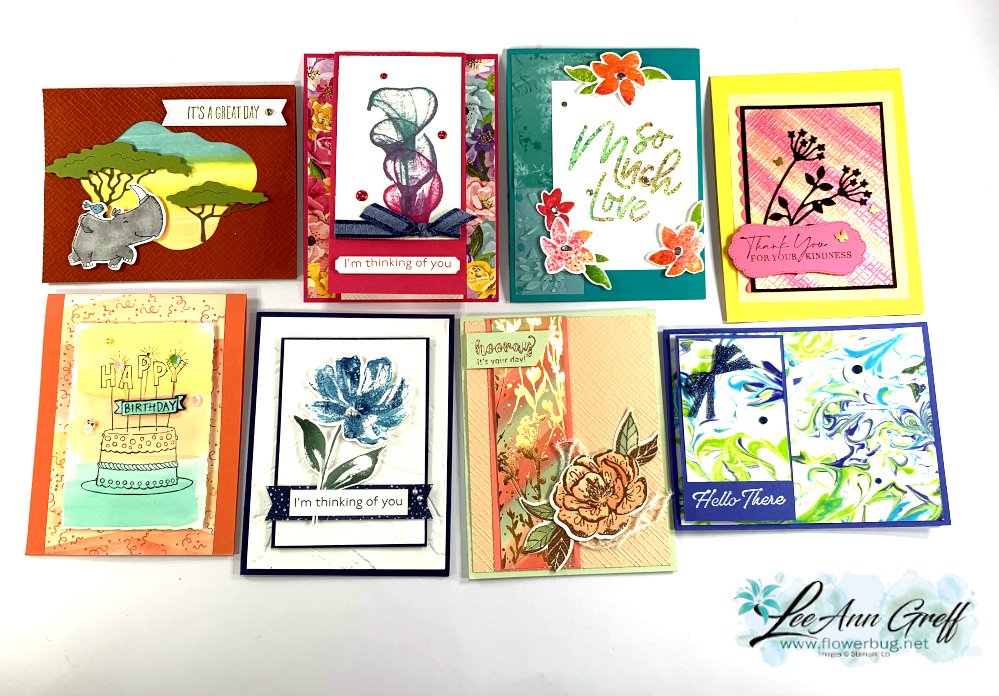
Our March card swap theme was to use a technique with a re-inker or an ink refill. There are lots of fun techniques out there that you need ink refills for.
These first two feature the Baby Wipe technique; one of my very favorites for getting multiple colors on solid images!
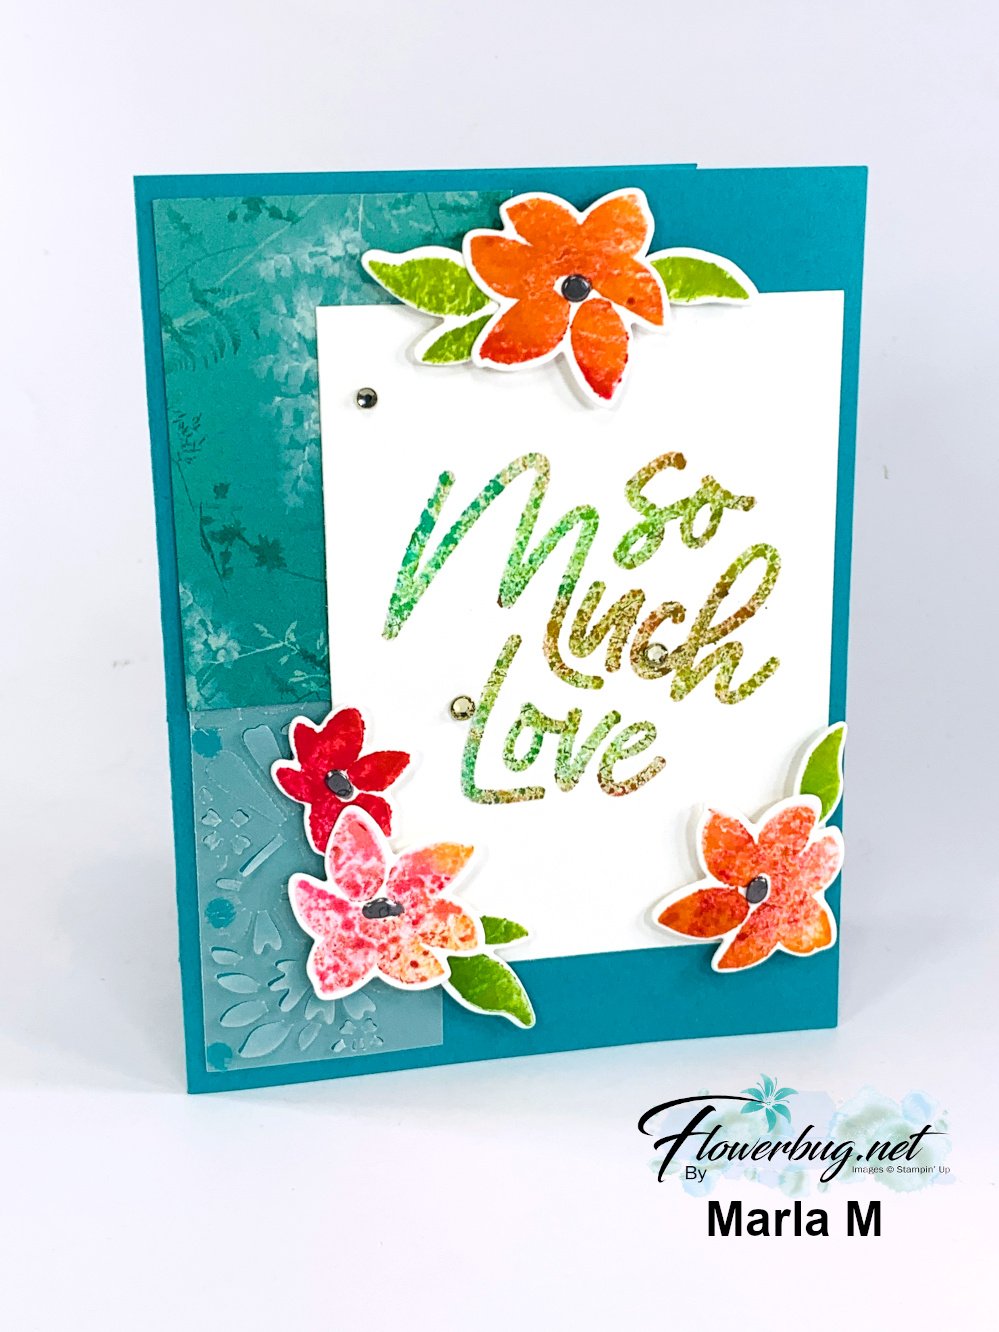
This first card was made by Marla where she featured the Love for You bundle seen here.
I believe her colors include Bermuda Bay, Granny Apple Green, Melon Mambo and Calypso Coral. She even stamped her greeting in the baby wipe technique. Watch my video today here (or later on my YouTube channel here) to see how it's done. It's absolutely fun!!
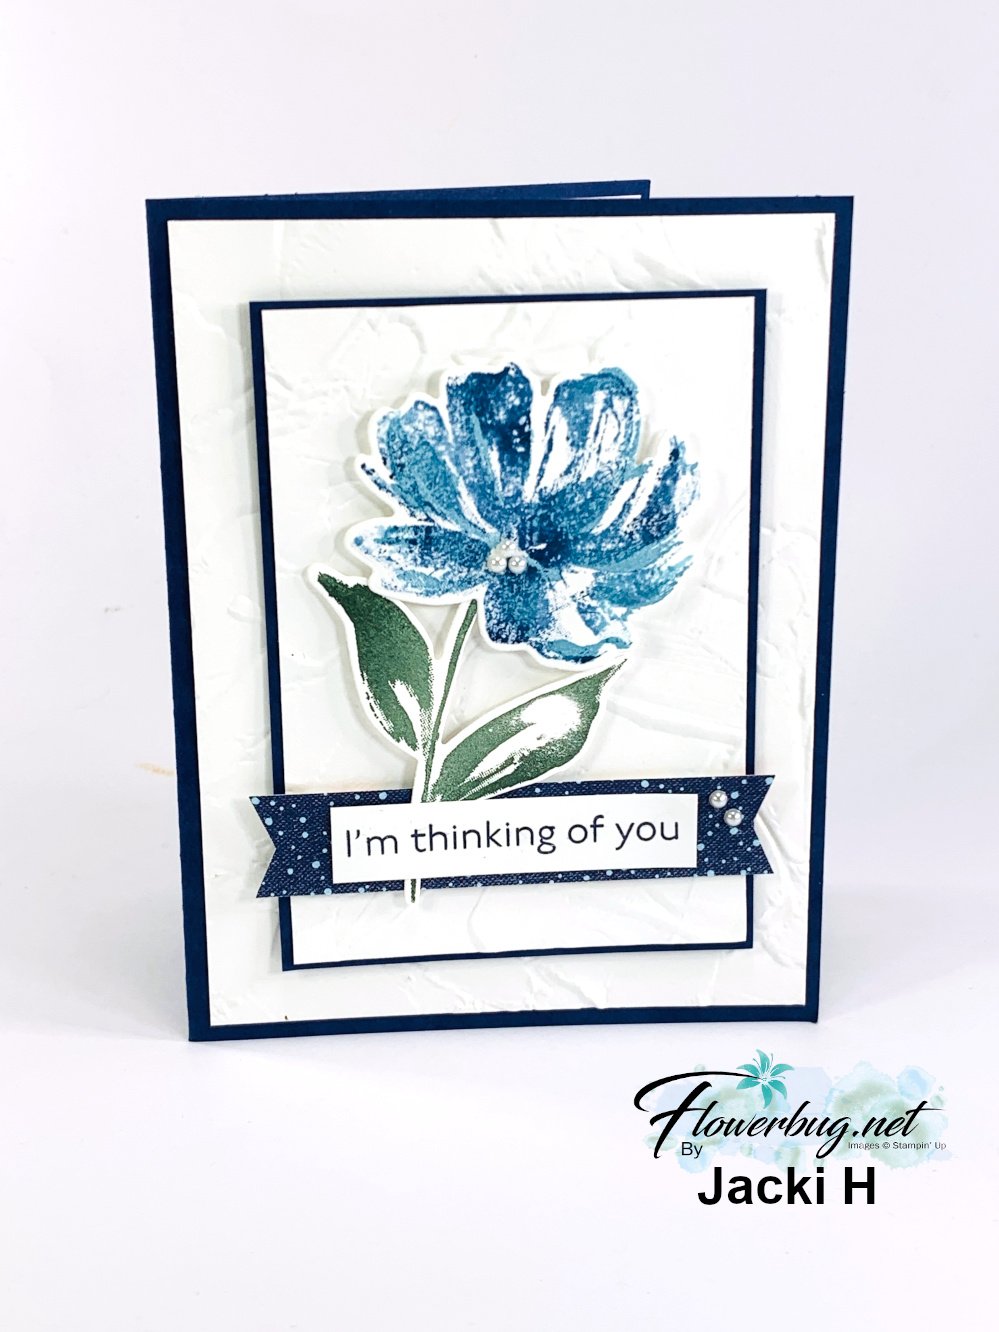
I believe her colors include Navy, Garden Green and Tahitian Tide. Her White layers are textured with the Painted Texture 3D embossing folder seen here.
Come back for more tomorrow! Click here or on the photo below to watch the video.
Notice: LeeAnn Greff, Independent Stampin’ Up! Demonstrator, Manager. The content of this website is my sole responsibility as an independent Stampin’ Up! demonstrator and the use of, and content of, the classes, services, or products offered on this website is not endorsed by Stampin’ Up! Copyright 2025





















Leave a Reply