/


Latest Post

Check out these awesome Sale-a-Bration swaps by my Flowerbug’s Team!


Today I'm sharing the other half of our fabulous January Team swaps by my Flowerbug's Team.  

First up is a super neat card made by Candace featuring the Jungle Pals stamp set & dies: 

There are tons of details & die-cuts on her card!  The Jungle Pals set & dies are both available through February 29th or while supplies last – they're free with a qualifying Stampin' Up! order. See them both here. 

  • The colors include Calypso Coral, Pebbled Path, Lost Lagoon, Soft Sea Foam and Shaded Spruce. 
  • The tree, leaves and toucan are all from the Jungle Pals dies. 
  • Her greeting is made with the Heartfelt Hexagon punch and a 1" strip of White card stock. The greeting image is from the Heartfelt Hello's set – also from our Sale-a-Bration promotion. 

Inside view: 
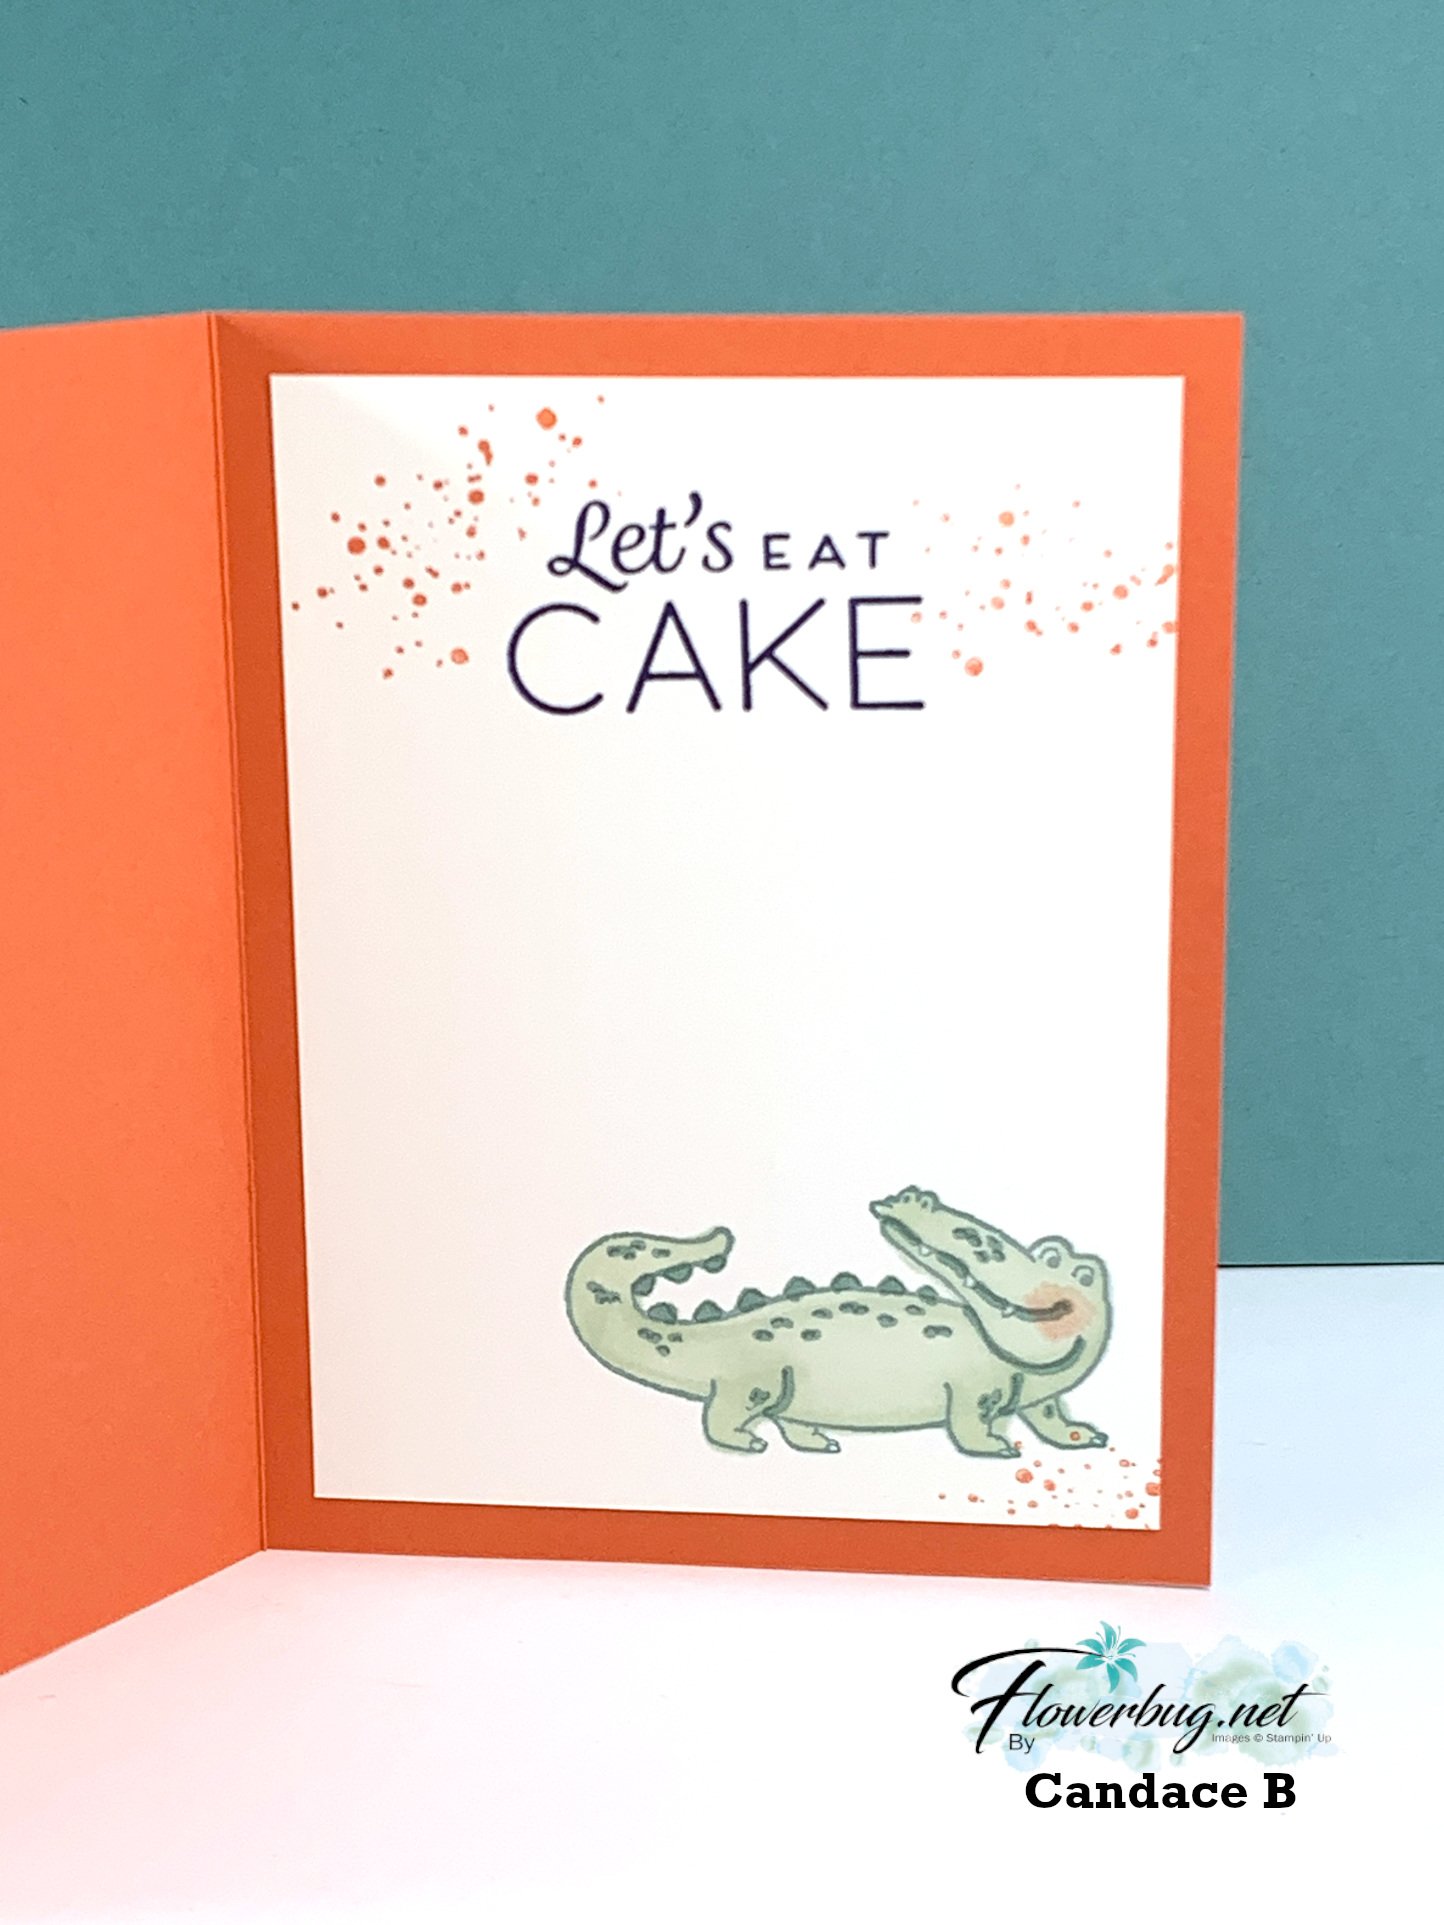
I love it when the inside is stamped to match the front!  

~~~

Next is an adorable card made by Marla featuring the Sunny Days designer series paper seen here. 

I asked her where she found her cute basket shape and she cased it from an old valentine card she received from her grandmother years ago. Isn't that cool?!!  

The greeting is from the Heartfelt Hexagon stamp set seen here.  She fussy cut the strawberries from the Sunny Days designer paper.  I just love this card!!

~~~

Next is a pretty card made by Karen G who featured the Flight & Airy designer paper seen here.  It's free with a $50 Stampin' Up! order through February 29th, or while supplies last. 

She cased the layout from Tracey Bradley I believe.  Such a pretty and simple way to make this pretty designer paper the star! 

The greeting and textured background are from the Softly Sophisticated bundle is fussy cut.

The Flight & Airy designer series paper has been one of the most popular choices so far; I wonder how long it will last!

~~~

Lastly today is a card made by Karen A who also featured the Flight & Airy designer paper. 
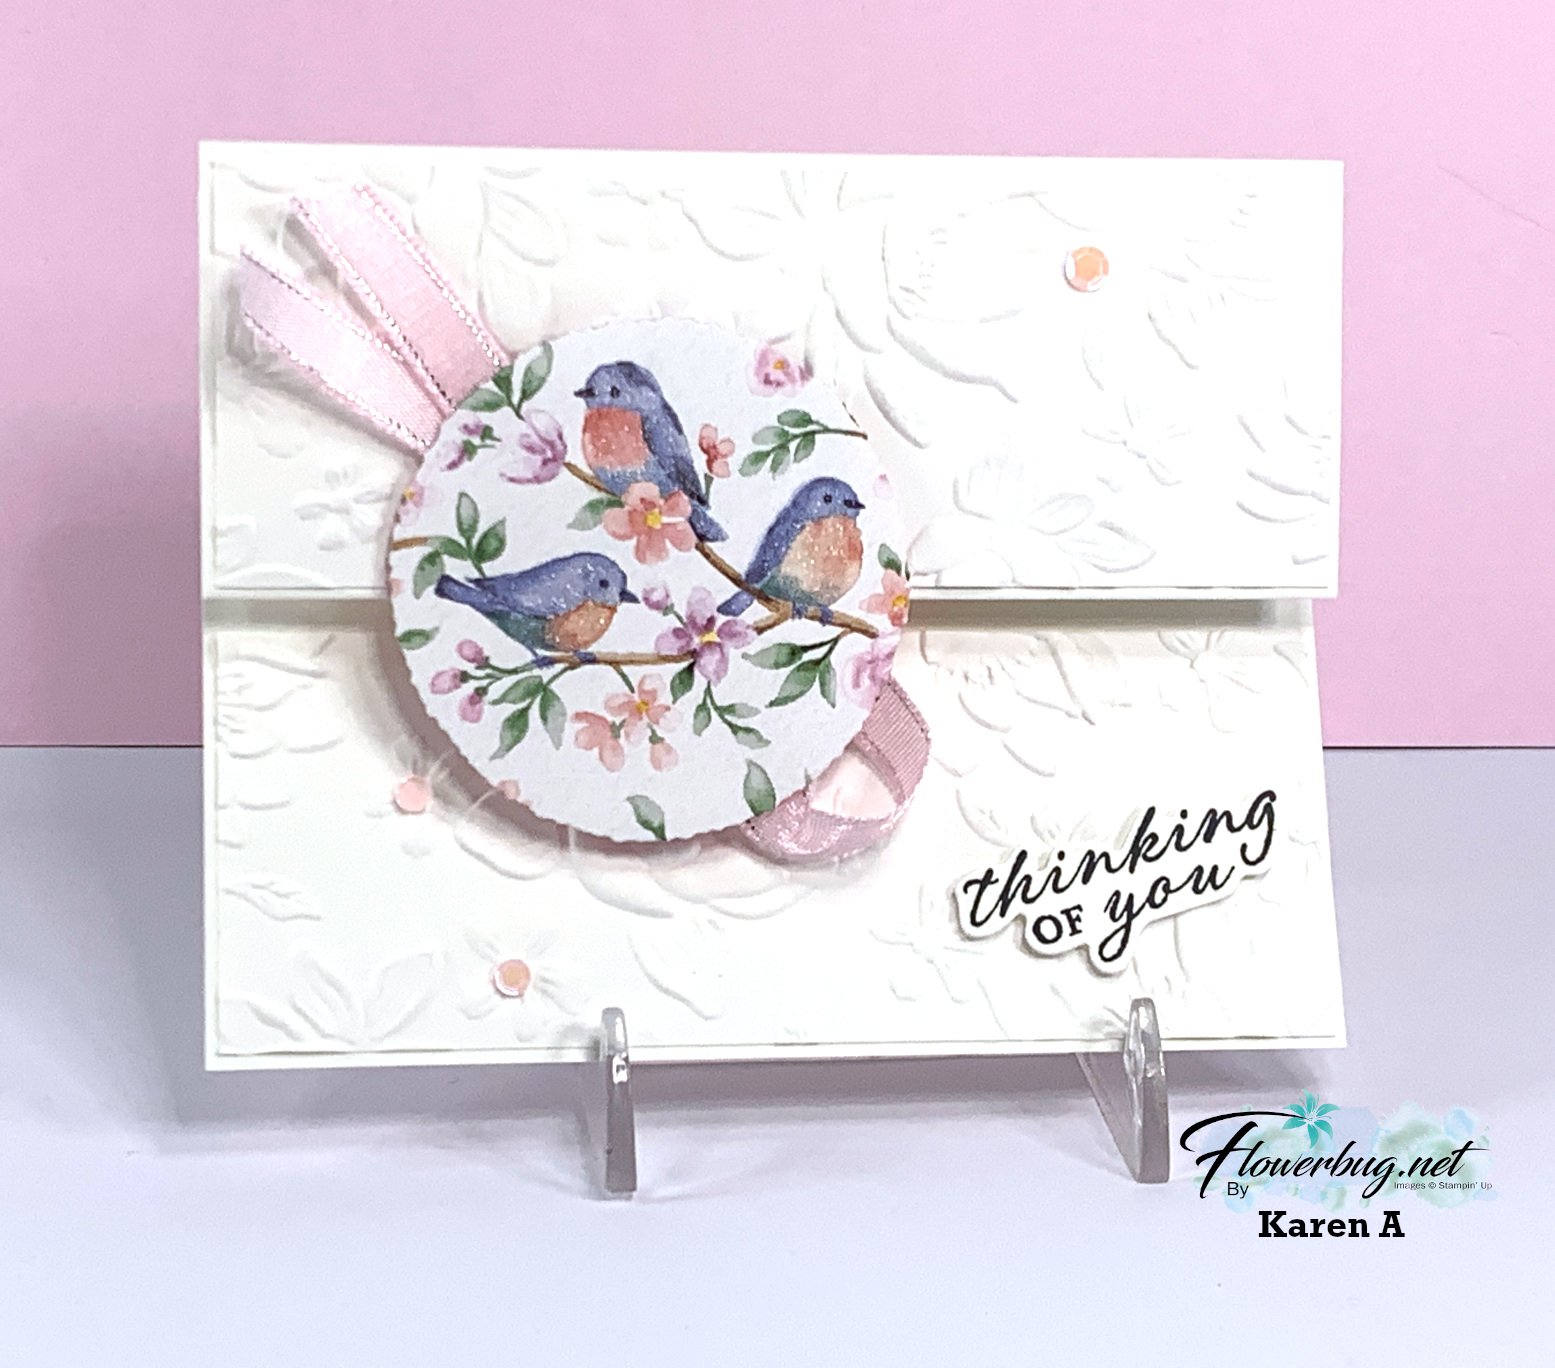
She simply cut a selection of the birds with the Deckled Circle dies and made it the focus by keeping the rest of her card white. The White layers are textured with the beautiful Layered Florals embossing folder seen here.  

It's a simple fun fold too! 

I hope you are inspired by these beautiful projects made by my Flowerbug's Team.   

Remember we love to add new people to our group! 

If you'd like to be on my Team please choose the Starter Kit deal here and join us! 

Sale-a-Bration if a great time to join us. We're a friendly group and I can guarantee you will not regret it!!!

~~~

February Specials: 

Earn FREE products with your Stampin' Up! purchase during

Sale-a-Bration! *click here

*current host code link:  M7NAN4HT

It's the best time to get a pre-paid Sale-a-Bration subscription

& earn free Sale-a-Bration products!  


~~~

Get a free Gold Foiled cards & envelopes kit

with an online order over $55 in February

All online orders in February will receive this free tutorial with 8 projects!

All Posts

  • A great way to add multiple pieces with the Press & Seal technique


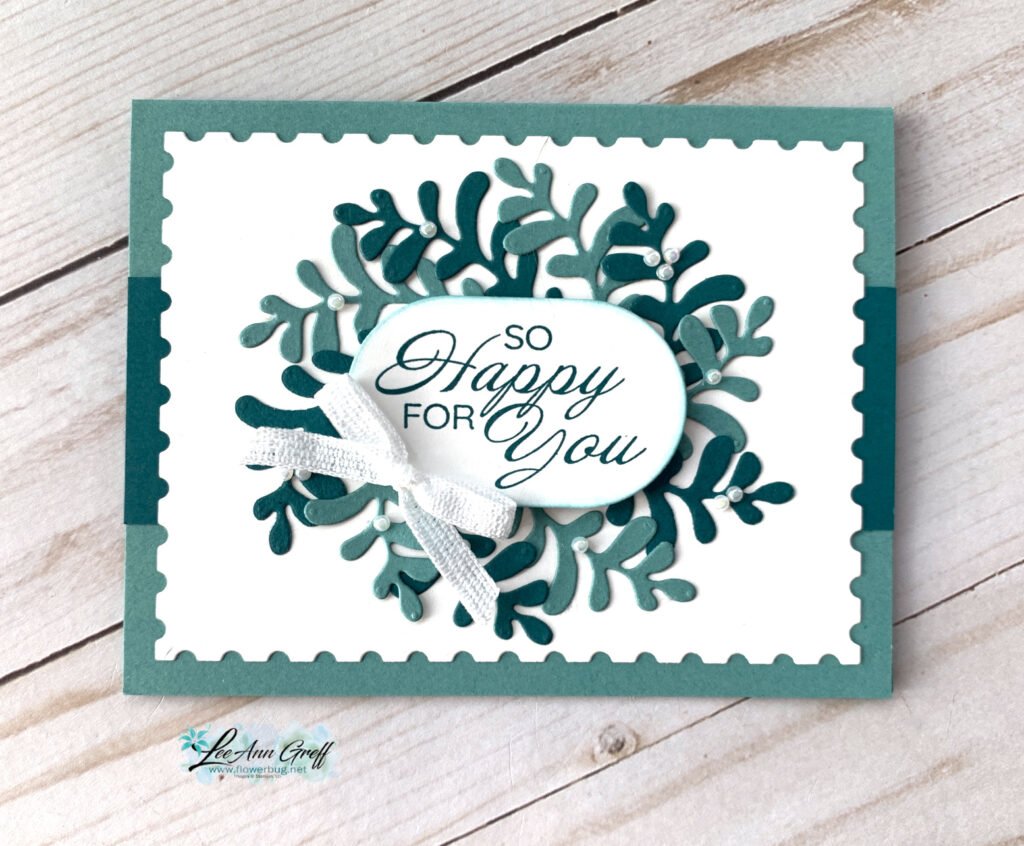
    I shared this pretty card on last week’s video featuring new products and a neat and easy technique. If you’ve ever struggled to add multiple pieces perfectly, as you’ve laid them out, this will help you so much!

    My colors include Pretty Peacock, Lost Lagoon and White. The large die-cut is from the Perennial Postage dies and the greeting & leaves dies are from the Creative Haven dies seen here.

    Tips on using Press & Seal to adhere die-cuts perfectly in place:
    I placed the center greeting piece in the center of the Postage die-cut. Then I tucked each die-cut leaf under and around it placing them just where I wanted them. Next I lifted the greeting piece off and pressed a piece of my Press & Seal kitchen wrap onto the die-cut leaves. Once they were all stuck on the wrap I turned them over and added adhesive to the back. I then turned it over and adhered it to my White layer. Let it dry or set a bit and then carefully peel off the Press & Seal wrap.

    I love this technique!!

    I created a free project sheet for this card with measurements, directions and a product list. You can see or download it here.

    Below is the video tutorial for this card and one more pretty Easel card too.

    The kits below will ship out this week so you have plenty of time to finish them by December. And they’re quick & easy too!

    The Christmas Tags & More cards are easy because there isn’t any stamping. The greetings are from the gold foil ephemera pack included in the kit.

    This kit to go includes a share of the festive designer paper, the ribbon, the peppermint gems, the ephemera greetings, the PDF tutorial and video too. Plus the pre-cut 10 cards that are all fun folds. All for $30 plus shipping. It’s a fabulous deal!

    Don’t wait long; I have just a few left. Go here to get yours. *You will need to cut your new designer paper for the cards but my directions make that simple.

    ~~~

    The other kit I created this month is also easy but does require stamped greetings. But there is very little prep & just a little trimming of the card bases to create these beautiful wintery cards:

    These cards could be winter or holiday; it’s your choice when you stamp the greetings.

    This kit originated from a former Paper Pumpkin kit but I jazzed up the cards and added more to create 12 gorgeous cards. This kit includes 12 envelopes and a share of Peppermint gems plus the PDF tutorial.
    I have a few left so grab yours soon. This kit is $29 and you can see it here.

    **Remember to check out all of my kits to go and tutorials here at my shop; choosing more than one will save on shipping.

    ~~~

    ~~~

    November Specials

    New Online products are available on November 4th.
    See them here.

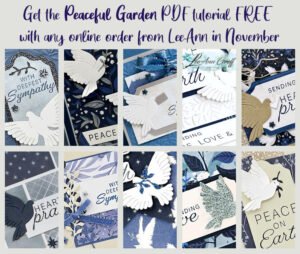
    Get the Peaceful Garden suite tutorial FREE with any online order in November!

    Leave a Reply

    Your email address will not be published. Required fields are marked *

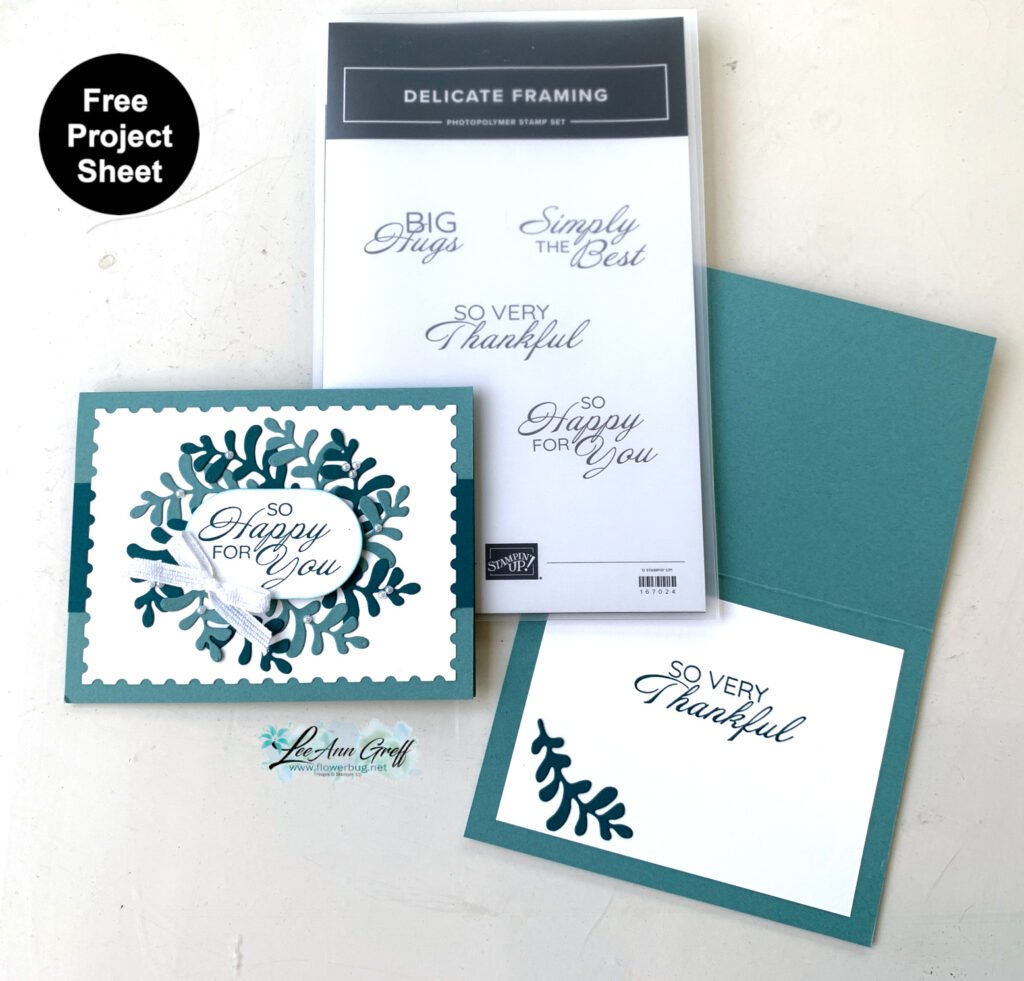
  • New! Delicate Framing Easel card with free project sheet


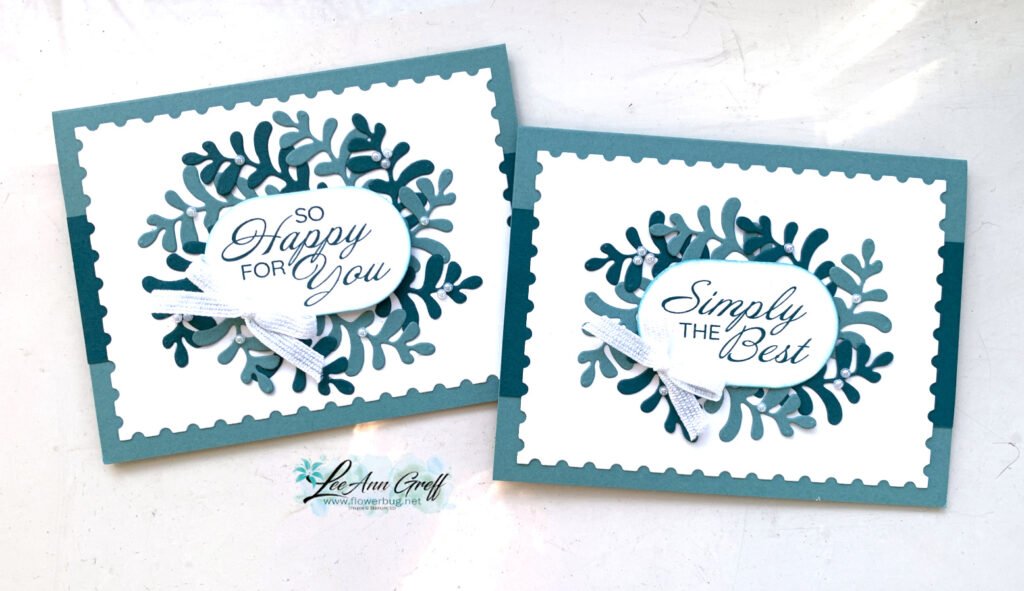
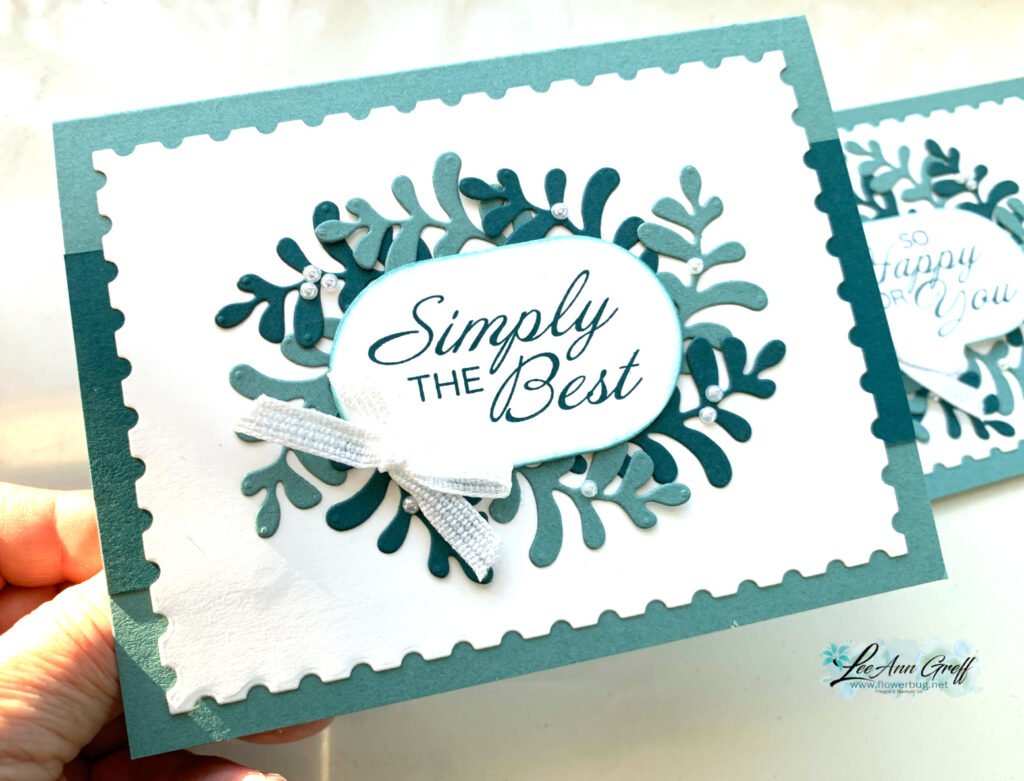
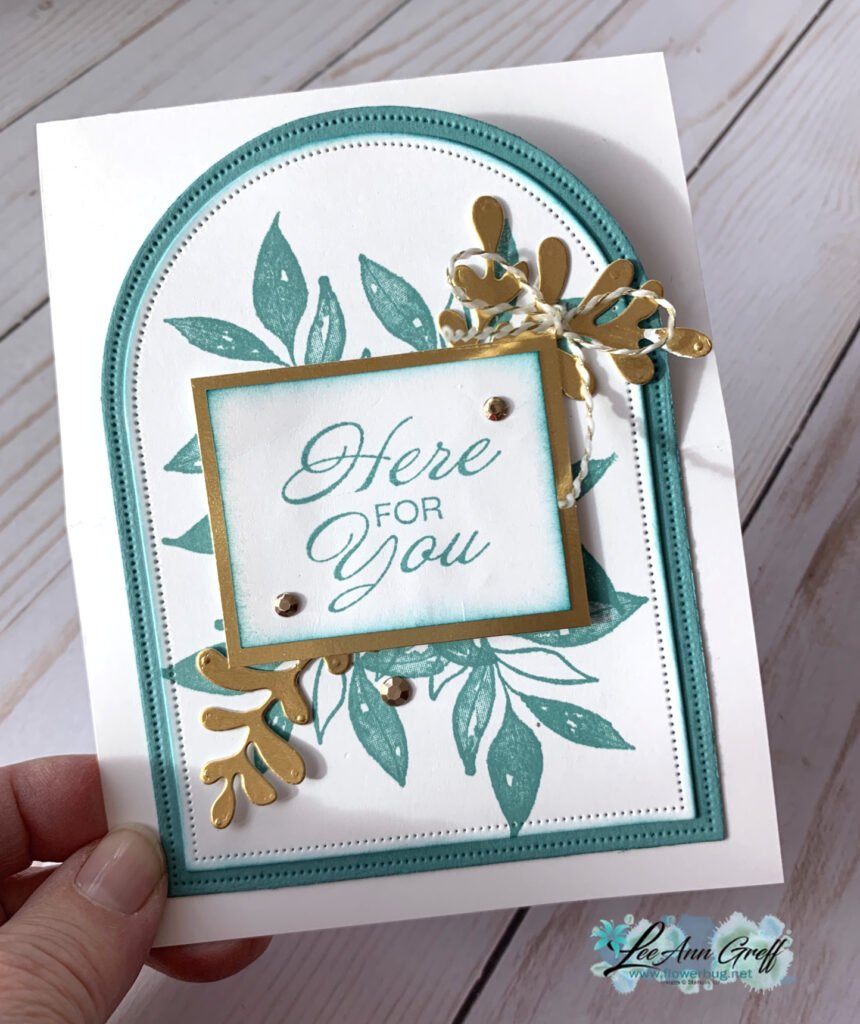
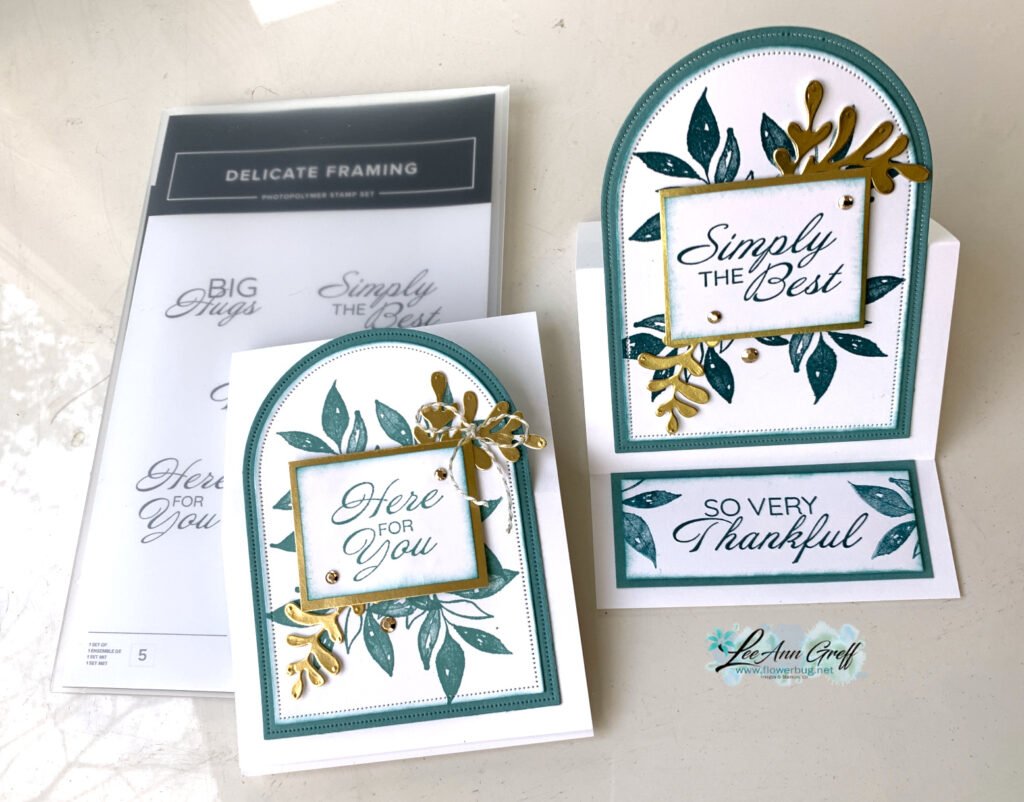
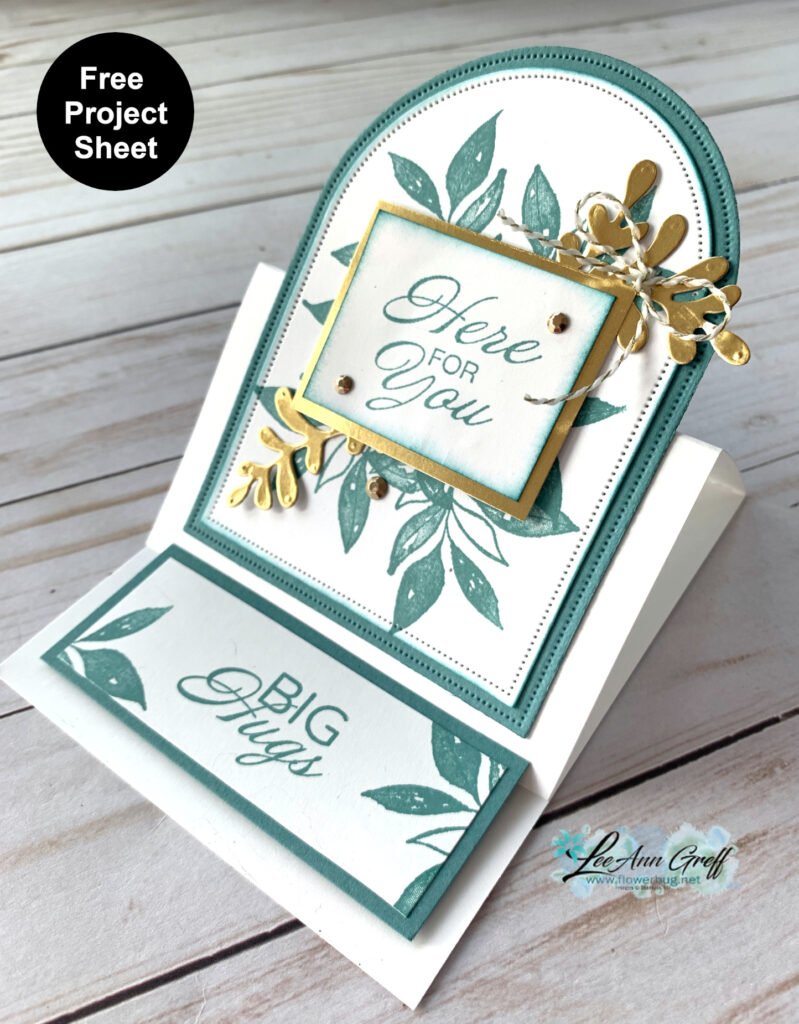
    I shared this pretty card on last week’s Live video. I also have a free project sheet for you as well.

    It features one of our new online products called Delicate Framing; a beautiful greeting set.

    My colors include Lost Lagoon, White & Gold foil. The other products include Creative Haven dies (new), Everyday Arches dies, Gold & Black twine & the Textured Notes stamp set (leaves).
    Here are the Creative Haven dies:

    I focused on these two new products in my projects – the Creative Haven dies seen above for the leaves and the Delicate Framing stamp set for it’s greetings. Both are new this month.

    Aren’t the greetings wonderful? See the Delicate Framing set here.
    As you can see, it’s an easel card which is quite simple to make. Add a second score line in the middle of your card base front and add something to the inside to hold it up.

    You can print or download the free project sheet here. *I recommend saving them to a file for easy access.

    Below is the video tutorial for this pretty card and one more featuring these products.

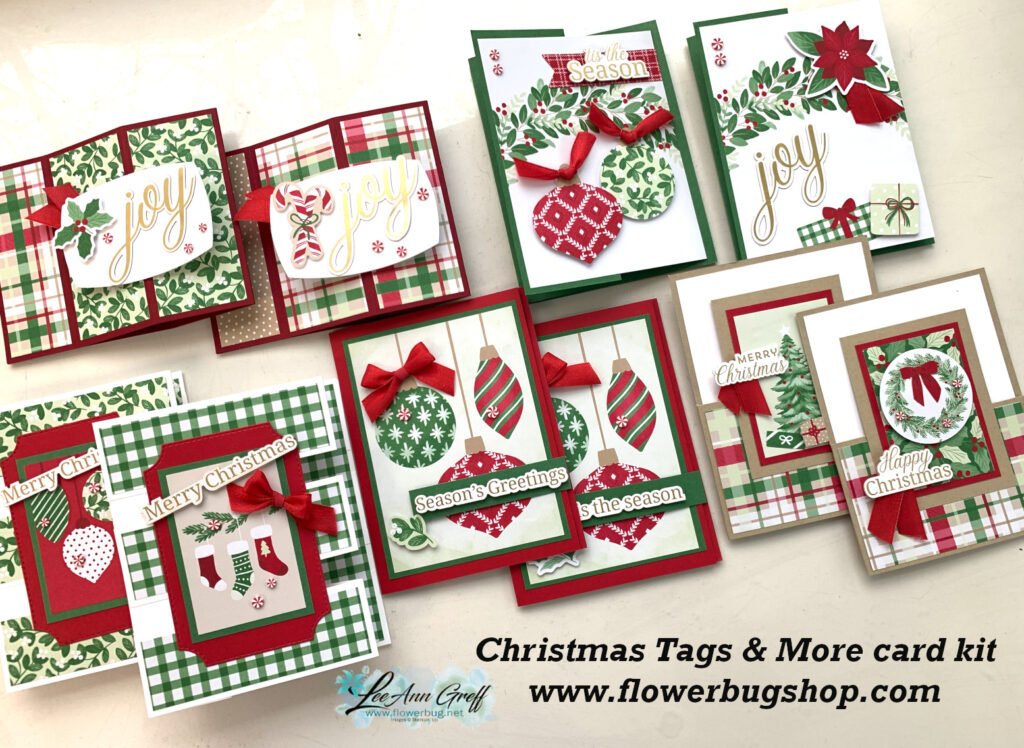
    The kits below will ship out this week so you have plenty of time to finish them by December. And they’re quick & easy too!

    The Christmas Tags & More cards are easy because there isn’t any stamping. The greetings are from the gold foil ephemera pack included in the kit.

    This kit to go includes a share of the festive designer paper, the ribbon, the peppermint gems, the ephemera greetings, the PDF tutorial and video too. Plus the pre-cut 10 cards that are all fun folds. All for $30 plus shipping. It’s a fabulous deal!

    Don’t wait long; I have just a few left. Go here to get yours. *You will need to cut your new designer paper for the cards but my directions make that simple.

    ~~~

    The other kit I created this month is also easy but does require stamped greetings. But there is very little prep & just a little trimming of the card bases to create these beautiful wintery cards:

    These cards could be winter or holiday; it’s your choice when you stamp the greetings.

    This kit originated from a former Paper Pumpkin kit but I jazzed up the cards and added more to create 12 gorgeous cards. This kit includes 12 envelopes and a share of Peppermint gems plus the PDF tutorial.
    I have a few left so grab yours soon. This kit is $29 and you can see it here.

    **Remember to check out all of my kits to go and tutorials here at my shop; choosing more than one will save on shipping.

    ~~~

    ~~~

    November Specials

    New Online products are available on November 4th.
    See them here.

    Get the Peaceful Garden suite tutorial FREE with any online order in November!

    Leave a Reply

    Your email address will not be published. Required fields are marked *

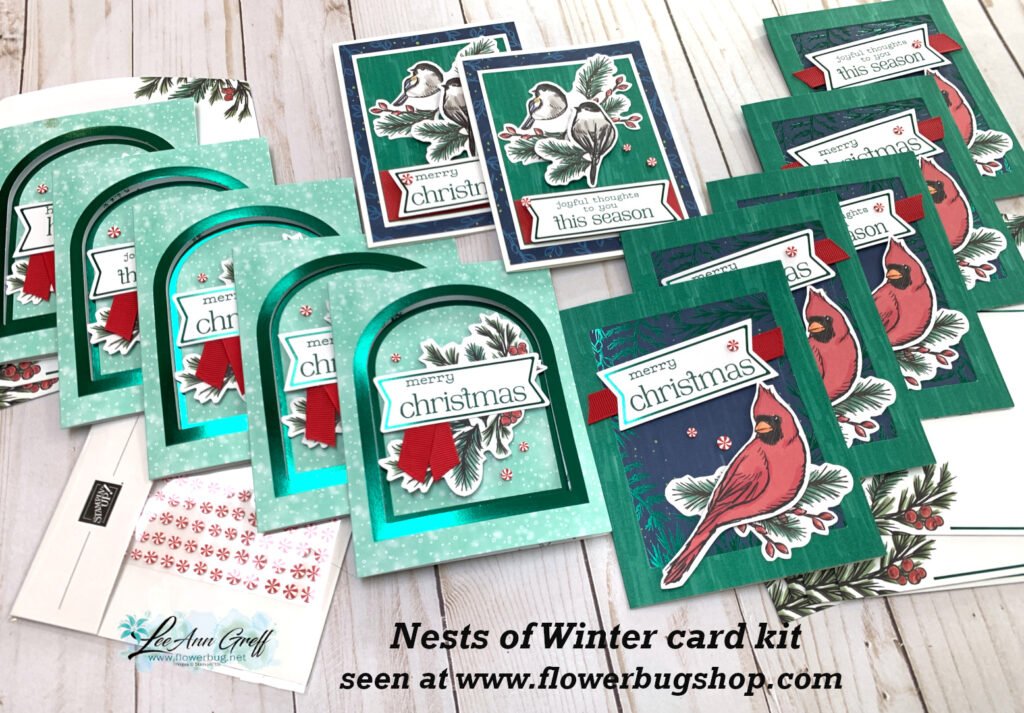
  • Striking Nests of Winter card kit to go; reserve yours ASAP


    Today I’m sharing my second card kit to go for November. It is a former paper pumpkin kit called the Nests of Winter; but I jazzed them up a bit plus added more.

    This pretty kit includes lots of foil accents and a wintery bird theme. I added Christmas greetings but they could easily be winter themed all occasion cards too. This kit includes 12 cards with envelopes and a share of Peppermint gems plus the PDF tutorial. It includes so much product you could make even more cards with just a few card bases.

    This card kit will go out in mid to late November, before Thanksgiving, giving you plenty of time to get them out for Christmas if needed. The PDF will be sent to you via email immediately after payment.
    *You will need greetings, ink and a paper trimmer to complete them.

    You can see it here on my Shop along with many more kit & tutorial options. It’s $29 plus shipping. See all of my kits here.

    ~~~

    November Specials

    New Online products are available on November 4th.
    See them here.

    Get the Peaceful Garden suite tutorial FREE with any online order in November!

    Leave a Reply

    Your email address will not be published. Required fields are marked *


Notice: LeeAnn Greff, Independent Stampin’ Up! Demonstrator, Manager. The content of this website is my sole responsibility as an independent Stampin’ Up! demonstrator and the use of, and content of, the classes, services, or products offered on this website is not endorsed by Stampin’ Up! Copyright 2025