/


Latest Post

Check out the Last of the July Team swaps


Today I'm sharing the last of our July Team swap cards. Our theme was thank you cards without flowers. 

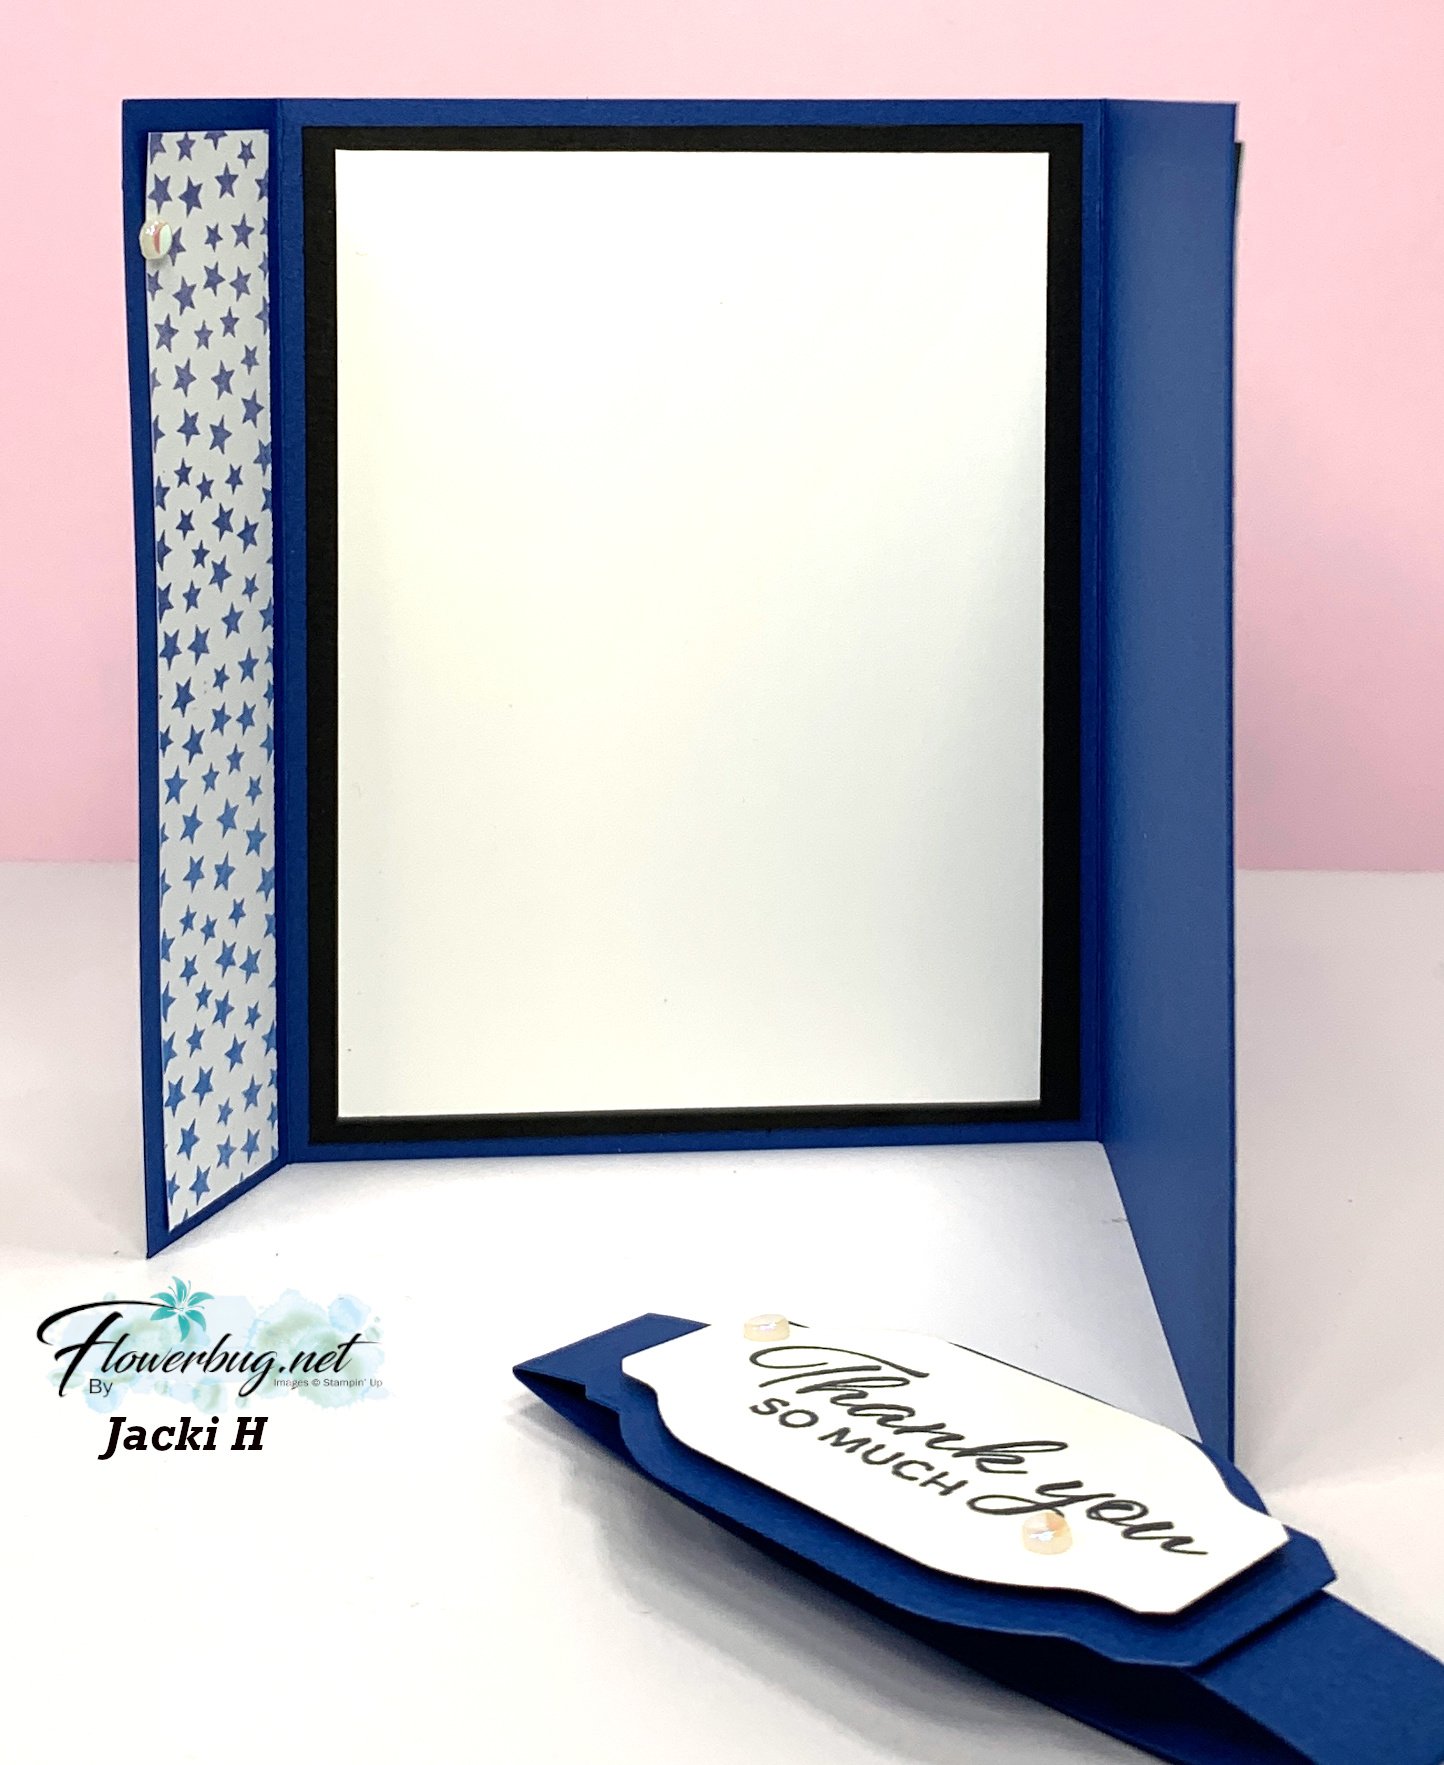
Jackie made this special fun fold card that has a gift card option: 

It's held together with a belly band with a greeting attached. She used the Bright & Beautiful designer paper – it carried over from last year's annual catalog and can be seen online here. 

Products used:

  • Her greeting is from the Layering Leaves set
  • Greeting dies are from Something Fancy seen here
  • The texture is from the Cane Weave 3D embossing folder seen here

The front right flap folds back and is secured at the top and bottom leaving space to add a gift card or money if you'd like. 

Measurements:

  • Blueberry Bushel card base 11" X 5 1/2" scored at 1 1/4", 5 1/2", 9 1/4"
  • Designer paper left front & inside panels 1" X 5 1/4", right front panel is 1 1/2" X 5 1/4"
  • White inside 3 5/8" X 5", textured right panel 3 1/4" X 5"
  • Black inside 4" X 5 1/4"
  • Belly band 7 1/2" X 3/4" 

~~~

Ginny made this cute card with the A Little Latte designer paper

Her colors include Calypso Coral and Pecan Pie. She cased this card from Karen Ksenzahovie from Creative Stamping Designs. I like the little details of the three DSP strips under the coffee cups. Her greeting is heat embossed in White. 

~~~

Mary also featured the A Little Latte designer paper and the Latte Love bundle.  These products can be seen online here. 

Her colors include Pecan Pie with Lost Lagoon and White.  She trimmed off an inch from the left front to reveal the cute trio of die-cut coffee cups inside.  Cute detail! 

Thanks for hanging in with us to see all of the July Team swaps!  

~~~

August Specials:

*current host code link: BDGBJHAE


Redeem your $5 coupon now! 

~~~

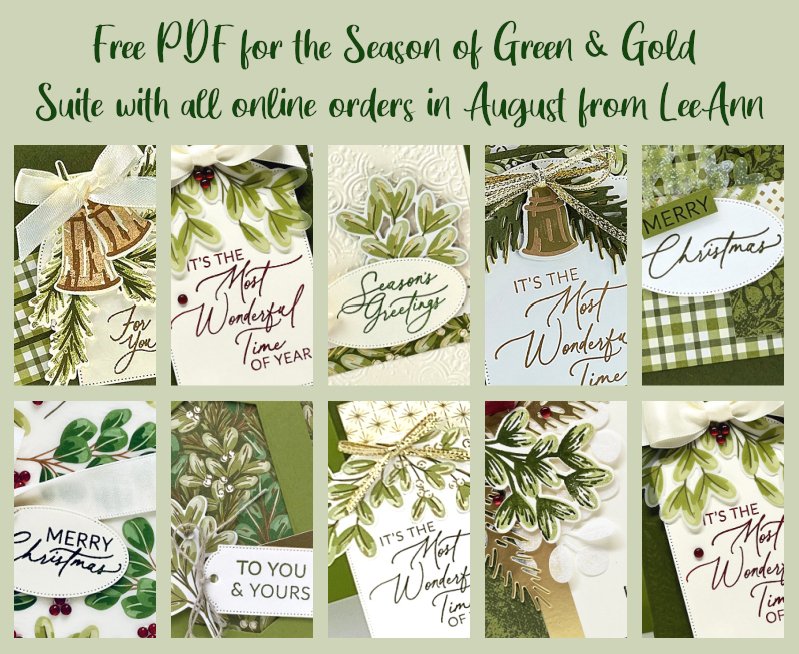
All online orders will receive a free PDF tutorial featuring the

Season of Green & Gold suite
All Posts

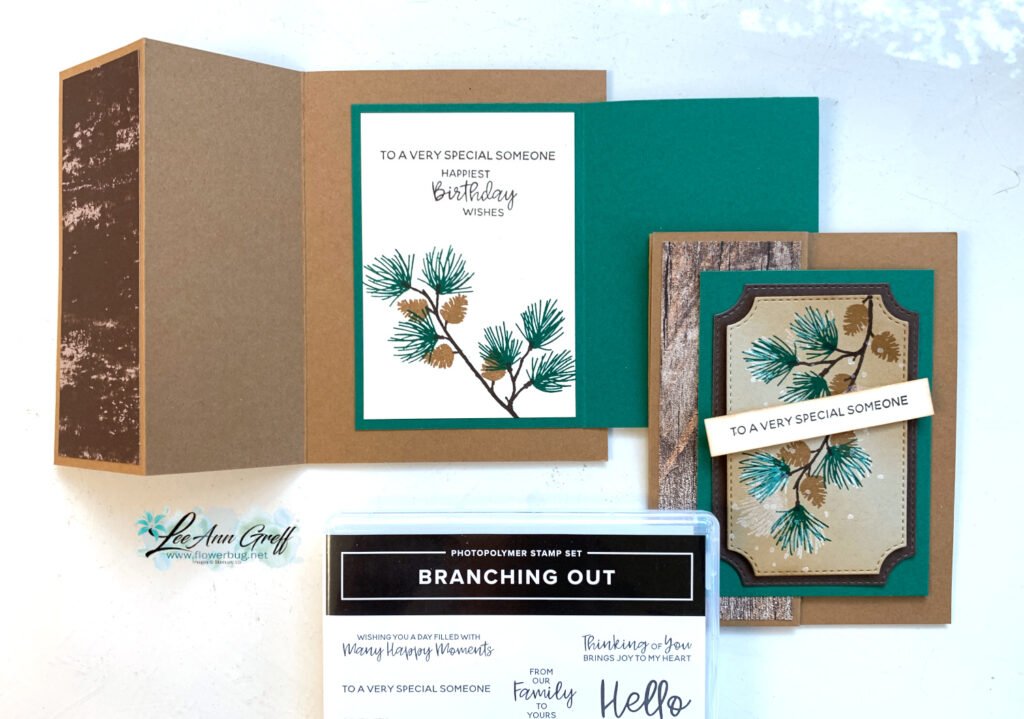
  • The Branching Out bundle is retiring! Check out this fun fold card with video tutorial!


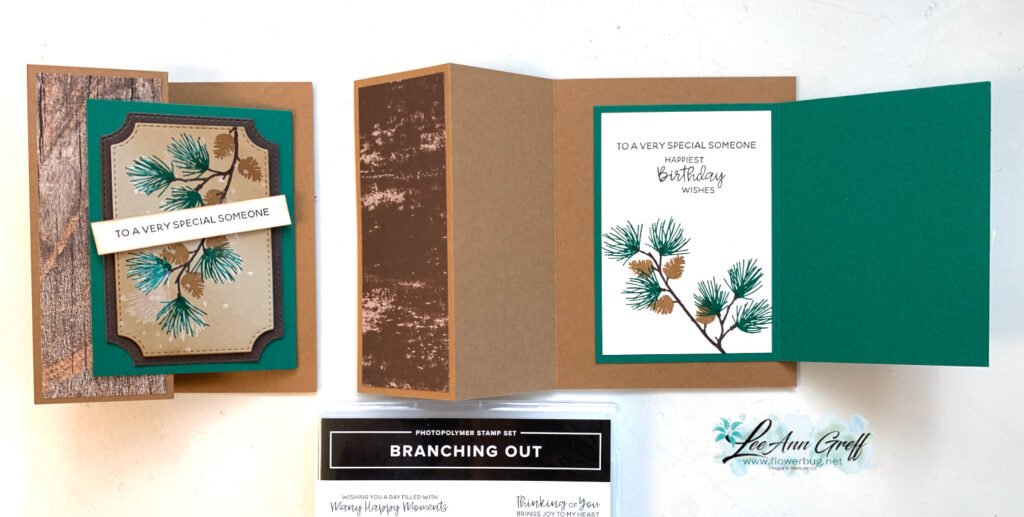
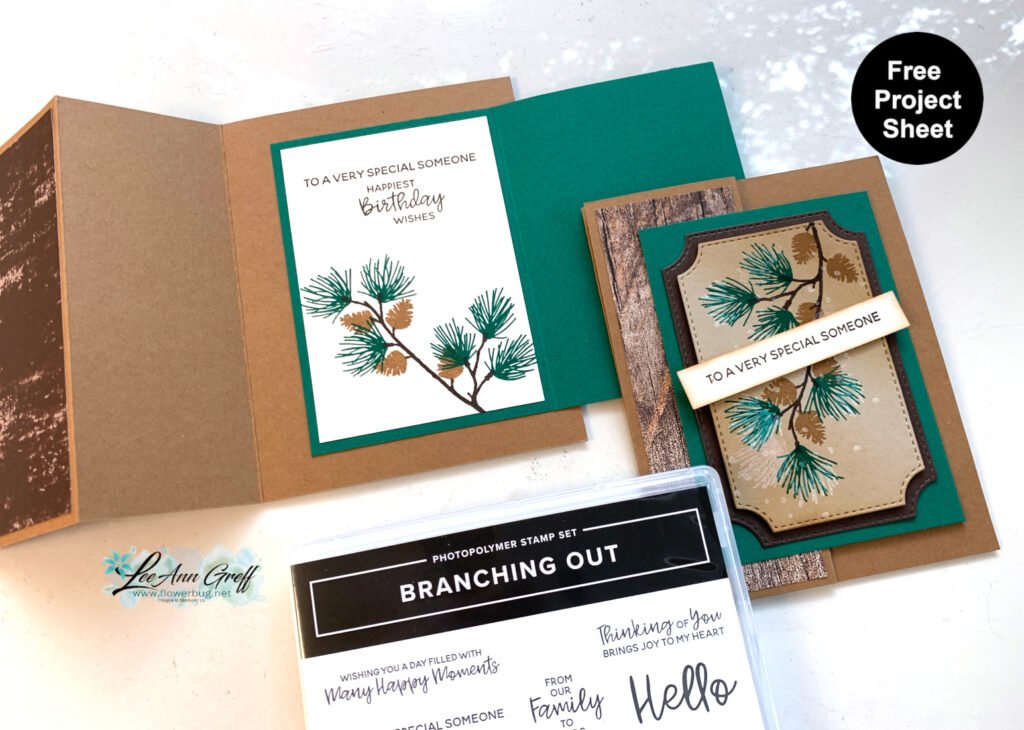
    We made this card earlier this fall and I realize I haven’t shared it with you yet. I also made a video too – scroll down….

    The colors include Pecan Pie with Crumb Cake, Early Espresso & Shaded Spruce. I used various wood-like designer series papers for the side panel. See how it has a double fold?

    Also notice the ‘white’ snow on the pine boughs plus snow in the background. You can achieve that without heat embossing. We used White Craft ink and stamped over the pine. Easy & a fun accent!

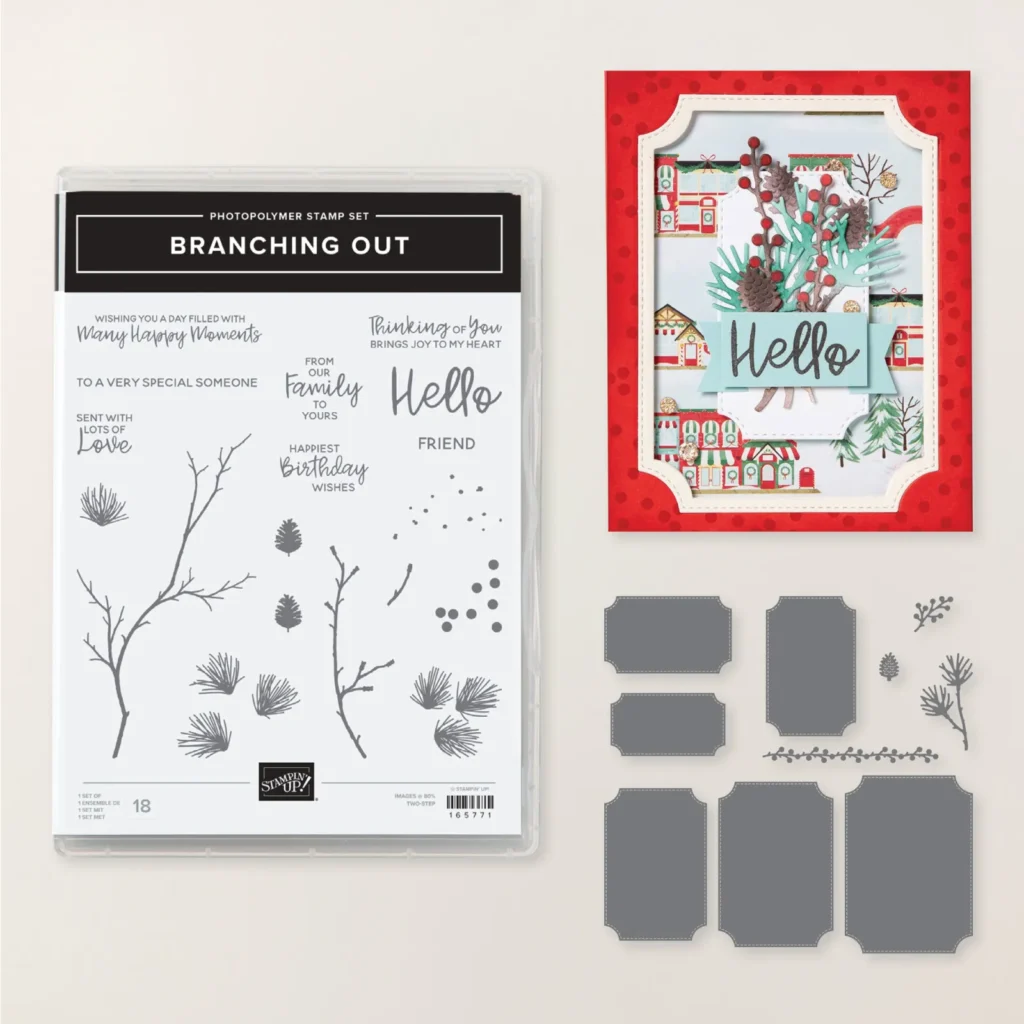
    The stamp set is retiring but the dies are not. The bundle is on the last chance list now. Click here to see it.
    It’s been one of my favorite products in our Holiday catalog this year. It’s timeless and can be used for fall, winter or Christmas!

    Besides the video tutorial here’s a free project sheet for you too. Click here to download or print it.

    I’m glad the dies are not retiring but I have to say the stamp set is among my top 5 favorites!

    Below is the video tutorial which gives you tips on stamping the branches with the pines and pine cones.

    *You’ll receive a PDF with multiple projects featuring this product
    after the 20th of the month.
    ~~~

    The Last Chance list has been updated!
    Click here to shop.

    Get a free PDF tutorial with any online order from me in December!

    Leave a Reply

    Your email address will not be published. Required fields are marked *

  • Easy Holiday cards made from tags! Free project sheet & video tutorial.


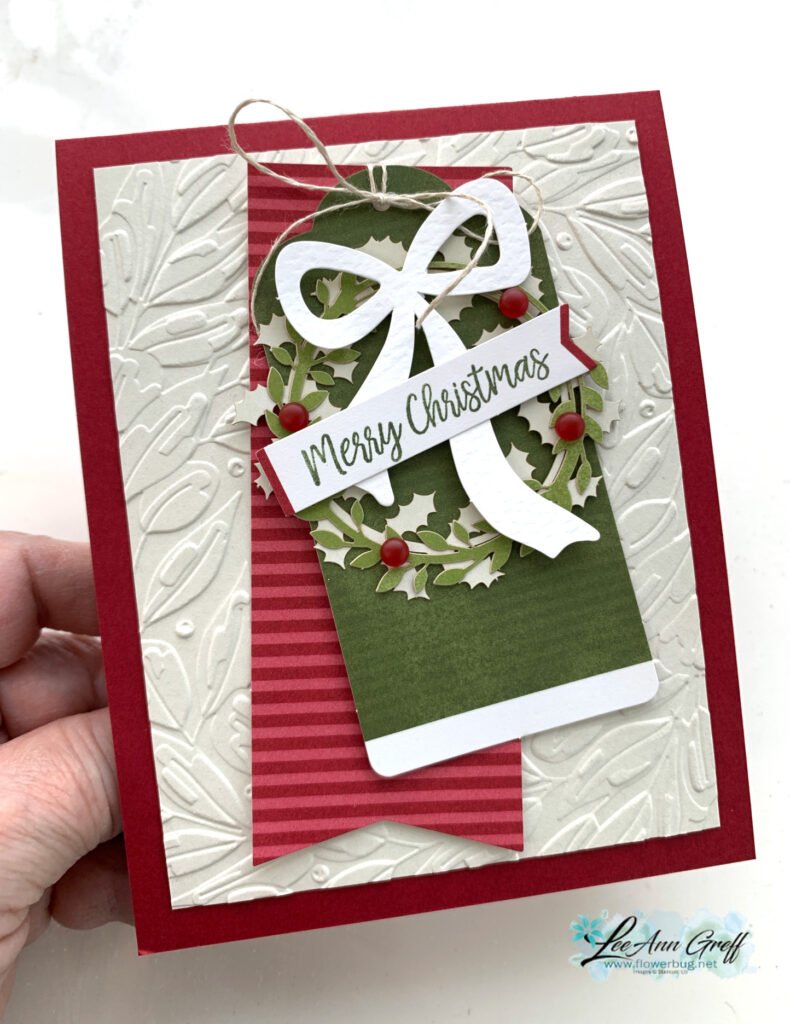
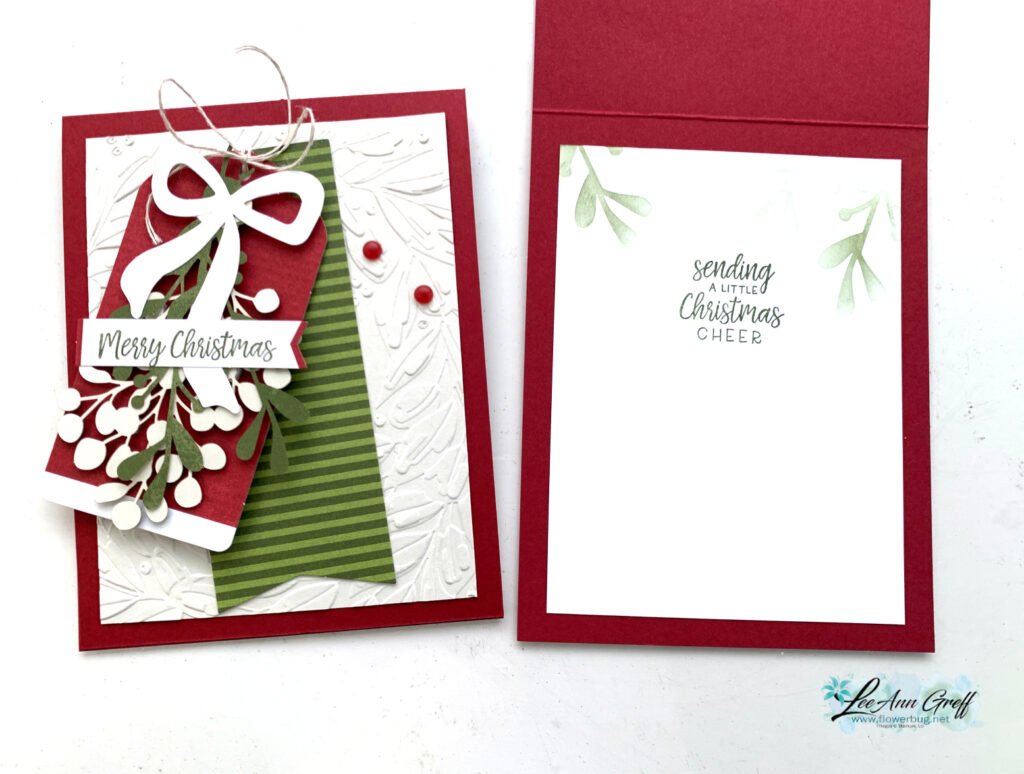
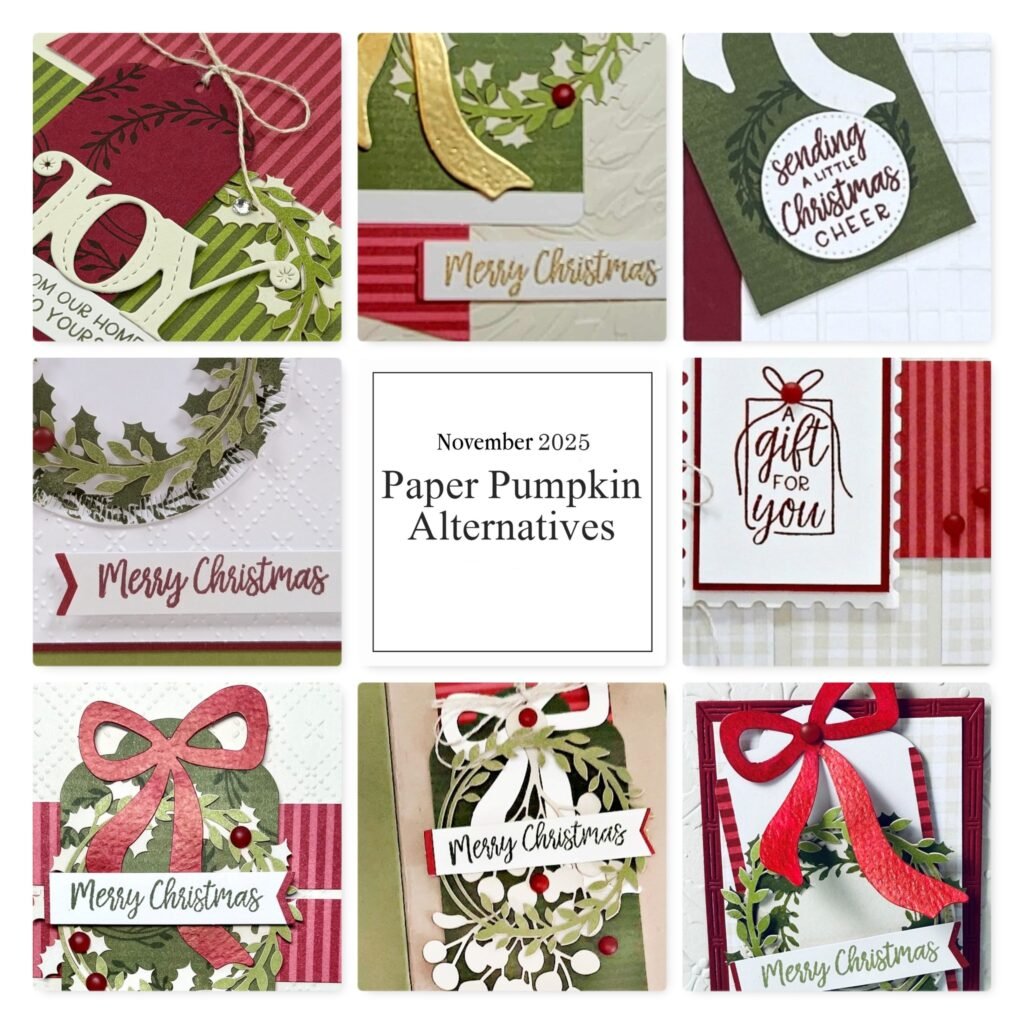
    I look forward to receiving my Paper Pumpkin boxes each month. November’s Wrapped in Cheer kit featured holiday tags and I couldn’t waste an opportunity to make cards from them. I need a lot more Christmas cards than I do tags!

    I didn’t change the tag from the original except for the linen thread bow at the top. But I did add it to a Basic Beige textured layer and then onto a Cherry Cobbler card base.
    Now that is an easy card!

    To create the colored leaves inside the card I used the empty piece of paper from the kit where the leaves had been removed. I’m always looking for easy ways to add to the inside of my cards.

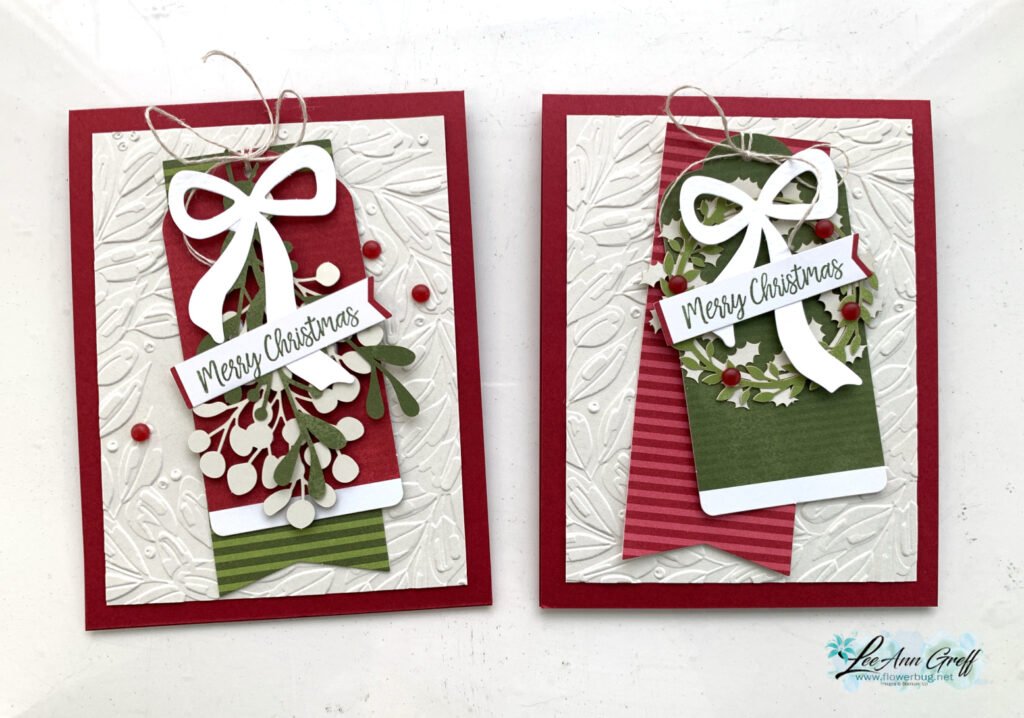
    There were two different tags in this kit. Aren’t they pretty?

    I used the embossing folder called Traditional Wreath 3D folder; it can be seen here. It’s discounted and available while supplies last.
    *The greeting is from the stamps in the kit.

    Below is the video tutorial for this card and more information on Paper Pumpkin.

    *You’ll receive a PDF with multiple projects featuring this product
    after the 20th of the month.
    ~~~

    The Last Chance list has been updated!
    Click here to shop.

    Get a free PDF tutorial with any online order from me in December!

    Leave a Reply

    Your email address will not be published. Required fields are marked *

  • Wrapped in Cheer tags for Christmas


    I shared the November Paper Pumpkin kit on last week’s live video. I just love receiving my crafty box in the mail each month! Easy crafting without a plan or step it up and use your creativity to change the projects.

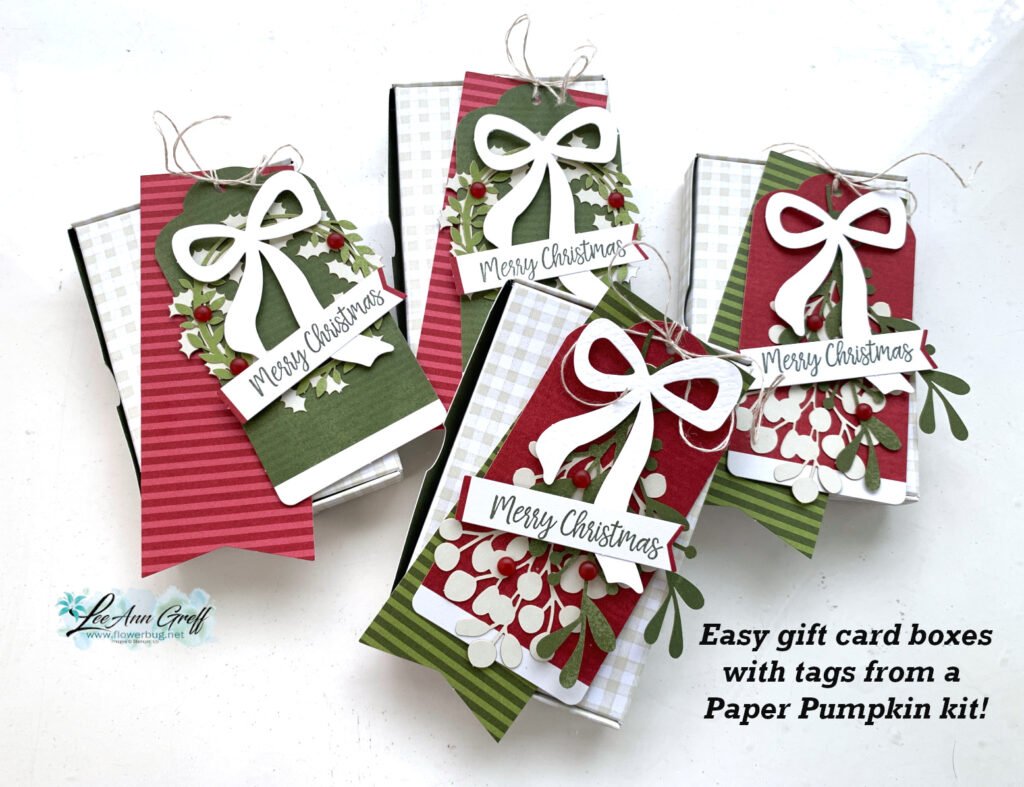
    There were two different tags in this kit and each one includes multiple pieces. Aren’t they pretty? The embossing folder is called Traditional Wreath 3D folder and can be seen here. It’s discounted and available while supplies last.
    *The greeting is from the stamps in the kit.

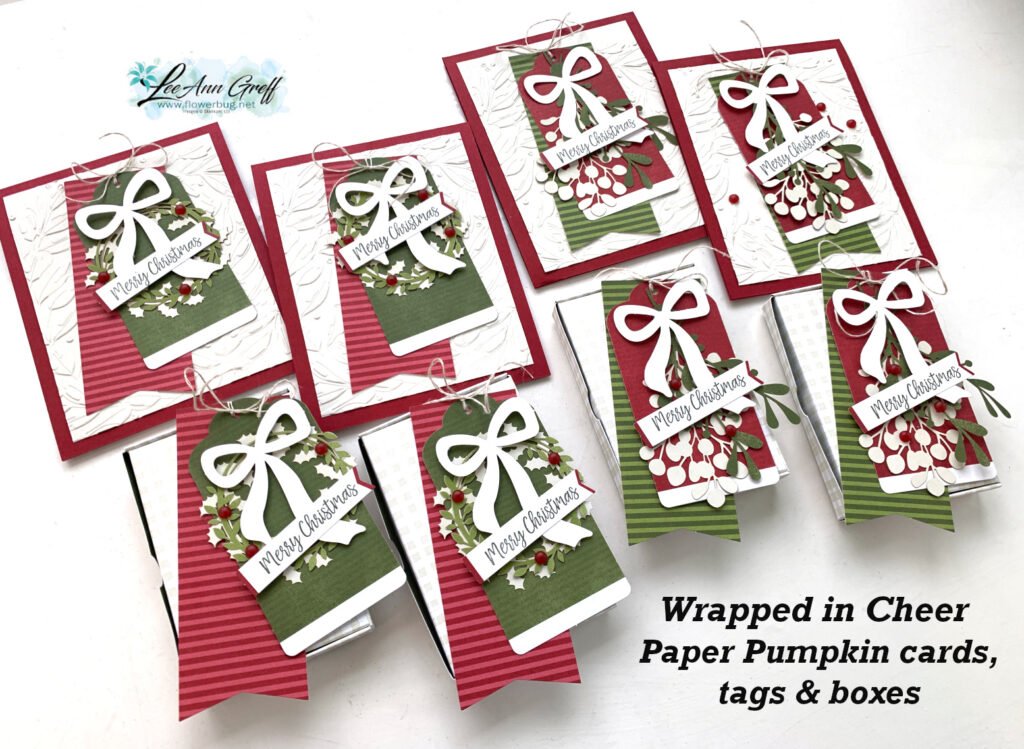
    I used the tags to make Christmas cards which you can see below. All I did was add a textured layer and a card base. *I’ll share more details tomorrow.

    Remember that each month my subscribers and Team receive my bonus projects PDF. Lots of unique ideas to create with the contents of each box. Subscribe to Paper Pumpkin here.

    Below is the video where I share this kit, last months and how to make the cards too.

    *You’ll receive a PDF with multiple projects featuring this product
    after the 20th of the month.
    ~~~

    The Last Chance list has been updated!
    Click here to shop.

    Get a free PDF tutorial with any online order from me in December!

    Leave a Reply

    Your email address will not be published. Required fields are marked *


Notice: LeeAnn Greff, Independent Stampin’ Up! Demonstrator, Manager. The content of this website is my sole responsibility as an independent Stampin’ Up! demonstrator and the use of, and content of, the classes, services, or products offered on this website is not endorsed by Stampin’ Up! Copyright 2025