/


Latest Post

Changes are coming!


Stampin’ Up! announced a few upcoming changes last week.  I mentioned and explained them in this video.  

1. First up is the change in the type of stamps they’ll be offering.  Currently we have both red rubber/cling and clear photopolymer.  Starting in November all new stamps will be clear photopolymer.  
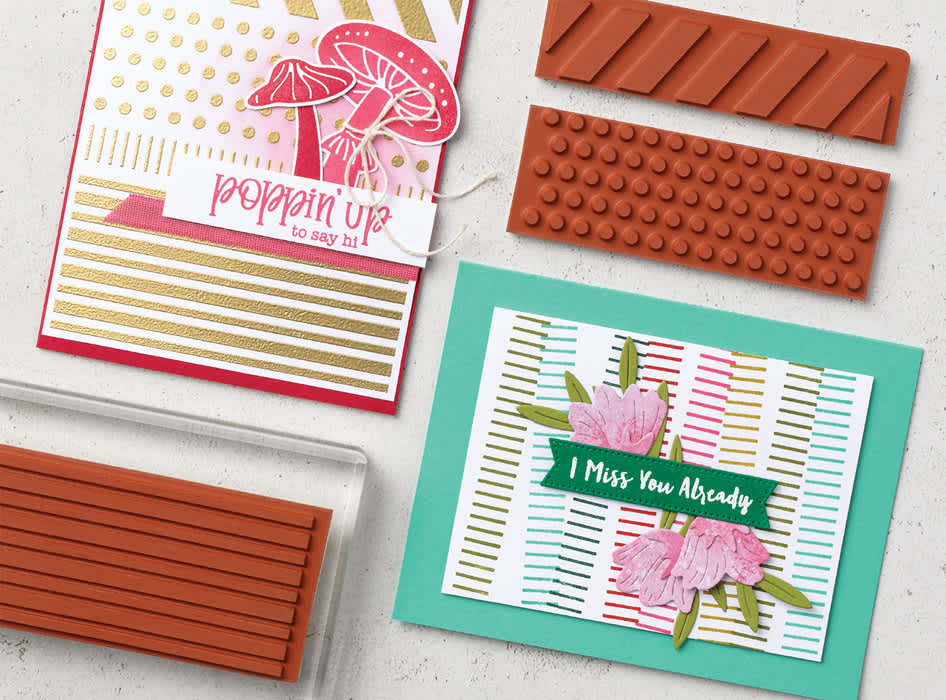
Why? They are having difficulty sourcing the product needed to produce cling or red rubber stamps.  In addition they are not selling as well as photopolymer do.  It seems most people like the clear stamps; my customers have mentioned this to me too. 

So for stamp sets from the current Annual and Holiday catalog here’s how it works going forward.  Once they run out of stock of the cling stamps they’ll switch over to clear photopolymer.  

2. Next is the packaging.  Because most stamps will be in photopolymer after November they will be in new packaging – clear sleeves.  These will be approximately 5″ X 9″ in size.  They are phasing out the DVD cases.  However they will continue to offer them in 4 packs like they currently do.  See them here.  They will also offer bulk packs of the new thin sleeves as well.  
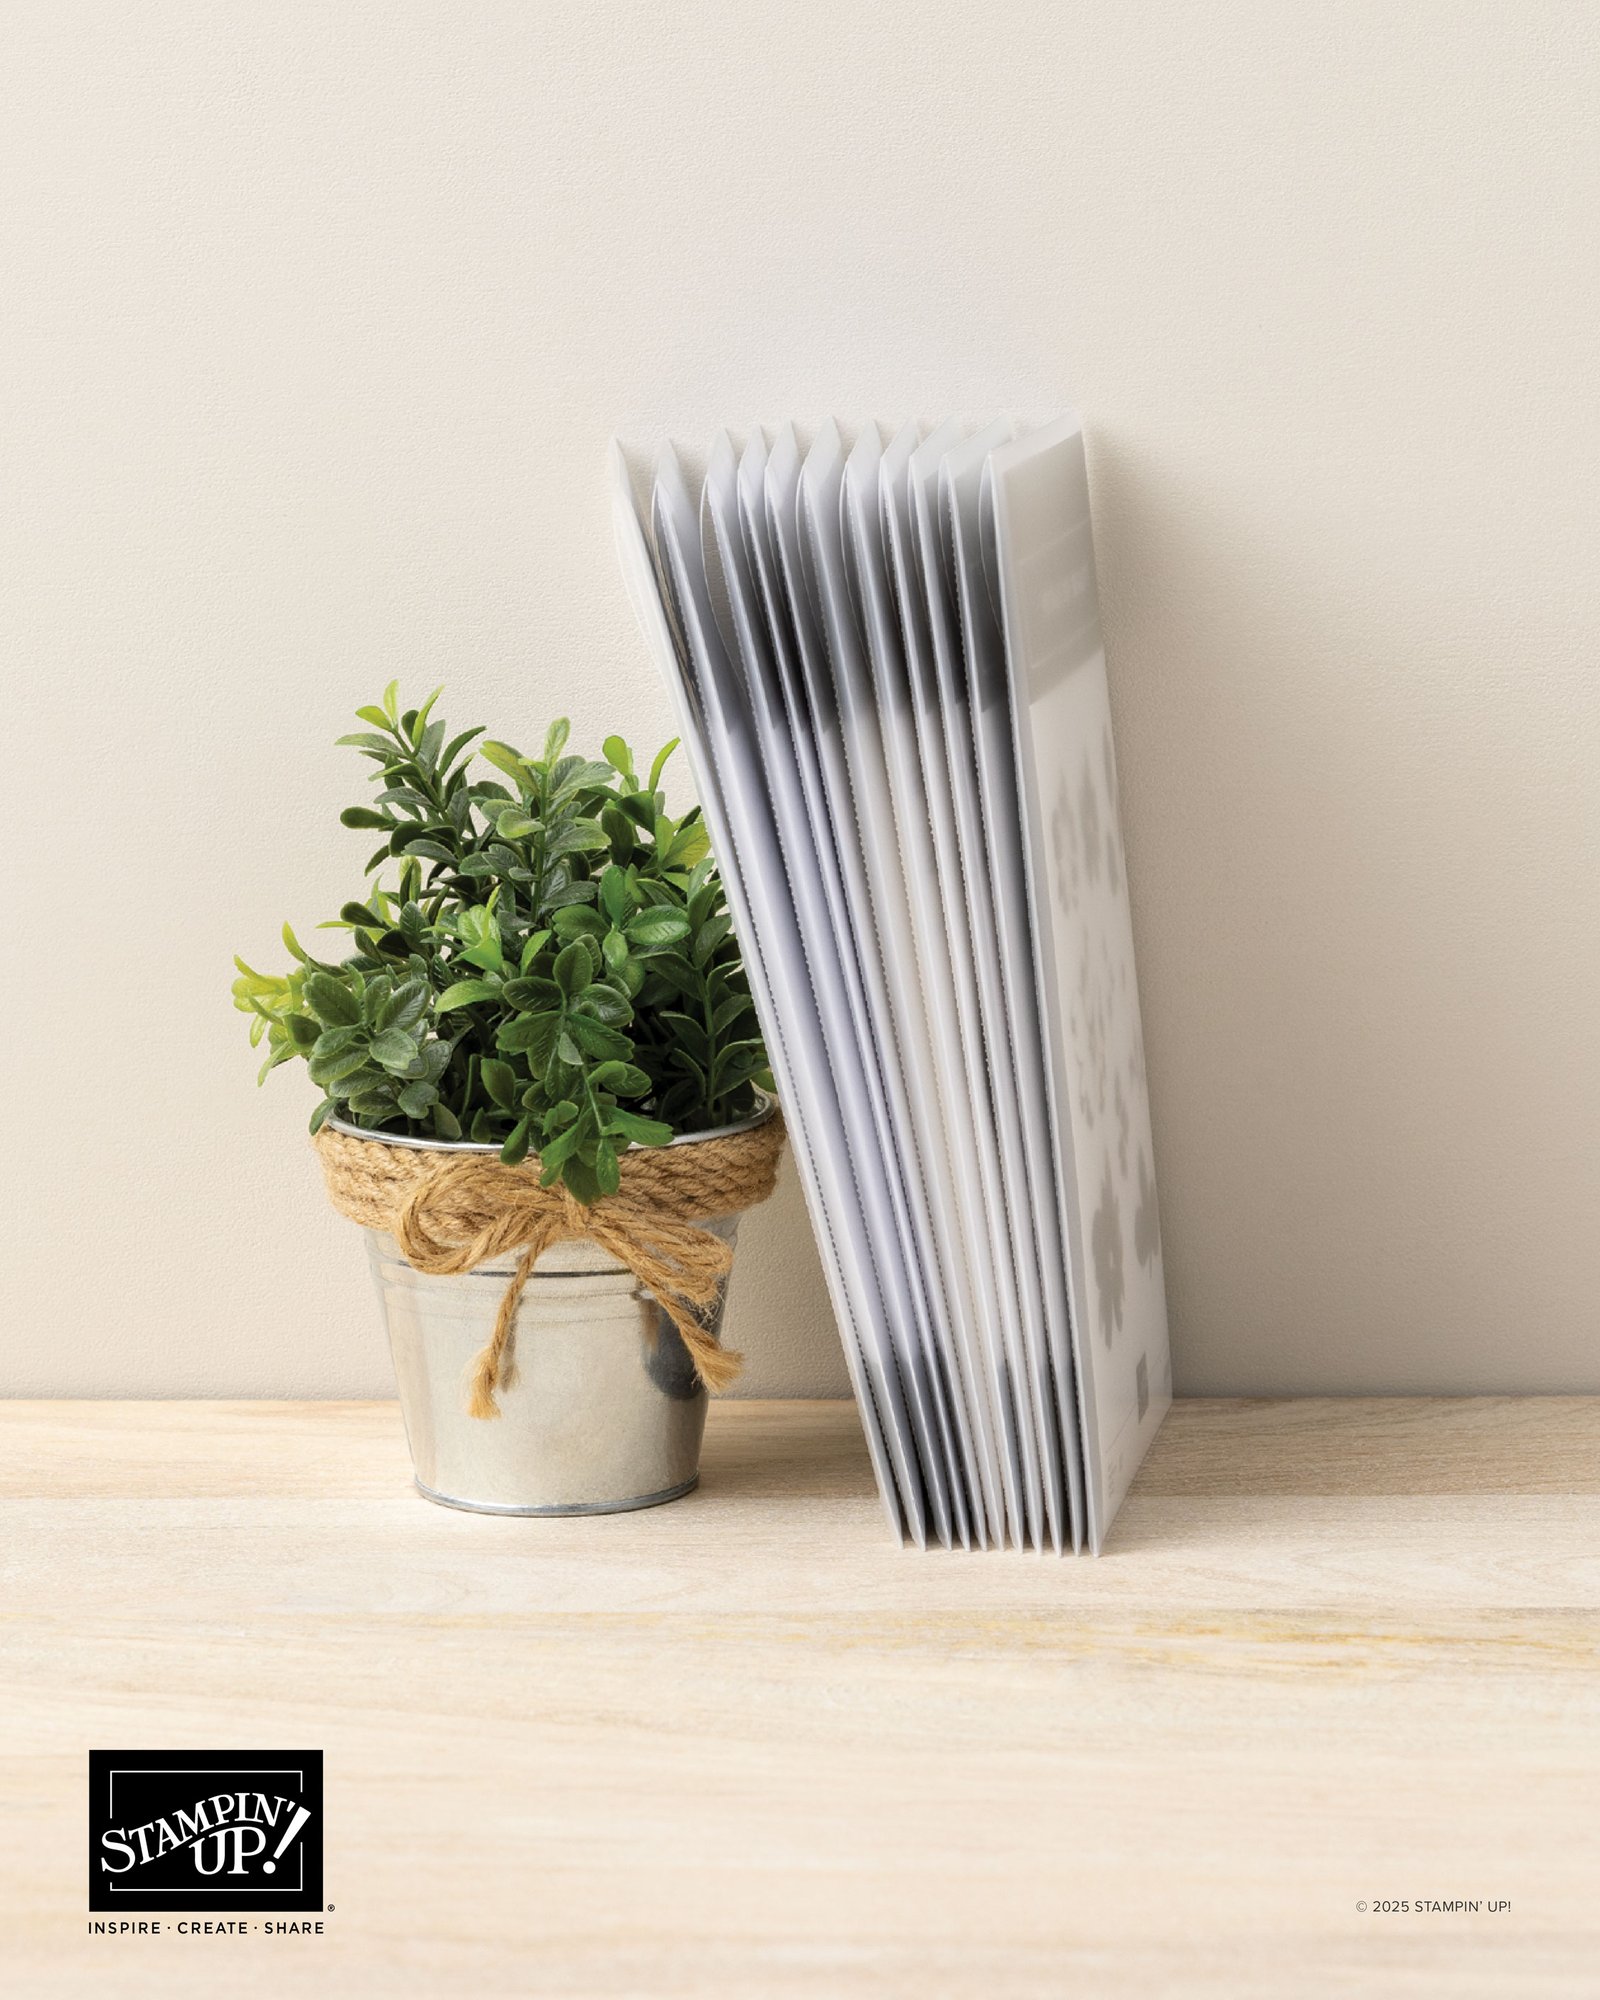
3. The die-cut sleeves will change too and will be the same as the stamp set sleeves. They’ll now have photos of the dies on the cover like you see below. 

4.  Lastly they are discontinuing our Stampin’ Write markers. The Blends markers are outselling these by far. And because they were originally intended to be used to color directly on red rubber stamps (as well as coloring) they won’t be needed for this.  

In my opinion I love coloring with the Blends so much I would never use these for coloring. They leave lines on larger images where the Blends do not.  They color so smoothly!  

All of our Stampin’ Write markers are now on the Last Chance list and will be available while supplies last.  If you love them I’d grab some while you can. See them here.  

~~~

August Specials

Lots of In Color products are discounted in August!!

Go here to see them all. 

Get a free card class with any online order over $55 during August!

Order online here

The last chance list has new products! See them here. 

All Posts

  • Gorgeous Fall Swaps from the Flowerbug’s!


    Today I'm sharing a few of the amazing cards my Flowerbug's Team swapped this weekend.  The theme was Fall cards. 

    Annette made this first one using the Rooted in Nature bundle.  

    You may not see it well but she used the leaf dies in this set to create a textured White background.  Her colors are Cinnamon Cider & Rich Razzleberry.  A unique, Asian inspired card!

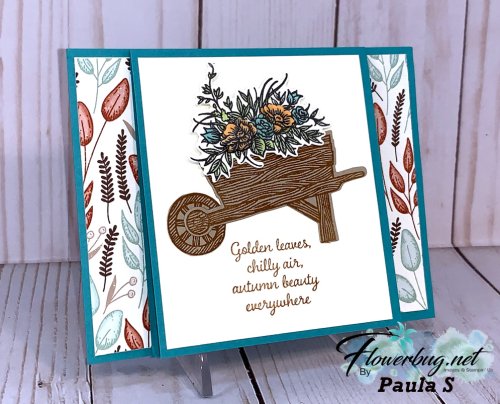
    Paula made this one using the Autumn Goodness bundle.  It's a fun fold too where the front, middle is the card opening! That piece is 3 3/4" X 8 1/2" folded in half. 

    The pretty designer paper is the Gilded Autumn specialty paper.  This bundle includes dies that cut out the flowers and the wheelbarrow.  

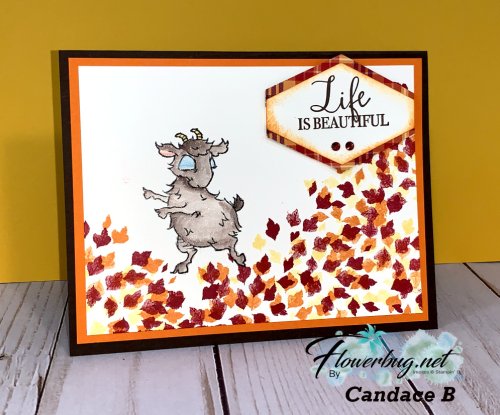
    Candace made this one with two stamp sets; the Life is Beautiful for the leaves and greeting and the Way to Goat set for the goat who's kicking up the leaves!  Super fun and colorful!

    click on the links below to see them in my store: 

    ~~~

    Current Host code is QW7SUYVX

    Get a free package of new Iridescent Pearls in August with an online order over $55. 

    Order online here

     Get my Flowers for Every Season pdf tutorial free with all online order in August!


    It includes directions, photos and measurements for 12 cards!

    Redeem your $5 coupons now!  

    Leave a Reply

    Your email address will not be published. Required fields are marked *

  • Love of Leaves; get two colors on one stamp!


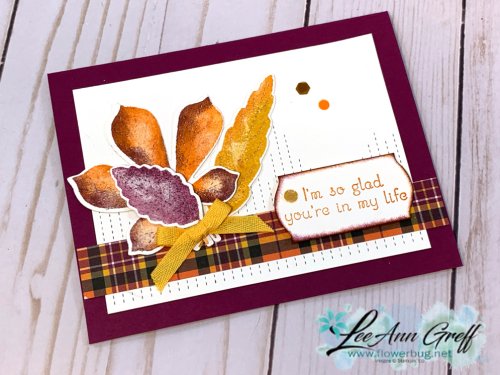
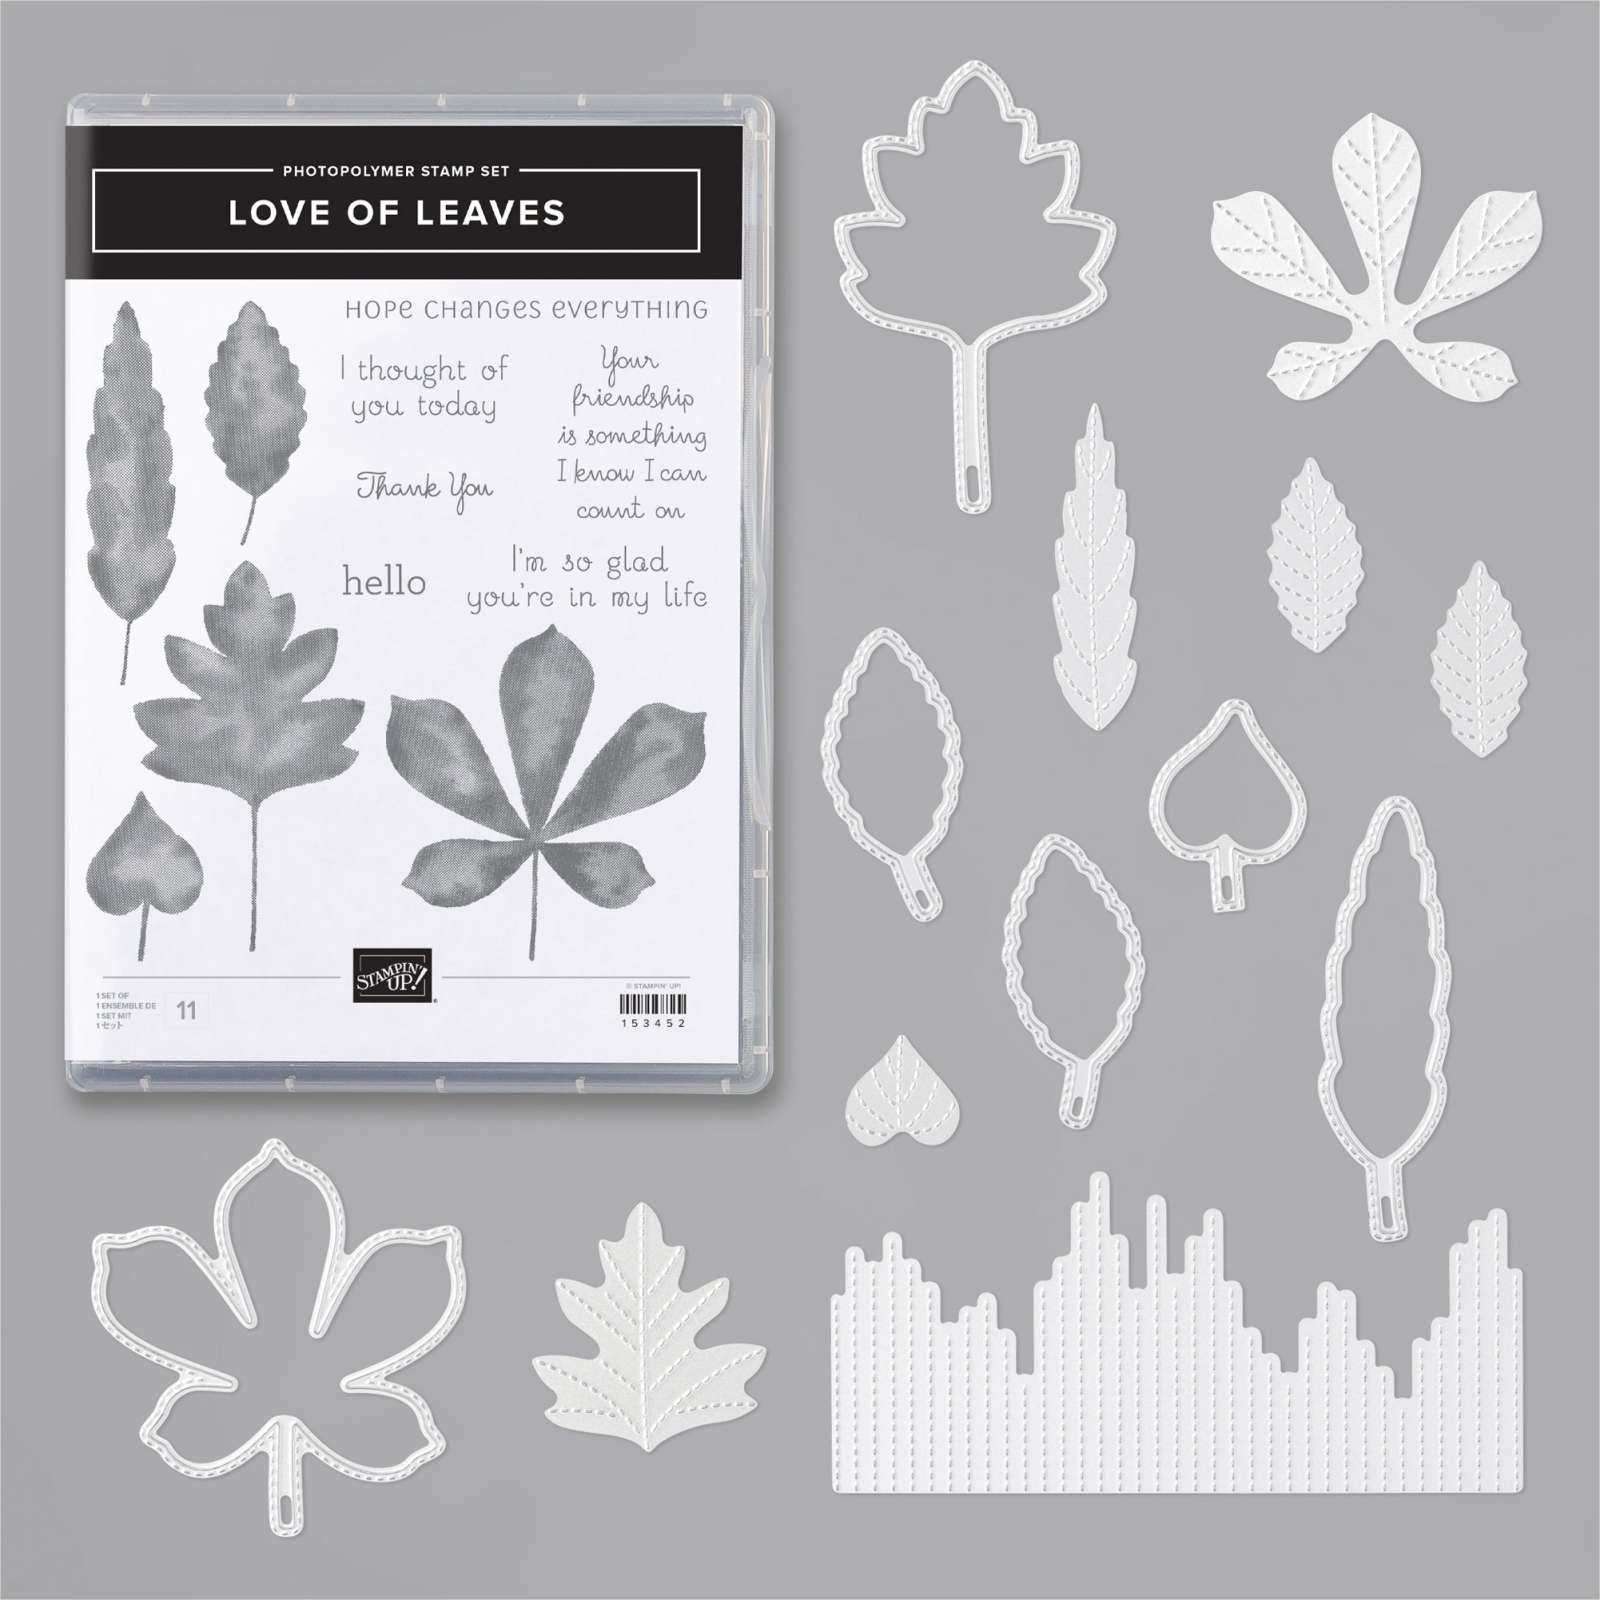
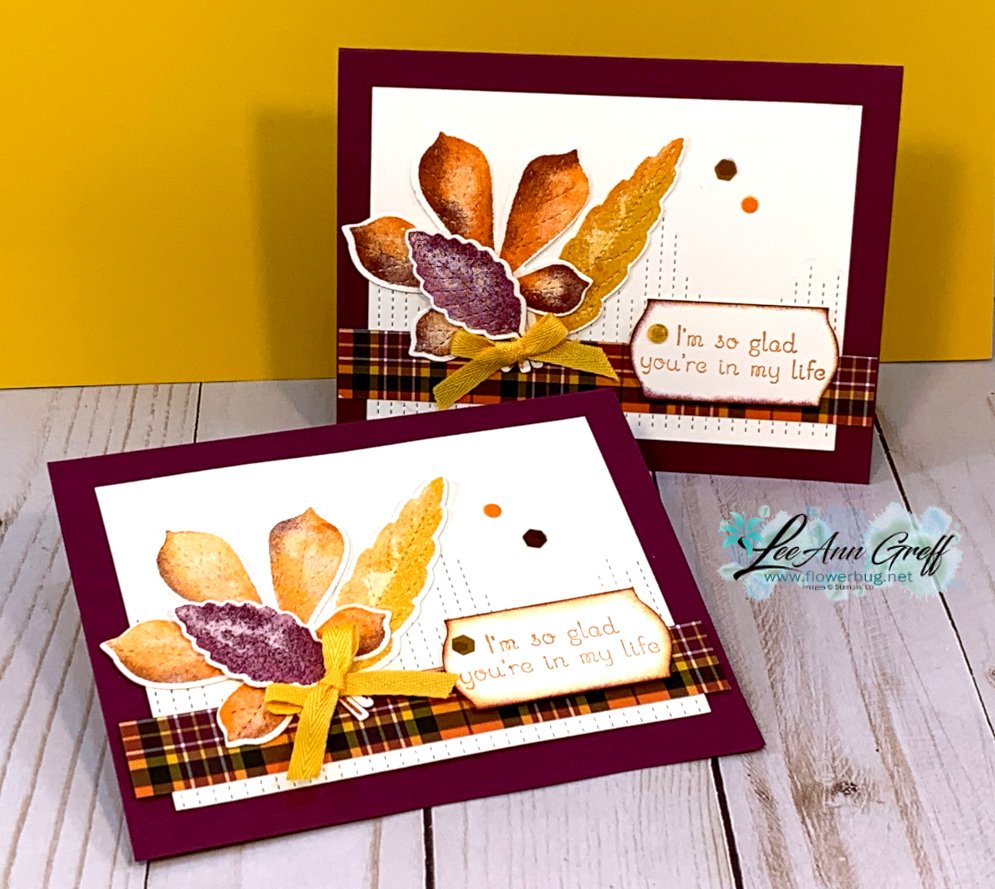
    I was inspired by a card swap I received to create this pretty card.  It features the Love of Leaves bundle; one of my favorites in the new Stampin' Up! 2020 Holiday Catalog.  there's also a 3/4" strip of the beautiful Plaid Tidings designer paper here which is where the color combination came from. 

    We made this colorful card at my Flowerbug's Team gathering on Saturday.  It features a two toned stamping technique you should really try!  The solid images are perfect for it! 

    Can you see the two toned effect on the largest leaf?   It's done like this:  

    • Ink the leaf in Pumpkin Pie (the lightest color of the two).
    • Next use a sponge dauber (can use a sponge too, but it's more difficult to control) and add Rich Razzleberry ink (the darker color) to the edges of the leaf image.  
    • Huff and stamp. Then die-cut with the Stitched Leaves dies. 

    I did the same thing on the long leaf with Crushed Curry & Pumpkin Pie but it isn't showing up as well.

    Other details:

    • White CS is 3 1/2" X 4 3/4" and textured with the Stitched Leaves dies
    • Plaid Tidings DSP is 3/4" X 5 1/4" 
    • Rich Razzleberry main card is 5 1/2" X 8 1/2". 
    • Inks are Rich Razzleberry, Pumpkin Pie and Crushed Curry. 
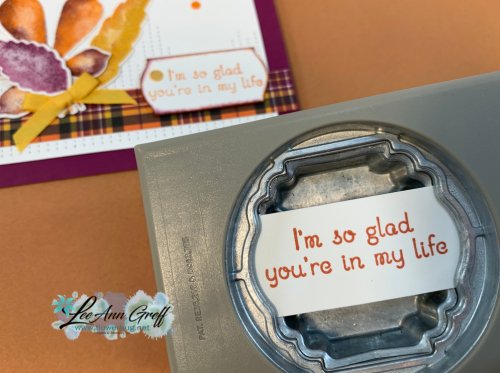
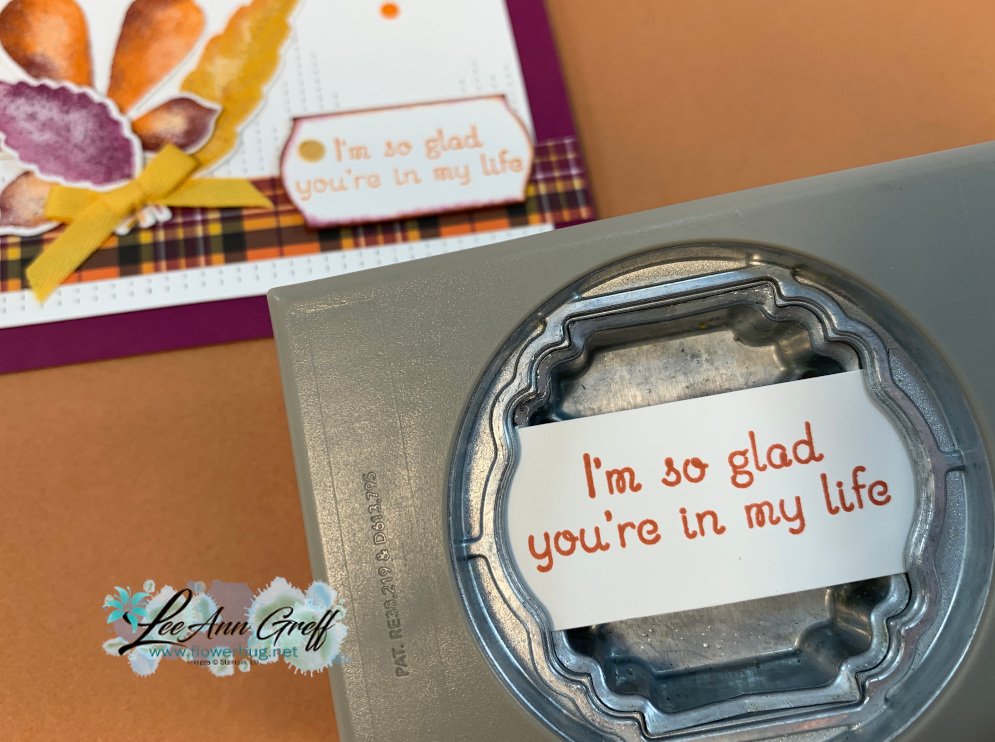
    • The greeting is punched from the Label Me Lovely punch. I started out with a 1" White strip of card stock.  Stamp the greeting and insert into the punch for a unique shape! 

    See the Lovely Leaves bundle here and the Plaid Tidings designer paper here. 
     

    ~~~

    Current Host code is QW7SUYVX

    Get a free package of new Iridescent Pearls in August with an online order over $55. 

    Order online here

     Get my Flowers for Every Season pdf tutorial free with all online order in August!


    It includes directions, photos and measurements for 12 cards!

    Redeem your $5 coupons now!  

    Leave a Reply

    Your email address will not be published. Required fields are marked *

  • Stitched Window cards; FB Live Replay


    This week's Stamp with Me Live video featured a window technique using dies.  The 2nd & 4th Monday of the month I offer a 'Stamp with Me' Live on my FB page here.  Be sure to follow my page so you get notified! 

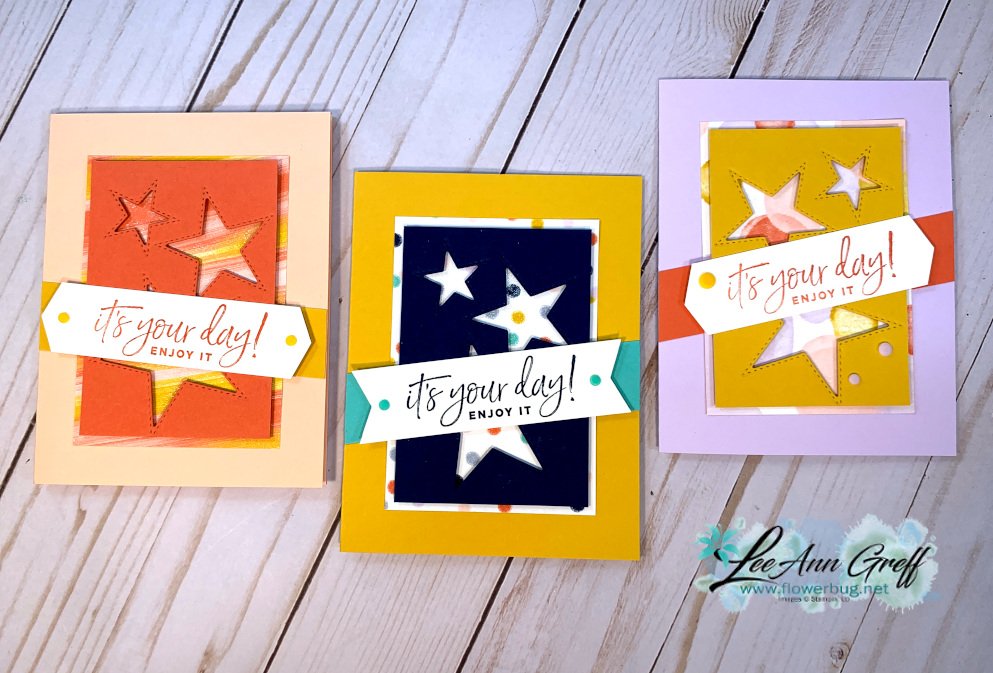
    My original card idea came from the Holiday catalog and used the Love of Leaves dies.  But I switched it up to use the Stitched Stars dies with the Playful Patterns designer series paper for these fun cards: 

    I used the smallest three star dies to create 'windows' in my card stock.  Then I popped them up over the Playful Patterns designer paper. Add a greeting and another card stock strip and you're done!  So quick & easy! 

    Watch the video below to catch all of the tips and see the original cards too.  

    Measurements:
    • Card stock for window 4 1/4" X 3 1/4"
    • Designer Paper 4 1/2" X 3 1/2"
    • Greeting strips 3/4"-1" X 4" wide

    You can see these items in my store when you click on the links:

    Stitched Stars dies 

    Happiest Birthday stamp set

    Playful Patterns DSP

    Love of Leaves 

    ~~~

    Bonus Days are here!

     
    Redeem your $5 coupons now!  

    ~~~

    Current Host code is QW7SUYVX

    Get a free package of new Iridescent Pearls in August with an online order over $55. 

    Order online here

     Get my Flowers for Every Season pdf tutorial free with all online order in August!


    It includes directions, photos and measurements for 12 cards!

    Leave a Reply

    Your email address will not be published. Required fields are marked *


Notice: LeeAnn Greff, Independent Stampin’ Up! Demonstrator, Manager. The content of this website is my sole responsibility as an independent Stampin’ Up! demonstrator and the use of, and content of, the classes, services, or products offered on this website is not endorsed by Stampin’ Up! Copyright 2025