/


Latest Post

Changes are coming!


Stampin’ Up! announced a few upcoming changes last week.  I mentioned and explained them in this video.  

1. First up is the change in the type of stamps they’ll be offering.  Currently we have both red rubber/cling and clear photopolymer.  Starting in November all new stamps will be clear photopolymer.  

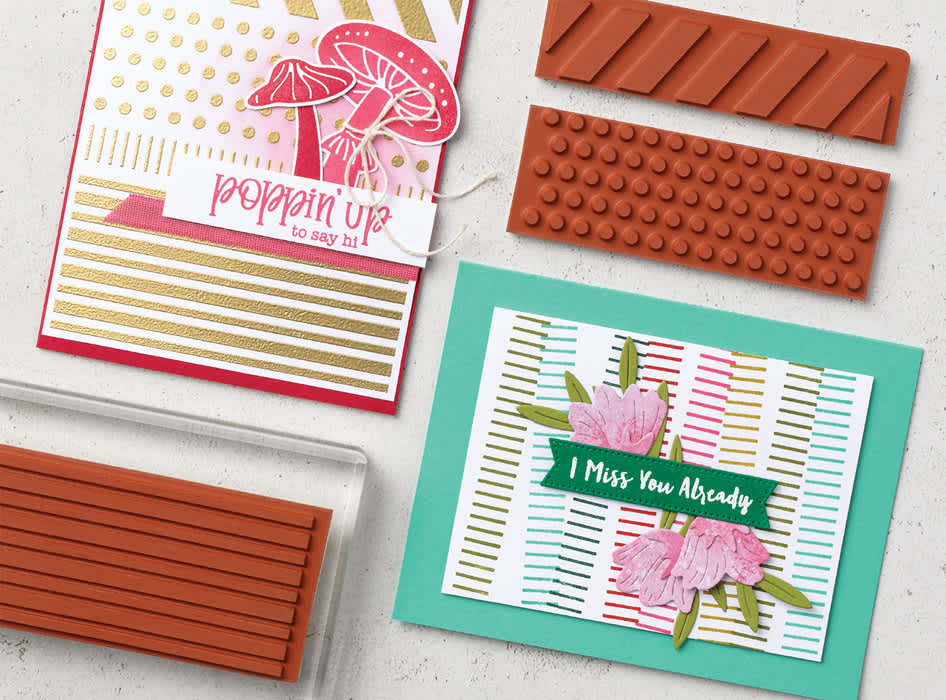
Why? They are having difficulty sourcing the product needed to produce cling or red rubber stamps.  In addition they are not selling as well as photopolymer do.  It seems most people like the clear stamps; my customers have mentioned this to me too. 

So for stamp sets from the current Annual and Holiday catalog here’s how it works going forward.  Once they run out of stock of the cling stamps they’ll switch over to clear photopolymer.  

2. Next is the packaging.  Because most stamps will be in photopolymer after November they will be in new packaging – clear sleeves.  These will be approximately 5″ X 9″ in size.  They are phasing out the DVD cases.  However they will continue to offer them in 4 packs like they currently do.  See them here.  They will also offer bulk packs of the new thin sleeves as well.  

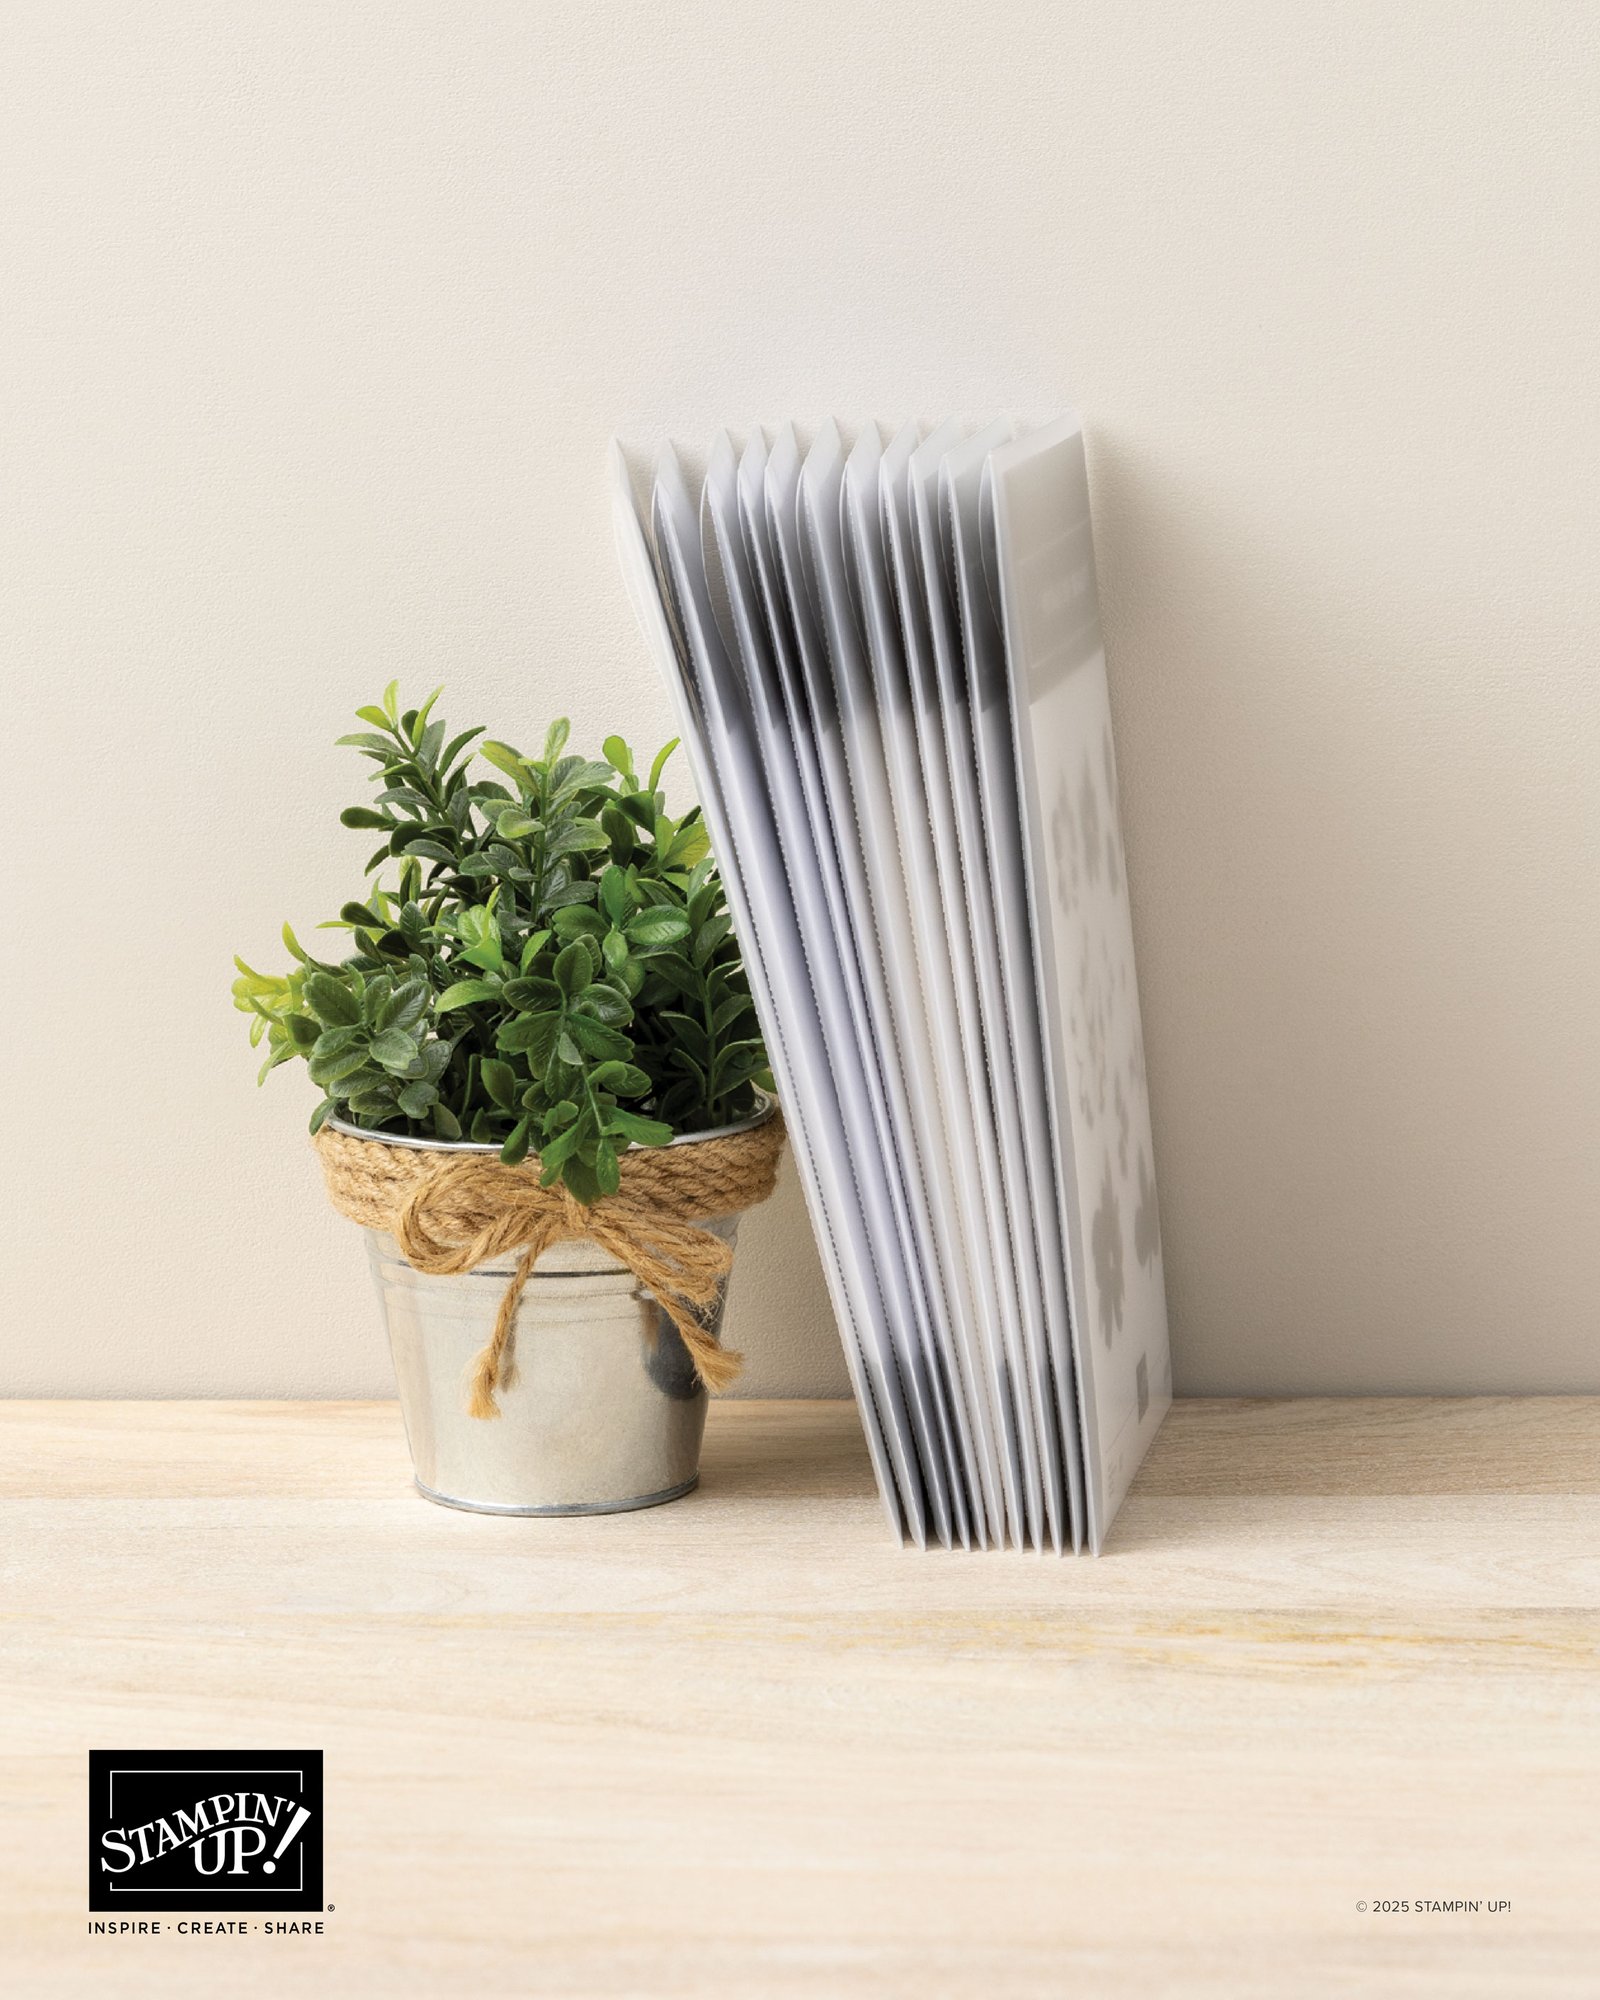
3. The die-cut sleeves will change too and will be the same as the stamp set sleeves. They’ll now have photos of the dies on the cover like you see below. 

4.  Lastly they are discontinuing our Stampin’ Write markers. The Blends markers are outselling these by far. And because they were originally intended to be used to color directly on red rubber stamps (as well as coloring) they won’t be needed for this.  

In my opinion I love coloring with the Blends so much I would never use these for coloring. They leave lines on larger images where the Blends do not.  They color so smoothly!  

All of our Stampin’ Write markers are now on the Last Chance list and will be available while supplies last.  If you love them I’d grab some while you can. See them here.  

~~~

August Specials

Lots of In Color products are discounted in August!!

Go here to see them all. 

Get a free card class with any online order over $55 during August!

Order online here

The last chance list has new products! See them here. 

All Posts

  • Curvy Christmas & the Postage Punch


    Check out this easy card using the new Curvy Christmas stamp set and the Postage Punch!  

    It's super simple! Here's how I made it:

    1. Stamp the curvy trees image on the White CS using Shaded Spruce ink.  Color the trees with a Light Shaded Spruce Blends marker.  Add a tiny star using Cherry Cobbler ink on one tree. Adhere it to the Cherry Cobbler layer and to the main card.
    2. Punch out three pieces of Classic Christmas designer paper with the Postage Punch seen here.  Adhere to the White CS. 
    3. Stamp the greeting in Cherry Cobbler ink on a 1/2" strip of White CS.  Punch the ends with the Banners Pick a Punch. Add it to the card with mini dimensionals. 
    4. Finish with a few Holiday rhinestones. 

    You can see this stamp set here; it's only available through January 4th.  And the Classic Christmas Designer Paper is here while supplies last. 

    Remember that everyone who orders any of these products or places an online order with me in November will receive a free 22 project PDF tutorial featuring the Curvy Celebration products! 


    ~~~

    November Specials!

    Current Host code is GRC9VVUU


    All online orders receive my FREE Curvy Celebrations 22 project PDF Tutorial! 

    Leave a Reply

    Your email address will not be published. Required fields are marked *

  • Gift Wrapped Box Fold Card with video


    Check out this cute Christmas card we made at my October Card Clubs!  It's a box fold card; a super cute but easy fun fold. 

    The colors are Real Red with Granny Apple Green & White. The dies on the front are the Stitched Shapes and Hippos & Friends.

    It even folds flat for mailing!  As you can see the back is similar to the front; leaving some space to write or sign the card.  

    I used the Gift Wrapped punch bundle from the Holiday catalog.  You can see it here. 

    Check out the video and measurements below. 

    Here's the video: 


    Measurements:

    Real Red 4 1/4" X 11" scored at 5 1/2", 7", 9" and 10 1/2"
    Granny Apple Green 3 5/8" X 4 7/8" (2 pieces) plus scrap for die-cut
    Whisper White 3 1/2" X 4 3/4" (2 pieces) plus scrap for circle die-cut and bow

    ~~~

    November Specials!

    Current Host code is GRC9VVUU


    All online orders receive my FREE Curvy Celebrations 22 project PDF Tutorial! 

    Leave a Reply

    Your email address will not be published. Required fields are marked *

  • Peaceful Nativity WOW card


    Look what happens when you combine a beautiful background with the Nativity Dies?!  

    Candace created this gorgeous card for our October Christmas cards swap with my Flowerbug's Team.  She is a master at sponging backgrounds.  I believe she used Pacific Point here.  She simply added a greeting (from For Unto Us set) embossed in Silver and the pretty scenic die-cuts in Black.  

    Click here to see the For Unto Us stamp set and here for the Peaceful Nativity bundle. 

    More Team swaps tomorrow! 

    ~~~

    November Specials!

    Current Host code is GRC9VVUU


    All online orders receive my FREE Curvy Celebrations 22 project PDF Tutorial! 


    Leave a Reply

    Your email address will not be published. Required fields are marked *


Notice: LeeAnn Greff, Independent Stampin’ Up! Demonstrator, Manager. The content of this website is my sole responsibility as an independent Stampin’ Up! demonstrator and the use of, and content of, the classes, services, or products offered on this website is not endorsed by Stampin’ Up! Copyright 2025