I shared this neat accordion card on last week’s video. Most Tuesdays at 11 am CT I post a Live video on my FB page here. Then the following week I share the free project sheet for it here on my blog. Be sure to follow me here by subscribing to my blog on the right side, my YouTube Channel or my FB page. Don’t miss a thing!

I featured the Artistic Sketched Garden designer paper here; it’s new and will be available in the upcoming 2026 May – August Stampin’ Up! catalog. Each sheet is a black & white combination of florals or prints.
I paired it with Melon Mambo and Black here. The vase of flowers is fussy cut from a sheet of the DSP. I used the Perennial Postage dies to cut a piece of In Color DSP as a background. That simple strip of Black CS really sets of the colors here.
You can’t tell what type of fun fold it is in the photo above. But look at this one:
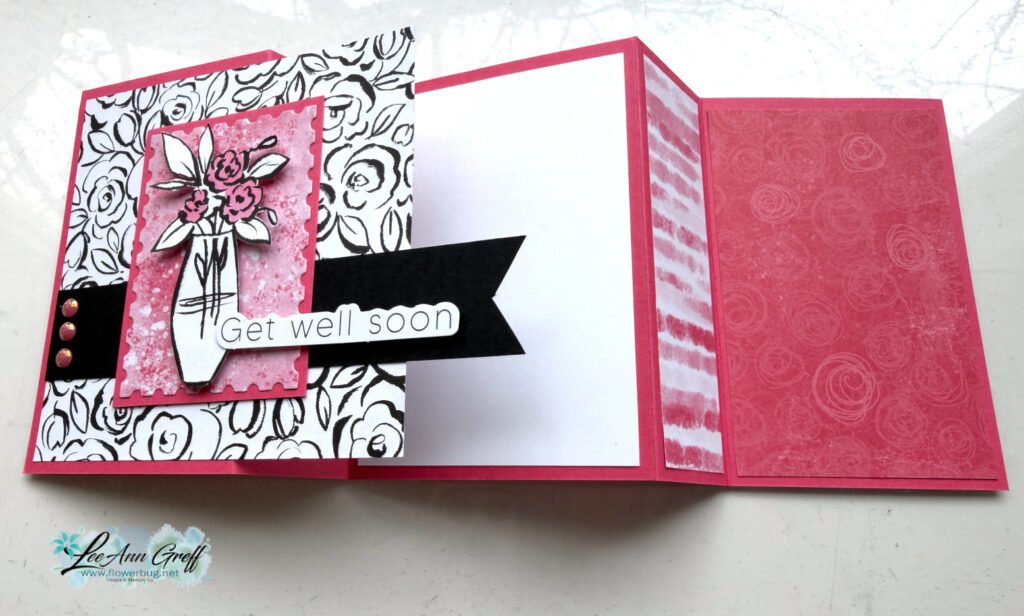
It’s so cool and gives you plenty of places to add designer paper. Here’s the free project sheet for all three cards. Click here to download or print it.
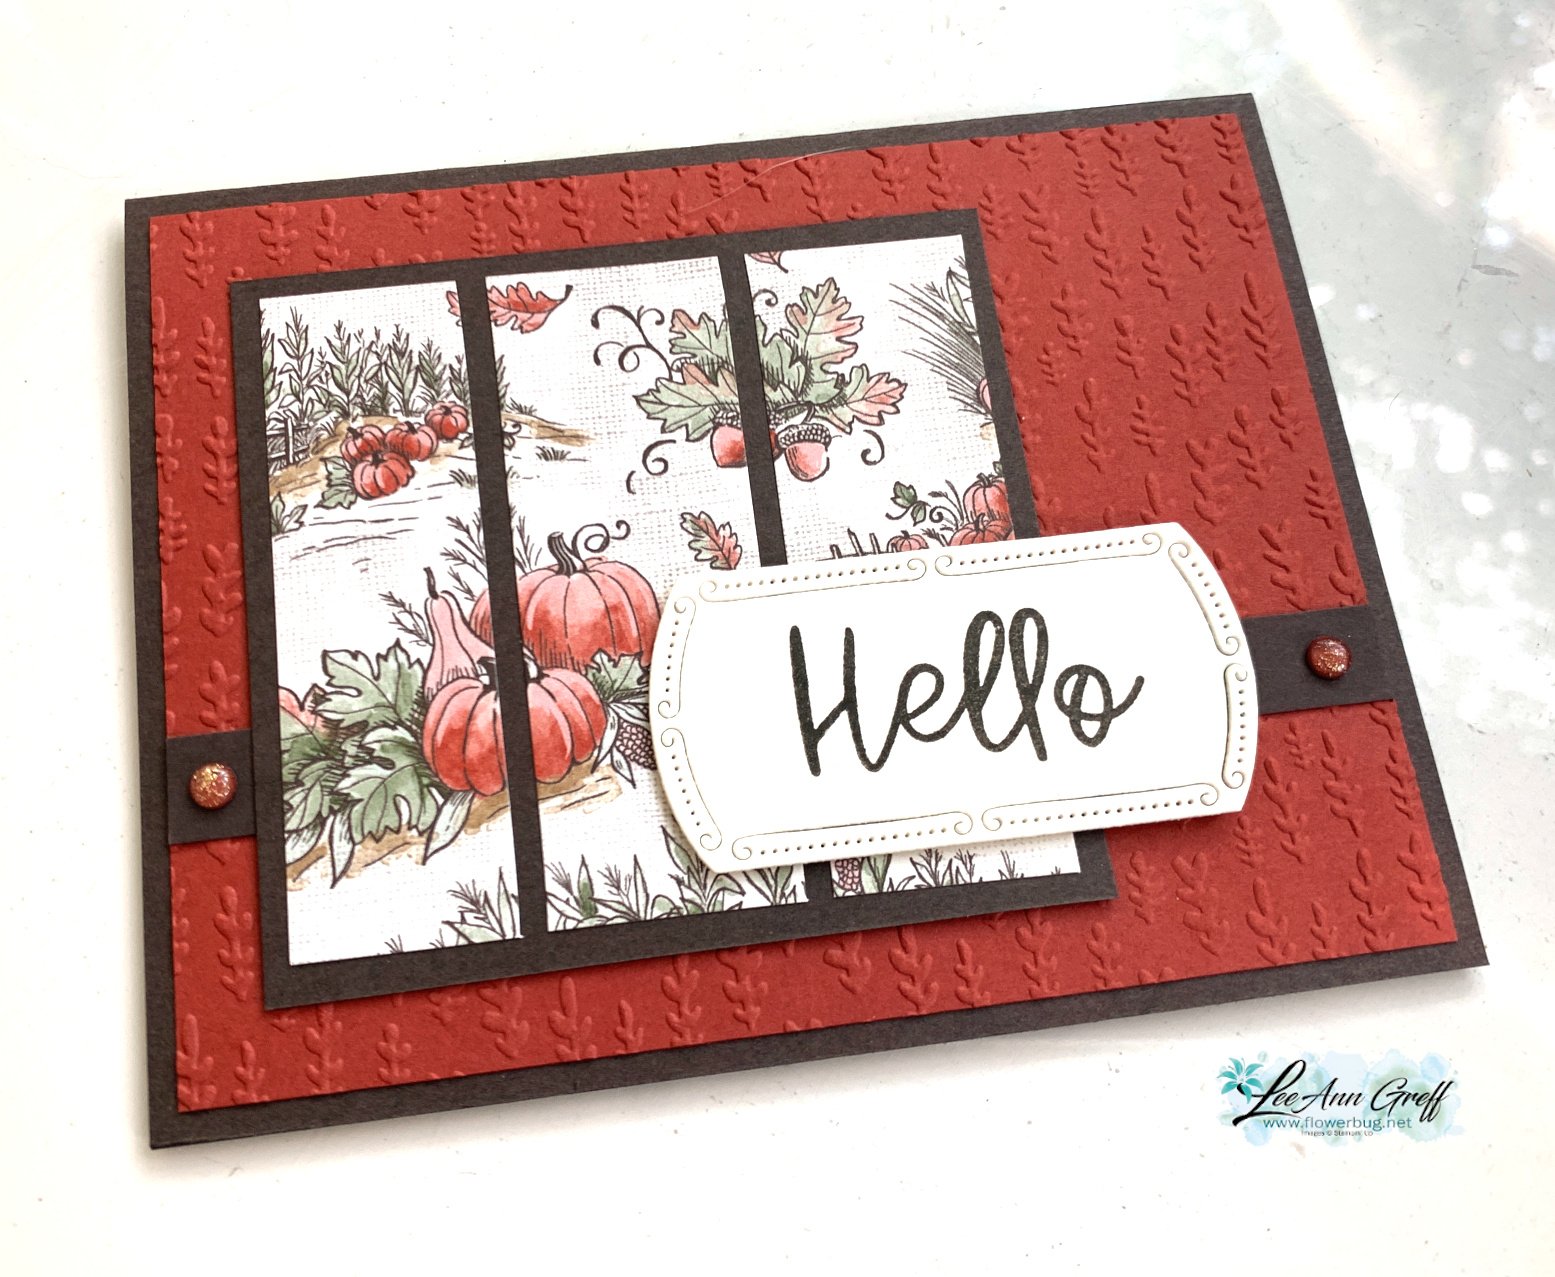
In the video below you’ll see how I made this card and two more easy fun folds. Please subscribe to my YouTube channel here.
April Specials:
Check out the Last Chance list here; these items go fast!

Product of the Month is the Eyelet Blooms dies
*Get a free 12 project tutorial when you redeem this POM from me!

~~~
Free PDF tutorial featuring the Delicate Whispers suite!


Leave a Reply