/


Latest Post

New Catalog Party Displays!


It was a bit chilly when I held my New Catalog Open House this weekend but I still had a great turnout. I teased them to come with the promise of some warm soup and beverage. I truly love seeing my customers and friends come and enjoy spending time with each other here. Friendships are a huge part of stamping!

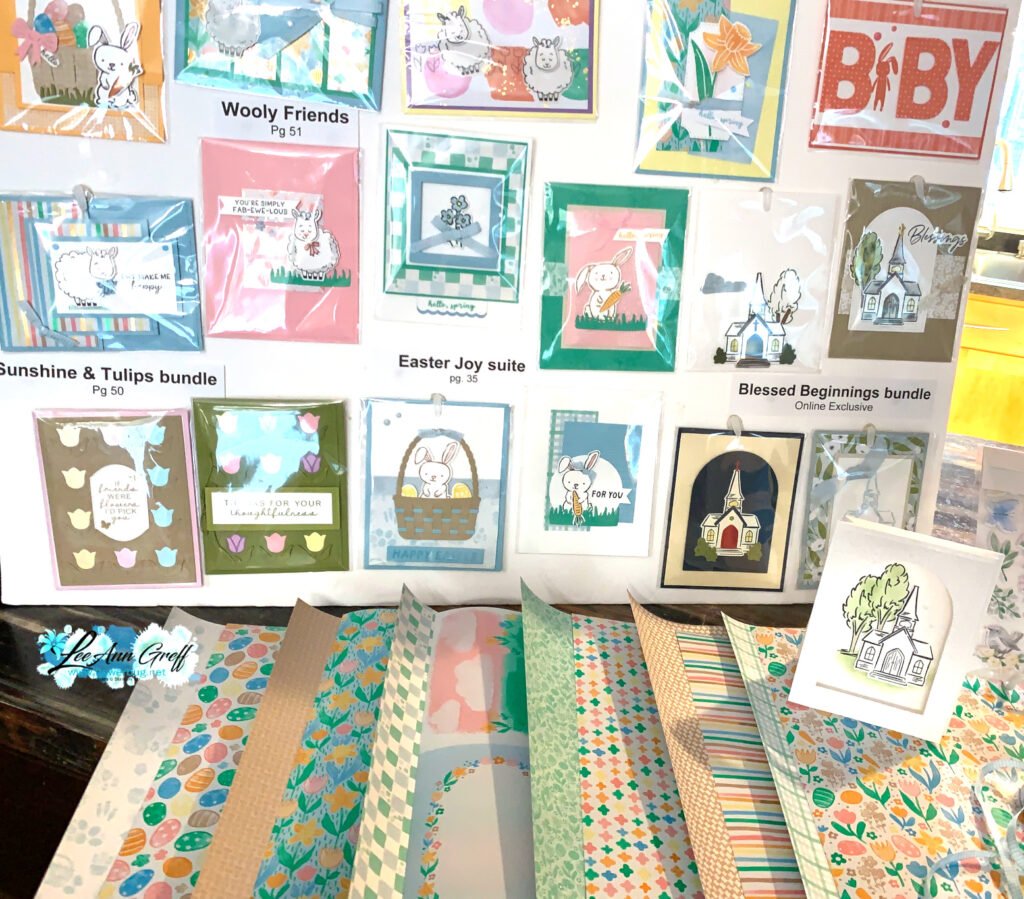
Here are some of the displays I created for the event.

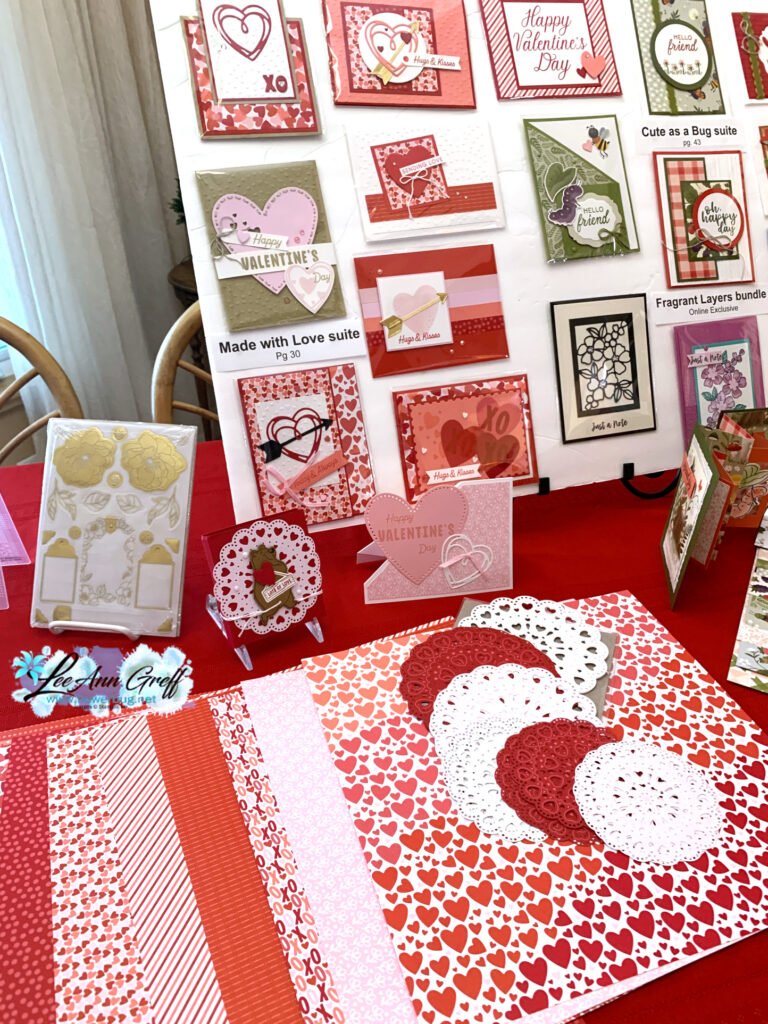
Many of the cards on my display boards are swaps I received. I participated in 4 different swaps and received over 100 cards back! I love swapping!!

I place my cards in our clear envelopes so unfortunately there may be some reflection in the photos.

I have two magnetic boards from IKEA in my studio I can add DSP to for easy displays.

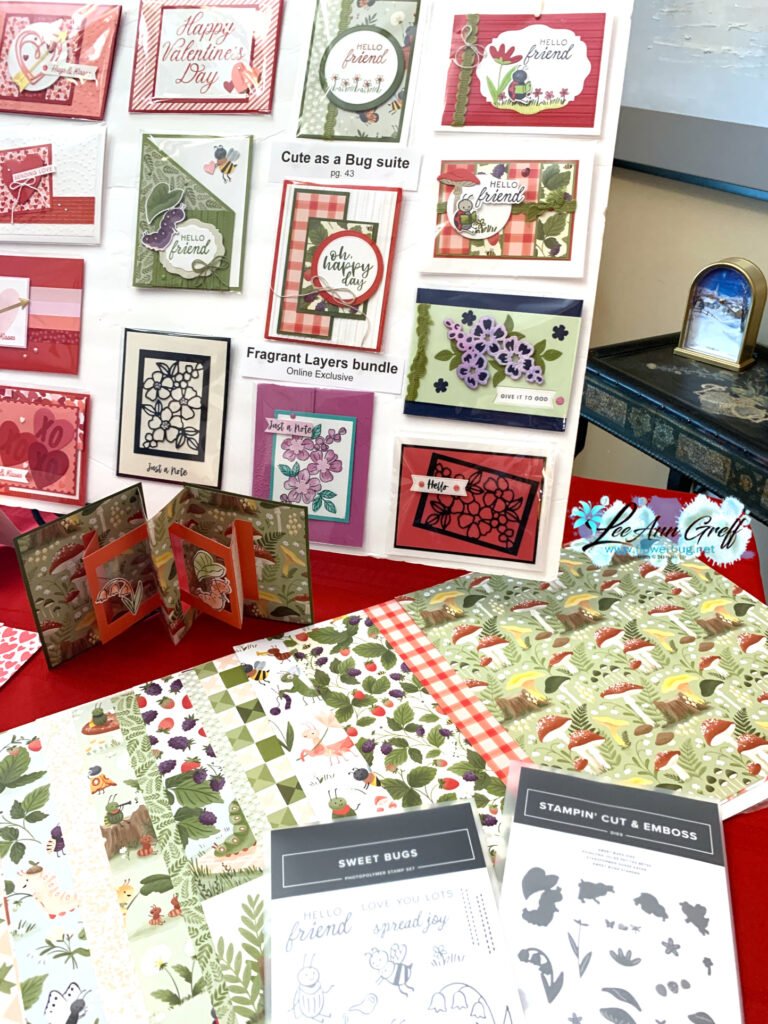
Unfortunately the Sweet Bugs stamp set is already out of stock! Darn; that will be a popular one! No worries though, it should be back later this month.

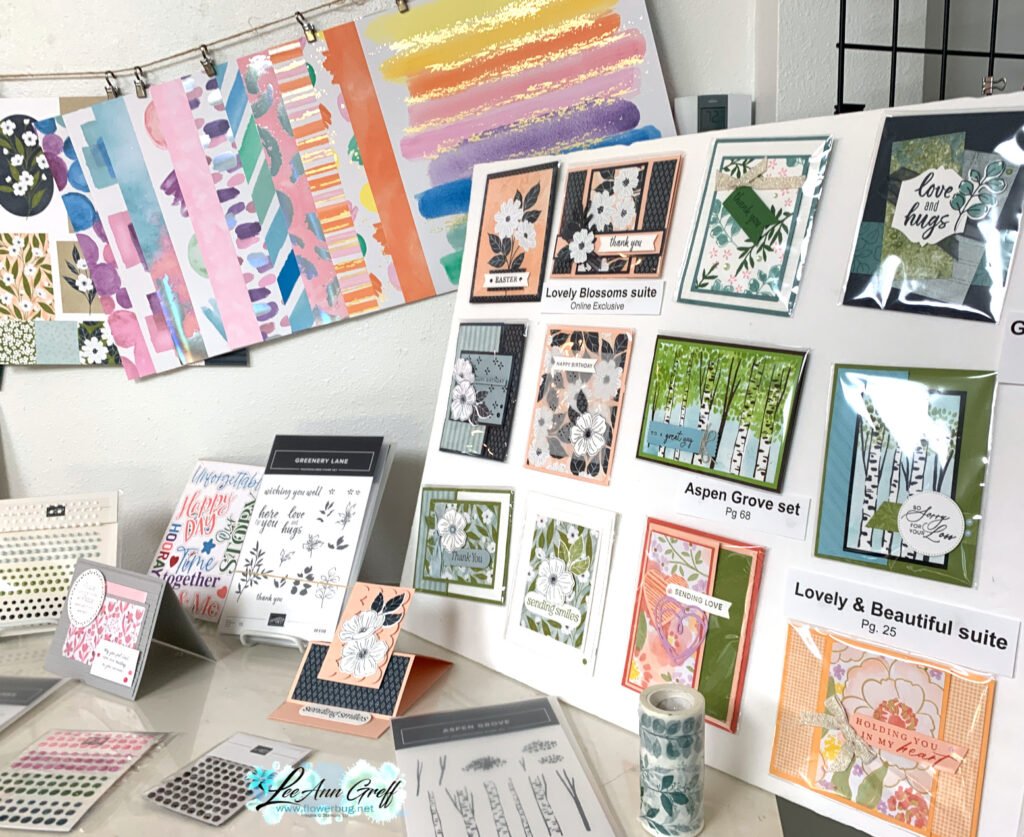
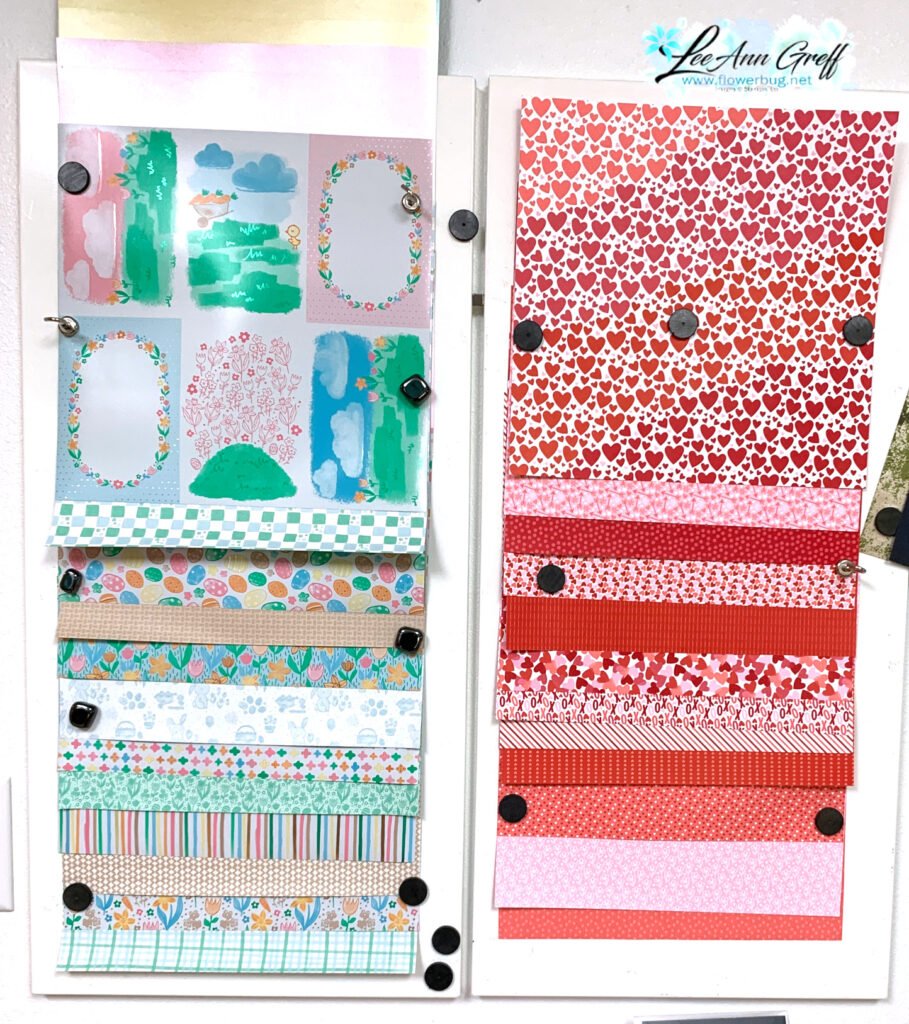
The designer paper hanging at the top is the new Splash of Sparkles specialty DSP. You can see it here.

One of my favorite suites is the Nature Walk seen here.

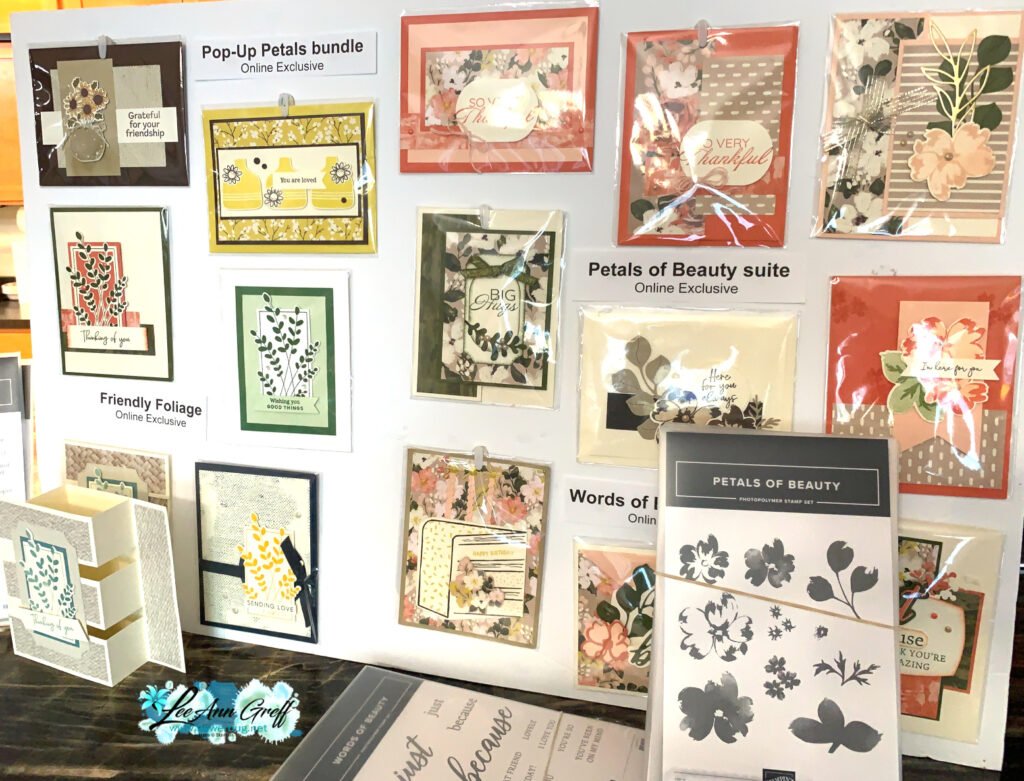
Above are the Online Exclusives released in November. I had to include these in my display because I had so many great samples and some people had not seen them yet. You can see all of our Online Exclusives here. The only difference between these products is they are not in a printed catalog. They can be ordered at any time.

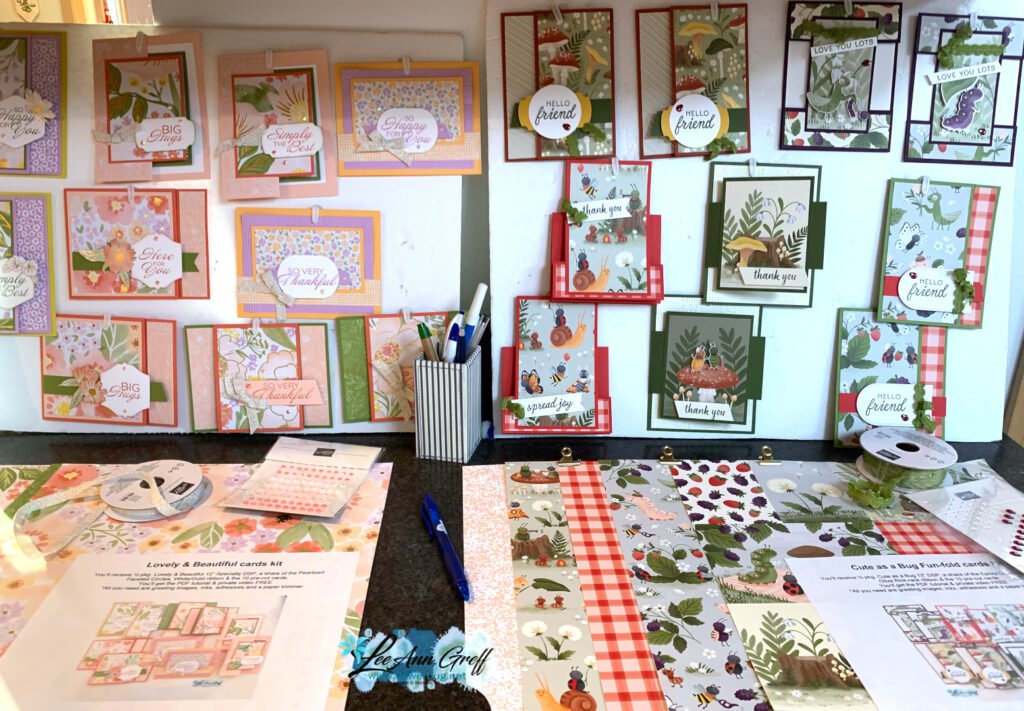
Lastly are my two January kits to go on display. Lovely & Beautiful and Sweet Bugs – both are fun fold cards.
You can get the details and reserve your favorite here. Or choose the PDF tutorials.

I served a Mexican Street Corn White Chicken Chili soup that everyone loved. Here’s a link to it on Pinterest if you’re interested.

Bonus days are here!

Get this free PDF with all online orders in January!

The 2026 Spring Catalog is live!

January’s Product of the Month
Fabulous Sayings set
Get it for $5 with any $75 purchase

Check out the newest Kits in our Kit Collection here.

All Posts

  • Retro style circles layout; super easy! Catch the Live video tonight!


    Tonight at 7:30 pm Central Time I'm sharing how to make these retro style circle cards on Facebook Live.  Click here to join me.   You can also see this video below!

    November 23rd Live cards

    Basically you need three sizes of circle dies or punches for the start of this layout.  Cut them in half and layer together with the edges meeting on one side. Adhere and add a long greeting between the two. 

    Watch how on my FB Live replay!

    Measurements:

    • 5 1/2" X 8 1/2" card base
    • 3 1/2" X 4 3/4" Whisper White; the greeting strip is about 5" long and either 1/2" or 3/4" wide depending on your greeting image.
    • 1" X 5 1/2" horizontal strip
    • Circles from the Stitched Shapes dies are the largest three circles. 

    You'll want ink, stamps and embellishments that coordinate with your Designer Paper.  Remember you could use card stock instead of DSP. 

    November circles

    Products used:

    • Designer papers – Heartwarming Hugs, new Classic Christmas & Snowflake Splendor
    • Stamps – Tree Angle, Snowflake Wishes & Curvy Christmas
    • Colors – Real Red & Olive, Seaside Spray & Night of Navy, Sahara Sand & Cherry Cobbler  
    • Other: Stitched Shapes dies, Curvy Dies & Pick a Banner punch

    ~~~

    November Specials!

    Current Host code is GRC9VVUU

    Winter snow free

    All online orders receive my FREE Curvy Celebrations 22 project PDF Tutorial! 

    Curvy1-0

    Leave a Reply

    Your email address will not be published. Required fields are marked *

  • Curvy Christmas & the Postage Punch


    Check out this easy card using the new Curvy Christmas stamp set and the Postage Punch!  

    Curvy Christmas postage punch

    It's super simple! Here's how I made it:

    1. Stamp the curvy trees image on the White CS using Shaded Spruce ink.  Color the trees with a Light Shaded Spruce Blends marker.  Add a tiny star using Cherry Cobbler ink on one tree. Adhere it to the Cherry Cobbler layer and to the main card.
    2. Punch out three pieces of Classic Christmas designer paper with the Postage Punch seen here.  Adhere to the White CS. 
    3. Stamp the greeting in Cherry Cobbler ink on a 1/2" strip of White CS.  Punch the ends with the Banners Pick a Punch. Add it to the card with mini dimensionals. 
    4. Finish with a few Holiday rhinestones. 

    You can see this stamp set here; it's only available through January 4th.  And the Classic Christmas Designer Paper is here while supplies last. 

    Remember that everyone who orders any of these products or places an online order with me in November will receive a free 22 project PDF tutorial featuring the Curvy Celebration products! 

    Curvy Christmas set


    Curvy Christmas set

    RECTANGULAR POSTAGE STAMP PUNCH

    ~~~

    November Specials!

    Current Host code is GRC9VVUU

    Winter snow free

    All online orders receive my FREE Curvy Celebrations 22 project PDF Tutorial! 

    Curvy1-0

    Leave a Reply

    Your email address will not be published. Required fields are marked *

  • Gift Wrapped Box Fold Card with video


    Check out this cute Christmas card we made at my October Card Clubs!  It's a box fold card; a super cute but easy fun fold. 

    Oct Gift wrapped.

    The colors are Real Red with Granny Apple Green & White. The dies on the front are the Stitched Shapes and Hippos & Friends.

    It even folds flat for mailing!  As you can see the back is similar to the front; leaving some space to write or sign the card.  

    I used the Gift Wrapped punch bundle from the Holiday catalog.  You can see it here. 

    GIFT WRAPPED BUNDLE (ENGLISH)

    Check out the video and measurements below. 

    Oct Gift Wrapped

    Here's the video: 


    Measurements:

    Real Red 4 1/4" X 11" scored at 5 1/2", 7", 9" and 10 1/2"
    Granny Apple Green 3 5/8" X 4 7/8" (2 pieces) plus scrap for die-cut
    Whisper White 3 1/2" X 4 3/4" (2 pieces) plus scrap for circle die-cut and bow

    ~~~

    November Specials!

    Current Host code is GRC9VVUU

    Winter snow free

    All online orders receive my FREE Curvy Celebrations 22 project PDF Tutorial! 

    Curvy1-0

    Leave a Reply

    Your email address will not be published. Required fields are marked *


Notice: LeeAnn Greff, Independent Stampin’ Up! Demonstrator, Manager. The content of this website is my sole responsibility as an independent Stampin’ Up! demonstrator and the use of, and content of, the classes, services, or products offered on this website is not endorsed by Stampin’ Up! Copyright 2025