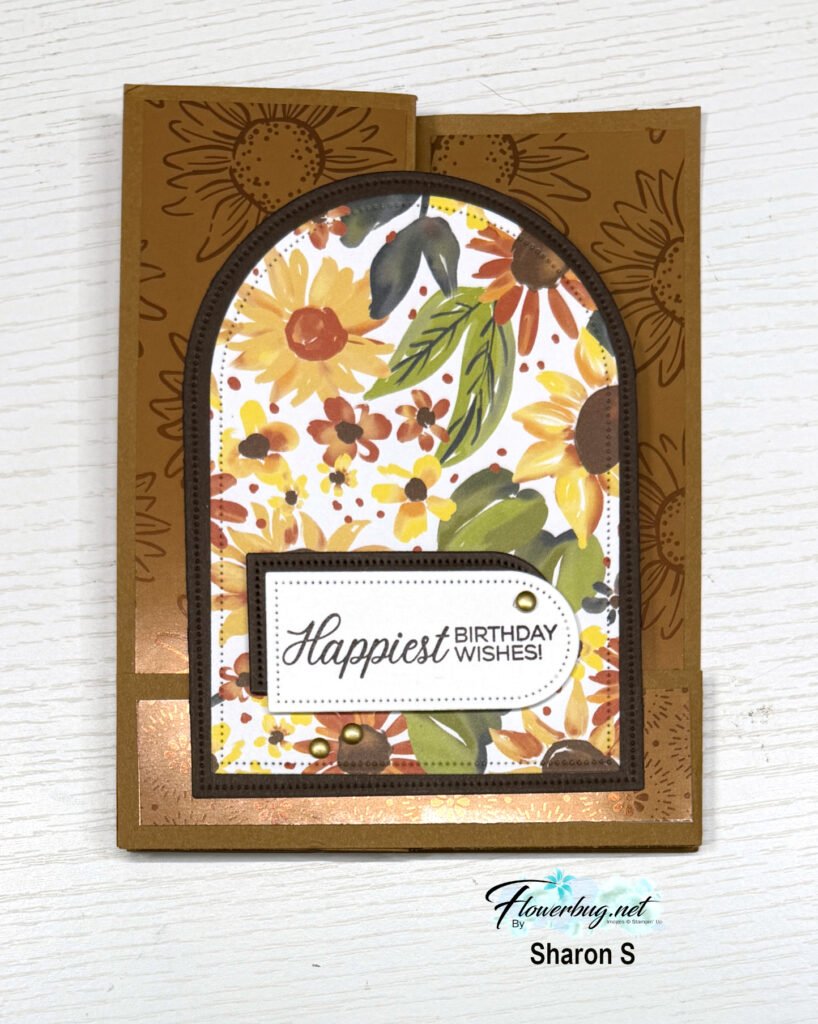
Today I’m sharing Sharon’s beautiful card swap. Our October Team swap theme was Fall or Halloween.
She chose to feature the Sunflower Fields suite and the Everyday Arches dies. I’ll share the products used here below.
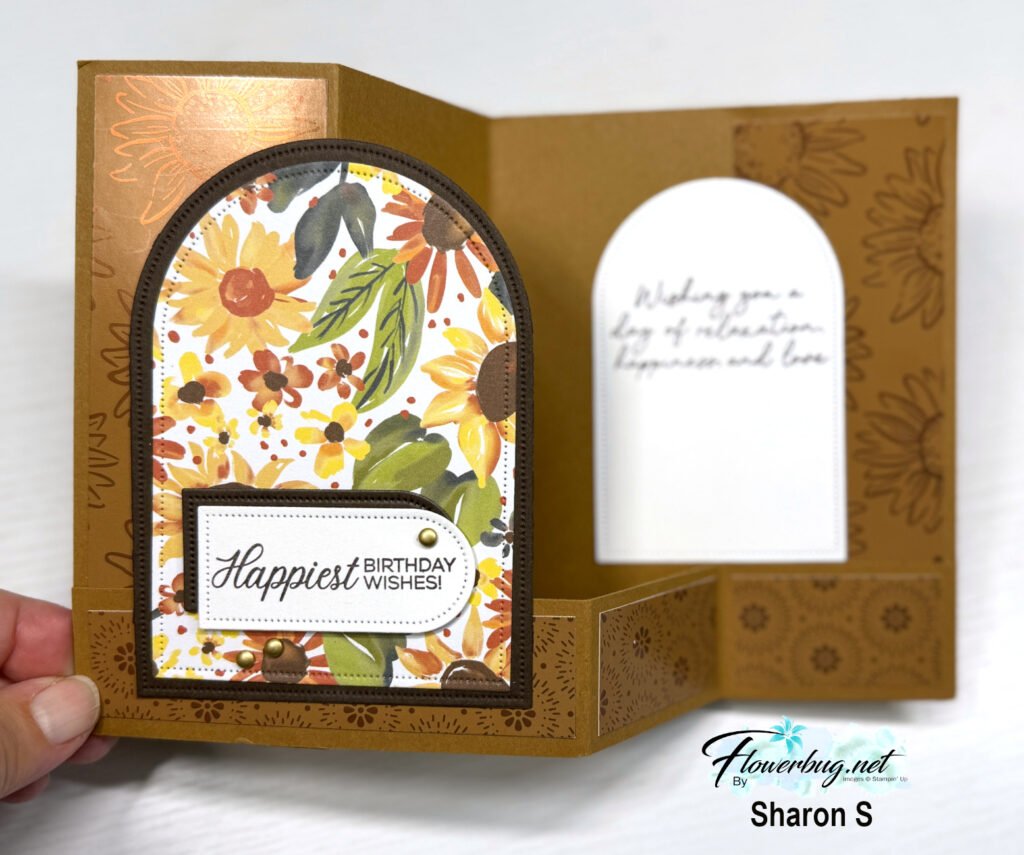
That gorgeous foil paper behind the arches is theRadiant Foils specialty paper. See how she used the Arches dies for her greeting? She turned it sideways and layered it with a second one in Early Espresso.
I jotted down the measurements for this fun fold card for you.
Pecan Pie card base 8 1/2″ X 5 1/2″ scored at 2 1/8″ & 4 1/4″, lower z-fold 8 1/2″ X 1 1/4″ scored at 4 1/4″ & 6 3/8″
DSP vertical front and inside 1 7/8″ X 5 1/4″
DSP horizontal front 4″ X 1″ , inside 2 pieces at 1 7/8″ X 1″
Arches; DSP 3″ X 4 1/4″, Early Espresso 3 1/4″ X 4 1/2″, White inside 2 1/4″ X 3 1/2″, greetings 2 1/4″ X 1″
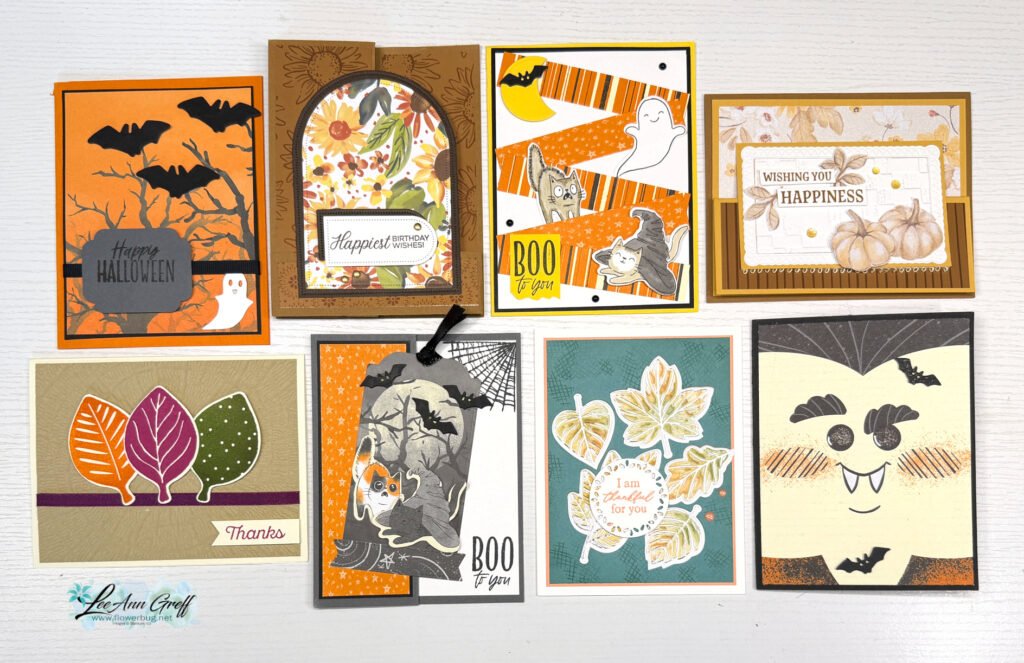
Here’s the photo of all of the Flowerbug’s Team swaps this month. Aren’t they wonderful?
All Posts
One Horse Open Sleigh Spanner fun fold card
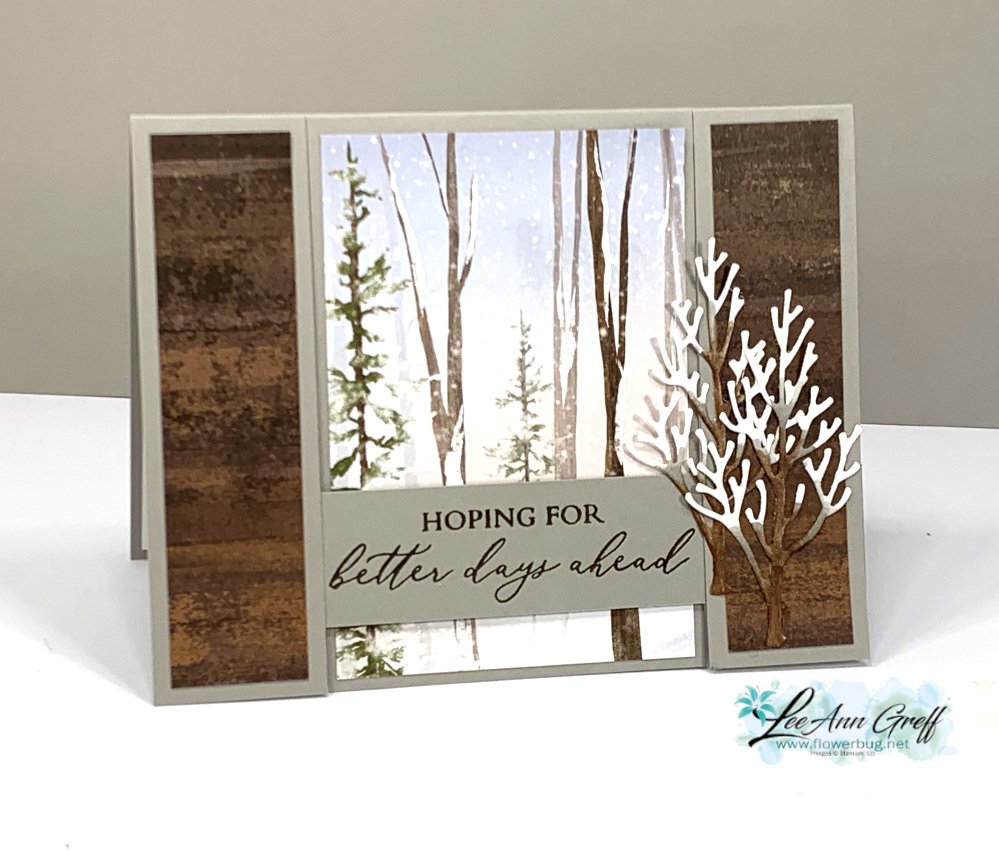
I was surprised to see the One Horse Open Sleigh designer paper back in stock. It was unavailable last week but it's back now. I featured it in one of my July card kits to go. See it here online.
This designer paper is so pretty; it's filled with beautiful scenes and soft prints.
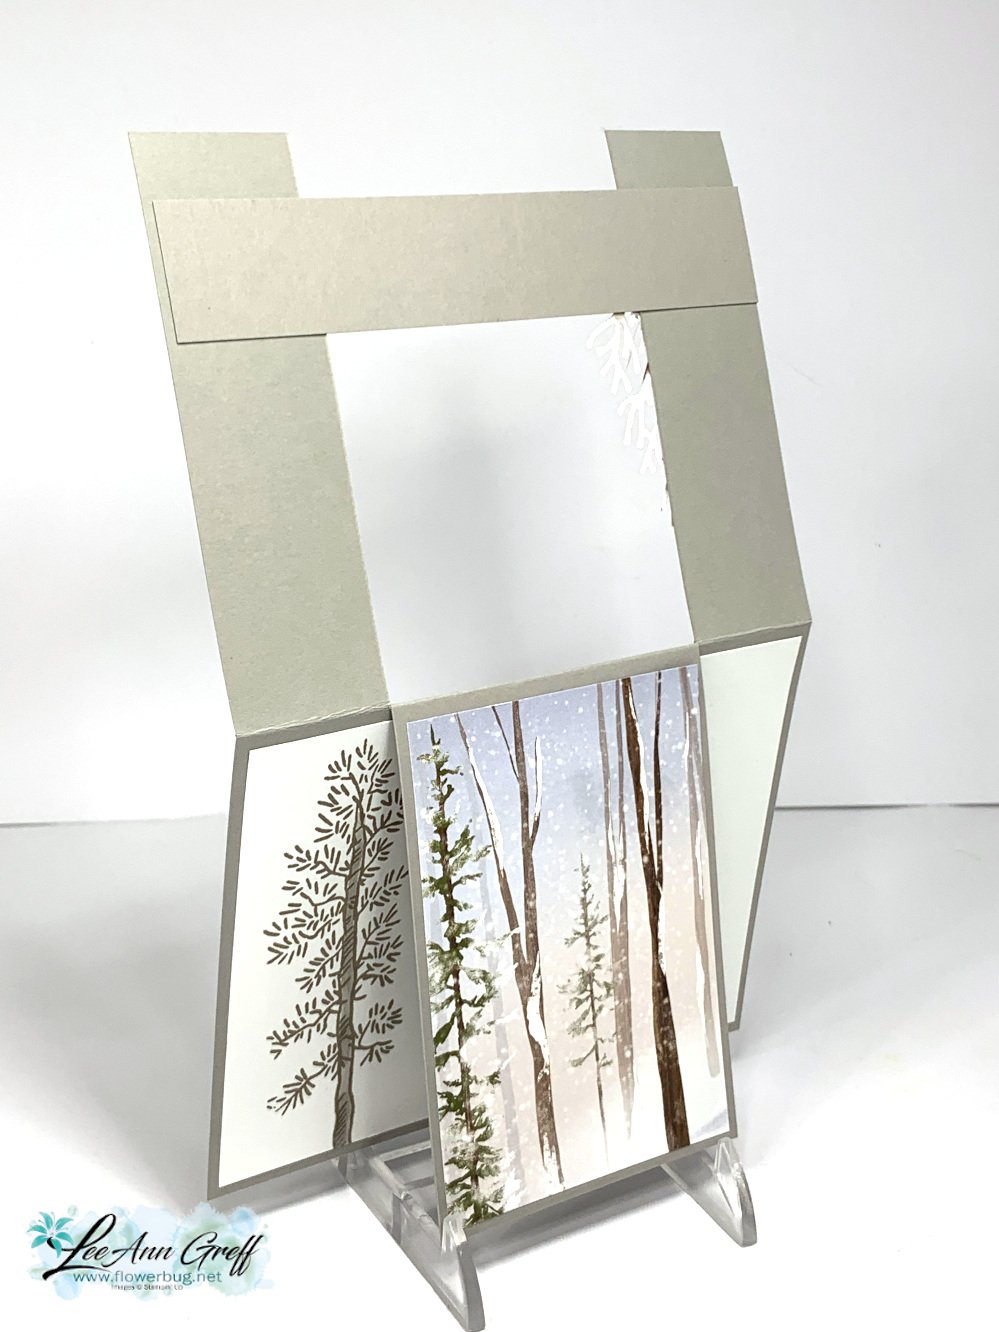
It's called a spanner card because of it's unique fold – the horizontal layer spans the card from side to side.
I added a few die-cut trees on the right side. I colored them with Blends markers – adding brown and Gray Granite to the white. The greeting is from the Lasting Joy stamp set.
The Gray Granite card base is a simple 5 1/2" X 8 1/2" scored at 4 1/4". Then you cut up to the score line at the 1 1/4" mark on front; on both sides.
I added designer paper to the center panel and also to both side panels. The horizontal piece 'spans' under the to side panels like this:
Measurements:
Card base 5 1/2" X 8 1/2" score at 4 1/4". Cut up to the score line at 1 1/4".
Horizontal layer 5 1/2" X 1"
Designer paper 2 3/4" X 4" and two pieces 1" X 4" for the sides.
This card was included in both my PDF tutorial and the pre-cut card kit to go; each card is a fancy fold. I have just two kits left. You can see them both here along with other kits and tutorials.
~~~
July Specials:
Bonus Days!
Get a $5 coupon for each $50 order you place in July. Redeem in August!
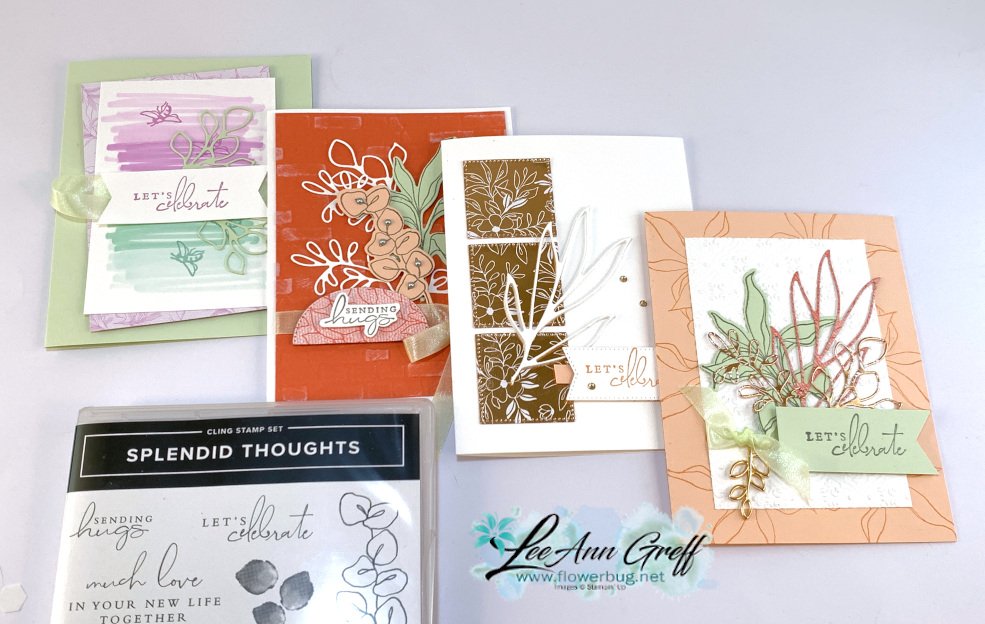
I am surprised that the stamp set and dies are both there along with the pretty Soft Seafoam ribbon and the Open Leaf Trinkets.*Both are now just $1.25! Click on the blue highlighted words to see these items in the Clearance Rack.
Remember the Clearance Rack changes every day; do not delay if you want anything! *Remember to use this host code when ordering.XNYX2DWG
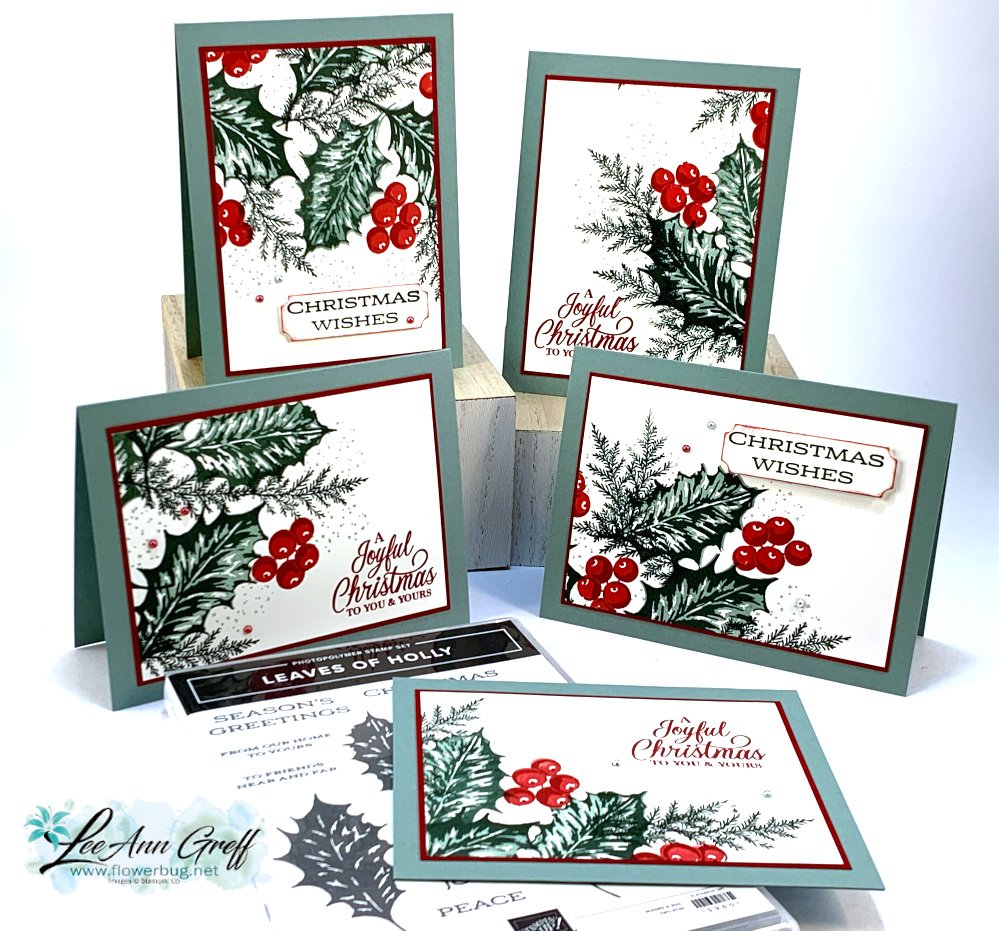
I created these beautiful Christmas cards on a video last year.
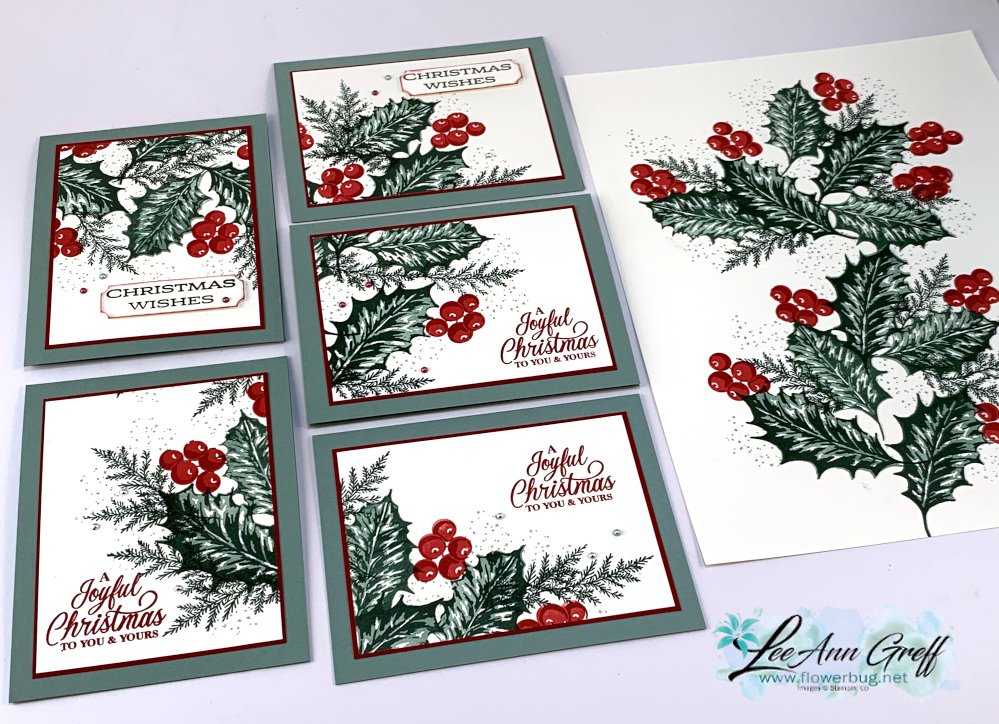
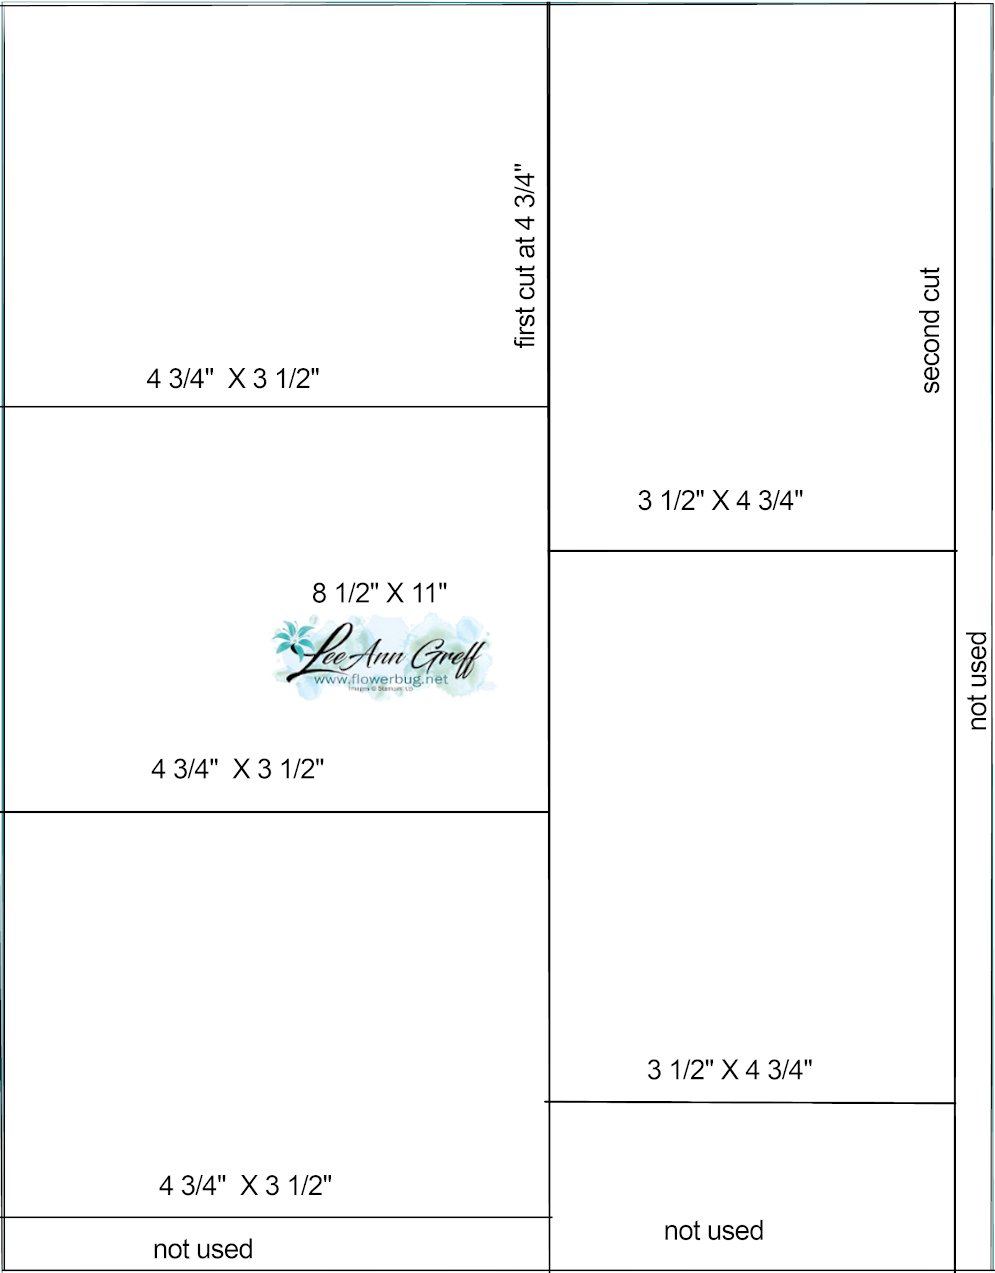
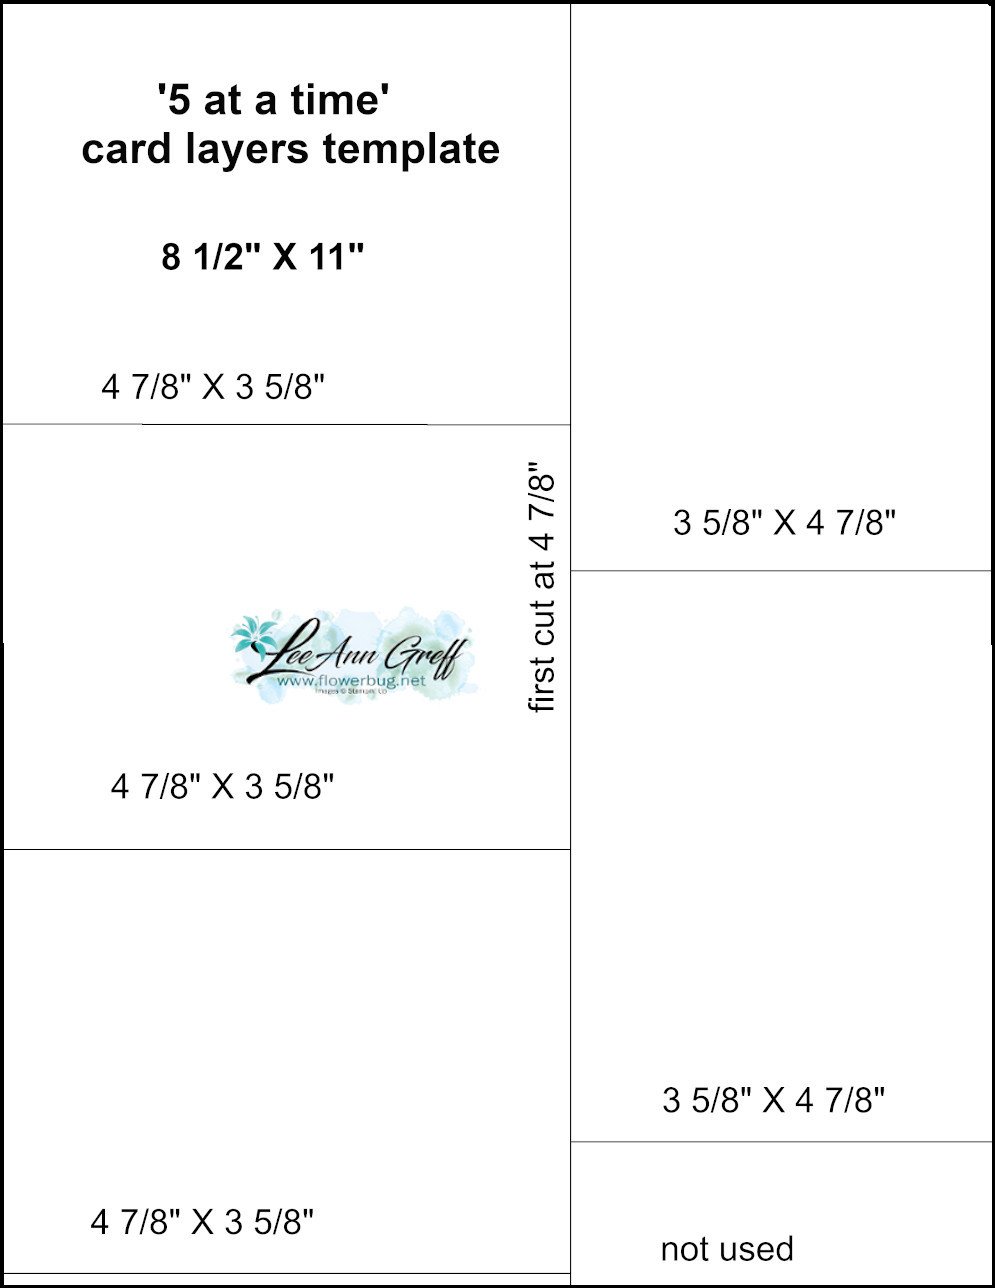
I call it the 5 at a time technique. You stamp one sheet of neutral paper and then cut it into 5 pieces using my template below. And the neat thing is the layers under the stamped White card stock are also cut using a template. Just 2 sheets of card stock to make 5 card fronts! *Watch the video below or click here.
See how I stamped down the center of the White card stock on the photo above? Next I cut it using the template below:
The first template is what you stamp on. The one below is for the layers under the stamped pieces. It's just 1/8" larger for a nice thin layered accent.
Next is the template for the colored layers on each stamped layer.
Watch the video below to see how it's done. Think about your favorite stamp sets and how fast you can create beautiful cards using these templates!
~~~
July Specials:
Bonus Days!
Get a $5 coupon for each $50 order you place in July. Redeem in August!
Pinwheel Tower Fancy Fold card with video & free projects sheet!
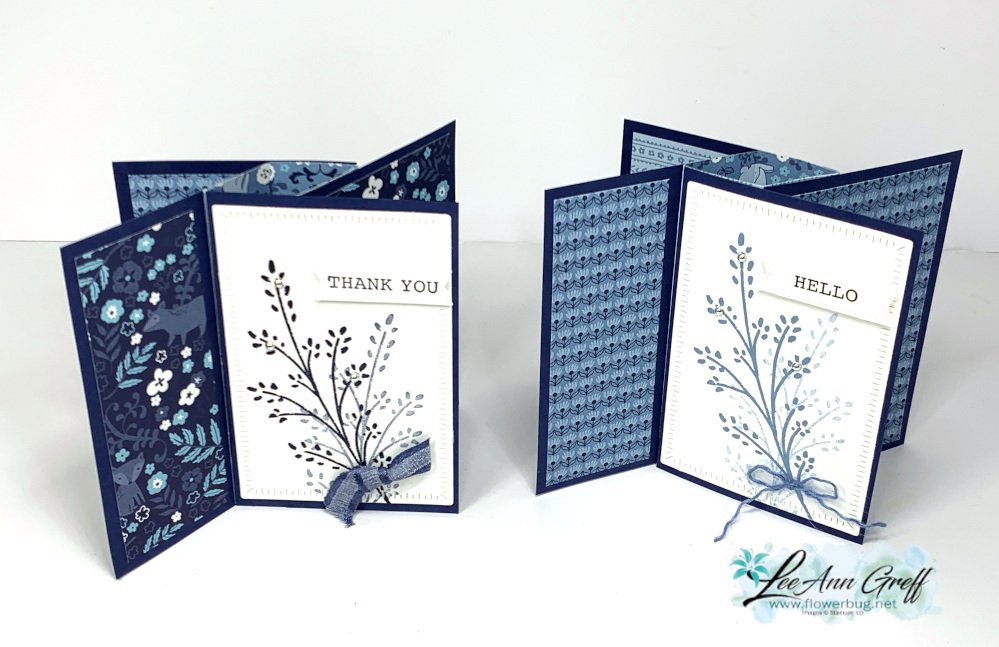
Here's another card we made at my July Card Clubs. I always try to feature one fun fold card and this was a doozy!
When they saw the many pieces they were a bit worried it would be hard. But as we made it together they loved it! Be sure to watch the video here or below; it's so much easier than it looks!
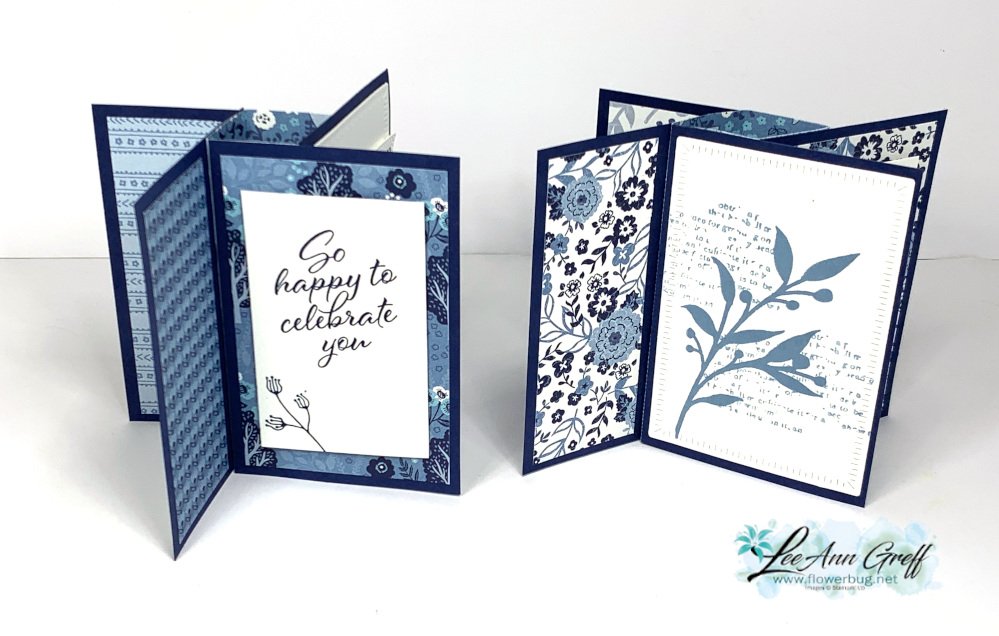
This card is super fun to play with; it reminds me of a 'never ending' card. You can turn and turn it and see something new each time. But the finished card lays flat and is 5 1/2" X 4 1/4" so it fits nicely in an envelope.
Besides the Gorgeously Made stamp set (seen here)I chose the Layering Leaves (seen here) for the pretty greetings and leaf images.
I chose to feature the Countryside Inn designer series paperseen here with it's many shades of Blue. I chose to use Night of Navy and White card stock, Navy and Boho Blue inks.
Each of the 4 panels of Navy card stock is adhered to the center 'tower' made from a 4 1/4" square of designer paper. Once you have your card base created it's simple to add the 6 pieces of DSP and your stamped panels.
I also used the Radiating Stitches dies seen here (online exclusive) and the Stylish Shapes dies for the greeting. The ribbon is the Night of Navy 3/8" bordered ribbon.
Click here or on the photo below to watch the video. It's the second project featured.
~~~
July Specials:
Bonus Days!
Get a $5 coupon for each $50 order you place in July. Redeem in August!
Notice: LeeAnn Greff, Independent Stampin’ Up! Demonstrator, Manager. The content of this website is my sole responsibility as an independent Stampin’ Up! demonstrator and the use of, and content of, the classes, services, or products offered on this website is not endorsed by Stampin’ Up! Copyright 2025
























Leave a Reply