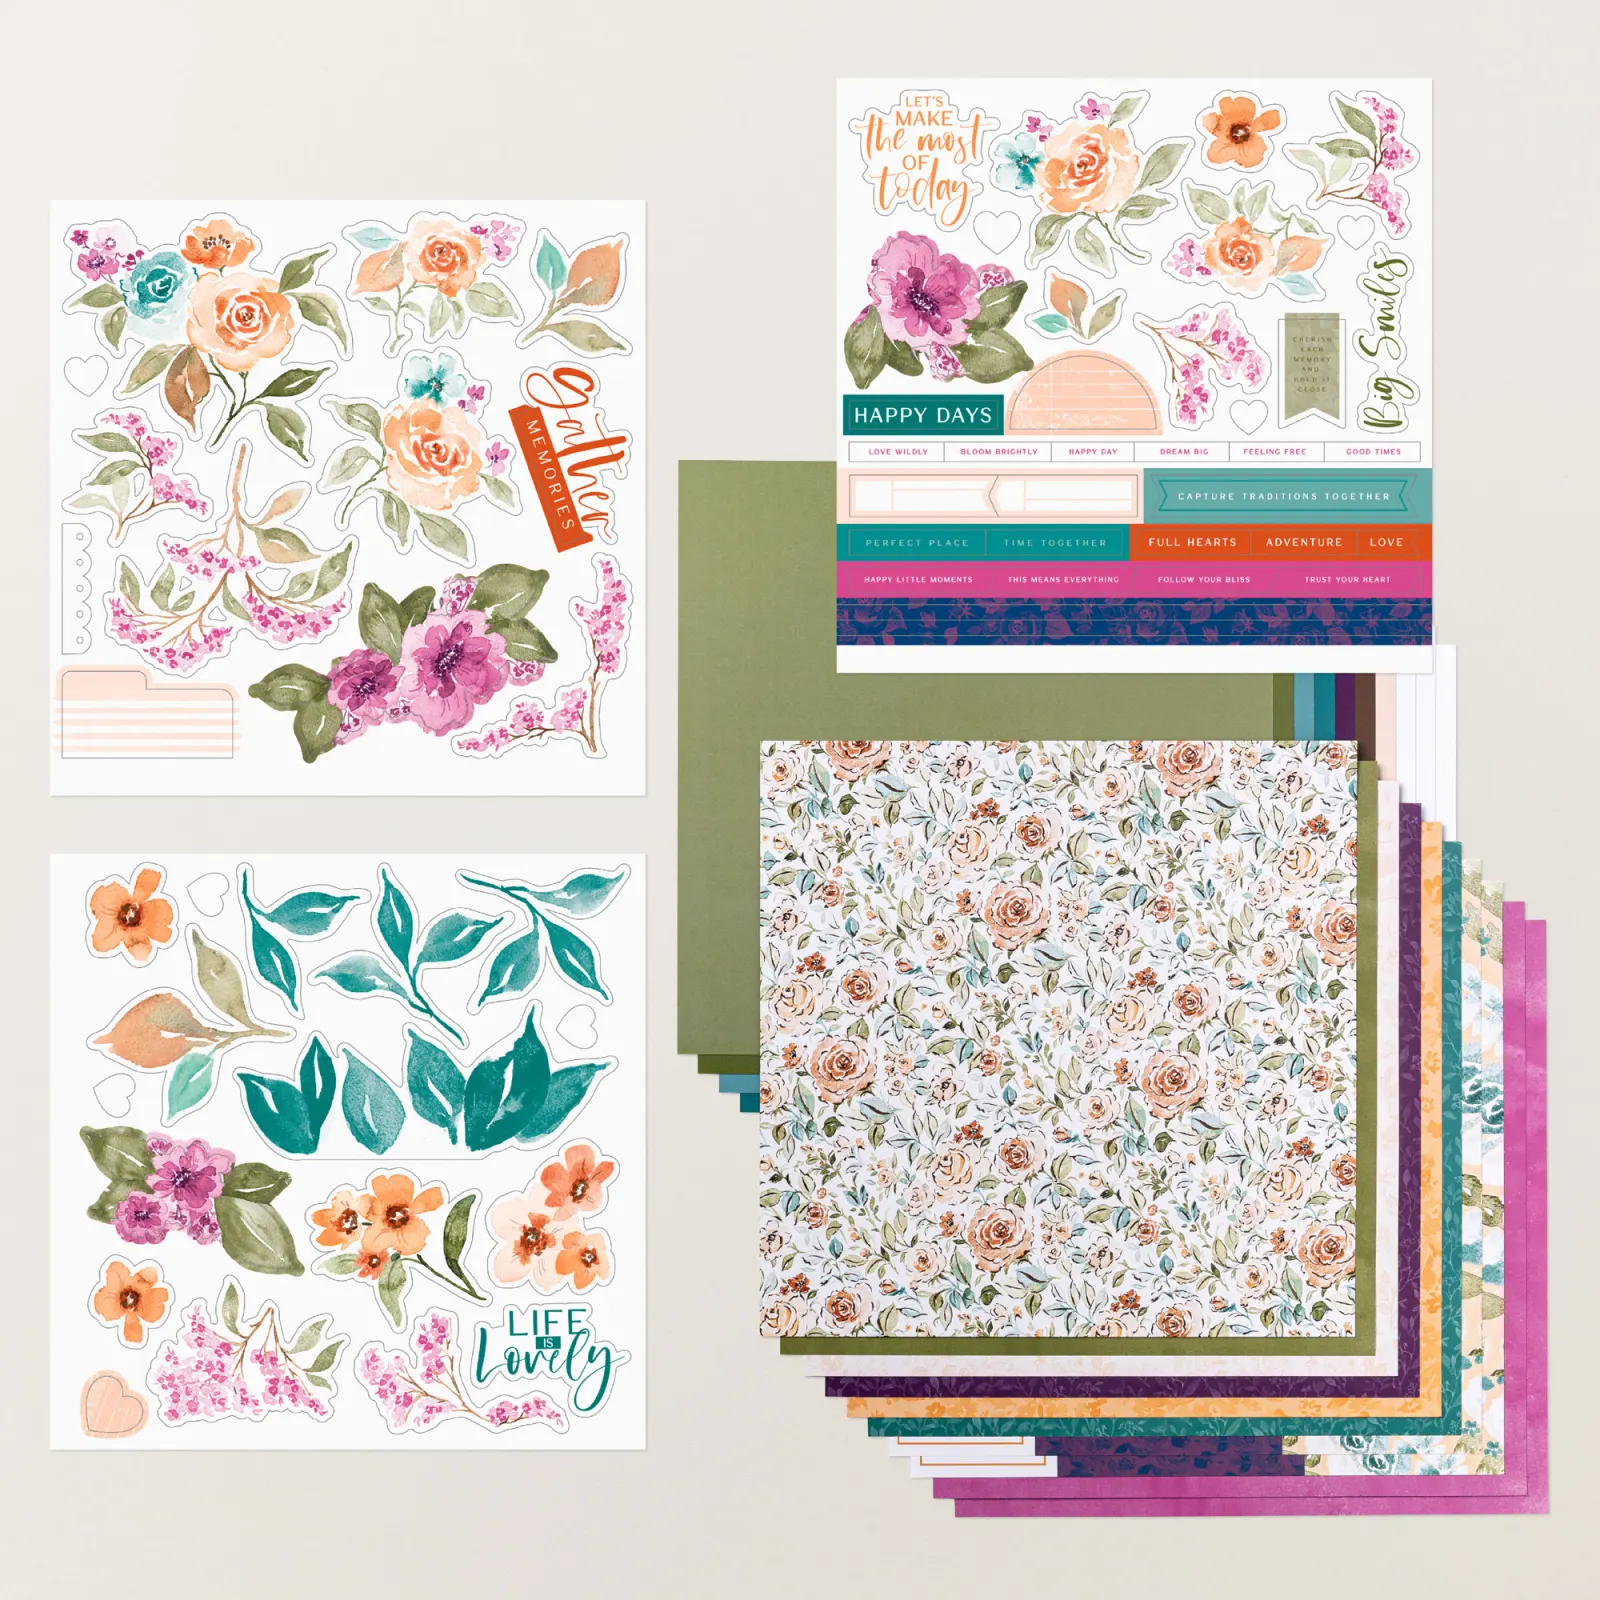
Here’s something new & different in my card kits to go. I decided to play with the Lovely Florals scrapbook kit to create cards with. This kit from Stampin’ Up! includes sooo much product and it’s only $15 on the Last Chance list! *see it here
It was super easy to convert the scrapbooking plan to cards. Here’s what I came up with.
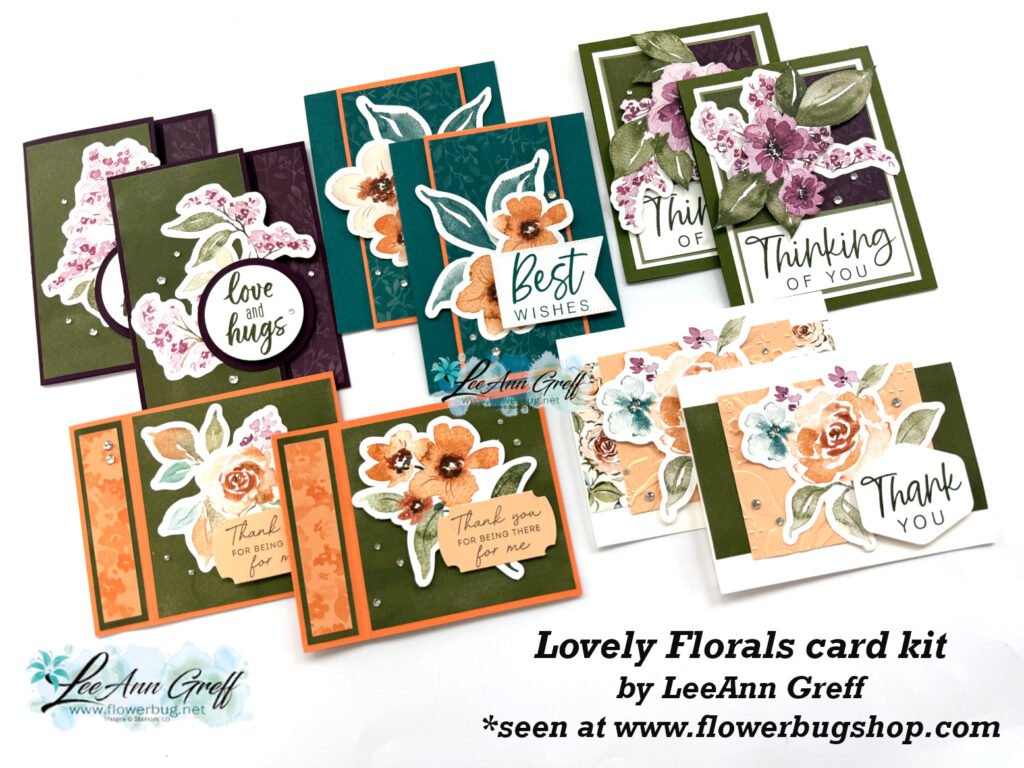
Aren’t they beautiful?! This is one of those kits you’ll truly enjoy creating; they’re so quick, easy and gorgeous.
Reserve your card kit here and it will be mailed to you at the end of April. This kit includes 10 pretty cards and many of the products you need to make them.
Here’s what you’ll receive in your kit:
- 10 pre-cut cards including die-cuts, punches and layers
- Multiple sheets of Lovely Florals designer series paper (12 X 12″)
- three sheets of floral & greeting die-cuts and stickers in 12 X 12″ size!
- a share of Rhinestone jewels
- the PDF tutorial and the exclusive video tutorial
The PDF tutorial is sent to you via email immediately after payment; check your spam folder. The actual kit with products is sent at the end of April via Priority Mail.
*You will need greeting images, inks, adhesives and a paper trimmer to finish the cards.
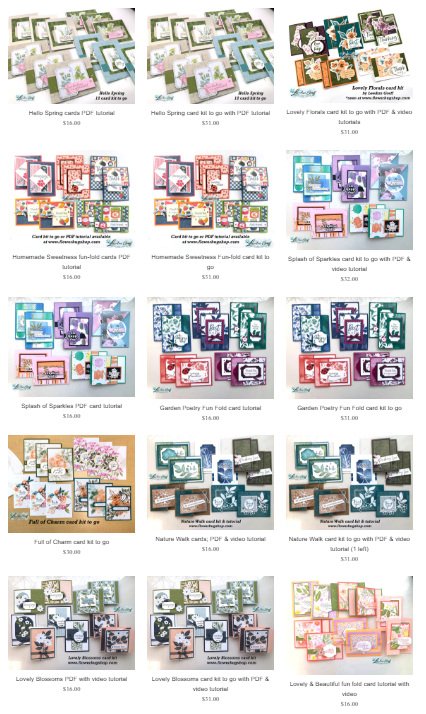
See all of my kits and tutorials here.


Leave a Reply