/


Latest Post

Luxe Foliage Window Z-fold with free project sheet & video tutorial


I just love this card I made for last week’s video! It features the exclusive Luxe Foliage specialty designer series paper.
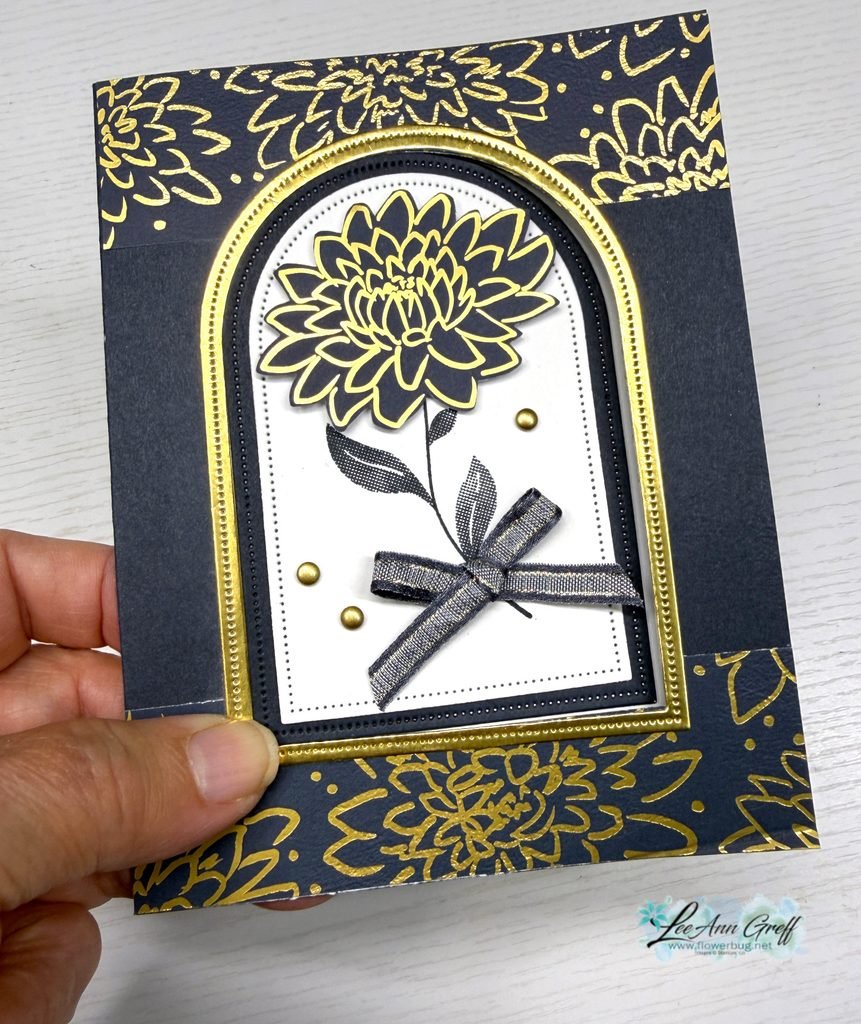
Gorgeous, right? I cased this fold from my friend Susie Wood. I get so many fun fold ideas from her. Check out her blog here.

This stunning Luxe Foliage DSP is a Product of the Month and available while supplies last. See it here. You can redeem it for just $5 once your order reaches the $75 mark. There are 4 sheets of each pattern in this pack!
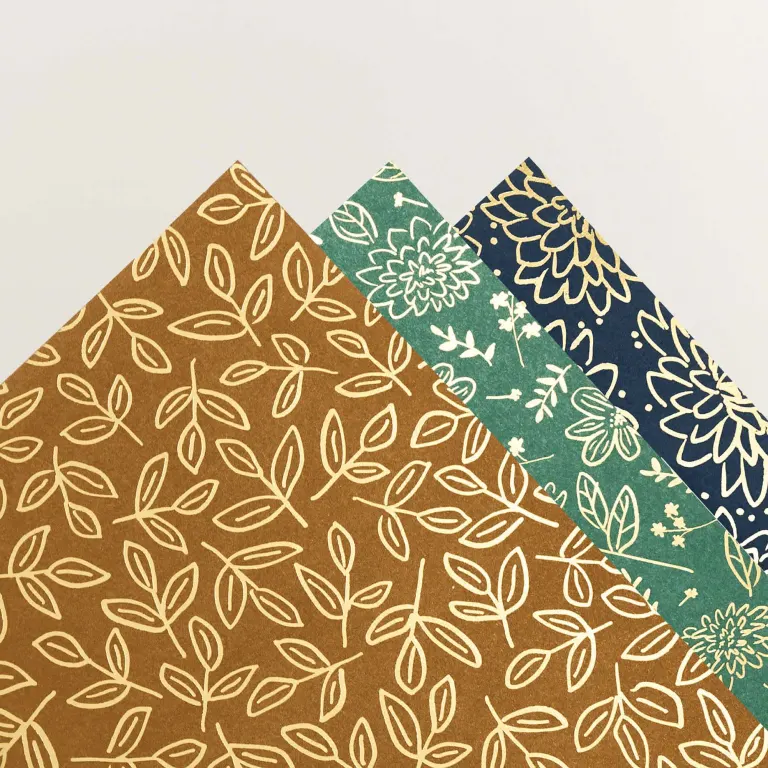
I paired it with Secret Sea, Gold foil and White here. On this card I used the Everyday Arches dies for the window and the Tile Garden stamp set for the leaves/stem.
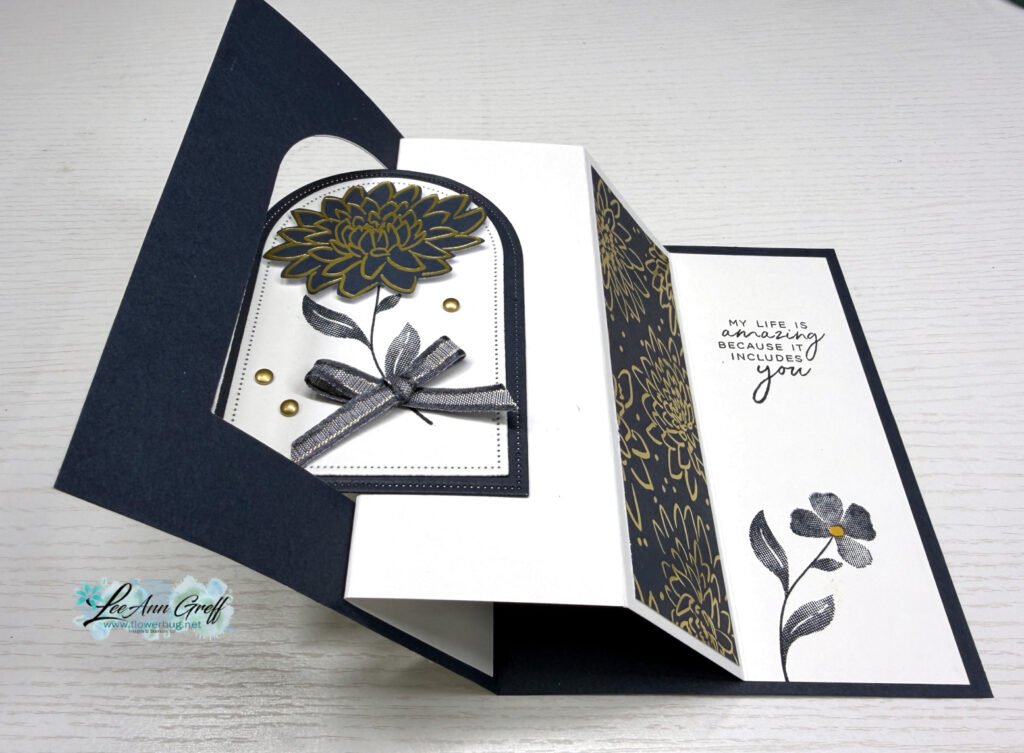
This card involves die-cutting a window in the front layer of your card and reusing it on the inside scored White layer. You can catch on to how it opens in the above photo but it may help a lot if you watch the video here.

On the left card below I used a different set of dies for my window. First the Tile Garden dies to create a rectangle window. Yes; these dies are square…. so I cut a second time to create the rectangle window. The Gold textured frame is made with the Phrases & Frames dies seen here.
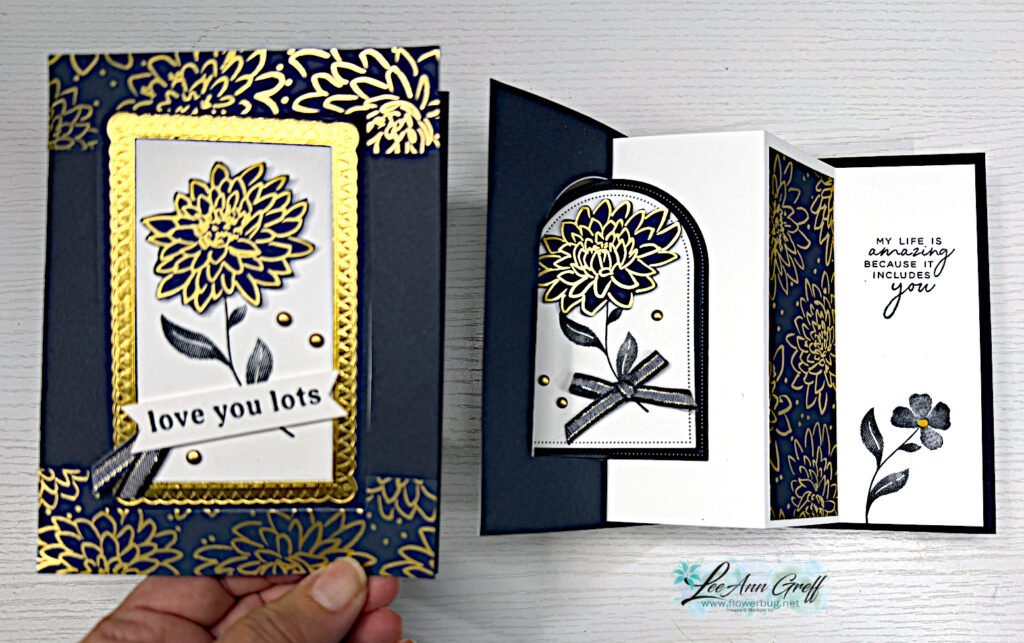
I fussy cut the gold/Secret Sea flower for the front layer. I love the images in the Tile Garden bundle; they have a texture to them.
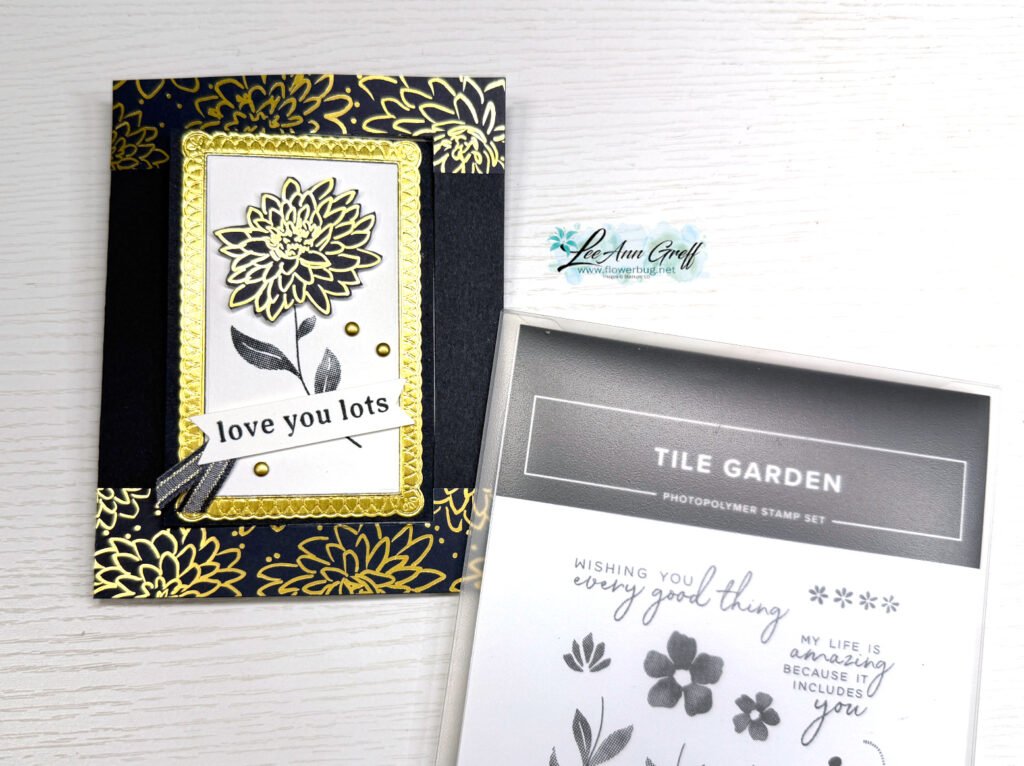
I created a free project sheet for this card. Click here to download or print it.

Below is the video tutorial; I hope it helps you in understanding how this is done. It is much easier than it looks!

There’s a new Product of the Month for September.
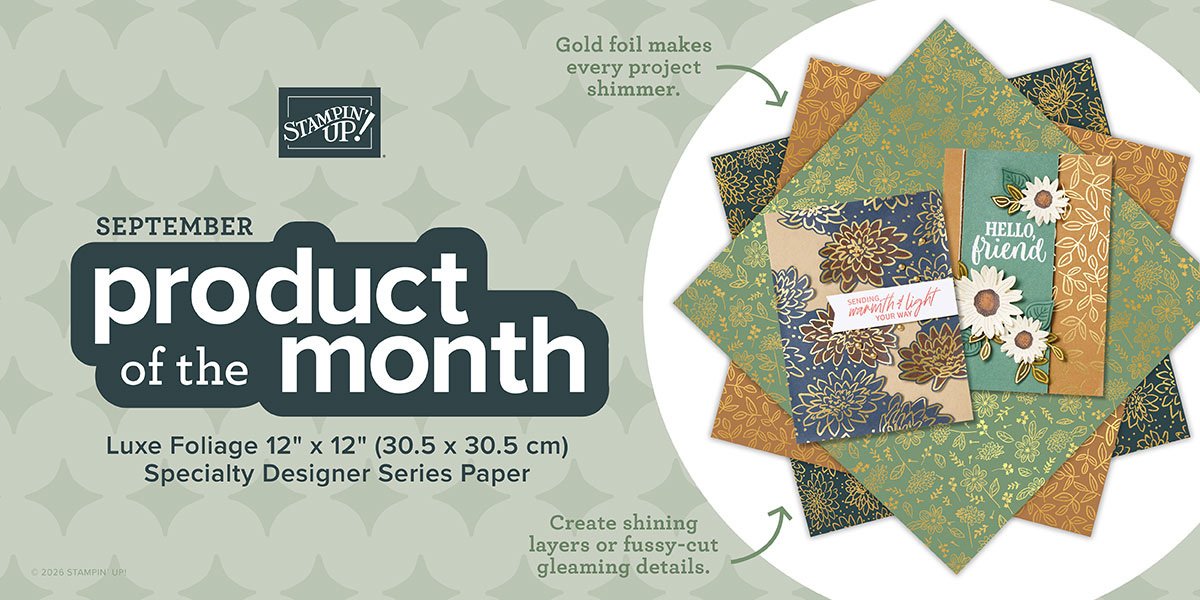
It’s called Luxe Foliage Specialty Designer paper and can be seen here. It’s yours for just $5 once your order reaches the $75 point.

There is also a few new kits in our Kit Collection too. You can see it all here!
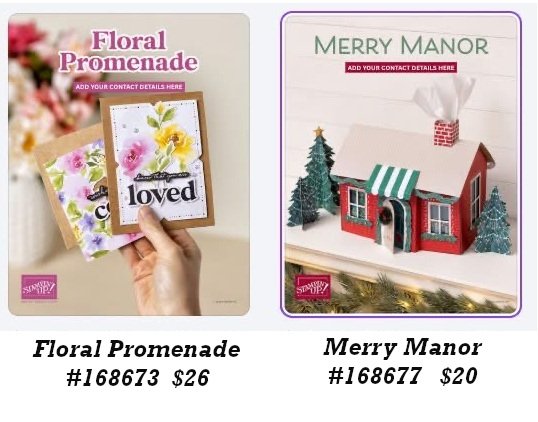
There are new Online Exclusives! Click here to see them.
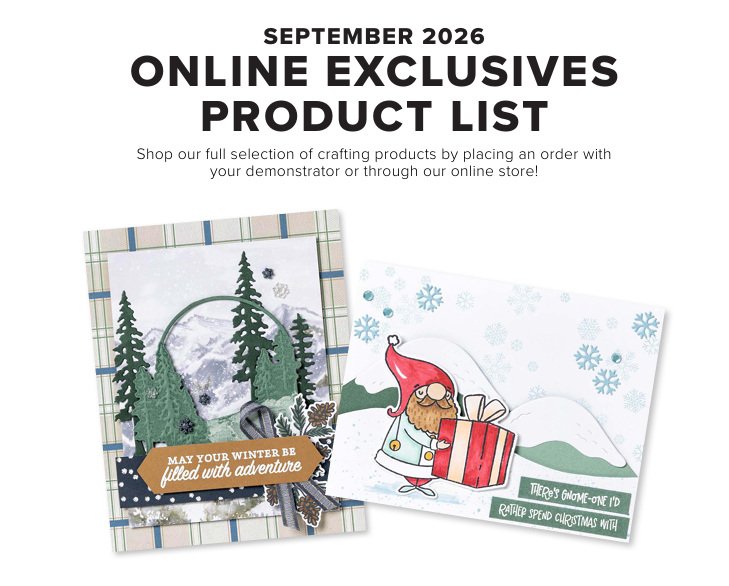
New Hot Foil products are here! Check them out here.
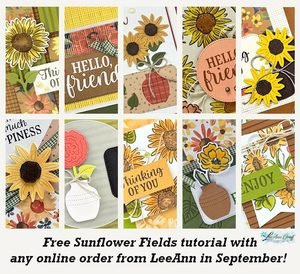
Get this free Sunflower PDF tutorial with ANY online purchase from me in September! Gorgeous cards in this one!
All Posts

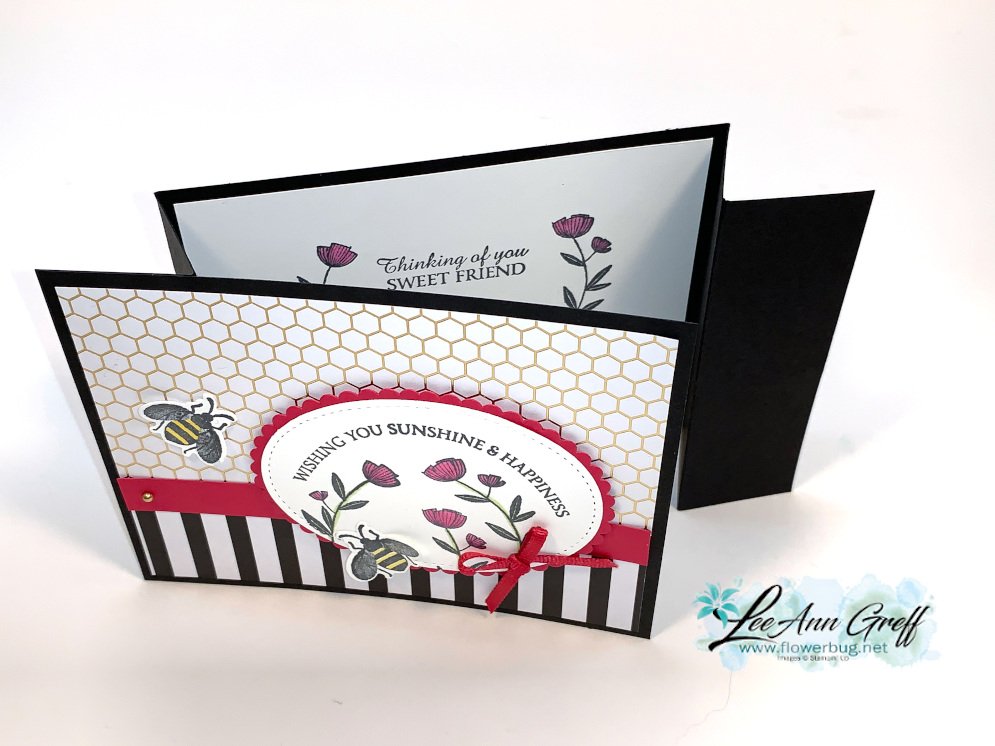
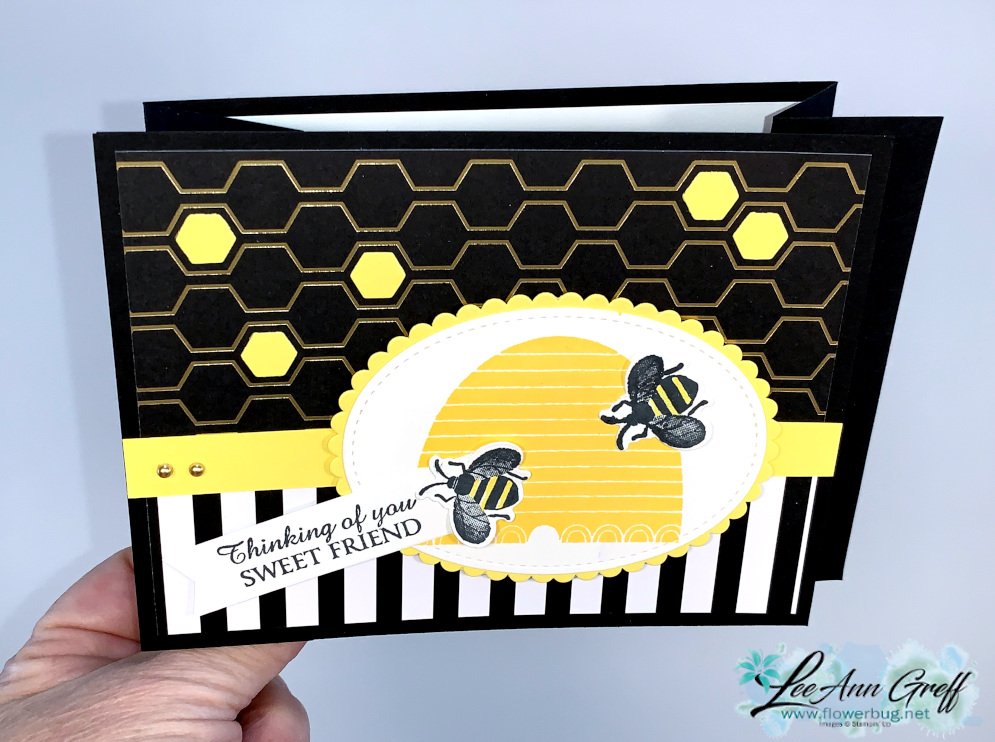
  • Honey Bee Fun Fold-card with Golden Honey paper


    Here's a unique fun fold card that's super easy too!  We made them at my March card clubs.  

    They had a choice of colors, either Pineapple Punch or Lovely Lipstick to go with the Golden Honey specialty designer paper. Unfortunately this gorgeous paper is no longer available; they ran out of it a few weeks ago.  It was free during our Sale-a-Bration promotion that is still happening!  Be sure to get your favorites while supplies last and before March is over!  

    March Honey Bee top view

    On the above card we stamped the hive in Pineapple Punch and added a few die-cut bees and a greeting.   Here's the inside view: 

    March Honey Bee open.

    And below is the Lovely Lipstick version.  Each of the cards uses the Honey Bee bundle seen on page 30 of your January – June mini catalog.  Click here to see it online.  The Detailed Bee dies have been unavailable for a few weeks but I hope they'll be back soon!  

    March Honey Bee Lipstick

    And below you can see the video I made for this fun fold card.  

    Measurements:
    Black CS 4 1/4" X 11" scored at 1 3/8" and 2 3/4" from each end, 4 1/4" X 5 1/2" for front
    Honey Bee Designer paper – upper piece is 2 3/4" X 5 1/4", lower is 1 1/2" X 5 1/4"
    Pineapple or Lovely Lipstick CS strip is 1/2" X 5 1/2", 2 3/4" X 3 3/4" for die-cut oval
    White scrap 2 3/4" X 3 3/4" for oval die-cut, inside is 4" X 5 1/4", greeting strip is 3/4" X 3" and
    scraps for bees

    ~~~

    There are new Sale-a-Bration items out for the last few days! 

    Click here to see them. 

    March host code is 4J7C9GFY

    03.24.20_DMAIN_SAB_3RD_NA

    Leave a Reply

    Your email address will not be published. Required fields are marked *

  • Bunny Punch Art; a Pillow Box treat


    I made this project on this week's Facebook Live.  Join me at 11 am each Tuesday here. 

    I have seen a few of these cute punch art bunnies and wanted to make some!  

    Pillow box bunny

    I'll be sending one of these to my 6 year old granddaughter; who loves animals and chocolate. 

    It's just two punches to create one; the Medium Daisy and Balloon Bouquet punches.  I used Crumb Cake and Blushing Bride card stock.  The pom pom 'tail' totally makes it a bunny!  These pom poms are from the Birthday Bonanza suite but sadly they are currently unavailable; they're out of stock.  I hope they get more in soon. 

    That fun swirled die-cut circle is from the Painted Label dies on page 26 of the mini catalog.  They are also currently unavailable but hopefully they'll be back soon.  The Poppies products have been very popular! 

    Pillow box bunny

    These pillow boxes are in our annual catalog on page 172.  See them here.

    Inside the pillow box I added 6 chocolate nugget candies that are wrapped with our cute gingham designer paper.  I've been featuring this paper a lot lately.  We have it in every color; that's 50 colors!  It's part of a 6 X 6" Designer Series Paper on page 168 of the annual catalog.  Or see it here. 

    Pillow box bunny

    The greeting is from the A Wish for Everything.  It has 38 stamps!  It's one of my picks for your free stamp set that you can choose in your Starter Kit.  Why not get a nice big valued stamp set free?  Details below; or click here. 

    Remember that if you want to purchase some of these items to order this month.  Why not get something extra free with your order!  And if you have a big wish list, I suggest you purchase the starter kit and get Free shipping, a bonus free stamp set, a free paper trimmer, a free designer paper sampler and $125 in product of your choice.  All for $99! 

    From then on you'll get 20% off all of your Stampin' Up! product.  Email me at lagreff60@gmail.com to ask any questions. 

    ~~~

     Sale-a-Braton is almost over!  There's just days left! 

    and the Product Coordination Release seen here ends too!

    March host code is 4J7C9GFY 

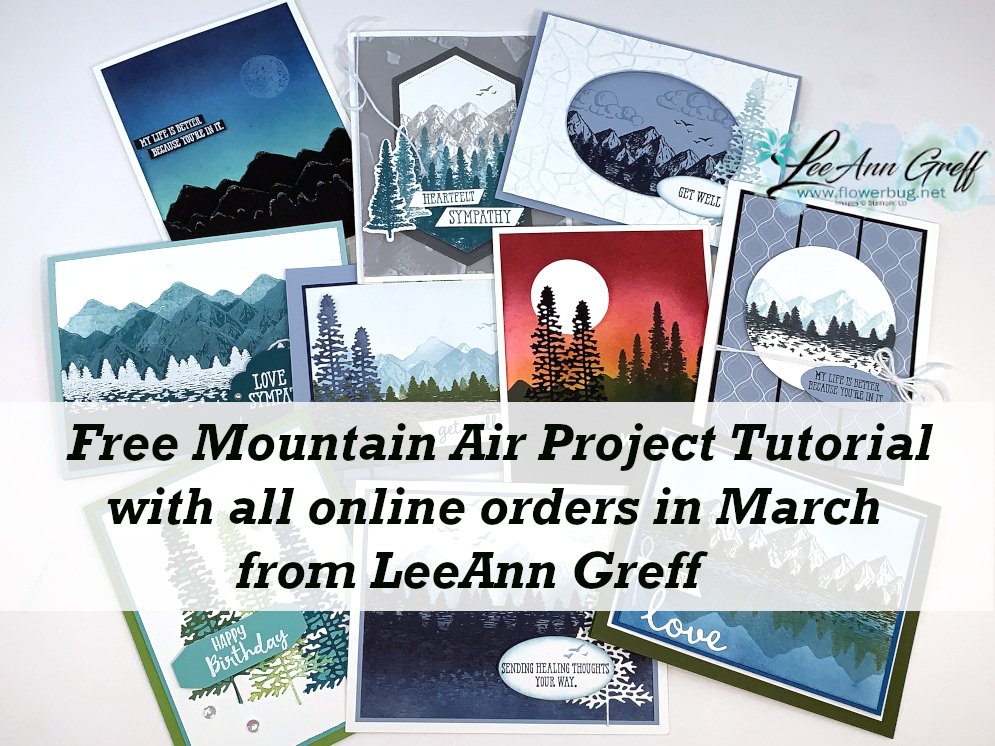
    All online orders will receive a free Mountain View pdf cards tutorial in an email.

    Mountain Air tutorial

    March host code is 4J7C9GFY

    Order online here

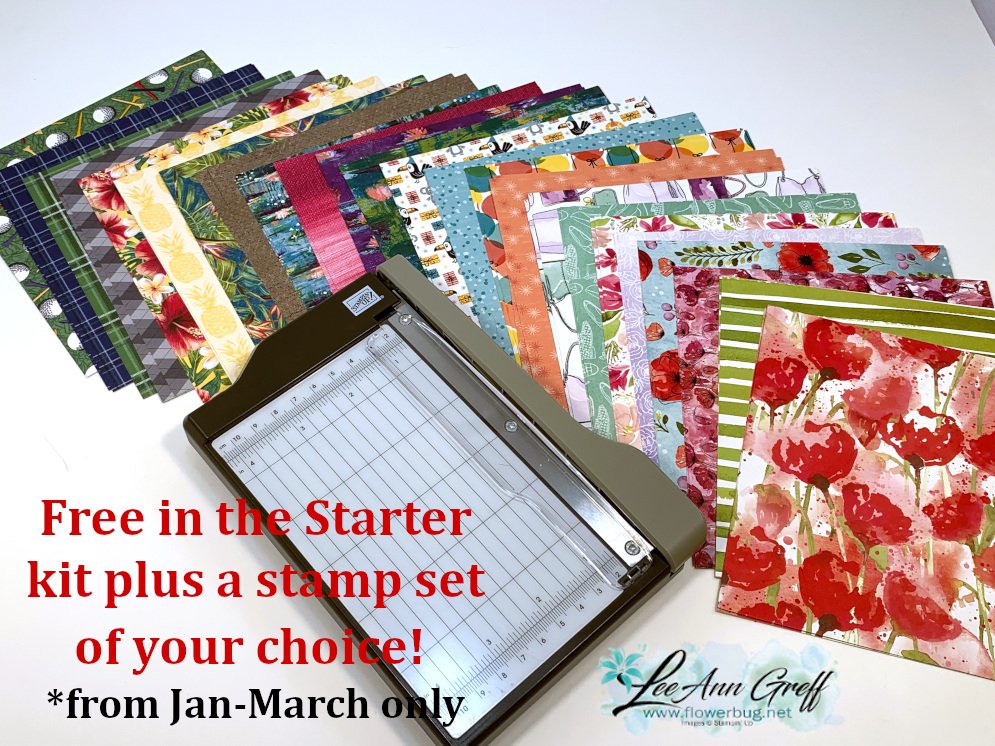
    THE Best deal! Choose any FREE stamp set when you purchase the Starter kit during Sale-a-Bration; of any value! Plus you'll get a free paper trimmer and a 6 X 6 sampler of new Designer Paper!  It's just $99 plus tax and you can pick out $125 in products with free shipping! Did you know you then get a 20% discount on all of your Stampin' Up! purchases?  There's no need to 'sell'; you can just enjoy the deals! 

    Click here to join my awesome Flowerbug's Team! 

    Free during SAB

     Earn a ticket in the drawing for each $25 you order online in March for a free Little Ladybug stamp set!

    Order online here

    Leave a Reply

    Your email address will not be published. Required fields are marked *

  • Reflection Technique with Mountain Air


    I honestly didn't know I'd enjoy creating with the Mountain Air bundle as much as I do.  I didn't think it would be so easy to work with!  

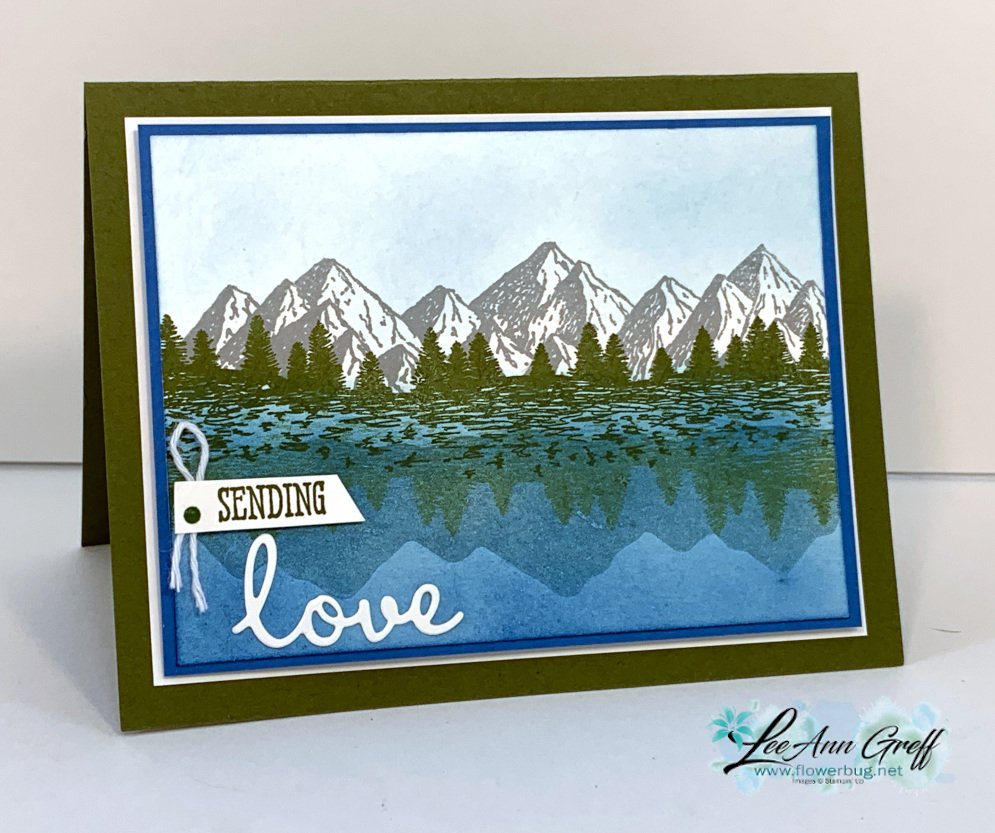
    Even this reflection technique is simple to create.  Do you know why?  Because of the reversible nature of these stamps.  The mountain image is textured on one side, creating the pretty mountain peaks on this card.  The mountain shadow/reflection on the water is made with the same stamp but using the solid side.  

    Mountain Air reflection

    This card is part of my free written projects tutorial for anyone who placed an online order from me in March.  And it's also free to anyone who orders the Mountain Air bundle too!  You can see this bundle here. 

    If you order it in March you can get a free Sale-a-Bration choice! Below I show each stamp in three ways.  First is the detailed side of the stamp, next is the flat side and lastly you see them together.  Reversible stamps are so neat and Stampin' Up! is super clever to create them! 


    Mountain Air set.

    Details for the card above:

    1.  I stamped the mountains first, then the trees underneath. 
    2.  I turned the trees stamp upside down and without reinking, stamped them again for a reflection. 
    3.  Next the mountain reflection. 
    4.  Lastly I sponged a bit of light blue on the sky and darker blue for water.  
    5. The greetings are from the Well Written dies and Well Said stamp set. 
    6. Colors are Mossy Meadow, Pacific Point and Smoky Slate 

    ~~~

     Sale-a-Braton is almost over!  There's just days left! 

    and the Product Coordination Release seen here ends too!

    March host code is 4J7C9GFY 

    All online orders will receive a free Mountain View pdf cards tutorial in an email.

    Mountain Air tutorial


    March host code is 4J7C9GFY

    Order online here

     THE Best deal! Choose any FREE stamp set when you purchase the Starter kit during Sale-a-Bration; of any value! Plus you'll get a free paper trimmer and a 6 X 6 sampler of new Designer Paper!  It's just $99 plus tax and you can pick out $125 in products with free shipping! Did you know you then get a 20% discount on all of your Stampin' Up! purchases?  There's no need to 'sell'; you can just enjoy the deals! 

    Click here to join my awesome Flowerbug's Team! 

    Free during SAB

    Earn a ticket in the drawing for each $25 you order online in March for a free Little Ladybug stamp set!

    Order online here

    Leave a Reply

    Your email address will not be published. Required fields are marked *


Notice: LeeAnn Greff, Independent Stampin’ Up! Demonstrator, Manager. The content of this website is my sole responsibility as an independent Stampin’ Up! demonstrator and the use of, and content of, the classes, services, or products offered on this website is not endorsed by Stampin’ Up! Copyright 2025