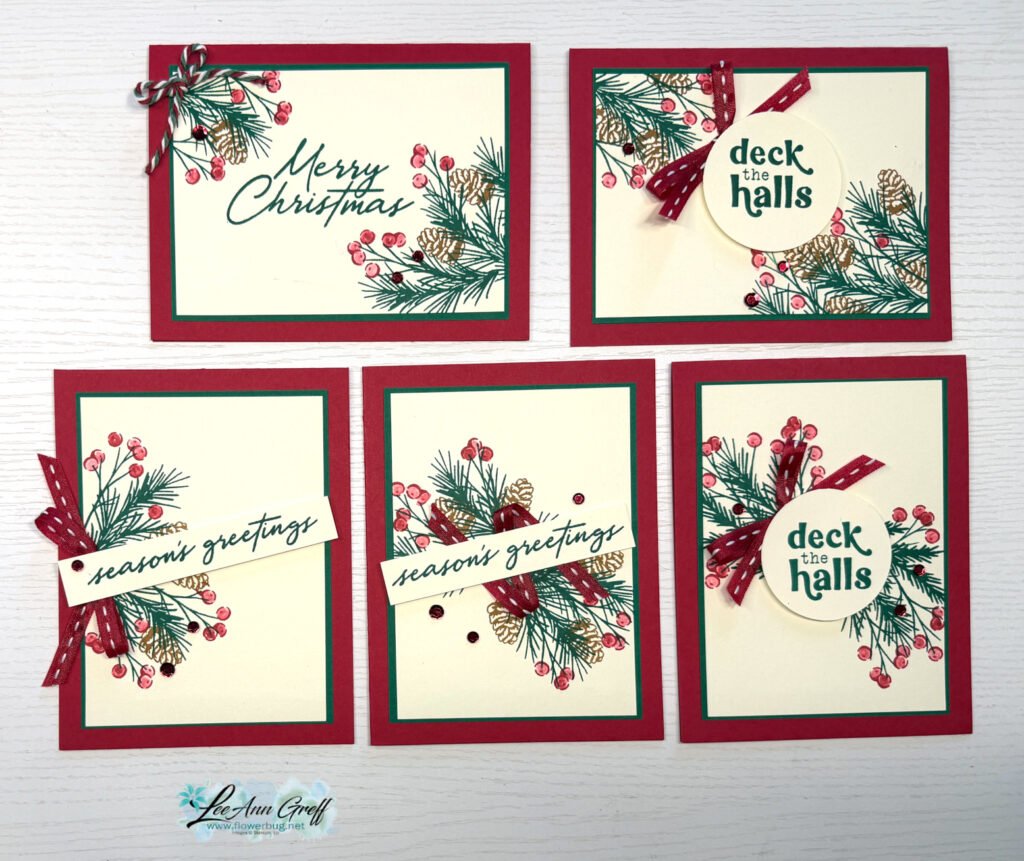
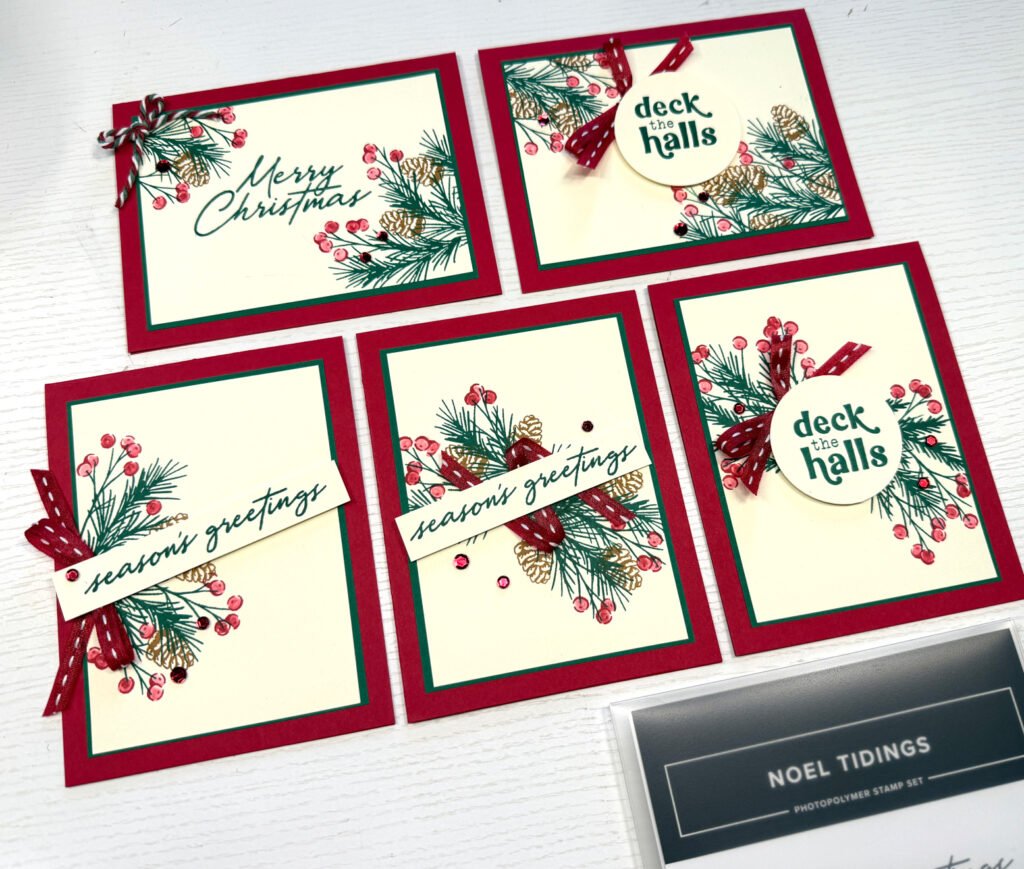
5 fast Christmas cards with my 5 at a time templates!
And today I’ll share the 3rd group of ‘5 at a time’ cards from my video last week. This time I went with a Holiday theme!
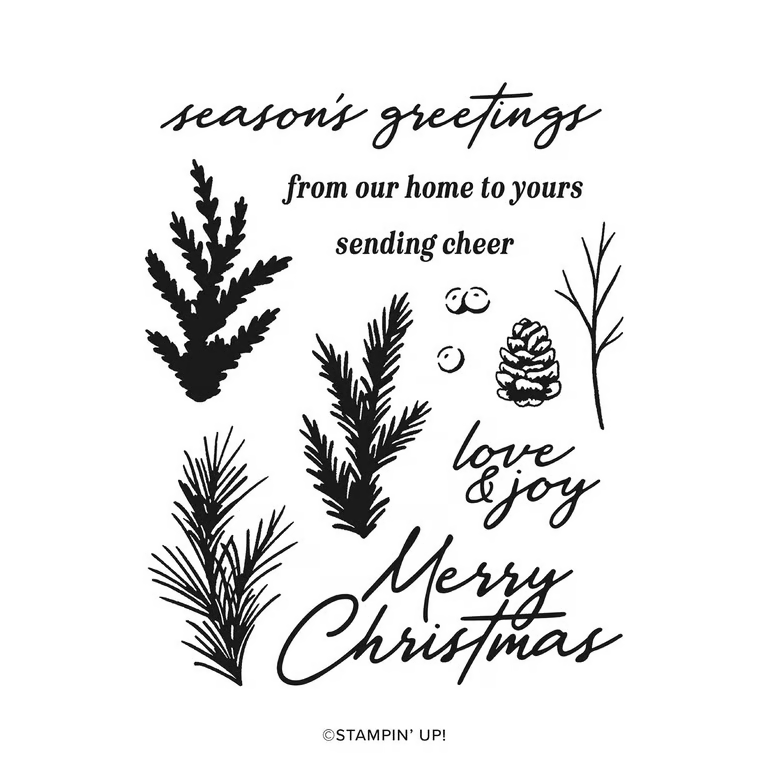
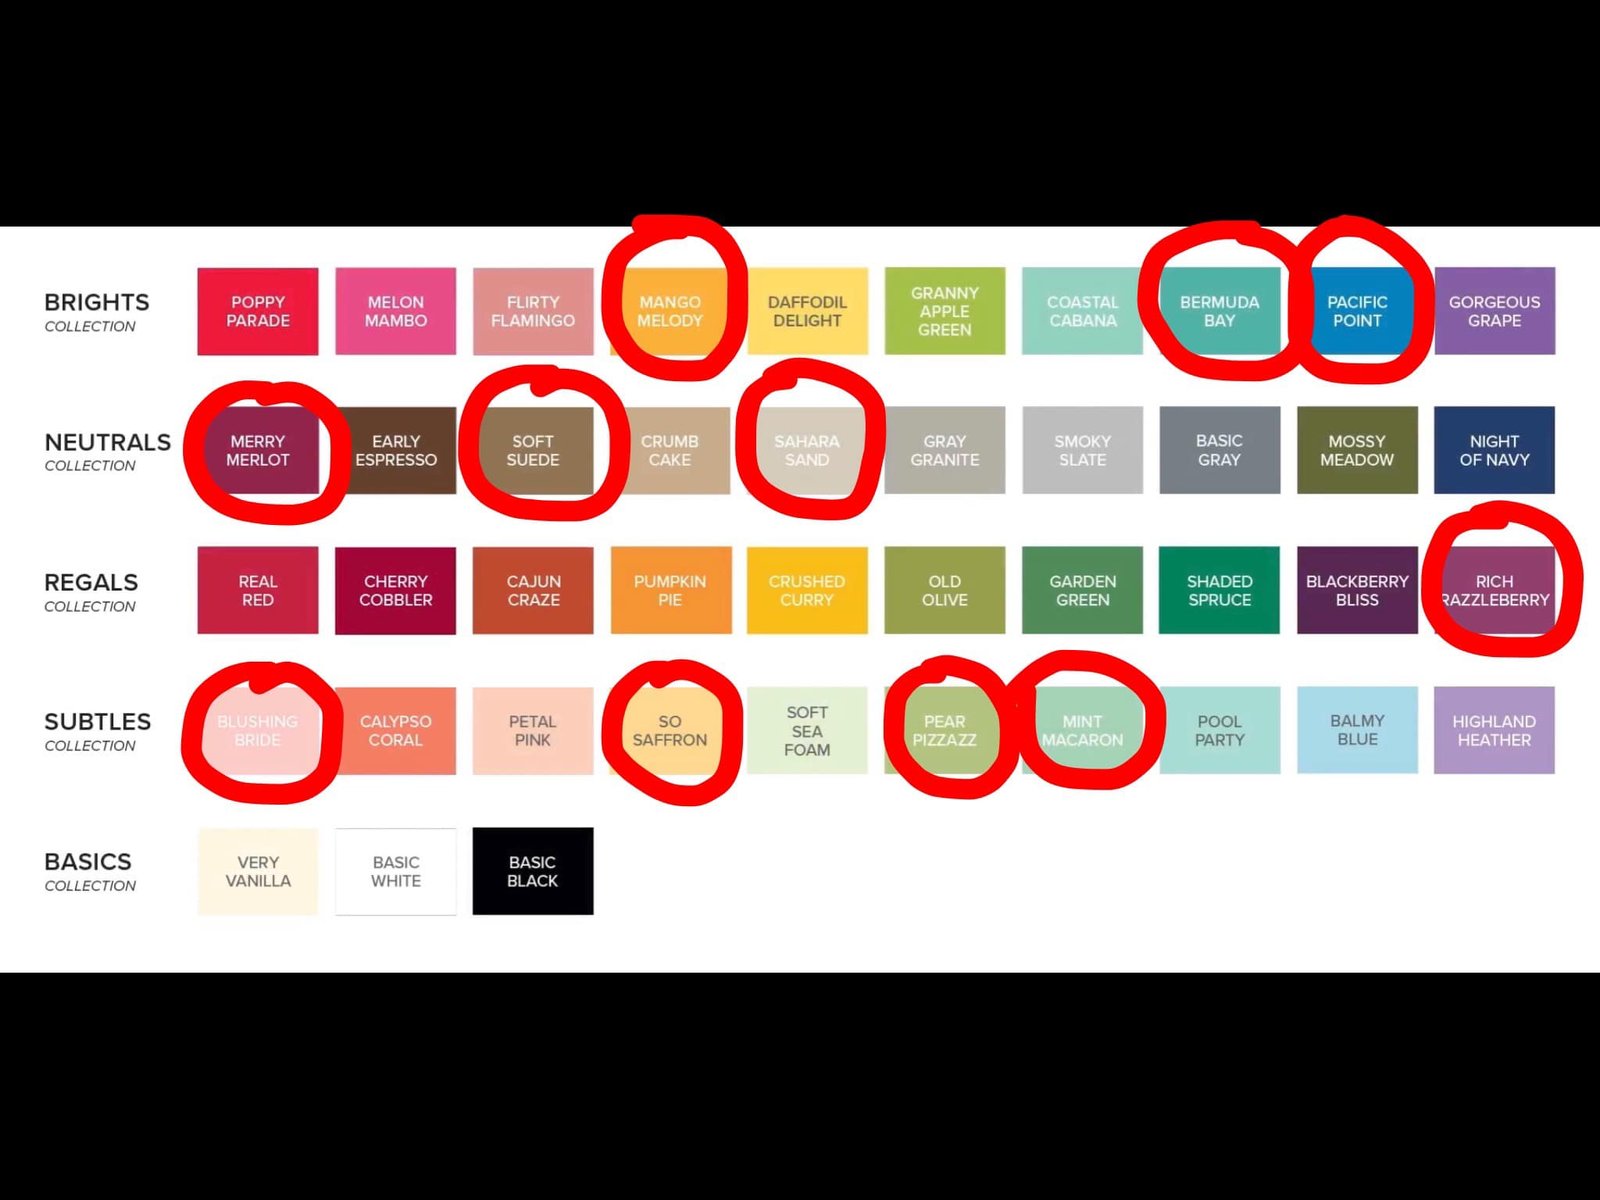
My colors include Cherry Cobbler, Shaded Spruce, Pecan Pie and Very Vanilla. The Noel Tidings stamp set seen here has everything you need to create pretty card fronts or backgrounds for your holiday cards.
There is a beautiful set of dies that coordinate with this stamp set. See the bundle here. The dies are currently out of stock; but you can add your email address to the product to be notified when it becomes available.
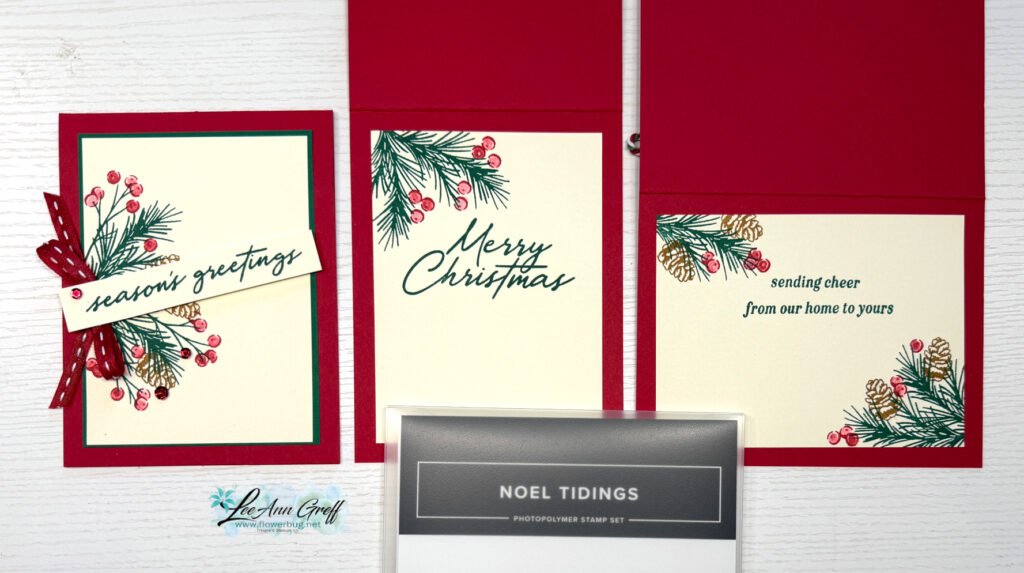
Below you can see how I stamped the inside layers.
Both of these templates are included in the free project sheet I created. Click here to print or download it.
I’ll be proud to send these cards to my family and friends this Christmas.
Below is the video tutorial for these cards; you can watch me stamp them and get my tips for coloring the berries with a blender pen too.
The Starter kit deal ends on Saturday! I hope you’ll consider joining my team and taking advantage of the continual discount on all future Stampin’ Up! products!
Easter Bunny Floating Panel card with a free project sheet & video tutorial!
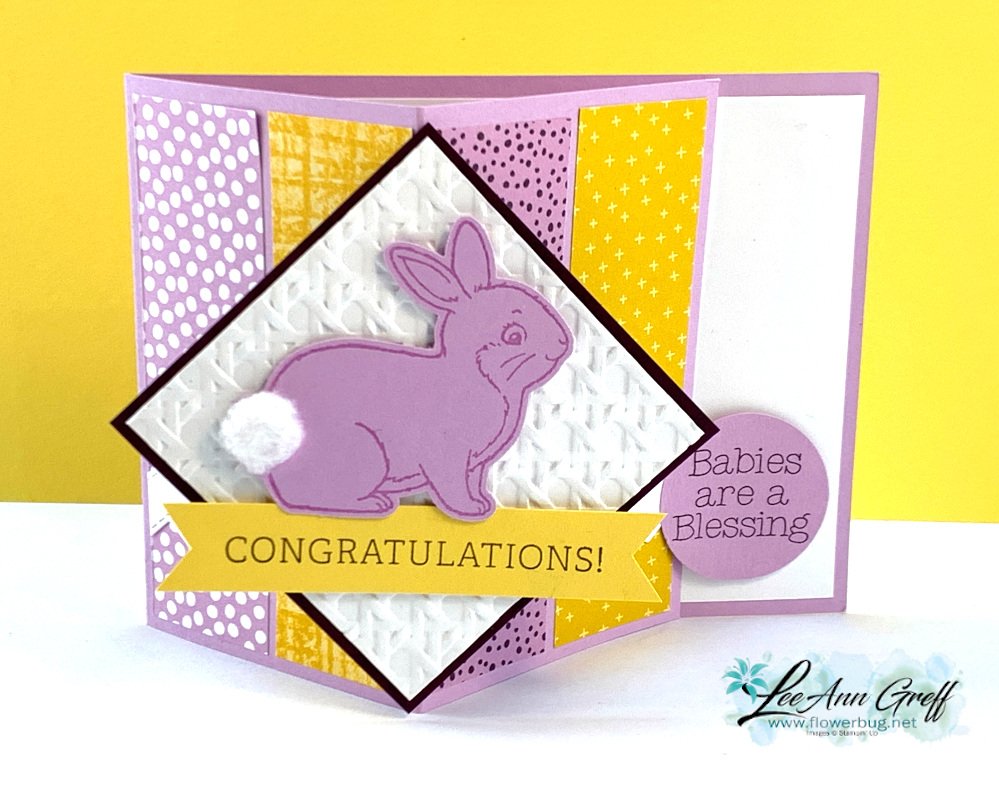
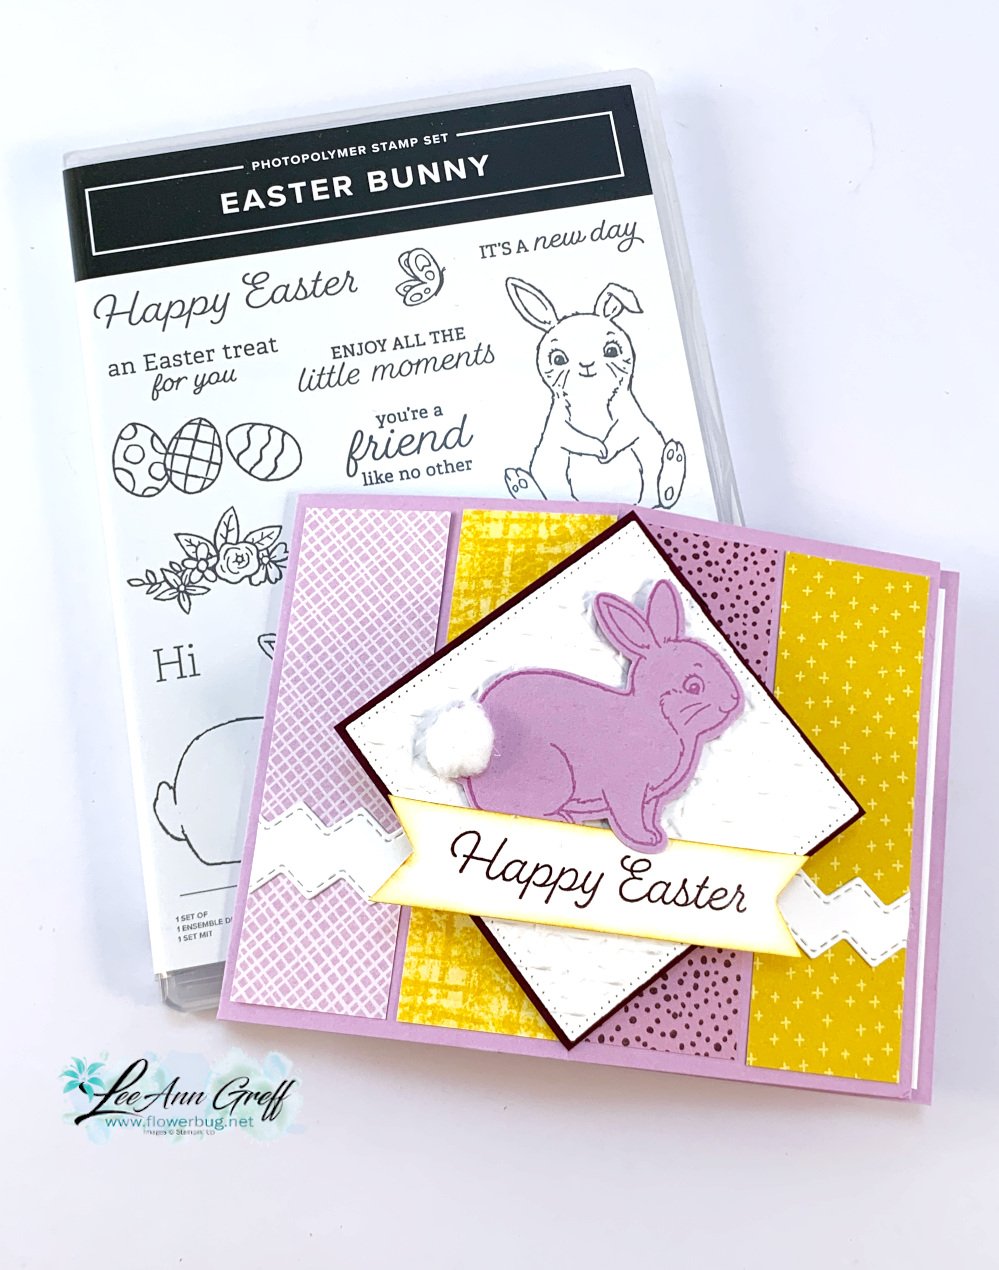
We made this sweet card at my March Card Clubs – it features the Easter Bunny bundle. This bundle is currently unavailable. you can get the Easter Bunny stamp set now but the Bunny punch is returning in May.
It's a Floating Panel fun fold card; one of my current favorite folds lately. It's both fun to make and easy to create too!
My colors include Fresh Freesia, Blackberry Bliss and Daffodil Delight. Below you'll see the baby version. I gave my gals the choice of Easter or baby.
The greetings for the baby card are from Charming Sentiments. Click herefor the PDF project sheet for measurements & products used.
I used a variety of products on this card:
Stamps – Easter Bunny, Charming Sentiments
Ink – Fresh Freesia, Blackberry Bliss
Paper – Fresh Freesia, Daffodil, Blackberry Bliss, Basic White, Tea Boutique, Butterfly Kisses, Flowers & More host
Other – Basic Borders dies, Cane Weave 3D folder, Dimensionals, Brass Butterflies
Do you see his little cottontail? I tore off a piece from a cotton ball and rolled it into a ball. It's adhered with out Multipurpose liquid glue.
Here are the measurements:
Card base 4 1/4" X 11" score at 2 3/4" & 5 1/2". Scraps for bunny & circle punch. Two strips 1/2" X 1 1/2" for the floating panel hinges • DSP pieces four pieces at 1 1/4" X 4" • White front square 2 3/4", inside 5 1/4" X 4" • Blackberry Bliss square 2 7/8" • Greeting strips 3/4" X 3 1/2"
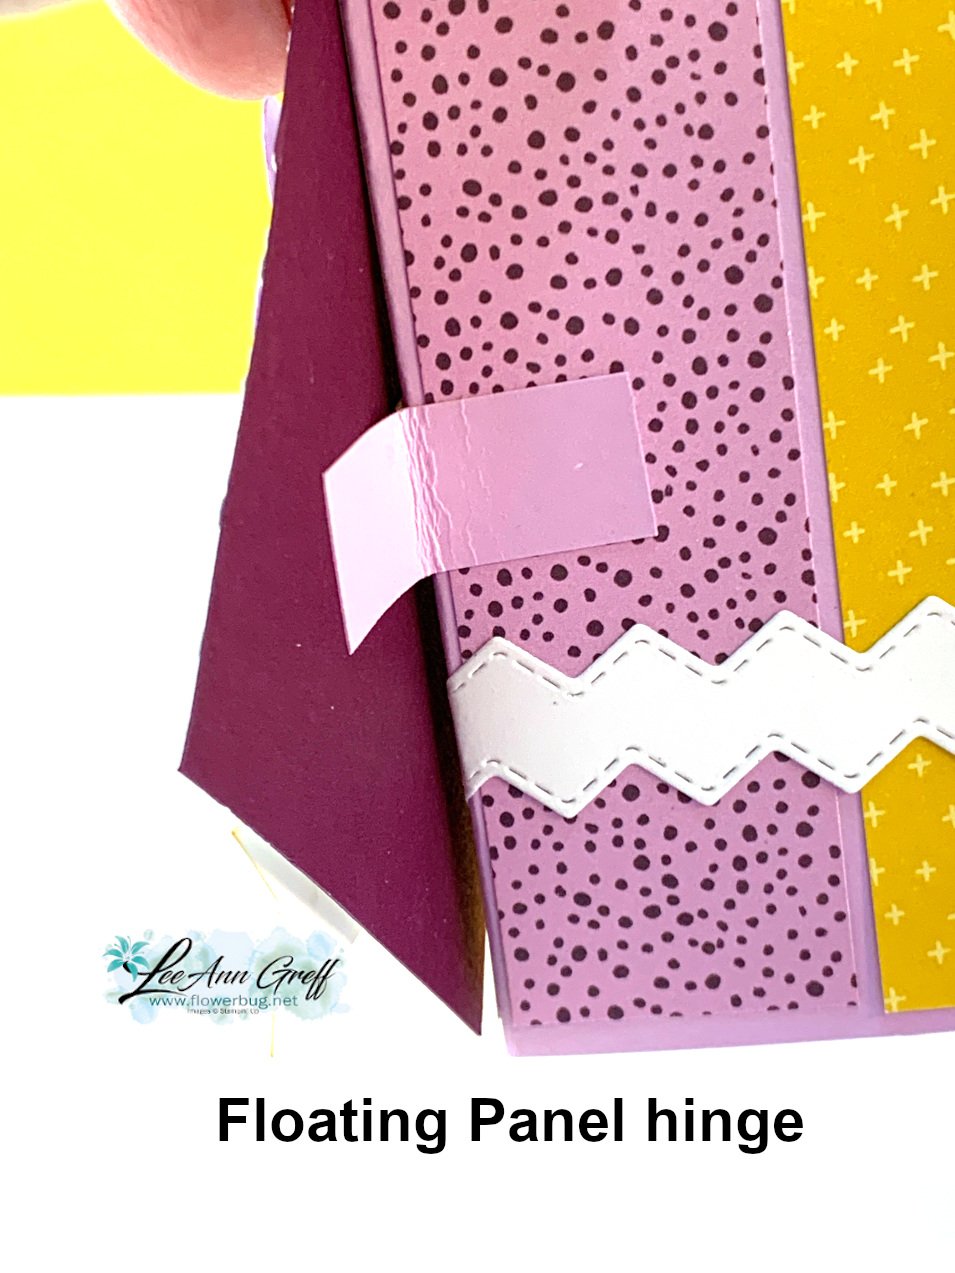
Here's a tip on the Floating panel: You need just two pieces of card stock about 1/2" X 2 1/2". Fold them in half and adhere to the center fold; one on each side. Your front panel is adhered to this.
*Watch the video below (or click here)where I share the tips on creating this card; it's the second project of 4!
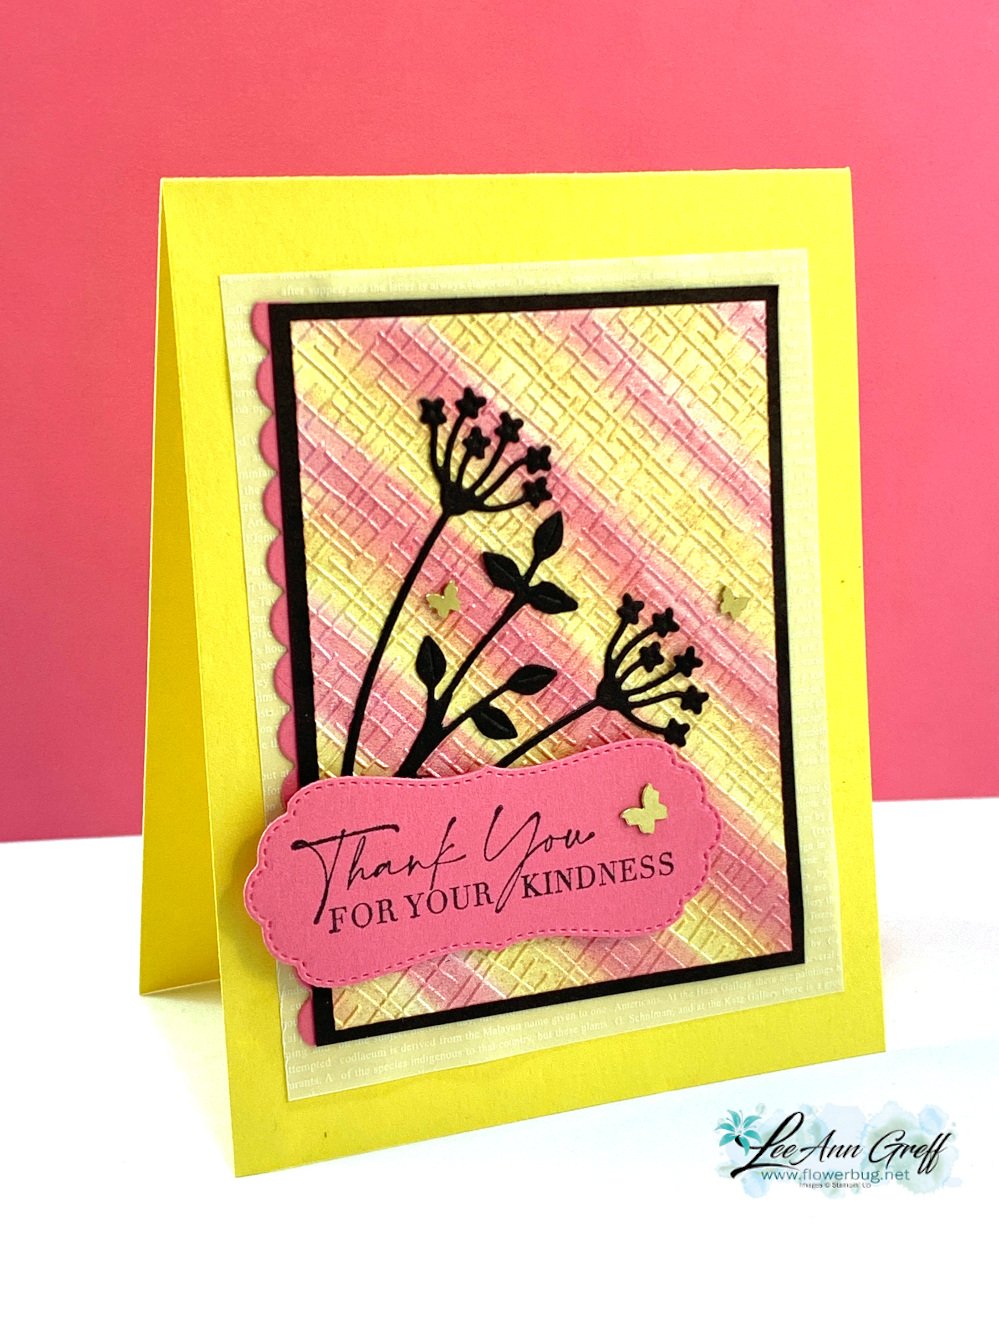
Can you spot the shimmer? I used the Pearlescent paper from the Annual Catalog. See it here.
It was the perfect sheen for this technique as the moist ink did not absorb quickly like it might for regular card stock. Glossy paper would also work well.
After I added the color, I let it dry for an hour or so. Then I textured it with one of the embossing folders in the 3D Basics pack seen here. These are currently out of stock but they'll be back in May.
Below you can see the difference in my cards; especially the colors. One is soft and subtle and the other more vibrant. This happens as you work with your baby wipe; the first few swipes are bold and the next few are much softer.
Tips for success:
Fold and roll your baby wipe in a tube. Hold it tightly and add a few drops of ink refills.
Add each color separately in a row. I tend to add enough for about 1/2" of surface.
Start swiping off your paper and then onto it. You can do straight swipes or get creative and add curves or swirls. Let dry.
Shimmery, pearlescent or glossy works best. But you can do it on regular card stock too.
I suggest you use light to medium colors.
Notice the colors of the butterflies? I colored the Brass Butterflies with a Polished Pink blends marker for the left card. I wasn't sure I liked it or not so left them uncolored for my swap cards.
Watch the video hereor click on the image below to see this technique. It's the last technique I share in the video.
Notice: LeeAnn Greff, Independent Stampin’ Up! Demonstrator, Manager. The content of this website is my sole responsibility as an independent Stampin’ Up! demonstrator and the use of, and content of, the classes, services, or products offered on this website is not endorsed by Stampin’ Up! Copyright 2025























Leave a Reply